Dessert
-
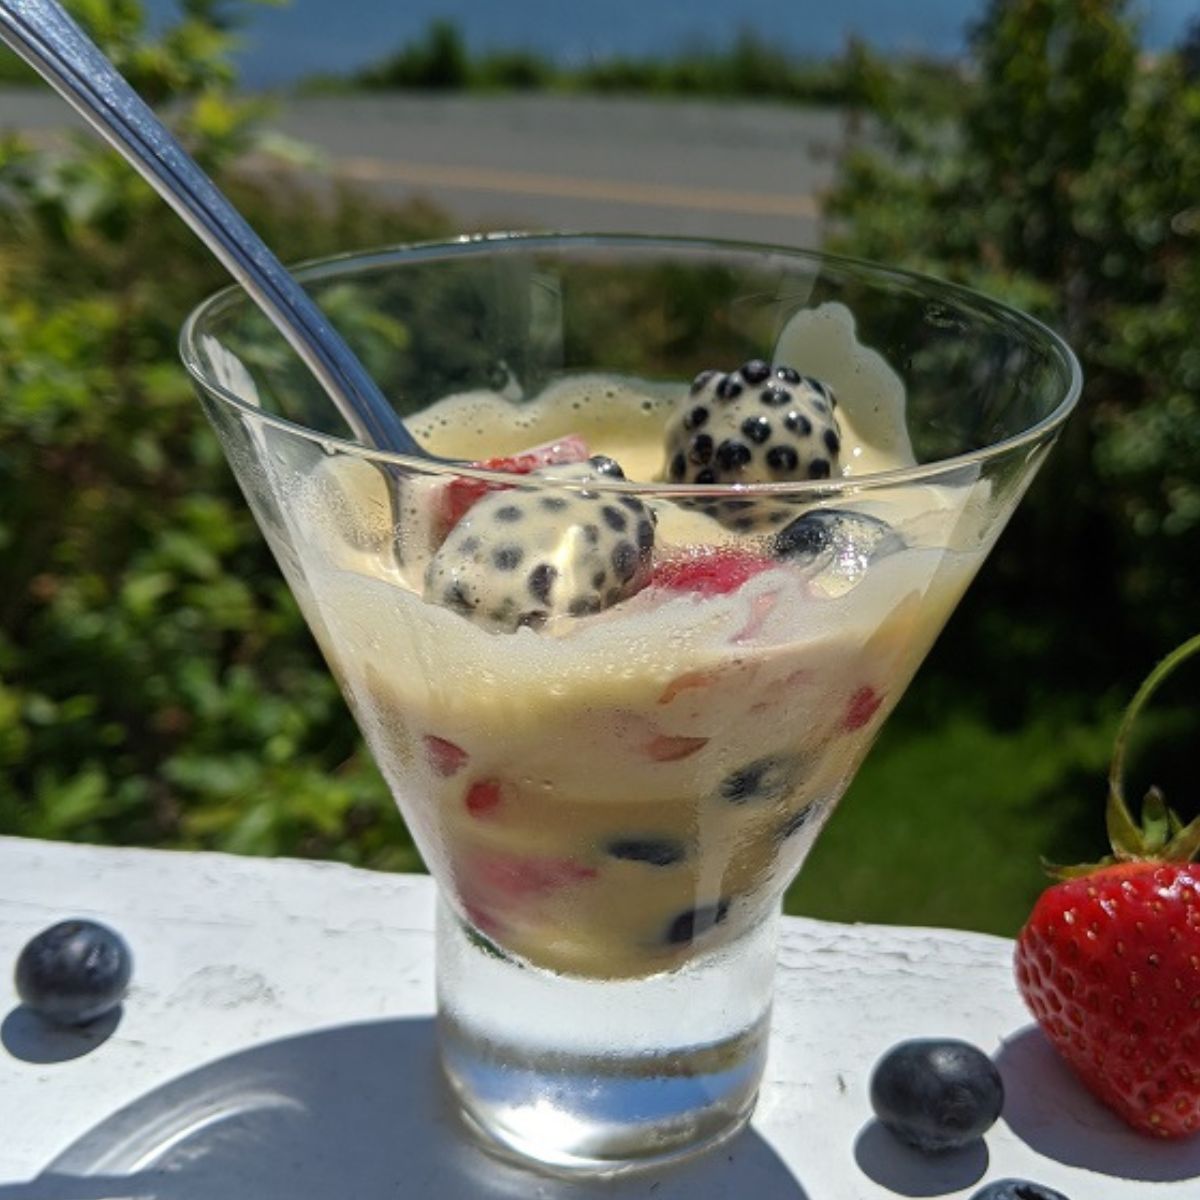
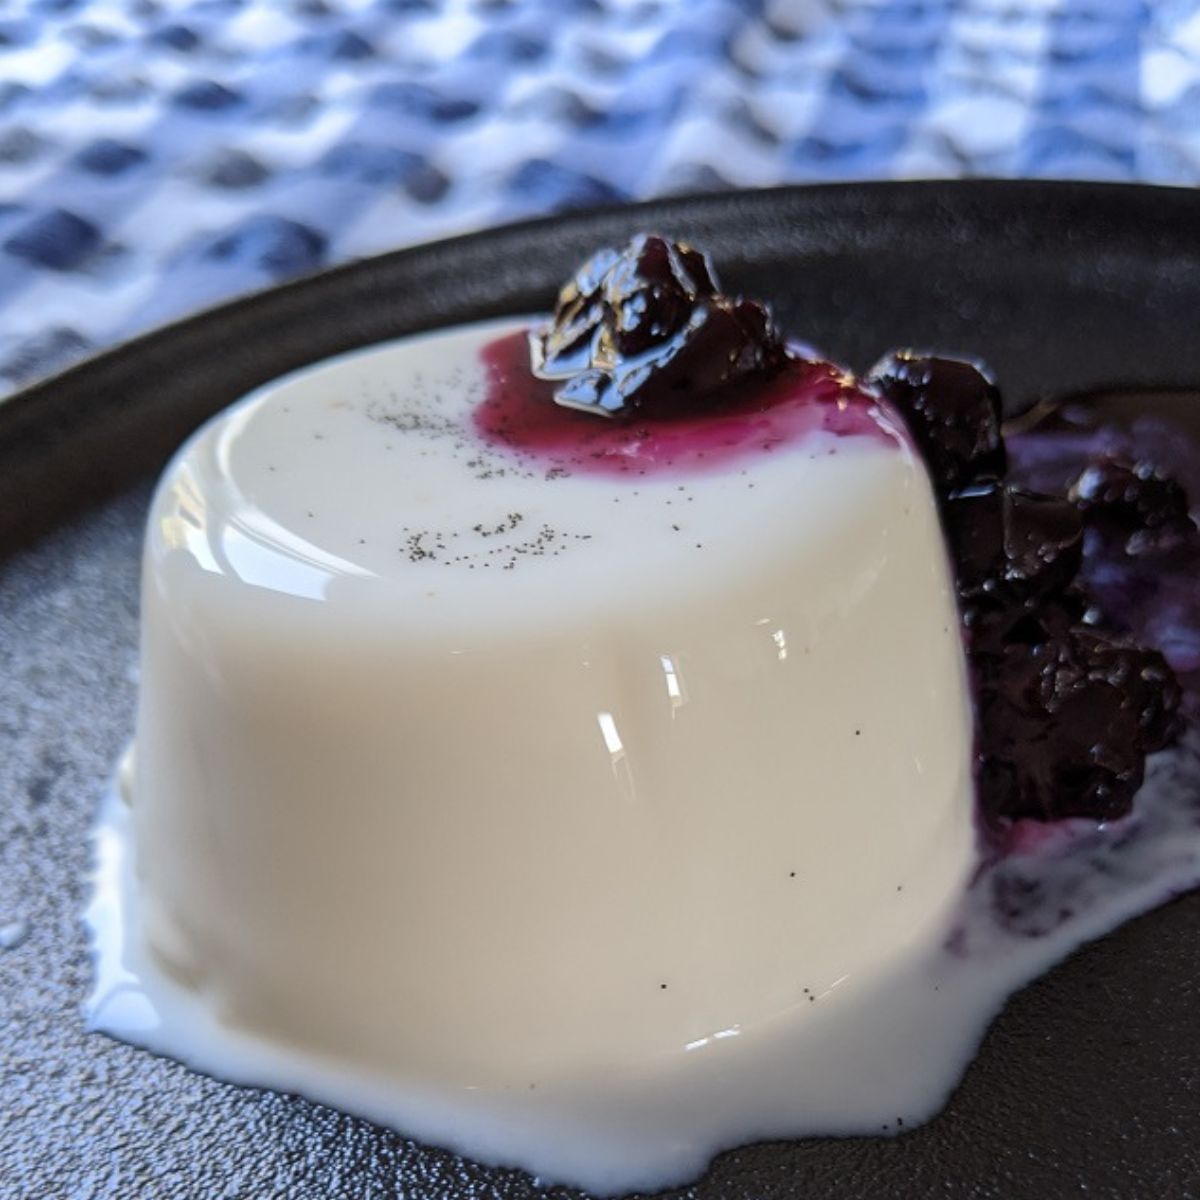
Vanilla Panna Cotta - The Valentine's Day Dessert You Want
-
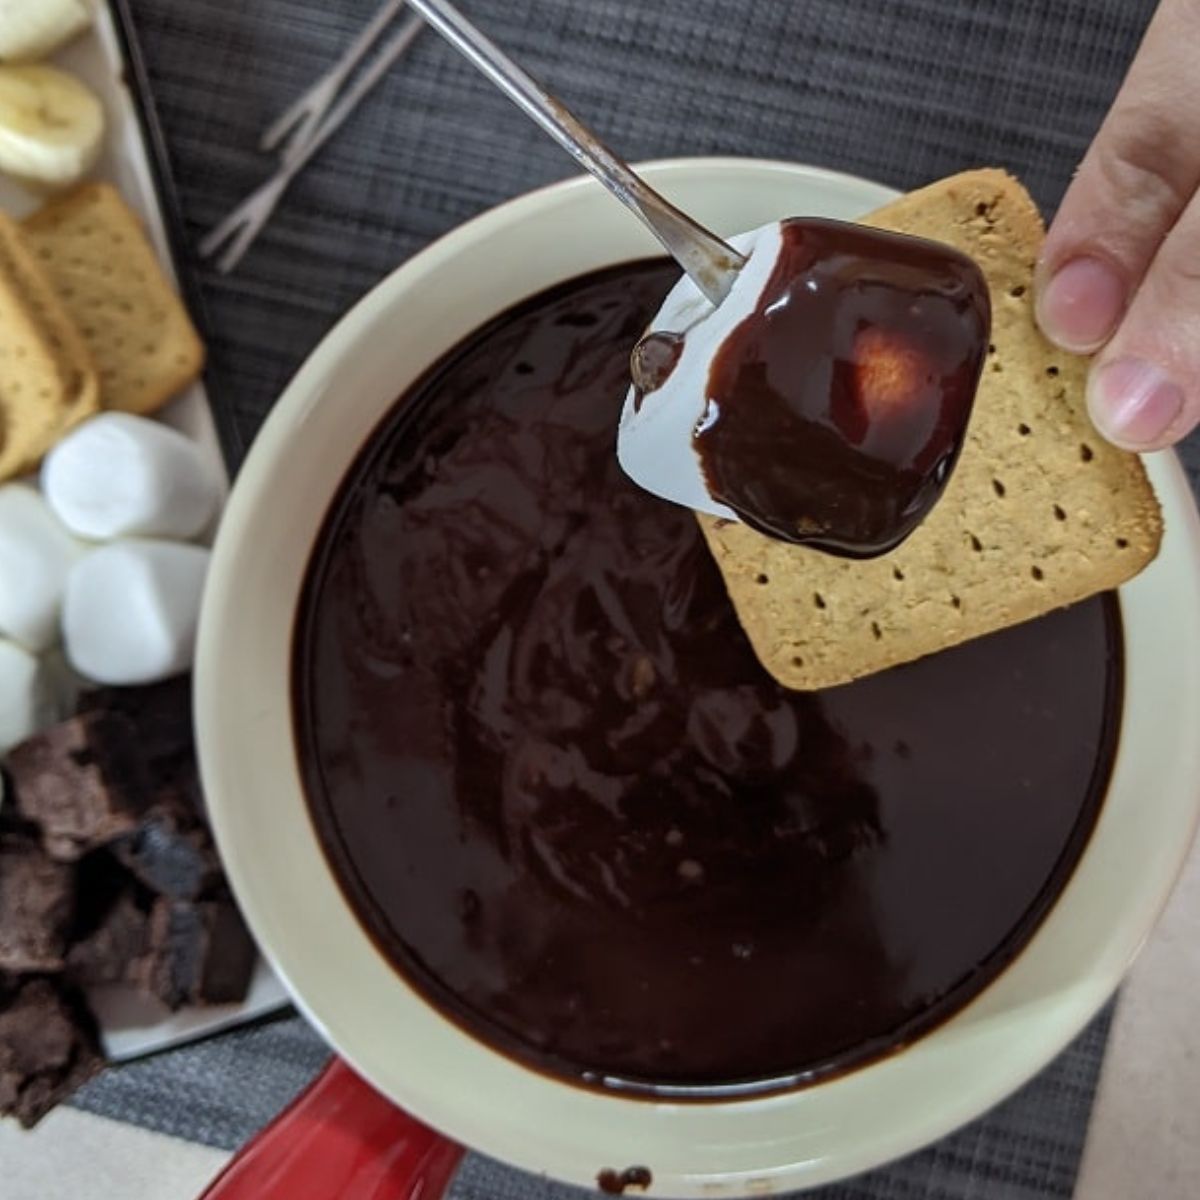
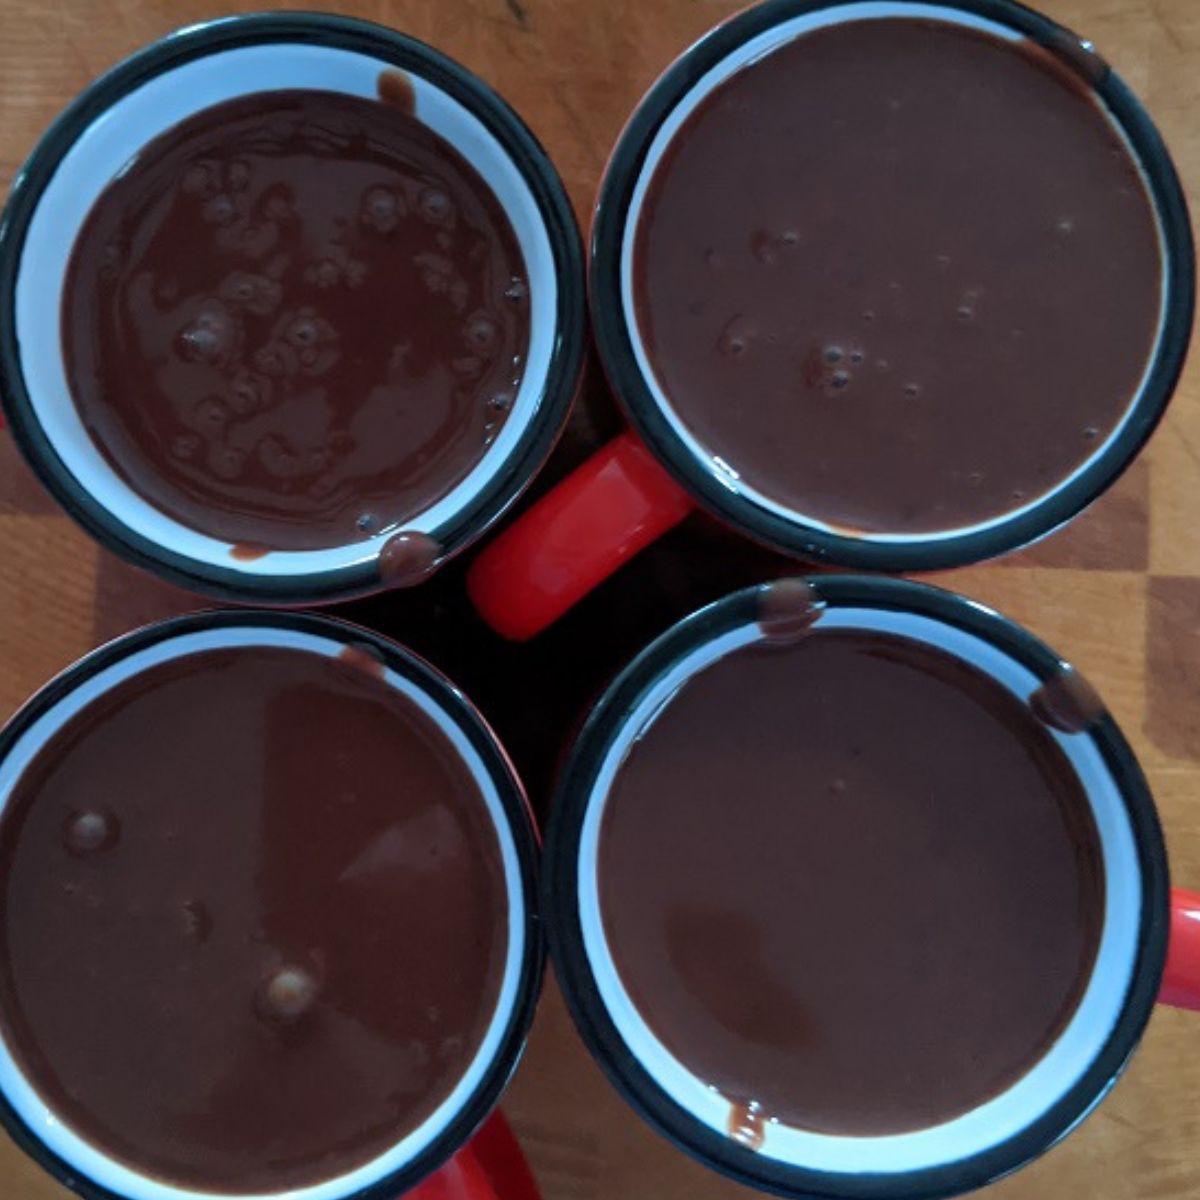
Quick and Easy Baileys Chocolate Fondue
-
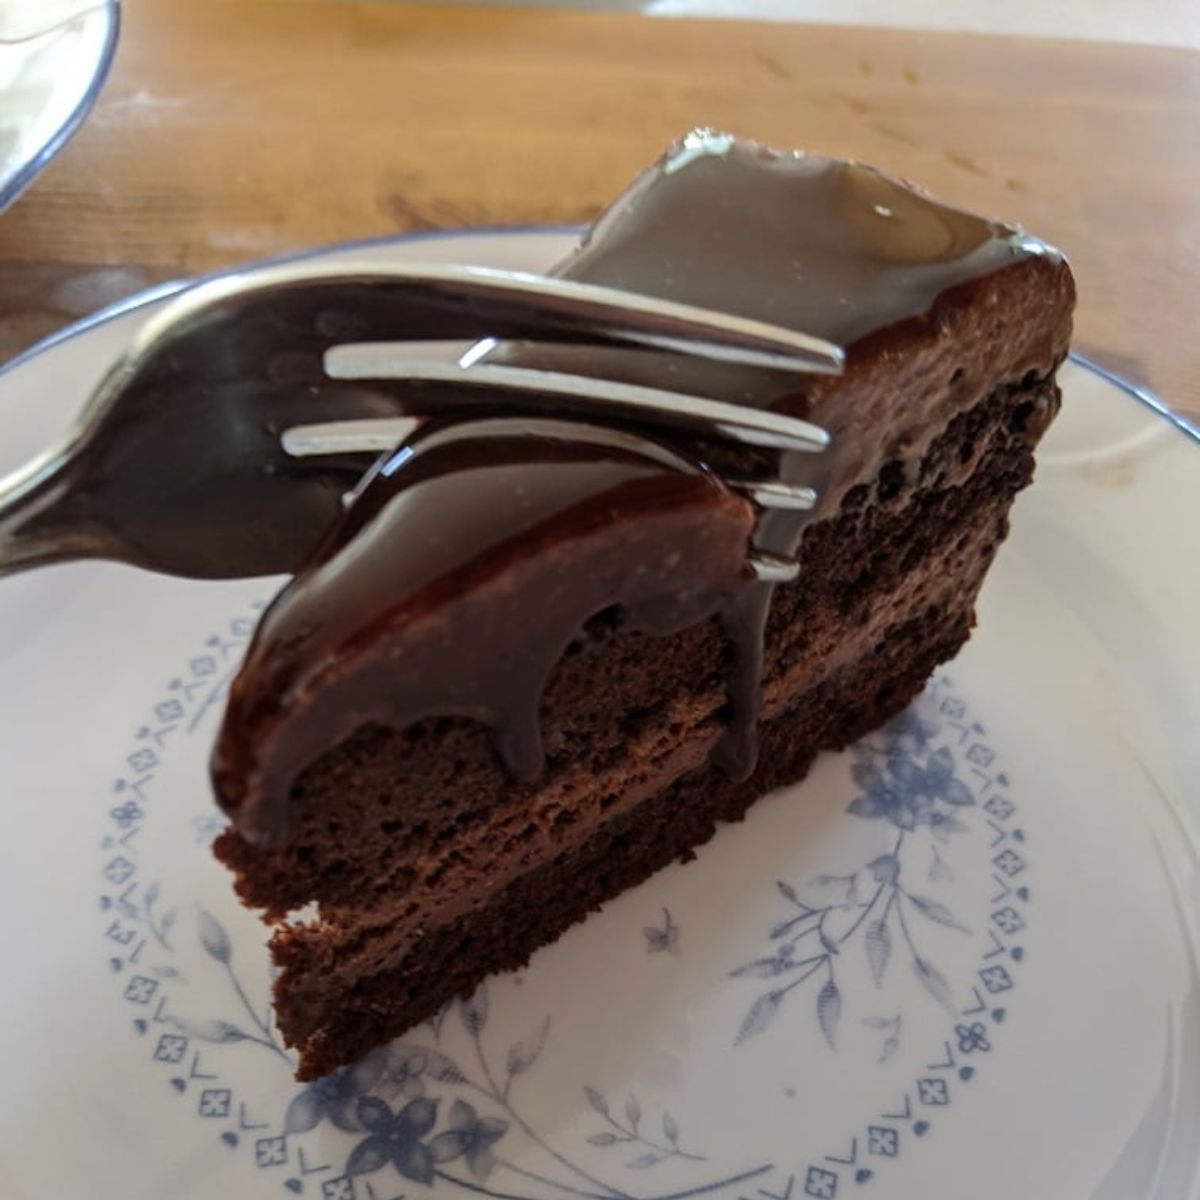
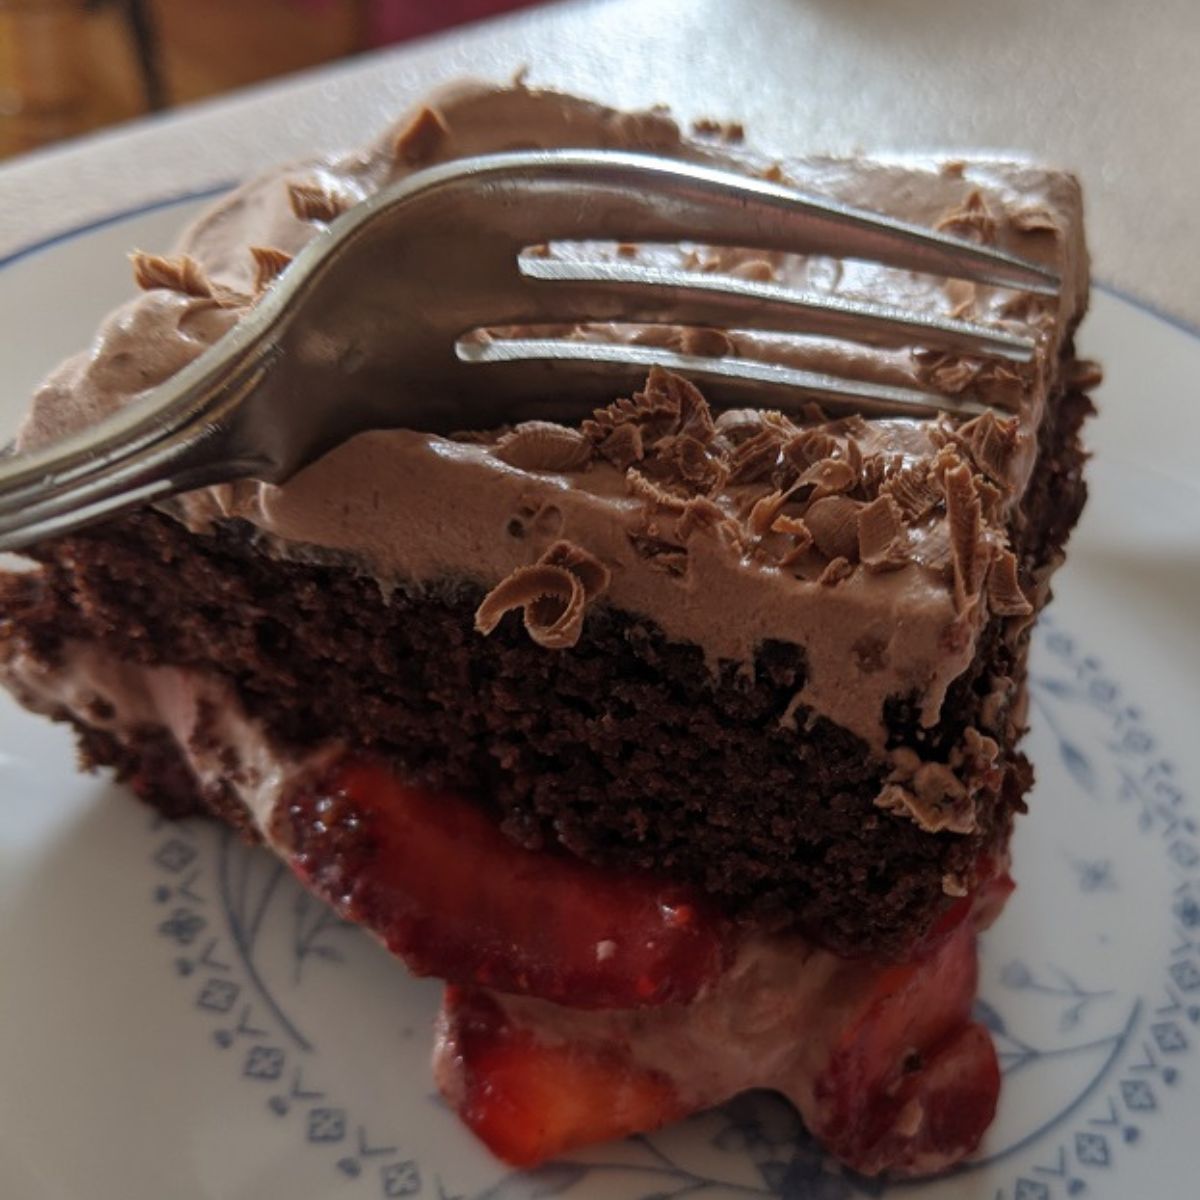
Chocolate Mousse Cake
-
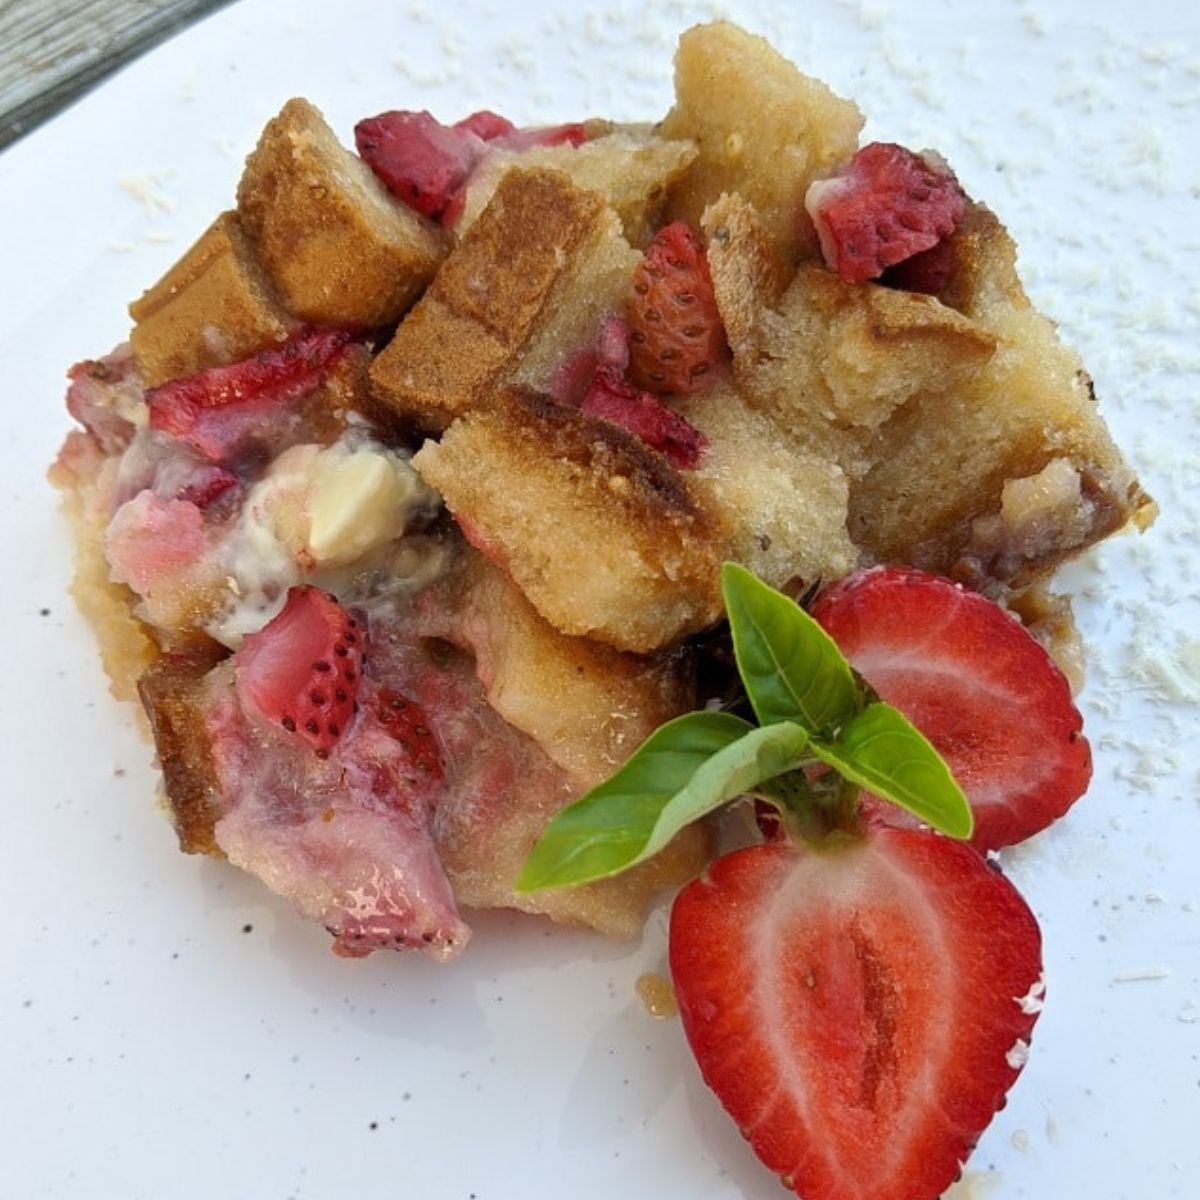
How To Make Strawberry White Chocolate Bread Pudding
-
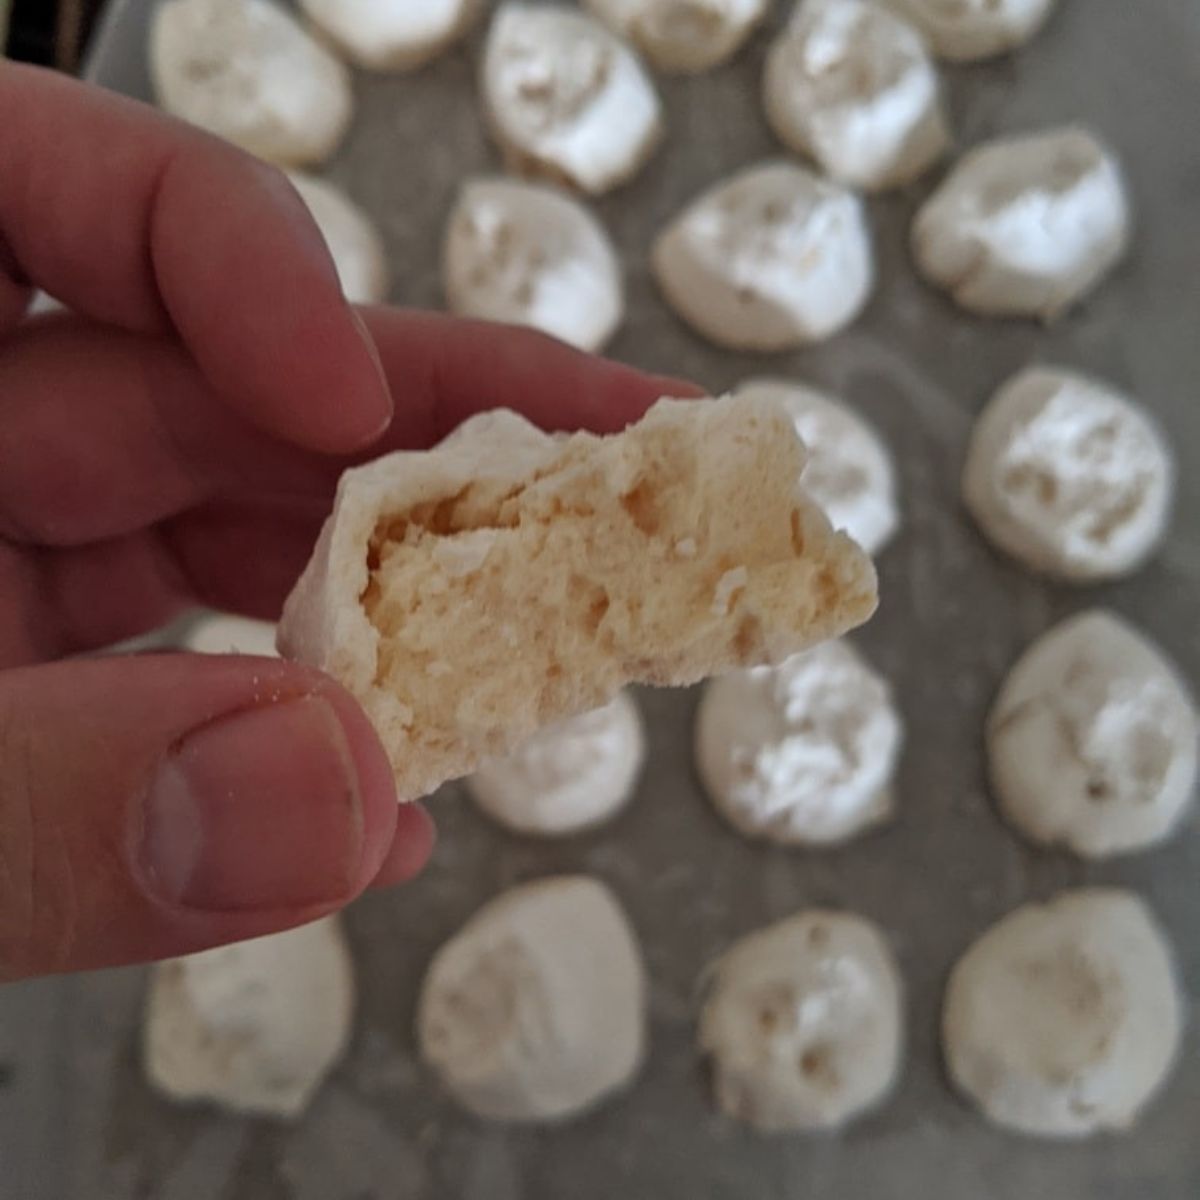
Delicious Italian Almond Meringue Cookies
-
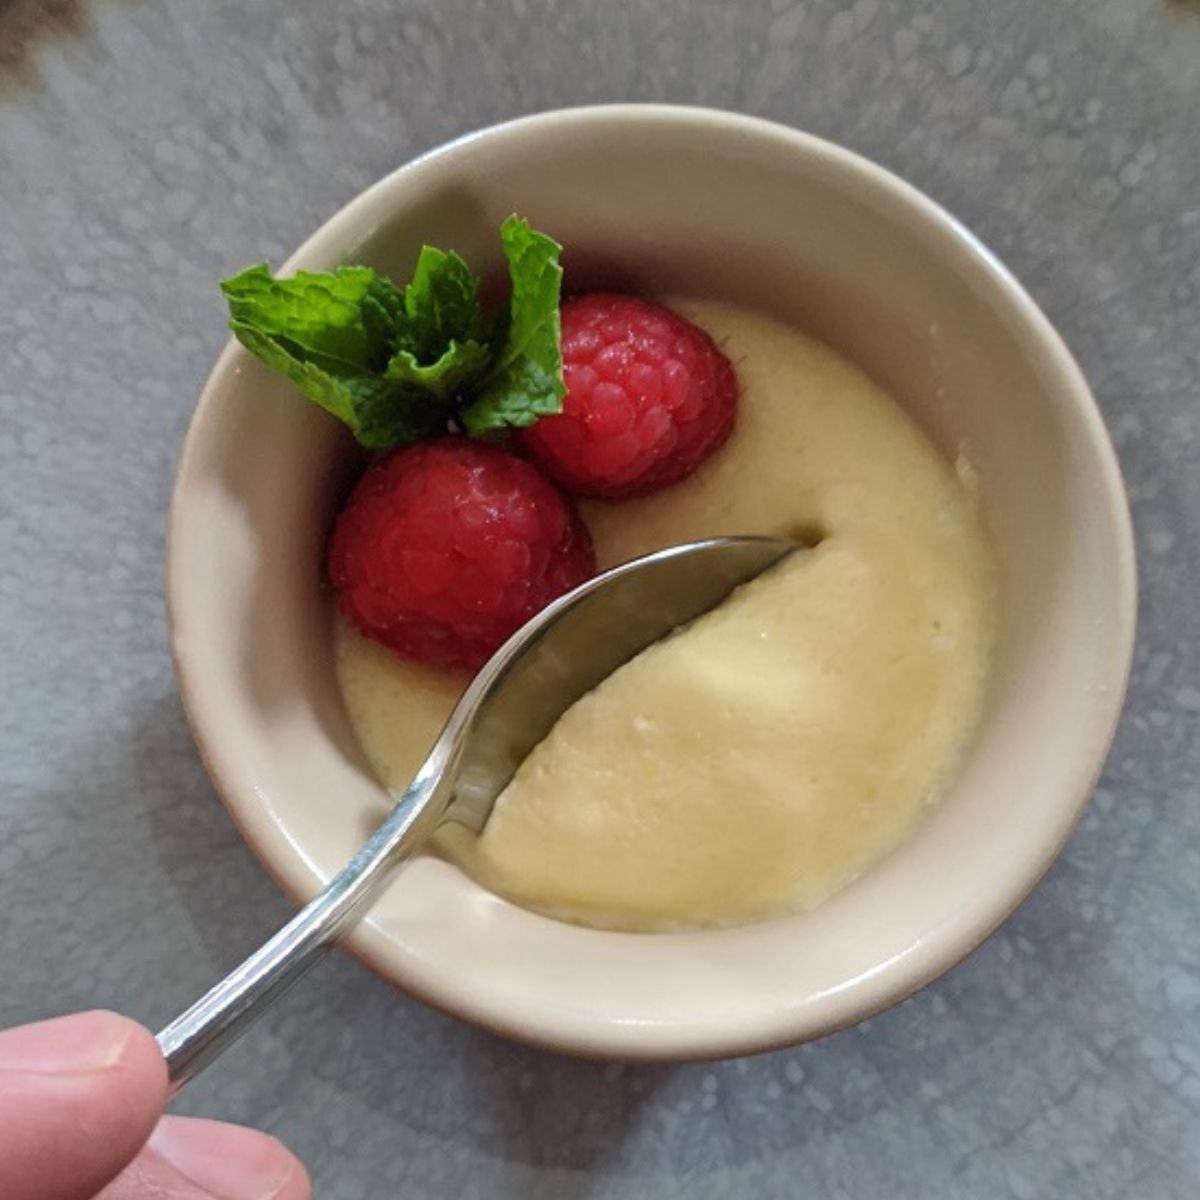
How To Make Sabayon - Another Simple Summer Dessert
-
Chocolate Strawberry Shortcake - Yeah, it's as good as it sounds.
-
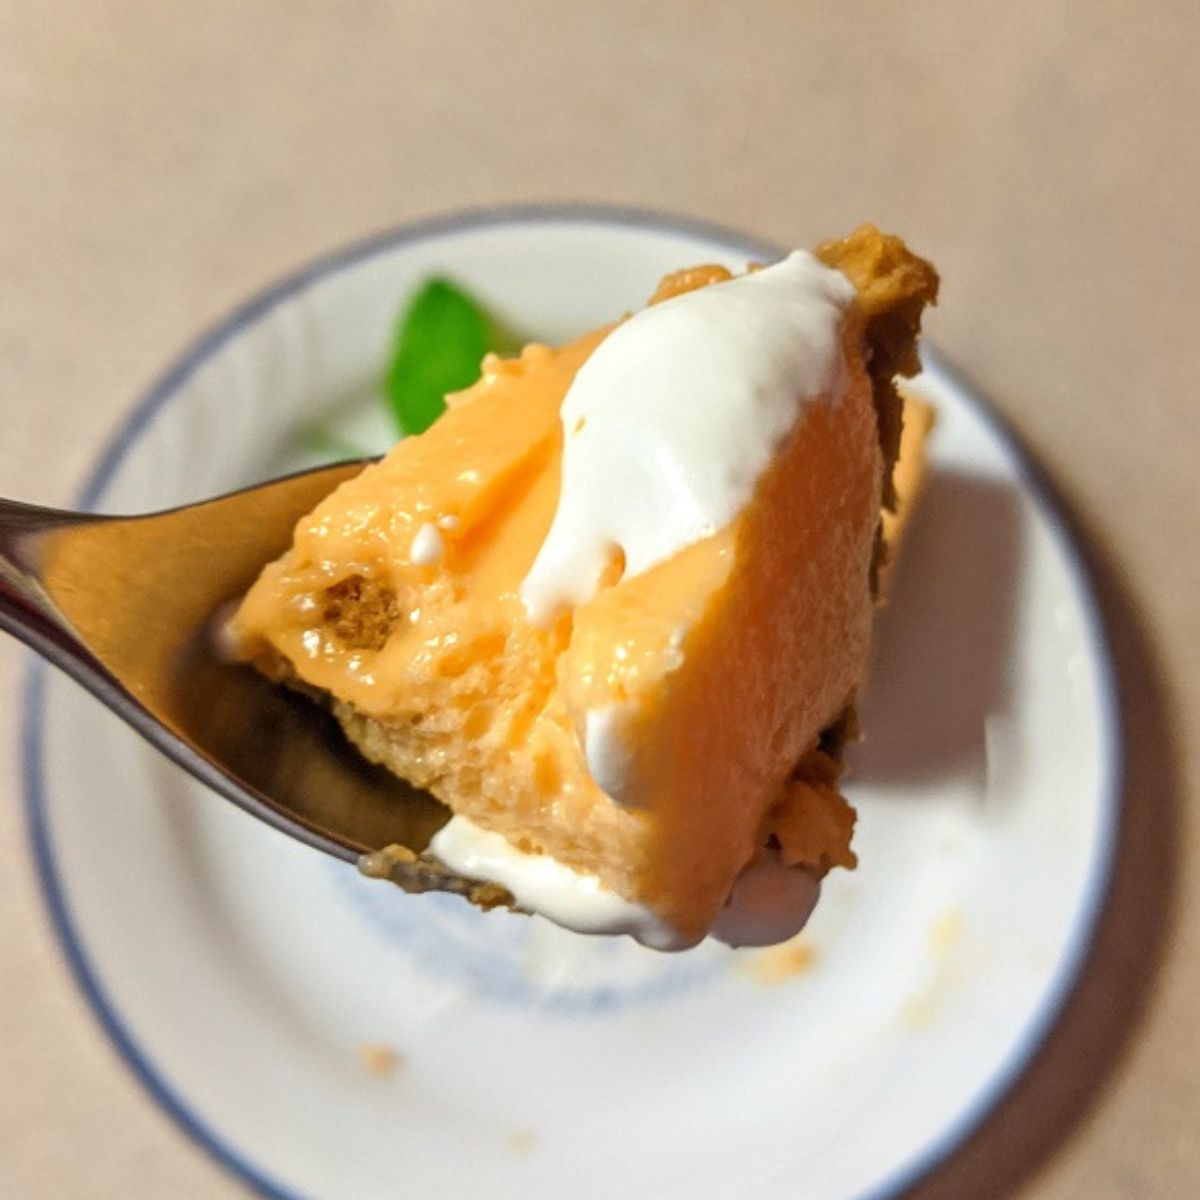
Experimental No-Bake Orange Creamsicle Cheesecake
-
How to make Lemon Mousse Cups
-
How To Make Panna Cotta
-
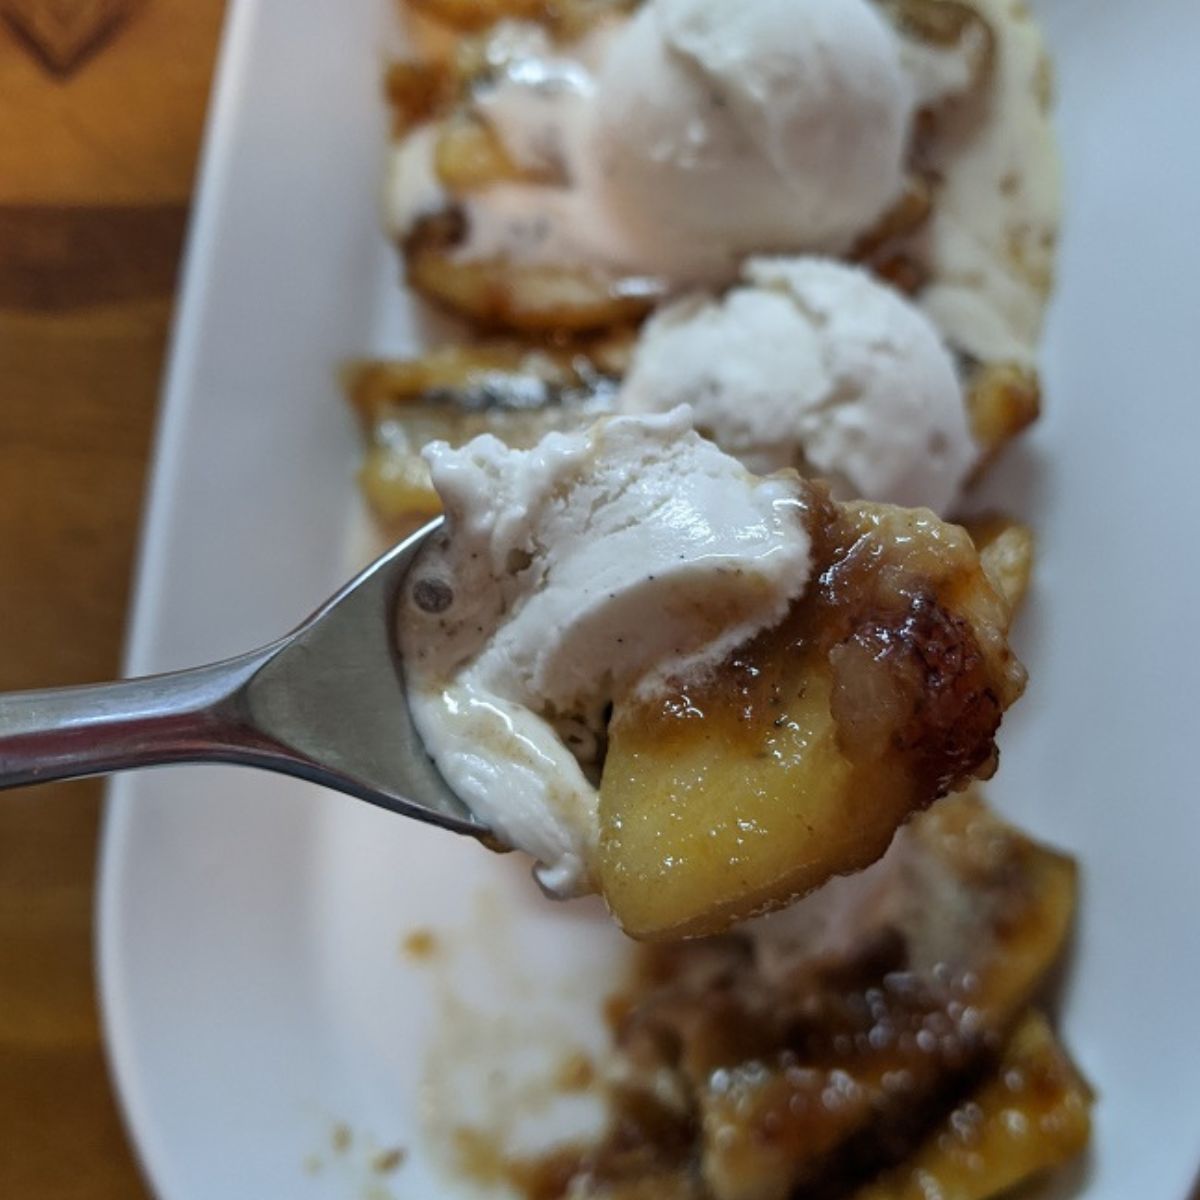
How To Make Bananas Foster
-
Chocolate Pot De Créme
-
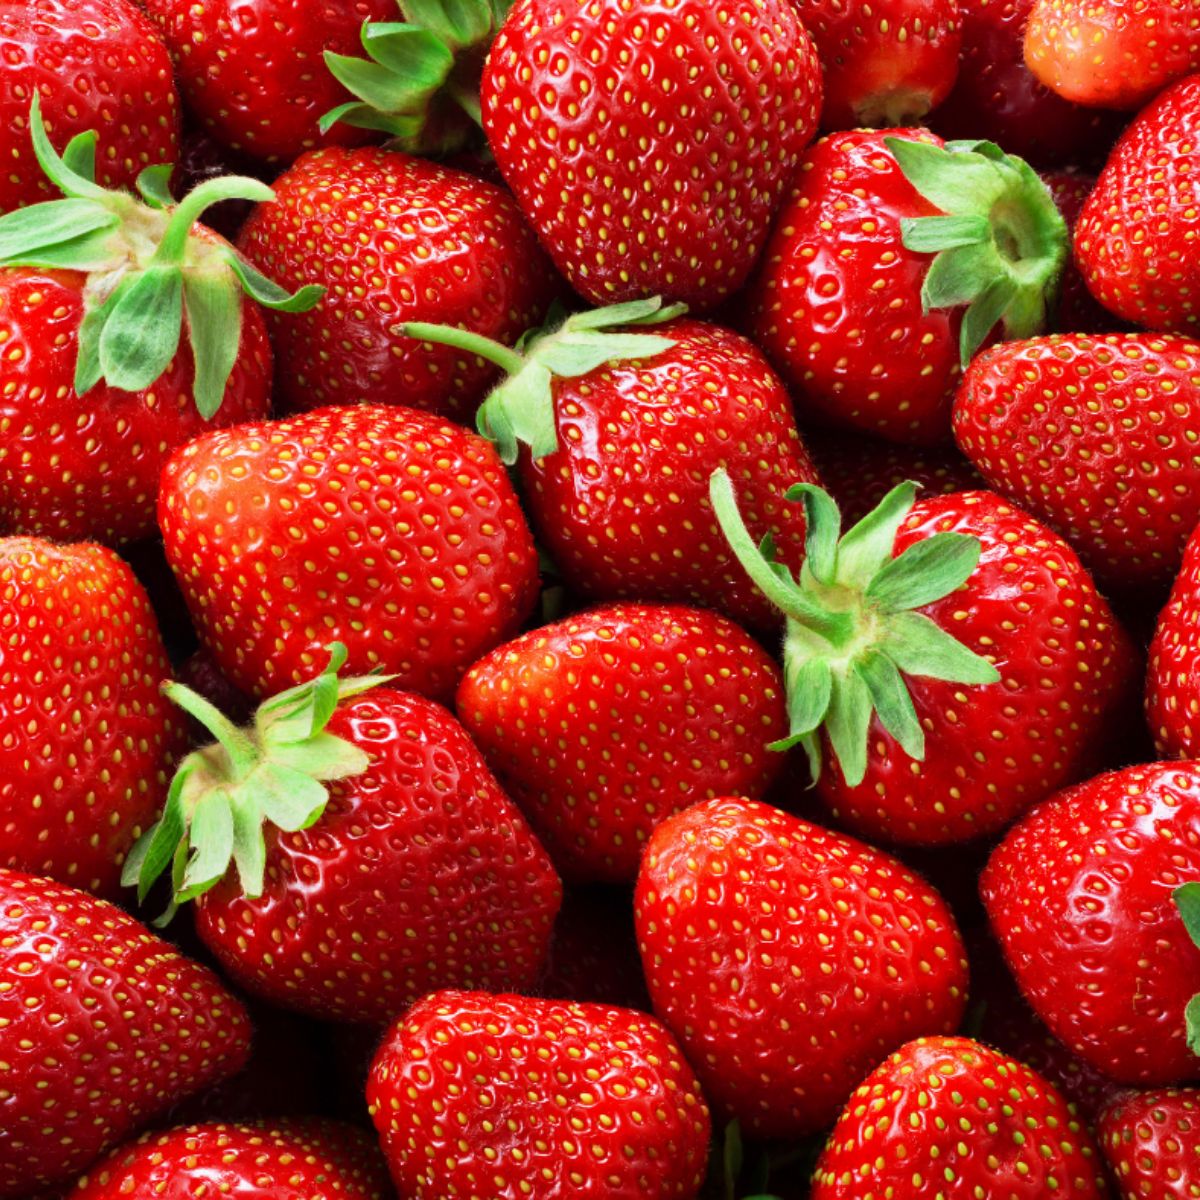
Everything I know about Strawberry Shortcake
-
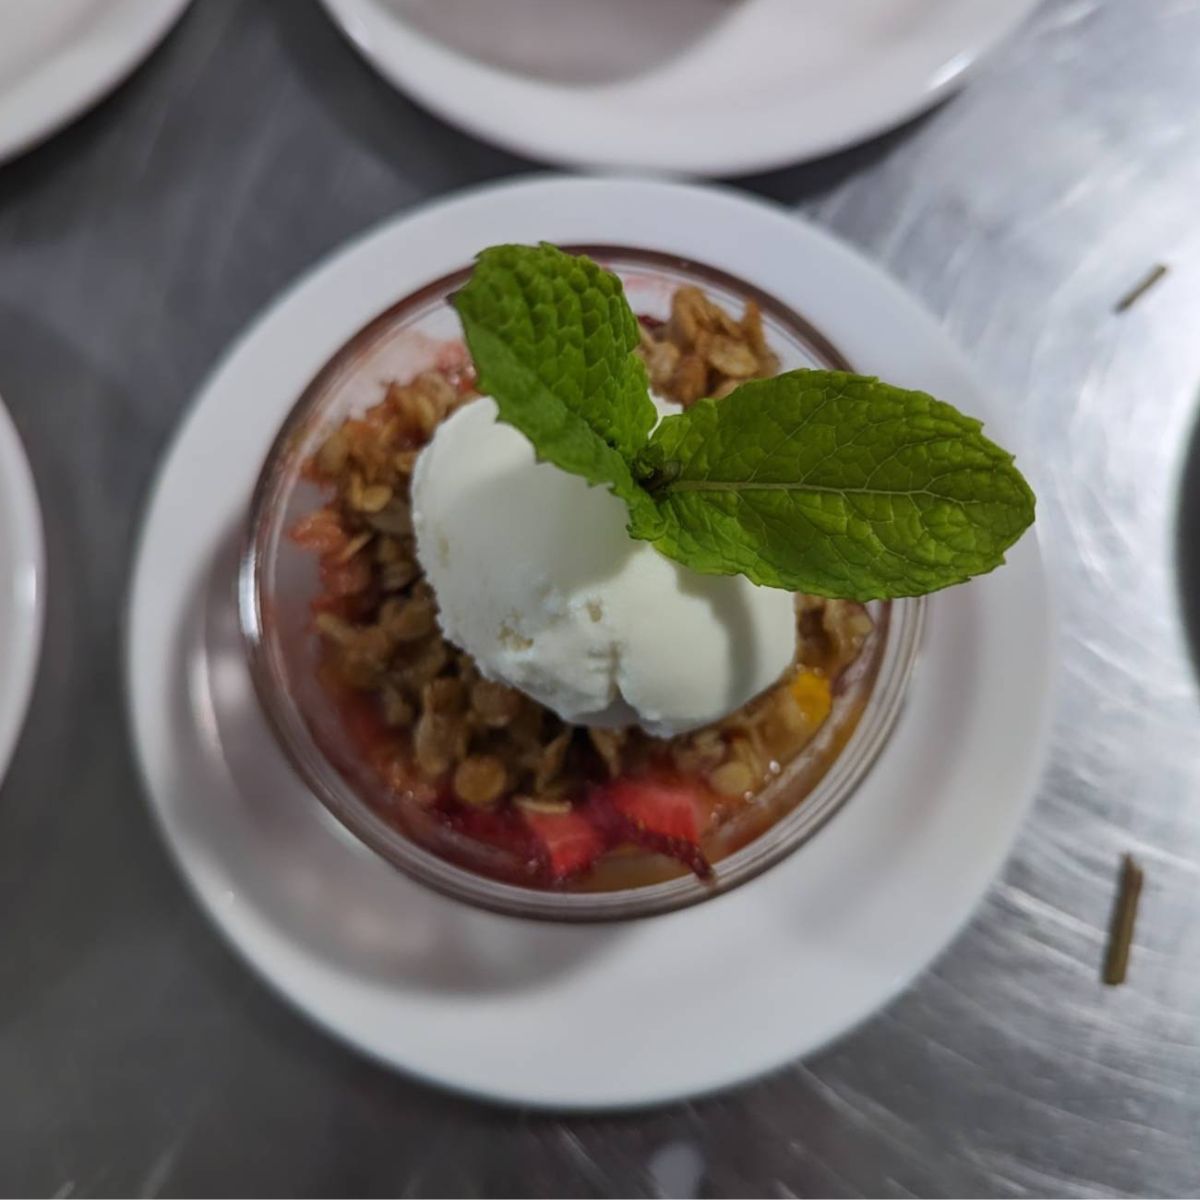
How To Make A Basic Crumble