Good morning, everyone, and happy Victoria Day. Today, we are going to do something a little different on the blog. Generally, on Monday, we look at a recipe that can be made fairly quickly. However, today, in part because it is a long weekend and in part because someone asked for this post, we are going to look at how to spatchcock a chicken, what that means, and why you should know how to do this.
Jump to:
What is Spatchcock?
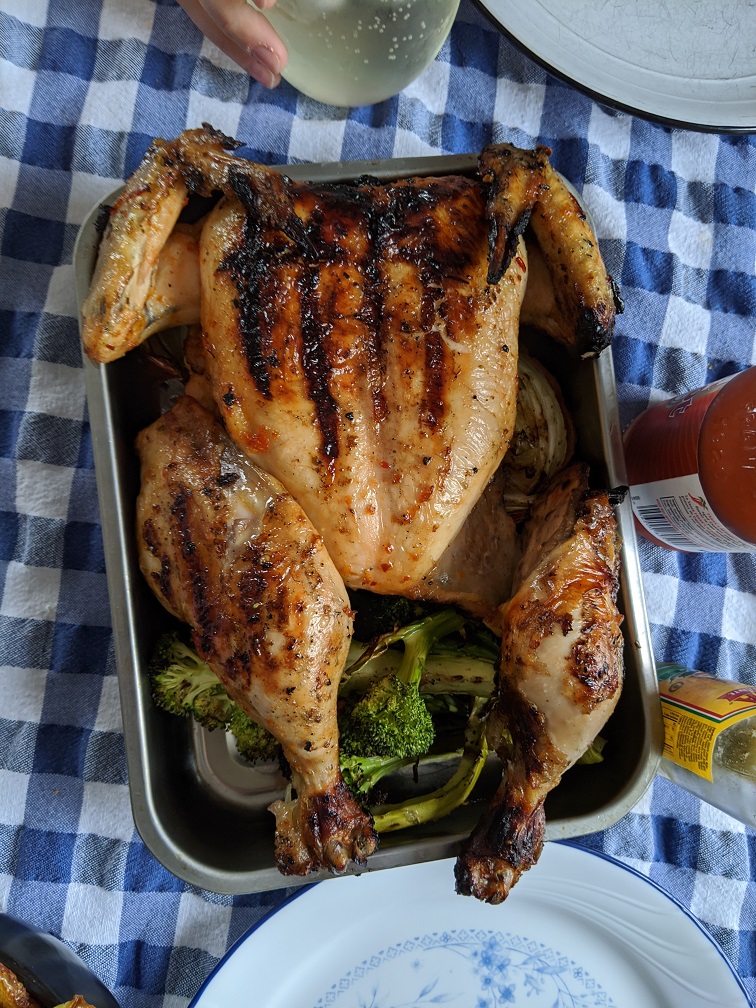
Spatchcock is when you remove the backbone from a chicken and flatten it. This is done for a few different reasons, the main one being that it helps to cook the chicken faster and more evenly. This is very helpful when barbecuing or even oven-roasting the chicken.
The other reason is when you marinate the chicken, the marinade has more surface area to penetrate, leading to more flavour in the finished product. One other reason for spatchcocking chicken is that once it is cooked, it is much easier to cut it into smaller pieces. If you are looking for more ways to prepare whole chicken, you might also enjoy my guide on how to grill chicken breast.
Okay, let's take a look at how to spatchcock a chicken.
Step 1 - Hips and Legs
The first step is to take a whole chicken and put it breast side up on your cutting board with the back opening towards you. Looking into the back of the chicken, you can see the backbone running straight down the middle with the legs on either side. The legs are connected to the backbone by a ball joint, which is about two inches in, as you can see circled in red in the fourth picture in the group below. What you can see in the third picture is that before the ball joint are the hips (for lack of a better term), which come up in a kind of wide "U" shape.
Take your knife and slide it down the outside of the hips, guided by their shape, until you reach the ball joint that connects the legs. In the second picture in the below group, you can see the angle at which your knife should go into the chicken. You also want the knife to be tilted at a 45-degree angle. The knife is going to need a little bit of force to go through the hips, but once you get to the ball joint, it should go through fairly easily. You may need to move the leg around a little to uncover the ball joint. Use the tip of your knife to cut the leg free of the ball joint, then do the same on the other side.


Step 2 - Ribs
Once the legs are free you want to keep cutting down towards the front of the chicken on either side of the backbone. At this point, you will be directly cutting through the ribs, which will take a little force but shouldn't be too tough. Stay as close to the backbone as you can to avoid cutting into the breast.
Once the backbone has been loosened a little, you may find it easier to flip the chicken over, lift it, and cut down through the ribs. Either way will work.


Step 3 - Wings and Wishbone
Once you get to the front of the chicken, your knife is going to hit the bone. This is the "V" shaped bone commonly referred to as the wishbone. Run your knife on the outside of this bone until you reach another ball joint, which connects the wings to the breast bone. Just like with the leg ball joint, use the tip of your knife to cut through it or cut it out. Then, pick the backbone up and cut away any skin or meat still holding on. At this point, you should have a fully intact chicken with the backbone removed.


Step 4 - Flatten the Chicken
The final step to spatchcock a chicken is to flip it over so the breasts are facing up and push down. There should be a few crunches as the ribs expand. With that, you should now have a flattened chicken. (My chicken, unfortunately, had a broken leg as you can see.)

Step 5 - Optional Rib Removal
The fifth and final step is completely optional. In this step, you flip the chicken back over and run your knife between the rib bones and the breast meat. Once the ribs have been loosened you cut them free.
I prefer not to do this unless I am deboning the whole chicken. This will compromise the structure of the chicken causing it to fall apart when flipped on the grill. Leaving the rib bones on the chicken will also help protect the breast meat from the direct heat of the flame.
I don't have a picture of this because I didn't do it. However, you can see the rib cage in the picture below. If you want to remove the ribs, run your knife on the outside of the rib cage, then cut the bones away.

Tips for Success
This is going to take some practice. It is going to take a few times for you to get a feel for where to place your knife for the first few cuts, and how to cut through the ball joints. Eventually though, after doing this five or six times, this should take you only a few minutes. It takes me longer to scrub my cutting board after doing this than it does to actually do it.
Here are a few things to keep in mind:
- Use a sharp, sturdy knife. A chef's knife works well; you don't need poultry shears.
- Let the joints guide you. Don't force the knife through bone when you can cut through a joint instead.
- Save the backbone. It makes excellent chicken stock.
- Works on any poultry. You can do the same thing to turkey, game hen, or any other bird.
I really cannot stress how valuable a technique this is to master. This single technique will change how you grill and even roast chicken forever, I promise. If you're looking for great ways to use your spatchcocked bird, try my chicken wings technique or pair it with a good barbecue sauce.
Frequently Asked Questions
They are essentially the same technique. Both involve removing the backbone and flattening the bird. "Spatchcock" is the more traditional term, while "butterfly" is used more casually. The result is identical: a flattened chicken that cooks faster and more evenly.
A spatchcocked chicken typically cooks in about 35-45 minutes at 425°F (220°C) in the oven, or about 30-40 minutes on a medium-heat barbecue with the lid closed. This is roughly 30% faster than roasting a whole chicken. The key is to use a meat thermometer and ensure the thickest part of the thigh reaches 165°F (74°C).
No special tools are required. A sharp, sturdy chef's knife is all you need. Some people prefer to use poultry shears or kitchen scissors to cut through the ribs, which can make the process easier, but they are not necessary. The most important thing is that your knife is sharp.
Final Thoughts
Once you've spatchcocked a chicken a few times, you'll wonder why you ever roasted one whole. It's faster, the skin gets crispier, and the meat cooks so much more evenly -- I honestly can't recommend this technique enough.


Kim Armstrong says
I have tried Spatchcock Chicken. It was the most delicious chicken I have ever eaten! But, the down side was the utter destruction of my oven. The splattering made such a mess it took me days to completely clean it. I tried it once more with a pan of water below and a foil tent above and it destroyed the crispy skin that we loved the first time. Is there a solution to avoid the mess? Thanks so much. I just found your blog tonight while looking for some basic stir-fry tips and I LOVE it!
Chef Ben Kelly says
Hello Kim. First of all, thank you very much! I'm glad you are enjoying the site. Can you please explain a little about how the chicken was prepared other than being spatchcocked. Was it seared in a pan first? Was there a sauce or marinade on it? What type of pan was the chicken on in your oven?