Basic Cooking Skills
-
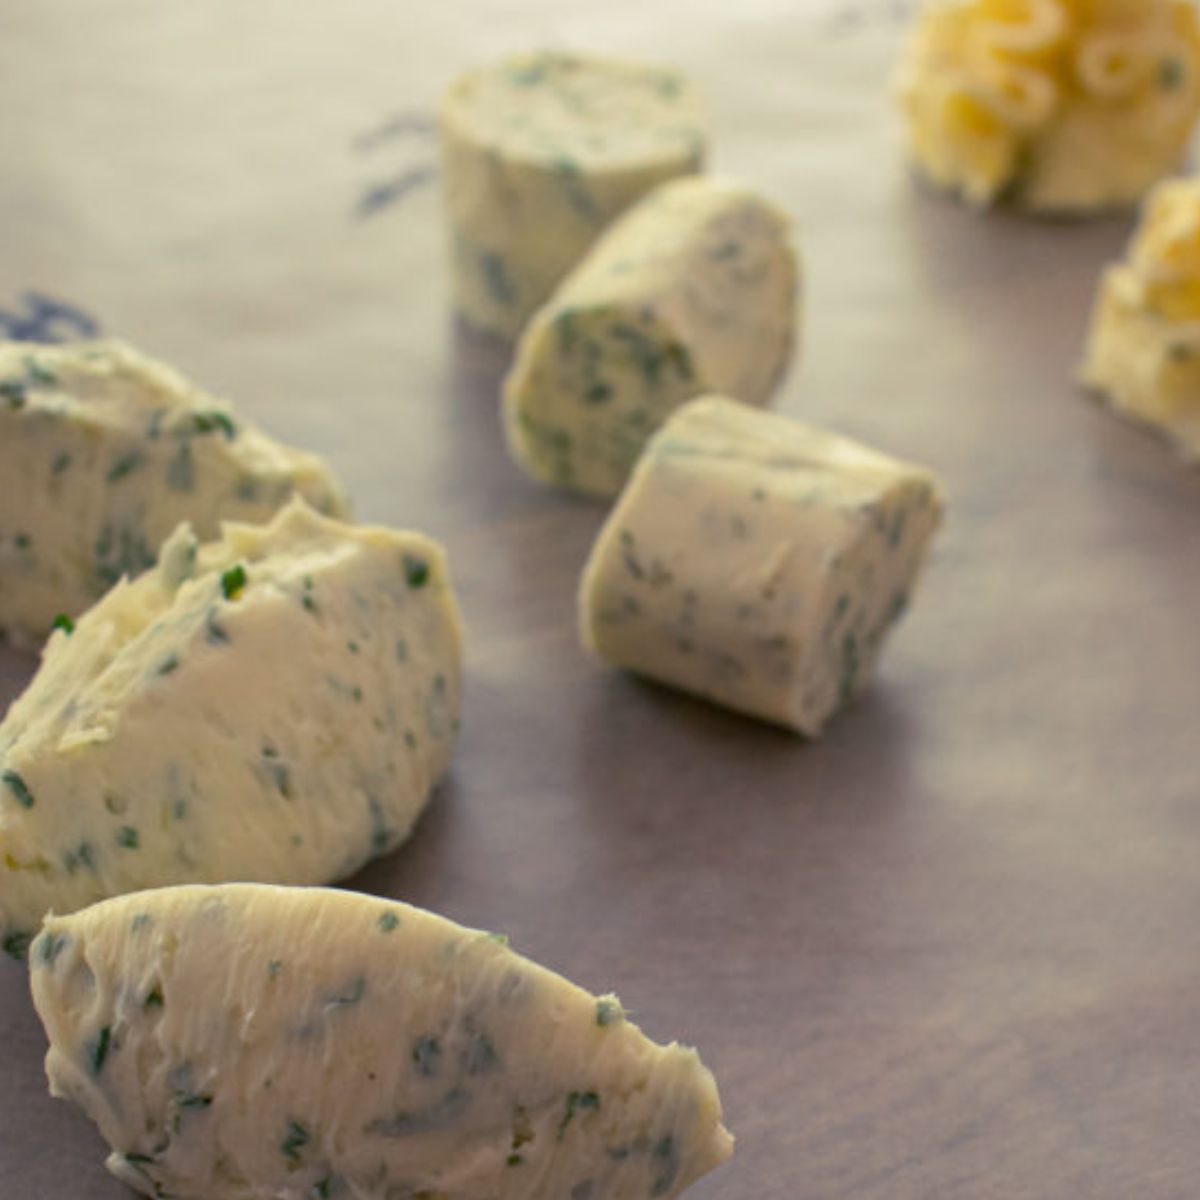
The Magic Of Compound Butter - How To Make It and Use It
-
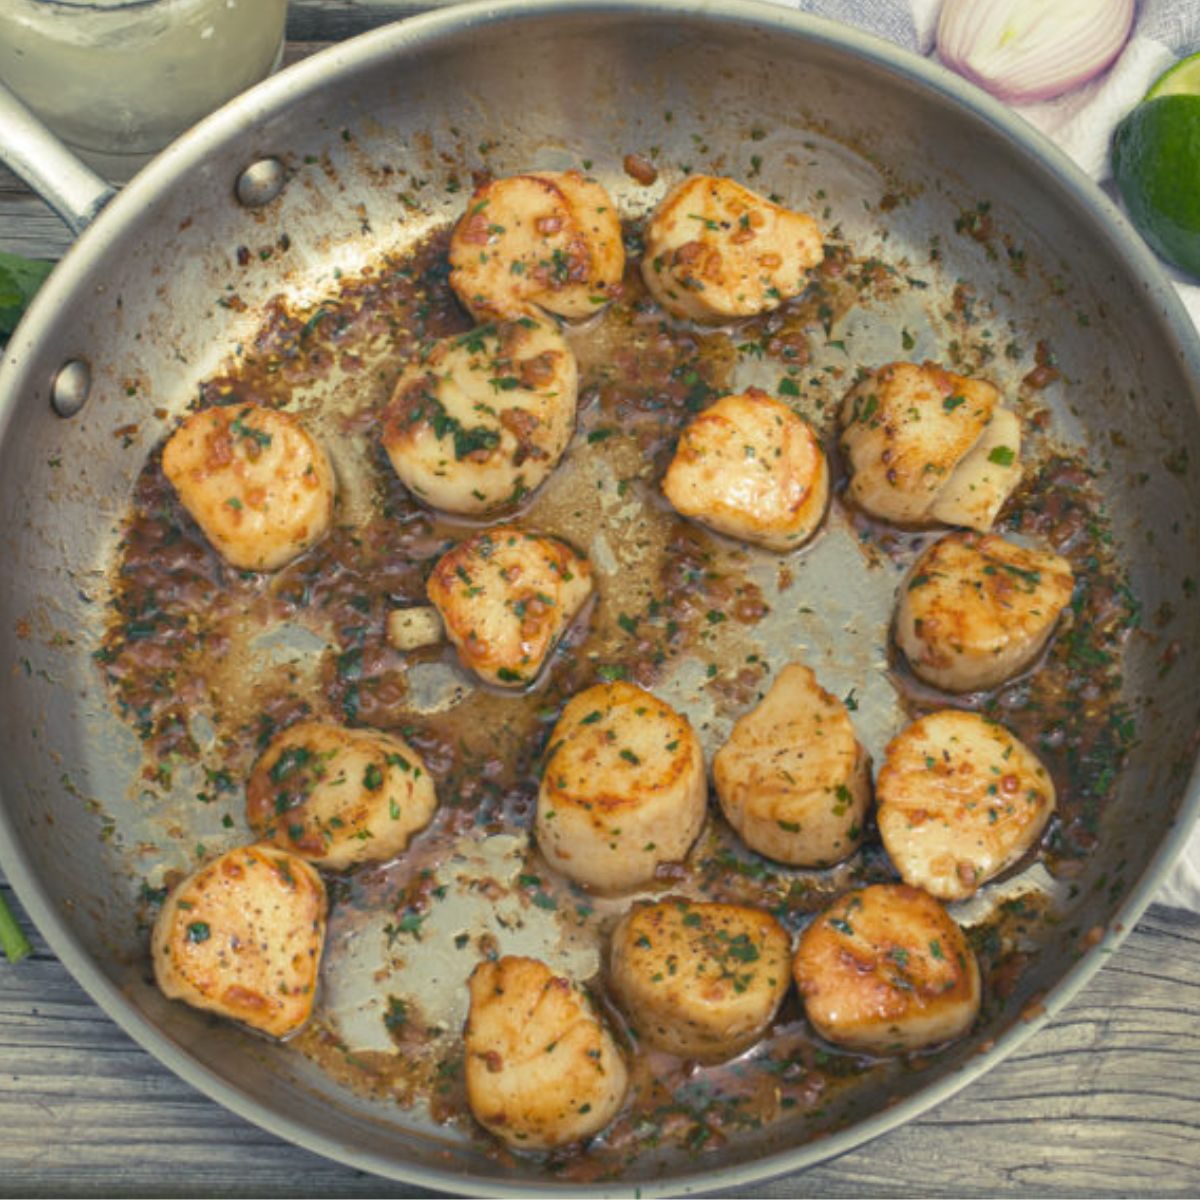
Tequila Lime Scallops and How to Cook a Scallop Like a Pro
-
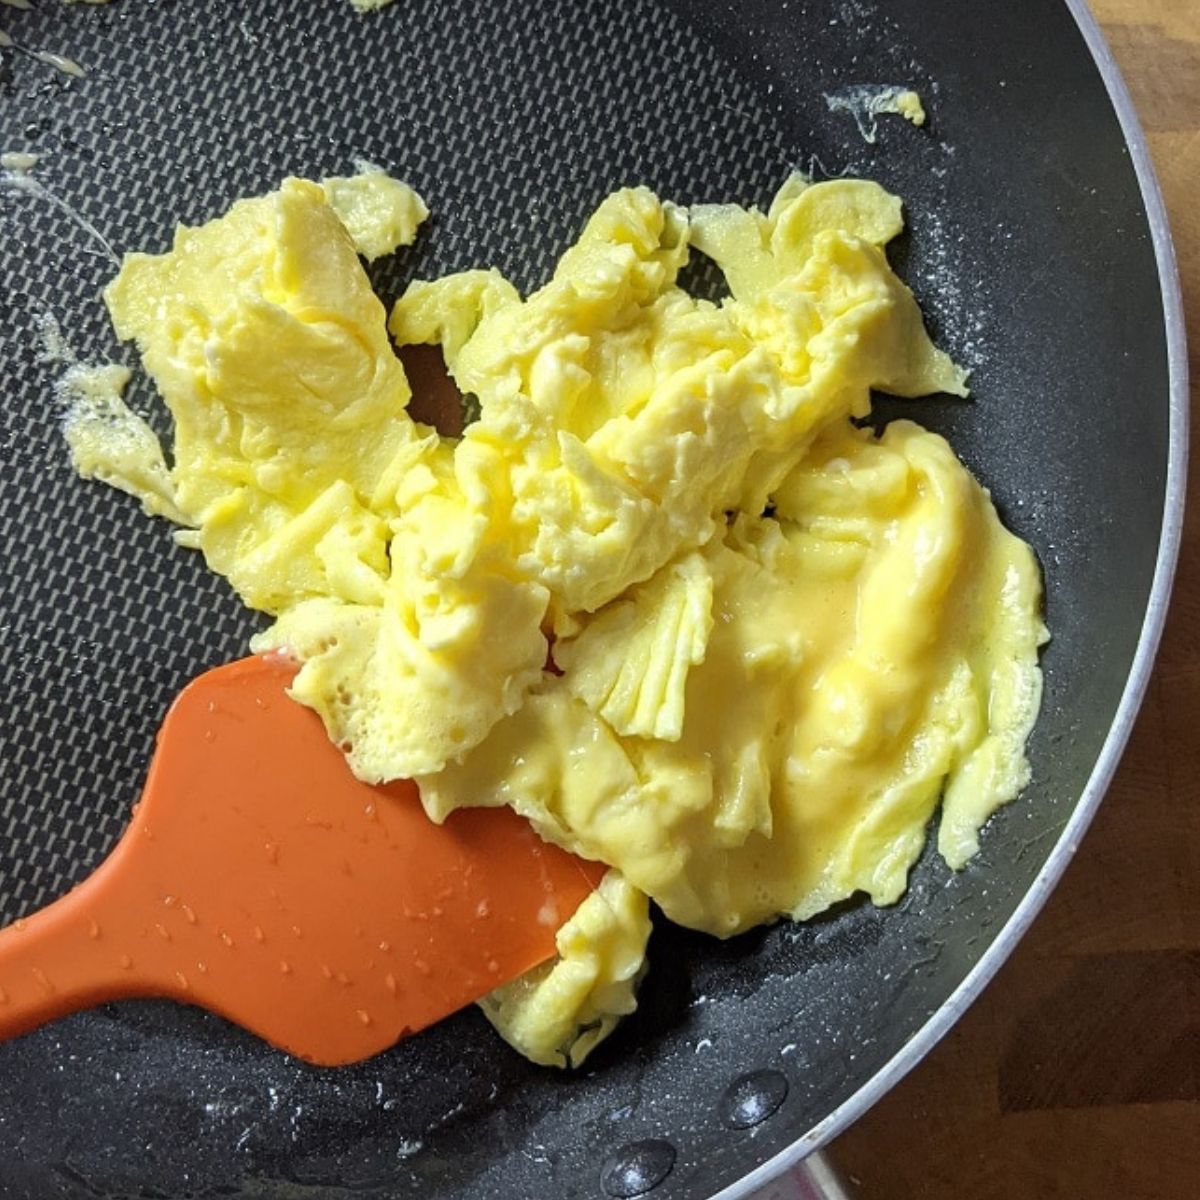
7 Simple Tips For Perfect Scrambled Eggs
-
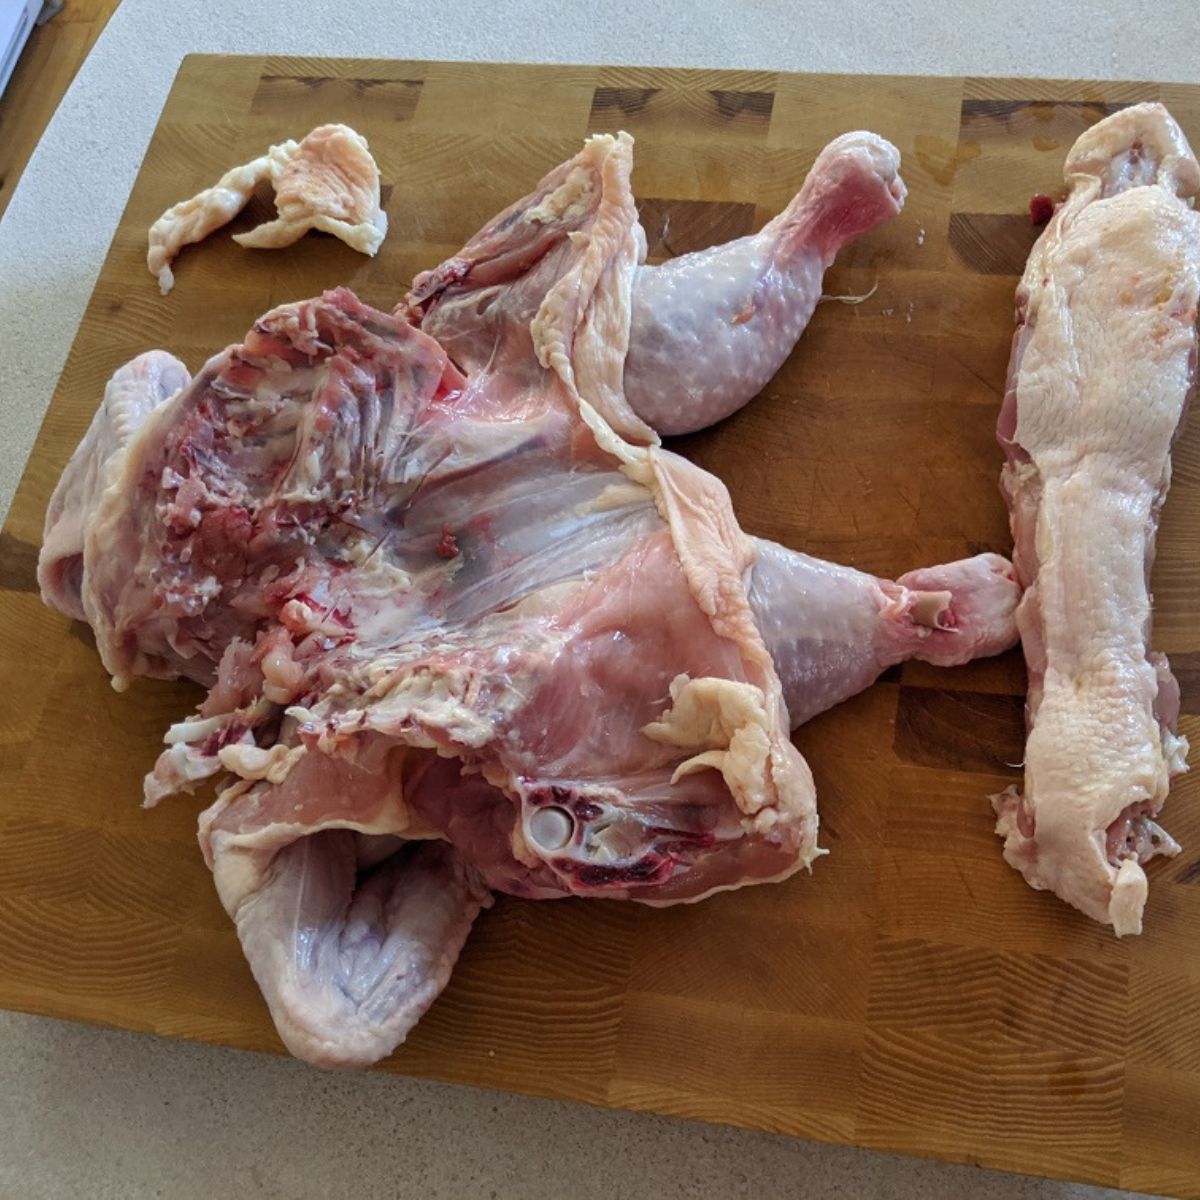
How to Spatchcock (Flatten) a Chicken and why you should.
-
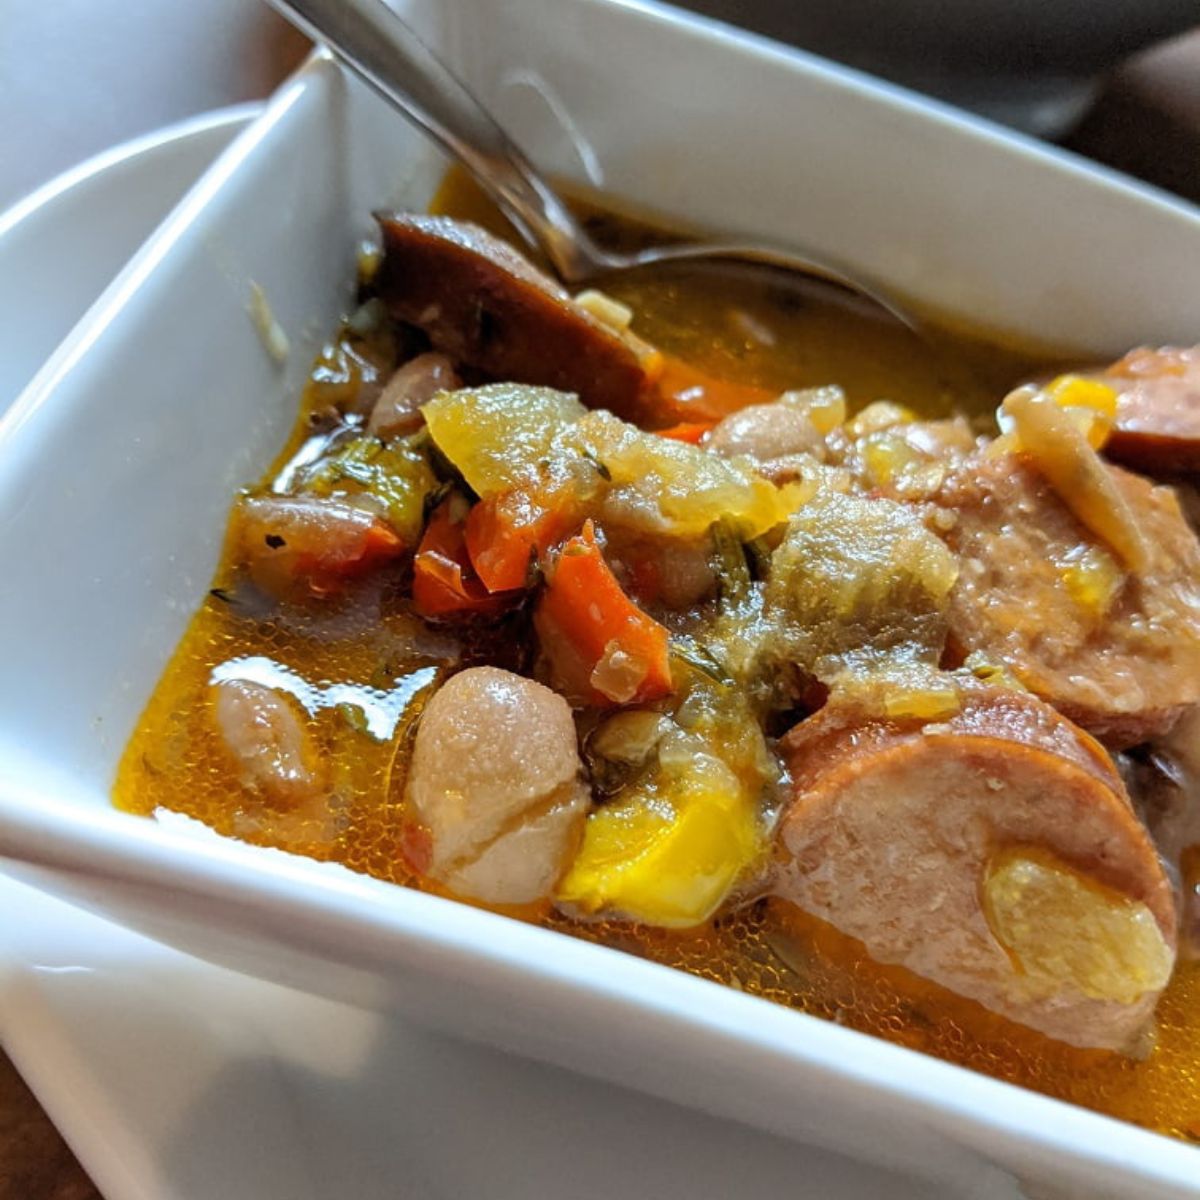
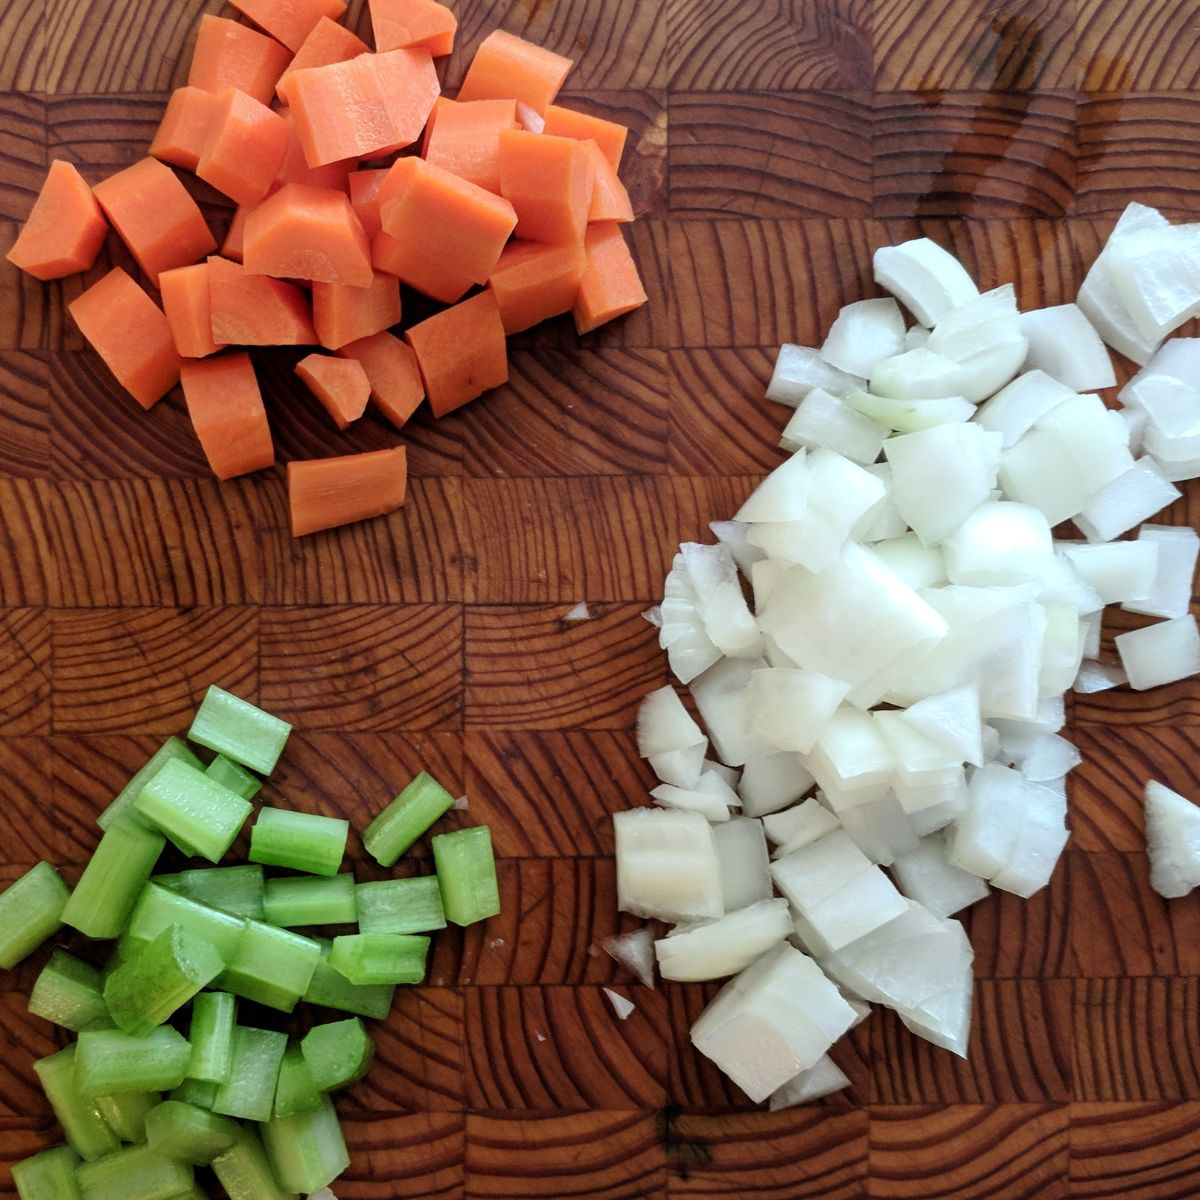
Understanding Soups - Kitchen Clueless Basic Cooking Course
-
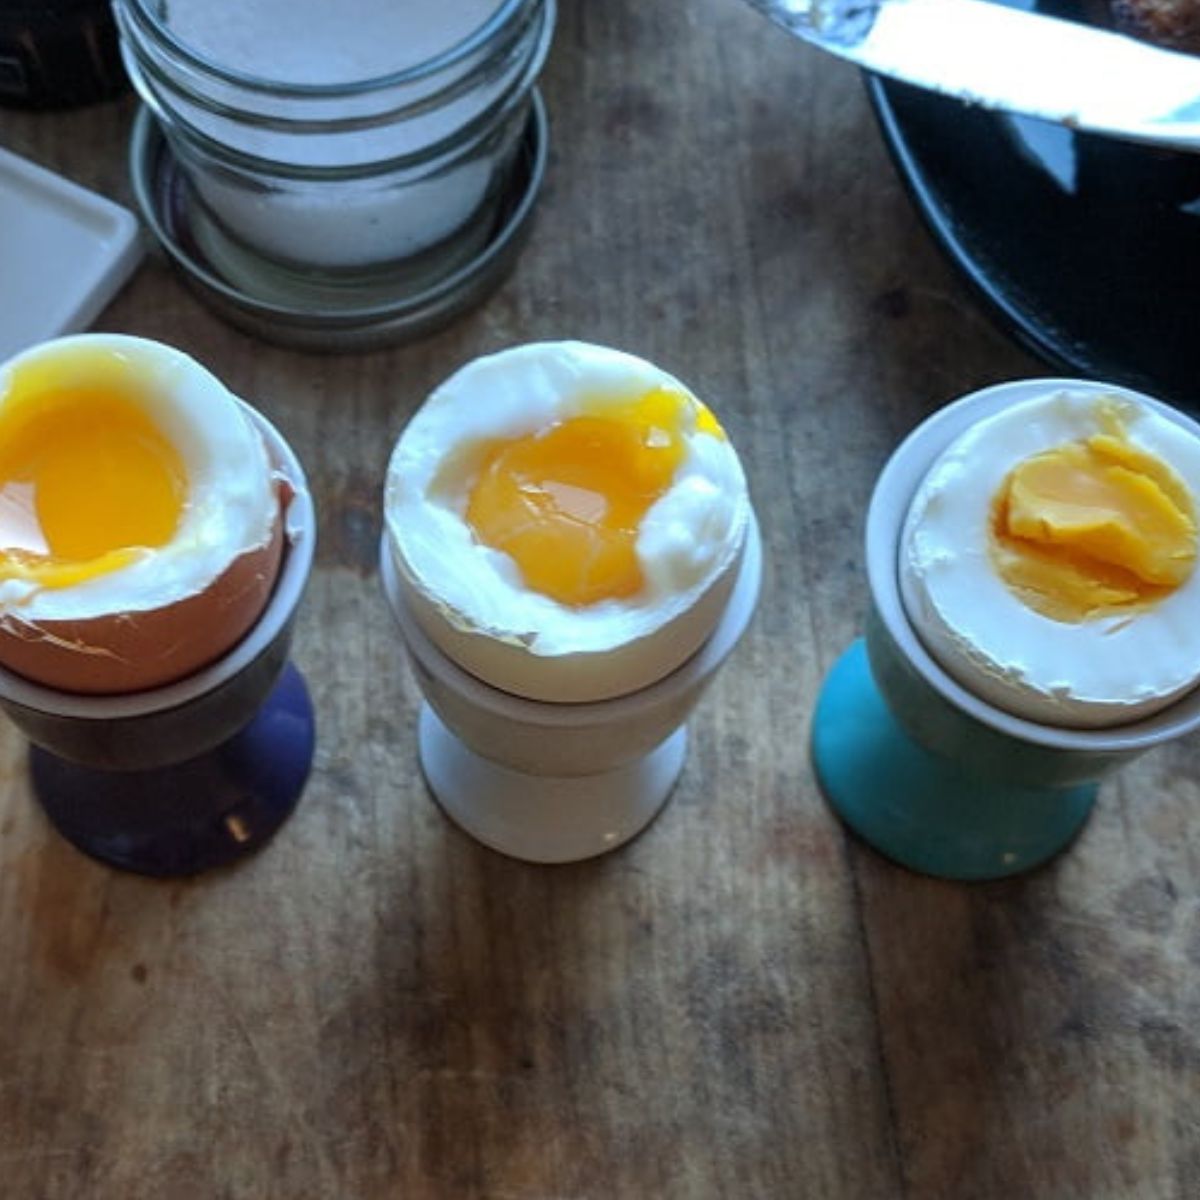
The Perfect Boiled Egg Guide: Techniques, Tips and Tricks
-
Basic Cooking Course Week 1: Understanding Cooking Terms
-
5 Cooking Principles for Success
-
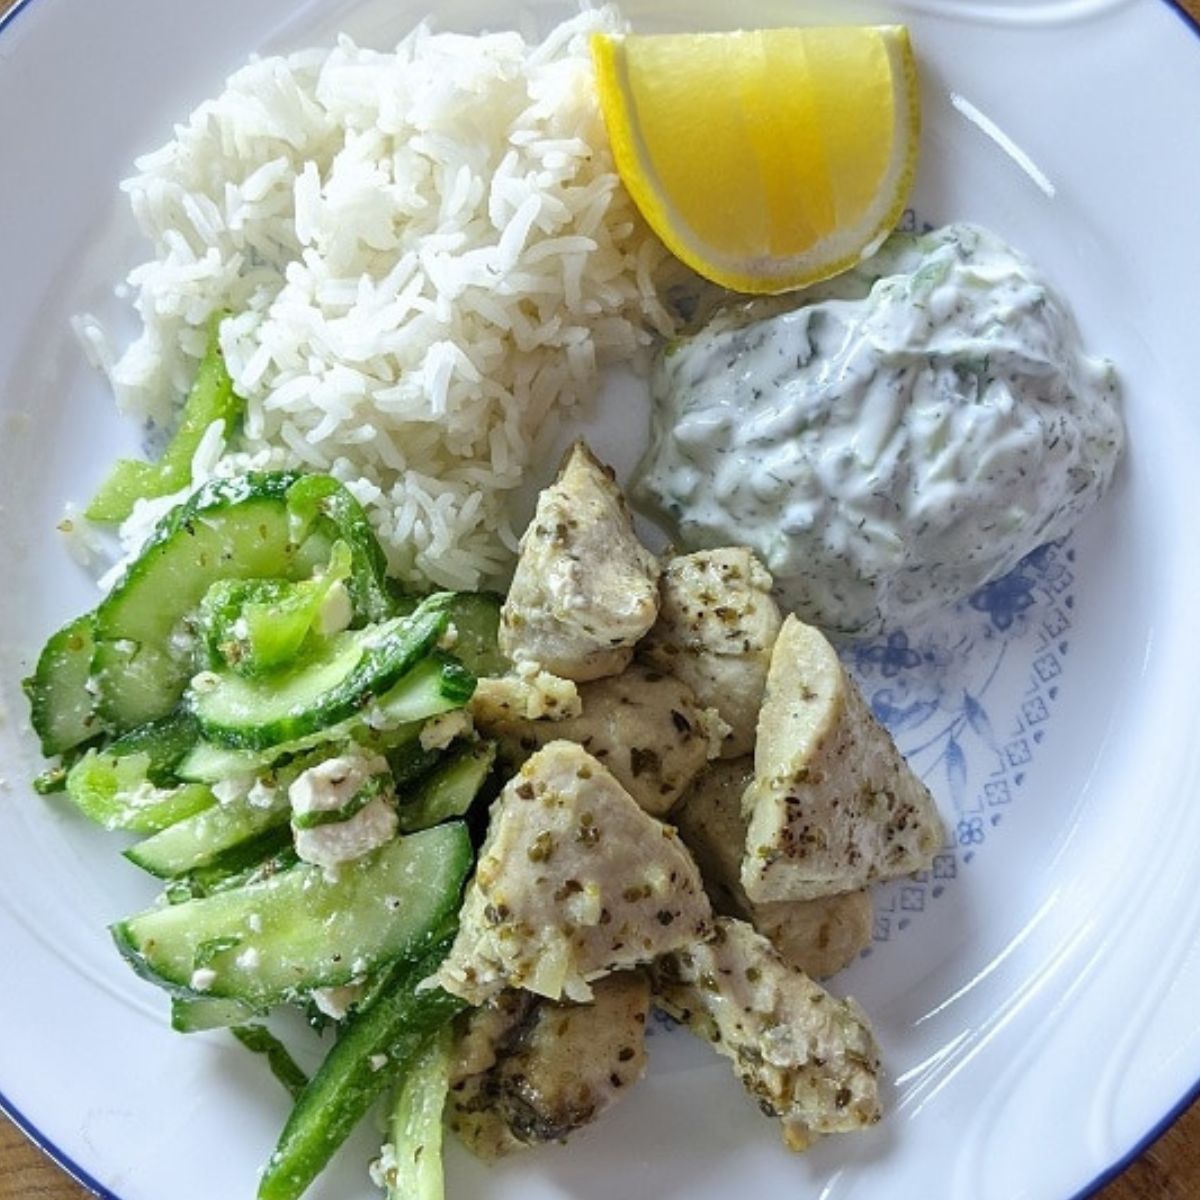
Master Tzatziki In 5 Simple Steps
-
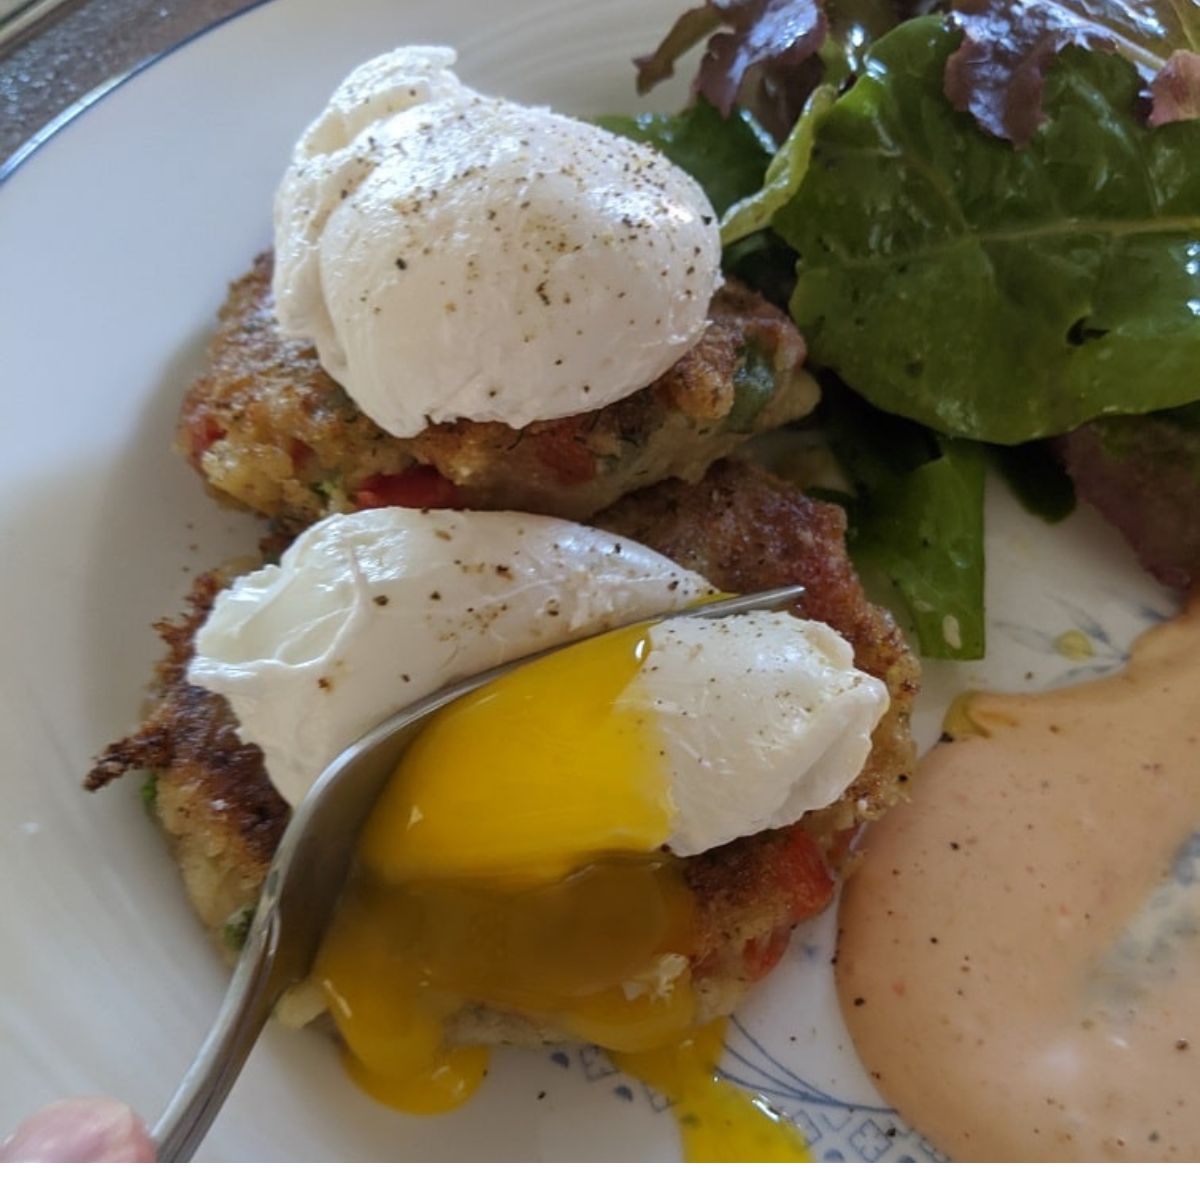
The Secret to perfectly poached eggs
-
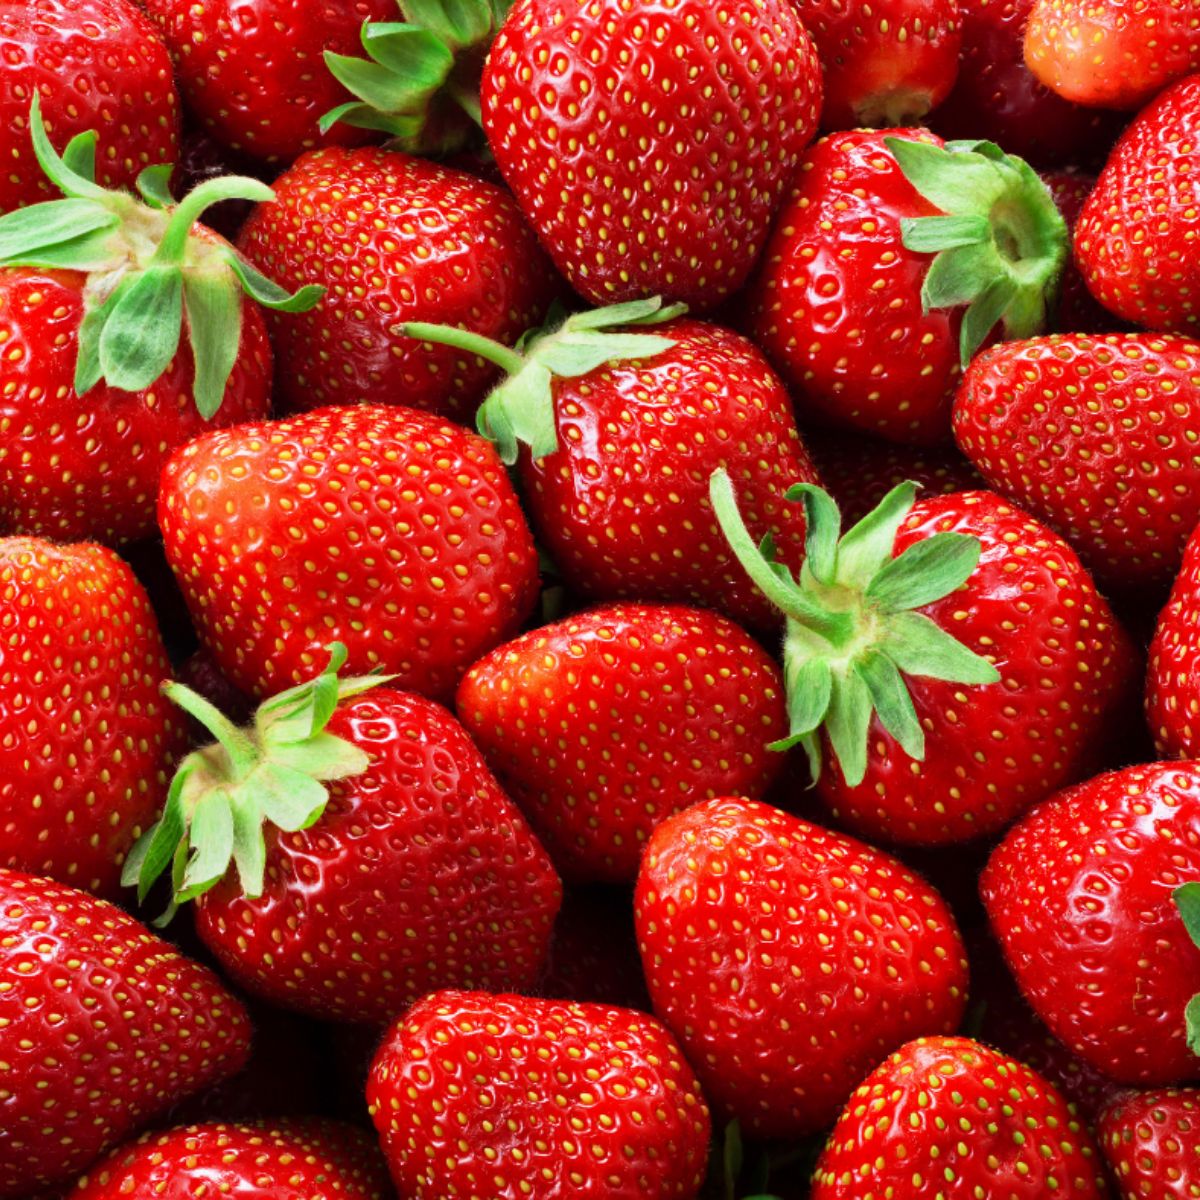
Everything I know about Strawberry Shortcake
-
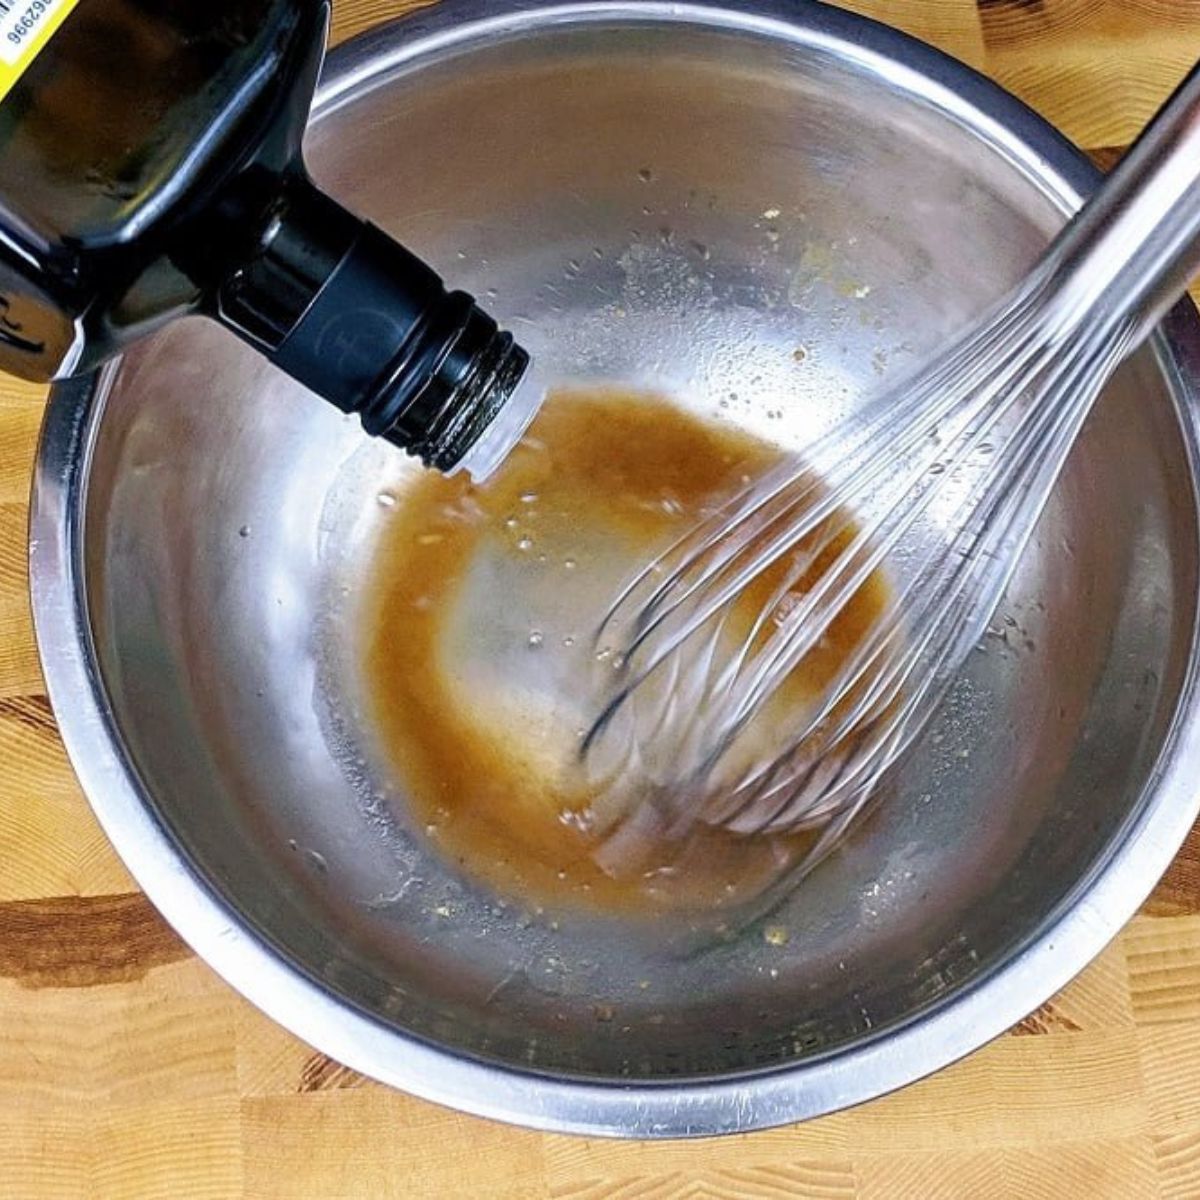
Everything I Know About Vinaigrette
-
Restaurant Secrets For Making Better Soups
-
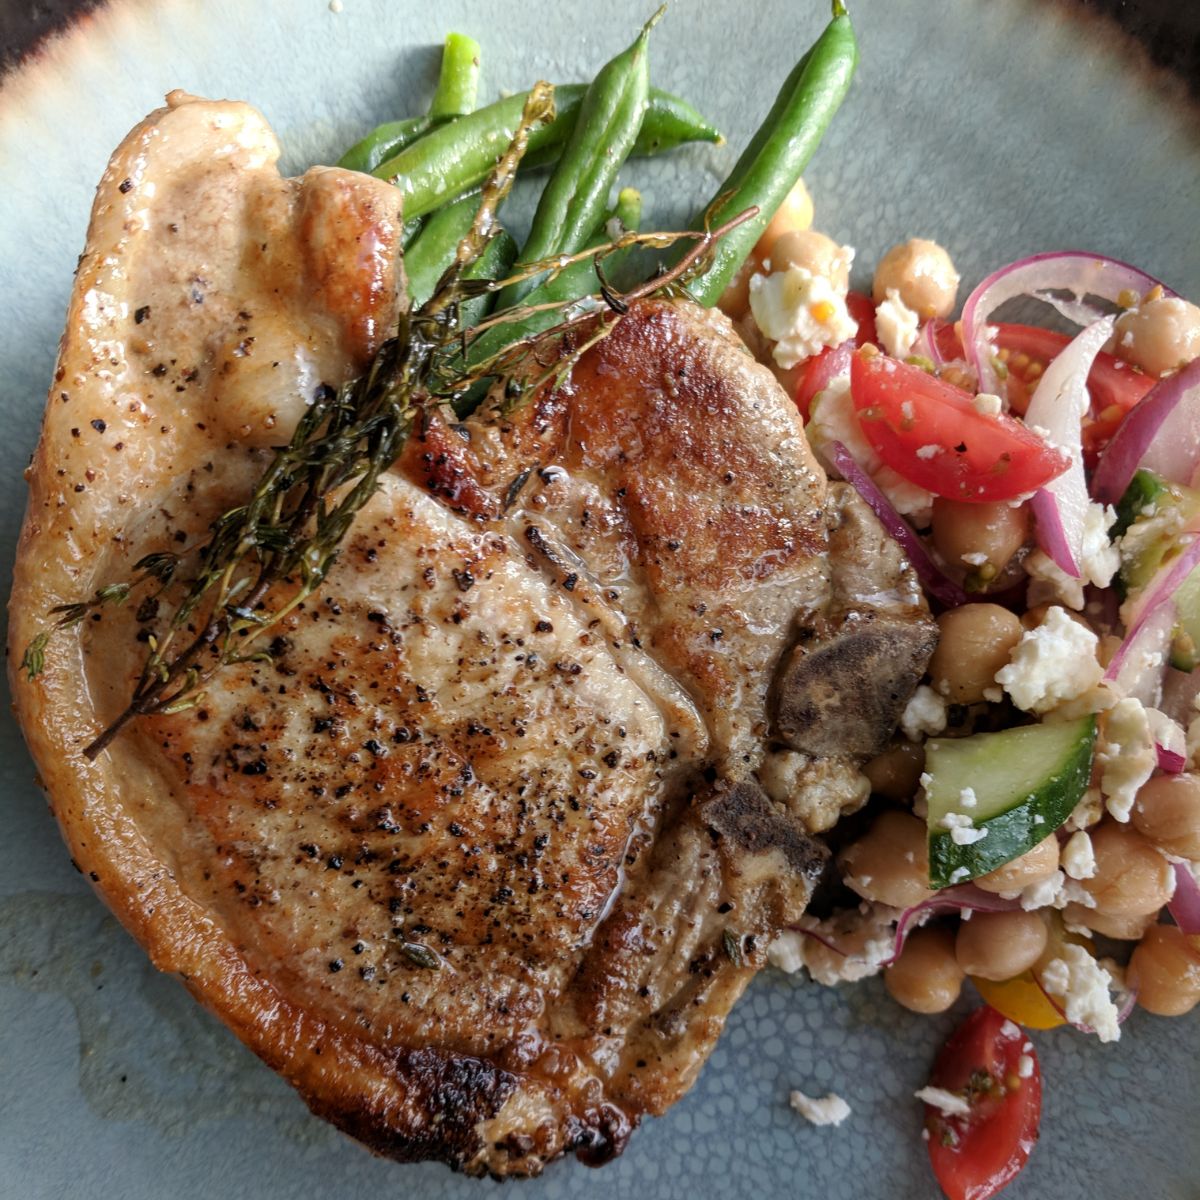
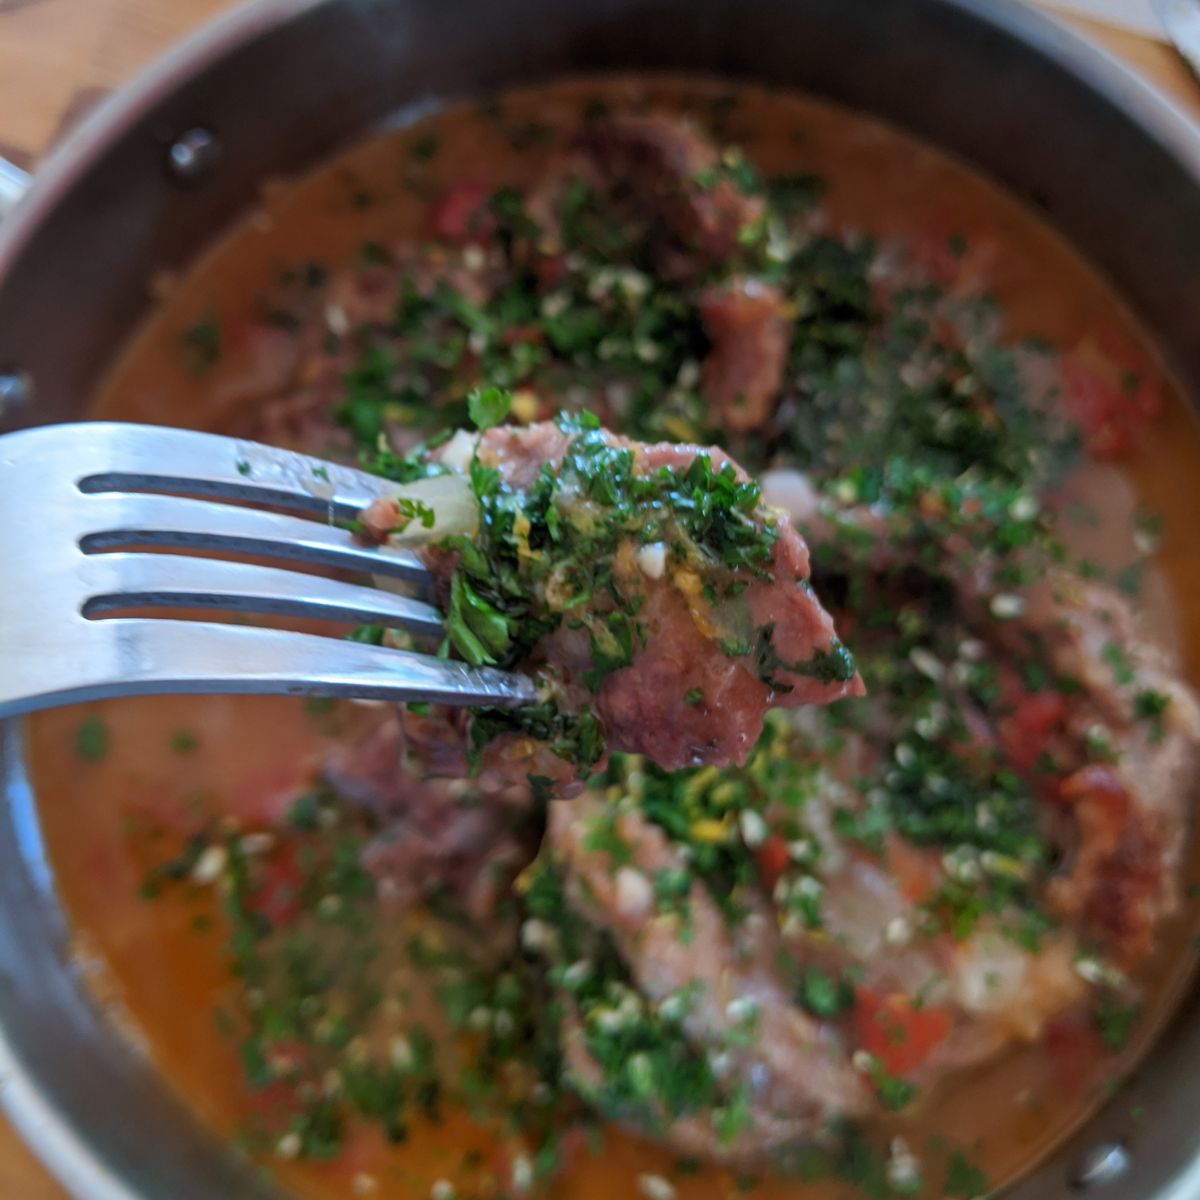
Everything I Know About Pork Chops
-
Everything I Know About Braising
-
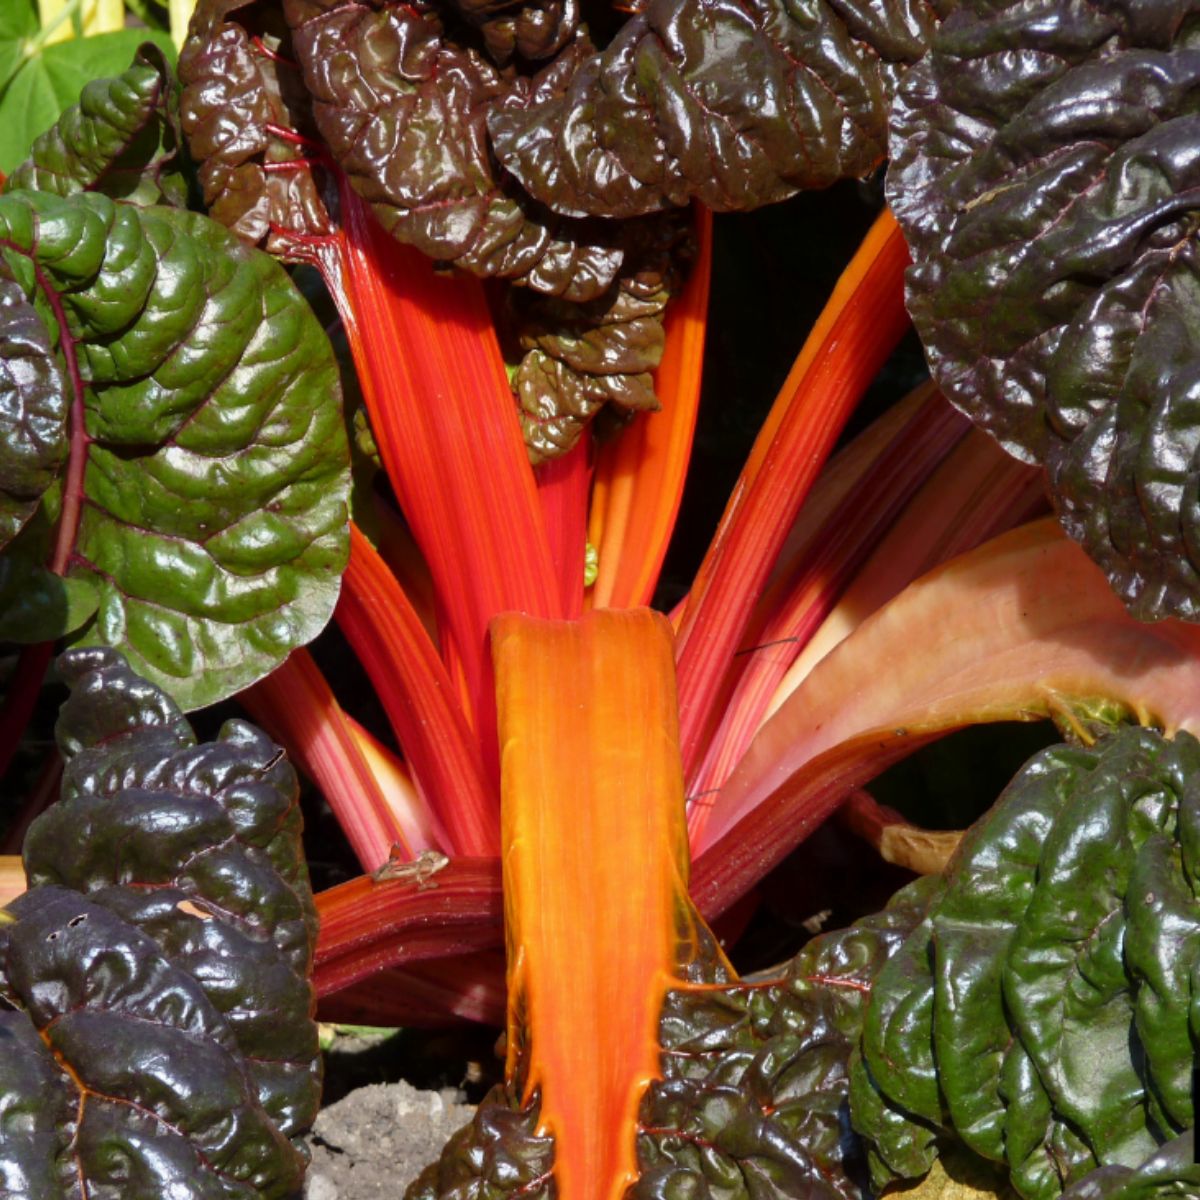
Getting To Know Swiss Chard
-
How To Make Espagnole Sauce
-
How To Make Hollandaise Sauce
-
How To Make Velouté Sauce Derivative
-
How To Make Bechamel Sauce and Derivatives
-
The Basics of Sauce Making
-
Good Food Versus Great Food
-
Soup Secrets - Everything you want to know
-
The Foundation Of Food - How To Cook International Cuisines
-
The Principles Of Emulsification
-
Learn to cook without measuring ingredients
-
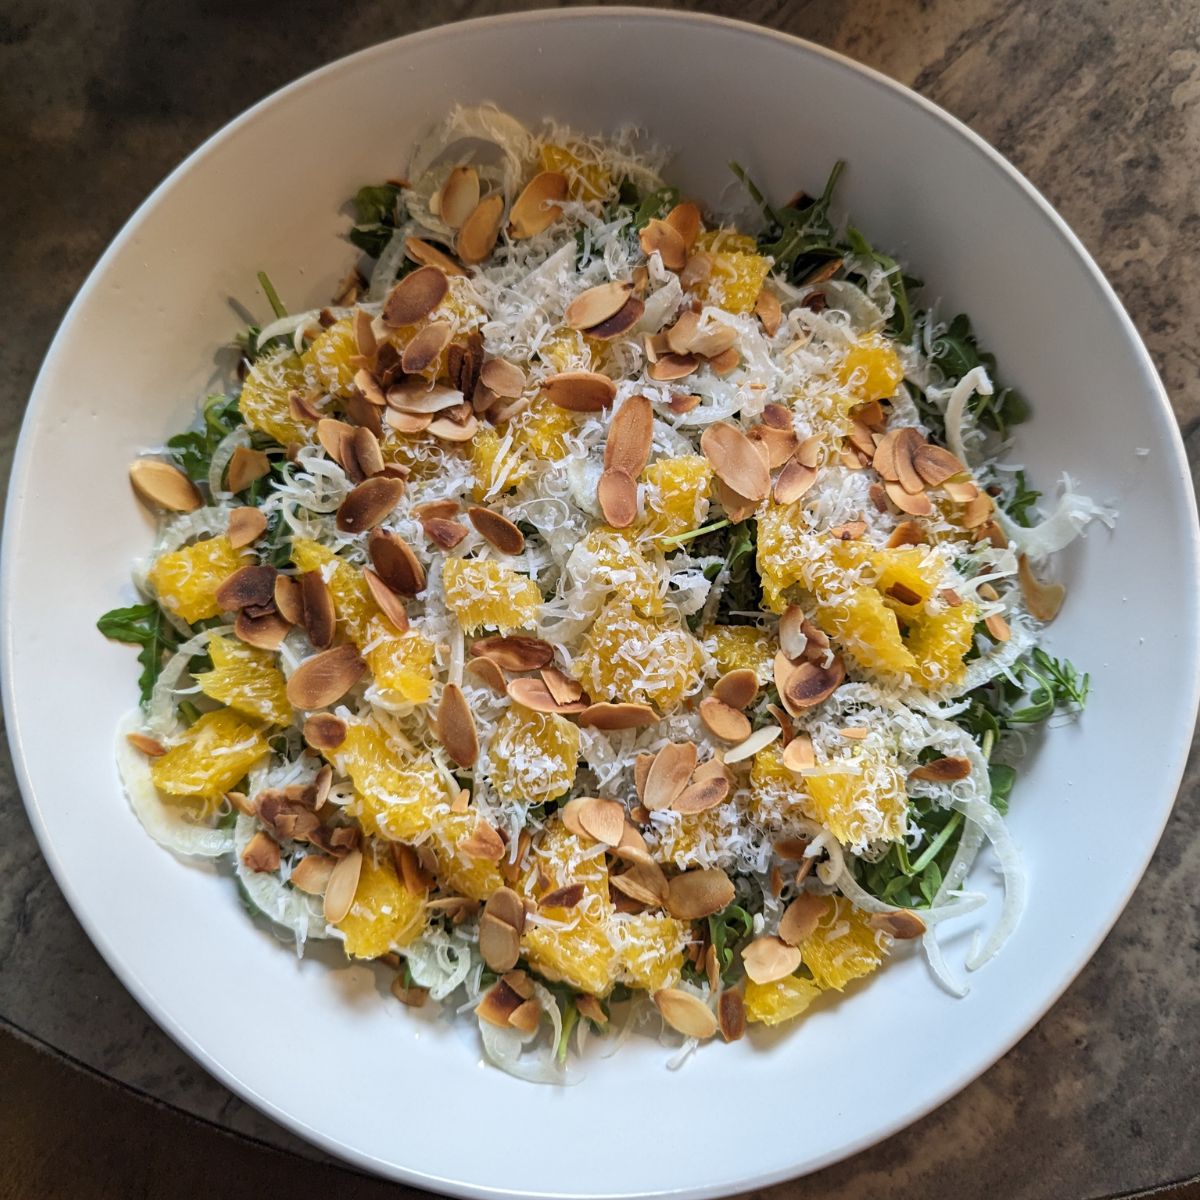
Simple Food - Letting Ingredients Speak For Themselves
-
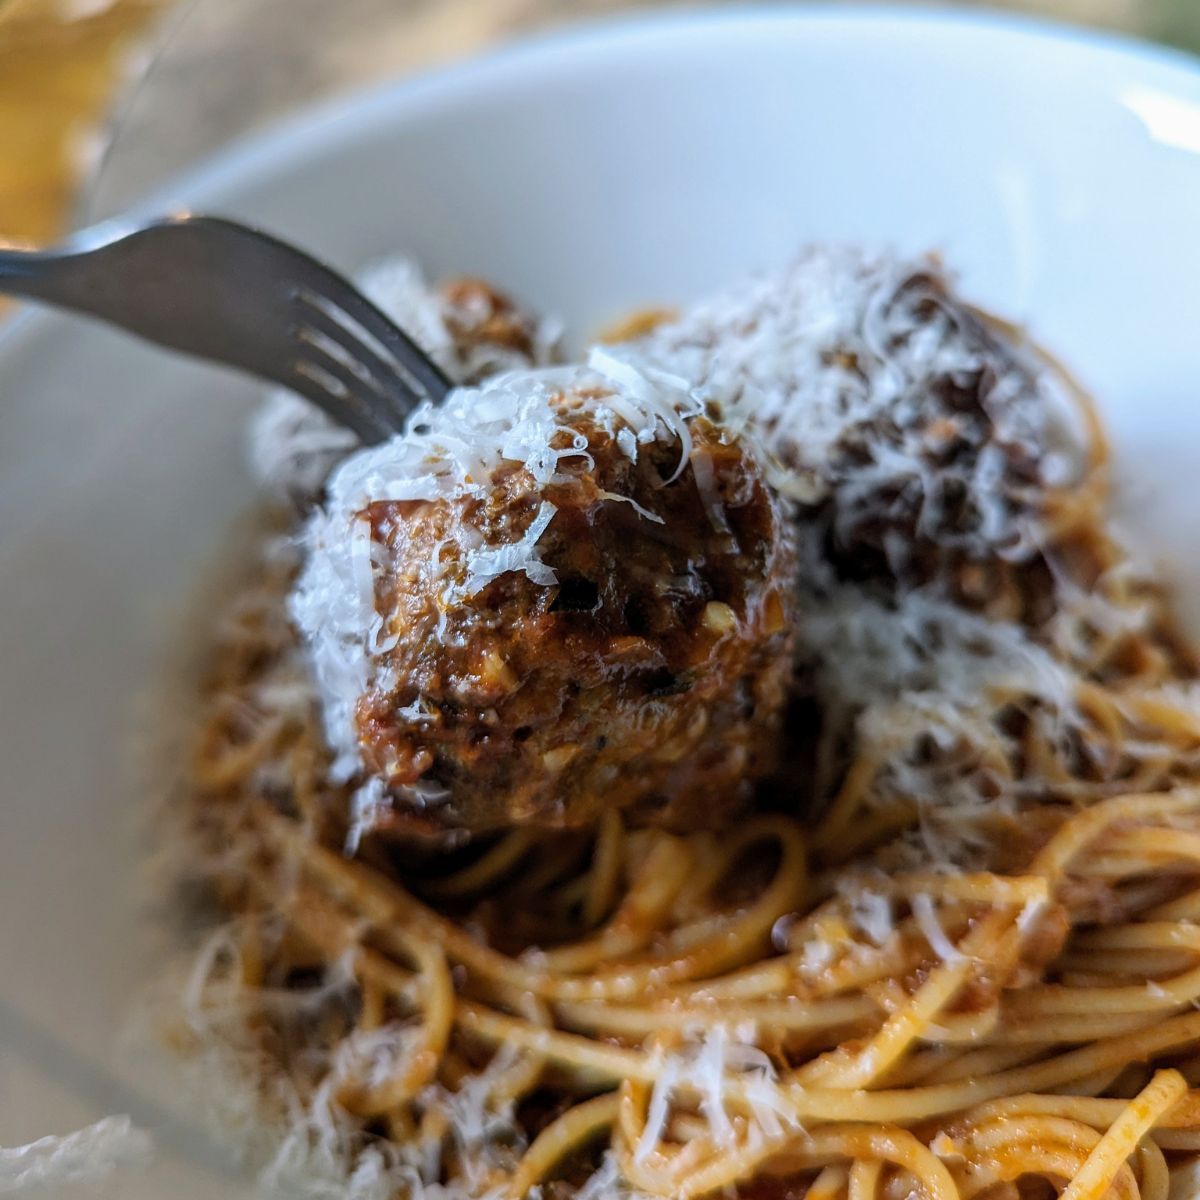
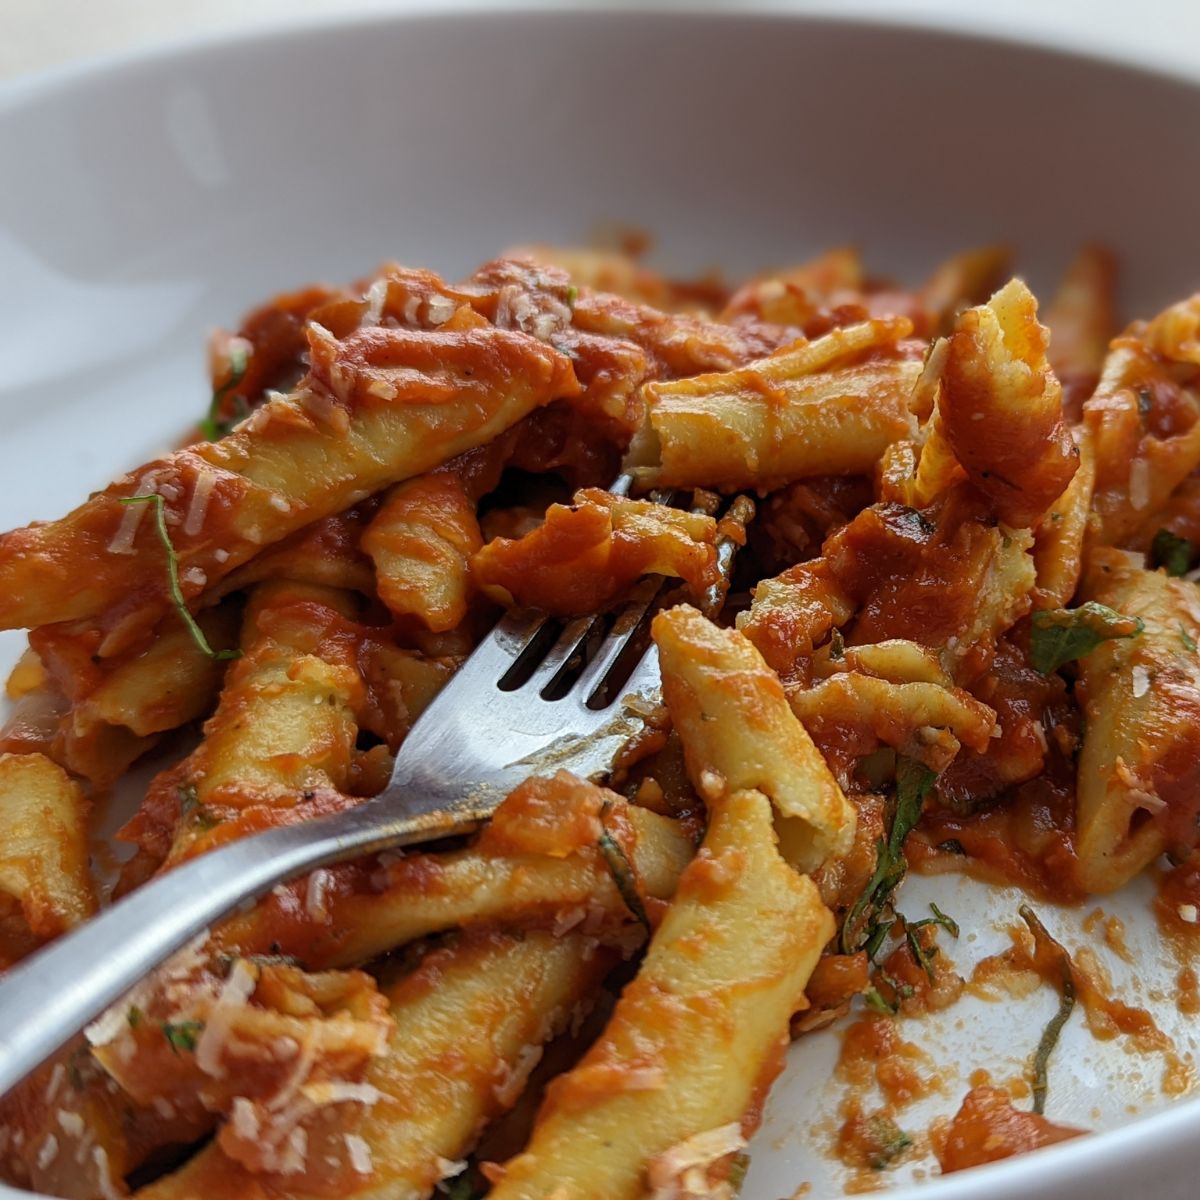
The Art Of Tomato Sauce And The Philosophy Of Cooking
-
Setting Goals and Cooking Better
-
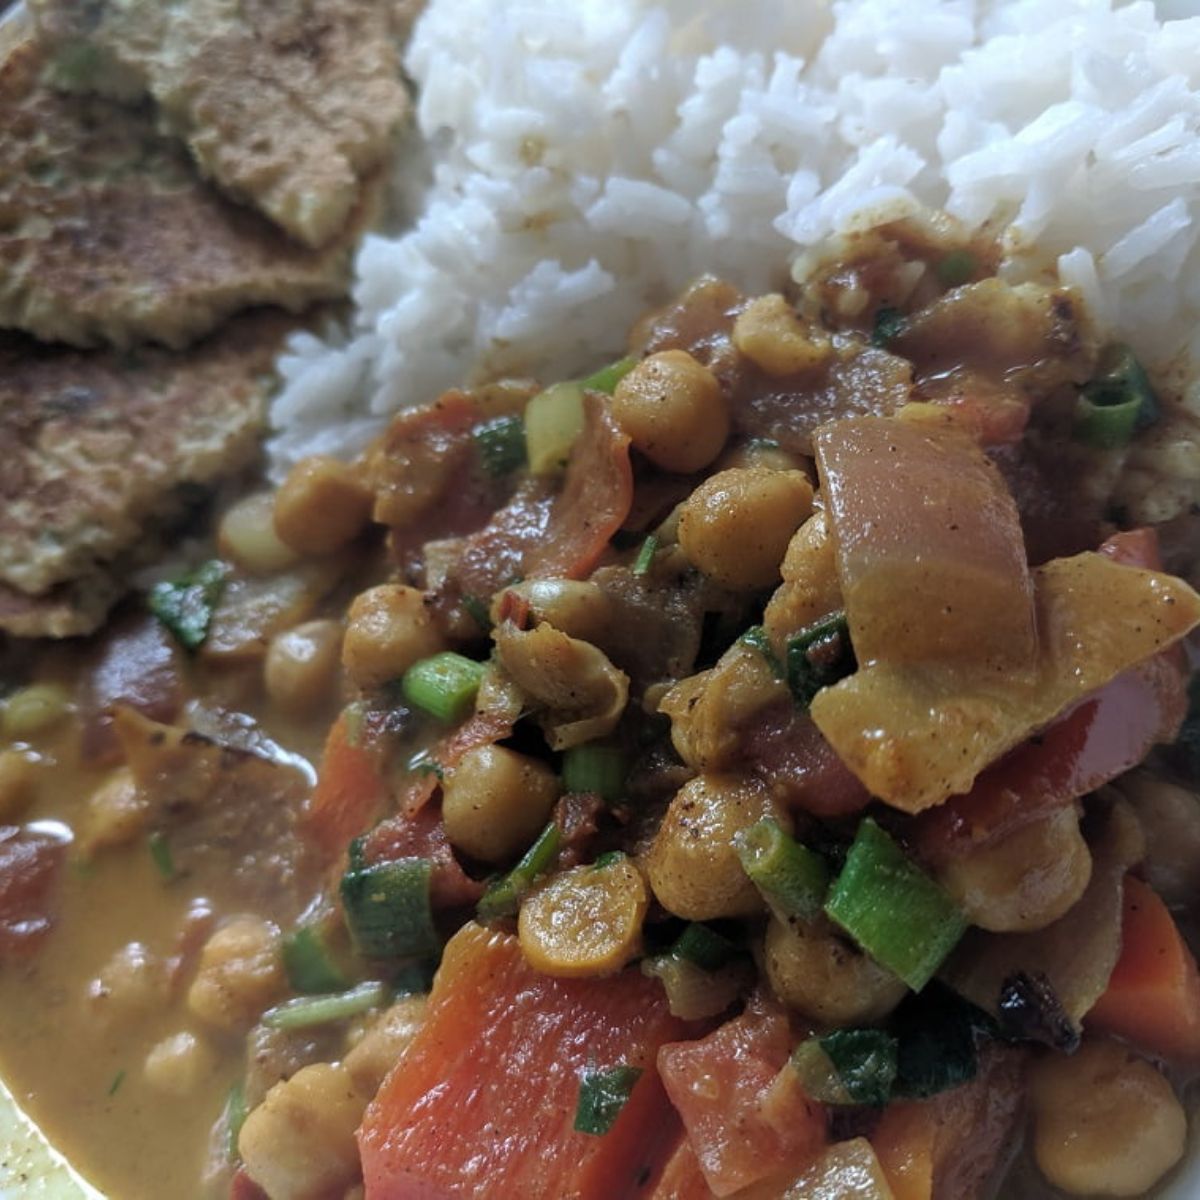
The Basics Of Curry