Polenta is an Italian dish that is essentially porridge made with ground dried corn. Today, we will turn that dried corn into Cheesy Breakfast Polenta. You may be thinking, “Hey, isn’t that grits?”. The answer is nope. Grits are made with hominy which is dried corn that has been treated in an alkaline solution to make it more easily digestible. Hominy is what’s used to make masa for making tortillas. Cornmeal is simply dried and ground corn that is untreated. Make sense? Italians have been making this kind of dish since ancient Rome and probably beyond, so it makes sense that when corn arrived from the new world, they used it to make a dish they knew well. I’m very excited to share this recipe with you, so let’s get to it. You can find the recipe directly below, but keep reading for a more in-depth look.
Getting Started
Cornmeal
As I said in the intro, this recipe uses cornmeal. You can find cornmeal in any grocery store, and any type will do. But, if you can find some fine ground cornmeal it will cook quicker and have a better texture than the more coarsely ground stuff. As you can see in the picture below, I used Bob’s Red Mill medium grind cornmeal, and it worked perfectly. If you’d like, and if you live in an area of the world where you can get it, you can use grits in place of the cornmeal. They aren’t available where I live, but they would work well. Check this Wikipedia article to learn more about what grits are and how they’re made.
Round-Up The Ingredients
For this recipe, it’s essential that you have all your ingredients ready to go. You don’t want to be running around and grating cheese while cooking your polenta. The ingredients are cornmeal, milk (2% or Whole Milk), old cheddar cheese, cajun seasoning, butter, salt, pepper, eggs, and vinegar.
How To Make Breakfast Polenta
Start with the eggs
In my experience, the best way to poach eggs is to first let the eggs sit in a little vinegar for a few minutes. The vinegar starts to set the egg white, helping the eggs stay together when added to the simmering water. You can break the eggs into one bowl with the vinegar, but I find keeping them separate works a little better. Add one teaspoon of white vinegar to each of two ramekins or small bowls. Crack the eggs into the ramekins and leave them alone for a few minutes. Once the eggs are cracked and in the vinegar, grab a medium pot, fill it three-quarters full of hot water and put it on the stove on high heat to bring to a boil.
How To Make Polenta
To make the polenta, put the milk in a medium pot, and turn it on medium-high heat. Once the milk is just below a boil, whisk in the cornmeal and cajun seasoning. You must whisk as you add the cornmeal; otherwise, you may have uncooked lumps. After adding the cornmeal and seasoning, turn the heat down to medium-low and cook while stirring for about ten minutes or until the polenta resembles the texture of scrambled eggs. Remove the polenta from the heat, season with salt and whisk in the butter and cheese. Taste and adjust the seasoning as needed.
How To Poach Eggs
The hardest part of making this whole dish is getting the timing right so that the eggs and polenta are ready at the same time or there about. So, once you add cornmeal to the milk, set a ten-minute timer. When the timer has four minutes left, start cooking the eggs. The poaching water should be at a boil. Don’t worry about salting the water. The water is boiling, turn it down to medium and stir the water to create a cyclone in the center of the pot. One at a time, put your ramekins are close to the surface of the water as you can and pour the eggs into the centre of the cyclone. Now, leave the eggs alone until the timer goes off. If the water starts to boil, turn the heat down a little more. Once the timer goes off, gently scoop the eggs out of the water one at a time with a slotted spoon. Place the eggs in a bowl or on a plate lined with a paper towel or a clean dishtowel. The eggs can sit like this for a few minutes while you finish the polenta.
Cheesy Breakfast Polenta Timing Break Down
I realize that the timing of everything for this Cheesy Breakfast Polenta may be a little confusing. So, I will break it down in point form below to make it a little clearer. Here we go.
Gather and prepare ingredients.
Break eggs into ramekins with vinegar.
Put poaching pot on the stove on high heat.
Put milk in a pot on the stove on medium-high heat.
Poaching pot boiling. Milk is just under a boil.
Add polenta and cajun seasoning to milk while whisking. Turn the heat down to medium-low and set a ten-minute timer.
The timer reaches four minutes left. Stir the poaching water, gently drop eggs into the cyclone. Turn poaching pot down to medium-low.
The ten-minute timer goes off. Remove the polenta pot from the burner and set it aside.
Remove the eggs from the poaching water and place them on a towel.
Whisk the butter, cheese, and salt into the polenta. Taste and adjust seasoning.
Plate and serve.
I hope that clarifies and simplifies the process.
Finishing the Cheesy Breakfast Polenta
To serve the Cheesy Breakfast Polenta, divide the polenta between two bowls and top each with a poached egg. Season the eggs with salt and pepper. Top with a bit of hot sauce (optional), and make it beautiful with two chives placed crosswise over the egg. Finally, dig in and enjoy. When I conceptualized this recipe, I intended to add sausage or bacon to it. At the last minute, I changed my mind and made it as you see it here. I’m glad I did because it really doesn’t need anything else. This Cheesy Breakfast Polenta is perfect the way it is.
The Wrap-Up
This Cheesy Breakfast Polenta is my new favourite breakfast. It’s delicious, easy to make, and filling. Even though you probably don’t automatically think of polenta when you think of breakfast, maybe it’s time to start. You don’t know what you’re missing.
Thanks for reading! Remember that sharing is caring, so share this with your friends and leave a comment below to tell me what you think. Have a great day! I’ll see you back here next Thursday. Oh, and if you want to learn more about polenta, check out this post I did called Everything You Ever Wanted To Know About Polenta.
Have you signed up for the Chef’s Notes Monthly Newsletter? No? Why Not? Don’t miss exclusive recipes, cooking tips, and behind-the-scenes pictures and stories. Sign up below.
Cheesy Breakfast Polenta with Soft Poached Egg
Porridge as we know it is typically made with oatmeal, but other parts of the world make similar dishes with whatever they have on hand, be it rice, barley, or in this case, corn. Porridge made with ground dried corn generally goes by the Italian name, polenta. This specific polenta is made with cheddar cheese, a little cajun seasoning and topped with a poached egg to make it the perfect breakfast to start your day.
Break the eggs into two ramekins and add the vinegar.
Fill a medium pot 3/4 full with water and put it on the stove on high heat.
Pour the milk into a second pot and put on the stove on medium-high heat.
Once the milk is just under a boil, whisk in the cornmeal and cajun seasoning.
Reduce the heat to medium-low and whisk until the polenta is the texture of scrambled eggs. This will take about 10 minutes. I suggest setting a ten minutes timer. When there are four minutes left on the timer, put the eggs in the water.
Once the pot of water comes to a boil, turn the heat down to medium-high. Stir the water to make a funnel in the middle then add in the eggs one at a time. Cook the eggs for four minutes, then scoop them out of the water using a slotted spoon. Pat them dry with a paper towel.
Take the polenta off the stove and whisk in the butter then the cheese. Divide the polenta among two bowls and top with the poached eggs. A few drops of hot sauce will really make the polenta pop.
Today’s post focuses on creating a delicious banana berry power smoothie. This power smoothie makes a great breakfast or mid-day snack. It’s full of antioxidants, protein, and vitamins. Oh, and it tastes fantastic. Usually, this site’s focus is cooking, so why am I sharing such a simple smoothie recipe? Well, as I said, smoothies are delicious. But, more than that, the techniques I’ve shared on this site for years can be used to make a better smoothie. And this simple smoothie is a great way to illustrate the effects of balancing flavour. Don’t believe me? Keep reading.
Ingredients
The ingredients I use for this power smoothie are milk, yogurt, strawberry, banana, frozen blueberry, maple syrup, and lemon juice. At the end of the post, I’ll share some other ingredients you can add to make the smoothie your own. I chose these specific ingredients to balance flavour and texture. For instance, the banana and yogurt add a creamy texture to the smoothie. The berries and maple syrup add sweetness. The final smoothie ingredient is a little bit of lemon juice.
Why use maple syrup along with the berries?
Berries can be tart and sometimes they need a little boost. So, that little bit of maple syrup enhances the sweetness of the berries. The little bit of acid provided by the lemon brightens the smoothie’s flavour and helps to enhance the sweetness a little as well. It also has an interesting effect where it helps to separate the flavours. So, when you take a sip of the smoothie, you can taste it as a whole cohesive dish, but you can also pick out the individual components. The point is that adding a little sweet and a little sour, turns a basic smoothie into smoothing with a complex flavour that doesn’t get boring after four sips.
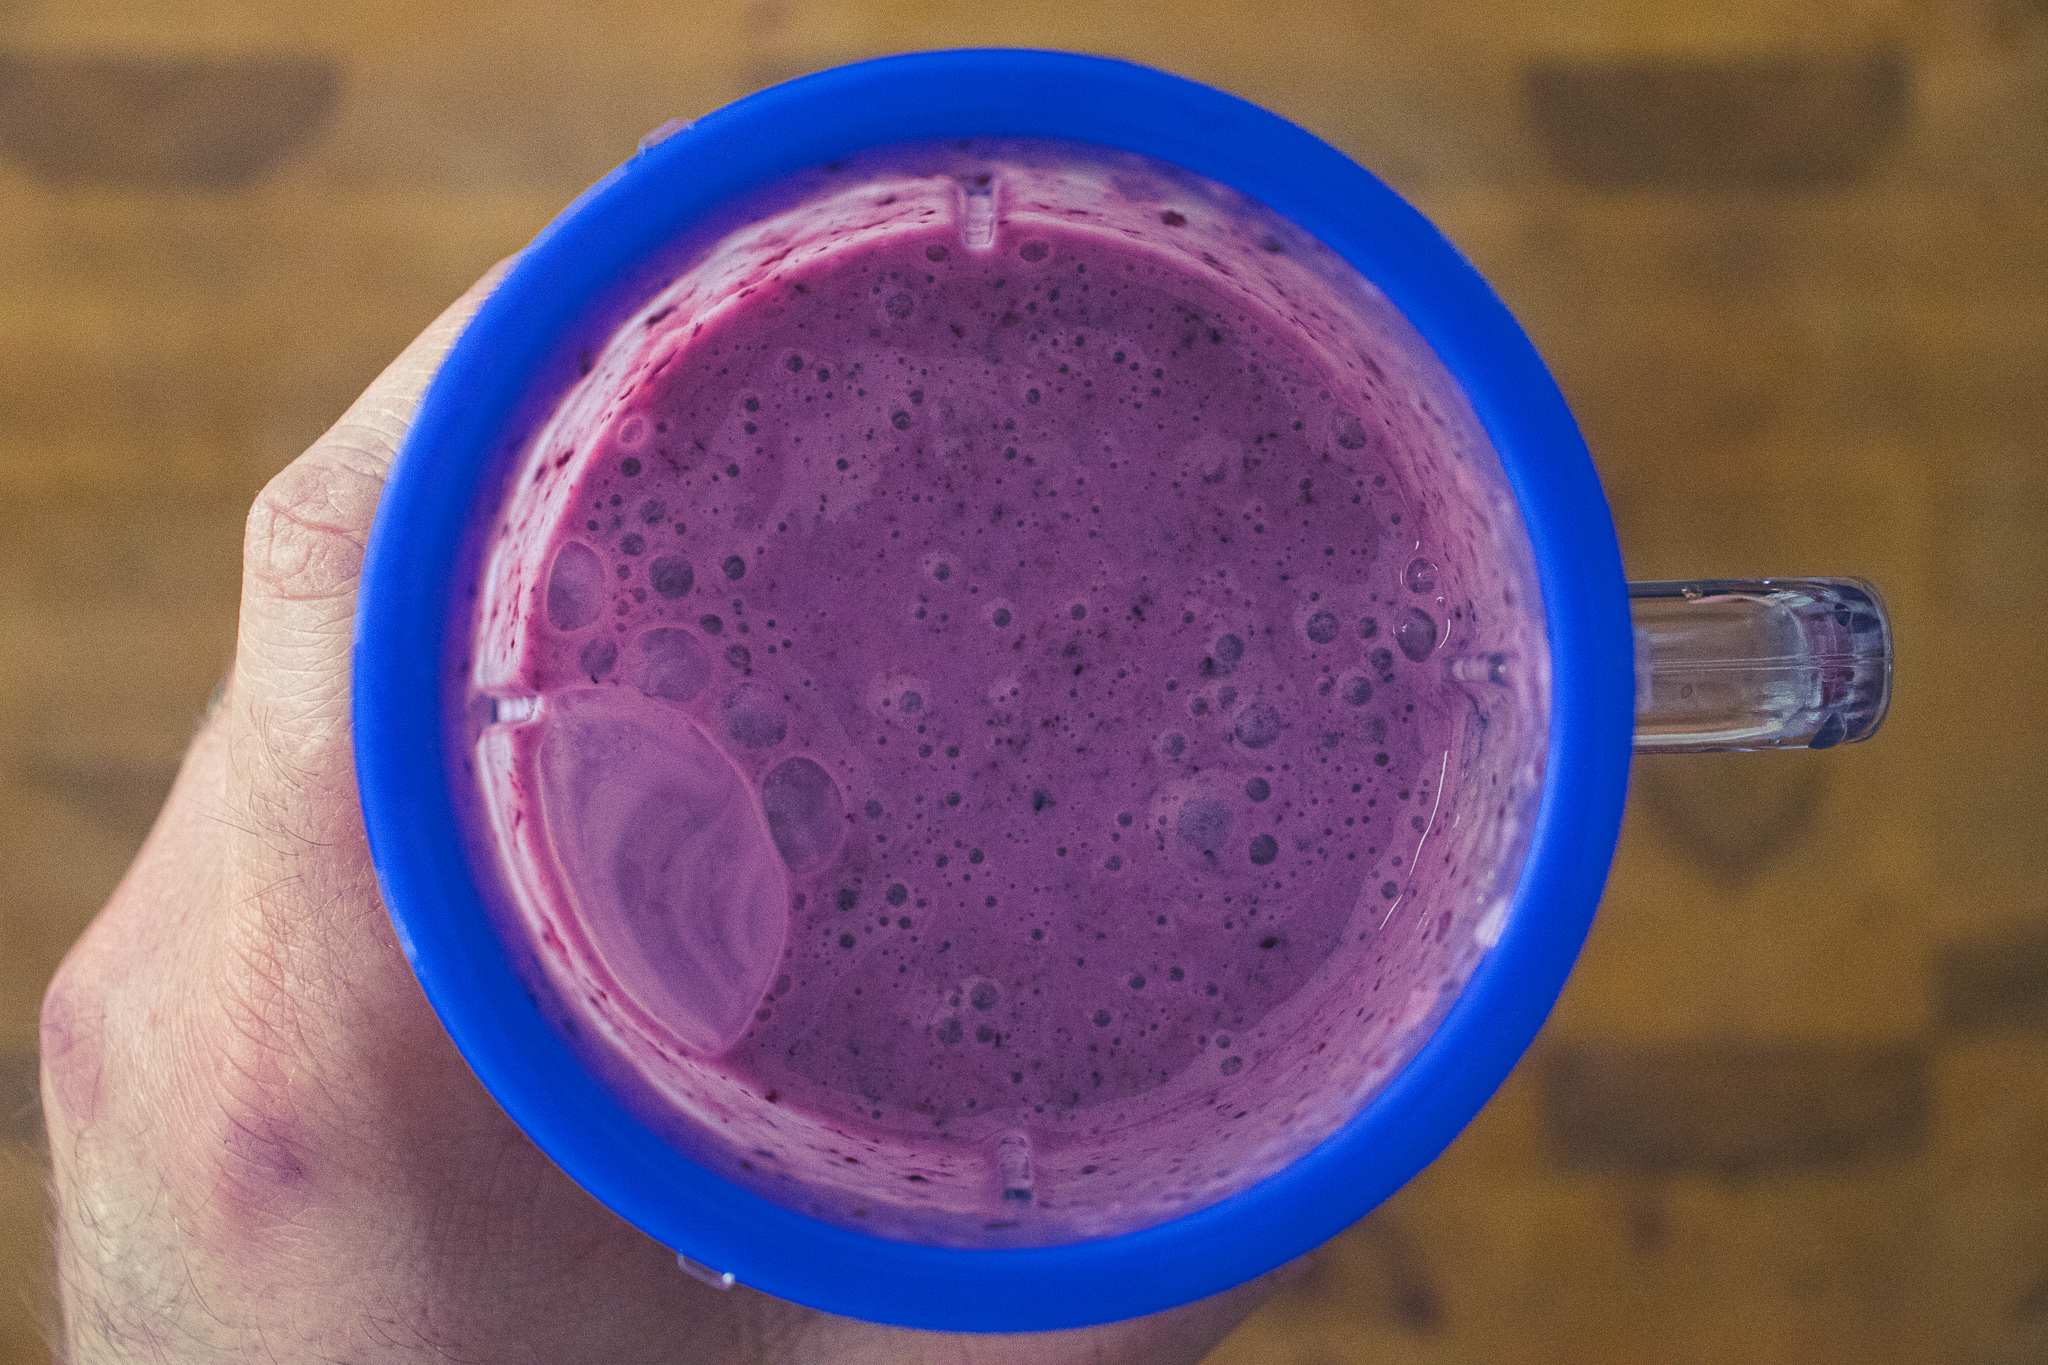
Blending The Banana Berry Power Smoothie
There isn’t too much of a technique to blend the power smoothie. The most significant bit of advice I can give you is to make sure the yogurt isn’t the first thing hitting the blender blade as it may clog it up a bit. I made that mistake. Other than that, blend until it is as smooth as possible.
Alternative Power Smoothie Ingredients
My power smoothie is not necessarily your power smoothie. You can change the ingredients however you’d like. But, when you alter the ingredients, think of their purpose. For example, if you don’t want to use banana, replace it with another creamy ingredient like half an avocado, a tablespoon or two of peanut butter, or a quarter cup of cashews. You can replace the berries with any other berry or fruit like mango or pineapple. You can also replace one of the berries with spinach. Again, remember to replace like for like. If you replace the frozen blueberries, make sure to use another frozen ingredient. Of course, you can use any type of milk and yogurt you’d like. However, no matter what ingredients you use, taste it and balance the flavour with a little sweet such as maple syrup, honey, agave, or whatever, and a little acid like lemon, lime, pineapple juice, orange juice, etc. And honestly, it wouldn’t hurt to add a small pinch of salt too.
The Wrap-Up
I hope you make this smoothie because I think it really will help to illustrate some of the points I’ve been making all along on this blog. When you make it, leave out the maple syrup and lemon juice. Make the smoothie, taste it, then add the maple syrup, blend again, taste. Finally, add the lemon juice, blend and taste. I bet you’ll be blown away at the difference between the three tastings. But please, do not take my word for it. Try this for yourself. Once you do, hopefully, you’ll understand how you use the same basic idea of adding a little sweet, a little acid, a little salt, a little spice to balance the flavour of the savoury dishes that you cook.
That does it for today but thank you for coming. I hope you enjoyed the post. And, if you haven’t already, remember to sign up to my newsletter at the bottom of the page to get exclusive recipes, cooking tips, behind-the-scenes stories etc., in your inbox once a month. Don’t miss out! Have a great week and a fantastic weekend! I’ll see you right back here next Thursday.
Banana Berry Power Smoothie
What better way to start the day than with a delicious smoothie loaded with vitamins, protein, and antioxidants?
Poached eggs are a great alternative to both fried and boiled eggs. They also happen to be the style of egg required for one of the best egg dishes of all time, eggs benedict. But if you don’t really know what you’re doing, making poached eggs can be a bit of a pain.
Today I am going to share with you all the tips and tricks I have learned for perfectly poached eggs from my years in professional kitchens.
This is…
The Secret to perfectly poached eggs
What is a perfectly poached egg?
What exactly constitutes a perfectly poached egg is a matter of opinion. Some people like their poached eggs soft, some like them medium, and some like them hard. Whatever camp you fall into, I prefer mine soft, these tips still apply.
A perfectly poached egg is one where the whites and the yolks stay together, and the yolk is the doneness the diner prefers. The last thing we want is for a solo yolk floating around in a pot of murky water because the whites all broke apart. So, how do we make sure that never happens?
The Eggs
Eggs used for poaching should be as fresh as possible and taken directly from the fridge before use. Fresh, cold eggs have firmer whites that will hold together better during poaching.
The colour and size of the eggs aren’t really important. However, the size of the egg will have an effect on cooking times. Any times that I suggest in this post are based on large-sized eggs.
Vinegar
I’m sure that most people reading this are aware that vinegar is often used when poaching eggs. What might not be as commonly known is how and why we use it and how much should we use?
I know that a lot of people out there are inclined to put the vinegar in the poaching water but this is ineffective. Instead, we actually want to put the vinegar in a bowl and break the eggs into it. Allowing the eggs to sit in the vinegar for a minute or two before adding them to our poaching liquid causes the whites to firm up slightly. Slightly firmer whites mean that the eggs will hold together better in the poaching water.
How much vinegar should we use?
The answer is not much. For two eggs, you may add 1-2 tsp of vinegar to the bowl before adding in the eggs. That is all that is needed for the desired effect.
Make sure to choose a bowl that will allow you to gently slide the eggs into the pot. A small bowl that can actually fit inside the pot so the eggs can be slid right into the water is best. And yes, the vinegar gets poured into the water with the eggs.
The poaching water
People often ask me if they should salt the poaching water and the answer is a resounding no. The salt will actually toughen the egg causing it to be chewy and rubbery. The difference between the effect the salt has and the vinegar has is that the salt pulls moisture out of the white, causing a rubbery texture. The vinegar is kind of cooking the egg so the texture of the final egg is the same as it would be without the vinegar.
Poaching vs. Boiling
It is really important to note the difference between poaching and boiling. Boiling is a violent process where the water is constantly churning and bubbling. If we boil our eggs two things are going to happen. Number one, the eggs are going to break apart. Number two, the eggs will get hard because the high heat required for boiling is too hot for the eggs.
Poaching is done in simmering water. Imagine that simmering is a peaceful babbling brook, while boiling is violent white water rapids. We want peace for our eggs.
When poaching in simmering water, because there is little to no movement, it is possible for the eggs to sink and stick to the bottom of the pot. To help prevent this and to help keep the egg together right before adding the eggs into the water, give it a big stir creating a cyclone in the center of the pot. Gently, pour the eggs into the cyclone. This should be enough movement to prevent the eggs from sticking.
Once the eggs are in the pot, leave them alone. Stirring or trying to pick them up will only break them apart and you run the risk of breaking the yolk. Don’t touch them for at least four minutes.
Timing for poached eggs
For a soft poached egg, the ideal cooking time is between 4-5 minutes. For a medium poached egg 5-6 minutes. And for a hard poached egg, 7-8 minutes.
When you think your egg has reached the desired doneness carefully remove it from the pot using a slotted spoon. Give the egg a gentle poke with your finger. If the egg is soft, it is poached soft. If it is firm but there is some give, it is poached medium. And of course, if the egg is completely firm, it is poached hard. Remove the eggs from the water, pat dry on a paper towel or clean dishcloth and serve.
Notes on poached eggs
It is important to remember that a bit of white will always come off the egg. This will likely end up as long thin strands of white floating in the water. This is perfectly normal. Just pull or carefully cut away any strands of white that are hanging on to the egg.
If you are having a bunch of people over for brunch you can pre-poach the eggs. Just poach them soft, remove them from the poaching water directly into ice water. Then when your guests arrive the eggs can be quickly reheated and even cooked through by adding them back into simmer water for 2 minutes or so.
When cooking eggs in any form always add salt after the egg is cooked to prevent the toughening of the white.
Always clean the poaching pot as soon as you can. The stray strands of white will dry on to the pot as will any foam that has formed. If you don’t clean it right away it will become very difficult to clean later.
Conclusion
Poached eggs are delicious and a great alternative to fried or hardboiled eggs. Follow the above tips and you will be eating perfectly poached eggs whenever you want.
We use cookies on our website to give you the most relevant experience by remembering your preferences and repeat visits. By clicking “Accept”, you consent to the use of ALL the cookies.
This website uses cookies to improve your experience while you navigate through the website. Out of these, the cookies that are categorized as necessary are stored on your browser as they are essential for the working of basic functionalities of the website. We also use third-party cookies that help us analyze and understand how you use this website. These cookies will be stored in your browser only with your consent. You also have the option to opt-out of these cookies. But opting out of some of these cookies may affect your browsing experience.
Necessary cookies are absolutely essential for the website to function properly. This category only includes cookies that ensures basic functionalities and security features of the website. These cookies do not store any personal information.
Any cookies that may not be particularly necessary for the website to function and is used specifically to collect user personal data via analytics, ads, other embedded contents are termed as non-necessary cookies. It is mandatory to procure user consent prior to running these cookies on your website.