Every Thanksgiving table has that one pie everyone expects. Pumpkin. No substitutions, no debate.
And every year I used to sweat it a little. Would the top crack down the middle? Would the bottom crust go soggy? Would the filling taste flat, like the plain back-of-the-can version I grew up with?
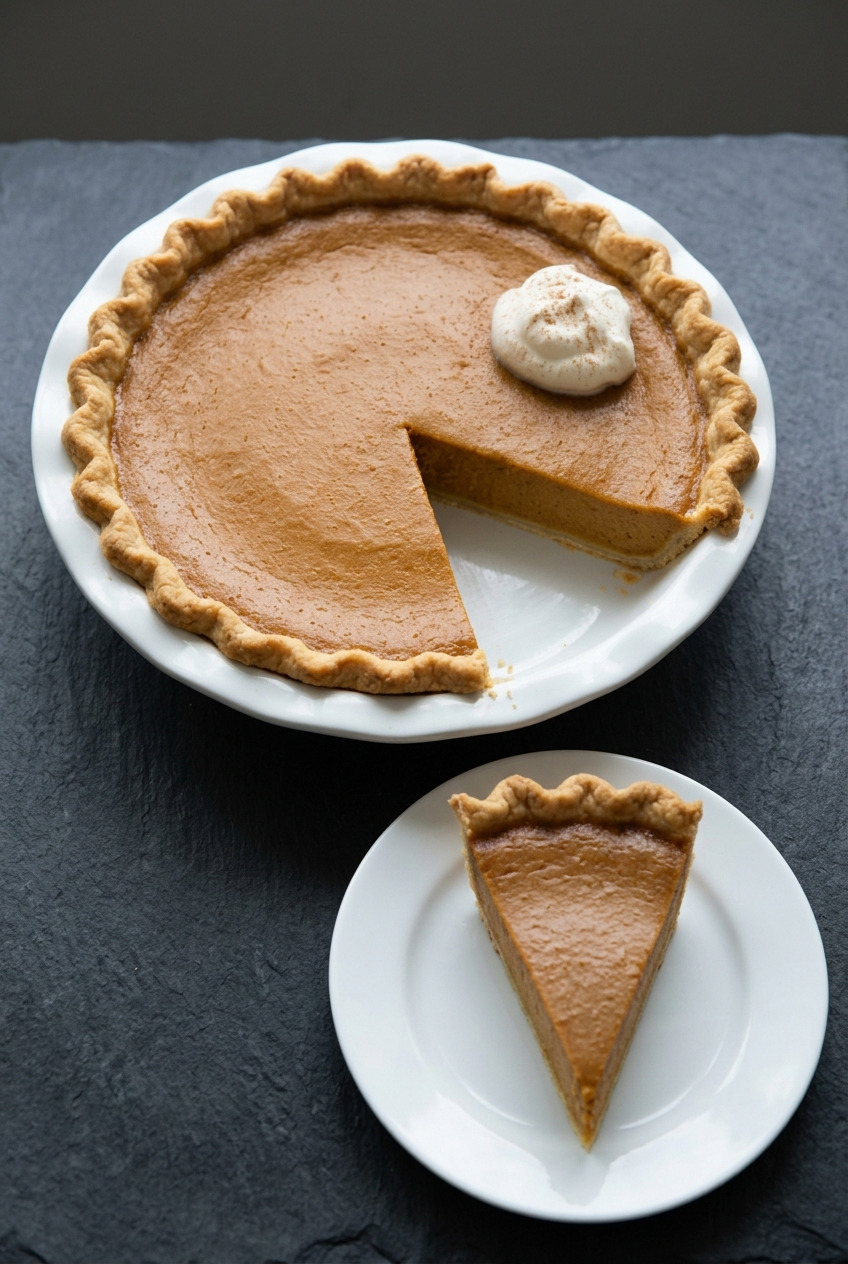
Then I stopped guessing and figured out what actually matters. It turns out a great pumpkin pie is one of the easiest desserts you can make. You whisk the filling in a single bowl, pour it into a crust, and bake.
The tweak that changed everything for me: I beat the eggs first, until they go pale and light, before anything else goes in. That one move gives you a smoother, creamier custard instead of a dense one. I also use evaporated milk for that nostalgic flavor, plus a splash of heavy cream for a little velvet.
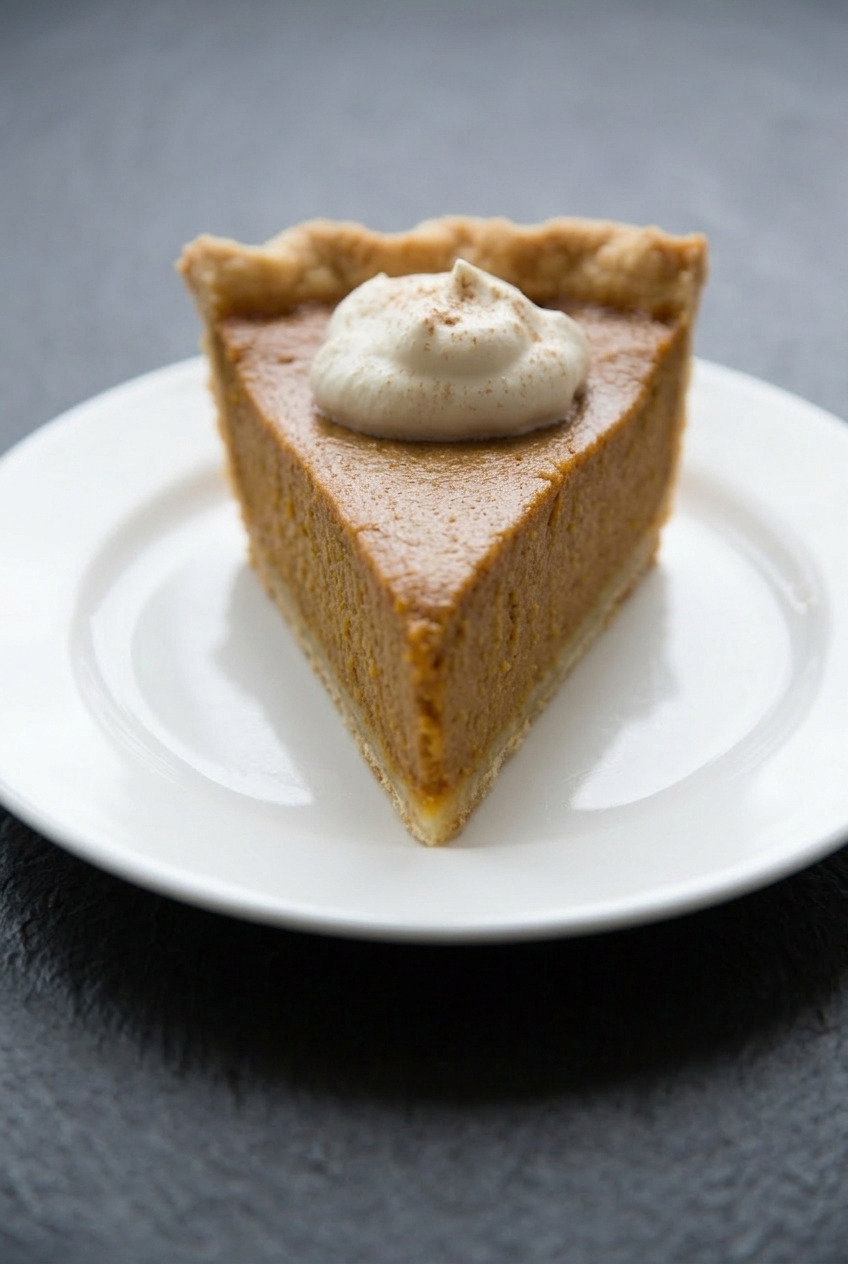
The result is a slice that cuts clean, sits tall, and tastes like warm cinnamon and brown sugar. It's the pie people go back for a second sliver of, telling themselves it doesn't count.
Why This Pumpkin Pie Works
This is the classic, done right, with no weird twists. It's the traditional pie you're picturing, just dialed in so it comes out silky and crack-free every single time.
- Silky custard filling. Evaporated milk gives that familiar pumpkin-pie flavor, and a splash of heavy cream makes it noticeably creamier than the standard version.
- Deeper flavor from brown sugar. I use packed brown sugar instead of white. That little bit of molasses plays perfectly with the warm spices.
- A proper spice blend. Cinnamon, ginger, nutmeg, and cloves, measured fresh. Warm and cozy without tasting like a candle.
- One bowl, one whisk. No mixer required (though it helps for the eggs), no fussy technique. If you can whisk, you can make this.
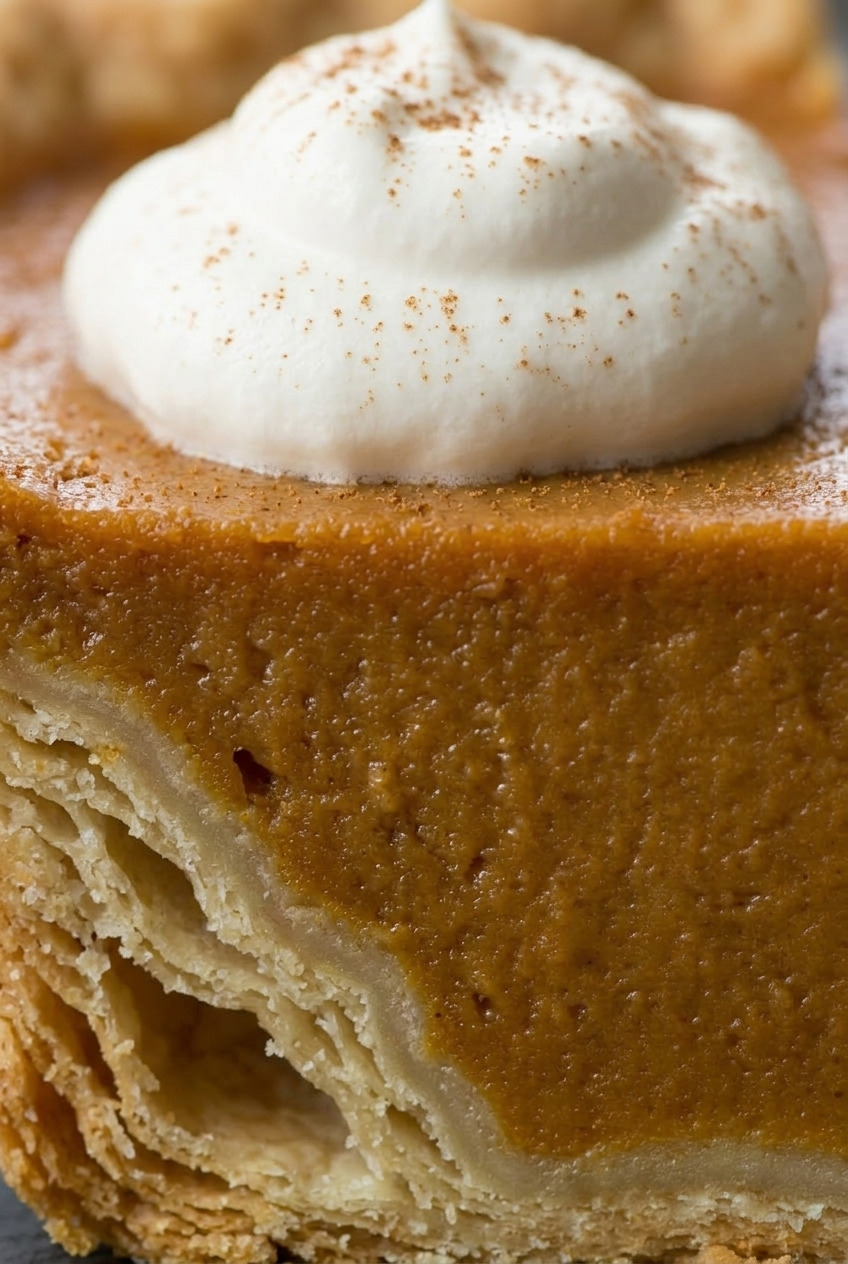
Ingredients You'll Need
Almost everything here is a pantry staple this time of year. A few notes on the ones that matter most.
- Pumpkin puree (one 15-oz can). Grab pure canned pumpkin, NOT pumpkin pie filling (that's pre-sweetened and pre-spiced). Fresh works too if you roast and drain a sugar pumpkin well, but canned is more reliable.
- Eggs (3 large). Let them come to room temperature. They whip up better and blend into the filling more smoothly.
- Light or dark brown sugar (¾ cup, packed). Dark gives a deeper molasses note. Either one beats plain white sugar here.
- Evaporated milk (one 12-oz can) + heavy cream (¼ cup). The evaporated milk is the classic flavor. The cream is my little upgrade for a smoother, richer texture.
- Warm spices. Cinnamon, ground ginger, freshly grated nutmeg, and ground cloves. In a pinch, 1 ½ teaspoons of pumpkin pie spice stands in for all four.
- A 9-inch pie crust. Homemade if you're feeling it, store-bought if you're not. No shame either way.
How to Make Classic Pumpkin Pie
The whole thing comes together in about 15 minutes of hands-on work. Here's how I do it, step by step.
Step 1: Prep and par-bake the crust
Fit your crust into a 9-inch pie dish and crimp the edges. Line it with parchment, fill with pie weights or dried beans, and par-bake at 375°F for about 12-15 minutes. This is the single best thing you can do to avoid a soggy bottom.
Step 2: Beat the eggs first
Here's my one non-negotiable step. Beat the 3 eggs on their own until they turn pale and look a little lighter and fluffier, about 2 minutes. This is what gives you that smooth, creamy filling instead of a heavy one.
Step 3: Whisk the filling
Whisk in the brown sugar, spices, and salt until combined. Add the pumpkin puree and whisk smooth, then stream in the evaporated milk and heavy cream. Mix just until everything is uniform. Don't over-beat once the pumpkin is in.
Step 4: Fill and bake
Pour the filling into your par-baked crust. Bake at 350°F for 50-60 minutes. The edges should look set while the center still has a slight wobble. If the crust edge browns too fast, tent it with foil.
Step 5: Cool completely
Let the pie cool on a rack, then chill it for at least 3 hours (overnight is even better) before slicing. A fully cooled pie sets up properly and cuts into clean, tall wedges.
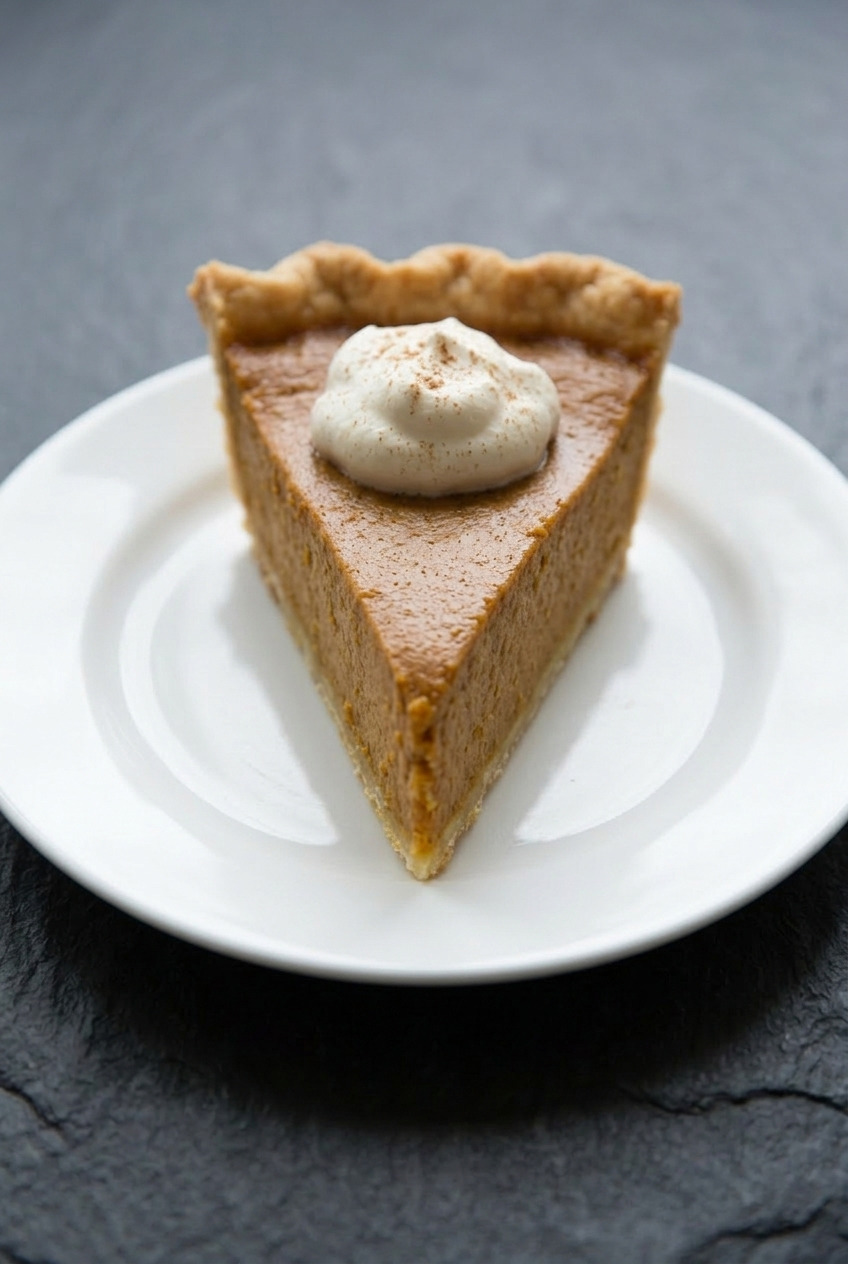
How to Prevent Cracks in Pumpkin Pie
Cracks come from overbaking, plain and simple. The custard keeps setting after it leaves the oven, so pulling it a touch early is the whole game.
- Watch the jiggle. Pull the pie when the outer edge is set but the center 2 to 3 inches still wobbles like set jello. An instant-read thermometer should show about 175°F in the center.
- Don't over-beat. Too much air whipped into the filling after the pumpkin goes in can cause it to puff and then crack as it cools.
- Cool gradually. Set the pie on a rack away from cold drafts. A sudden temperature drop makes the surface split.
- Add cornstarch for insurance. A single tablespoon whisked into the sugar gives the filling extra structure if you're crack-prone.
How to Avoid a Soggy Crust
A wet-bottomed crust is the other classic pumpkin pie letdown. A little prep keeps the base crisp under all that custard.
- Par-bake the shell. That 12-15 minute blind bake from Step 1 sets the crust before the filling ever touches it.
- Brush with egg white. A thin coat of beaten egg white on the warm par-baked crust creates a moisture barrier.
- Use bottom heat. Bake on the lower third of the oven, ideally on a preheated baking sheet, so the base cooks through.
Dough scraps shouldn't go to waste. These recipes with pie crust have ideas.
Pro Tips for the Best Pumpkin Pie
These are the little things that take the pie from good to the one everyone asks about.
- Room-temperature eggs and dairy. Cold ingredients don't blend as smoothly and can bake unevenly.
- Grate your own nutmeg. Fresh nutmeg is worlds more fragrant than the pre-ground jar. Worth it.
- Bake in glass or ceramic. These hold heat evenly and help the custard set gently. Metal can outrun the filling.
- Serve with real whipped cream. Lightly sweetened, softly whipped. It's non-negotiable in my house.
When you want it dressed up, my salted caramel pumpkin pie is the one to make.
Make Ahead, Storing, and Freezing
This is a genuinely great make-ahead dessert, which is why I lean on it every holiday.
- Make ahead. Bake it 1 to 2 days early, cool, cover, and keep it in the fridge. The flavor actually deepens overnight.
- Refrigerator. Stored covered, the pie keeps for 3 to 4 days.
- Freezer. Wrap the fully cooled pie well and freeze for up to 1 month. Thaw overnight in the fridge before serving.
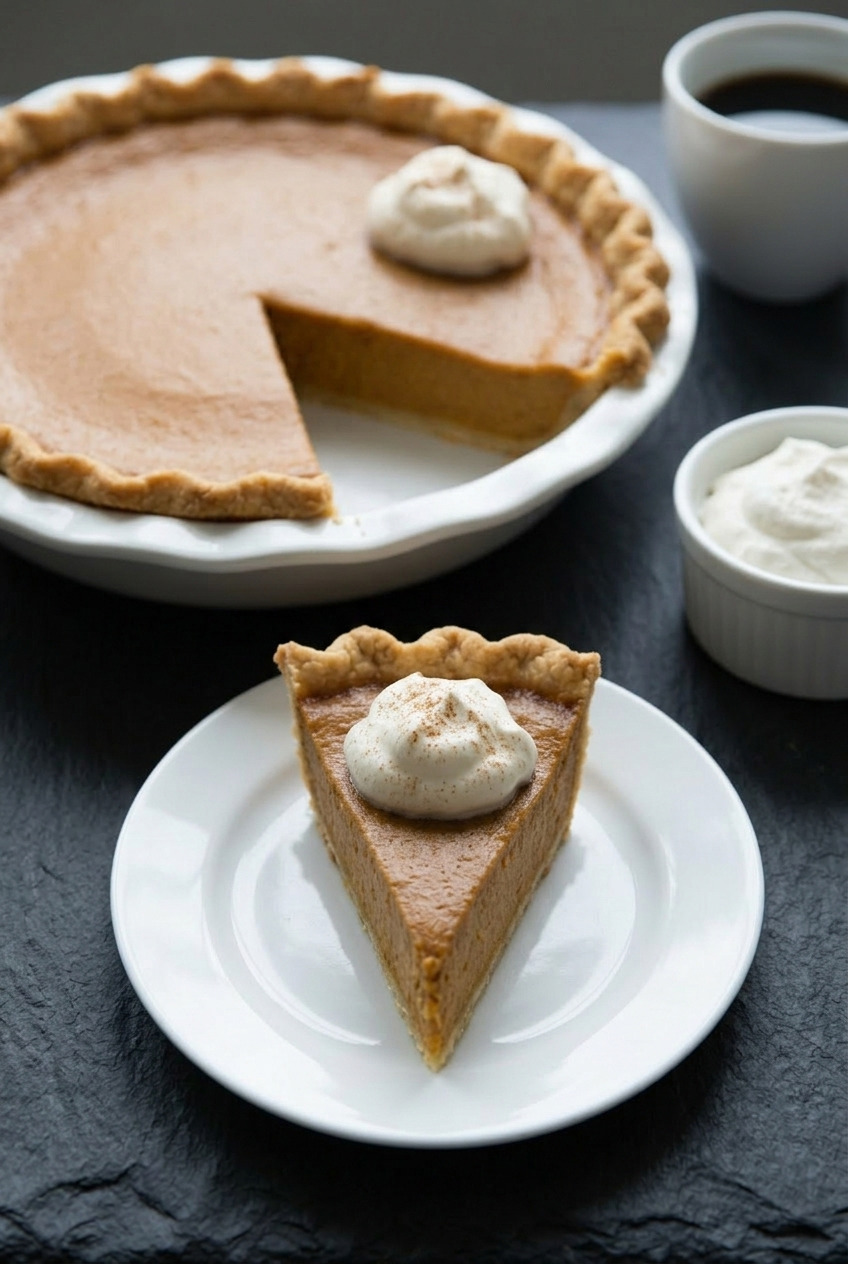
Frequently Asked Questions
Can I use fresh pumpkin instead of canned?
You can, but you have to work for it. Roast a sugar (pie) pumpkin, puree it, and drain the puree well so it isn't watery. Canned pure pumpkin is more consistent and what I reach for most of the time.
Do I need to blind bake the crust?
I strongly recommend a quick par-bake. Twelve to fifteen minutes with pie weights sets the crust so it stays crisp under the wet filling. It's the easiest fix for a soggy bottom.
How do I keep my pumpkin pie from cracking?
Don't overbake it. Pull the pie while the center still jiggles slightly, don't over-beat the filling, and let it cool gradually. A tablespoon of cornstarch adds extra insurance.
How do I know when the pie is done?
The edges will look set and slightly puffed while the center 2 to 3 inches still wobbles like set jello. If you use a thermometer, aim for about 175°F in the center. It finishes setting as it cools.
Can I make pumpkin pie ahead of time?
Absolutely. Bake it one or two days before, cool completely, cover, and refrigerate. It slices cleanly and tastes even better once the spices have had time to settle in.
Can I use pumpkin pie spice instead of the individual spices?
Yes. Swap in about 1 ½ teaspoons of pumpkin pie spice for the cinnamon, ginger, nutmeg, and cloves. Taste-wise it's a hair less customizable, but it's a fine shortcut.
Recipe
Classic Pumpkin Pie
Ingredients
For the Filling
- 1 can (15 oz) pure pumpkin puree not pumpkin pie filling
- 3 large eggs room temperature
- ¾ cup light or dark brown sugar packed
- 1 can (12 oz) evaporated milk
- ¼ cup heavy cream
- 1 ½ teaspoons ground cinnamon
- ½ teaspoon ground ginger
- ¼ teaspoon nutmeg freshly grated
- ¼ teaspoon ground cloves
- ½ teaspoon salt
- 1 tablespoon cornstarch optional, for a firmer set
For the Crust
- 1 9-inch pie crust homemade or store-bought
Instructions
Prep the Crust
- Fit the pie crust into a 9-inch pie dish and crimp the edges. Line with parchment and fill with pie weights or dried beans.
- Par-bake at 375°F for 12 to 15 minutes to set the crust and prevent a soggy bottom. Optionally brush the warm crust with a little beaten egg white.
Make the Filling
- Beat the eggs on their own until pale and slightly lightened, about 2 minutes. This is the key to a smooth, creamy filling.
- Whisk in the brown sugar, cinnamon, ginger, nutmeg, cloves, salt, and cornstarch (if using) until combined.
- Whisk in the pumpkin puree until smooth, then stream in the evaporated milk and heavy cream. Mix just until uniform; do not over-beat.
Bake and Cool
- Pour the filling into the par-baked crust. Bake at 350°F for 50 to 60 minutes, until the edges are set and the center 2 to 3 inches still wobbles slightly.
- Cool the pie completely on a rack, then chill for at least 3 hours or overnight before slicing.
Notes
- Doneness: Pull the pie when the center still jiggles like set jello, about 175°F internal. It finishes setting as it cools.
- Spice shortcut: Swap 1 ½ teaspoons pumpkin pie spice for the cinnamon, ginger, nutmeg, and cloves.
- Make ahead: Bake 1 to 2 days early, cover, and refrigerate. Keeps 3 to 4 days, or freeze up to 1 month.