The kitchen smelled like a cinnamon candle before the oven even turned on.
That happens the second the pumpkin pie spice hits the cold butter and flour.
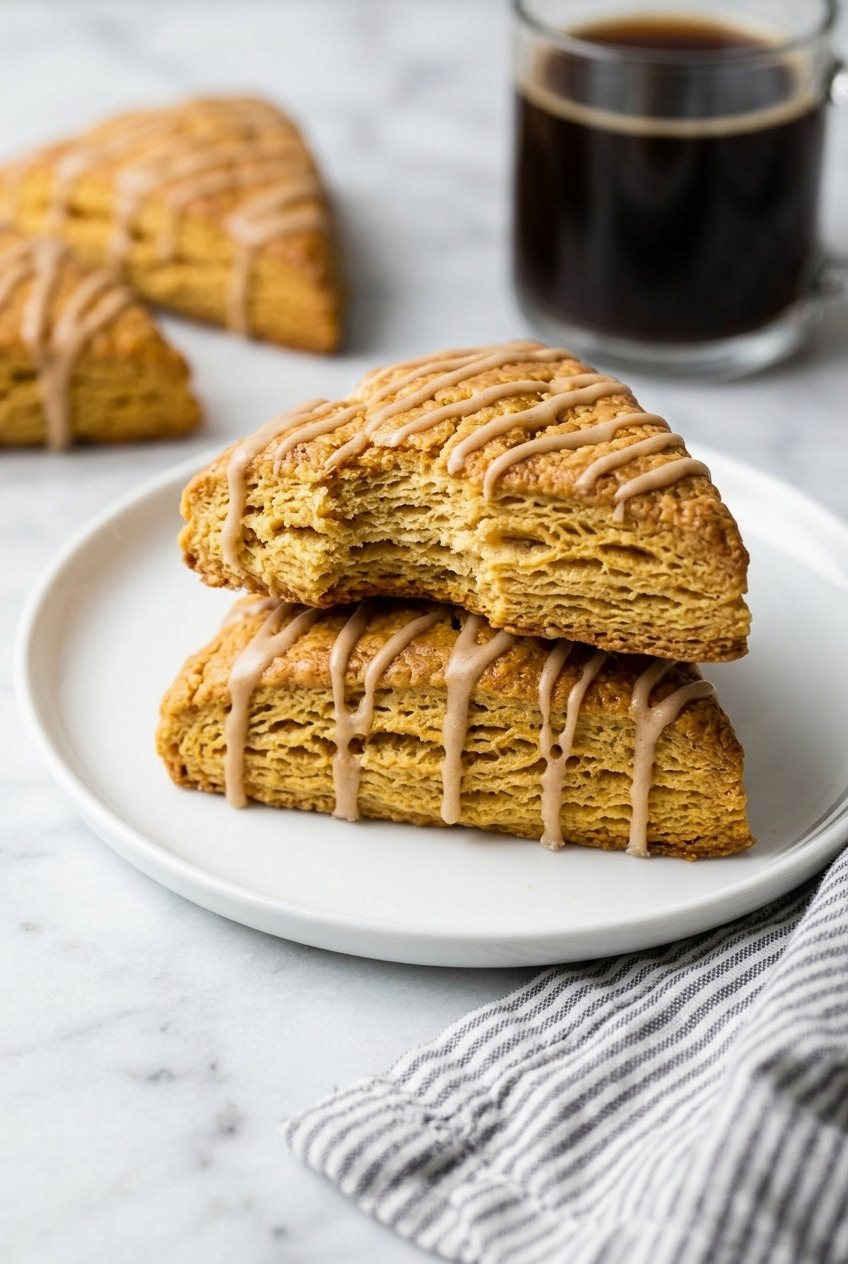
I started making these on the first genuinely cool Saturday last October, mostly because I was tired of paying four dollars for a coffee-shop scone that tasted like sweet cardboard.
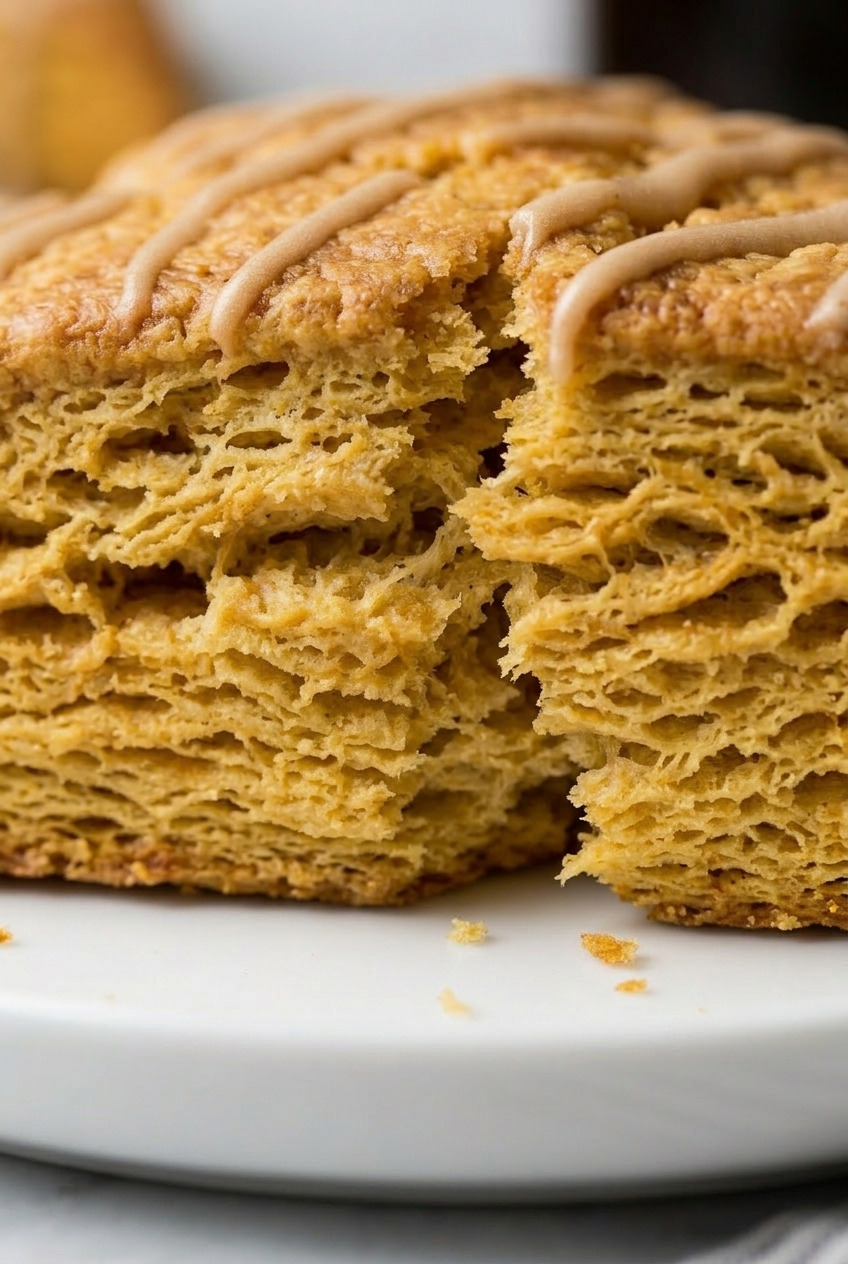
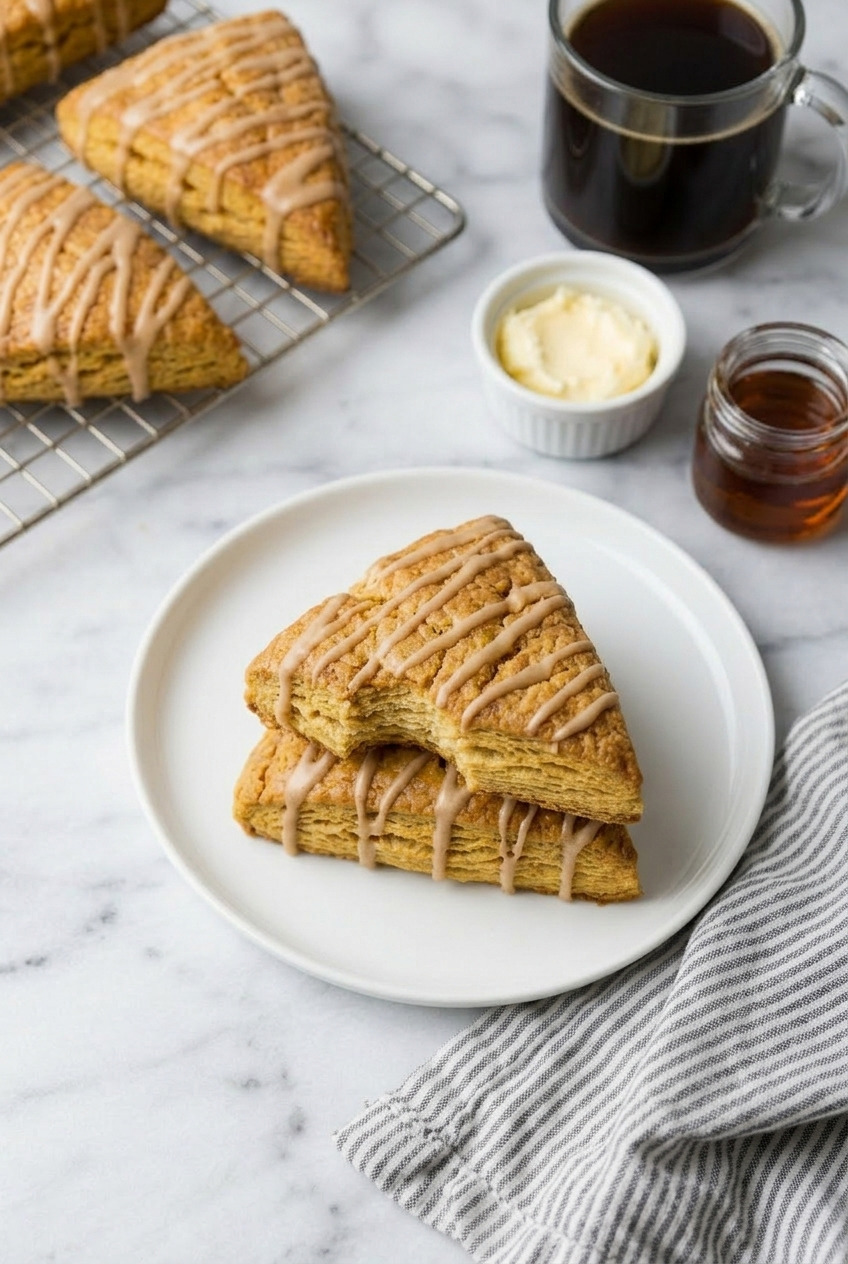
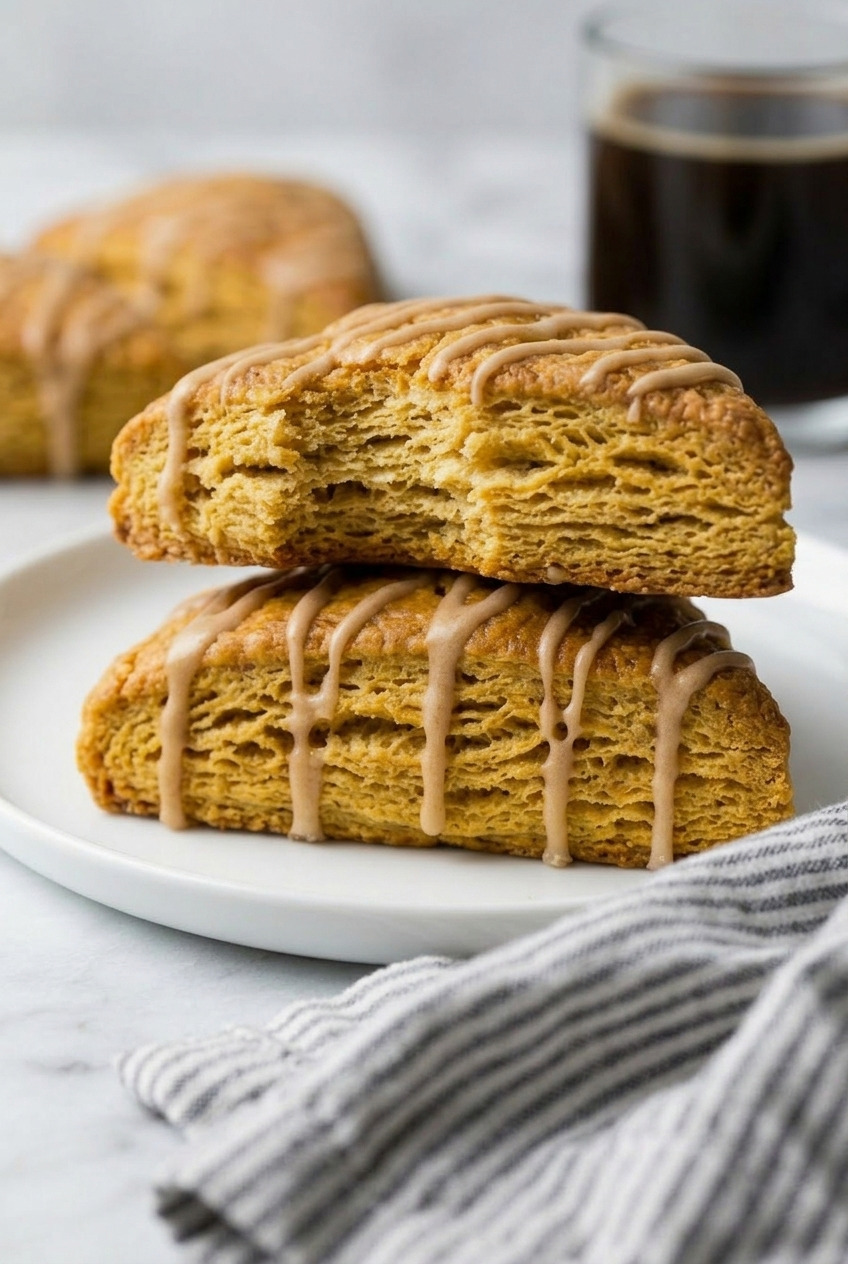
Mine came out taller, flakier, and about ten times more buttery.
Now my wife requests them every time the weather dips below sixty.
The trick that changed everything for me was a quick chill before baking, and I promise it is the difference between a flat scone and a tall, tender one.
What I love most is the maple glaze.
Most recipes give you a plain sugar icing, but a little real maple syrup makes these taste like fall in one bite.
They come together in about twenty minutes of hands-on work.
Make them once and you'll stop buying the coffee-shop kind for good.
Why You'll Love These Pumpkin Scones
These taste like a bakery scone, only better. Here's what makes them worth turning on the oven for.
- Flaky, tender layers. Cold butter and one quick chill give you tall scones with a soft, buttery middle.
- Real pumpkin flavor. Actual pumpkin puree and warm spices, not just a hint of orange color.
- That maple glaze. Real maple syrup in the icing sets these apart from every copycat version out there.
- Freezer-friendly. Shape them, freeze them, and bake fresh scones whenever the craving hits.
- No mixer required. A bowl and your hands are all you need.
Ingredients You'll Need
Nothing fancy here, just good pantry staples. A few notes on the ones that matter most.
- All-purpose flour (2 ¼ cups). The backbone of the dough. Spoon and level it so you don't pack in too much.
- Granulated and brown sugar (¼ cup each). The brown sugar adds a caramel depth the white sugar can't touch.
- Baking powder (1 tablespoon). This is what makes them rise tall, so make sure yours is fresh.
- Pumpkin pie spice and cinnamon (2 teaspoons plus 1 teaspoon). The cozy warmth. Freshly grated nutmeg is a nice touch if you have it.
- Salt (½ teaspoon). Balances all that sweetness.
- COLD unsalted butter (½ cup). The single most important ingredient. It has to be cold, cubed, and straight from the fridge.
- Pumpkin puree (½ cup). Pure canned pumpkin, not pie filling. More on that below.
- Heavy cream (⅓ cup). Richer than milk and gives you that melt-in-your-mouth crumb.
- Egg (1 large). Binds the dough and adds structure.
- Vanilla extract (1 teaspoon). Rounds out the flavor.
- Maple glaze. Powdered sugar, real maple syrup, a splash of milk, and a pinch of spice.
Canned Pumpkin Puree vs. Pumpkin Pie Filling
These are not the same thing, and grabbing the wrong can will wreck your scones.
Pumpkin puree is just cooked, pureed pumpkin. Nothing added.
Pumpkin pie filling is pre-sweetened and pre-spiced, with extra liquid that will throw off your dough.
Grab the can that says 100% pure pumpkin and you're good.
Pro tip: Blot your pumpkin puree with a paper towel first. Less moisture means flakier scones.
How to Make Pumpkin Scones
Step 1: Mix the dry ingredients
Whisk together the flour, granulated sugar, baking powder, spices, and salt in a large bowl.
Step 2: Cut in the cold butter
Add the cold cubed butter and cut it in with a pastry cutter or your fingertips until the mixture looks like coarse sand with some pea-sized bits.
Work fast so the butter stays cold.
Step 3: Whisk the wet ingredients
In a separate bowl, whisk the pumpkin puree, heavy cream, brown sugar, egg, and vanilla until smooth.
Step 4: Bring the dough together
Pour the wet into the dry and fold gently until no dry flour remains.
Stop the second it comes together. Overmixing is the enemy of a tender scone.
Step 5: Shape and cut
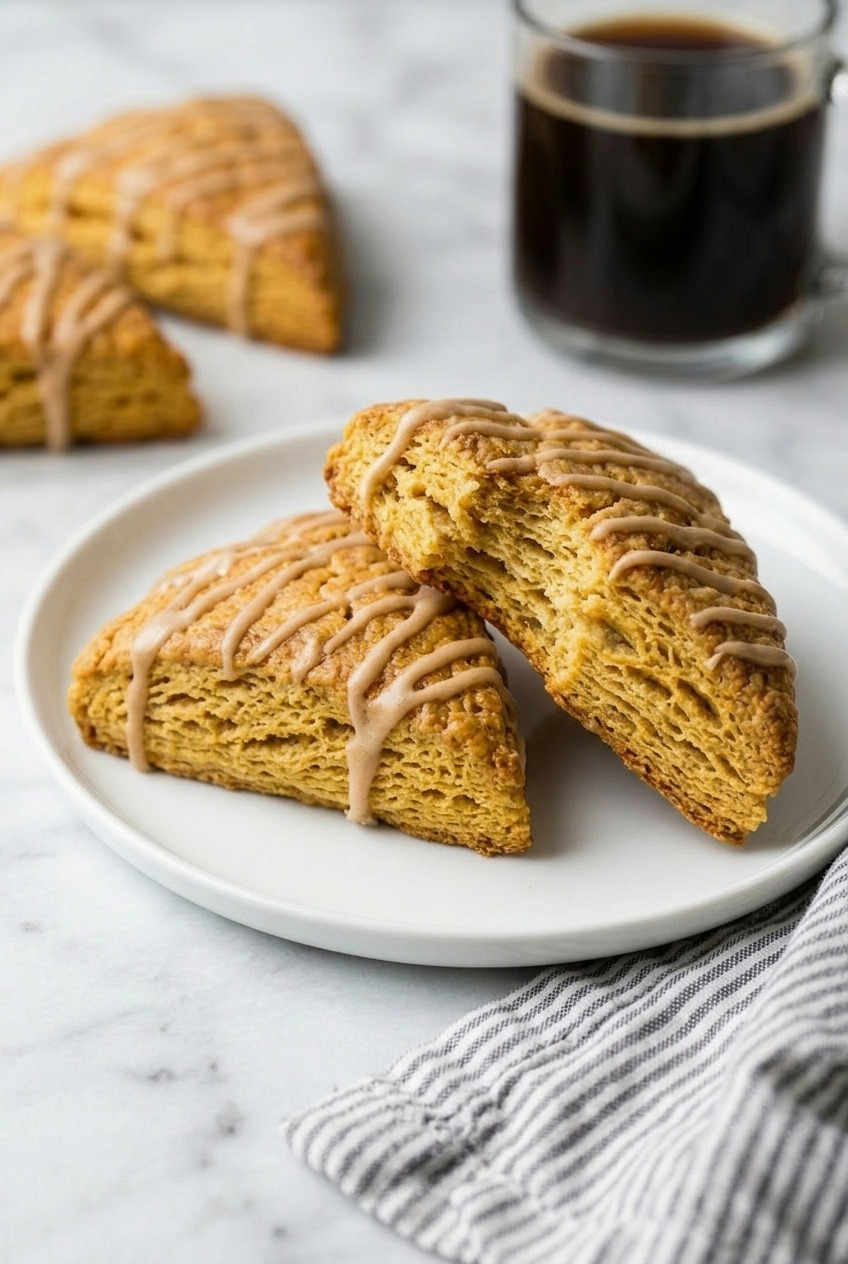
Turn the dough onto a floured surface and pat it into an 8-inch disk about an inch thick.
Cut it into 8 wedges like a pizza.
Step 6: Chill
Transfer the wedges to a parchment-lined sheet and freeze for 15 to 20 minutes.
Don't skip this. It's the whole secret.
Step 7: Bake
Brush the tops with a little cream and bake at 400°F for 18 to 22 minutes, until the edges are golden.
Step 8: Glaze
Whisk the powdered sugar, maple syrup, milk, and a pinch of spice until smooth, then drizzle over the cooled scones.
The Secret to Tender, Flaky Scones
It all comes down to keeping the butter cold. Get these three things right and you'll nail it every time.
- Use COLD butter. Cold butter creates warmth pockets in the oven that lift the dough into flaky layers. Warm butter just melts into the flour and gives you a dense hockey puck.
- Don't overwork the dough. Handle it as little as possible. The more you knead, the tougher the scone.
- Chill before baking. That quick freeze firms the butter back up so the scones hold their shape and rise tall.
Recipe Variations
The base recipe is a great starting point. Here are a few ways I like to change it up.
- Add toasted pecans. Fold in ⅓ cup of chopped toasted pecans for a little crunch.
- Chocolate chips. A half cup of mini chips turns these into a dessert.
- Plain vanilla glaze. Skip the maple and use milk and vanilla for a classic coffee-shop look.
- Make mini scones. Cut the disk into 16 smaller wedges and shave a few minutes off the bake time.
If you want to practice the cold-butter method on a plainer dough first, these brown butter scones are a good place to start.
What to Serve With Pumpkin Scones
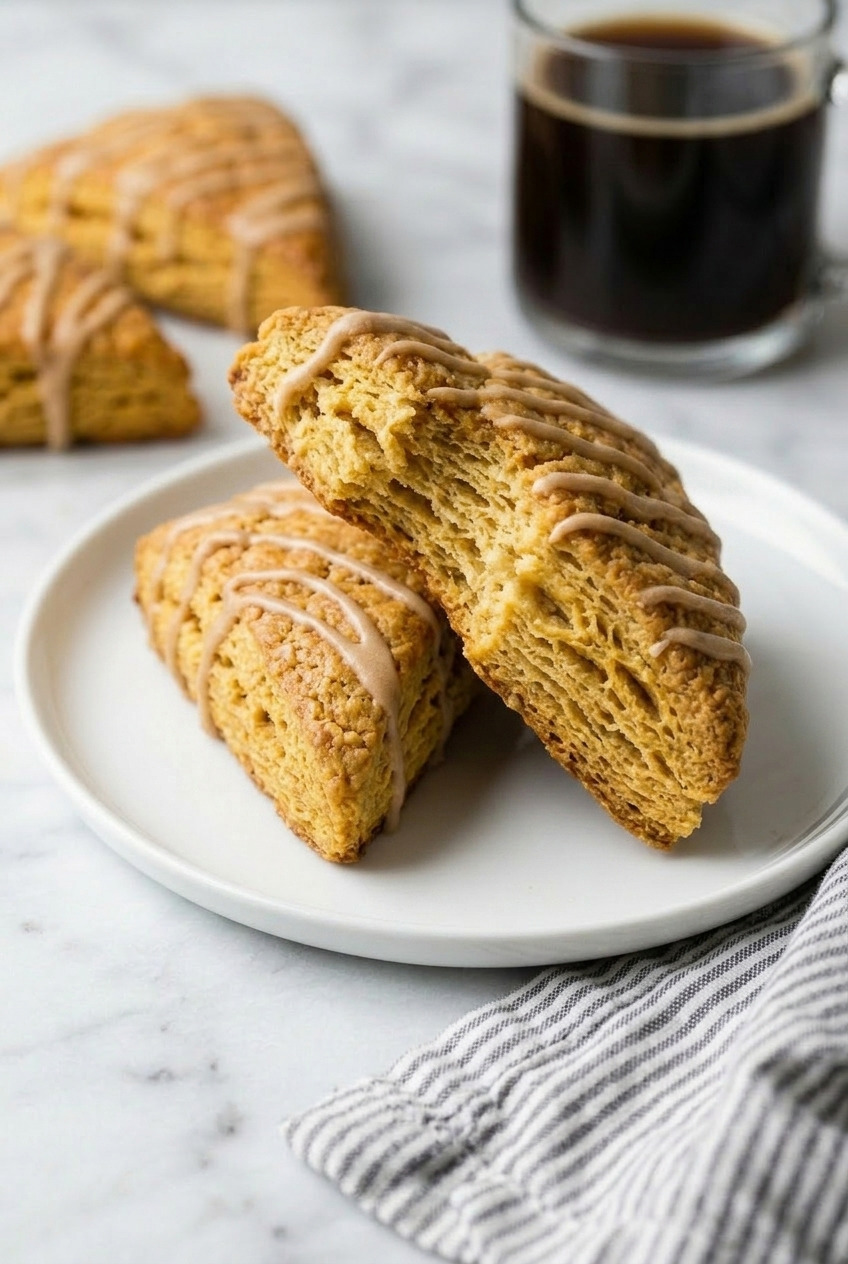
These are made for a slow morning. A few pairings that hit the spot.
- Hot coffee. The classic. A dark roast cuts right through the sweetness.
- Chai or spiced tea. The warm spices play off each other perfectly.
- Apple butter. Spread a little on a warm split scone and thank me later.
- Salted butter. Simple, and still one of my favorite ways to eat them warm.
For a fall brunch table, I put these out next to my pumpkin streusel coffee cake and a big pot of coffee.
How to Store and Freeze
Scones are best the day they're baked, but they keep just fine.
- Counter. Store in an airtight container at room temperature for up to 2 days.
- Fridge. They'll keep up to 5 days, though the texture firms up. A few seconds in the microwave brings them back.
- Freeze unbaked. Freeze the shaped wedges solid, then bag them. Bake straight from frozen, adding a few extra minutes.
- Freeze baked. Wrap cooled, unglazed scones and freeze up to 3 months. Thaw, warm, and glaze fresh.
Frequently Asked Questions
What is the 15 minute rule for scones?
It means chilling the shaped scones for around 15 minutes before they go in the oven. That quick chill firms up the butter so the scones rise taller and hold their shape instead of spreading.
What is the secret to making good scones?
Cold butter and a light hand. Keep the butter as cold as possible and stop mixing the moment the dough comes together. Overworked dough and warm butter are what give you tough, flat scones.
What do pumpkin scones taste like?
Soft, tender, and warmly spiced, like a cross between a biscuit and a slice of pumpkin bread. The pumpkin adds moisture and color more than a strong squash flavor, so the cinnamon and maple really shine.
Should I use heavy cream or buttermilk in scones?
Both work. Heavy cream gives you a richer, more tender scone, which is what I use here. Buttermilk adds a little tang and a slightly lighter crumb. If you only have buttermilk, go for it.
Can I use pumpkin pie filling instead of puree?
No. Pie filling is pre-sweetened and has extra liquid that will throw off the dough. Use pure canned pumpkin puree only.
Why did my scones turn out tough?
Almost always overmixing or warm butter. Handle the dough as little as possible and keep everything cold until it hits the oven.
Recipe
Bakery-Style Pumpkin Scones with Maple Glaze
Ingredients
For the Scones
- 2 ¼ cups all-purpose flour spooned and leveled
- ¼ cup granulated sugar
- ¼ cup light brown sugar packed
- 1 tablespoon baking powder
- 2 teaspoons pumpkin pie spice
- 1 teaspoon ground cinnamon
- ½ teaspoon salt
- ½ cup cold unsalted butter cubed
- ½ cup pumpkin puree not pie filling
- ⅓ cup heavy cream plus more for brushing
- 1 large egg
- 1 teaspoon vanilla extract
For the Maple Glaze
- 1 cup powdered sugar
- 2 tablespoons pure maple syrup
- 1 to 2 tablespoons milk
- 1 pinch pumpkin pie spice
Instructions
Make the Scones
- Whisk together the flour, granulated sugar, baking powder, pumpkin pie spice, cinnamon, and salt in a large bowl.
- Add the cold cubed butter and cut it in with a pastry cutter or your fingertips until the mixture resembles coarse sand with some pea-sized bits. Work quickly to keep the butter cold.
- In a separate bowl, whisk the pumpkin puree, heavy cream, brown sugar, egg, and vanilla until smooth.
- Pour the wet ingredients into the dry and fold gently until no dry flour remains. Do not overmix.
- Turn the dough onto a floured surface and pat it into an 8-inch disk about 1 inch thick. Cut into 8 wedges.
- Transfer the wedges to a parchment-lined baking sheet and freeze for 15 to 20 minutes. Meanwhile, preheat the oven to 400 degrees F.
- Brush the tops with a little heavy cream and bake for 18 to 22 minutes, until the edges are golden. Cool on a wire rack.
Make the Glaze
- Whisk the powdered sugar, maple syrup, milk, and a pinch of pumpkin pie spice until smooth. Add more milk a little at a time for a thinner glaze.
- Drizzle the glaze over the cooled scones and let it set before serving.
Notes
- Keep the butter COLD. It is the key to tall, flaky scones.
- Blot the pumpkin. Pat the puree with a paper towel to remove extra moisture for a flakier crumb.
- Do not skip the chill. Freezing the shaped scones before baking keeps them from spreading.
- Freeze ahead. Shaped, unbaked scones freeze beautifully. Bake straight from frozen, adding a few extra minutes.