Italian
-
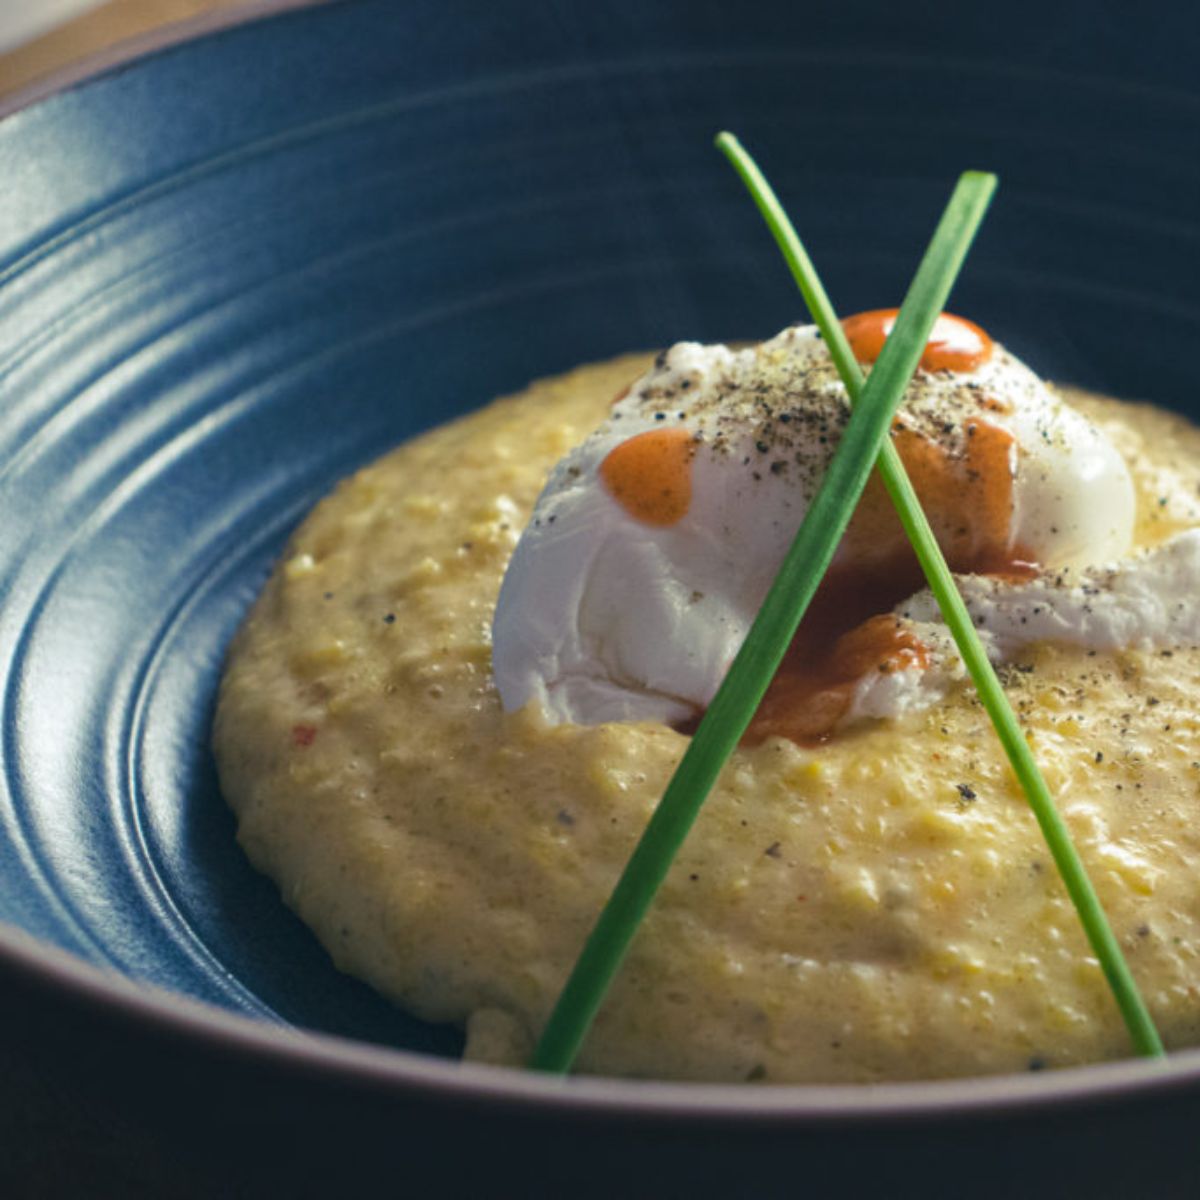
Cheesy Breakfast Polenta
-
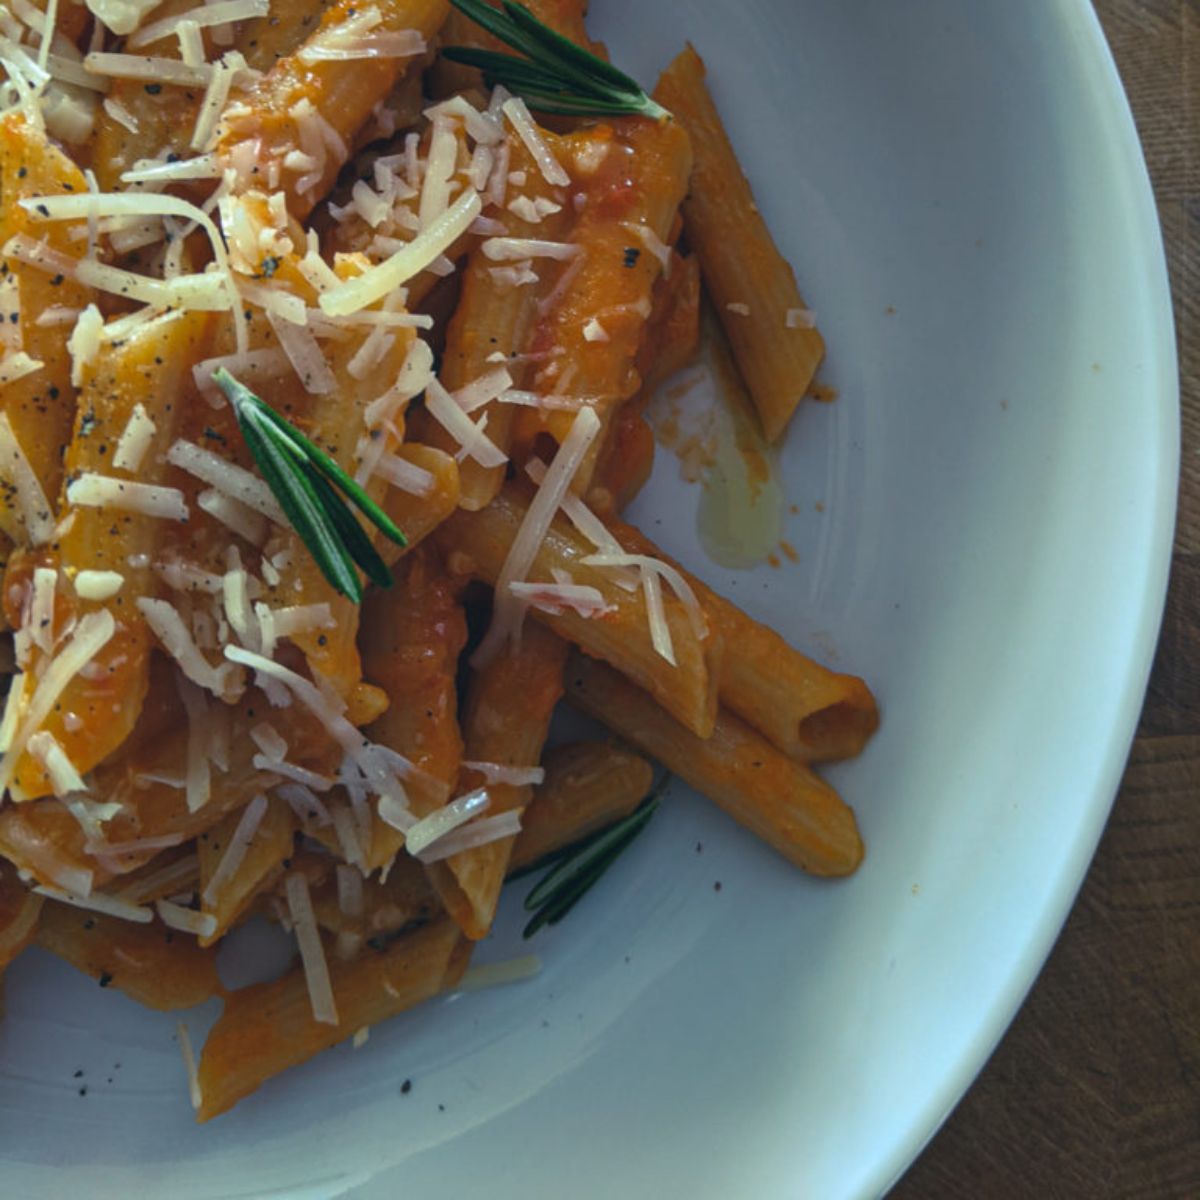
Oven-Baked Arrabbiata Sauce - The Most Delicious Pasta Sauce Ever
-
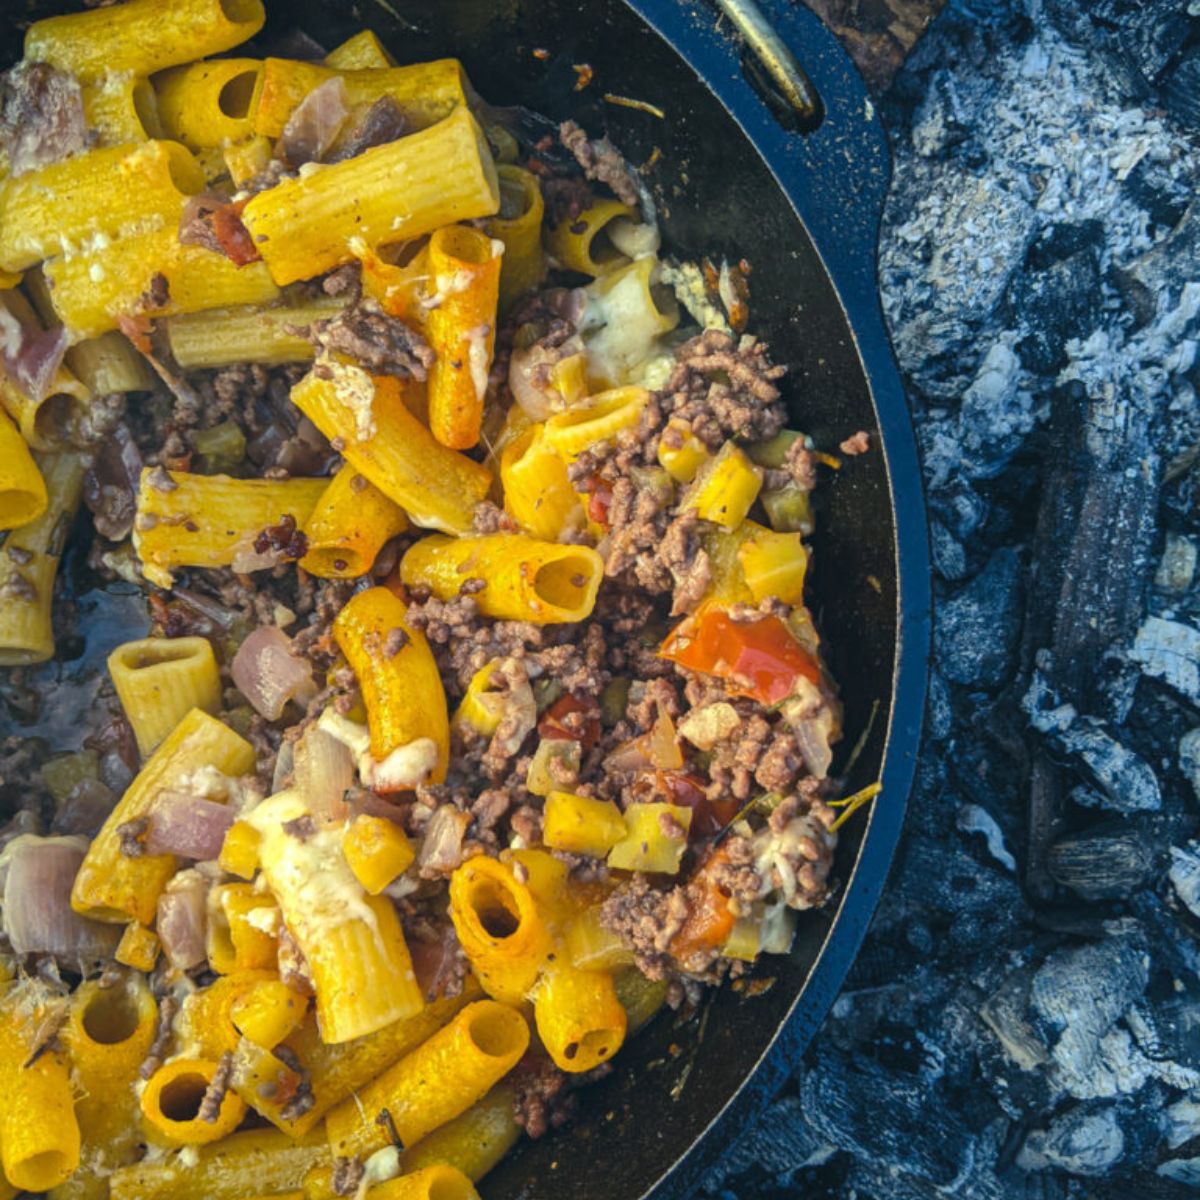
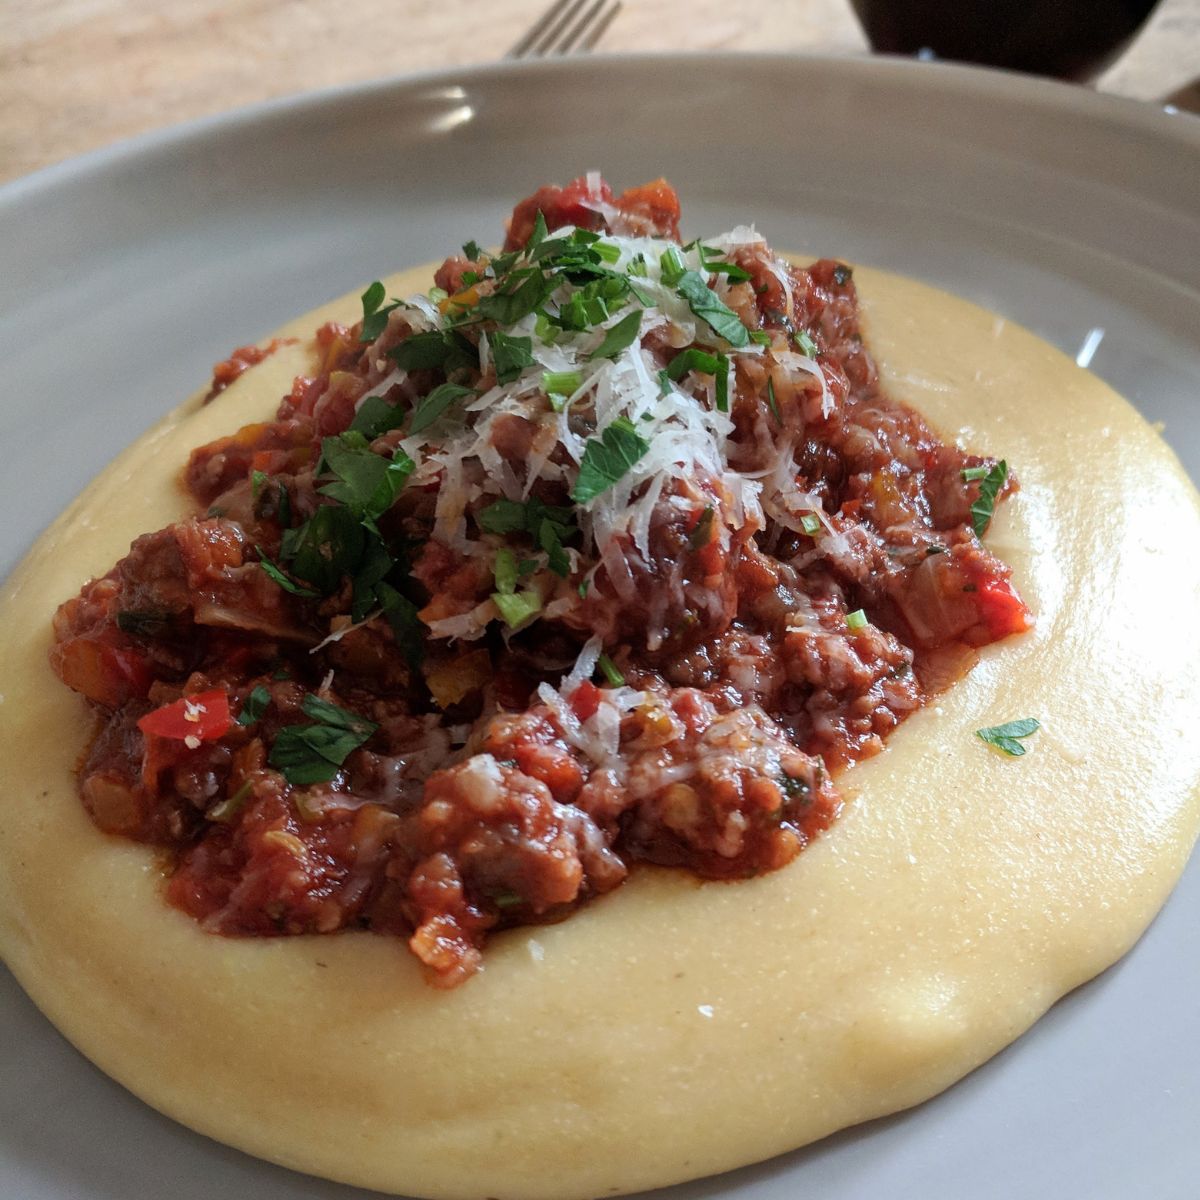
Campfire Pasta Bolognese with Burrata
-
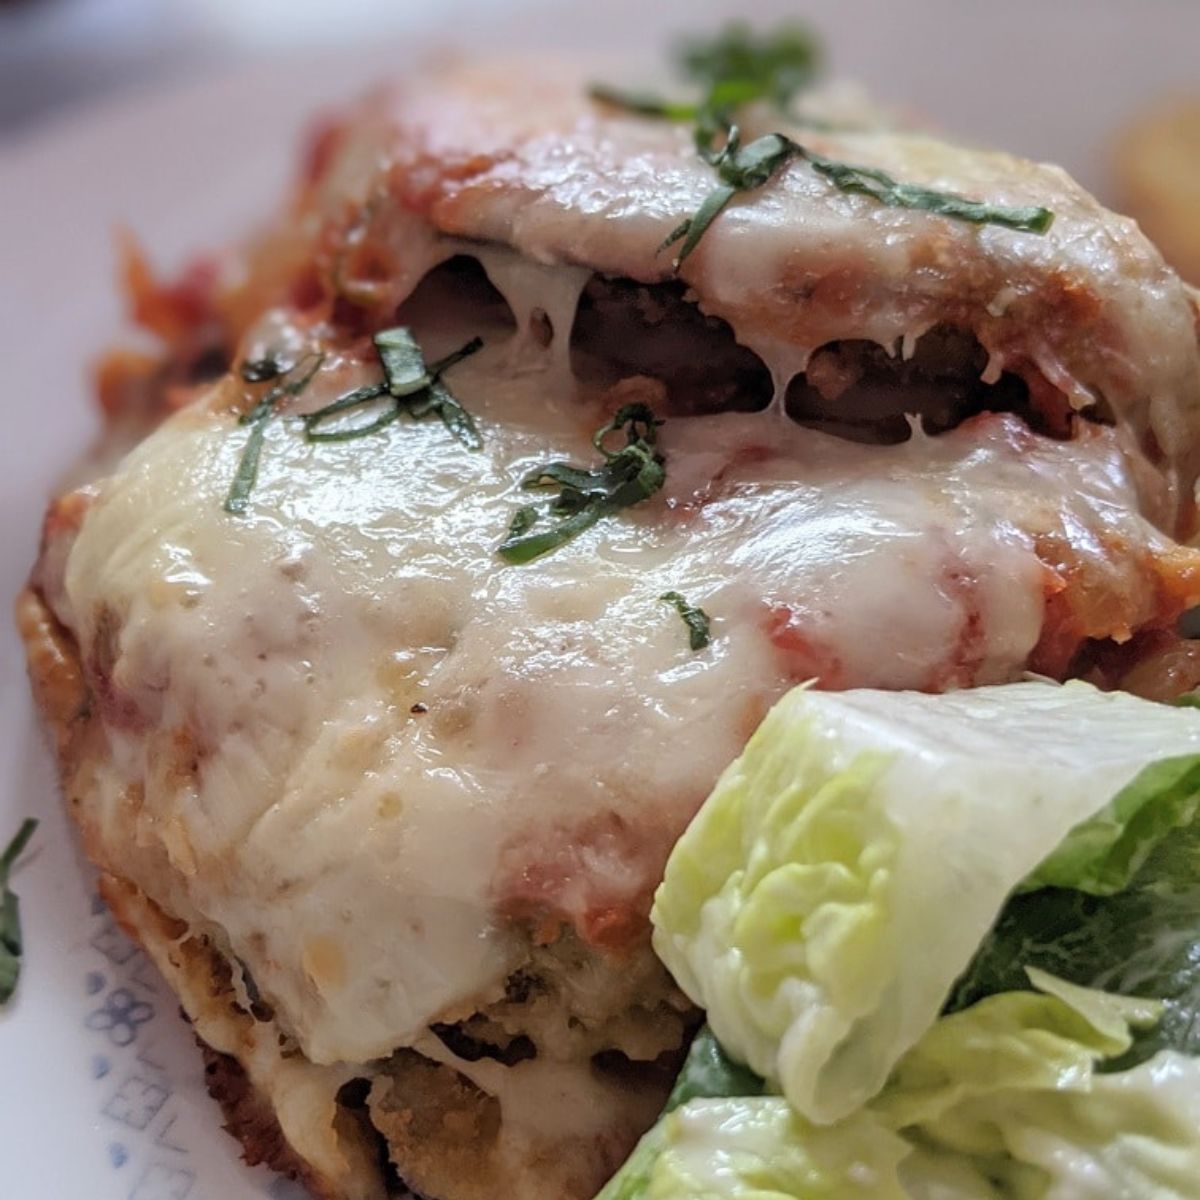
Eggplant Parmesan - A Drool-Worthy Sunday Project
-
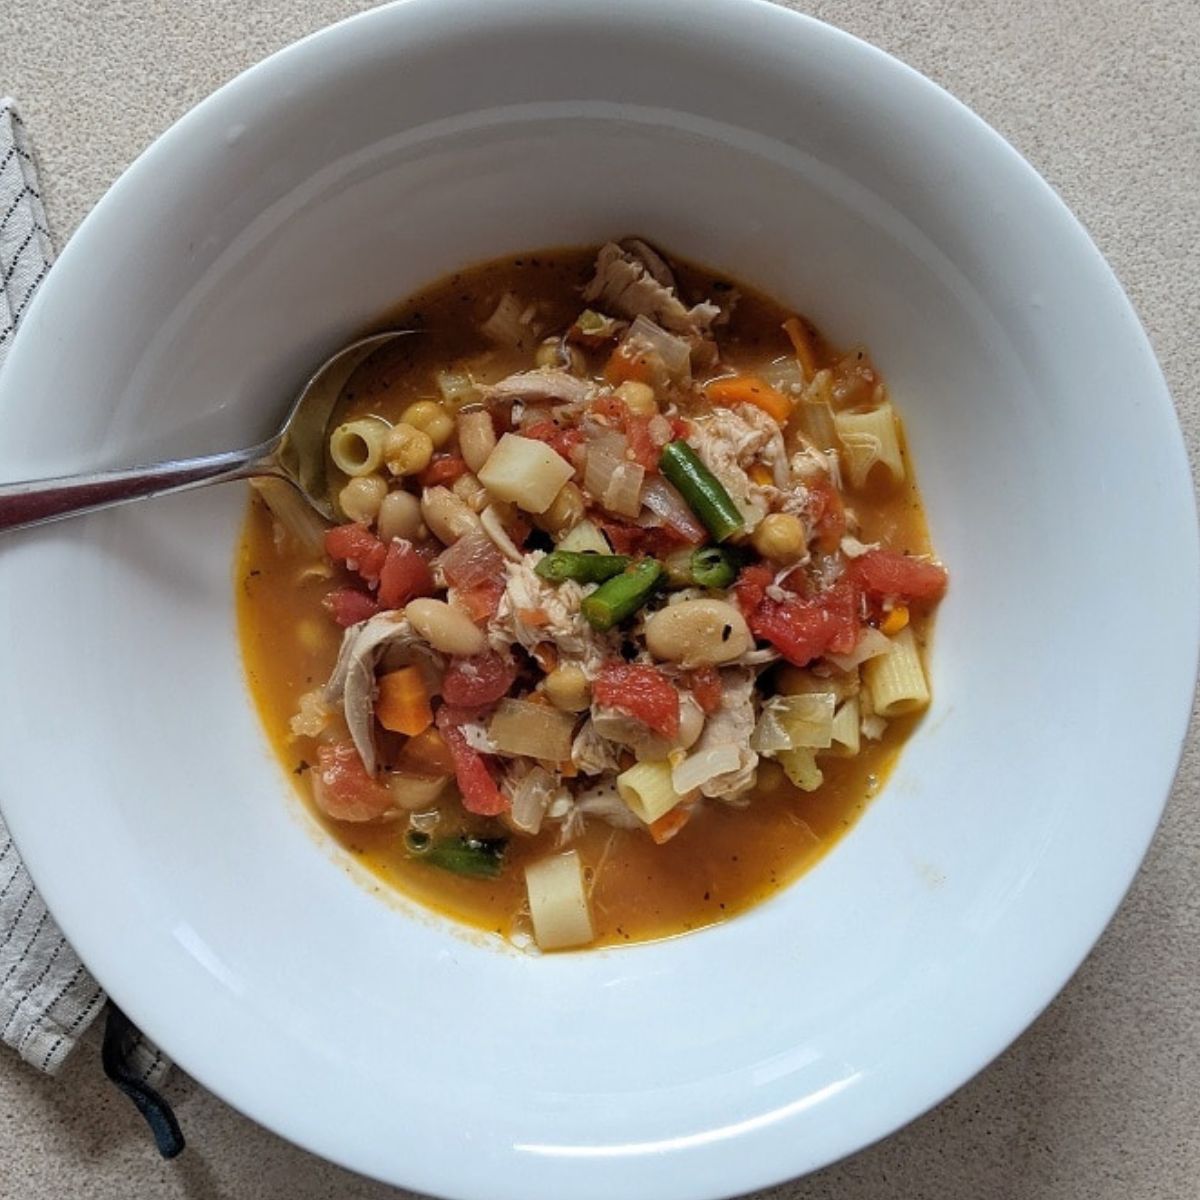
A Classic Minestrone Soup Recipe - The Heartiest of Soups
-
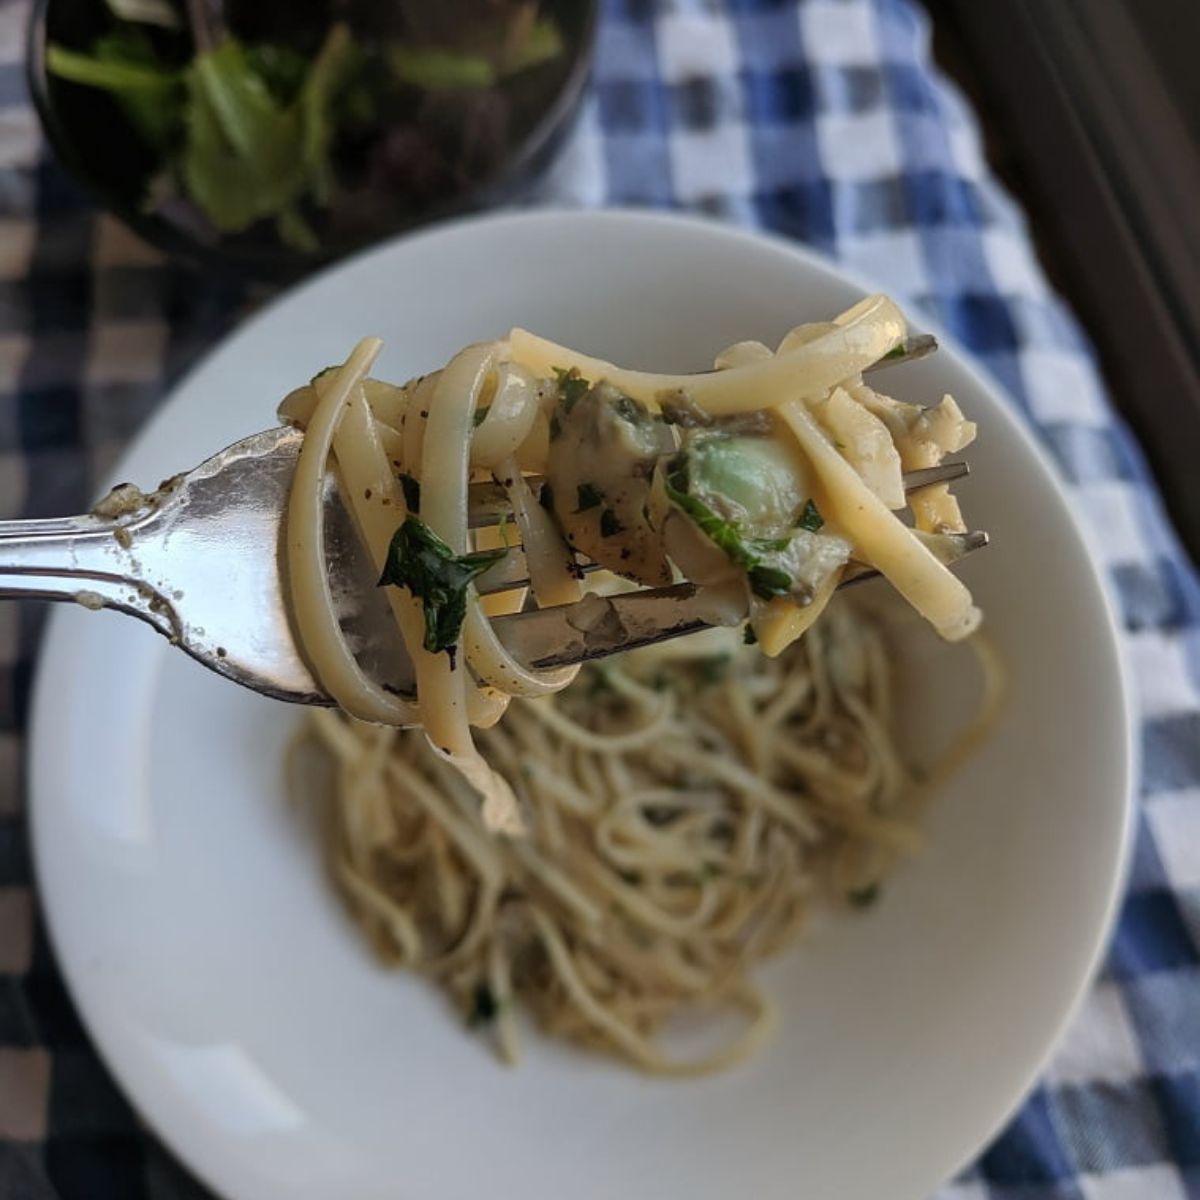
5 Simple Pasta Dishes You Need To Make Right Now
-
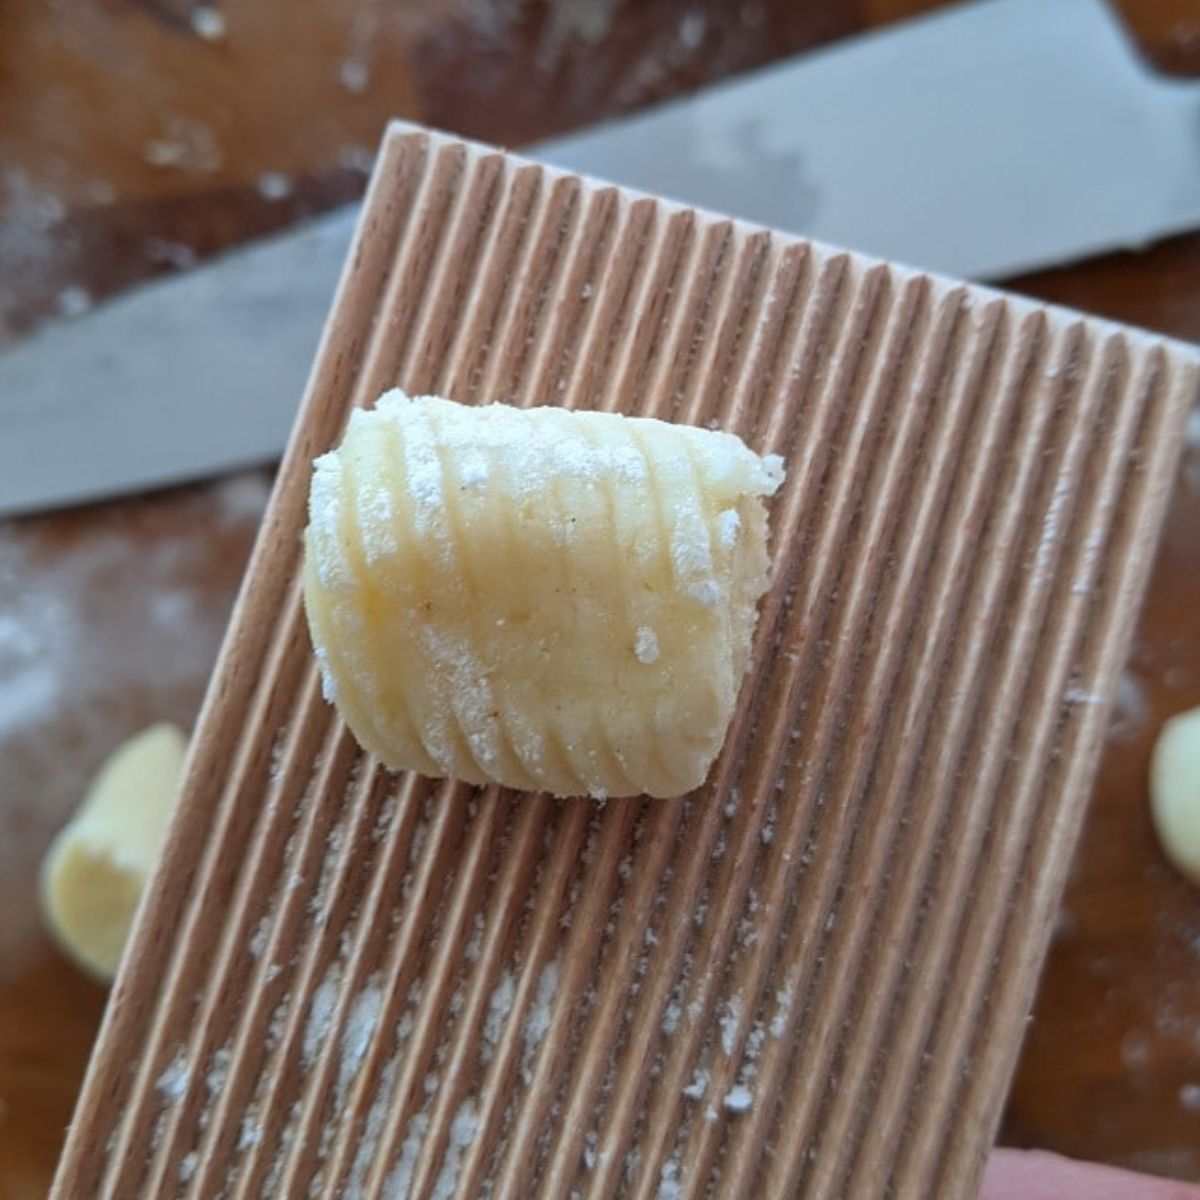
How To Make Gnocchi and Everything You Ever Wanted To Know About It
-
An Authentic Italian Meal Twenty Years In The Making
-
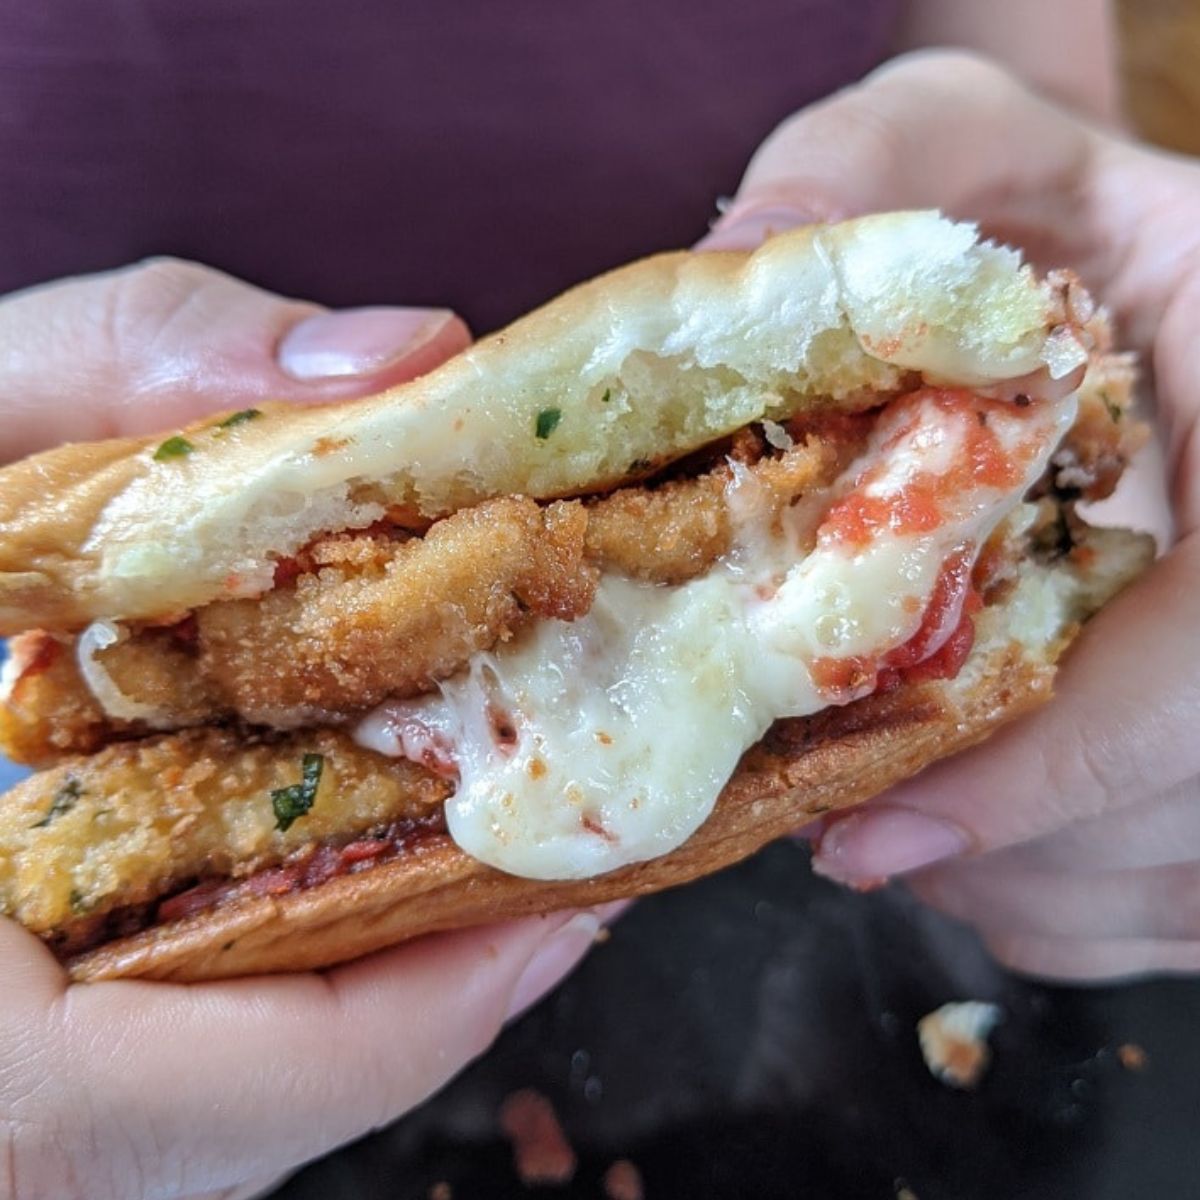
Gluten-Free Chicken Parmesan Sandwich
-
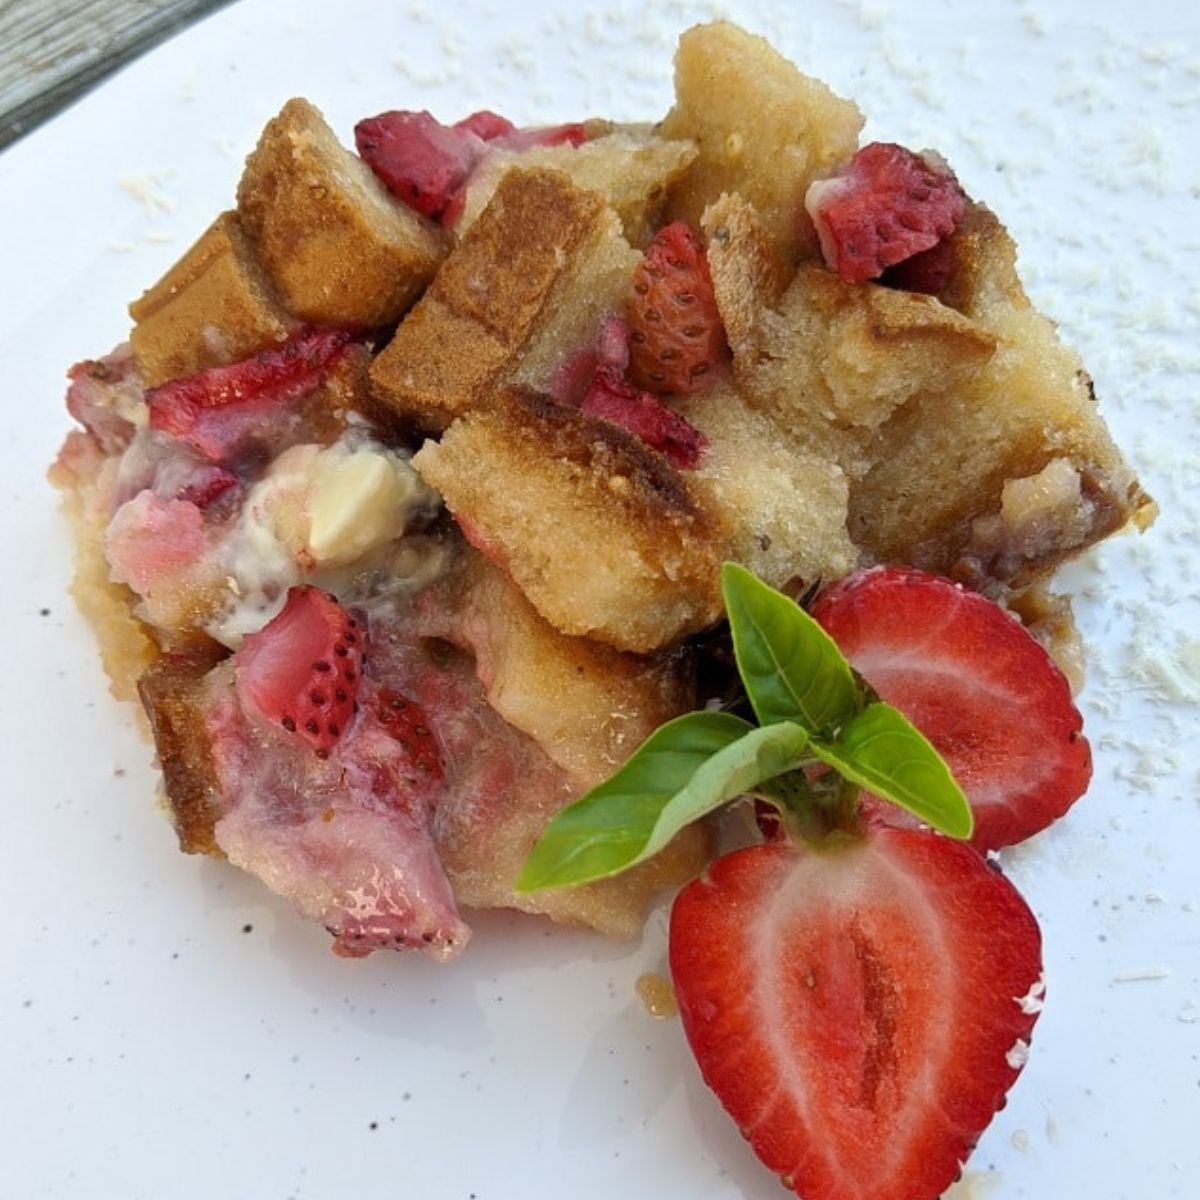
How To Make Strawberry White Chocolate Bread Pudding
-
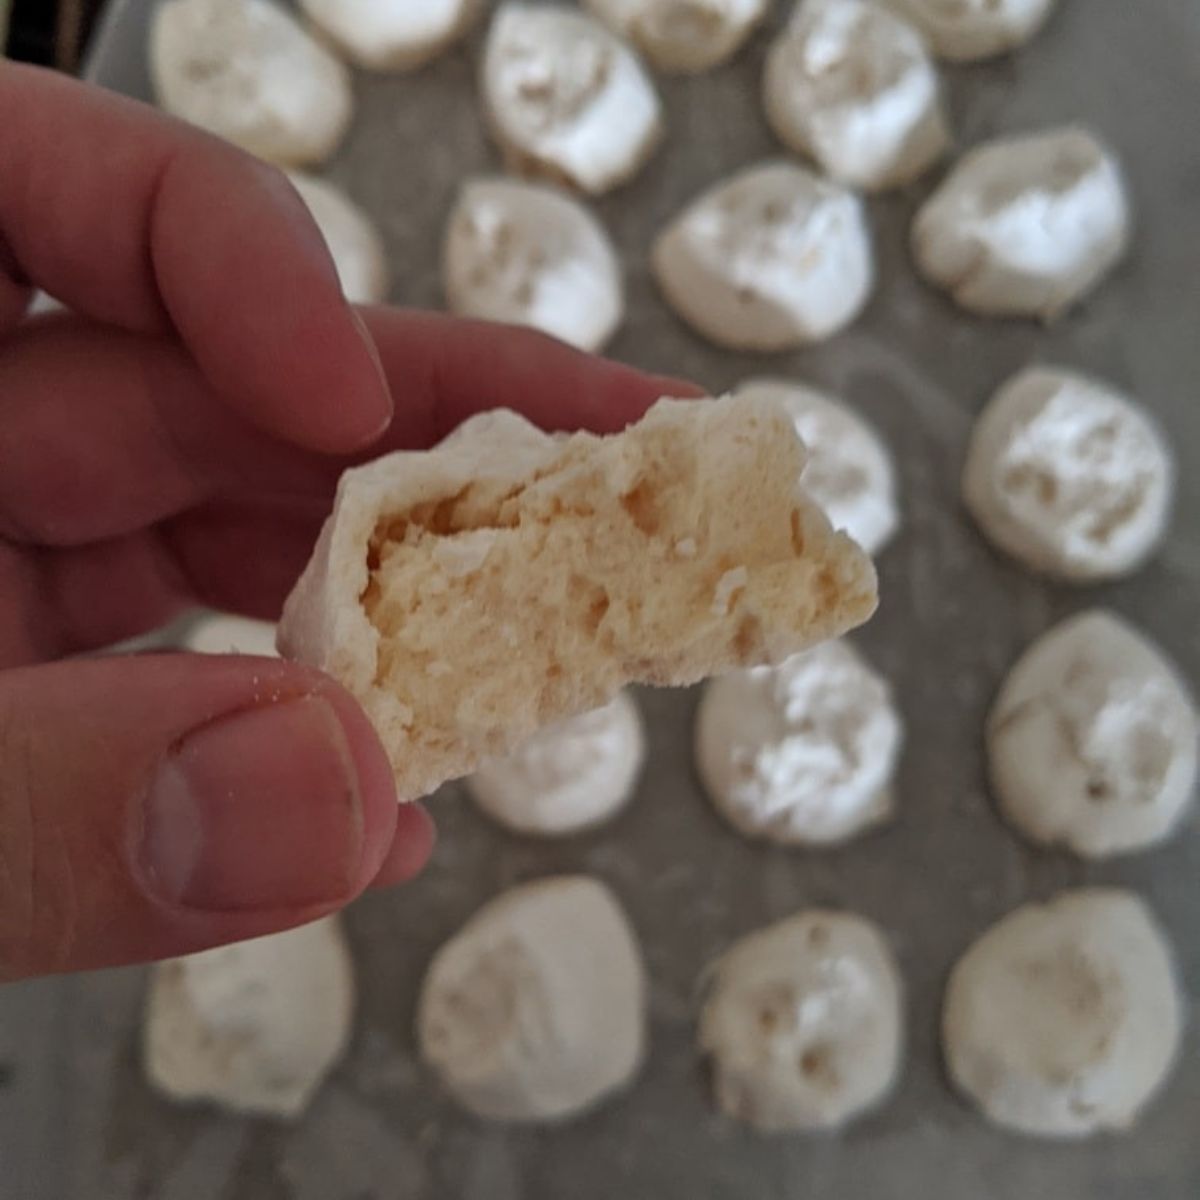
Delicious Italian Almond Meringue Cookies
-
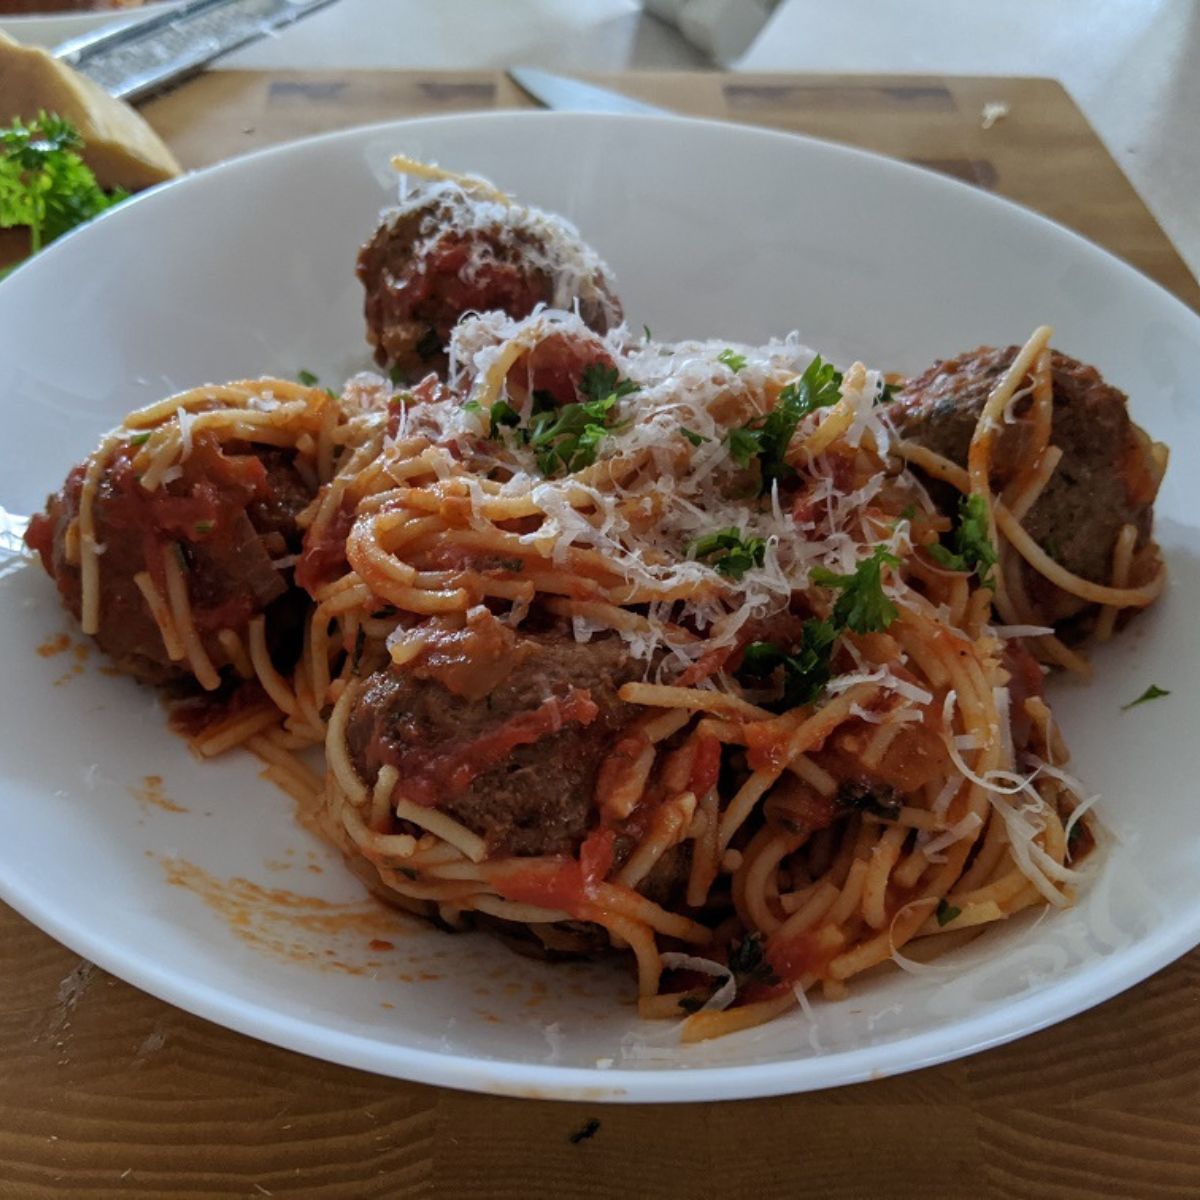
How To Make Spaghetti and Meatballs Like A Pro
-
Making Osso Buco From The Joy Of Cooking
-
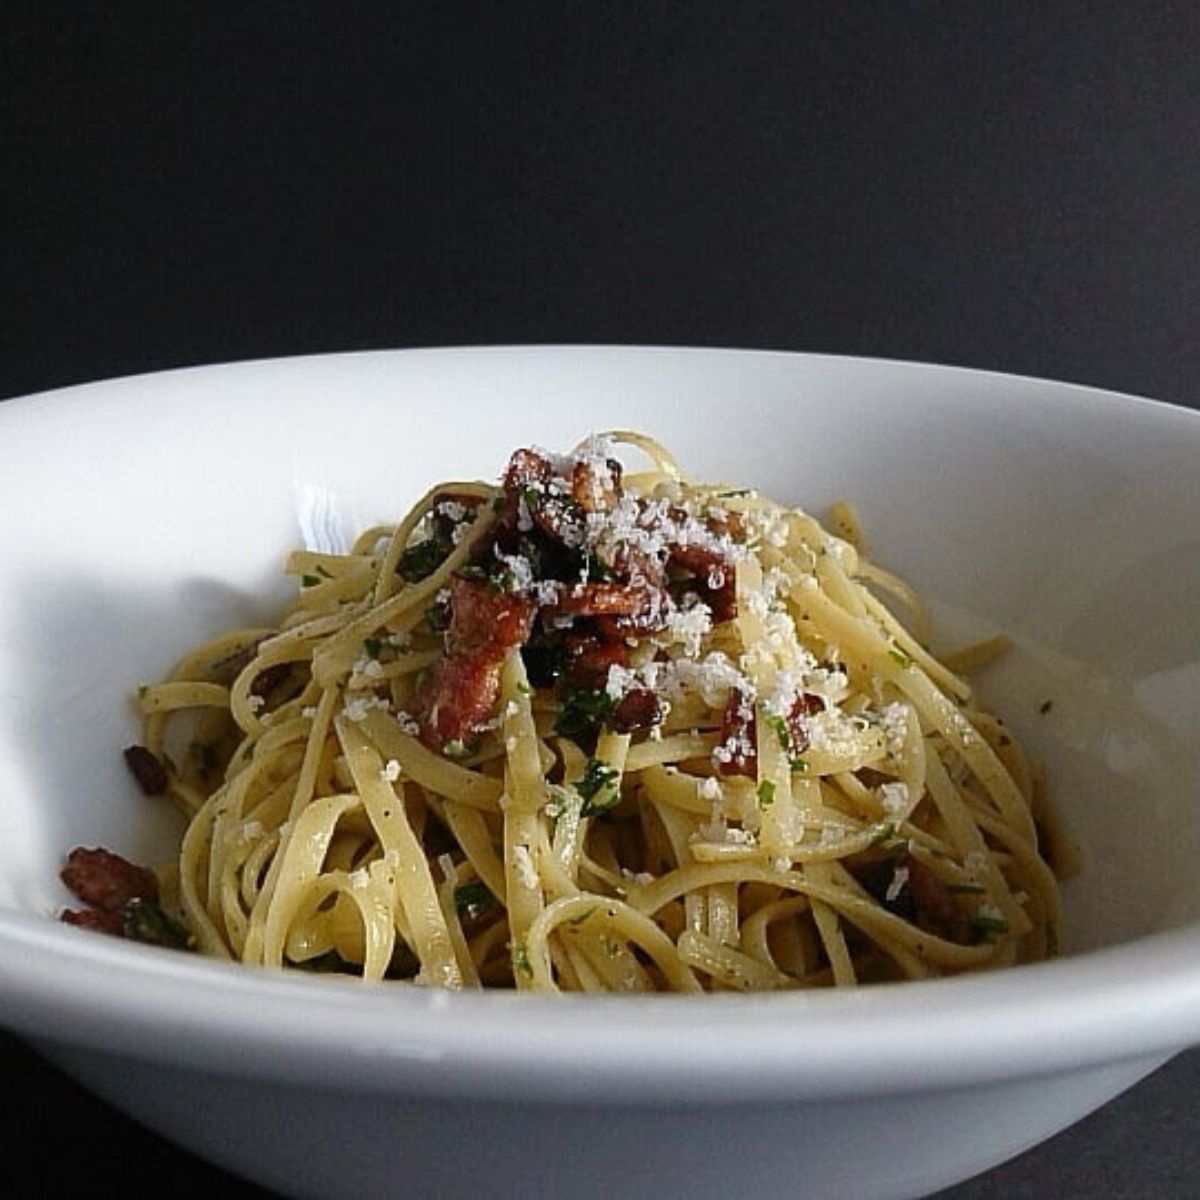
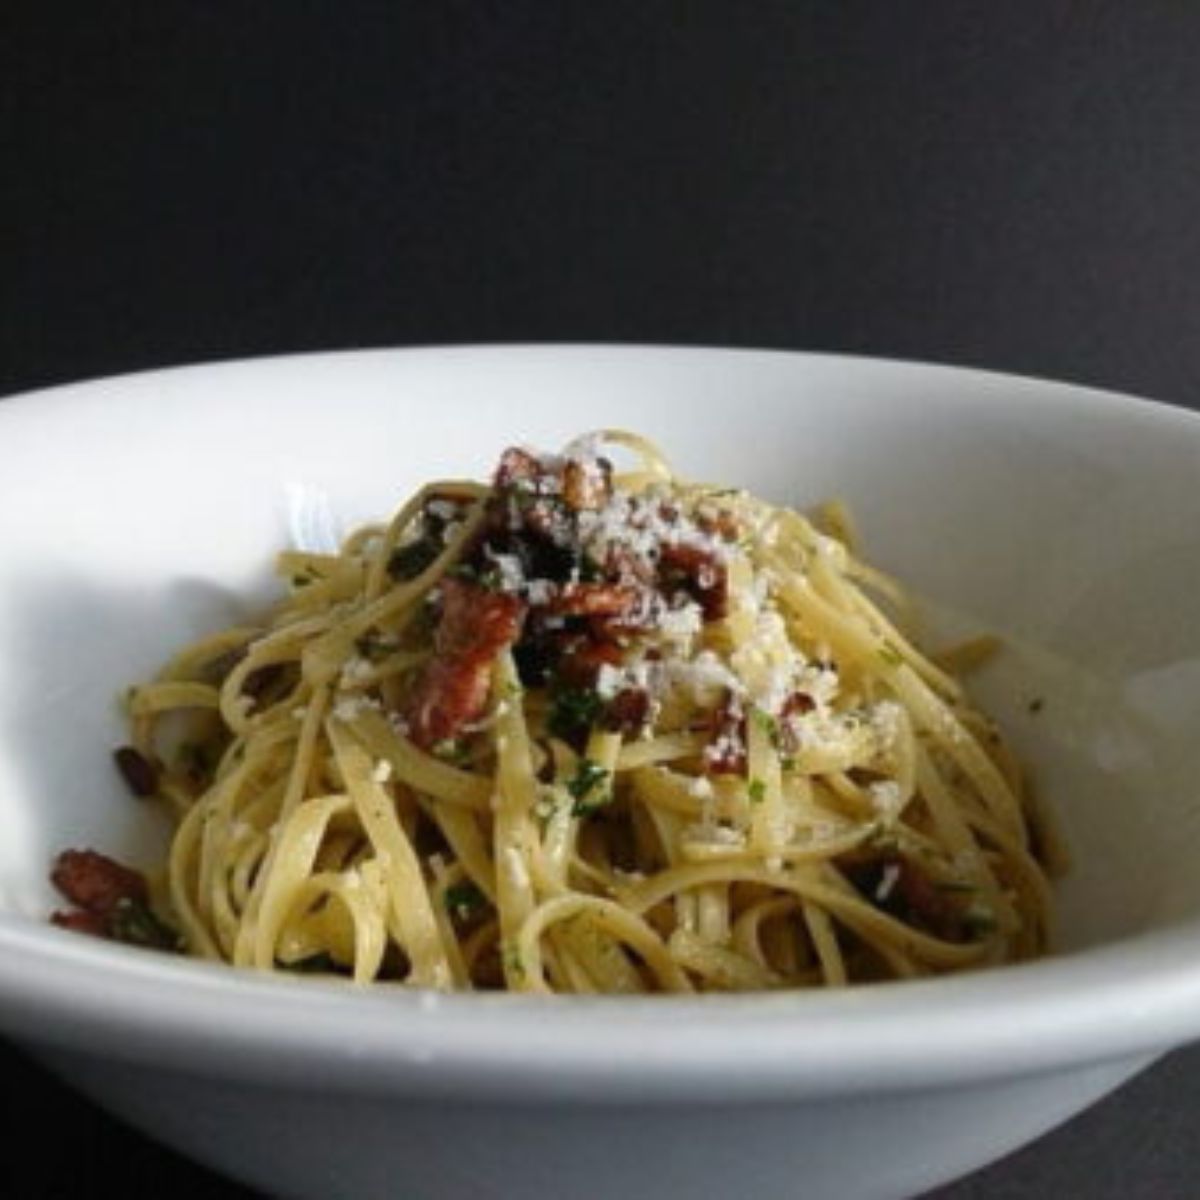
Everything I Know About Pasta Carbonara
-
The Food Of Northern Italy - Northern Italian Cuisine
-
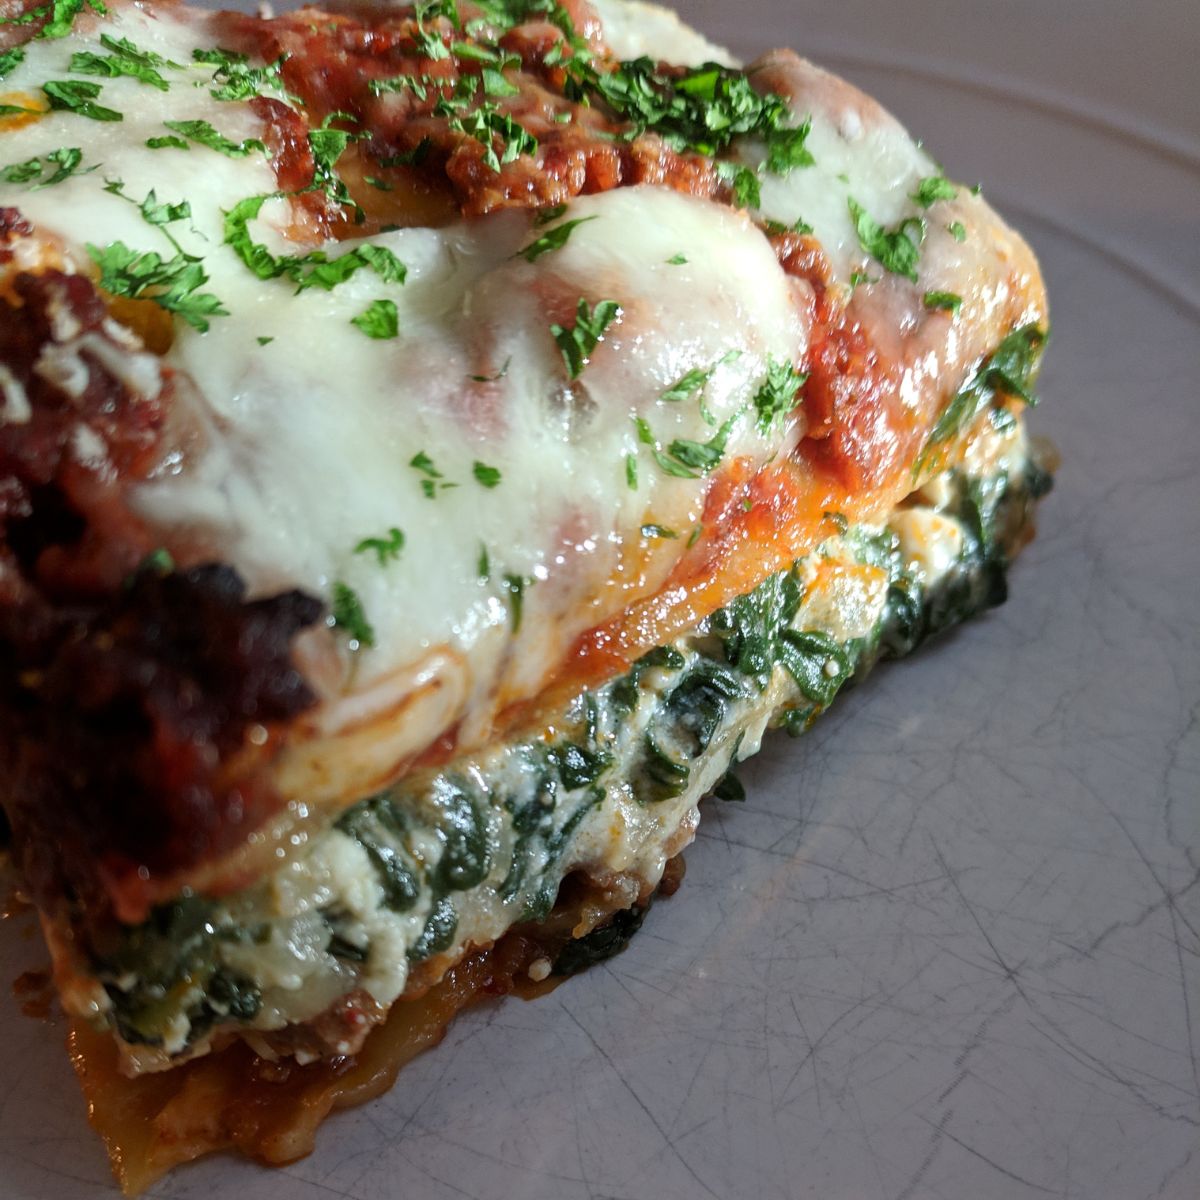
Everything I know about Lasagna
-
Everything you ever wanted to know about Polenta