If you are looking for a delicious and refreshing summer salad that you’ll want to share with your friends, this Curried Cucumber and Apple Salad is just the thing. Its bright flavours and pops of sweetness make it the perfect accompaniment to grilled or roasted meat, chicken or fish. You can serve it as a side or bulk it up with some protein for a meal. Either way, this is a recipe worth trying.
Curry Sauce
The curry sauce for this Curried Cucumber and Apple Salad combines yogurt, garam masala, honey, lemon juice, and a pinch of salt. You can switch the yogurt for mayonnaise and the garam masala for madras or yellow curry powder if you’d like. The mayonnaise-based version of this sauce makes an excellent dip for sweet potato fries. Combine the yogurt, garam masala, honey, and lemon juice in a medium mixing bowl to make the curry sauce. Once mixed, taste the sauce and season it as needed with salt. You can use the sauce right away or cover it and put it in the fridge for an hour to let the flavours blend a little more.
Curried Cucumber and Apple Salad
The salad ingredients are cucumber, apple, dried cranberries or raisins, cilantro, green onion, and slivered almonds. I made this salad with shaved cucumber, but I found that the cucumber became very soggy, and the salad was watery. So, I suggest dicing the cucumber. This salad is best when served right away, but you can make it ahead of time if you leave the cucumber out until the last minute. If you must make this Curried Cucumber and Apple Salad ahead of time with the cucumbers, remove the seeds from the cucumbers. The seeds contain a significant amount of the cucumber’s water content, so removing them will help prevent a watery salad. However, it removing the seeds will eliminate this problem entirely.
Making The Salad
To make the salad, dice half a cucumber and one apple and add them to the curry sauce. Next, add the dried cranberries, then slice the cilantro and green onions and put those in the bowl too. Finally, add the almonds and mix. Serve immediately.
Wrap-Up
This Curried Cucumber and Apple Salad makes a great sidedish with kabobs or grilled meat. You can make it a meal by adding cooked chicken breast or even tuna. Other ingredients that would go well in this salad include bell pepper, pecans, chickpeas, red onion, mint, and tomato. So take this recipe, and make it your own.
Thank you so much for coming to my blog and reading this post. I hope you’ve enjoyed it and taken something useful from it. This blog aims to share the knowledge and skills that I’ve learned over my 20-plus year cooking career to help make cooking more enjoyable and more accessible for those who don’t find it easy and enjoyable. If you’d like to be a part of that mission, there are a few ways that you can help. The easiest way to help is to share this post on Facebook or Pinterest or even just leave a comment below and give the recipe a good rating. If you’d like to help financially, join my Patreon by clicking here. Patrons get access to exclusive content, including live streams, monthly cooking videos and more. And, if you want to always know what’s going on with Chef’s Notes, you can subscribe to my monthly newsletter below, so you never miss a post. You get all the behind-the-scenes information and lots more.
Curried Cucumber and Apple Salad
Curry Dressing, Diced Cucumber and Apple, Dried Cranberries, and Almonds make this salad something special. Enjoy it as a side dish or add cooked chicken to make it a meal.
Quickles or quick pickles are exactly what they sound like. Pickles that are quickly made. While traditional pickles take weeks to properly pickle, quickles are made in less than an hour. You can flavour quickles with pickling spices, dill, garlic, mustard, or whatever else you’d like, just like regular pickles. Quickles are great on sandwiches, burgers, pulled pork, fried chicken, Bahn mi, or as a side with ham or charcuterie. In this post, I’ll share my Quickle recipe and discuss the main differences between regular pickles and quickles. You can find the recipe directly below but keep reading for more details.
Quickle Brine
Pickle Brine vs. Quickle Brine
Typical pickle brine is a solution of about 5 to 7% salt and anywhere from 1:1 to 1.5:1 vinegar to water. Quickles, on the other hand, typically have a higher salt and vinegar content. A quickle brine is an 8 to 10% salt solution with a 1.5:1 to 2:1 vinegar content. This higher salt and vinegar content in quickles is because the vegetables have less time to reach an equilibrium with the solution. Essentially, they need to absorb as much flavour as possible in as little time as possible.
What Types of Vinegar Can You Use?
You can make quickles with any vinegar you’d like. I prefer either cider vinegar or white wine vinegar, but red wine, rice, or balsamic vinegar will work. However, if using balsamic vinegar, remove the sugar from the recipe because the vinegar is already sweet.
What Salt Should You Use?
To make Quickles or any pickle, you want to use pickling salt or kosher salt. Both of these can be found at any grocery store. Do not use table salt because it has iodine in it, which will give the Quickles a harsh flavour.
How Long Will Quickles Last?
In a sealed container, quickles should last about two to four weeks in the fridge. If they start to smell off, or if mould forms on the surface, discard them. Ideally, you shouldn’t make more quickles than you will use in a week or so.
Making The Quickle Brine
To make the Quickle brine get a medium pot and add the vinegar, water, salt, and sugar. Bring the brine to a boil over high heat, stirring to ensure the salt and sugar dissolve. Once the brine comes to a boil, pour it over your vegetables. For crunchy Quickles, cool the brine in the fridge before adding the vegetables. The trade-off for this method is that the vegetables will have a less briny flavour.
Prepping Quickle Vegetables
Vegetables for Quickles should be cut thin. Otherwise, they won’t absorb any flavour. 2 to 3 mm is the perfect range. If you add hot brine to the vegetables, you can cut them a bit thicker. The vegetables I used were cucumber, carrot, onion, and watermelon radish. Other vegetables you can use include cauliflower, daikon, asparagus, green beans, beets, etc. Essentially, if you can make regular pickles out of it, you can use it to make quick pickles So, slice the vegetables and put them in a clean jar or container. When making Quickles, you don’t have to worry about sterilizing the container as you would for regular pickles because the risk of contamination is low to non-existant.
Finishing The Quickles
To finish the Quickles, pour the hot or cold brine over the vegetables, cover them, and cool them to room temperature. If the brine is cold, cover the Quickles and put them in the fridge for at least an hour before use. For the hot brine method, the quickles are ready to use once the brine cools to room temperature. After they’re cool, store the quick pickles in the fridge.
The Wrap Up
I love these quick pickles for many reasons, but mainly because of how versatile they are and how quick they are to make. If I want to make a Banh Mi Sandwich, I can make a fresh batch of Quickles and have them ready in less than an hour. You can’t beat that. I suggest that you experiment with this recipe and make it your own. The world is your oyster when it comes to making Quickles.
Thank you so much for coming to my blog and reading this post. I hope you’ve enjoyed it and that you’ve taken something useful from it. This blog aims to share the knowledge and skills that I’ve learned over my 20-plus year cooking career to help make cooking more enjoyable and more accessible for those who don’t find it easy and enjoyable. If you’d like to be a part of that mission, there are a few ways that you can help. The easiest way to help is to share this post on Facebook or Pinterest or even just leave a comment below and give the recipe a good rating. If you’d like to help financially, join my Patreon by clicking here. Patrons get access to exclusive content, including live streams, monthly cooking videos and more. And, if you want to always know what’s going on with Chef’s Notes, you can subscribe to my monthly newsletter below, so you never miss a post. You get all the behind-the-scenes information and lots more.
Quickles (Quick Pickles)
Quickles or Quick Pickles are exactly what they sound like; Pickles that don't take long to make. These pickles have carrot, onion, radish, and cucumber but you can use any firm vegetable you'd like.
Could roasted lemon parmesan broccoli be the best broccoli side dish there is? It is very possible. And I’m willing to say yes. The texture and flavour of roasted broccoli are something enjoyable and unexpected. Some friends and family members may turn up their noses when you say you’re having broccoli with dinner. But, when you serve them this, they will change their tune. If they don’t, you can always get new friends and family. Alright, let’s get cooking!
How To Make Roasted Lemon Parmesan Broccoli
Usually, at this point in the post, I would list all the ingredients in the recipe but do I really need to? I mean, it’s all kind of there in the name. The only additional ingredients are olive oil, crushed red pepper flakes and salt. So, that’s it. Now, the first step to making this dish is optional. You don’t have to do it. It will just speed up the roasting time. The benefit of not doing it is that the finished broccoli will be crisper. So, do you want a quicker cooking time or more crispy broccoli? That is a decision you’ll have to make for yourself. And this first step I’m talking about is, of course, blanching.
How to cut broccoli
First things first, you need to cut the broccoli into florets. Cut the bottom inch or two off the stem and discard it. You don’t need it. Now, cut the broccoli from the bottom up. Cut the stem, not through the florets. This will keep most of the broccoli intact and will make less of a mess than if you cut it from the top down. In total, you want between four and five cups of broccoli.
How to blanch broccoli
Before you start cutting the broccoli, fill a large pot with water. Add a teaspoon of salt and bring it to a boil on high heat. Also, get a medium or large mixing bowl, and add some ice and water to it. Put the cut broccoli in the boiling water for one minute. Drain the broccoli and immediately add it to the ice water. Gently stir the broccoli until it has completely cooled. Next, drain the broccoli again. This time, drain as much water off of it as possible. Then pat it dry with a clean kitchen towel or a paper towel. The more dry the broccoli, the more roasted it will be. Blanching has the added effect of helping to keep the broccoli bright green rather than turning brown in the oven.
Seasoning the broccoli
The broccoli is cut, blanched, and dried. Now it’s time to season and roast it. To make the seasoning grab another mixing bowl and put in it the crushed red pepper flakes, olive oil, and salt. Put the broccoli in the bowl and stir to coat it. Next, zest the lemon into the bowl and grate the parmesan in as well. Mix the broccoli really well. Rather than doing this the way that I did, which was kind of dumb, you can zest the lemon and grate the parmesan into the oil, mix it up, then toss in the broccoli. I’m not sure why I did it the way I did. Also, if you choose not to blanch the broccoli, don’t add the parmesan until the broccoli is almost cooked, or it will burn.
How to roast broccoli
Preheat your oven to 400°f. Line a baking sheet with parchment paper and spread the seasoned broccoli out onto the sheet pan in a single layer. Put the broccoli in the oven on the middle rack for 15 minutes. Then, take the broccoli out of the oven, flip the pieces, and put it back in the oven for another 12 to 15 minutes or until the broccoli is golden brown. If you didn’t blanch the broccoli, roast it for 22 minutes, flip and roast it for another 18 to 22 minutes, adding the parmesan 10 minutes after flipping it. When the broccoli comes out of the oven, finish it with a little more parmesan cheese and a squeeze of fresh lemon juice. Then, you can eat it as is for a snack, serve it as a side dish, or put it in a salad.
Wrap Up
It is no secret that I love roasted vegetables, but roasted broccoli has to be one of my absolute favourites. It always reminds me of my first job working in a Chinese Restaurant. Not because that restaurant served roasted broccoli, but because when broccoli was stir-fried in those super hot commercial woks, it took on that same roasted flavour. If you’ve never had roasted broccoli, you are missing something special from your life. You don’t even need to add the lemon and parmesan to enjoy it. It will be delicious no matter what.
Thank you so much for coming to my blog and reading this post. I hope you’ve enjoyed it and that you’ve taken something useful from it. This blog aims to share the knowledge and skills that I’ve learned over my 20-plus year cooking career to help make cooking more enjoyable and more accessible for those who don’t find it easy and enjoyable. If you’d like to be a part of that mission, there are a few ways that you can help. The easiest way to help is to share this post on Facebook or Pinterest or even just leave a comment below and give the recipe a good rating. If you’d like to help financially, join my Patreon by clicking here. Patrons get access to exclusive content, including live streams, monthly cooking videos and more. And, if you want to always know what’s going on with Chef’s Notes, you can subscribe to my monthly newsletter below, so you never miss a post. You get all the behind-the-scenes information and lots more.
Roasted Lemon and Parmesan Broccoli
Roasted Lemon and Parmesan Broccoli makes a delicious snack or side dish for any meal. Roasted broccoli takes on a different flavour and texture than steamed broccoli that will surprise and delight your family and friends.
Keyword: broccoli, parmesan, Roasted Vegetables, Side Dish
Servings: 4servings
Author: Chef Ben Kelly
Equipment
2 mixing bowls
1 cutting board
Measuring Spoons
1 Large Pot
1 Colander
1 sheet pan
parchment paper
1 clean kitchen towel
1 spoon
1 spatula
Ingredients
4 – 5 cupsbroccoli florets
2tbspolive oil
1pinchcrushed red pepper flakes
1 1/2tspsalt split
1/4cupgrated parmesan split
1tbsplemon zest
1/2lemon, juiced
Instructions
Heat your oven to 400°f.
Cut the stem off the broccoli and discard. Next, cut the broccoli into florets.
Fill a large pot with water and 1 tsp of salt. Bring to a boil. Fill one medium mixing bowl with ice water.
Put the broccoli florets in the boiling water for 1 minute, then drain and put in the ice water. Stir until cooled. Drain well and pat dry with a clean kitchen towel.
In another mixing bowl, combine the olive oil, 1/2 tsp of salt, crushed red pepper flakes, lemon zest, and 2 tbsp of parmesan cheese. Mix. Add the broccoli and stir to coat.
Line a sheet pan with parchment paper and spread the broccoli out onto it in a single layer. Put the broccoli in the oven on the middle rack and roast for 15 minutes.
Remove the pan from the oven, flip the broccoli pieces, and roast for an additional 12 to 15 minutes or until the broccoli is golden brown. Then, remove the broccoli from the oven.
While still hot, season the broccoli with lemon juice and the remaining 2 tbsp of parmesan. Serve.
Pico de gallo, you’ve heard the name, you’ve seen it around, you might have even eaten it. But, do you know what it is? How to make it? In today’s post, you’ll learn everything you ever wanted to know about this delicious Mexican dish, including how to make it and what to do it. So, without further ado, gather some friends because pico de gallo is meant for sharing. Now, let’s get cooking. You can find the recipe directly below, but keep reading for more information.
What’s the difference between Pico de Gallo and Salsa?
There are many different kinds of salsa. Salsa means sauce. Think about how many different kinds of sauce there are in French cooking. There are hundreds, if not thousands. Mexican cuisine is the same. They have countless versions of salsa. Some are like the thick, cooked version you buy in the jar at the grocery store. There are salsas that are liquids or very liquidy. Then, there are salsas like pico de gallo that are uncooked. Essentially, pico de gallo is composed of the same ingredients as a grocery store salsa, but it’s not cooked. Everything is fresh. This gives pico de gallo more of a bite and fresh summery flavour. Some people consider pico more of a finely chopped salad or side dish than a salsa, but I disagree. And honestly, how you think of it doesn’t really matter. It tastes just as delicious either way.
Traditional pico de gallo is typically onion, cilantro, tomatoes, peppers, and lime. Today’s version is not far off the traditional recipe, but with the addition of a little garlic and some spices. Check out this link to learn more about pico de gallo.
How To Make Pico de Gallo
Ingredients
The ingredients for this recipe are tomatoes, cilantro, pickled jalapeno, garlic, red onion, cumin, salt, red wine vinegar, lime juice and zest. All of the ingredients are hand-cut, very small. I used pickled jalapenos because I had them on hand, and while adding a little heat, they help balance the acidity of the finished salsa. Of course, you can leave out the cumin if you’d like, but I find that it adds a nice flavour.
Making Pico de Gallo
There really isn’t too much to say about making pico de gallo. I already mentioned cutting everything very small by hand. It’s essential that you don’t just throw everything into a blender or food processor. Pico de gallo should have texture. You should be able to see the different ingredients. Put all the ingredients in a medium mixing bowl, and mix well. When zesting the lime, make sure you only get the green part in the bowl and zest the lime directly over the bowl keeping the flavour from the essential oils in the food rather than on a cutting board. You can use the pico de gallo immediately after making it, but covering it and putting it in the fridge for an hour helps the flavour develop.
Uses
What do you do with it once you’ve made pico de gallo? You can throw it on a taco, dip chips in it, and put it on a piece of grilled fish. Or, put it in a burrito. Think of it not just as a dish on its own but as an additional ingredient. Over the years, I’ve made a bunch of different salsas on this site and if you like this recipe, you may also like my pineapple pico do gallo and my mango pico de gallo. If you want to learn more about salsa in general, check out this post I did about Everything I Know About Salsa.
The Wrap-Up
If you’ve never had a fresh salsa like pico de gallo, you’ve got to try it at least once. It’s an entirely different beast from the grocery store variety. But, even if you make it just to dip chips in, you’ll be happy you gave it a chance. Next week’s post will be similar to this in a way. I don’t want to give away too much just yet. But, this post and next week’s post are building to something that I’m very excited to share with you, so stay tuned cause you’re not going to want to miss it.
That does it for today. Thanks for reading. I hope you’ve enjoyed the post. Remember to share this on Facebook or Pinterest and leave a comment below. I love to hear from you. Finally, remember to sign up for my mailing list so you don’t miss out on exclusive recipes and cooking tips. Members of the mailing list also get a sneak peek at all the upcoming posts. Sign up below. Have a great day! I’ll see you back here next Thursday.
Pico de Gallo
Pico de Gallo is fresh salsa used commonly in Mexican cuisine. Use it for dipping tortilla chips, topping tacos and more.
Creamed spinach has been a steakhouse classic since there have been steakhouses. The creamy, spinachy flavour pairs so perfectly with a nice steak or pork chop that they are a match made in heaven. However, just because something is a classic doesn’t mean we shouldn’t try and do better. So, this post starts with a question. Could the classic steakhouse creamed spinach be any better? I think yes. So, I’ve taken the classic steakhouse creamed spinach and married it with my favourite spinach dip recipe to create something even more special. This is my Best Ever Steakhouse Creamed Spinach recipe. Enjoy.
Creamed Spinach Ingredients
The ingredients for my Best Ever Steakhouse Creamed Spinach are baby spinach, cream, milk, onion, garlic, dried basil, grated nutmeg, salt, pepper, parmesan cheese, swiss cheese, olive oil, and butter. If you don’t want to use cream, you can make a bechamel with milk instead. In that case, double up on the milk, and after the onions and garlic are sautéd, add 2 tbsp of flour to the pan. Stir in the flour, and make sure it is well and truly mixed. Then add the spinach and follow the recipe as it is. You can also substitute the swiss cheese for a sharp cheddar if you’d like.
How To Make The Best Ever Steakhouse Creamed Spinach
Getting Started
Heat a large skillet on medium-high. Add olive oil and butter to the pan. Once the butter melts and foams, add in the onions and sauté for about three minutes, or until the onions soften. Then, add the garlic and sauté for one more minute.
The Next Step
Once the garlic becomes aromatic, add the spinach and cook until it is all wilted, about three to four minutes. Seasoning the spinach with a pinch of salt will help it wilt a little faster. If there is a lot of liquid in the bottom of the pan from the spinach, keep cooking until that has mostly all evaporated.
Moving On
Once the spinach is wilted and most of the liquid from the spinach has evaporated, add the nutmeg, basil, milk, and cream to the pan. Bring the pan to a boil, then reduce the heat to medium-low and simmer for about eight to ten minutes, or until the dairy thickens.
Finishing The Steakhouse Creamed Spinach
The final step is to add the parmesan and swiss cheese. Keep cooking until the cheese has melted and is mixed into the spinach. Taste the spinach and season with salt and pepper as needed. The reason we wait until now to fully season the dish is twofold. First, if we season in the beginning, that salt flavour will become stronger as the milk and cream reduce. Number two, the cheese will add a bit of saltiness to the dish, so until that’s added, we don’t know how much salt is needed. When finished, the creamed spinach should be thick enough that a line drawn down the middle of the pan with a spoon stays for at least two seconds.
The Wrap-Up
Creamed Spinach might not be a dish that you often think about, but the next time you’re having a nice steak, or a really good pork chop, it should come to your mind. It makes such a great side dish and elevates the whole meal. It is such a classic steakhouse dish for a reason. It’s really good, and it’s worth a try.
That does it for today. Thanks for reading. I hope you’ve enjoyed the post. Remember to share this on Facebook or Pinterest and leave a comment below. I love to hear from you. Finally, remember to sign up for my mailing list, so you don’t miss out on exclusive recipes and cooking tips. Members of the mailing list also get a sneak peek at all the upcoming posts. You can sign up below. Have a great day! I’ll see you back here next Thursday.
Steak House Creamed Spinach
Creamed Spinach is a classic sidedish of high-end steakhouses around the world. Now, you can enjoy it at home. This version is like a cross between a really good spinach dip, and creamed spinach. It tastes amazing but this porbably isn't something you want to eat every day.
Heat a large skillet over medium-high heat. Add the butter and olive oil. Once the butter melts and starts to foam, add the onions and sauté them for about 3 minutes or until they begin to soften.
Add the garlic to the onions and sauté for another minute.
Add all of the spinach to the pan and cook until it is all wilted. This will take 2 to 3 minutes.
Pour the cream and milk into the pan, followed by the nutmeg, dried basil, and a pinch of salt and pepper. Bring to a boil, then turn the heat down to medium-low and simmer for 8 to 10 minutes or until it thickens.
Stir the parmesan and swiss cheese into the spinach until it melts and is fully incorporated. Taste the spinach and season with salt and pepper as needed.
Serve with your favourite steak or pork chop recipe.
Do you like making hummus? You do? Good! I’ve got just the thing for you. But first, throw away those chickpeas and grab a head of cauliflower because today is all about Roasted Cauliflower Hummus. Don’t worry. You’re not seeing things. You read that right. Hummus, made of cauliflower. It probably sounds crazy to you now, but once you try it, it might become your new favourite hummus recipe. I know that’s a bold statement. But, if you’ve been reading this blog for any amount of time, you know I don’t make those statements lightly. You know I also don’t want you to take my word for it. So, grab a head of cauliflower, crank up your oven, and let’s get cooking.
Roasting The Cauliflower
I didn’t invent cauliflower hummus. But, I think I’ve taken it to a level I’ve not seen before. Maybe I’m wrong, but it’s still a great recipe. One of the challenges to making cauliflower hummus is that you still want that deep nutty flavour from chickpeas. So, to do that, I decided to roast the cauliflower. Since I’m roasting the cauliflower, I thought, why not roast the spices too to add more depth to them. So, that’s what I did.
Making the Cauliflower Rub
The first step to making Roasted Cauliflower Hummus is to create a rub. It is composed of spices you would expect to see in any hummus recipe. It’s cumin, salt, and paprika mixed with olive oil (you can get the measurements in the recipe above). Mix the spices and the oil until they are thoroughly combined.
Preparing the Cauliflower
Once the rub is made, turn your attention to the cauliflower. First, cut the stem and leaves away, then cut the cauliflower into florets. As with broccoli, it is easiest to dismantle the cauliflower from the bottom, cutting the stems rather than from the top cutting through the florets. This technique will leave much less of a mess behind. Not all cauliflower heads are the same size, so aim to get one about the size of a canteloupe.
Roast the Cauliflower
Once the cauliflower is cut into smaller pieces, put those in the bowl with the spice rub and stir or toss until the cauliflower is completely coated. Try and use all of the rub. Next, spread the seasoned cauliflower onto a parchment-lined sheet pan and roast in a 400°f oven for 30 to 35 minutes or until tender. Once the cauliflower is roasted, you have a hard choice to make. Do you eat the cauliflower as it is? Or do you save it and make the hummus? Why is this a hard decision? The roasted cauliflower tastes fantastic as it is, and I found it very addictive. If you choose to proceed and make the hummus, let the cauliflower cool to room temperature.
How To Make Roasted Cauliflower Hummus
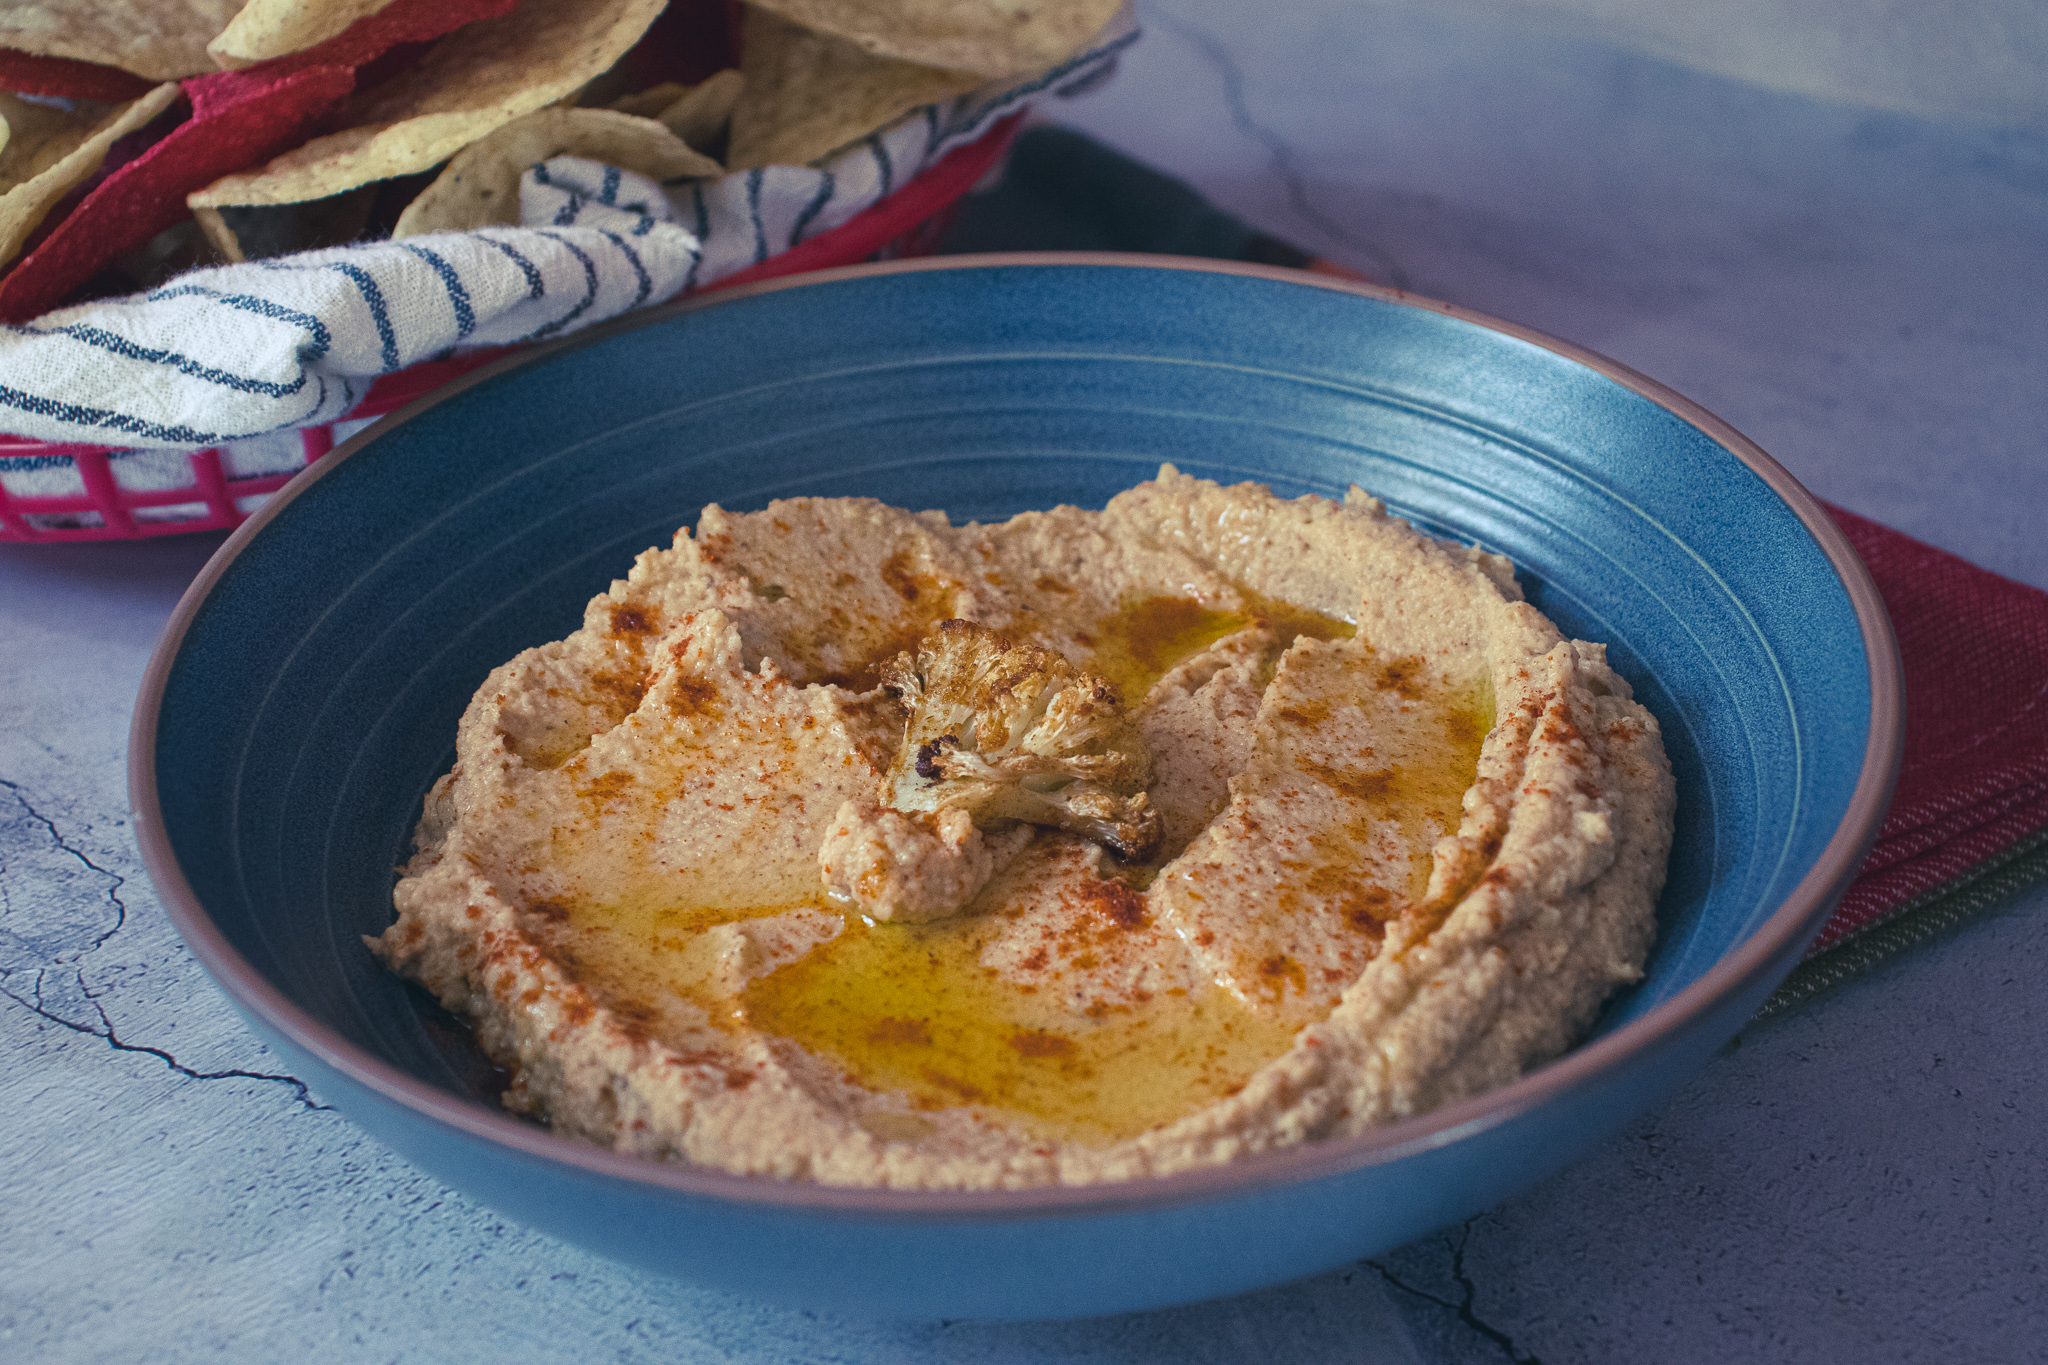
In a food processor, combine garlic (One to two cloves. Two cloves if you like a very strong garlic flavour), tahini (you can use almond or peanut butter), roasted cauliflower, lemon juice, and a quarter cup of water. Purée until smooth. You may need to add a little more water to get the consistency right. Taste the cauliflower nbummus and season with salt and a bit more lemon juice as needed.
The Wrap-Up
You can serve the Roasted Cauliflower Hummus with warm pita bread, tortilla chips, crackers, or fresh vegetables. I’m willing to bet that if you serve this at a party, no one will believe it is made of cauliflower. All they’ll think is that it’s one of the best tasting hummus’ they’ve ever had. All right, time to get cooking. Thanks for reading. I hope you enjoyed this post. Remember to leave a comment below, a rating on the recipe, and share. Sharing is caring. Have a great day! I’ll see you back here next Thursday.
Have you signed up for the Chef’s Notes Monthly Newsletter? No? Why Not? Don’t miss exclusive recipes, cooking tips, and behind-the-scenes pictures and stories.
Roasted Cauliflower Hummus
Hummus, made of roasted cauliflower. Some how just as good, if not better than the original.
In a medium mixing combine the olive oil, cumin, paprika, and salt. Toss the cauliflower with the olive oil and spices.
Spread the cauliflower out onto a parchment-lined sheet pan. Roast the cauliflower in a 400°f oven for 35 minutes.
Let the cauliflower cool to room temperature. Put it in a food processor with the garlic, tahini, and lemon juice. Purée until smooth. Taste and adjust the seasoning with salt, lemon juice.
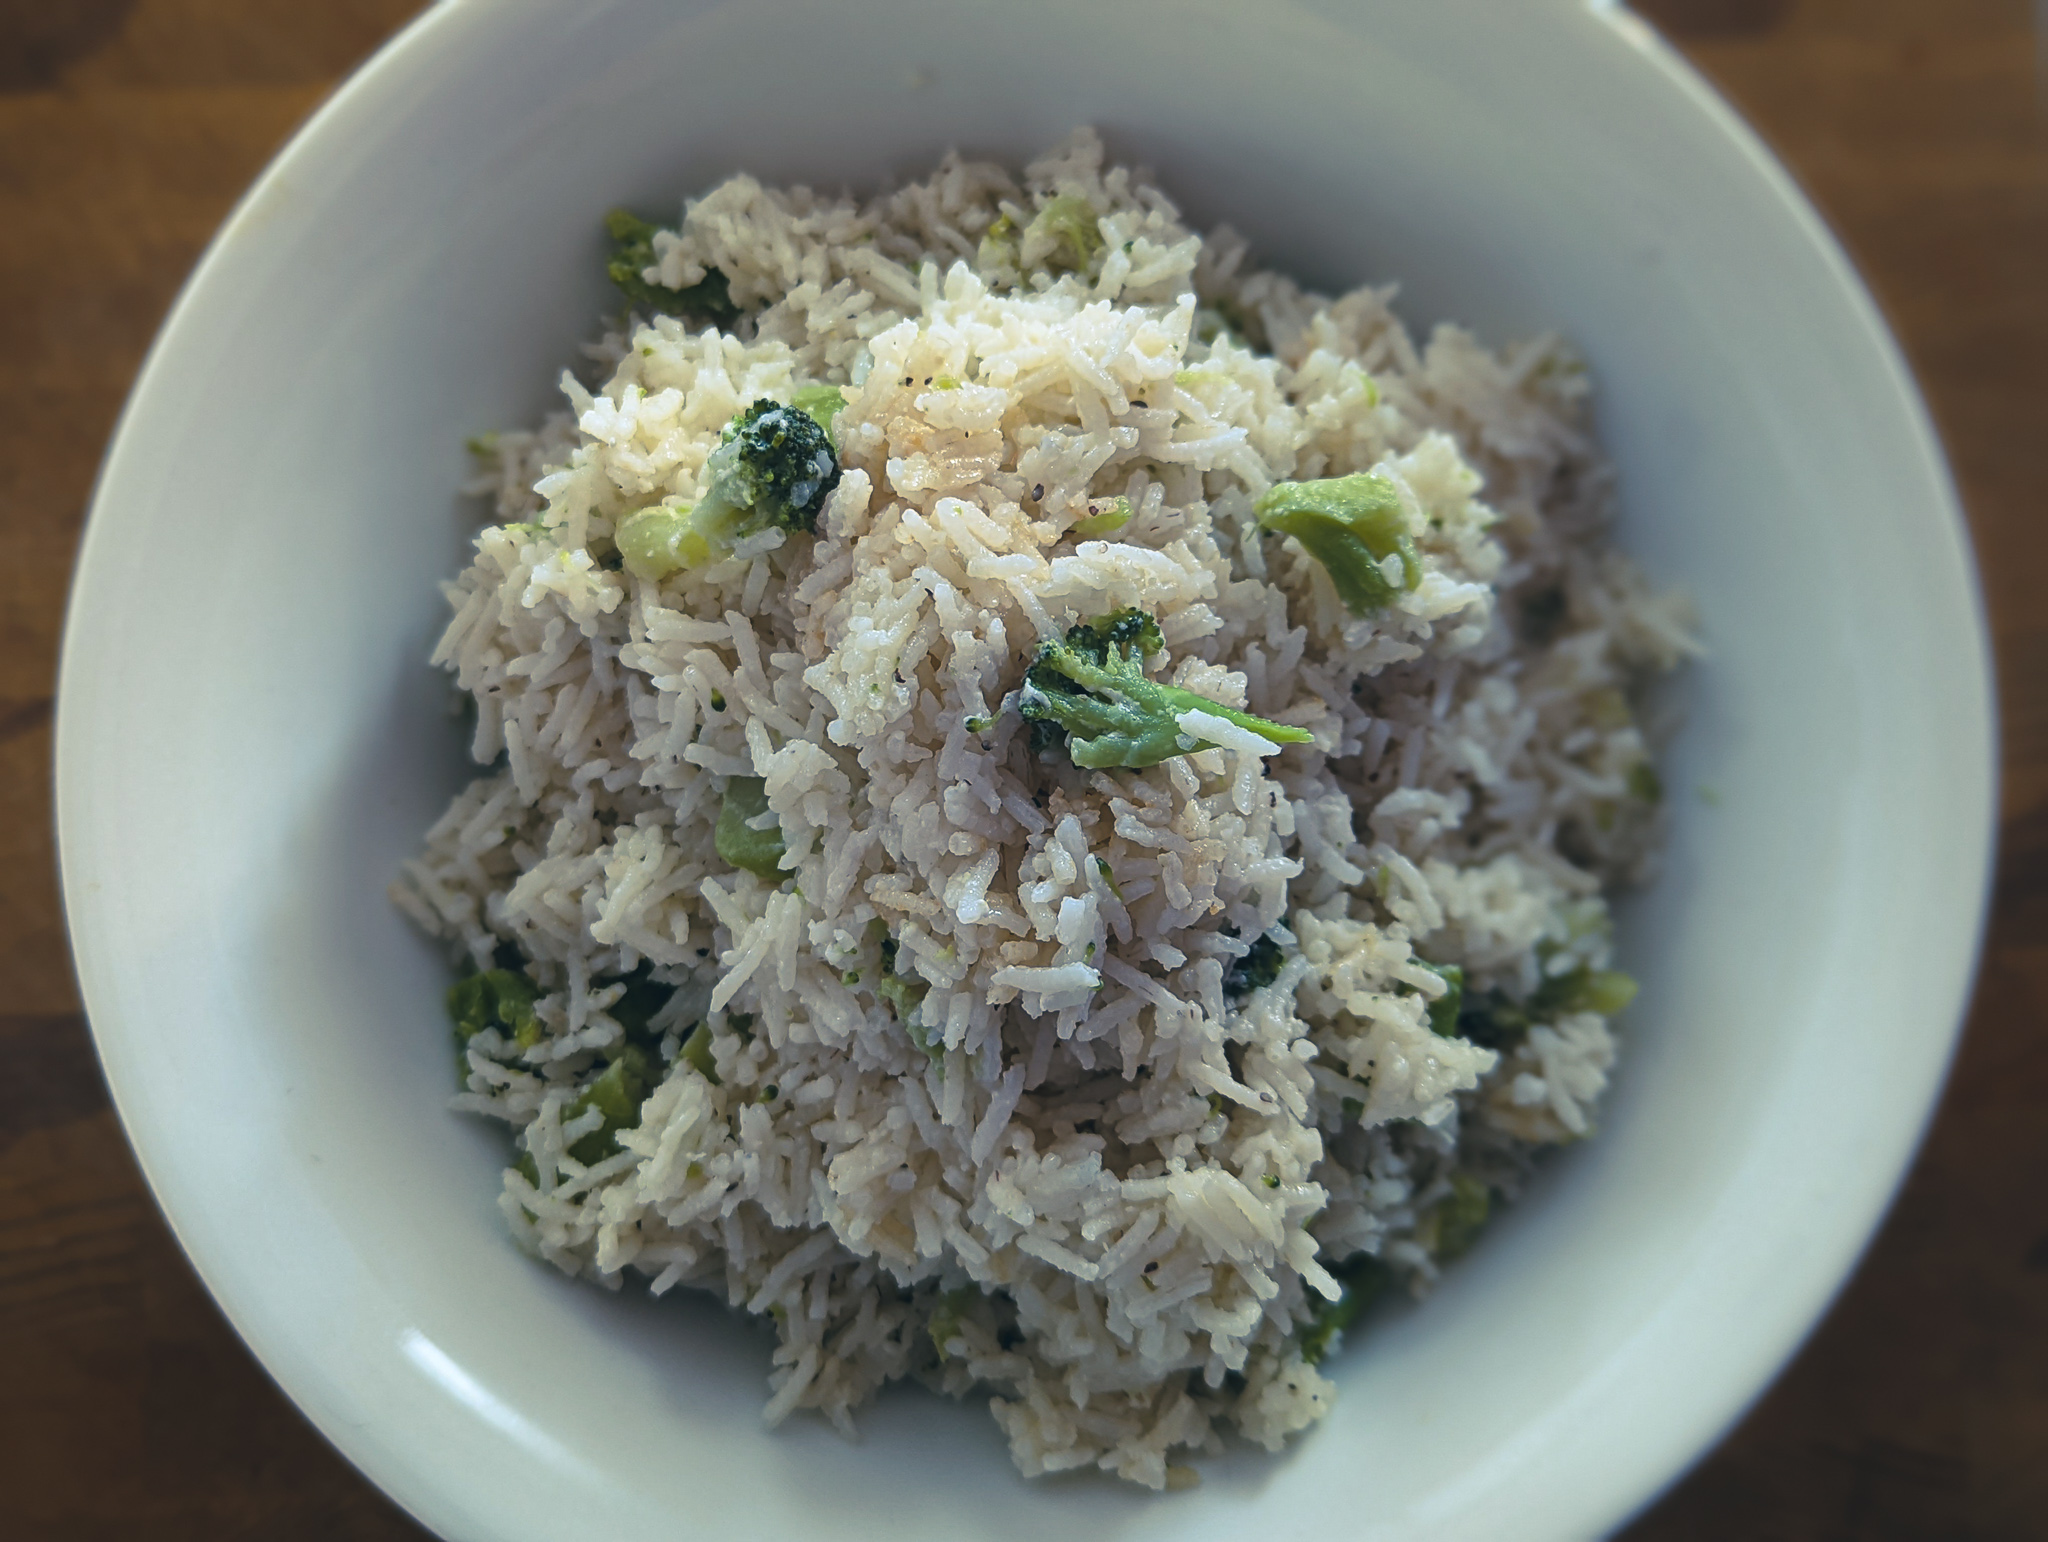
Rice is one of my favourite side dishes. It is cheap, simple to make, and pairs well with anything. But plain old rice can get boring after a while. So we have to jazz it up now and again. That’s what today’s post is all about—taking plain old rice and making something craveable out of it with little effort. Today, I present to you my Broccoli Parmesan Rice. It is a side dish that goes with anything and one that you’ll want to have with everything. Ready to check it out? You can find the recipe directly below, but keep reading for more information. Now, let’s get cooking!
Broccoli Parmesan Rice Ingredients
Spices and Seasonings
If you wanted, you could take some rice, throw some broccoli and parmesan cheese in there and call it a day. I’m sure that would taste alright. But why not take a few extra seconds, and add a bit more flavour? I used onion powder, garlic powder, salt, and pepper to do that. The only thing crazy about this is the flavour these few spices add to the broccoli parmesan rice. You can find all the measurements in the recipe above.
The Rice
I like basmati rice. It is my go-to for most things, so it makes sense that I’m it using for my broccoli parmesan rice. But, it’s important to remember that not all basmati (or any rice) is the same. Different brands process their rice differently, so you must read the instructions on the rice package to ensure you are using the proper amount of liquid and cooking the rice for the correct length of time. The brand of rice I’m using requires a standard 2:1 liquid to rice ratio and a 12-minute simmer followed by a 5-minute rest. Most basmati will be the same rice to liquid ratio, but the cooking time may vary from 12 to 17 minutes. Again, consult the package the rice came in for ratios and cooking time.
Other Ingredients
The other ingredients you need for this broccoli parmesan rice are frozen broccoli ( a note on this is a second), parmesan cheese (real parmesan only), butter, milk, and water. I used frozen broccoli for this recipe because I had it on hand. It is also much cheaper than fresh broccoli right now. It is February as I’m writing this, and I live in Atlantic Canada, “fresh” broccoli is coming from a long way away. By the time it gets here, it has lost many of its nutrients. So, frozen vegetables are generally more nutritious than “fresh” ones this time of year. There is one thing to keep in mind, though. Frozen vegetables release liquid when heated. So, I cut the volume of liquid down a little bit to accommodate that. If you use fresh broccoli, use 2 cups of liquid to 1 cup of rice.
Cooking Broccoli Parmesan Rice
To cook the broccoli parmesan rice, put everything in a pot, put it on a burner over high heat and bring it to a boil stirring gently every 20 to 30 seconds. Once it starts to boil, put a tight-fitting lid on the pot, turn the heat down to low and simmer the rice for 12 minutes (or whatever time is needed for your specific rice). It is best to use real parmesan for this. If you only use the powdered stuff, add it once it is cooked. Once the required time has passed, take the pot off the heat, DO NOT LIFT THE LID, and let it sit for 5 minutes.
Finishing and Serving The Rice
The final step is to gently fluff the rice with a fork and serve. This rice goes great with chicken, turkey, salmon, haddock, ham, pork chops, or lots of other things that I can’t think of at the moment. The point is that this dish is very versatile, and I hope that it becomes a standard in your repertoire.
The Wrap-Up
There are some dishes that you look at and think, “Okay, that seems alright, but it doesn’t seem up my alley.” or, “I bet that doesn’t even taste as good as he says.”. If that’s what you’re thinking, you are wrong. This Broccoli Parmesan Rice is even better than you imagine it is, and it is worth making. I seriously believe that this will become a side dish you come back to repeatedly. But of course, don’t take my word for it. Try it for yourself. If you liked this post, you might also like my Decadent Four-Cheese Mac and Cheese post or my Potato Gartin post. Happy cooking!
That does it for today but thank you for coming. I hope you enjoyed the post. And, if you haven’t already, remember to sign up to my newsletter at the bottom of the page to get exclusive recipes, cooking tips, behind-the-scenes stories etc., in your inbox once a month. Don’t miss out! Have a great week and a fantastic weekend! I’ll see you right back here next Thursday.
Broccoli Parmesan Rice
This broccoli parmesan rice is a side dish that goes with anything and one that you will want to have with everything.
Put all the ingredients in a medium pot with a tight-fitting lid.
Put the pot on the stove on high and bring to a boil stirring once or twice.
Once the rice comes to a boil, turn the heat down to low, cover the pot and simmer for 12 to 17 minutes. Times may vary depending on the brand of rice so always check the instructions on the package the rice came in.
After the rice has cooked, take it off the heat, leave the lid on, and let it sit for 5 minutes.
Remove the lid, fluff the rice with a fork and serve.
Whether you’re cooking fish, chicken, turkey, beef, pork, lamb, or venison, potato gratin is the perfect side dish. It is creamy, buttery, and comforting. You will not find a better side dish. What’s more, it seems much more complex than it actually is. The only “difficult” part is slicing the potatoes. After that, it’s all a breeze. I don’t know what you’re having for dinner tonight, but I do know that this should be on the plate beside it.
The Potatoes
For this recipe, you can use either russet or chef potatoes or Yukon gold or yellow potatoes. Either will work fine. However, don’t use white or red potatoes. Those won’t hold up to the cooking process. Wash the potatoes before peeling them because washing them after peeling and slicing will remove excess starch. When making mashed potatoes, excess starch can make the potatoes gummy. However, when making potato gratin, that excess starch helps prevent the dairy from curdling and helps to hold the gratin together once cooked. So, wash the potatoes well, then peel.
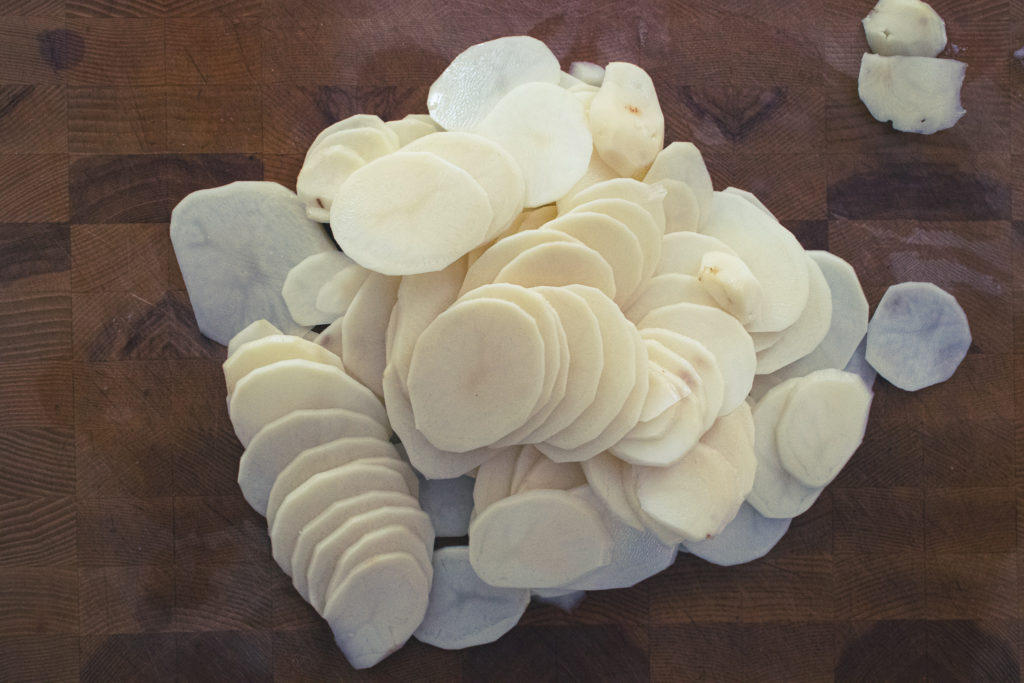
Slicing The Potatoes
Potato gratin is all about layers of thinly sliced potatoes. The potatoes should be no more than 1 to 2 mm thick. The easiest and best way to cut the potatoes is on a mandolin slicer. Aka. The scariest piece of equipment in your kitchen. If you don’t have a mandolin, your cheese grater or food processor may have a slicer on it as well. You can cut the potatoes by hand, but it will take a long time, and they will not be even. Don’t put the sliced potatoes in water. I know this probably goes against what you’ve been taught, but it’s essential to keep that starch in the potatoes.
Preparing The Dairy
Once the potatoes are sliced, you can get the milk ready. Pour 1 and 3/4 of a cup of whole milk into a medium pot. Add two cloves of garlic and a pinch of nutmeg and pepper. Don’t add salt yet, as the salt may curdle the milk.
Par Cooking The Potatoes
Put the potatoes in the milk and put the pot on the stove on medium heat. Heat the milk until it starts to steam, then turn the heat down to medium-low. Simmer the potatoes in the milk for about 8 minutes or until the potatoes begin to soften. Stir the potatoes often, so they don’t stick to the pot. Season the potatoes with salt, taste and adjust as needed.
Assembling and Cooking The Potato Gratin
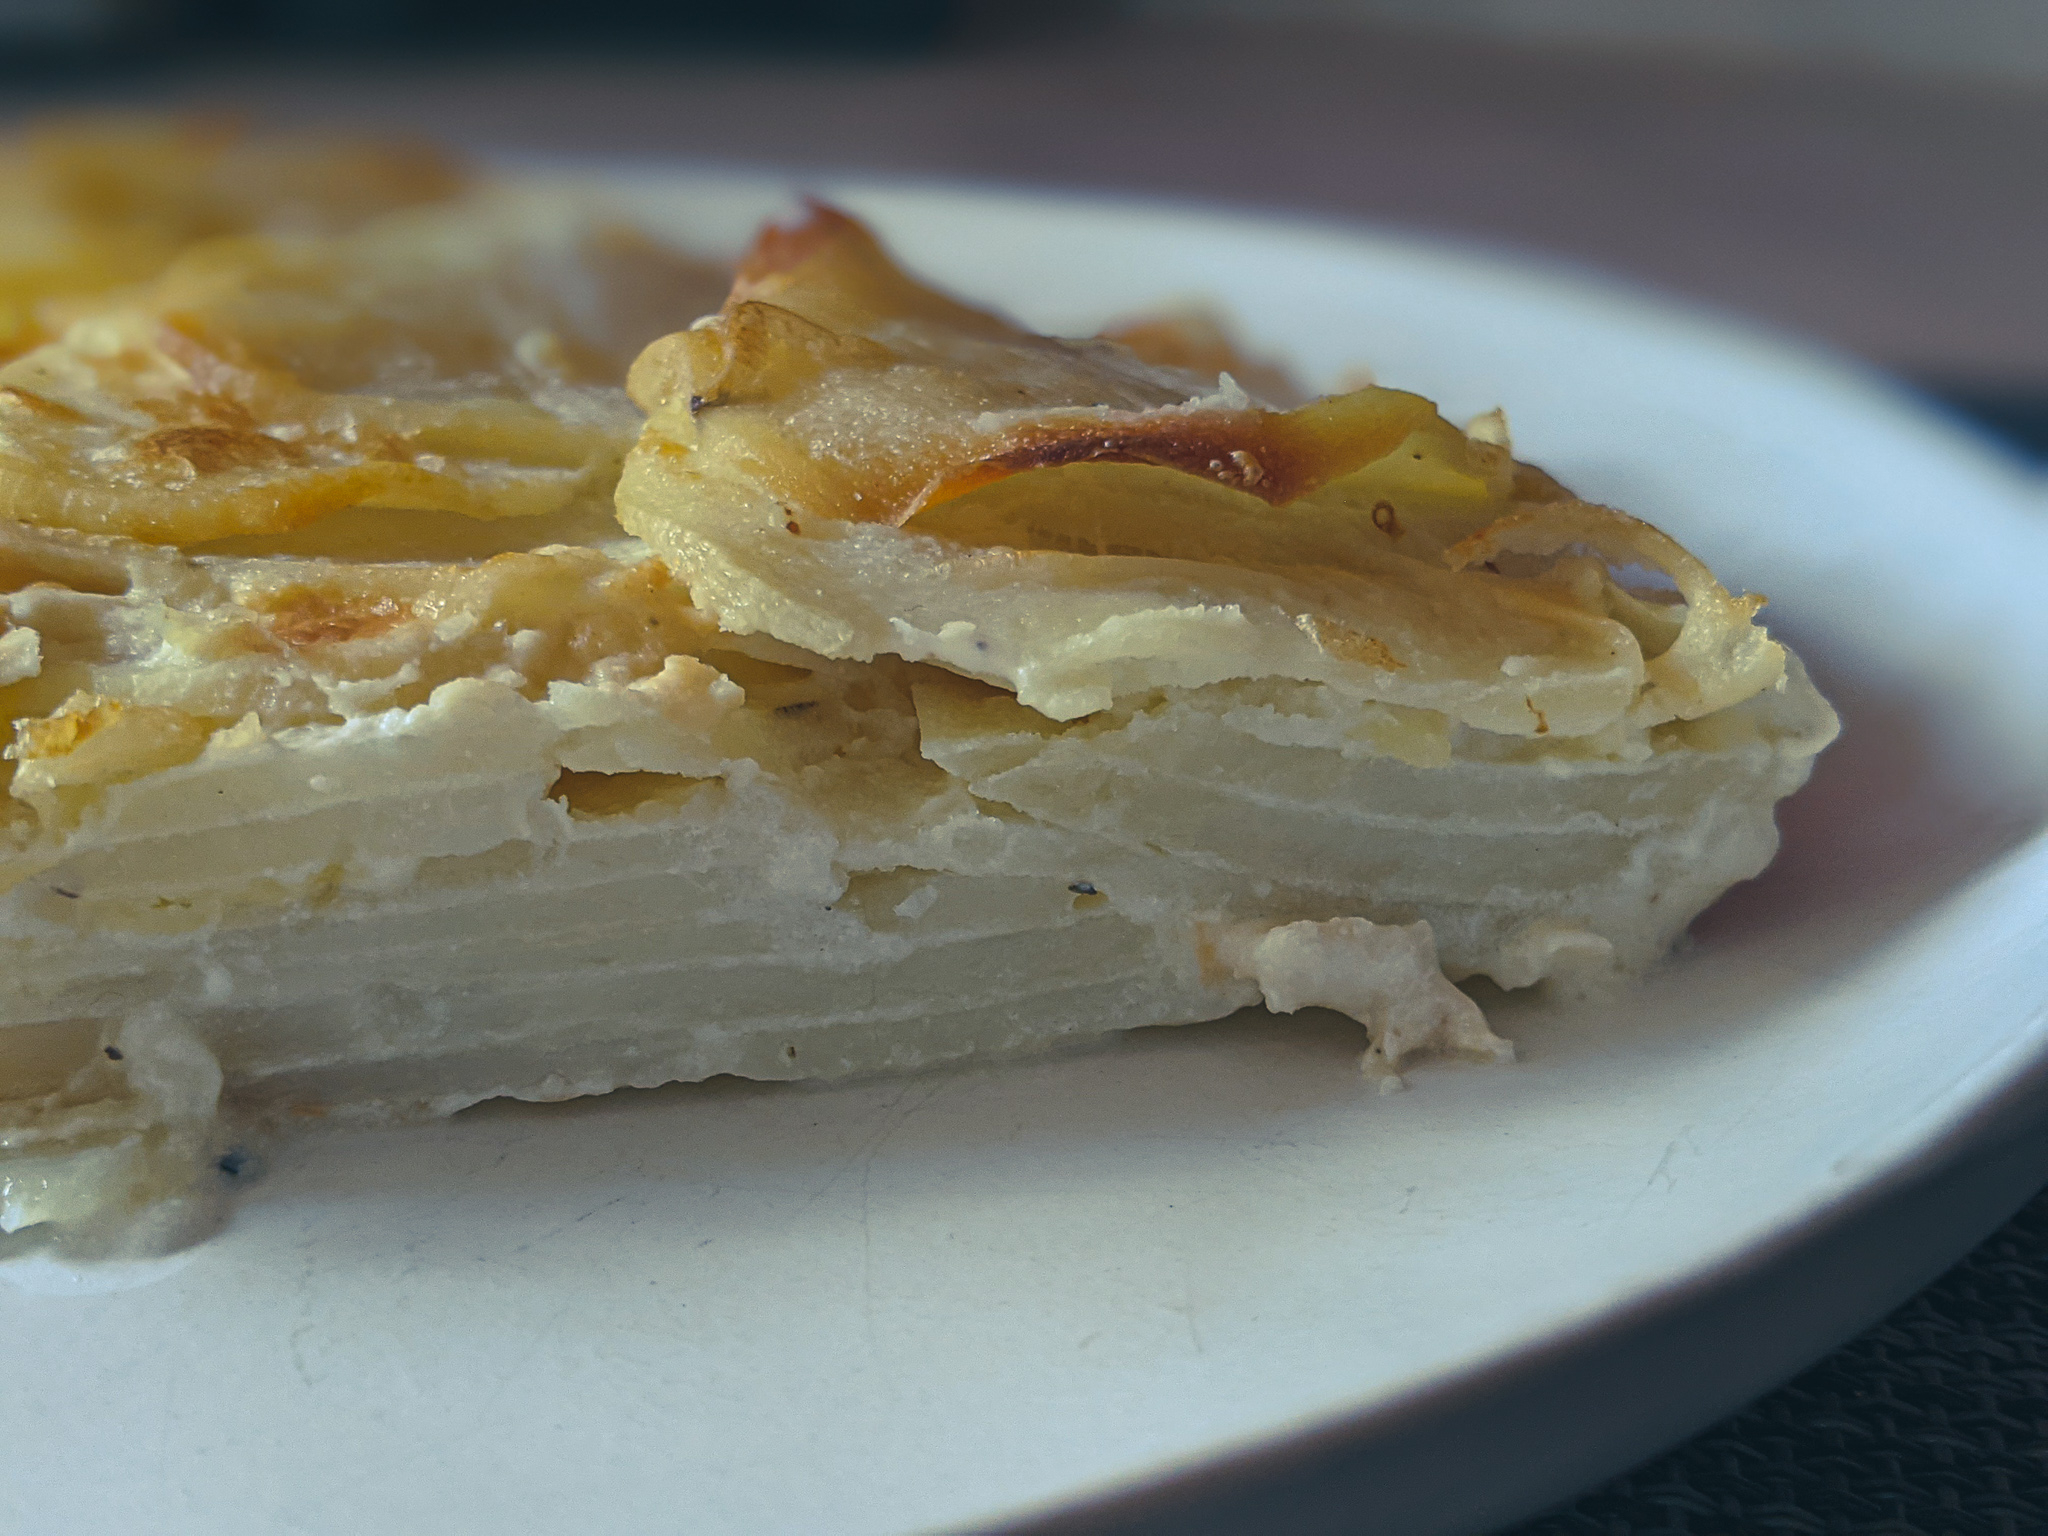
While the potatoes are cooking, measure out 1/3 cup of whipping cream and cut 3 tablespoons of butter cut into small cubes. Transfer the potatoes from the pot to a greased or parchment-lined 9-inch casserole dish or bread pan. Gently press the potatoes with a spatula to flatten. Pour the cream over the potatoes. Stud the potatoes with the butter by pushing the cubes into the potatoes. Put the potatoes in a 375°F oven for 35 – 45 minutes or until the potatoes are golden brown and the dairy has been absorbed into the potatoes. Allow the potato gratin to rest for 5 minutes before cutting and serving.
The Wrap-Up
The finished gratin should be creamy and buttery, almost cheesy. The potatoes should be tender and melt in your mouth, but the gratin should also stand up on its own. It shouldn’t be soupy. If this isn’t something you’ve ever had, you are missing out. Potato gratin is one of the true culinary pleasures of the world. I can’t wait for you to try this. For something really special, pair the potato gratin with last week’s perfect bacon-wrapped pork tenderloin. You can reheat leftover potato gratin in the oven or microwave. Have a great week! I’ll see you right back here next Wednesday.
Potato Gratin
Creamy, buttery potato gratin is one of those special side dishes that you only have once in a while but that you will always crave. You can serve potato gratin with any protein to turn an okay meal into a memorable one.
In this post, I will show you how to cook one of the most uncomplicated and most delicious side dishes you can make, perfect roasted carrots. Roasted Carrots are one of my all-time favourite side dishes. Roasting gives the carrots a nice sweetness that when combined with fresh thyme, salt and pepper, really pops. Roasted Carrots are the perfect accompaniment to just about any meal you could imagine. Grilled steak? Yes, roasted carrots work with that. Pork chops, roasted chicken, turkey dinner, grilled salmon? Of course! Roasted carrots work with it all.
Prepping The Carrots
When determining how many carrots to roast, use one to two carrots per person, depending on size. No one is going to be upset if you make a few extra. To prepare the carrots, cut off the top and bottom, then peel them.
Cutting The Roasted Carrots
How to make a roll (oblique cut)
You can cut the carrots however you want, including long strips, or not cutting them at all and roasting the carrots whole. But, there is one cut that I love for these roasted carrots. It is called a roll cut or oblique cut. To make the roll cut set your knife at a 45° angle in relation to the carrot. Make one 45° cut, then roll the carrot forward on your cutting board by a quarter turn. The tip of the point made by your first cut should be at the top. Make your second cut, then roll the carrot forward again. When rolling the carrot forward, keep your knife at the same angle. Your knife doesn’t have to move at all. Once all the carrots are cut, you should have a bunch of equally-sized oblong carrot pieces. I will tell you upfront that it takes some practice to get the coordination right for making this roll cut. But it is worth the effort. Carrots cut like this are great for roasting but are also fantastic for glazing and in stews or soups. For more knife skills information, check out my basic knife skills post here.
Seasoning The Carrots
Put the cut carrots in a medium mixing bowl along with a few sprigs of fresh thyme, two tablespoons of olive oil, and a big pinch of salt and pepper. Toss the carrots to coat them in the oil and season them evenly.
Roasting The Carrots
Spread the carrots out onto a sheet pan. You can use parchment paper for easier cleanup, but if you don’t, there is no need to oil your pan as the carrots are already oiled. Put the carrots in a 400°f oven for 20 minutes. Take them out, flip them, and put them back in the oven for another 10 minutes. Serve immediately, or cool for later. To reheat the carrots, put them in a 350°f oven for 10 minutes.
The Wrap-Up
I don’t think you are going to find a better side dish than these roasted carrots. They are almost like candy, and the best part is that you didn’t have to add any sugar to get that sweetness. It comes from the caramelization of the natural sugars in the carrots. No matter what you are serving, roasted carrots are the perfect accompaniment, but as always, it’s best if you find out for yourself. So, fire up your oven, peel a few carrots and try them. I think you’ll be happy you did.
Have a great week, and thanks for reading!
[jetpack_subscription_form subscribe_placeholder=”Email Address” show_subscribers_total=”false” button_on_newline=”false” custom_font_size=”16px” custom_border_radius=”0″ custom_border_weight=”1″ custom_padding=”15″ custom_spacing=”10″ submit_button_classes=”” email_field_classes=”” show_only_email_and_button=”true” success_message=”Success! An email was just sent to confirm your subscription. Please find the email now and click ‘Confirm Follow’ to start subscribing.”]
Perfect Rosted Carrots
Roasted Carrots are the perfect side dish. They require very little effort. They taste great. And, they go with everything.
Thanksgiving is only a few days away. Many of you are preparing to cook one of the largest meals you will cook all year. You will spend hours and hours, if not days, planning and preparing to create a delicious for your family and loved ones. It is a daunting task. That’s why I wanted to share this recipe for The Ultimate Thanksgiving Mashed Potatoes. Not only are they delicious, but they are simple to make. You don’t need to strain them. You don’t even really need to mash them. How can that be possible? You’ll have to keep reading to find out.
Preparing the potatoes
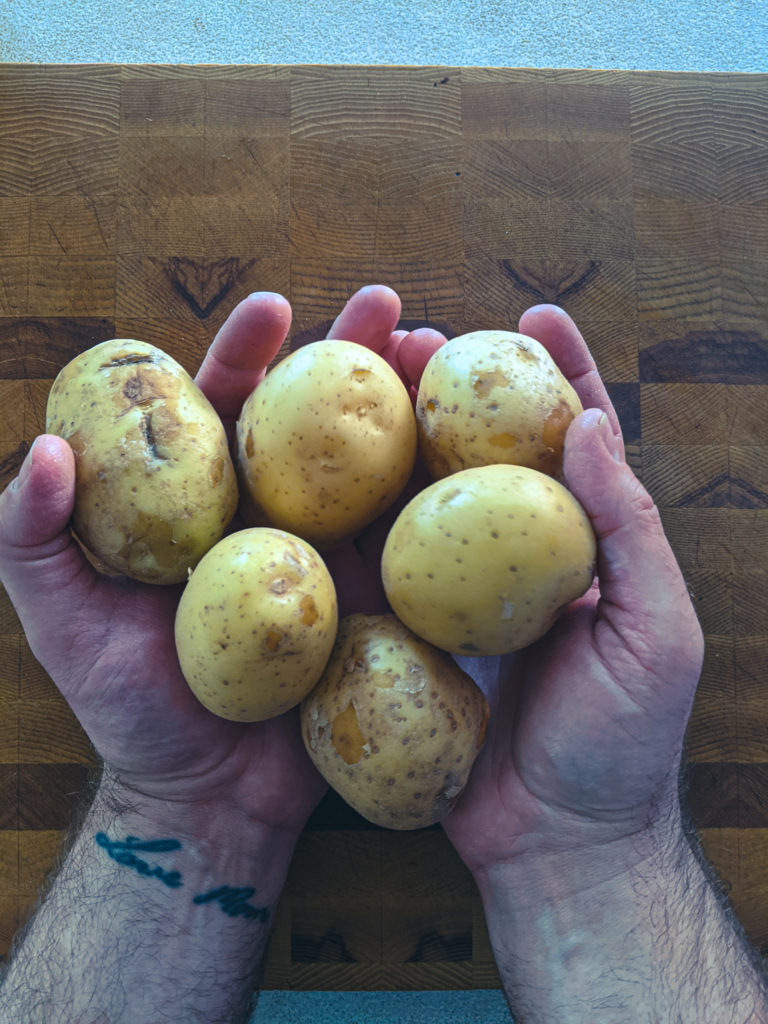
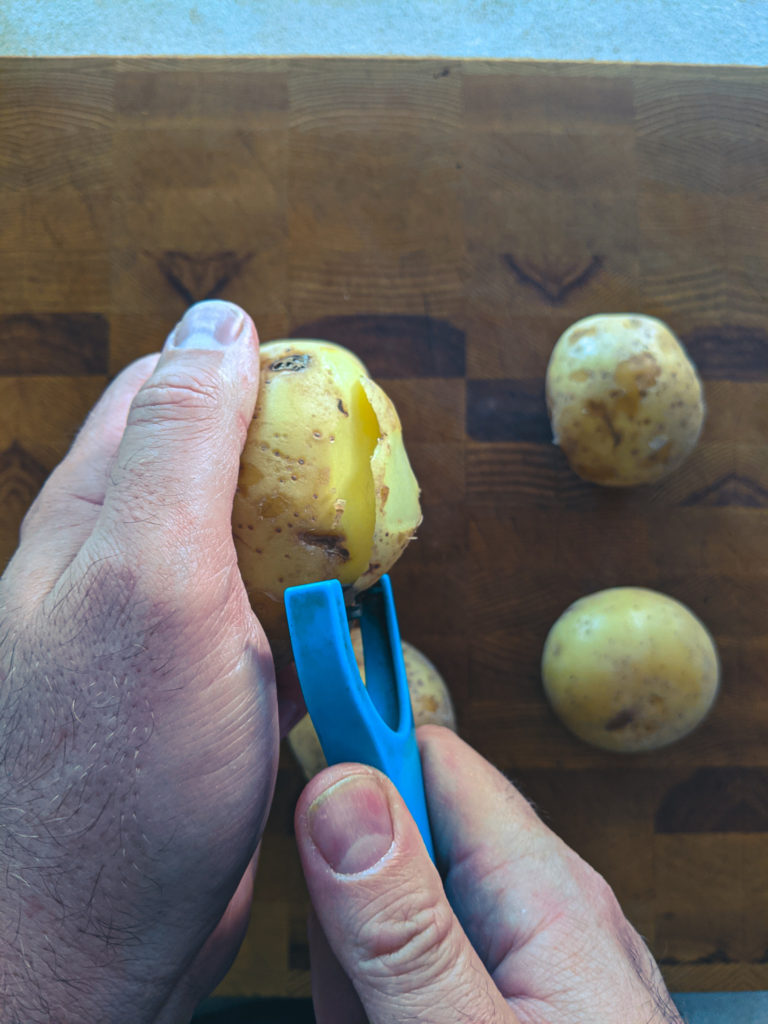
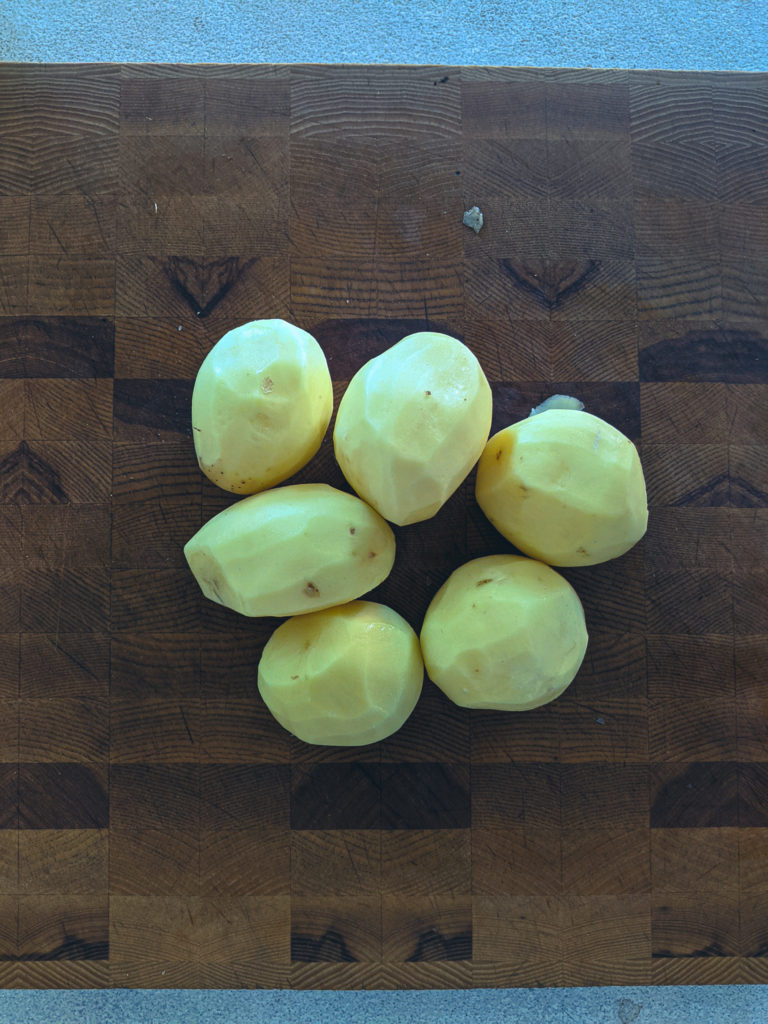
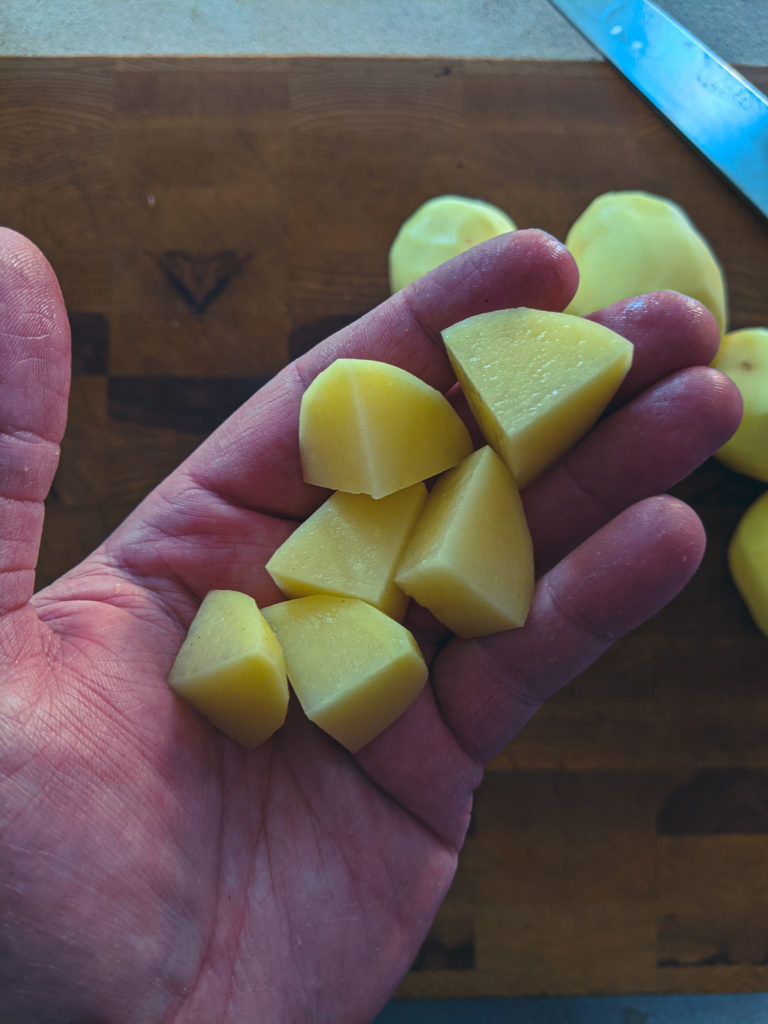
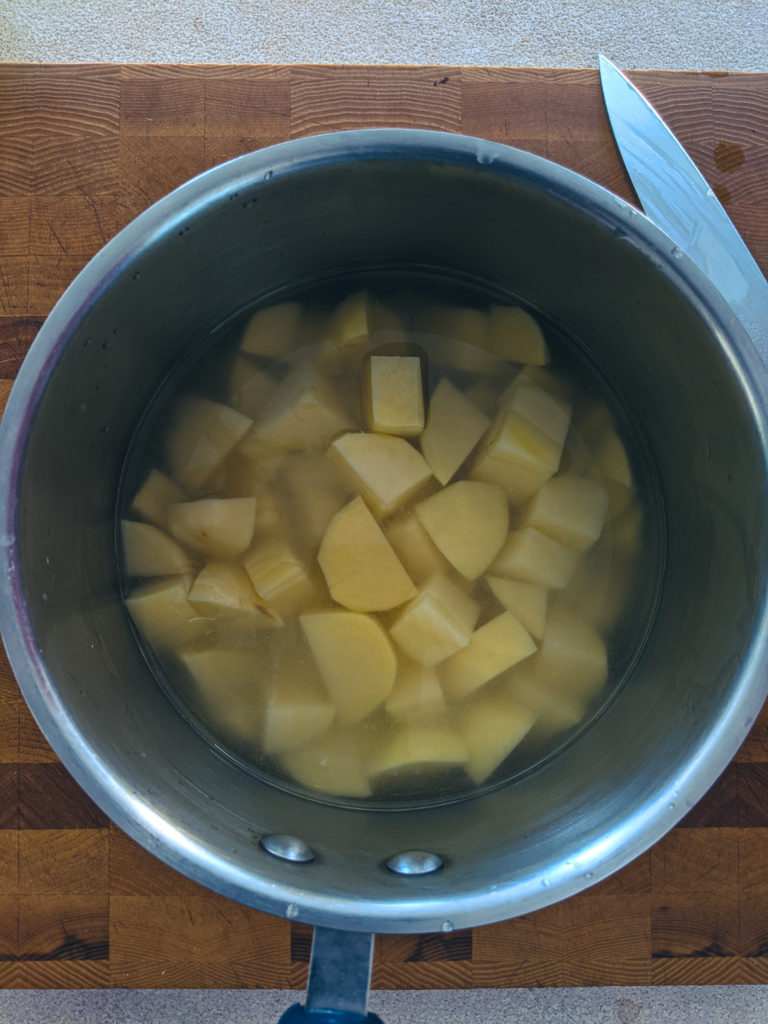
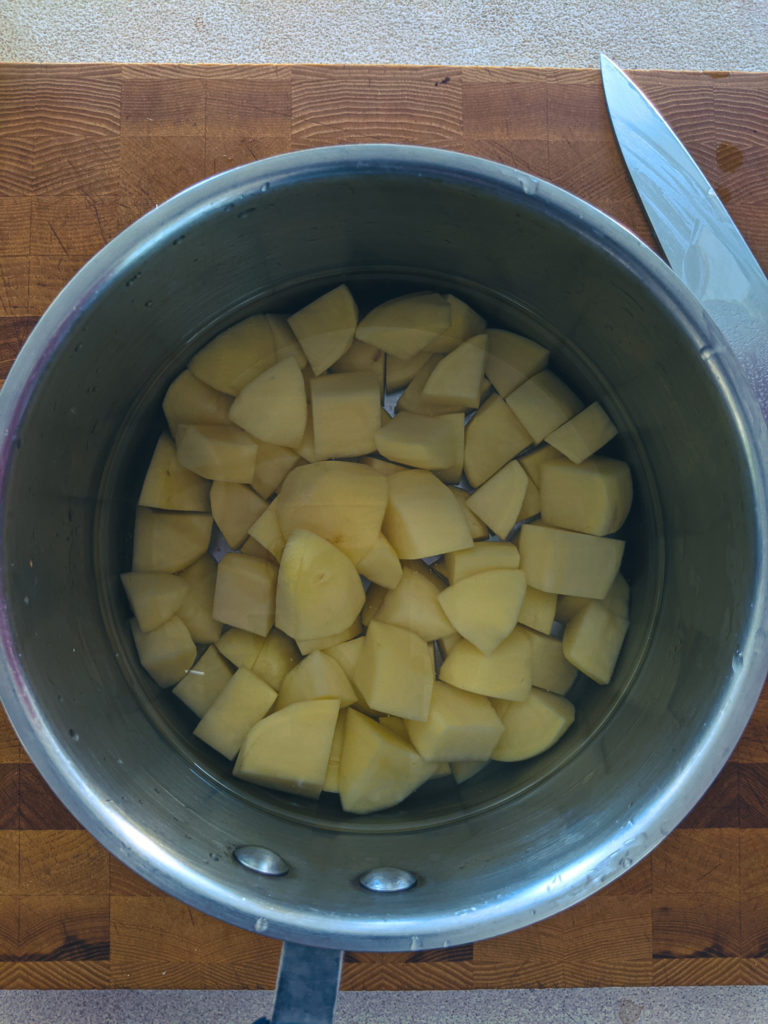
For this recipe, I suggest using yellow potatoes. If you don’t have yellow potatoes like Yukon golds, you can use russets though you will want to use half as many because russets are generally larger than yellow potatoes. Peel and dice the potatoes, then put them in a 3-qt pot.
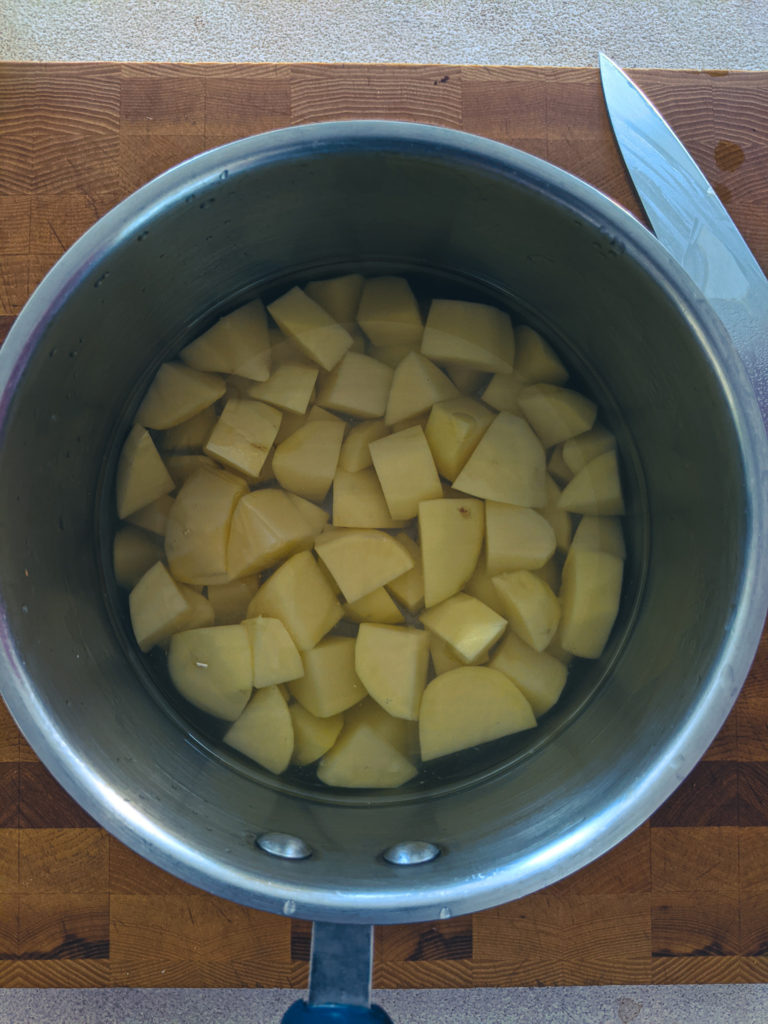
Rinse the potatoes
Because of the way the potatoes are cooked, it is crucial to rinse off the excess starch. Rinse the potatoes by filling the pot with room temperature water, swirling the potatoes around, then draining the water. Do this at least three times or until the water is completely clear. Drain off the last bit of rinsing water.
Making The Ultimate Thanksgiving Mashed Potatoes
Cooking The Potatoes
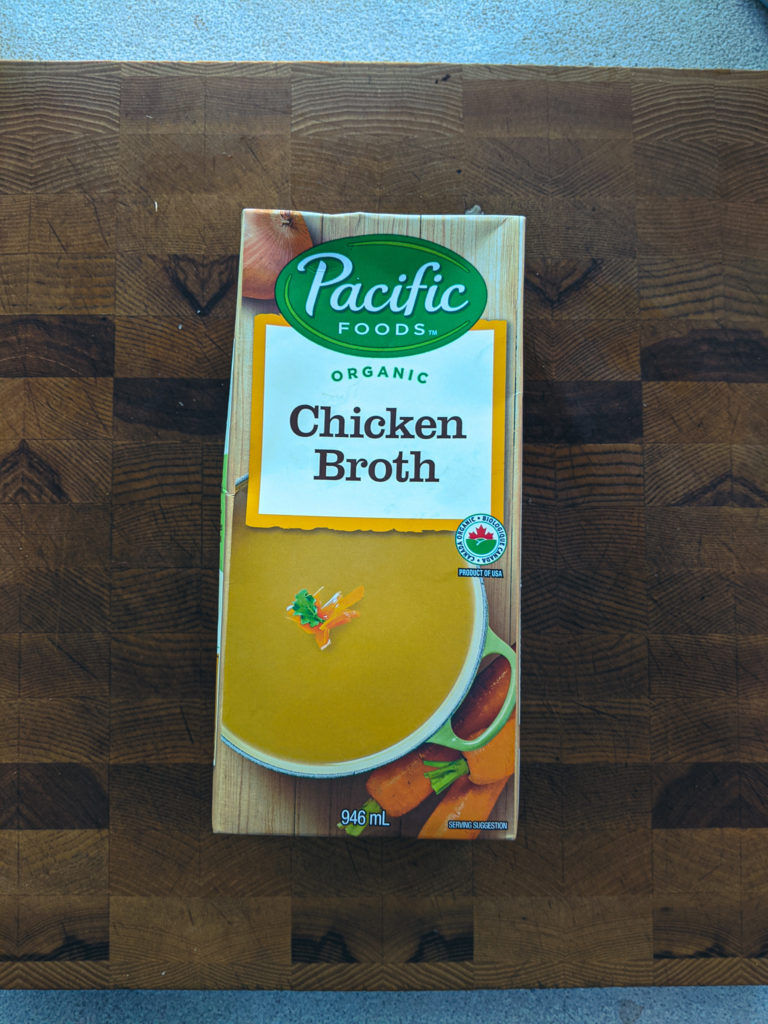
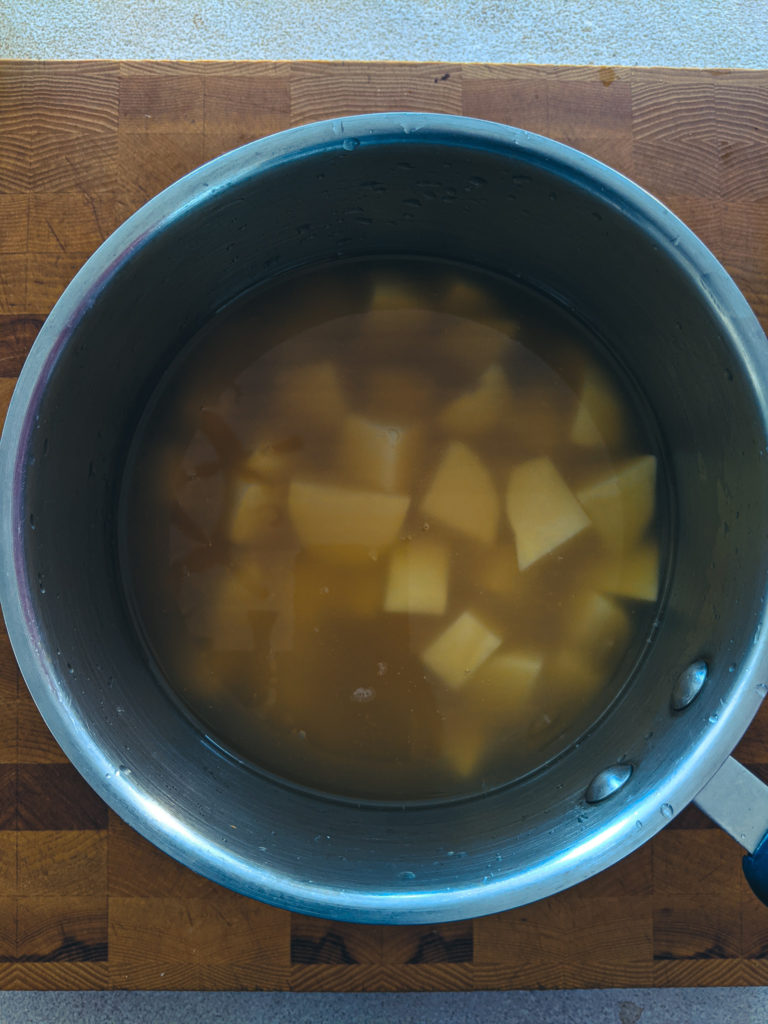
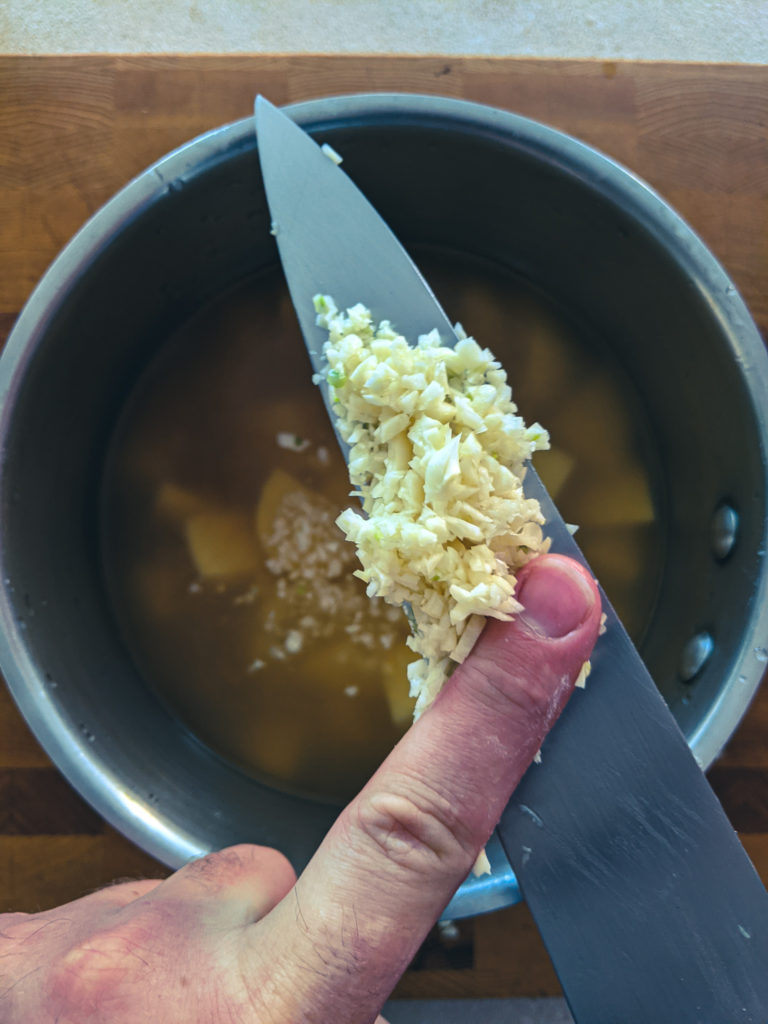
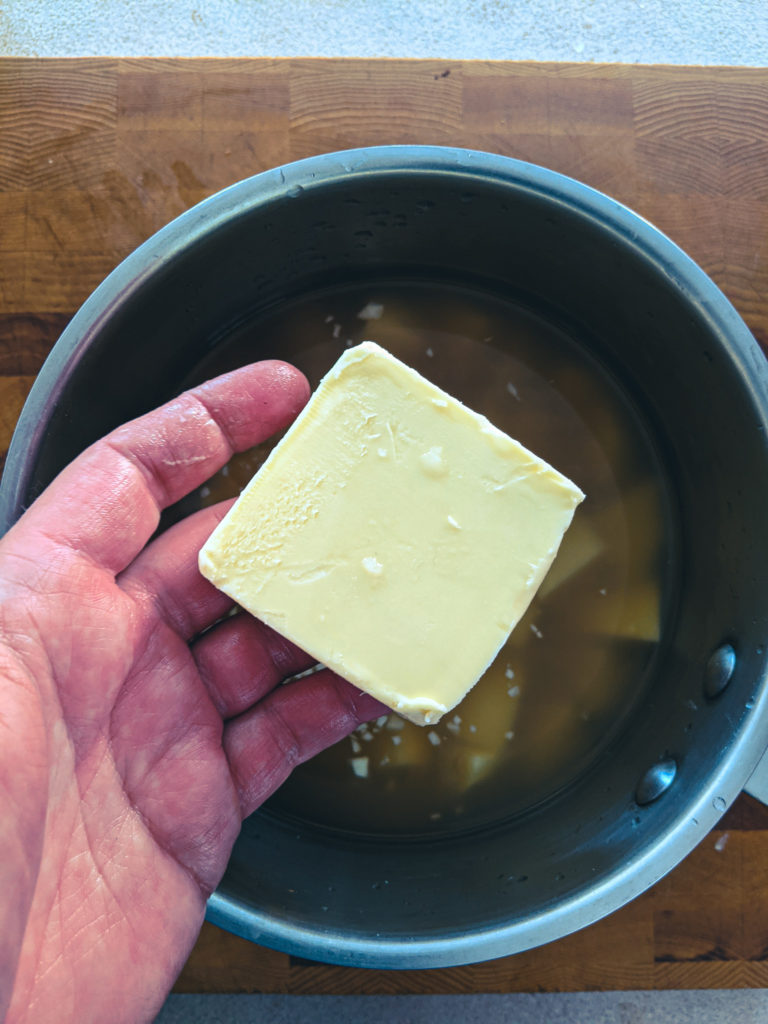
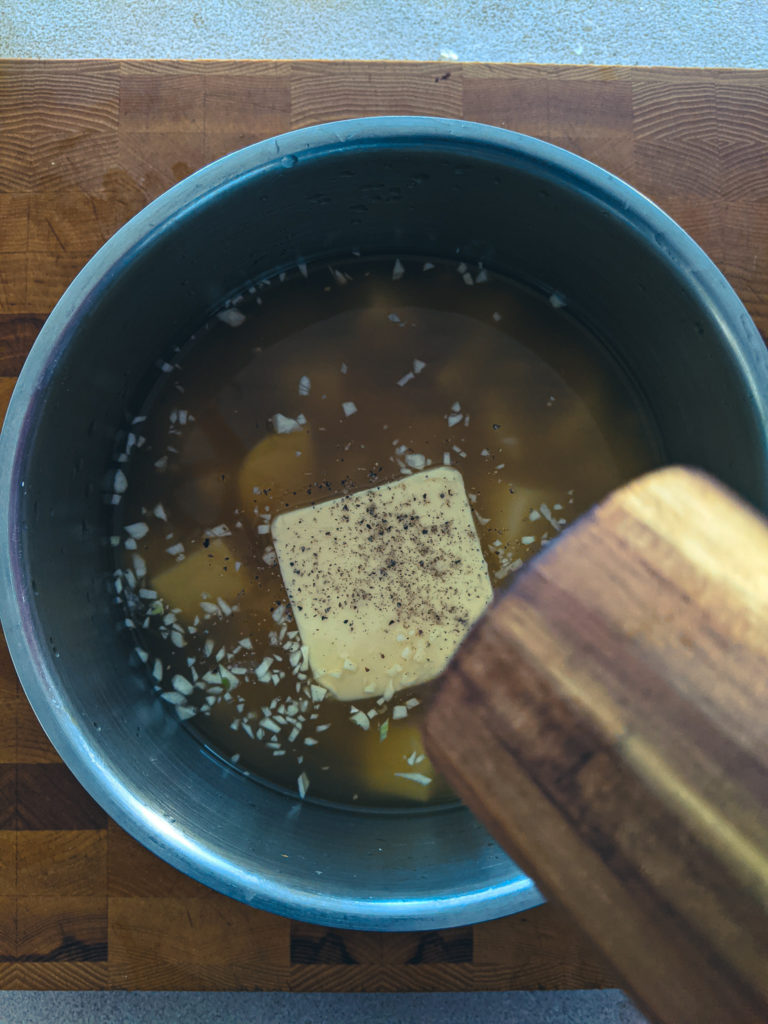
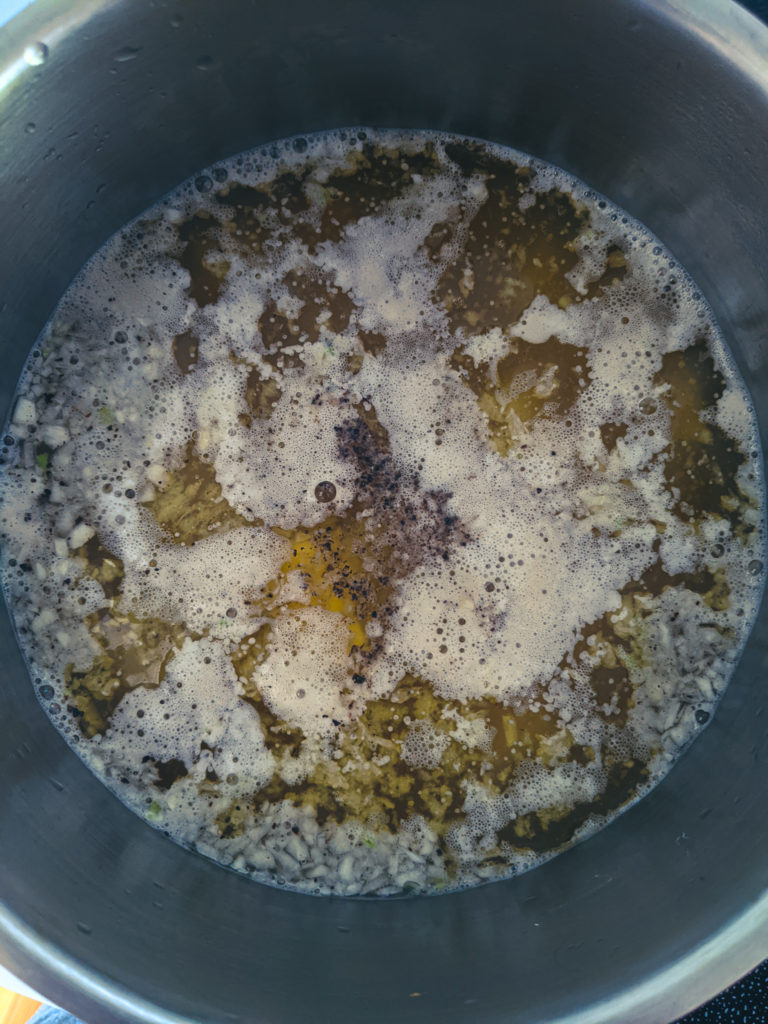
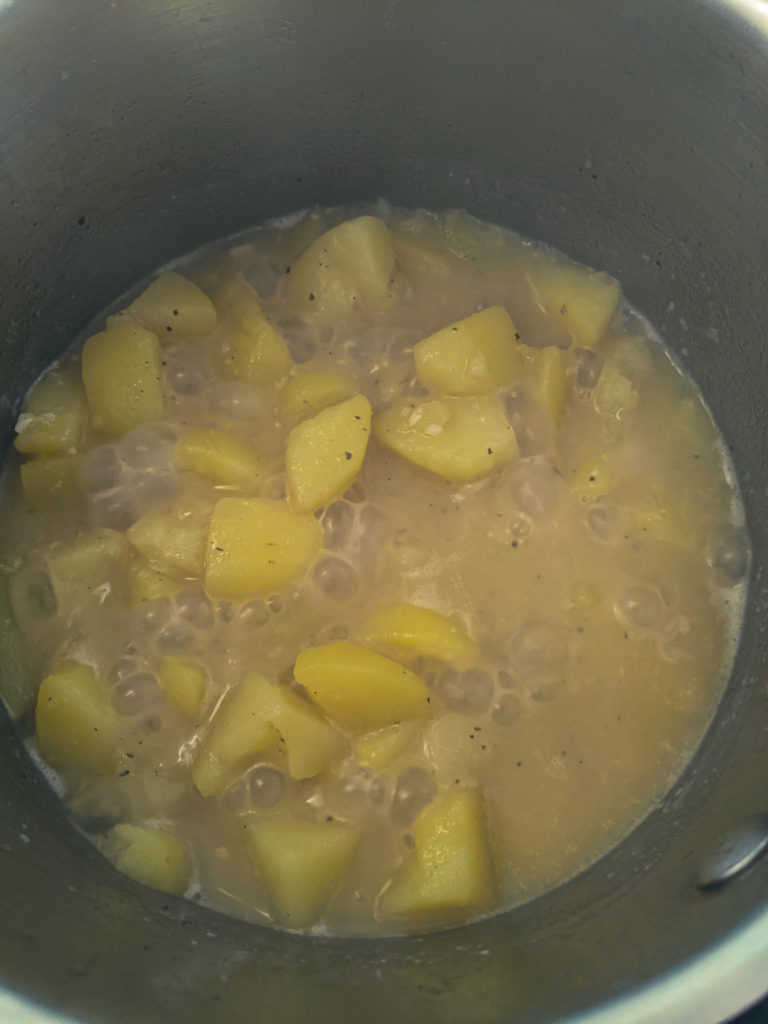
To maximize the flavour of the potatoes, they are cooked in chicken stock. You can use turkey stock if you have some, but chicken stock is a great all-purpose alternative. Pour enough chicken stock into the pot to cover the potatoes. Next, mince four cloves of garlic and add that to the potatoes. Put a quarter cup of butter in the pot, then a big pinch of pepper. Don’t add salt until the potatoes are cooked. The stock and butter have salt in them. That salt flavour will become more concentrated as the stock evaporates. Adding salt at the beginning is a risk as the potatoes may end up too salty.
Boiling The Potatoes
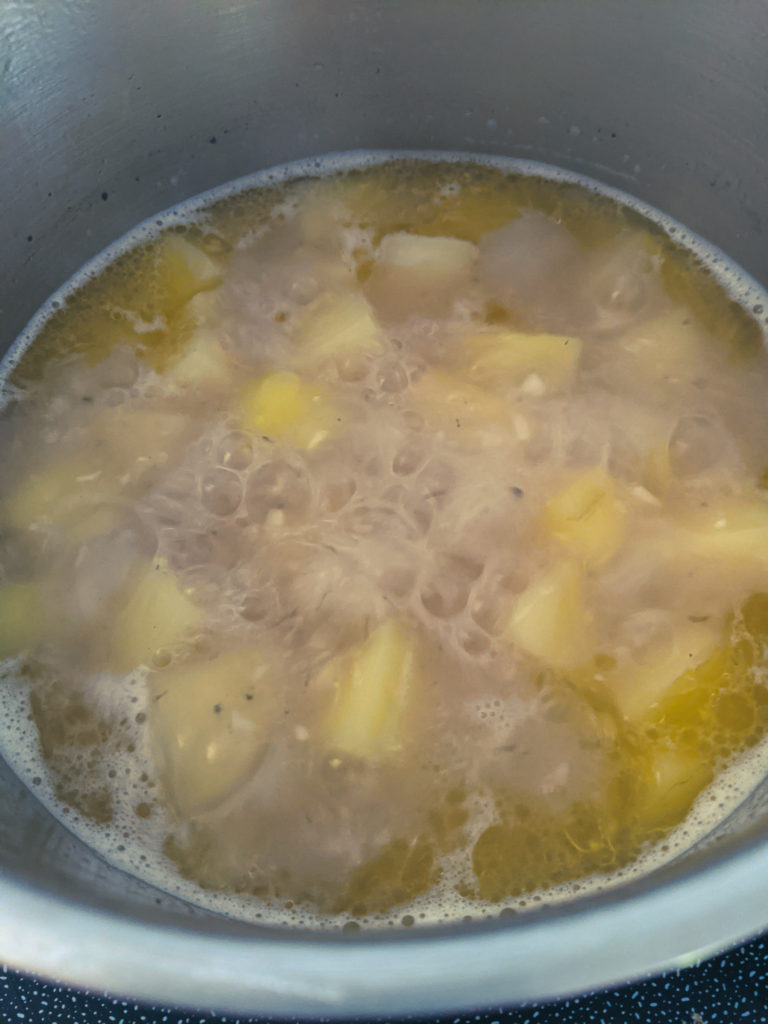
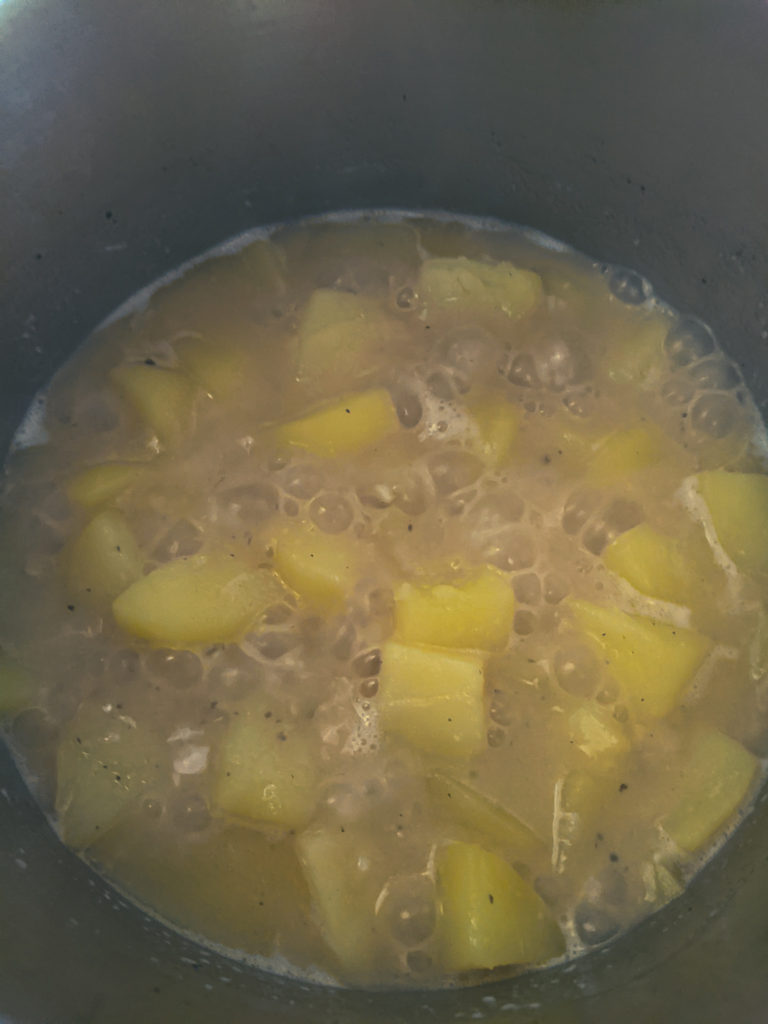
Put the pot on the stove on high. Bring the potatoes to a boil and cook for about ten minutes. Reduce the heat to medium and cook for another 5 to 10 minutes or until the liquid comes no more than halfway up the potatoes.
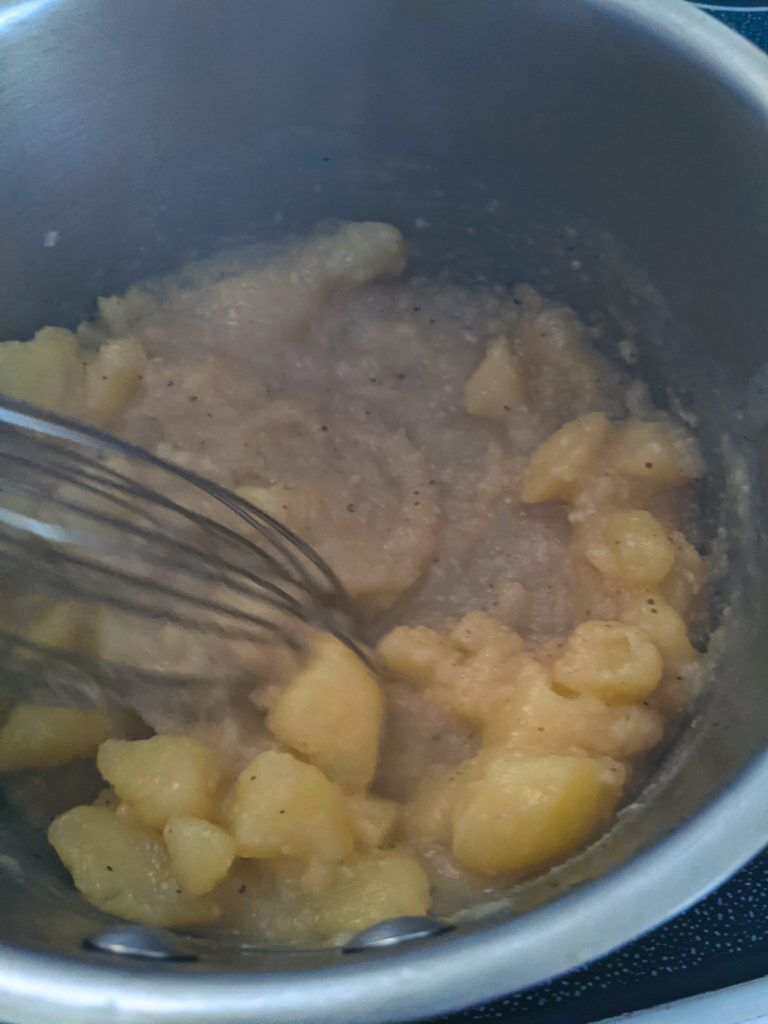
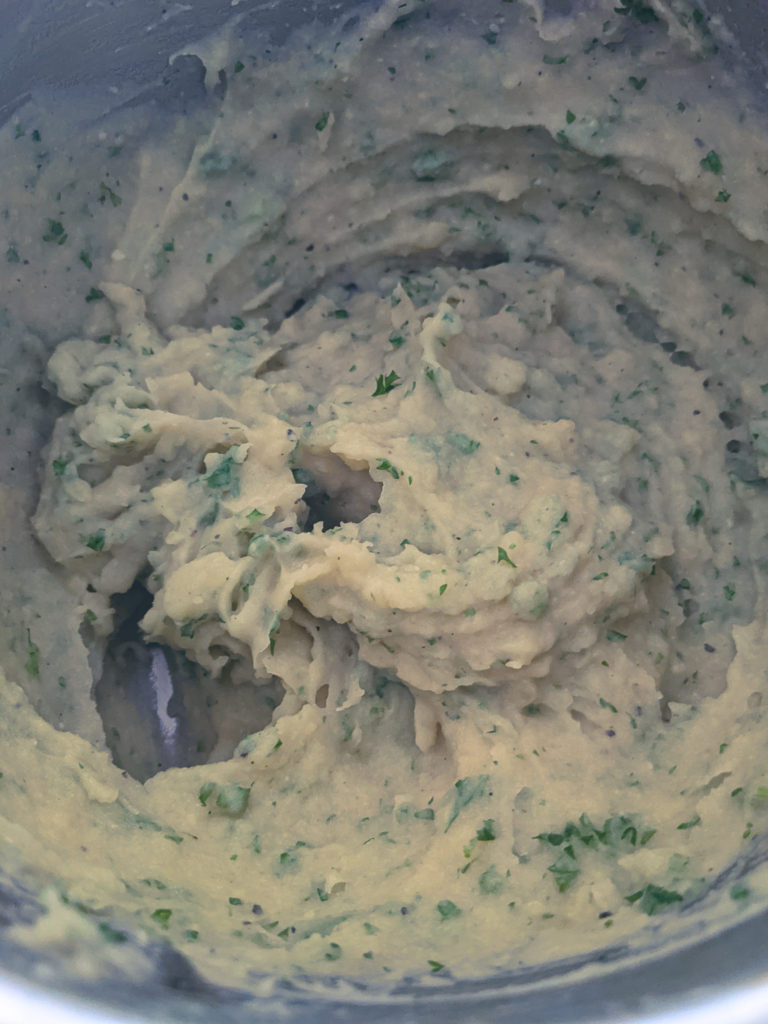
Whisking The Potatoes
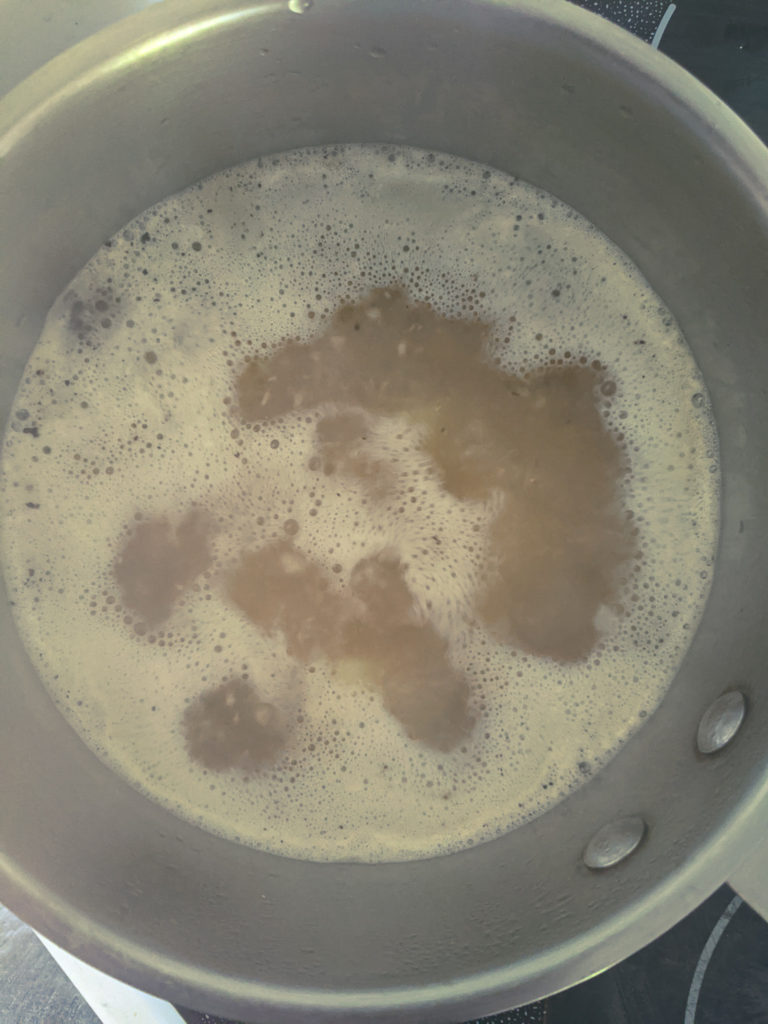
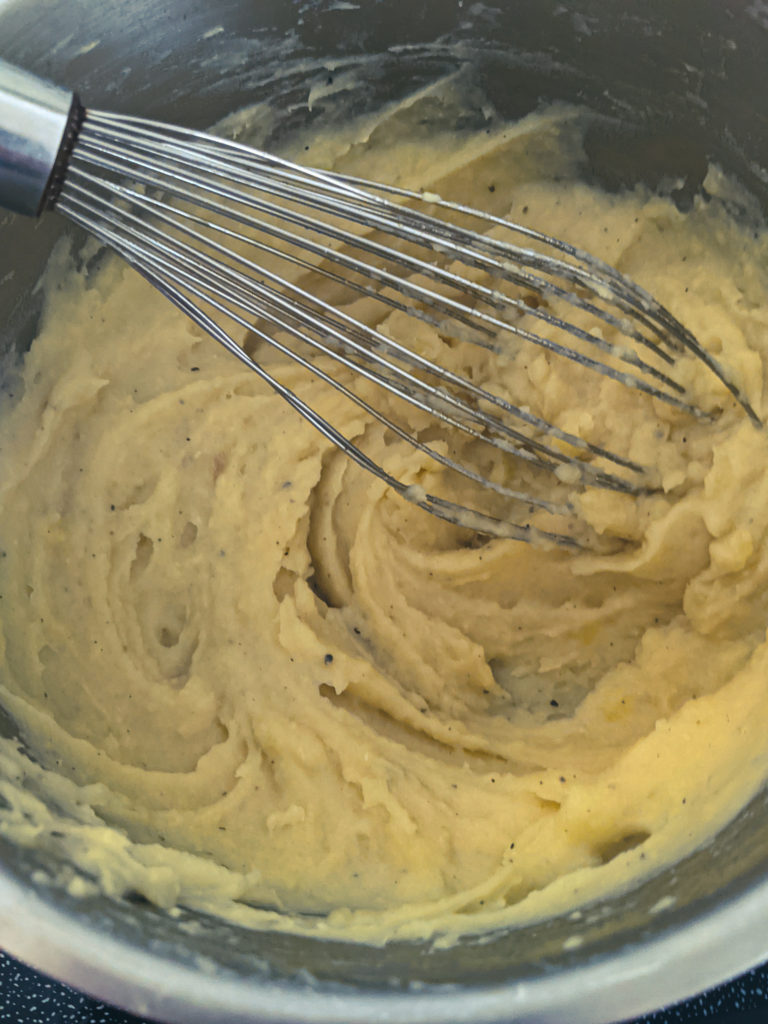
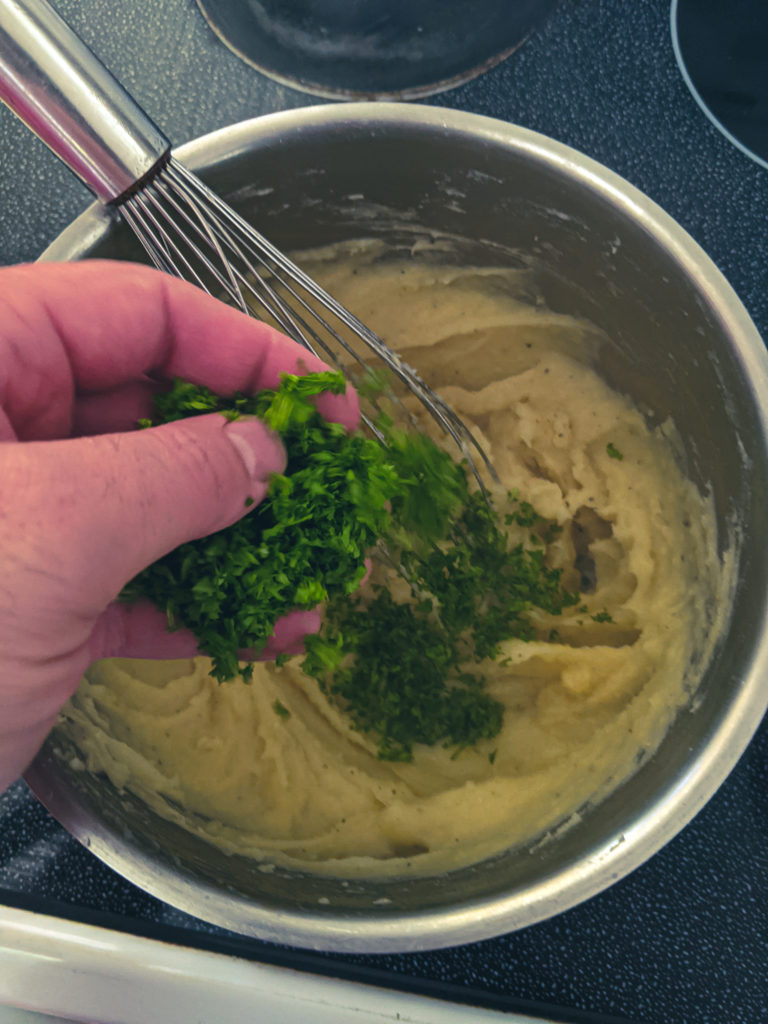
At this point, the potatoes should be very soft. Take them off the heat and start beating them with a firm whisk. Continue to beat the potatoes until they are smooth and creamy. Stir two tablespoons of freshly chopped parsley into the potatoes. Taste and season the potatoes with salt and pepper as needed. If the potatoes are a little too runny, you can put them back on medium heat and continue to cook them for a few more minutes. Just make sure to keep stirring them as they cook as they may stick to the bottom of the pot and burn.
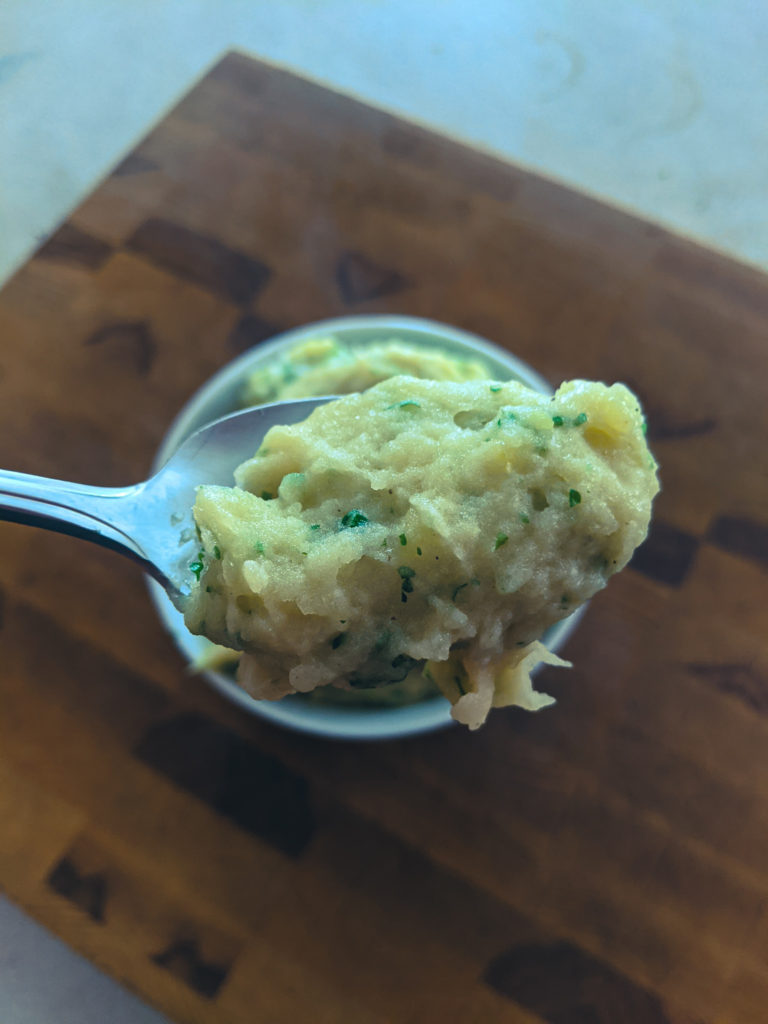
The Ultimate Thanksgiving Mashed Potatoes
And that is how you make The Ultimate Thanksgiving Mashed Potatoes. If you’d like to add even more flavour, you can add additional herbs like time or savoury. You can even add some dried onion flakes (about a tablespoon) when adding the butter and stock. The point is that this is an easy way to add tonnes of flavour to make those same old mashed potatoes the star of your Thanksgiving dinner.
The Wrap-Up
I hope you enjoyed this post for The Ultimate Thanksgiving Mashed Potatoes. But, mostly, I hope that you have a great Thanksgiving. In the spirit of the season, I wanted to take a second to say how thankful I am for you. You have continued to support me by reading and sharing my posts over the years, which means the world to me. Thank you, and Happy Thanksgiving.
[jetpack_subscription_form subscribe_placeholder=”Email Address” show_subscribers_total=”false” button_on_newline=”false” custom_font_size=”16px” custom_border_radius=”0″ custom_border_weight=”1″ custom_padding=”15″ custom_spacing=”10″ submit_button_classes=”” email_field_classes=”” show_only_email_and_button=”true” success_message=”Success! An email was just sent to confirm your subscription. Please find the email now and click ‘Confirm Follow’ to start subscribing.”]
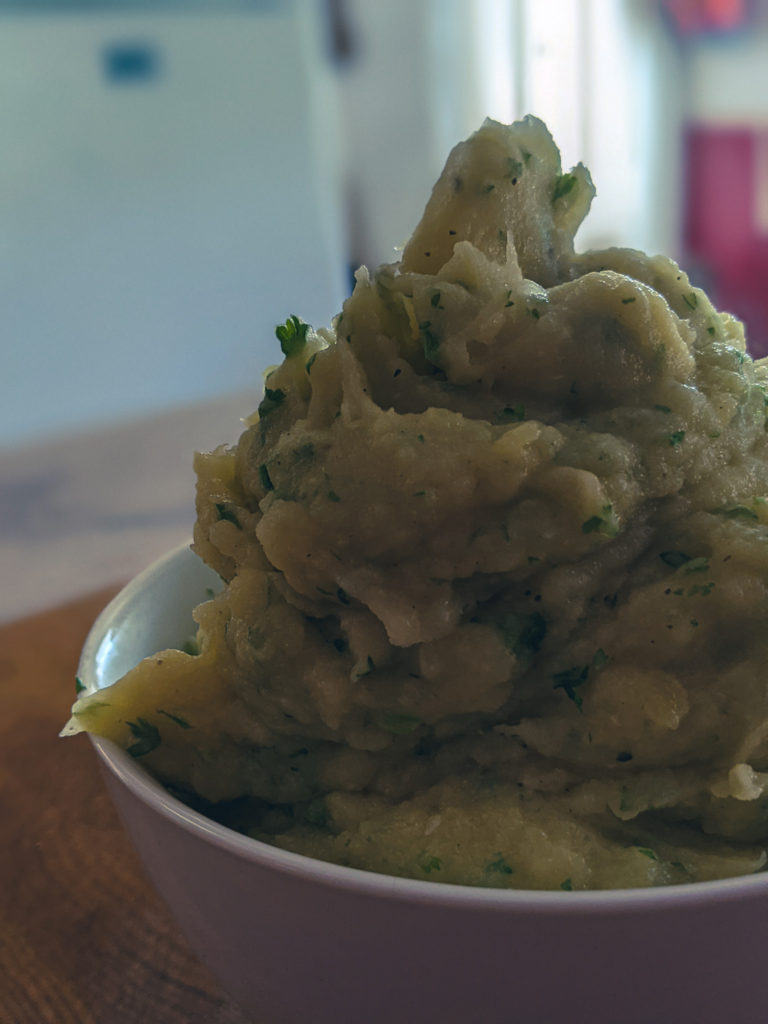
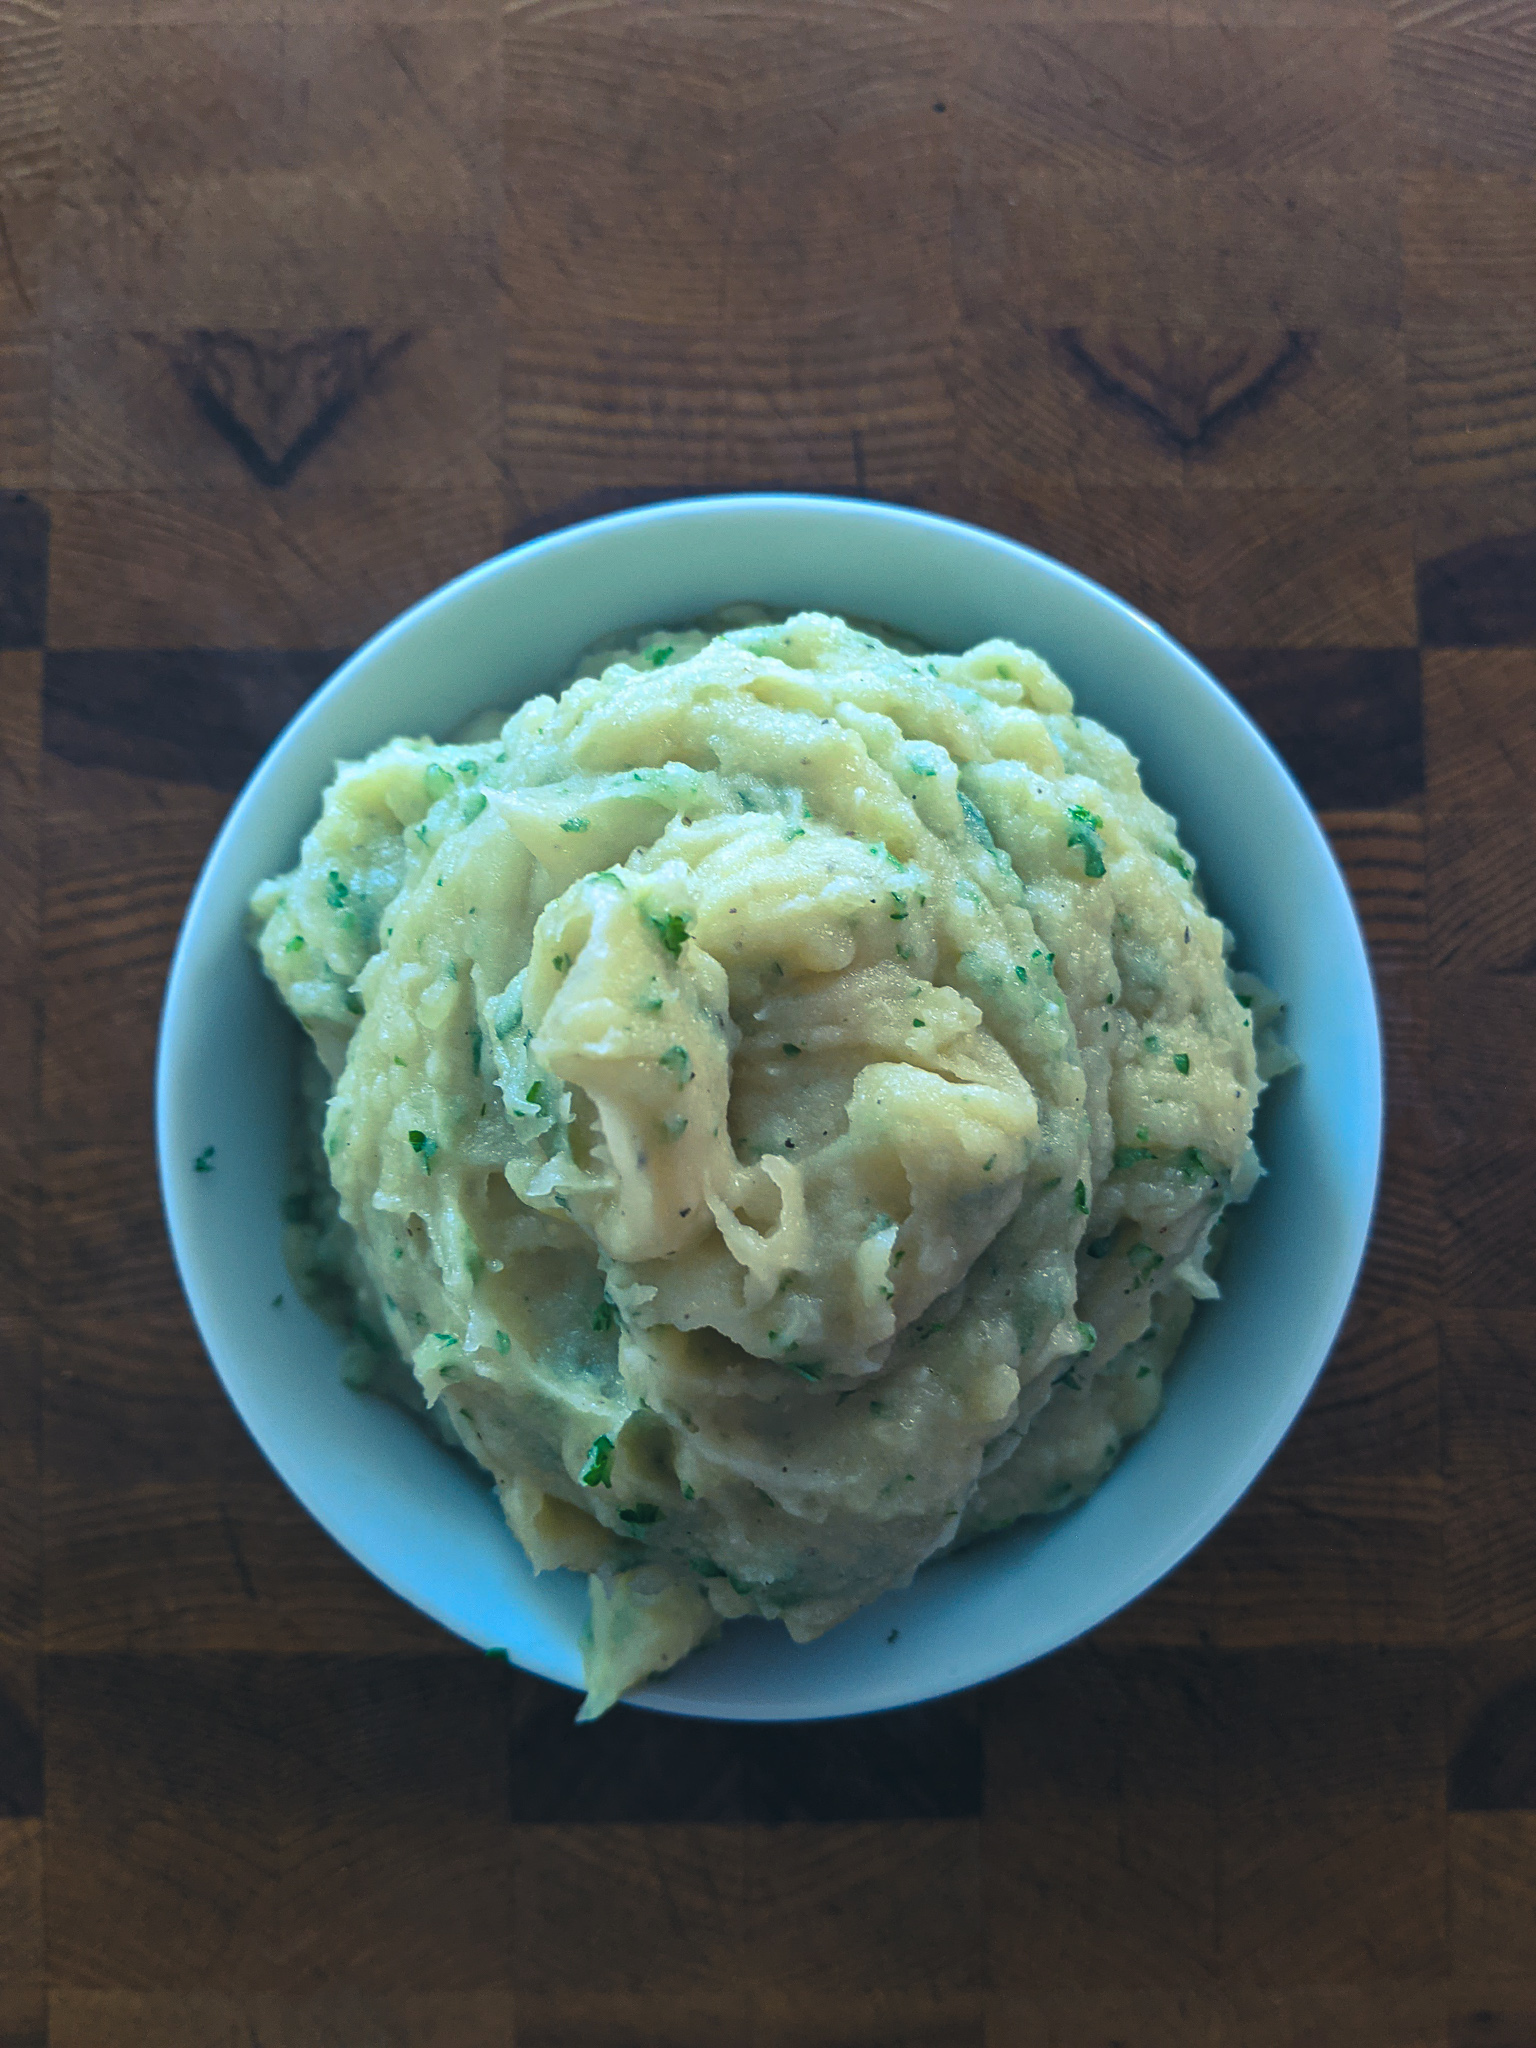
The Ultimate Thanksgiving Mashed Potatoes
In this recipe, potatoes are cooked in chicken stock with garlic and butter, then finished with fresh parsely. There is no cream or milk in these ultimate thanksgiving mashed potatoes making them surprisingly light and delicious.
Rinse the potatoes in three changes of room temperature water.
Cover the potatoes with chicken stock.
Add the garlic, pepper, and butter to the pot.
Bring the pot to a boil on high heat and cook for ten minutes. Reduce the heat to medium and cook until the potatoes start to fall apart and the liquid only comes up halfway on the potatoes.
Take the pot off the heat and whisk the potatoes until they are smooth and creamy.
Stir in the parsley, taste the potatoes and adjust the seasoning with salt and pepper as needed.
If the potatoes are too wet once whisked, put them back on the burner on medium heat, and stir with a wooden spoon or spatula for a minute or two until the potatoes have reached your desired consistency.
We use cookies on our website to give you the most relevant experience by remembering your preferences and repeat visits. By clicking “Accept”, you consent to the use of ALL the cookies.
This website uses cookies to improve your experience while you navigate through the website. Out of these, the cookies that are categorized as necessary are stored on your browser as they are essential for the working of basic functionalities of the website. We also use third-party cookies that help us analyze and understand how you use this website. These cookies will be stored in your browser only with your consent. You also have the option to opt-out of these cookies. But opting out of some of these cookies may affect your browsing experience.
Necessary cookies are absolutely essential for the website to function properly. This category only includes cookies that ensures basic functionalities and security features of the website. These cookies do not store any personal information.
Any cookies that may not be particularly necessary for the website to function and is used specifically to collect user personal data via analytics, ads, other embedded contents are termed as non-necessary cookies. It is mandatory to procure user consent prior to running these cookies on your website.