The candy counter at the old five-and-dime downtown sold them by the quarter pound, scooped into a white paper bag with a little metal shovel.
My grandpa bought a bag every December when he took me along to pick up wrapping paper.
We'd eat half of it in the car before we got home.
I loved them, but even as a kid I noticed the chocolate was a little dull and waxy, like it had been sitting in that glass case since Thanksgiving.
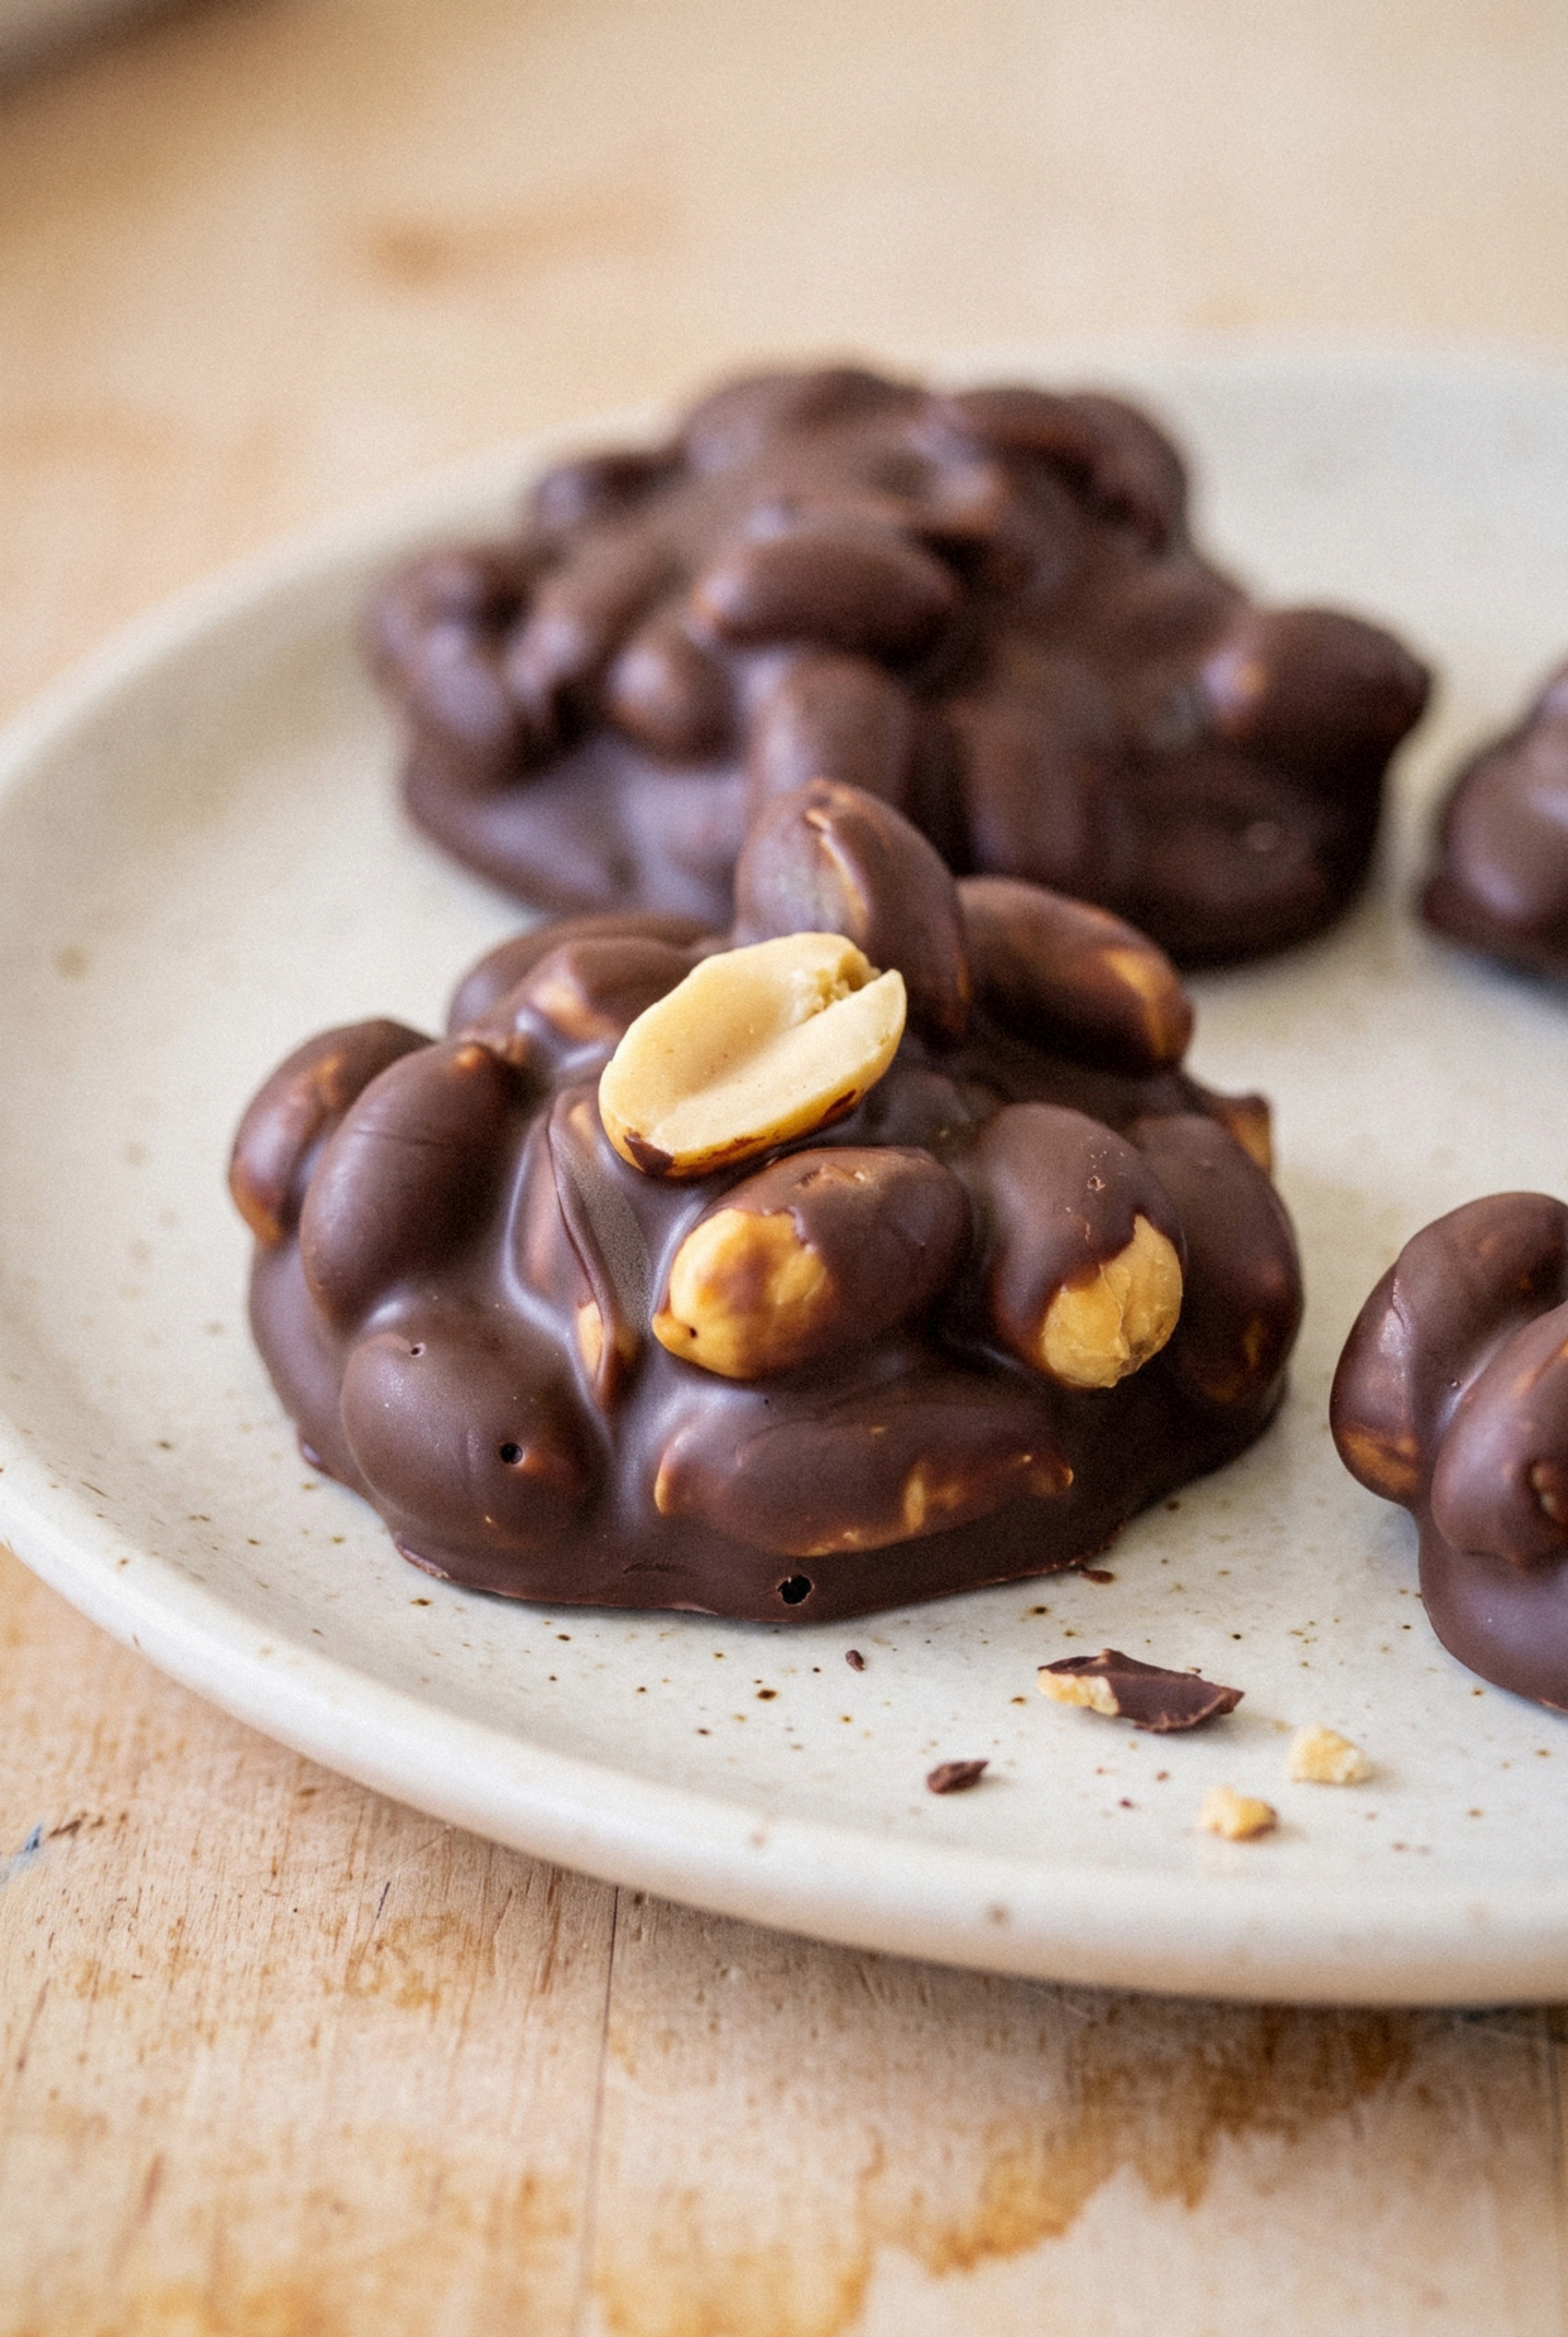
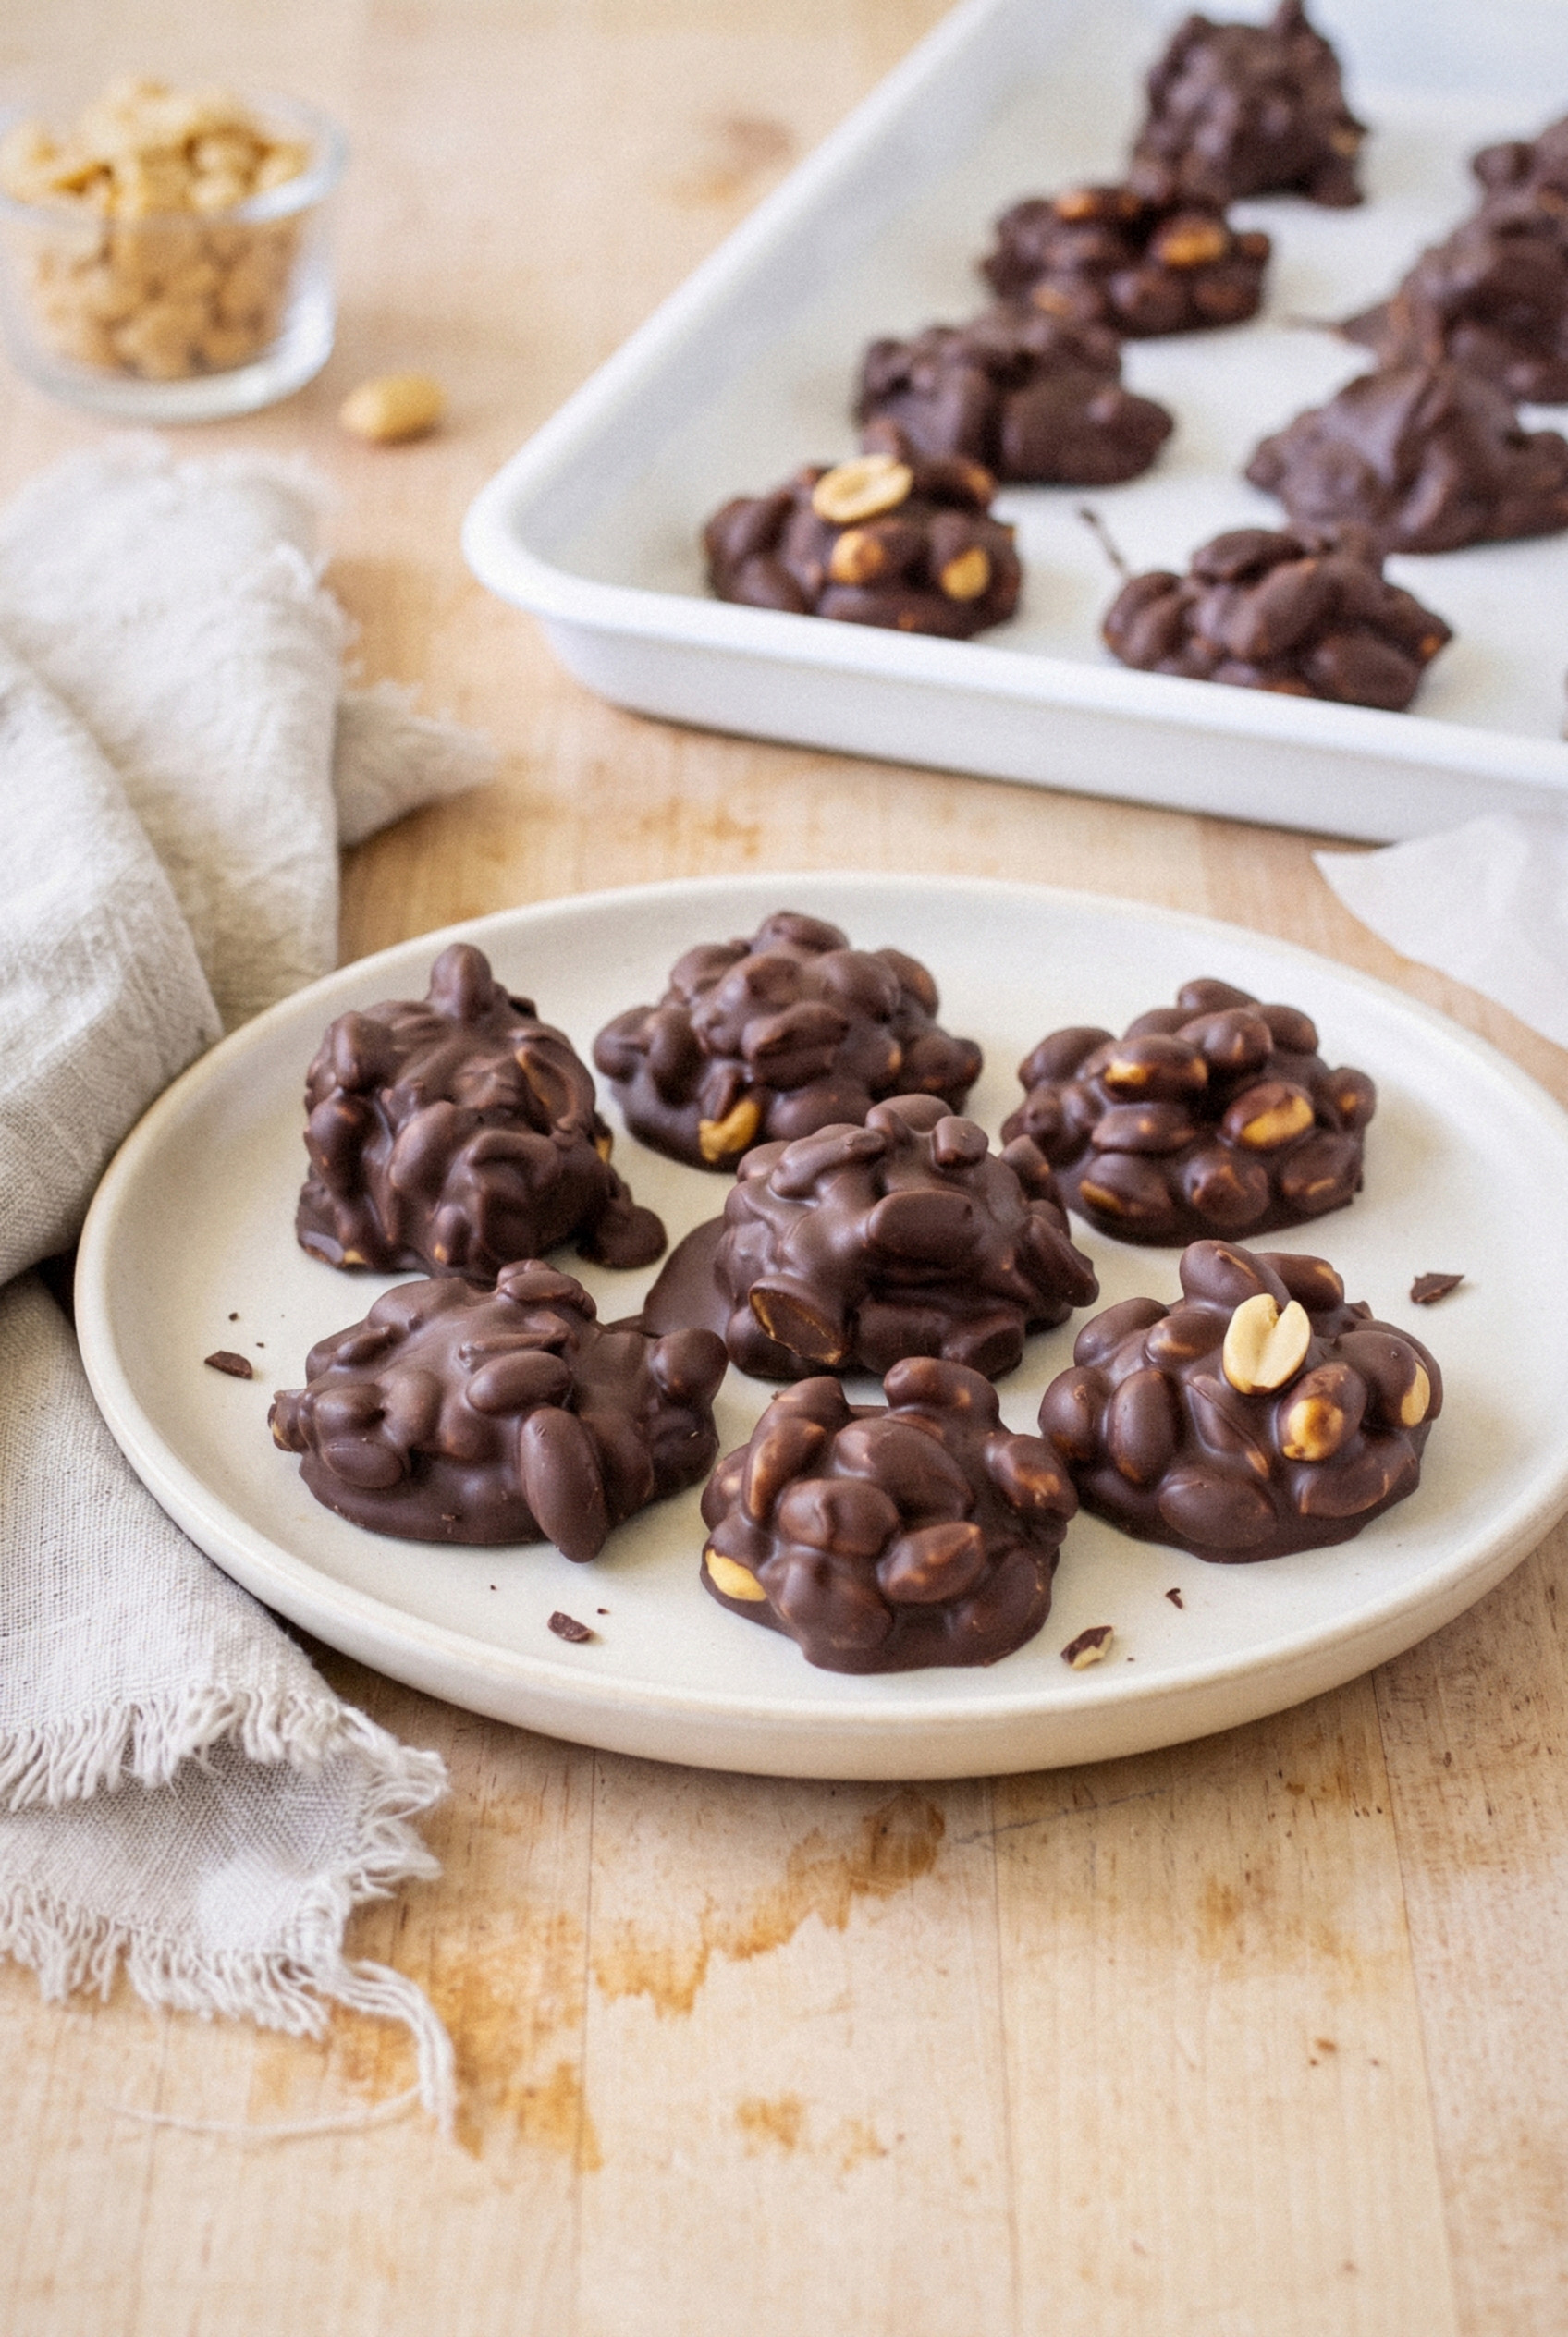
Years later, my wife and I started making Chocolate Peanut Clusters at home the same week we bake our Christmas cookies.
Now they go on every holiday tray we put together, and they're always the first thing gone.
What I love about them is that they're the one Christmas candy that needs no thermometer and no oven at all.
You melt two kinds of chocolate, stir in salted roasted peanuts, and drop little mounds onto a parchment-lined tray.
That's about 10 minutes of work.
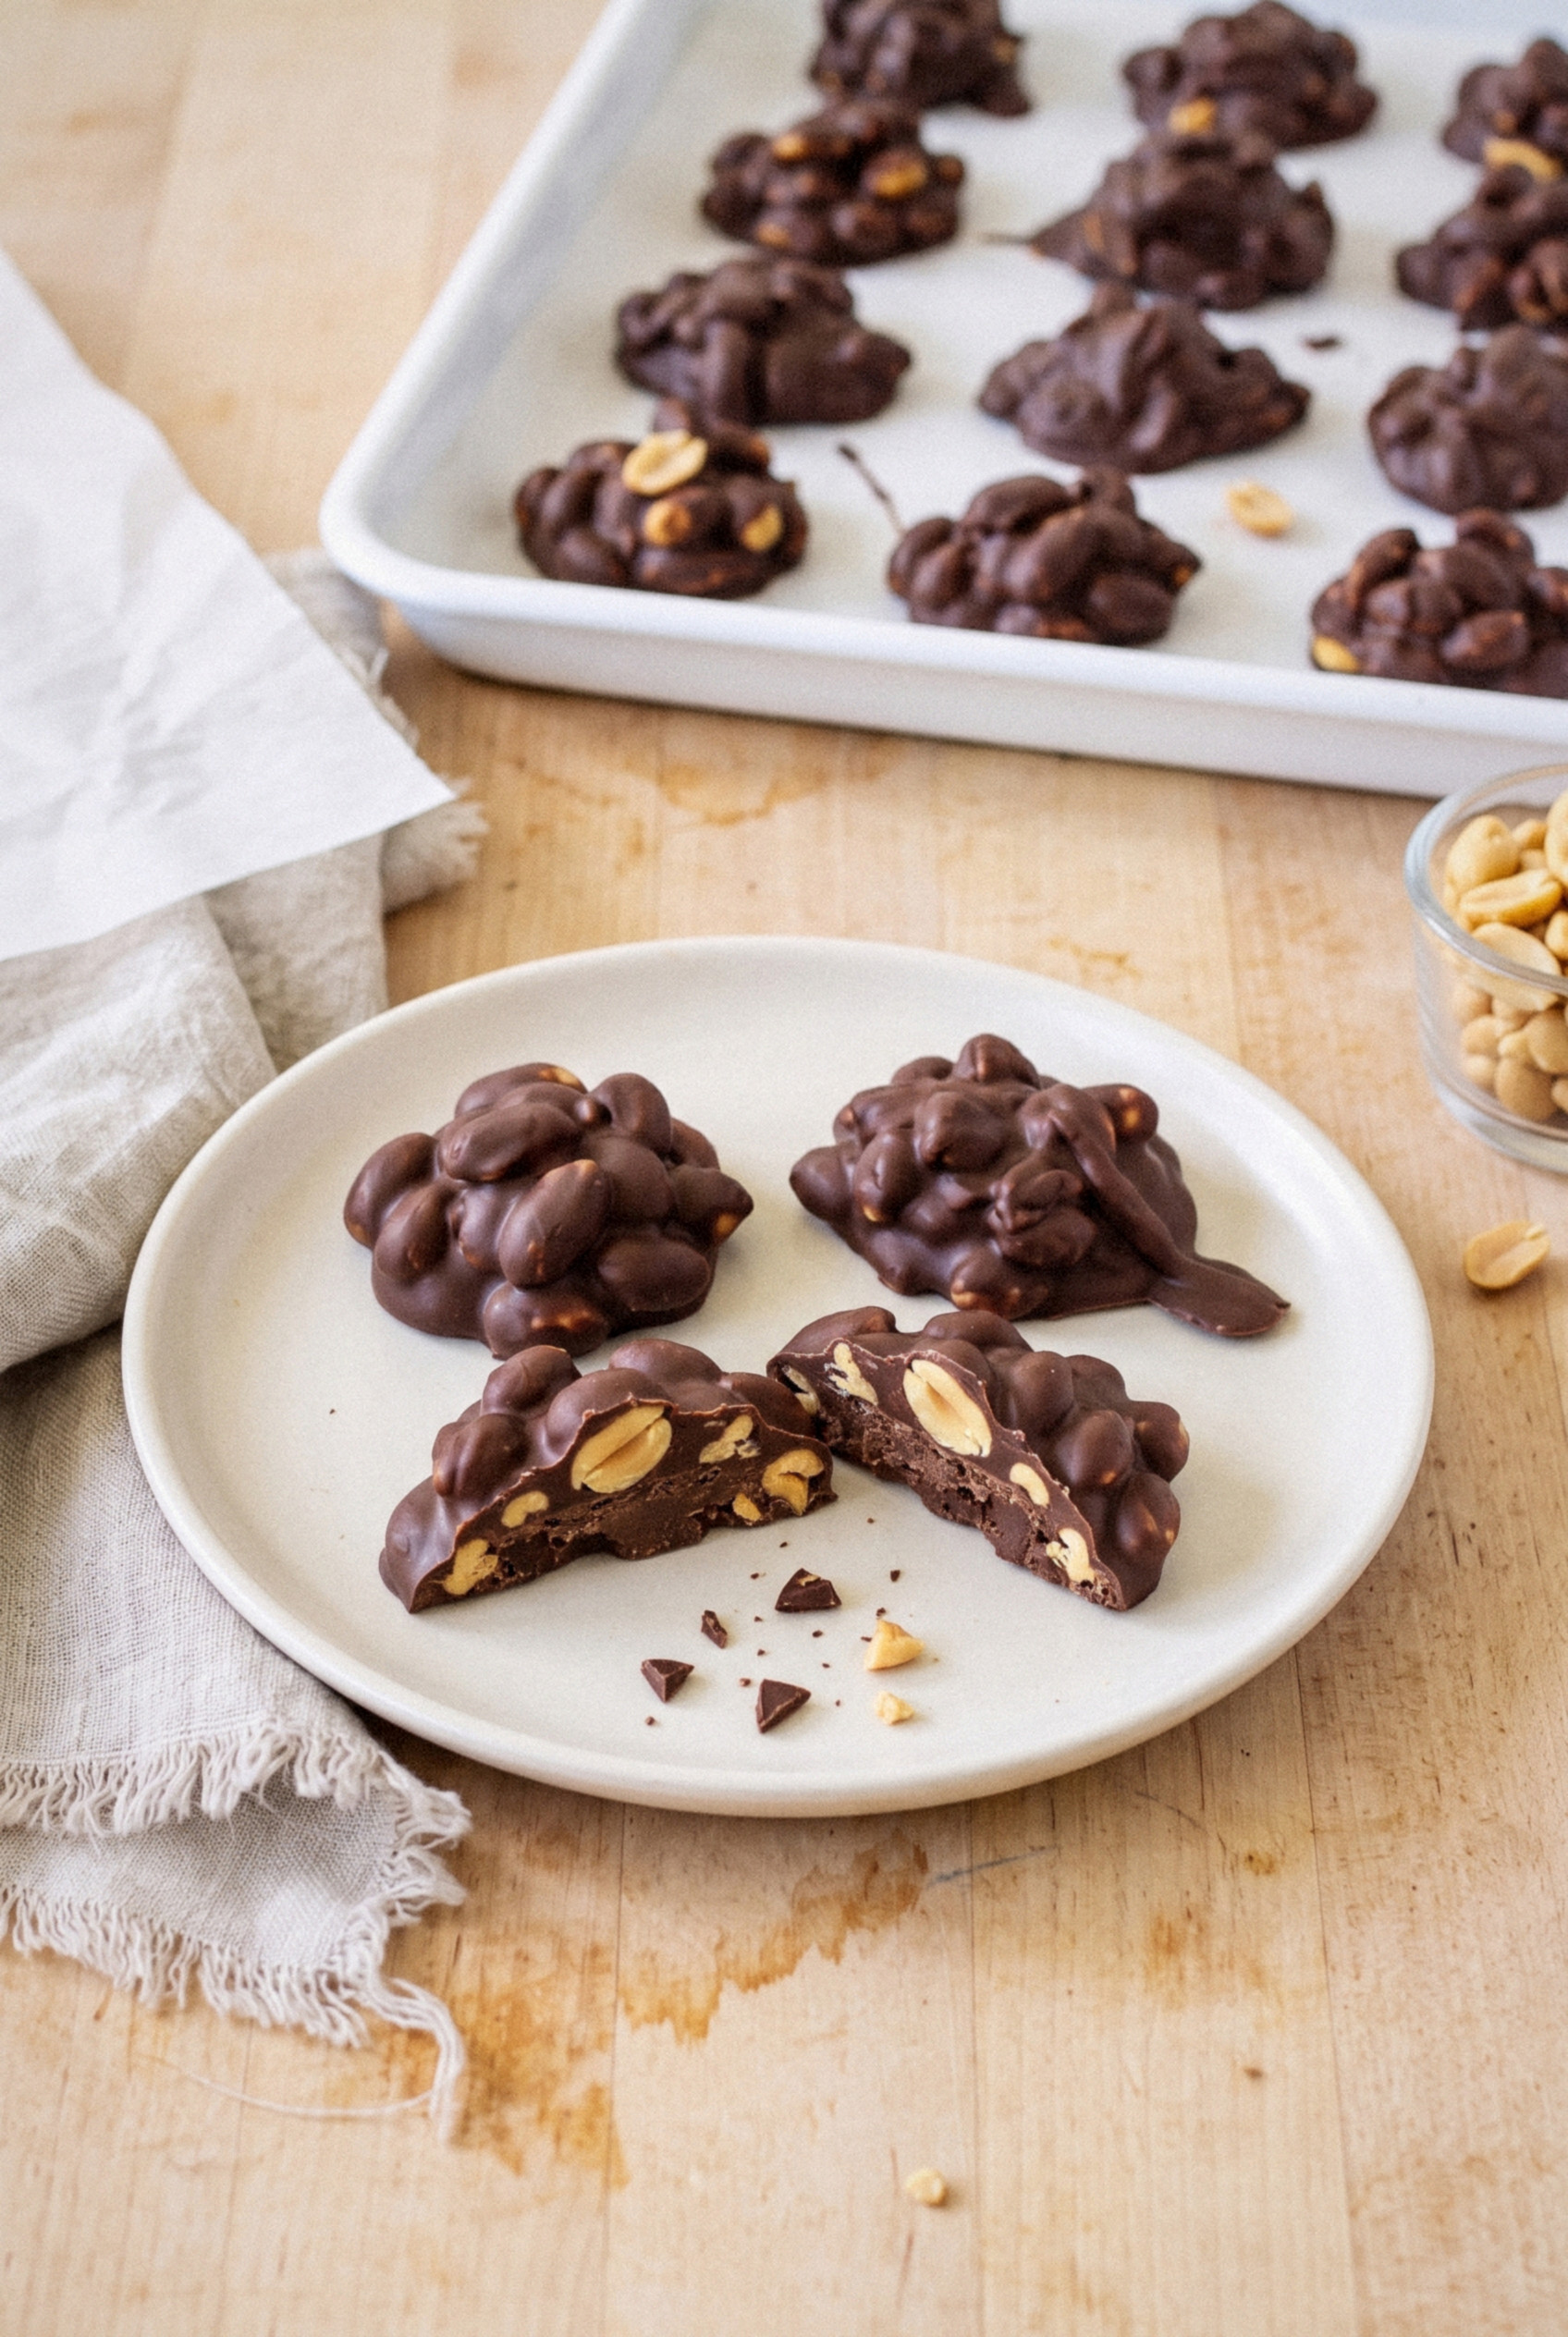
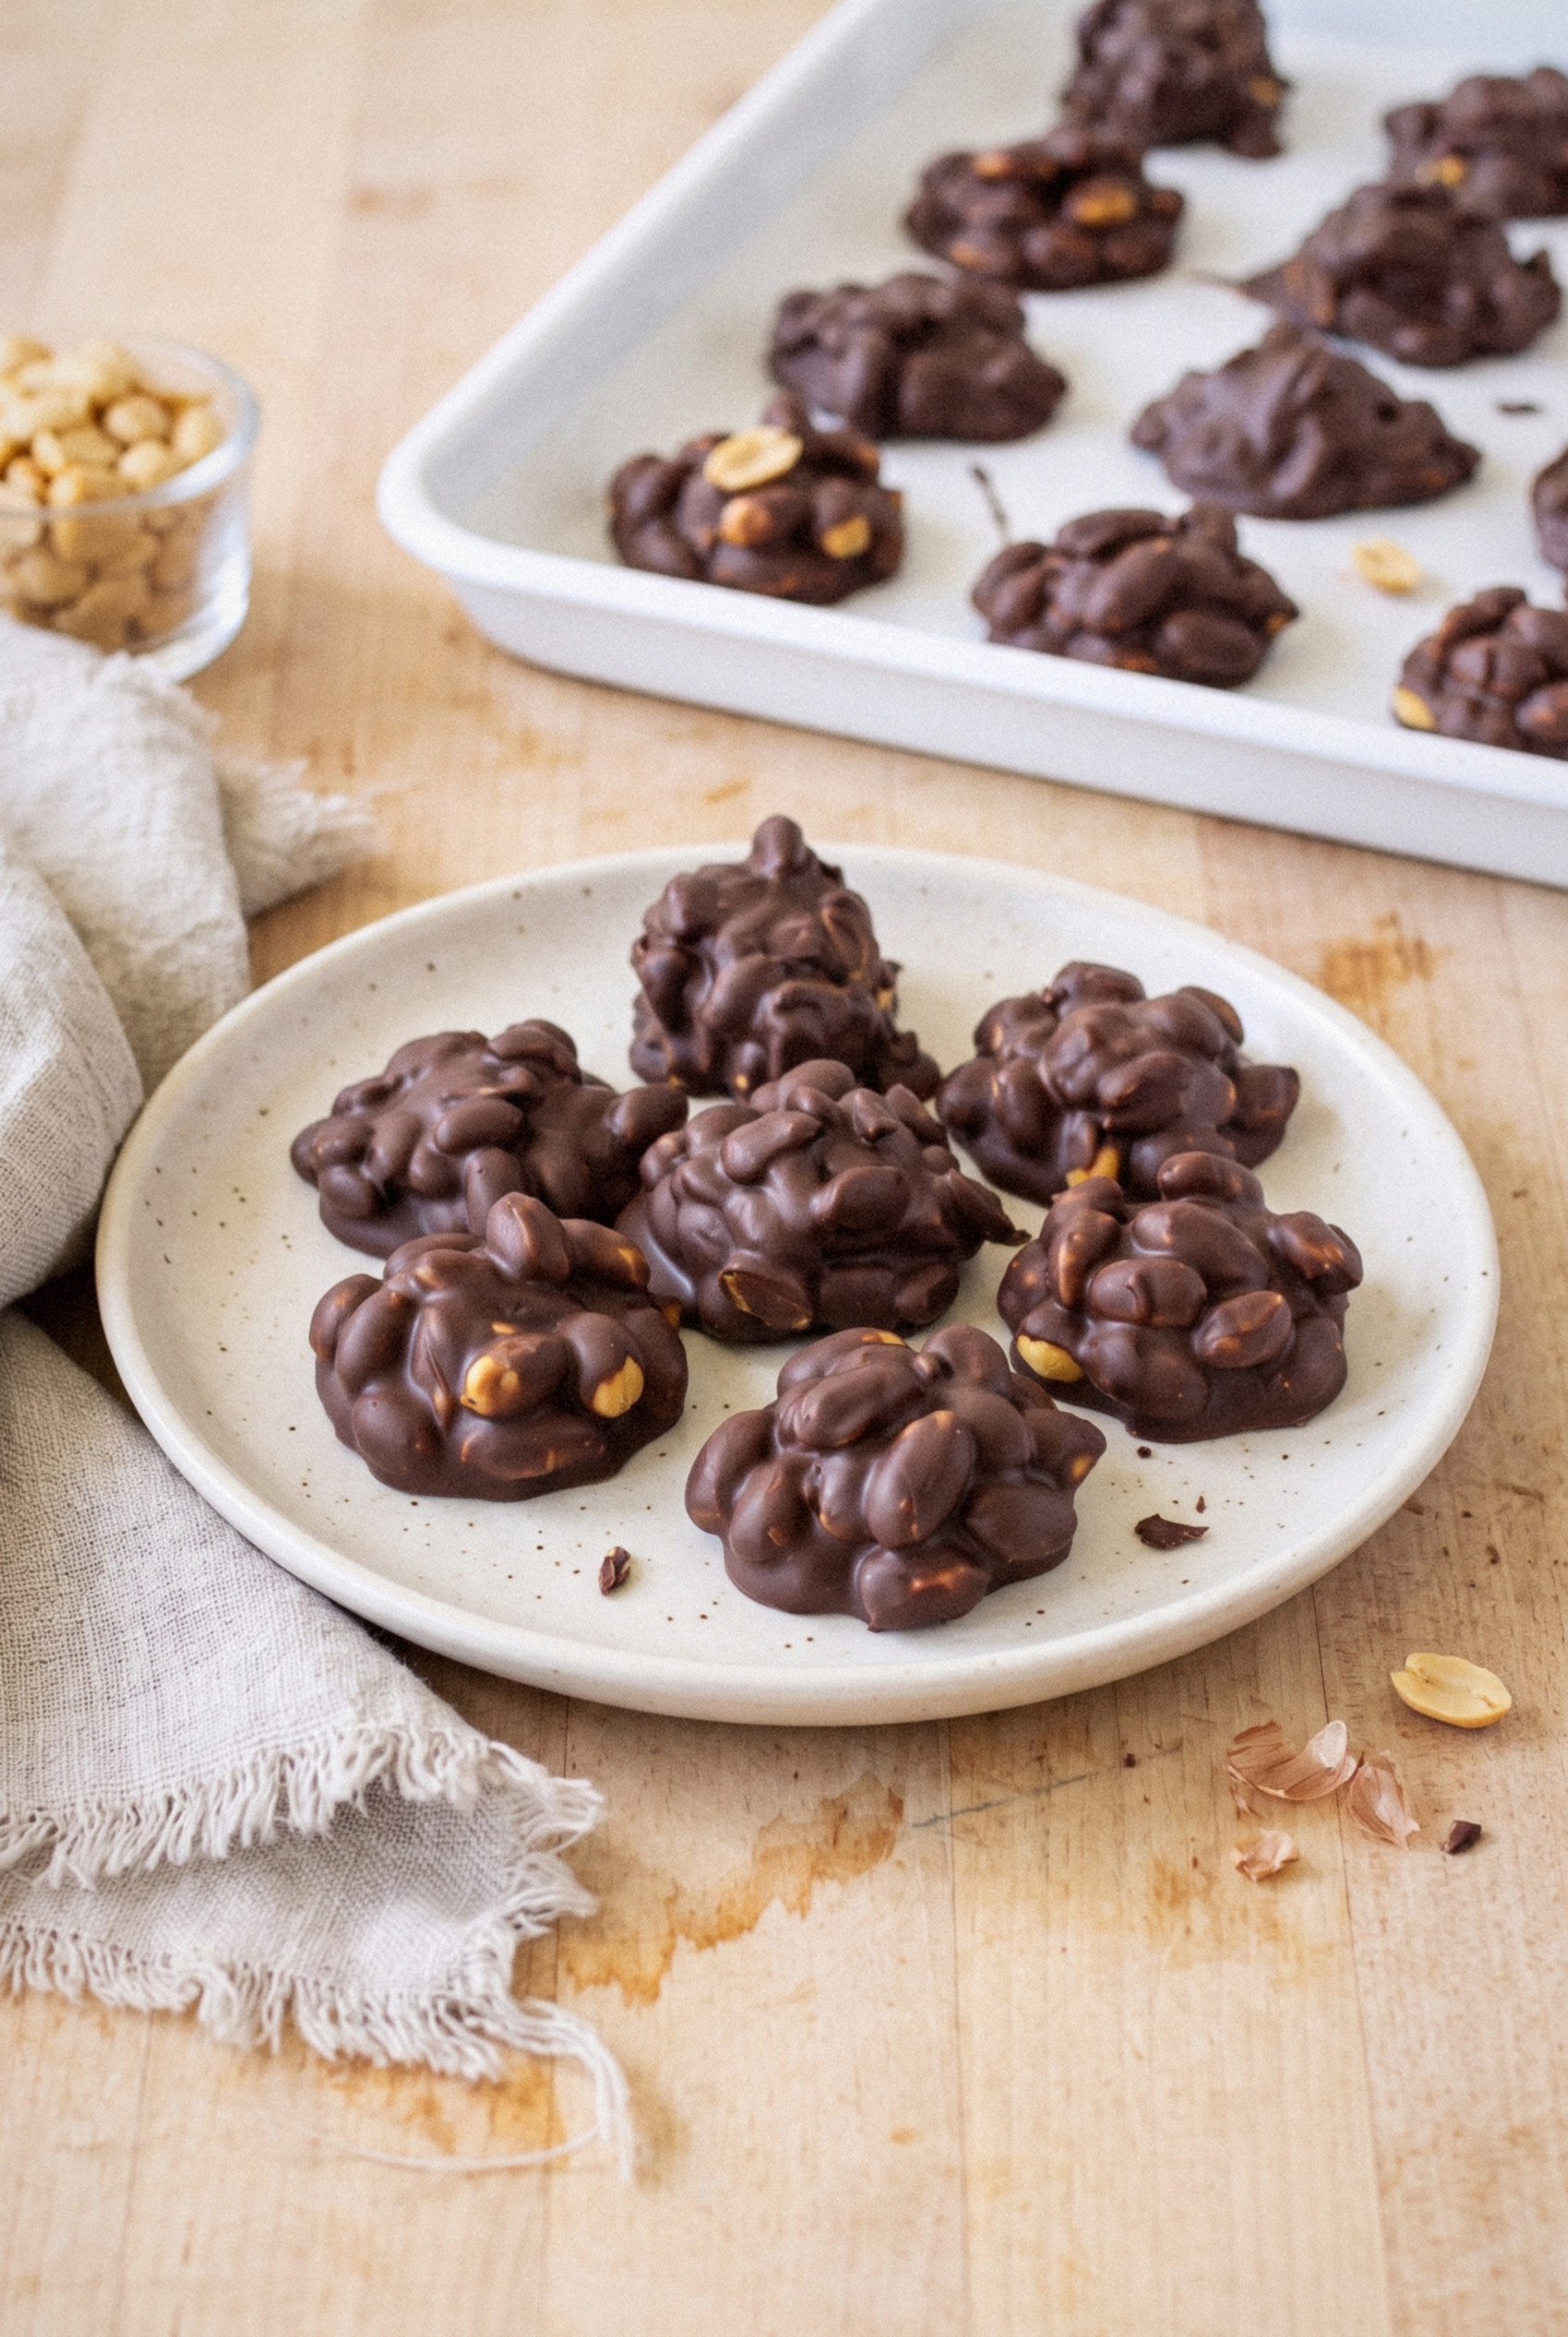
An hour later you've got glossy, crunchy clusters that snap when you bite them, with a pinch of flaky salt on top.
They taste better than anything I ever bought from that candy counter, and a batch costs a fraction of the price.
Make them once and they'll be on your Christmas list every year, I promise!
Why These Peanut Clusters Work
Three small choices make these taste like real candy-shop clusters. None of them are hard.
- Two chocolates. Semi-sweet brings depth and a little bitterness. Milk chocolate brings that nostalgic candy-counter sweetness. Together they taste rounder than either one alone.
- Salted roasted peanuts. Raw peanuts taste flat and green in candy. Roasted and salted peanuts are crunchy and season the chocolate from the inside.
- Gentle melting. Chocolate that never gets too hot sets firmer and shinier at room temperature. This is the difference between a clean snap and a soft, smeary cluster.
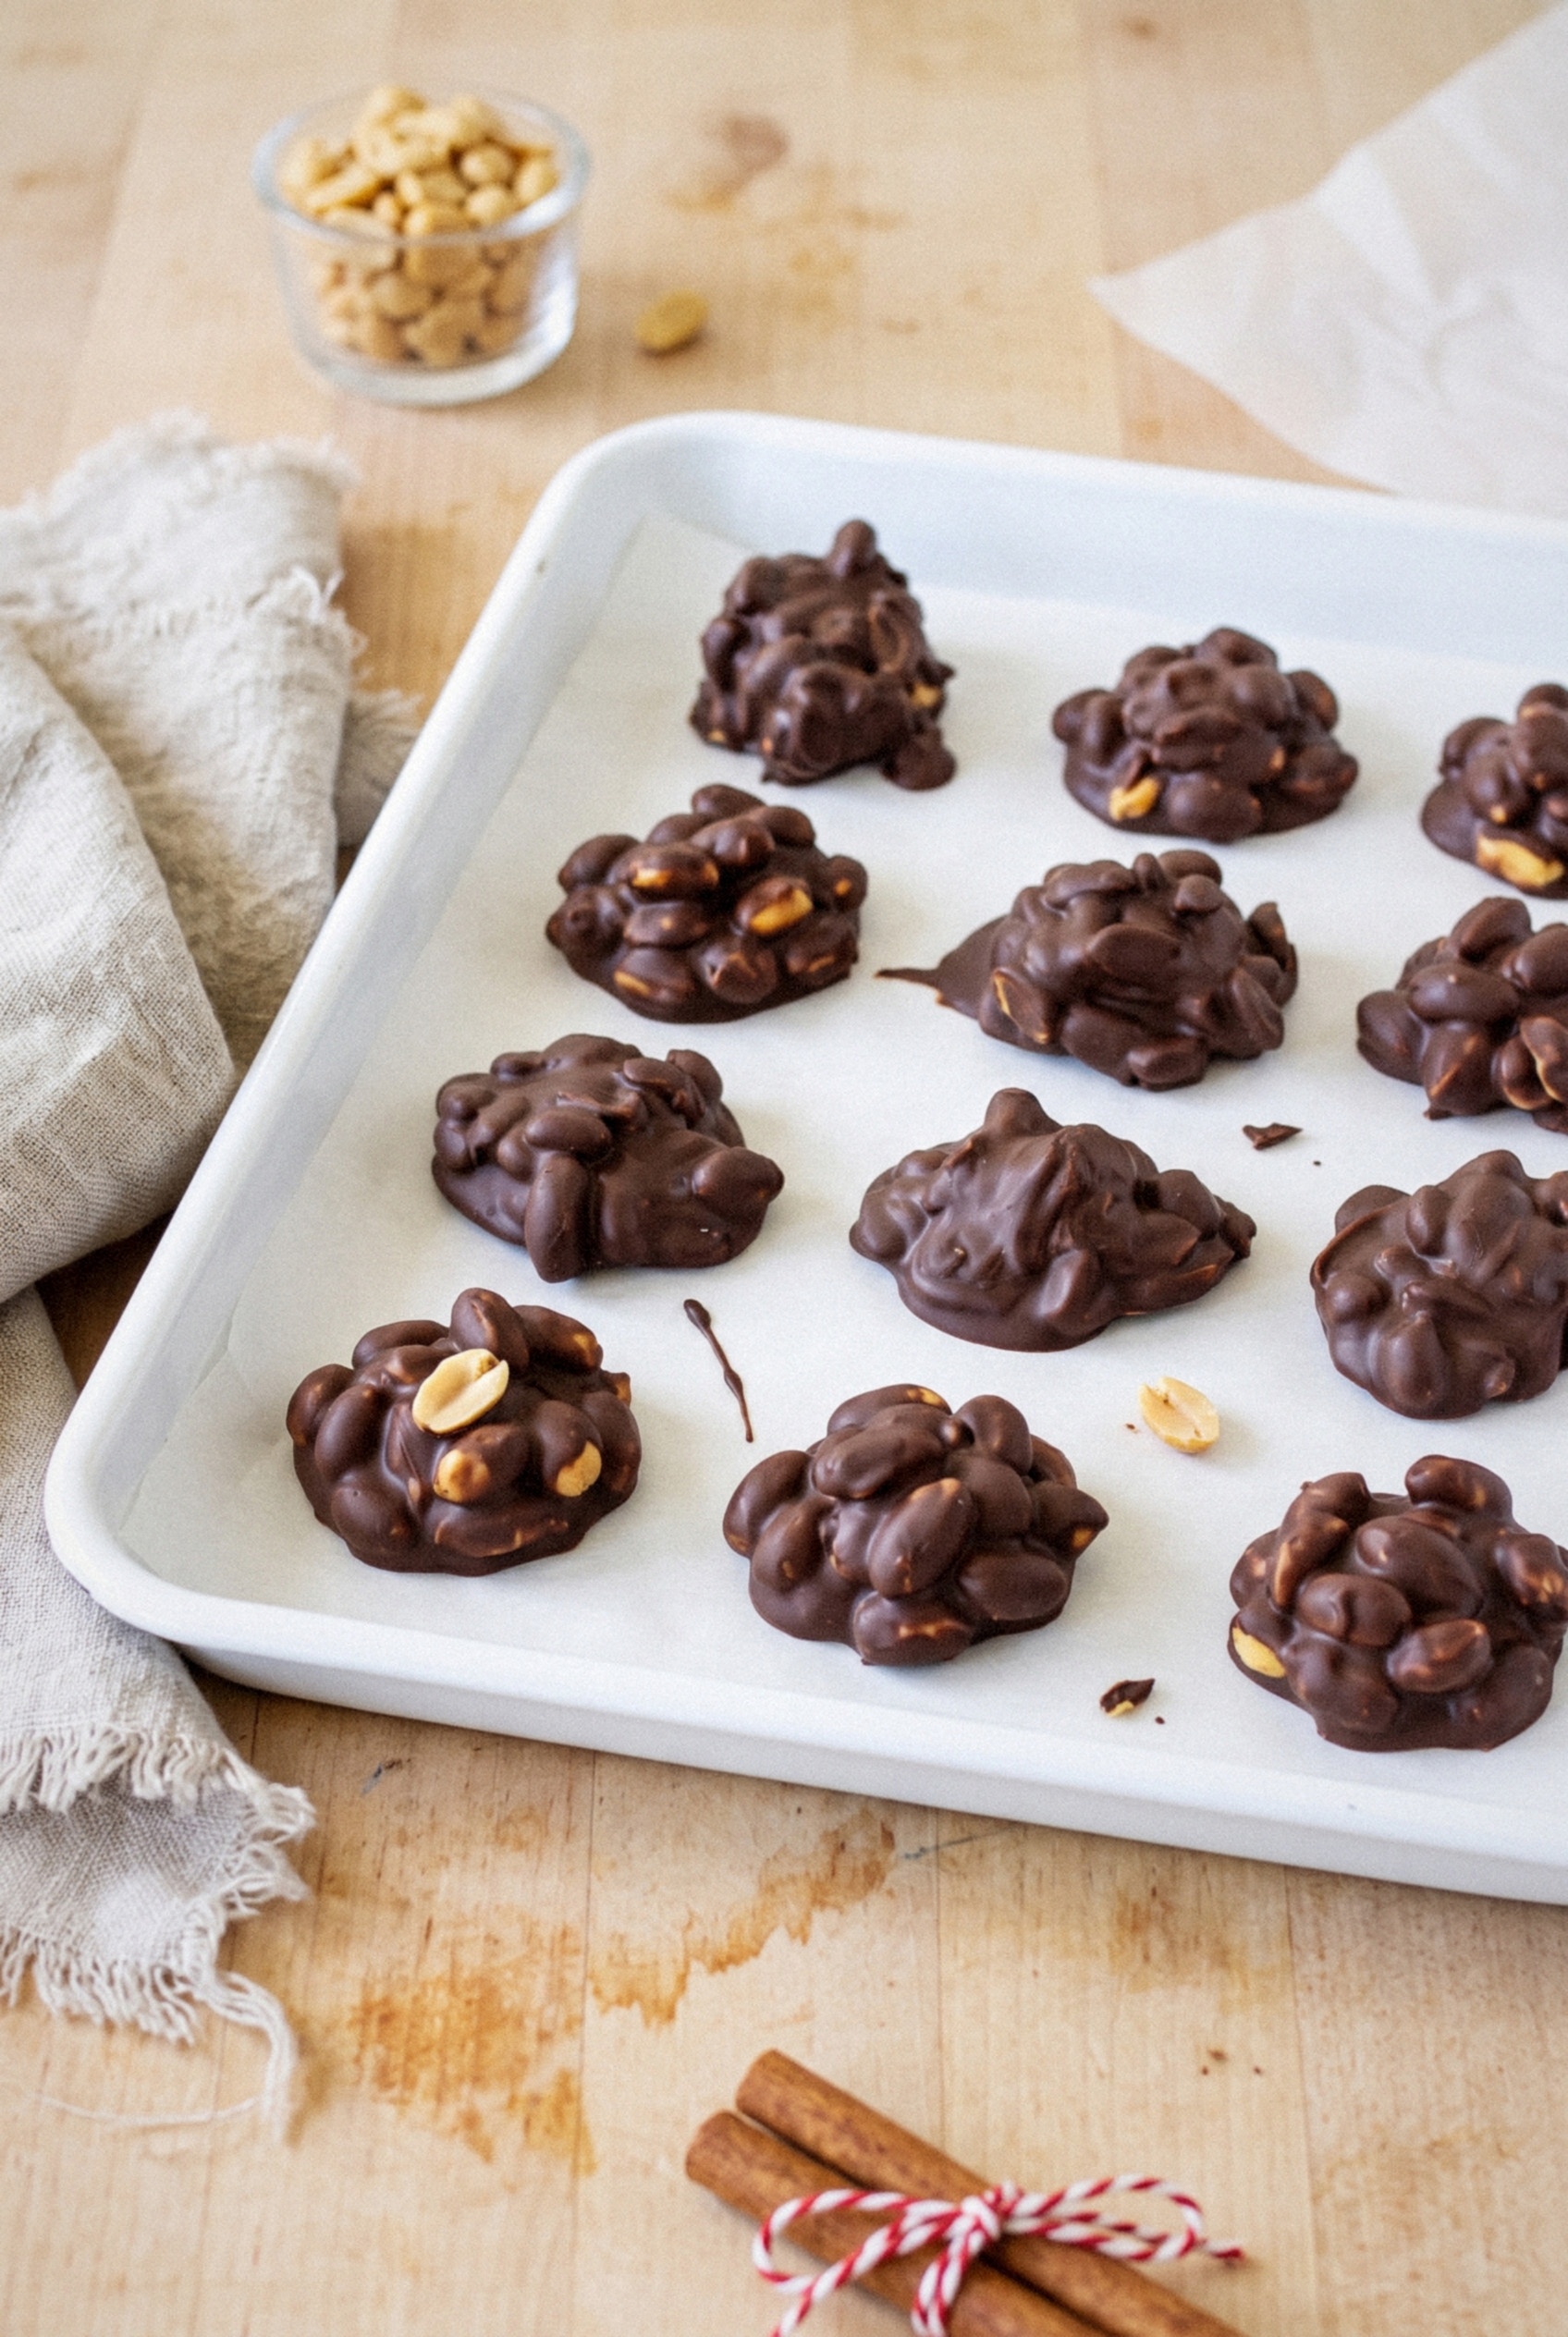
- Tray-size clusters. A level tablespoon makes a 1 ½ inch cluster. That's the perfect size for a Christmas candy tray, where people want a bite, not a meal.
Ingredients You'll Need
The core recipe is just three ingredients. The fourth is optional but highly recommended.
- Semi-sweet chocolate chips (1 cup, 6 oz). Any brand you like eating straight out of the bag. If you have a semi-sweet bar, chop it and use the same weight.
- Milk chocolate chips (1 cup, 6 oz). This softens the edge of the semi-sweet and gives the clusters that classic sweet flavor.
- Salted roasted peanuts (2 cups, about 10 oz). Dry roasted or cocktail peanuts both work. If you can find Spanish peanuts with the red skins, grab them. They're smaller, a little oilier, and taste extra nutty.
- Flaky sea salt (a pinch, optional). Sprinkled on top before the chocolate sets. It makes the sweet and salty contrast pop.
Looking for the famous 3 ingredient version? That's it right there: semi-sweet chocolate, milk chocolate, and peanuts.
Dietary note: these are naturally gluten-free, but check your chocolate and peanut labels, since some are processed on shared equipment with wheat.
What Is the Best Chocolate for Peanut Clusters?
The chocolate you choose decides how your clusters set, shine, and taste. Here's how the common options compare.
- Chocolate chips. Easy to find and taste great. Chips have stabilizers that help them hold their shape, so they melt a little thicker and set slightly softer. Melted gently, they set just fine at cool room temperature.
- Bar chocolate. Chopped bars melt smoother and taste richer. If you temper it, you get the shiniest, snappiest cluster possible. Without tempering, it can set a bit soft and streaky.
- Almond bark or candy coating. Lots of old-fashioned church cookbook recipes use it. It melts smoothly and sets hard every time, but the flavor is sweeter and less chocolatey. A half-and-half mix with semi-sweet chips is a good compromise.
- Candy melts. The easiest to work with, and they come in colors. The flavor is the most basic of the bunch.
- Dark chocolate. Swap it for the semi-sweet if you like a less sweet cluster. Keep the milk chocolate so the flavor stays balanced.
- White chocolate. It burns easily, so melt it at 30 percent power. It's best as a drizzle over finished clusters.
My pick? Semi-sweet chips plus milk chocolate chips. Reliable, cheap, and they taste like Christmas.
How to Make Chocolate Peanut Clusters
This is a no-bake candy, start to finish. Line a rimmed baking tray with parchment or wax paper before you melt anything.
Step 1: Melt the Chocolate
Put both kinds of chips in a large microwave-safe bowl. Microwave at 50 percent power for 1 minute, stir, then keep going in 30-second rounds, stirring well after each one.
Stop heating while there are still a few small lumps. Keep stirring and the warmth of the bowl will melt them the rest of the way.
Pro tip: no microwave? Set a heatproof bowl over a saucepan with an inch of barely simmering water. The bowl must not touch the water, and keep every drop of water and warmth out of the chocolate.
Step 2: Stir in the Peanuts
Pour the peanuts into the melted chocolate. Fold with a silicone spatula until every peanut is completely coated and there are no dry spots at the bottom of the bowl.
It'll look like there's too much peanut for the chocolate at first. Keep folding. It always comes together.
Step 3: Drop the Clusters
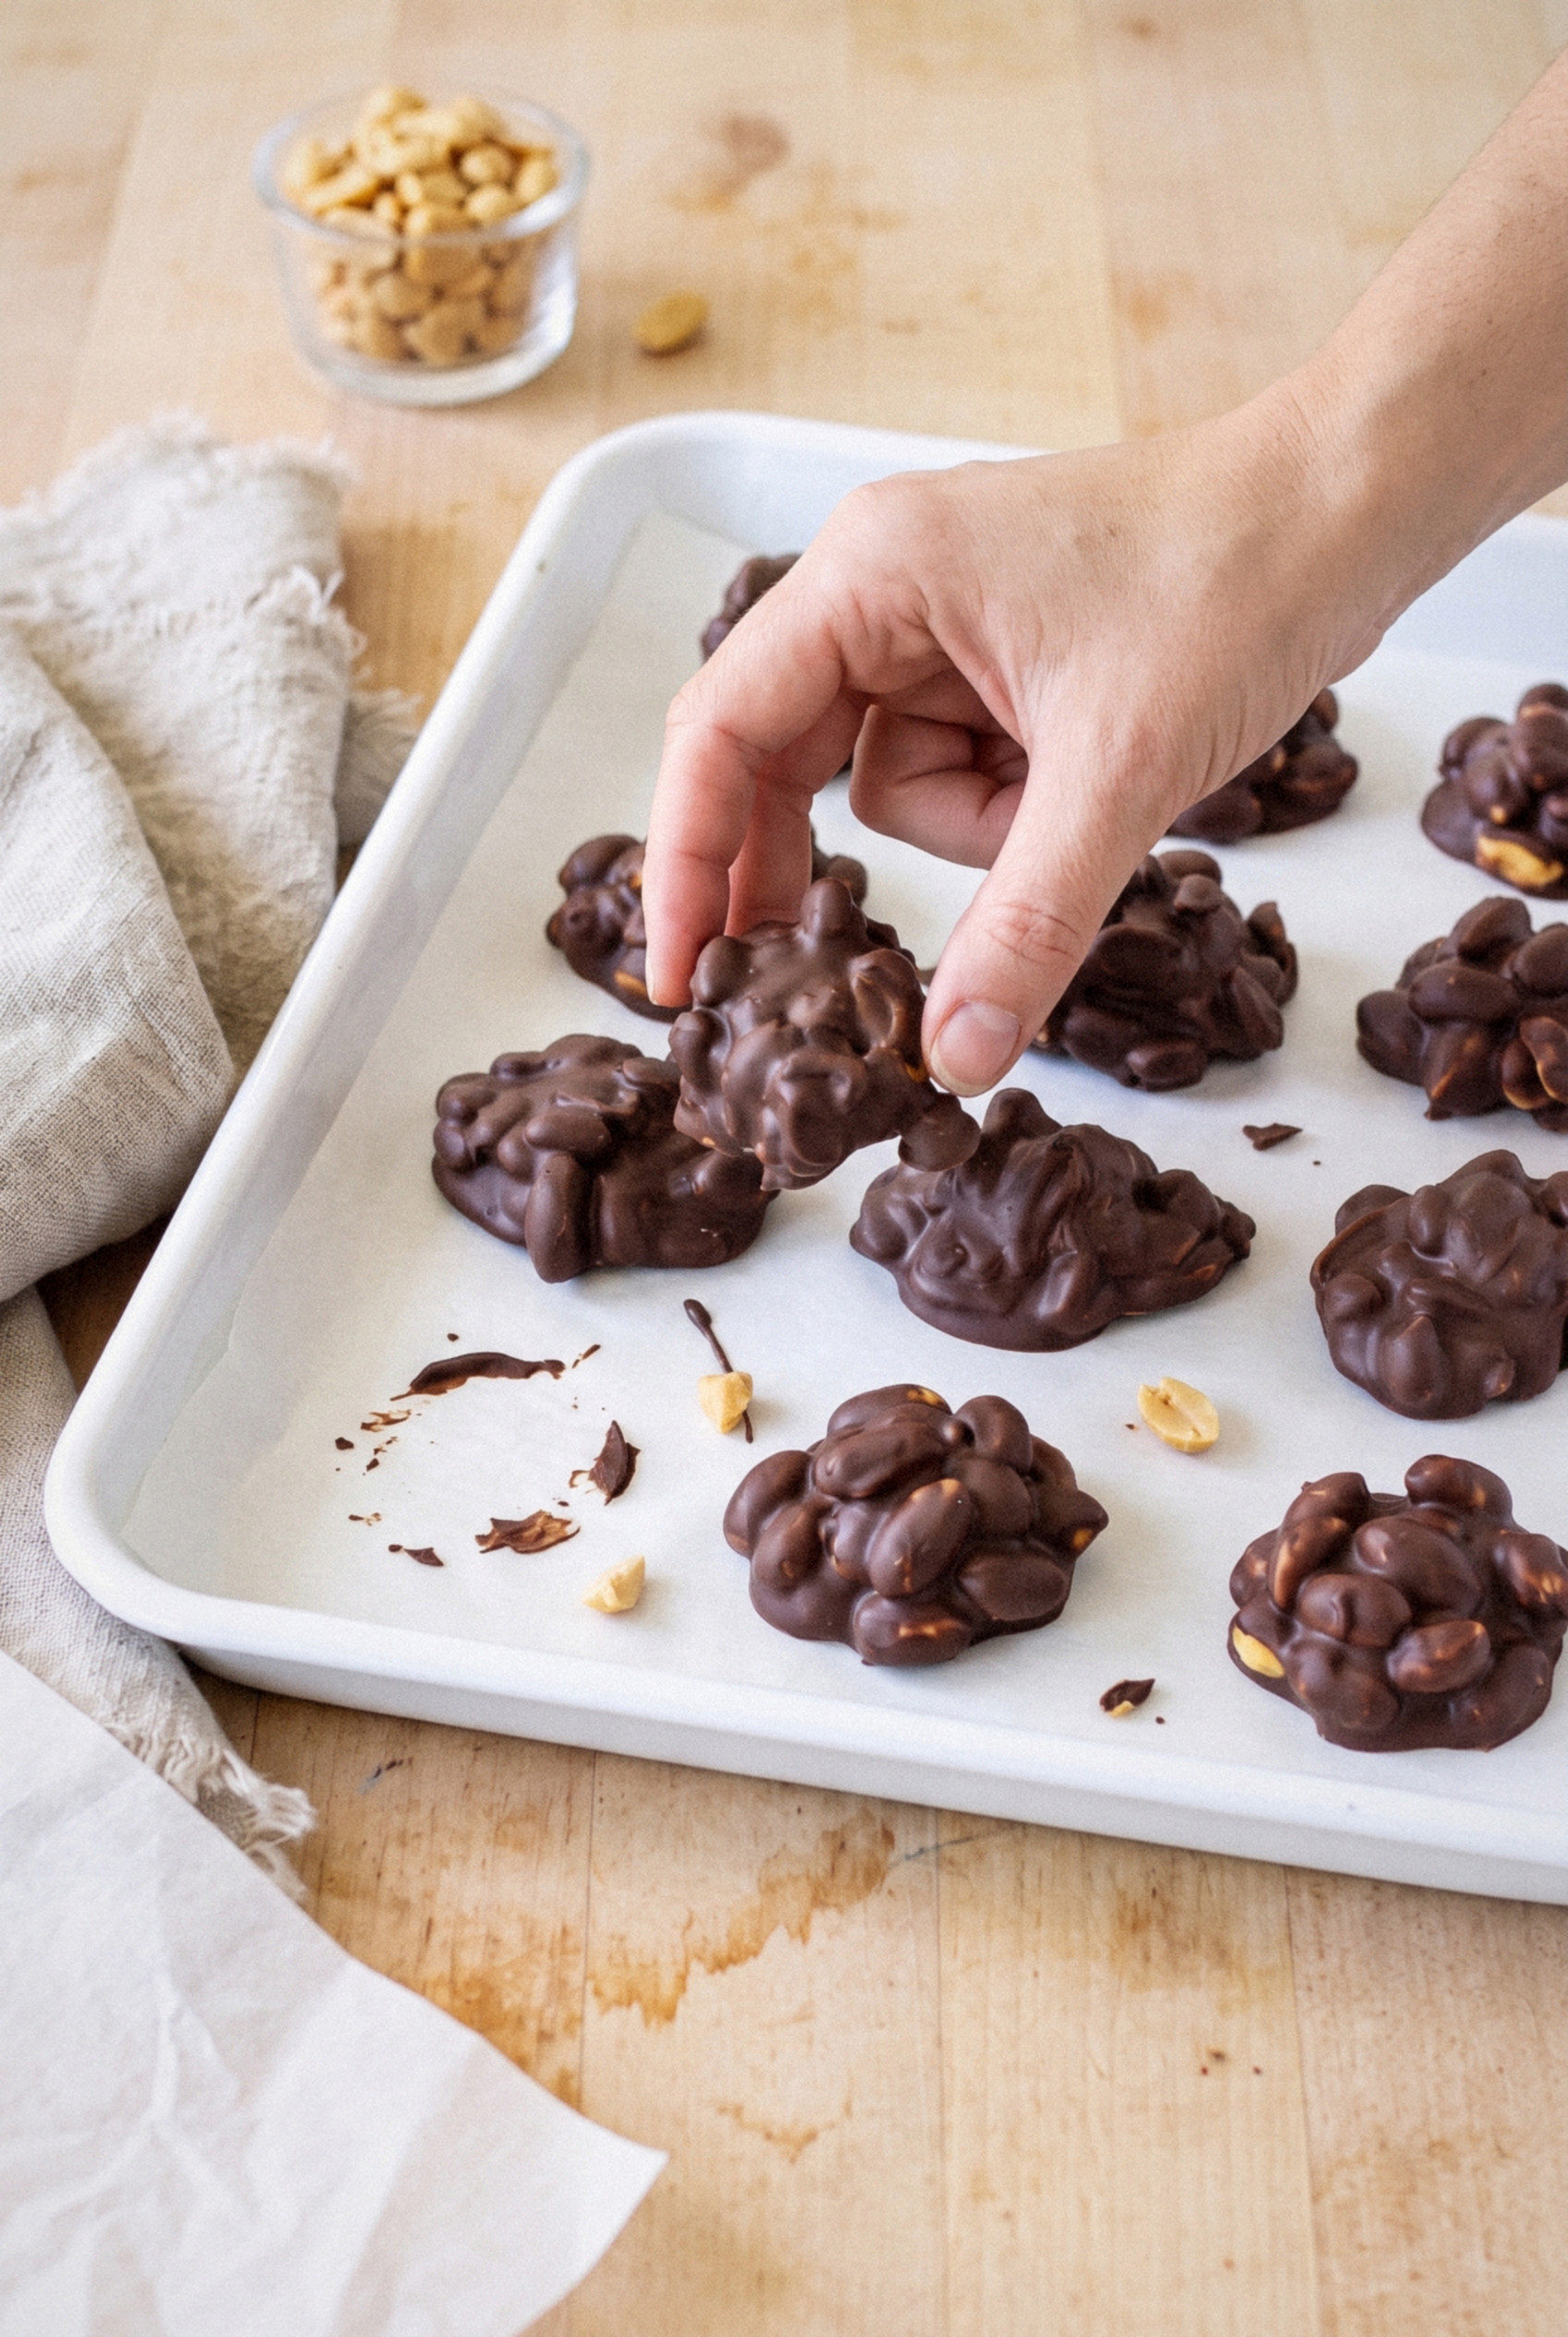
Scoop level tablespoons of the mixture onto the lined tray, leaving about an inch between them. A small cookie scoop makes this much faster and keeps them all the same size.
Nudge any stray peanuts back into the pile with the spoon so each cluster is a neat little dome. If you're using flaky salt, sprinkle it on now while the chocolate is still wet.
Step 4: Let Them Set
Leave the tray in the coolest spot in your kitchen for about 1 hour, until the clusters are firm all the way through. They should lift cleanly off the paper.
Can you chill them to speed it up? Yes, but keep it short.
A warm kitchen might need 20 minutes in the fridge. Any longer and the chocolate can form gray streaks once it comes back to room temperature.
Why Aren't My Peanut Clusters Hardening?
This is the number one question people ask, and there are only four usual causes. Each one has a fix.
- The kitchen is warm. Chocolate needs a cool room to set. Move the tray to a cooler spot or chill for 20 minutes.
- The chocolate overheated. Scorched chocolate turns thick, dull, and crumbly, and it never sets right. NEVER microwave it at full power for long stretches. If it's only slightly overheated, stir in a handful of unmelted chips to cool it down.
- Water got in. Even a drop of water or warmth makes chocolate seize into a grainy paste. If it happens, stir in 1 teaspoon of coconut oil at a time until it loosens, then use it for clusters that you'll keep in the fridge.
- Too much fat was added. Lots of recipes add peanut butter or oil. That makes softer clusters that need the fridge. This recipe skips it for a firm set at room temperature.
About those gray streaks: that's chocolate bloom. It's completely safe to eat and only affects the look. It usually happens when chocolate gets chilled and then warms up again.
Variations
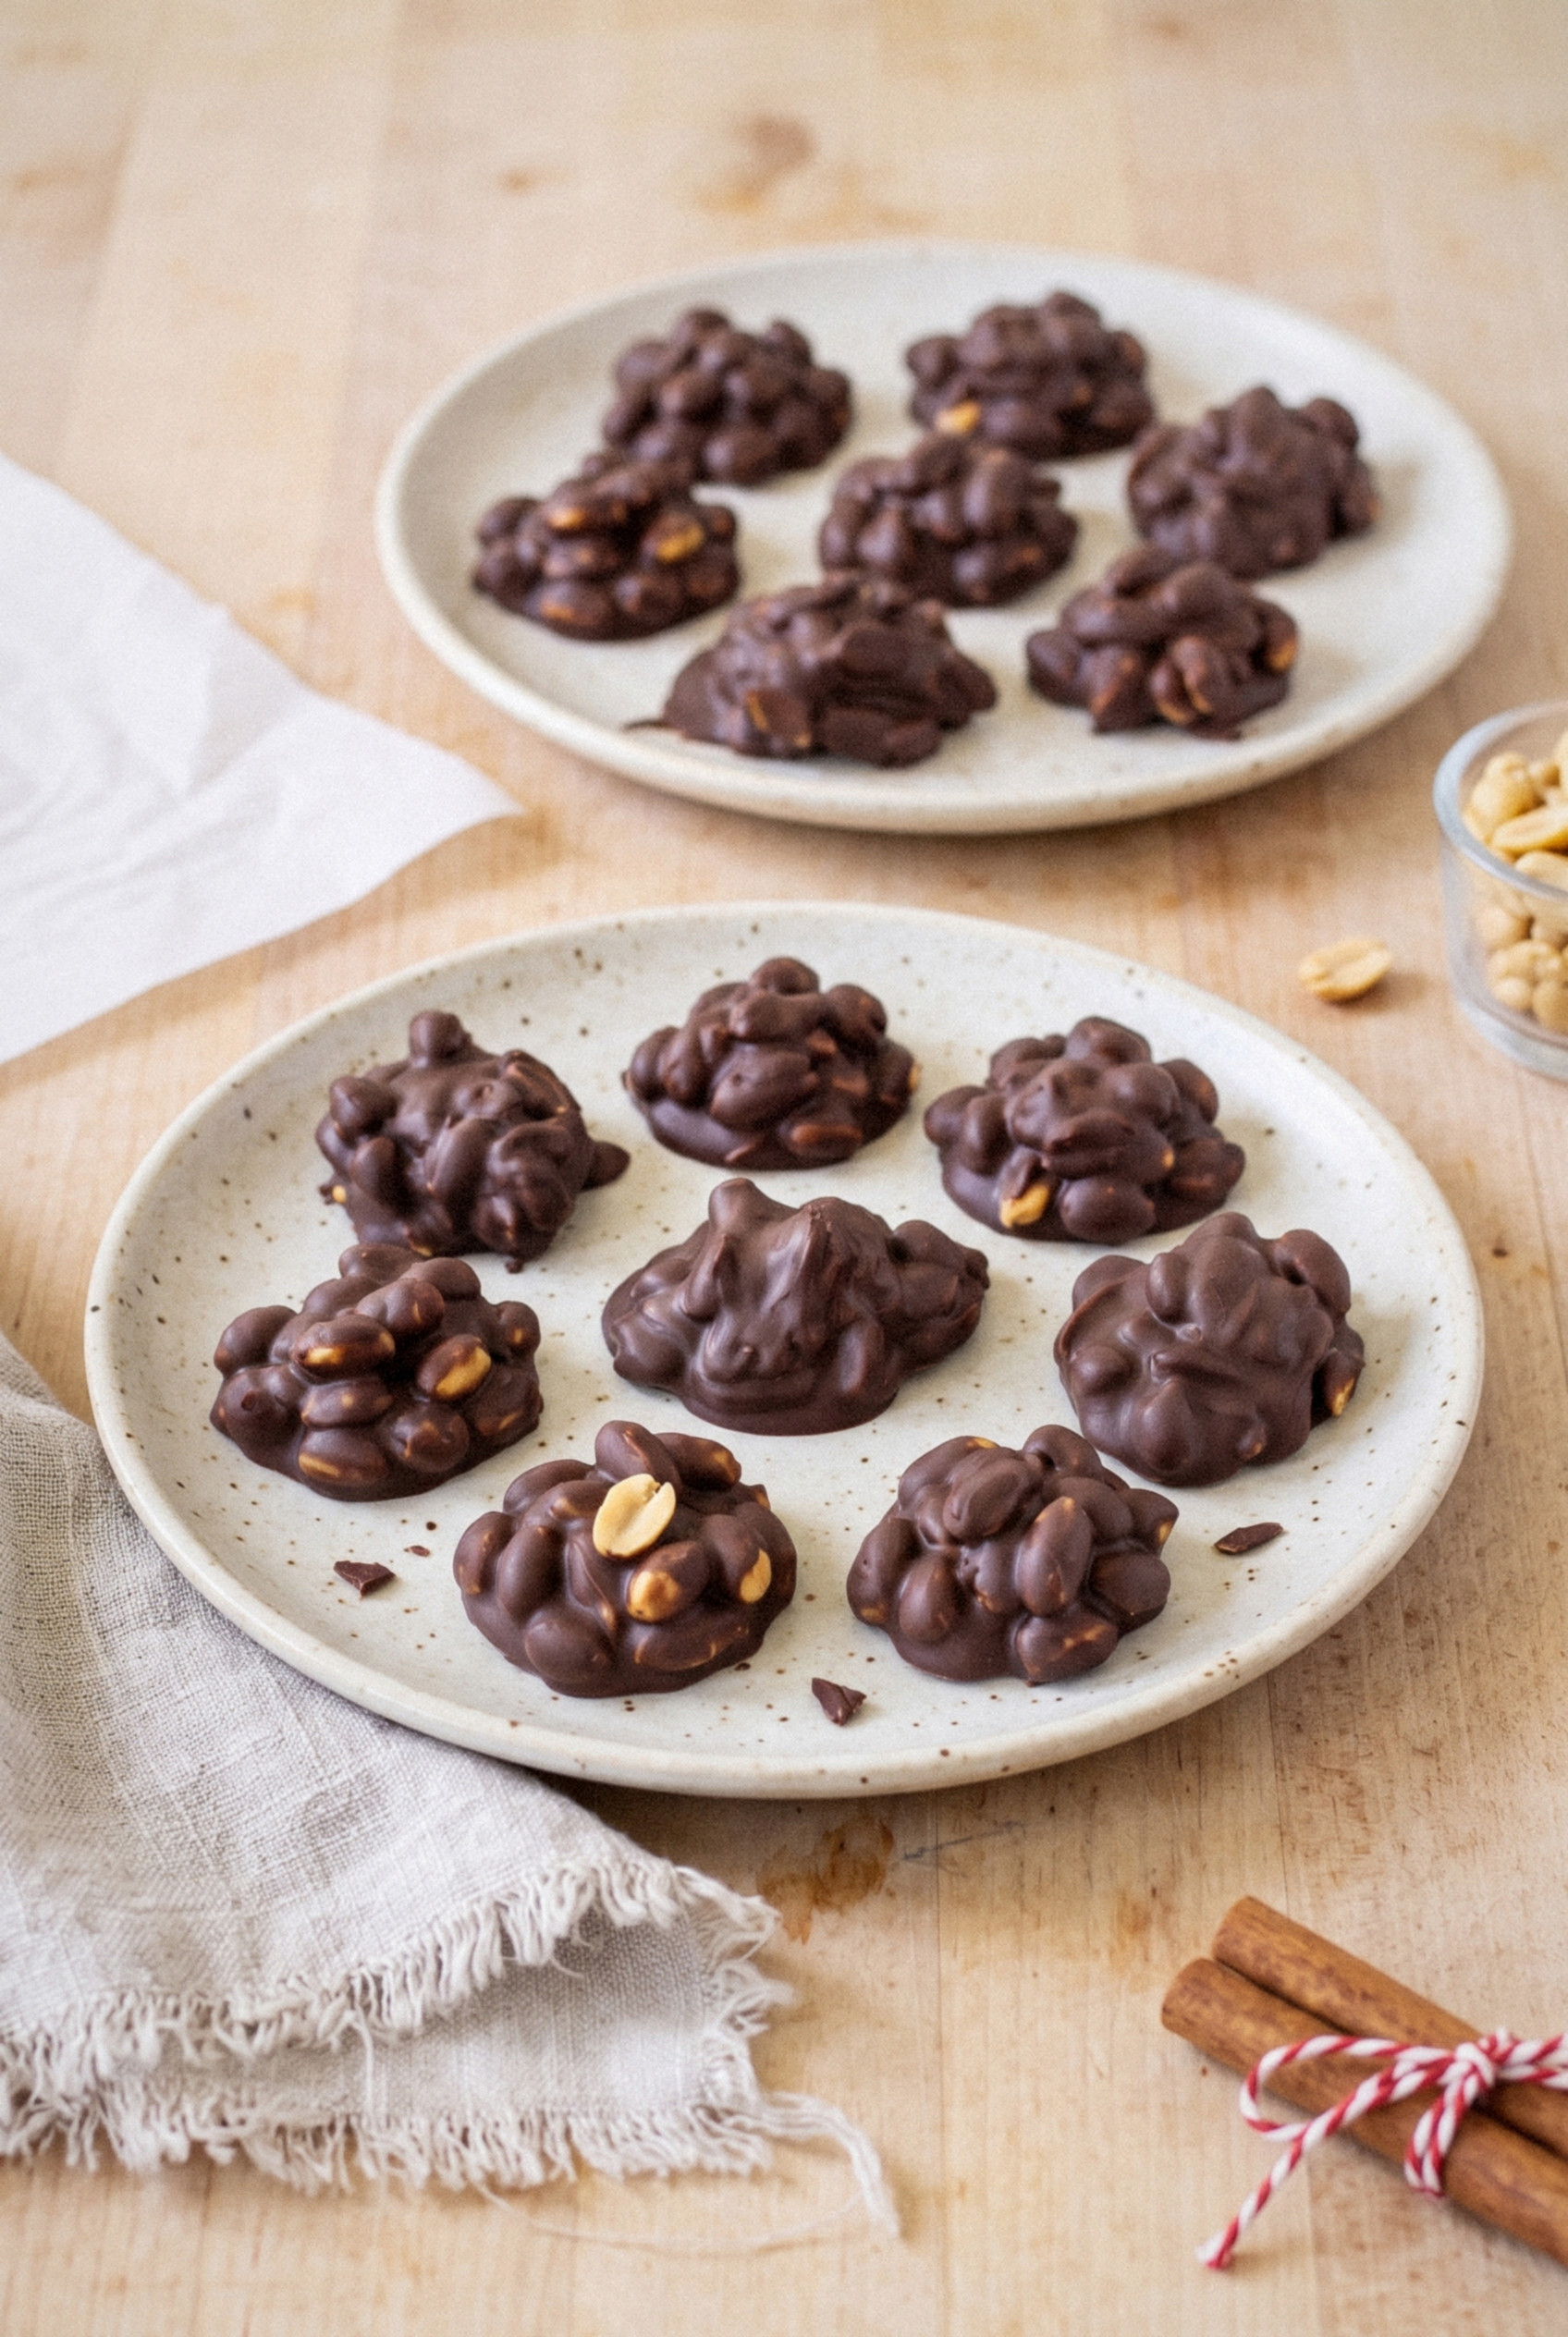
The basic recipe is a crowd-pleaser, but it's also easy to change up.
- Slow cooker big batch. Triple the recipe. Put the peanuts in a 4 to 6 quart slow cooker first, chocolate on top, and cook on LOW for about 1 ½ to 2 hours, stirring every 20 to 30 minutes. Don't try a single batch this way, it can scorch.
- Peanut butter swirl. Drop a small dot of peanut butter on each wet cluster and swirl with a toothpick.
- White chocolate drizzle. Drizzle melted white chocolate over the set clusters for a snowy look.
- Mixed nuts. Swap half the peanuts for cashews, almonds, or pecans.
- Pretzel crunch. Replace ½ cup of peanuts with broken mini pretzels.
- Dark chocolate and sea salt. Use all dark chocolate and a heavier pinch of flaky salt for a grown-up version.
How to Serve
These are a one or two bite treat, and they look right at home on any holiday spread.
- Christmas cookie tray. Set them between the sugar cookies and fudge. The dark chocolate color breaks up a tray of pale cookies.
- Candy board. Pair them with fudge, pralines, and dried fruit for a dessert board that feeds a crowd.
- After dinner. Two clusters with a cup of coffee hits the spot after a big holiday meal.
Make-Ahead and Timing
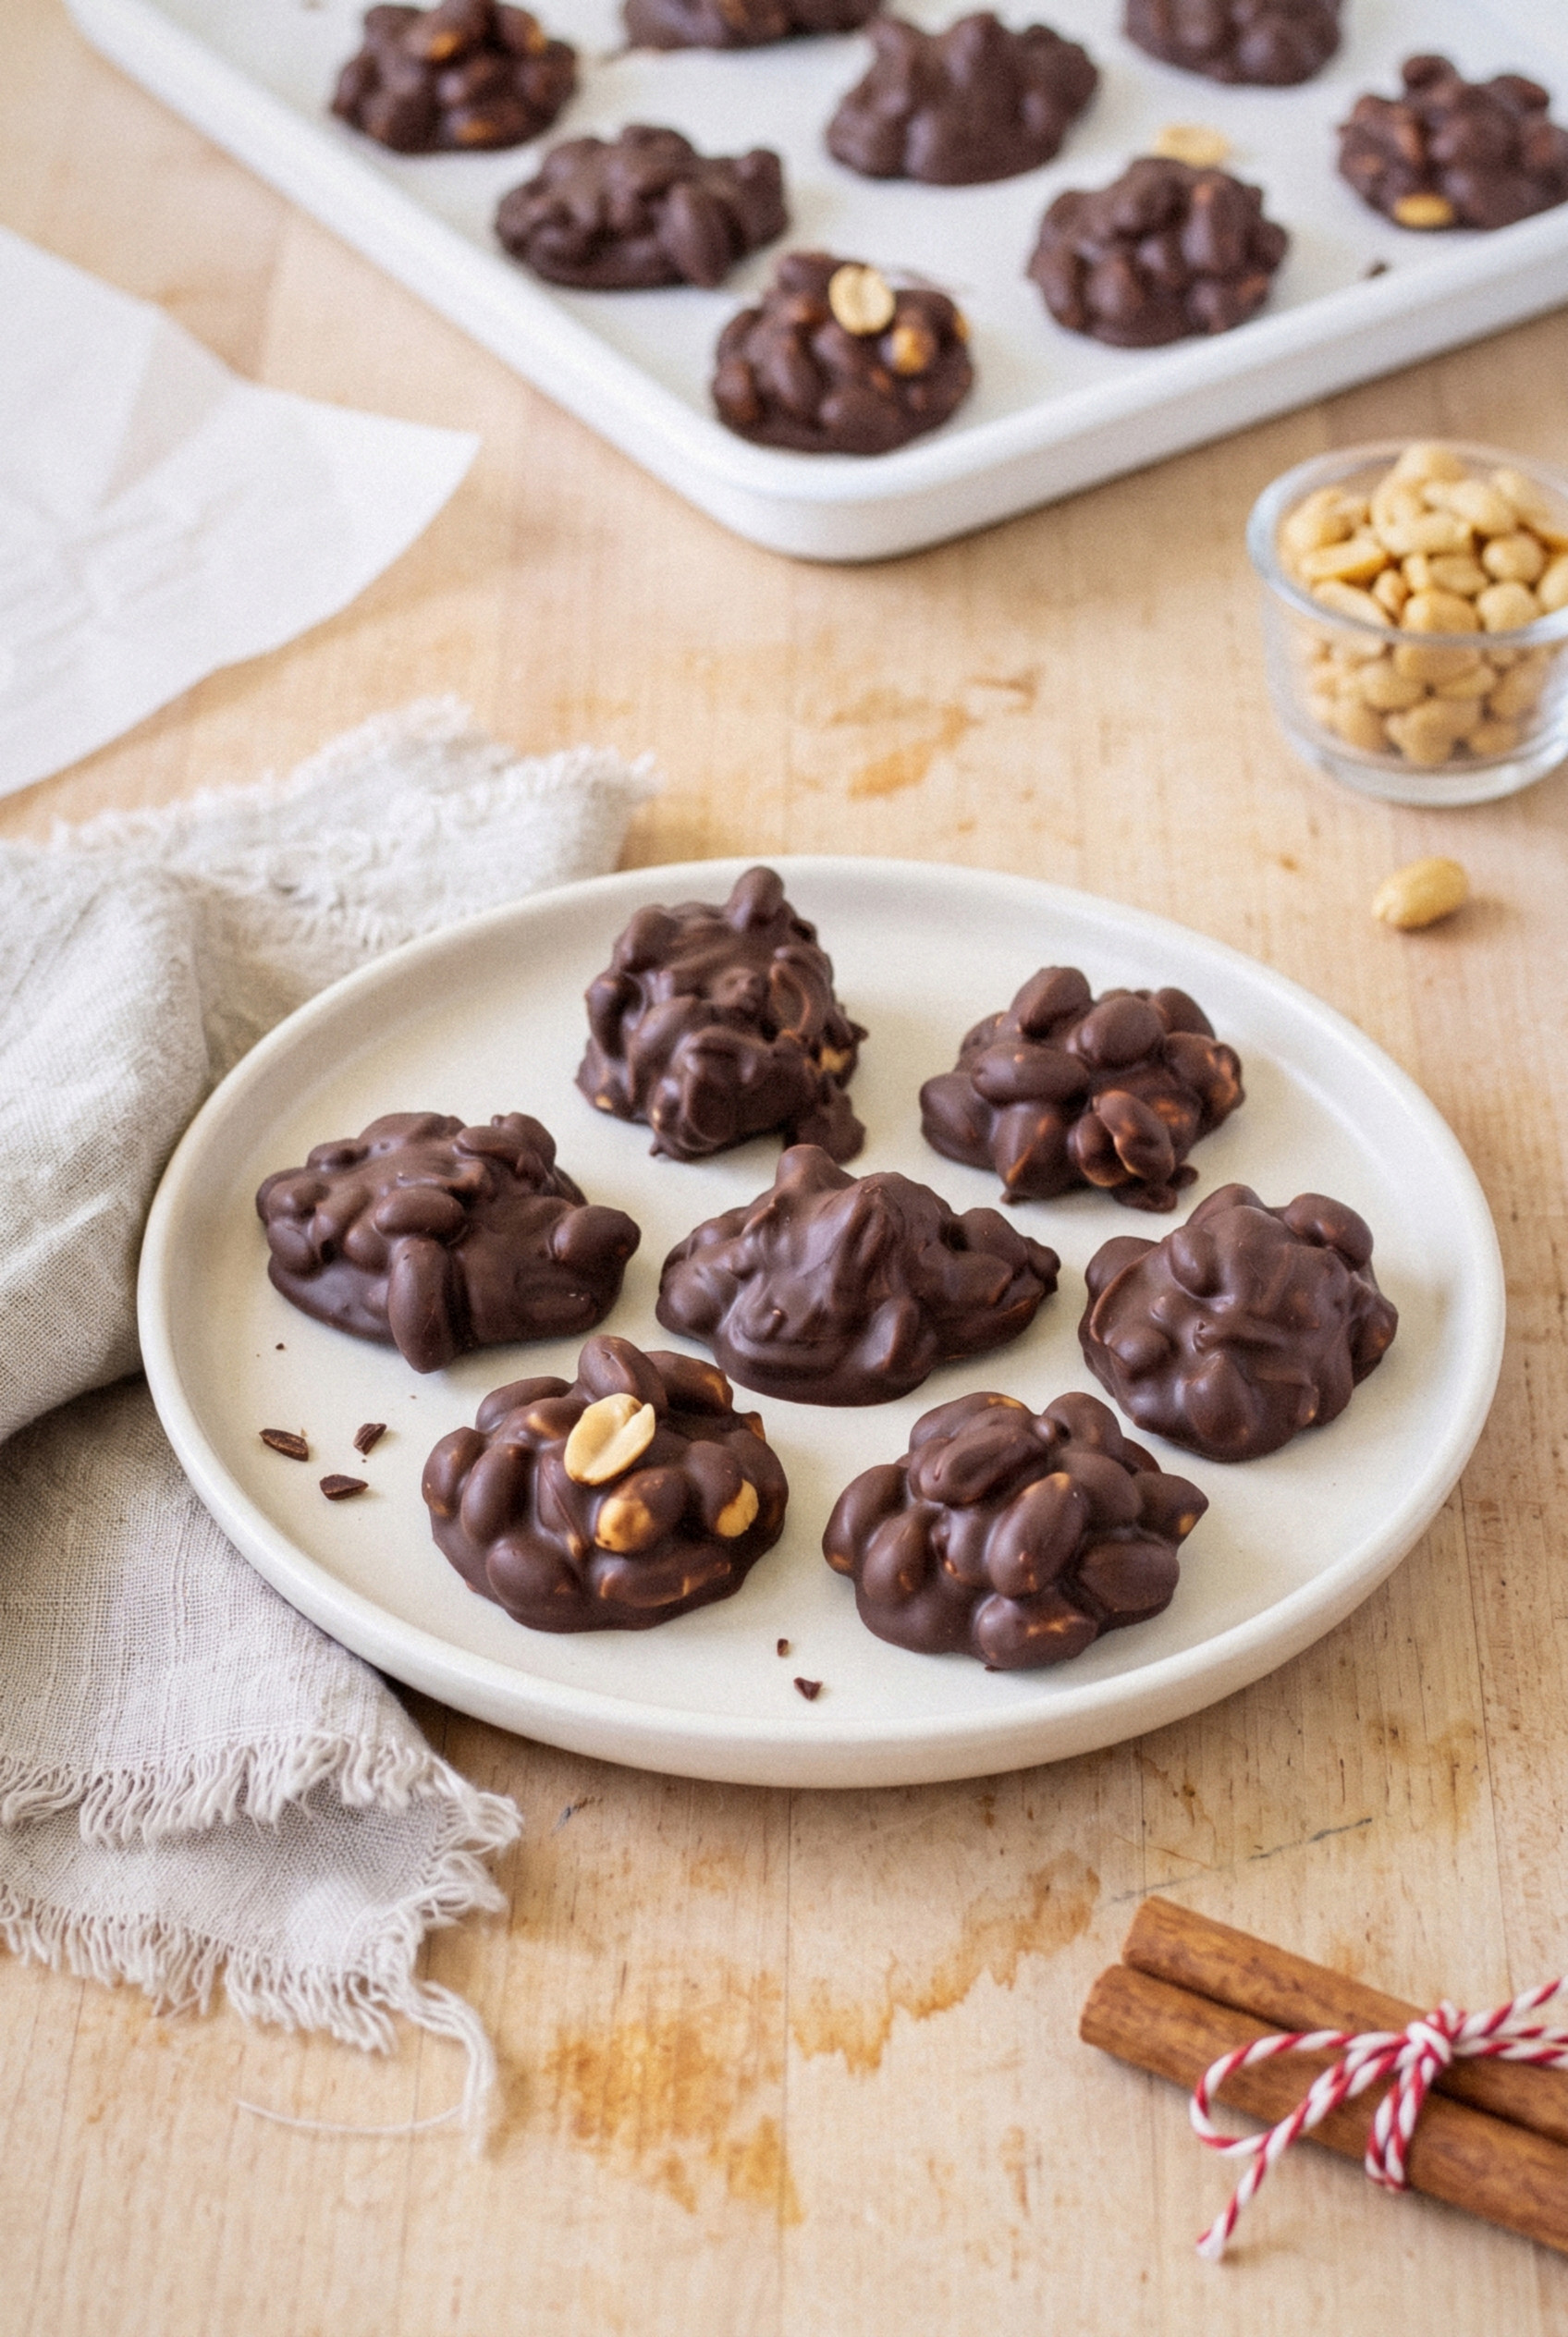
Peanut clusters are one of the easiest candies to make ahead. They hold their texture for days.
I make mine up to 2 weeks before Christmas and keep them in a cool pantry. They take so little time that I often make a batch while my cookie dough chills.
Plan on 10 minutes of prep, 5 minutes of melting, and about an hour of setting time.
Storing, Freezing and Gifting
Store them cool, dry, and airtight. That's all they need.
- Room temperature. Keep them in an airtight container with parchment between layers for up to 2 weeks. A cool pantry is perfect.
- Fridge. Only if your house runs warm. They'll keep up to 3 weeks but may develop a little bloom.
- Freezer. Freeze in a sealed container for up to 2 months. Thaw overnight in the fridge with the lid on, so condensation forms on the container and not on the candy.
- Gift tins. Set each cluster in a mini paper candy cup and layer them in a tin with parchment in between. One batch fills about 3 small tins of 8 clusters each.
- Treat bags. Cellophane bags tied with ribbon work great for coworkers and cookie exchanges.
What's not to love about a homemade gift that takes 15 minutes to make?
Give them a try this Christmas. Yum!
Recipe
Chocolate Peanut Clusters
Ingredients
- 1 cup semi-sweet chocolate chips 6 oz
- 1 cup milk chocolate chips 6 oz
- 2 cups salted roasted peanuts about 10 oz
- flaky sea salt optional, for topping
Instructions
Melt the Chocolate
- Line a rimmed baking tray with parchment or wax paper.
- Place the semi-sweet and milk chocolate chips in a large microwave-safe bowl. Microwave at 50 percent power for 1 minute, stir, then continue in 30-second intervals, stirring after each, until only a few small lumps remain.
- Stir until the remaining lumps melt and the chocolate is smooth.
Form the Clusters
- Add the peanuts and fold with a silicone spatula until every peanut is fully coated.
- Drop level tablespoons of the mixture onto the lined tray, about 1 inch apart. Sprinkle with flaky sea salt, if using.
- Let the clusters set at cool room temperature for about 1 hour, until firm. In a warm kitchen, chill for 20 minutes.
Notes
- Double boiler: Melt the chocolate in a heatproof bowl over barely simmering water, keeping all water and warmth out of the bowl.
- Not hardening: Move to a cooler spot or chill for 20 minutes. Avoid long chilling, which can cause gray bloom.
- Storage: Airtight at cool room temperature up to 2 weeks, or freeze up to 2 months and thaw in the fridge.
- Big batch: Triple the recipe in a slow cooker on LOW for 1 ½ to 2 hours, stirring every 20 to 30 minutes.