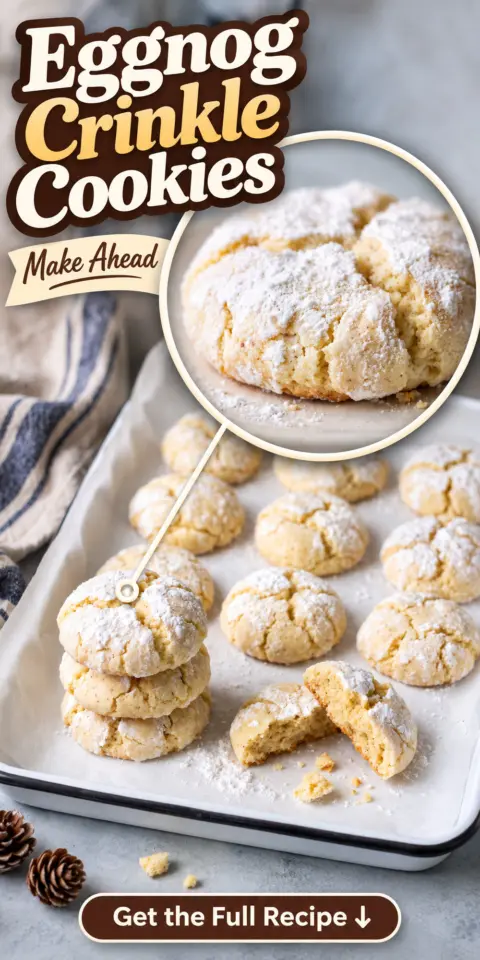
Half a carton of eggnog was still sitting in my fridge door three days after our neighborhood Christmas party.
Nobody was going to drink it, so that carton was about to become my first batch of Eggnog Cut-Out Cookies.
I also had a stack of cookie cutters on the counter and a promise to fill a holiday tray for her office by Friday.
So I did the obvious thing and poured that eggnog straight into a batch of sugar cookie dough.
That first round taught me a lot. The stars puffed into blobs, the edges went hard by day two, and the eggnog flavor basically disappeared in the oven.
This recipe is what came out of fixing all three problems.
The dough gets a modest pour of full-fat eggnog plus freshly grated nutmeg, so it stays easy to roll.
A quick dip in an eggnog glaze brings back the creamy, spiced flavor that the oven steals.
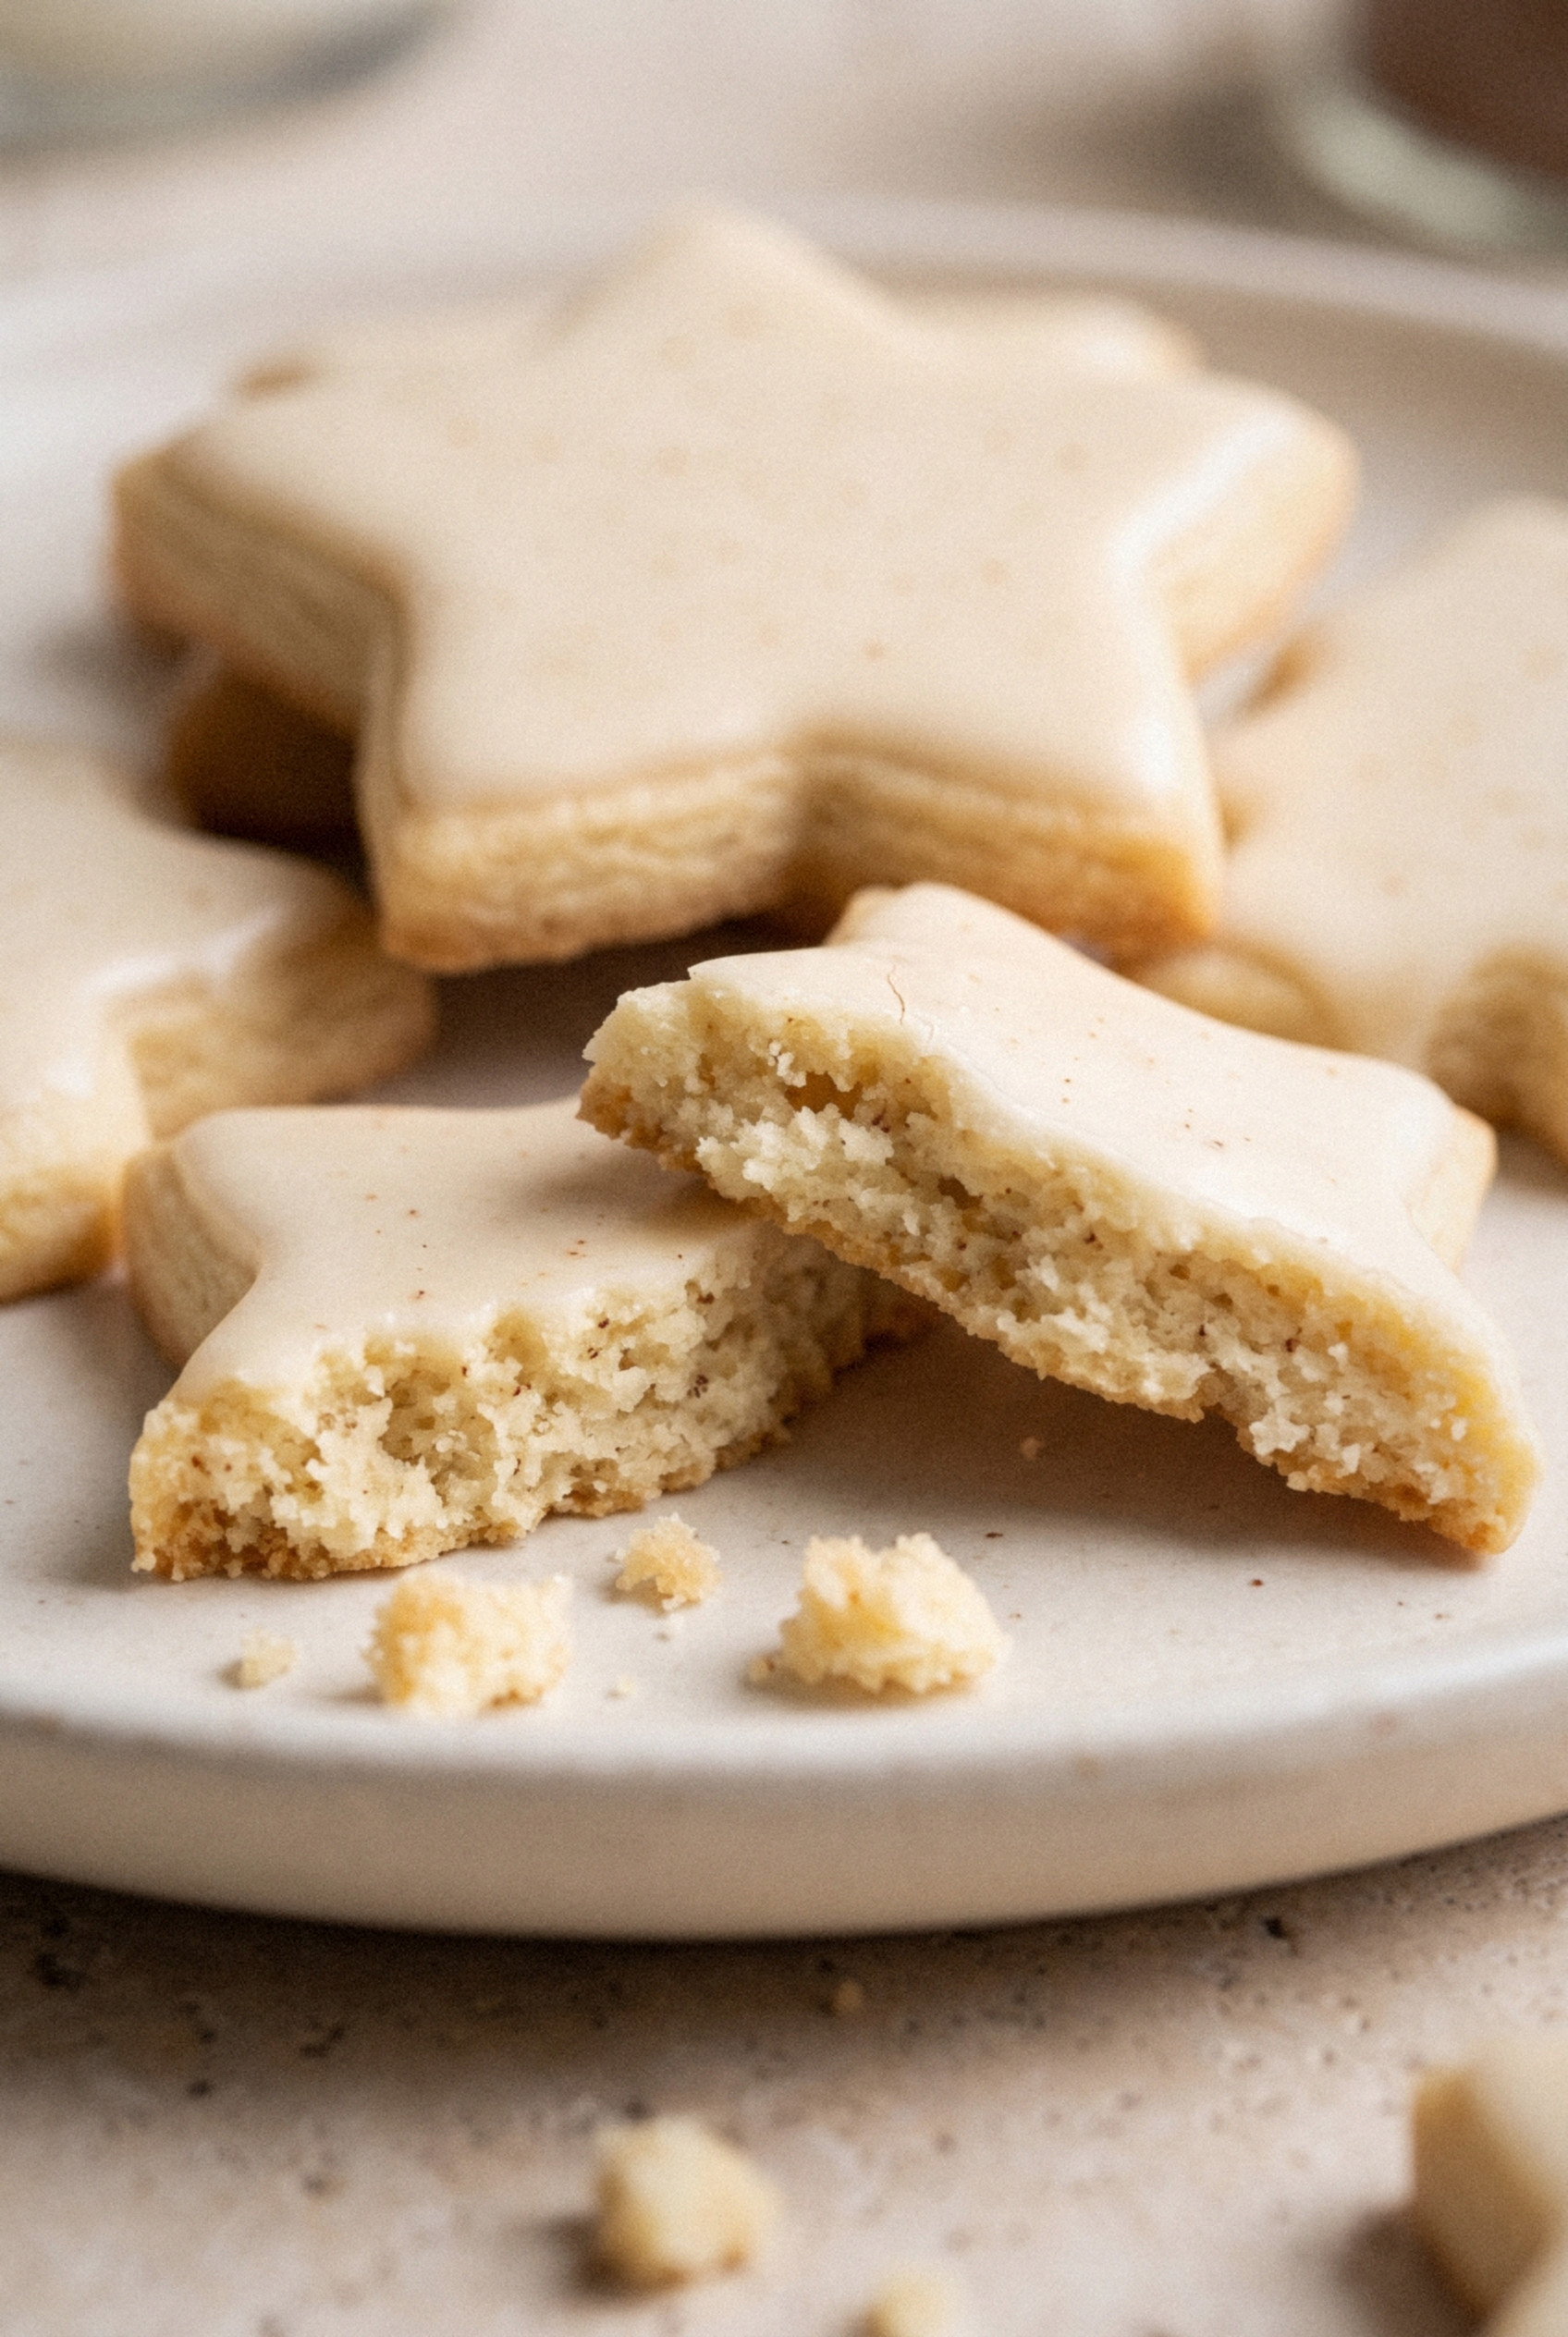
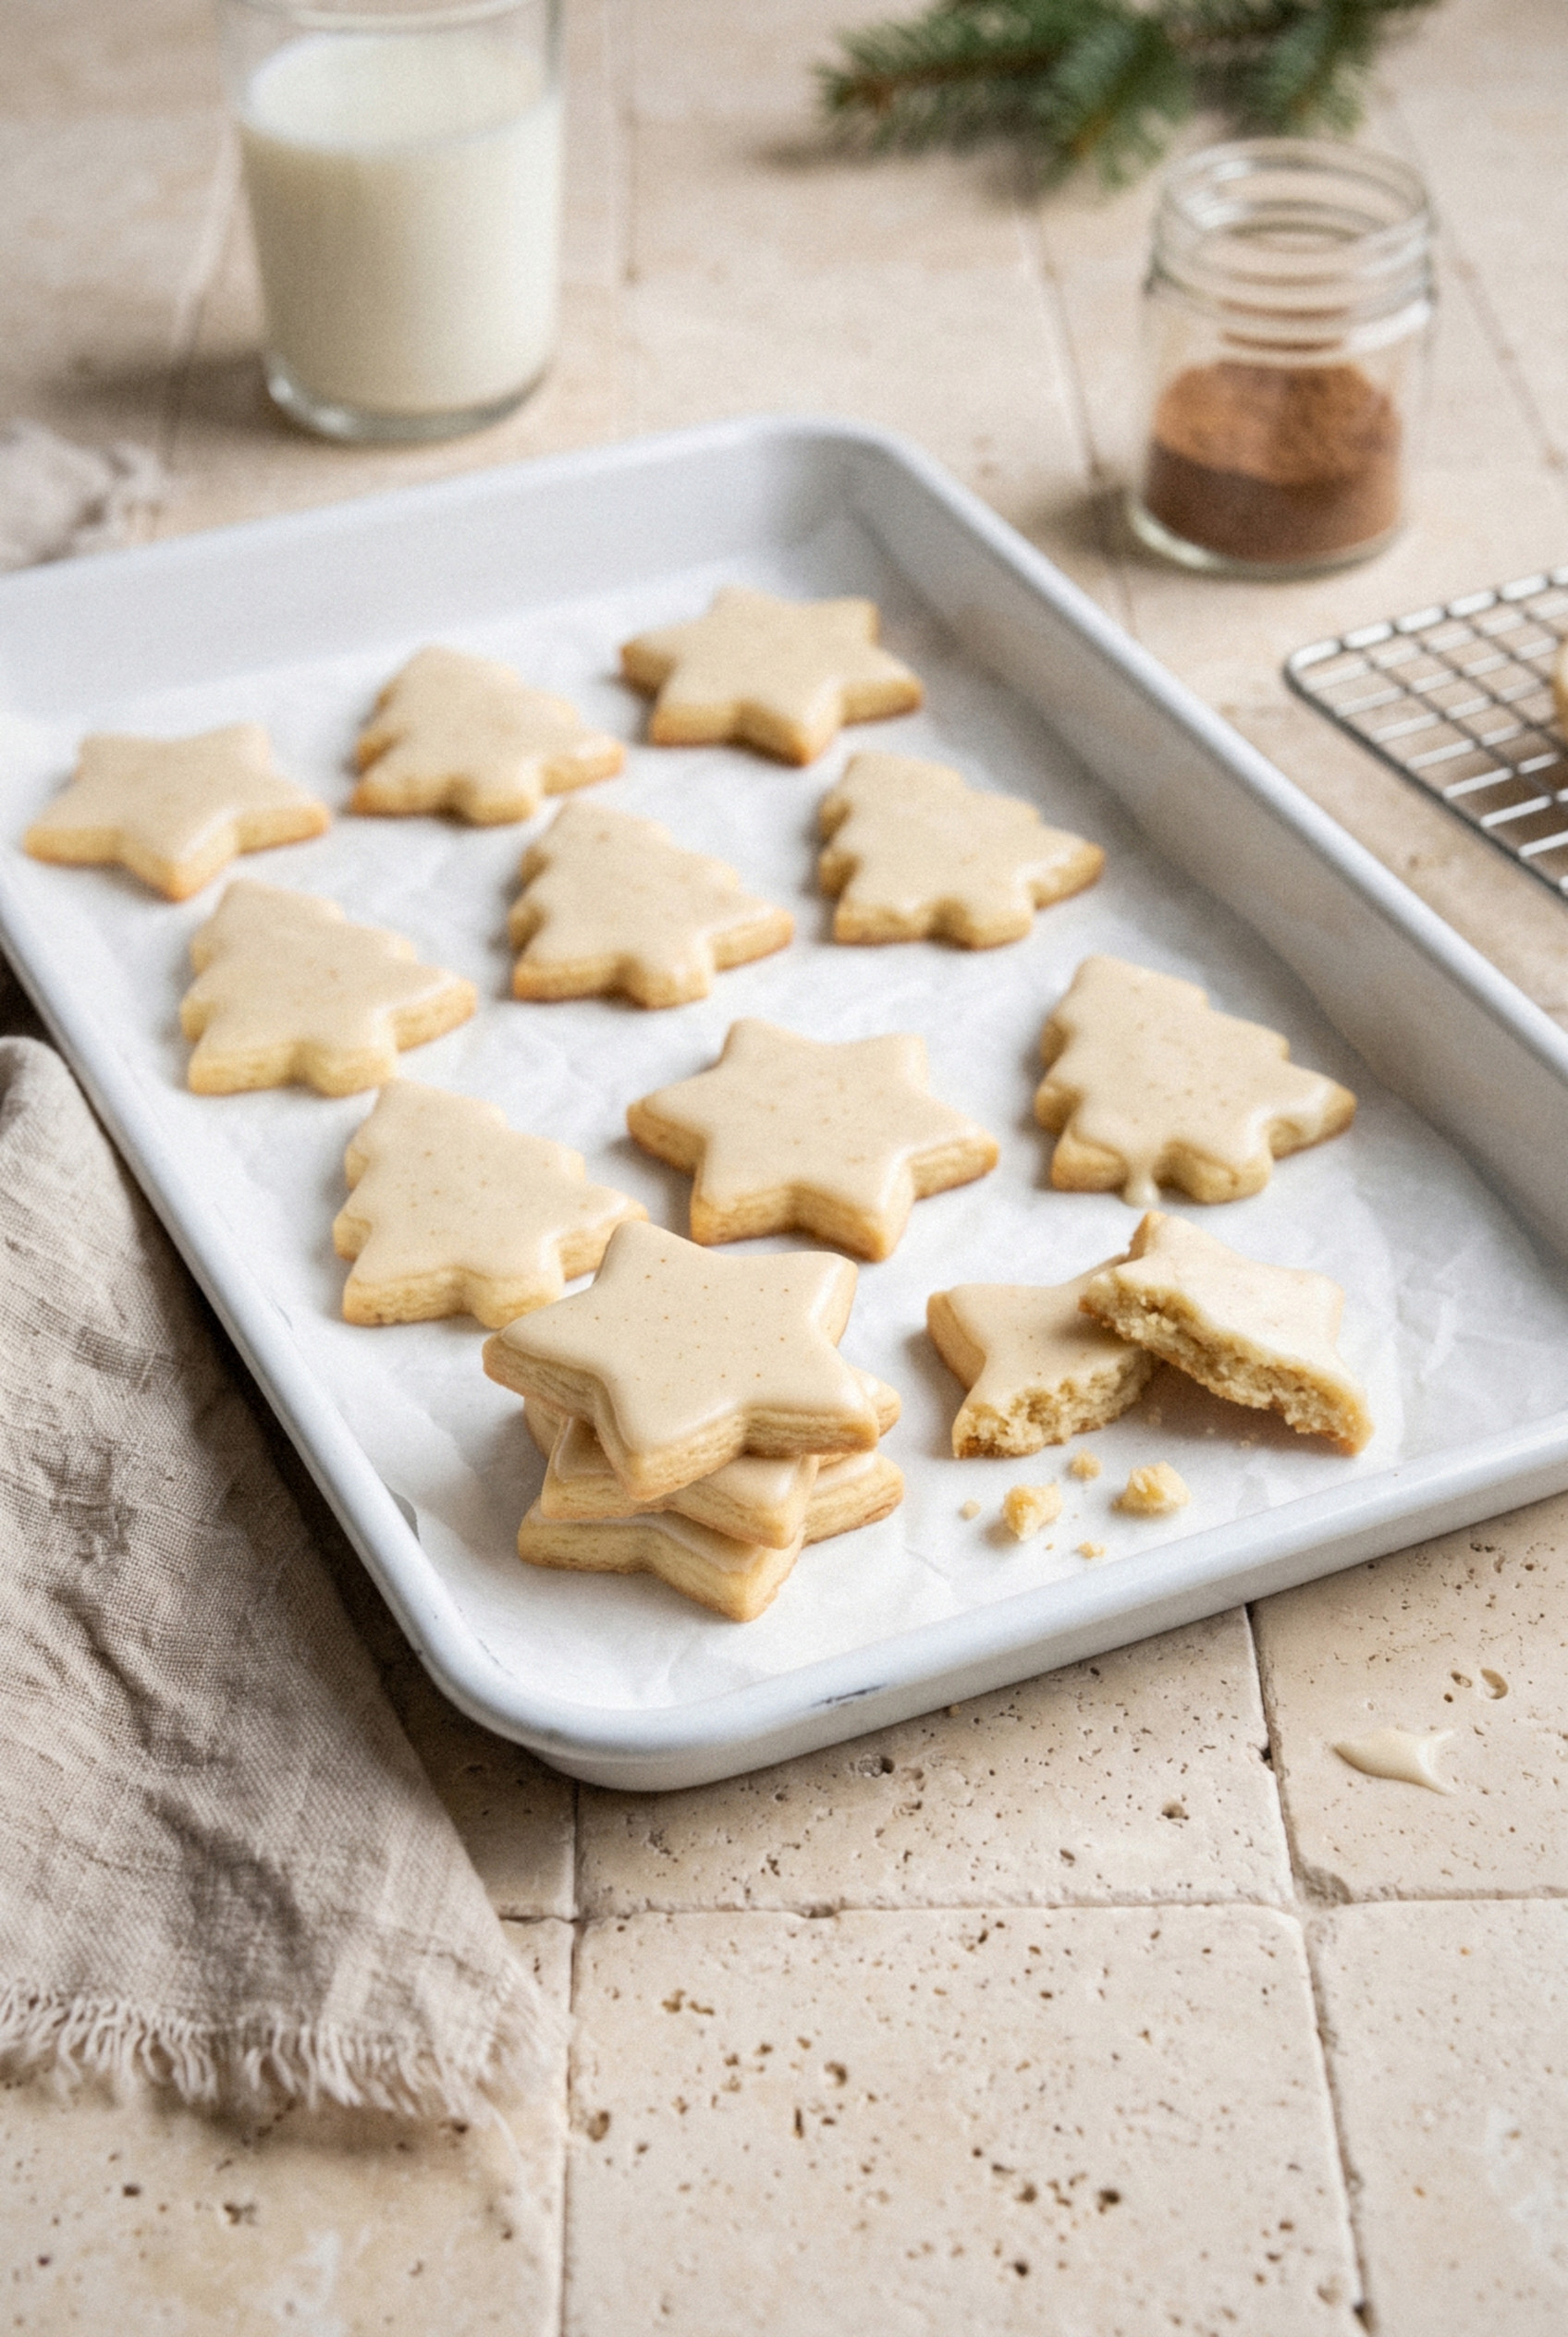
The cookies stay soft in the middle with clean, sharp edges, and the glaze sets firm enough to stack in a tin.
I've made them every December since, and they're always the first ones gone from the cookie tray.
Make them once and you'll see why that leftover carton never goes to waste at my house anymore.
Why Eggnog Works in a Cut-Out Cookie
Eggnog does two jobs in this dough: it adds liquid and it adds richness. Most sugar cookie recipes lean on a splash of milk or nothing at all.
Swap in eggnog and you get cream, egg yolks and a little sugar in the same pour.
That extra fat keeps the cookies tender instead of crunchy, even after a few days in a tin.
I learned this the hard way, though. Eggnog is mostly milk, so the flavor is light once it bakes.
Adding more just makes the dough sticky and the shapes spread.
So I keep the dough measure at ⅓ cup and let two other things carry the eggnog taste: freshly grated nutmeg in the dough and a glaze made with more eggnog on top.
Does it really taste like eggnog? It does, especially on day two when the glaze has mellowed into the cookie.
Ingredients You Need
Everything here is a pantry staple except the eggnog. Each one has a job.
For the Cookies
- All-purpose flour (3 ¼ cups). Spoon it into the cup and level it off. Scooping straight from the bag packs in extra flour and gives you a dry, crumbly dough.
- Baking powder (1 teaspoon). Just enough for a soft bite without puffing your shapes out of line.
- Ground nutmeg (½ teaspoon). Freshly grated is much stronger and smells like Christmas the second it hits the bowl. Jarred works too.
- Salt (½ teaspoon). Keeps the sweetness in check.
- Unsalted butter (1 cup). Softened so a finger leaves a dent, but not greasy or melting.
- Granulated sugar (1 cup). Plain white sugar keeps the cookies pale and the edges crisp.
- Egg (1 large). Room temperature so it blends into the butter smoothly.
- Eggnog (⅓ cup). Use full-fat store-bought or homemade. Skip the "light" cartons, which are thinner and taste flat once baked.
- Vanilla extract (1 teaspoon). Rounds out the custard flavor of the eggnog.
For the Eggnog Glaze
- Powdered sugar (2 cups). Sift it if it's lumpy so the glaze dips smooth.
- Eggnog (3 to 4 tablespoons). Add it a spoonful at a time. You want a thick, slow-dripping glaze.
- Vanilla extract (½ teaspoon). A little goes a long way here.
- Pinch of salt. Makes the glaze taste less like straight sugar.
- Extra nutmeg (optional). A tiny dusting over the wet glaze looks festive and tells everyone what flavor they're grabbing.
Fair warning: spiked eggnog works in the glaze, but it thins out fast, so start with less.
How to Make Eggnog Cut-Out Cookies
The method is classic sugar cookie, with one extra chill that makes all the difference. Plan for about an hour of fridge time before you roll.
Step 1: Make the Dough
Whisk the flour, baking powder, nutmeg and salt together in a medium bowl and set it aside. In a large bowl, beat the softened butter and sugar on medium speed for 2 to 3 minutes, until the mixture looks pale and fluffy.
Beat in the egg, then the eggnog and vanilla. The mixture may look a little curdled at this point, and that's completely fine.
Add the dry ingredients in three batches on low speed, mixing just until no streaks of flour remain. Overmixing here builds gluten, and gluten means tough cookies.
Step 2: Chill the Dough
Divide the dough in half and press each half into a flat disk about 1 inch thick. Wrap both tightly in plastic and refrigerate for at least 1 hour, or up to 2 days.
Pro tip: flat disks chill twice as fast as a ball of dough and roll out without cracking at the edges.
Step 3: Roll, Cut and Bake
Heat the oven to 350°F and line two baking sheets with parchment. Lightly flour your counter and rolling pin, then roll one disk to an even ¼ inch while the other stays in the fridge.
Cut shapes with a 3-inch cutter and set them about 1 inch apart on the sheet. Slide the whole sheet into the freezer for 10 minutes so the edges firm up before baking.
Bake for 9 to 11 minutes, until the edges are set and just barely golden on the bottom. The tops should still look pale. Let them rest on the sheet for 5 minutes, then move them to a wire rack to cool completely.
Step 4: Make the Eggnog Glaze and Decorate
Whisk the powdered sugar, 3 tablespoons of eggnog, vanilla and salt until smooth. Add more eggnog a teaspoon at a time until the glaze falls off the whisk in a thick ribbon that holds for a second before smoothing out.
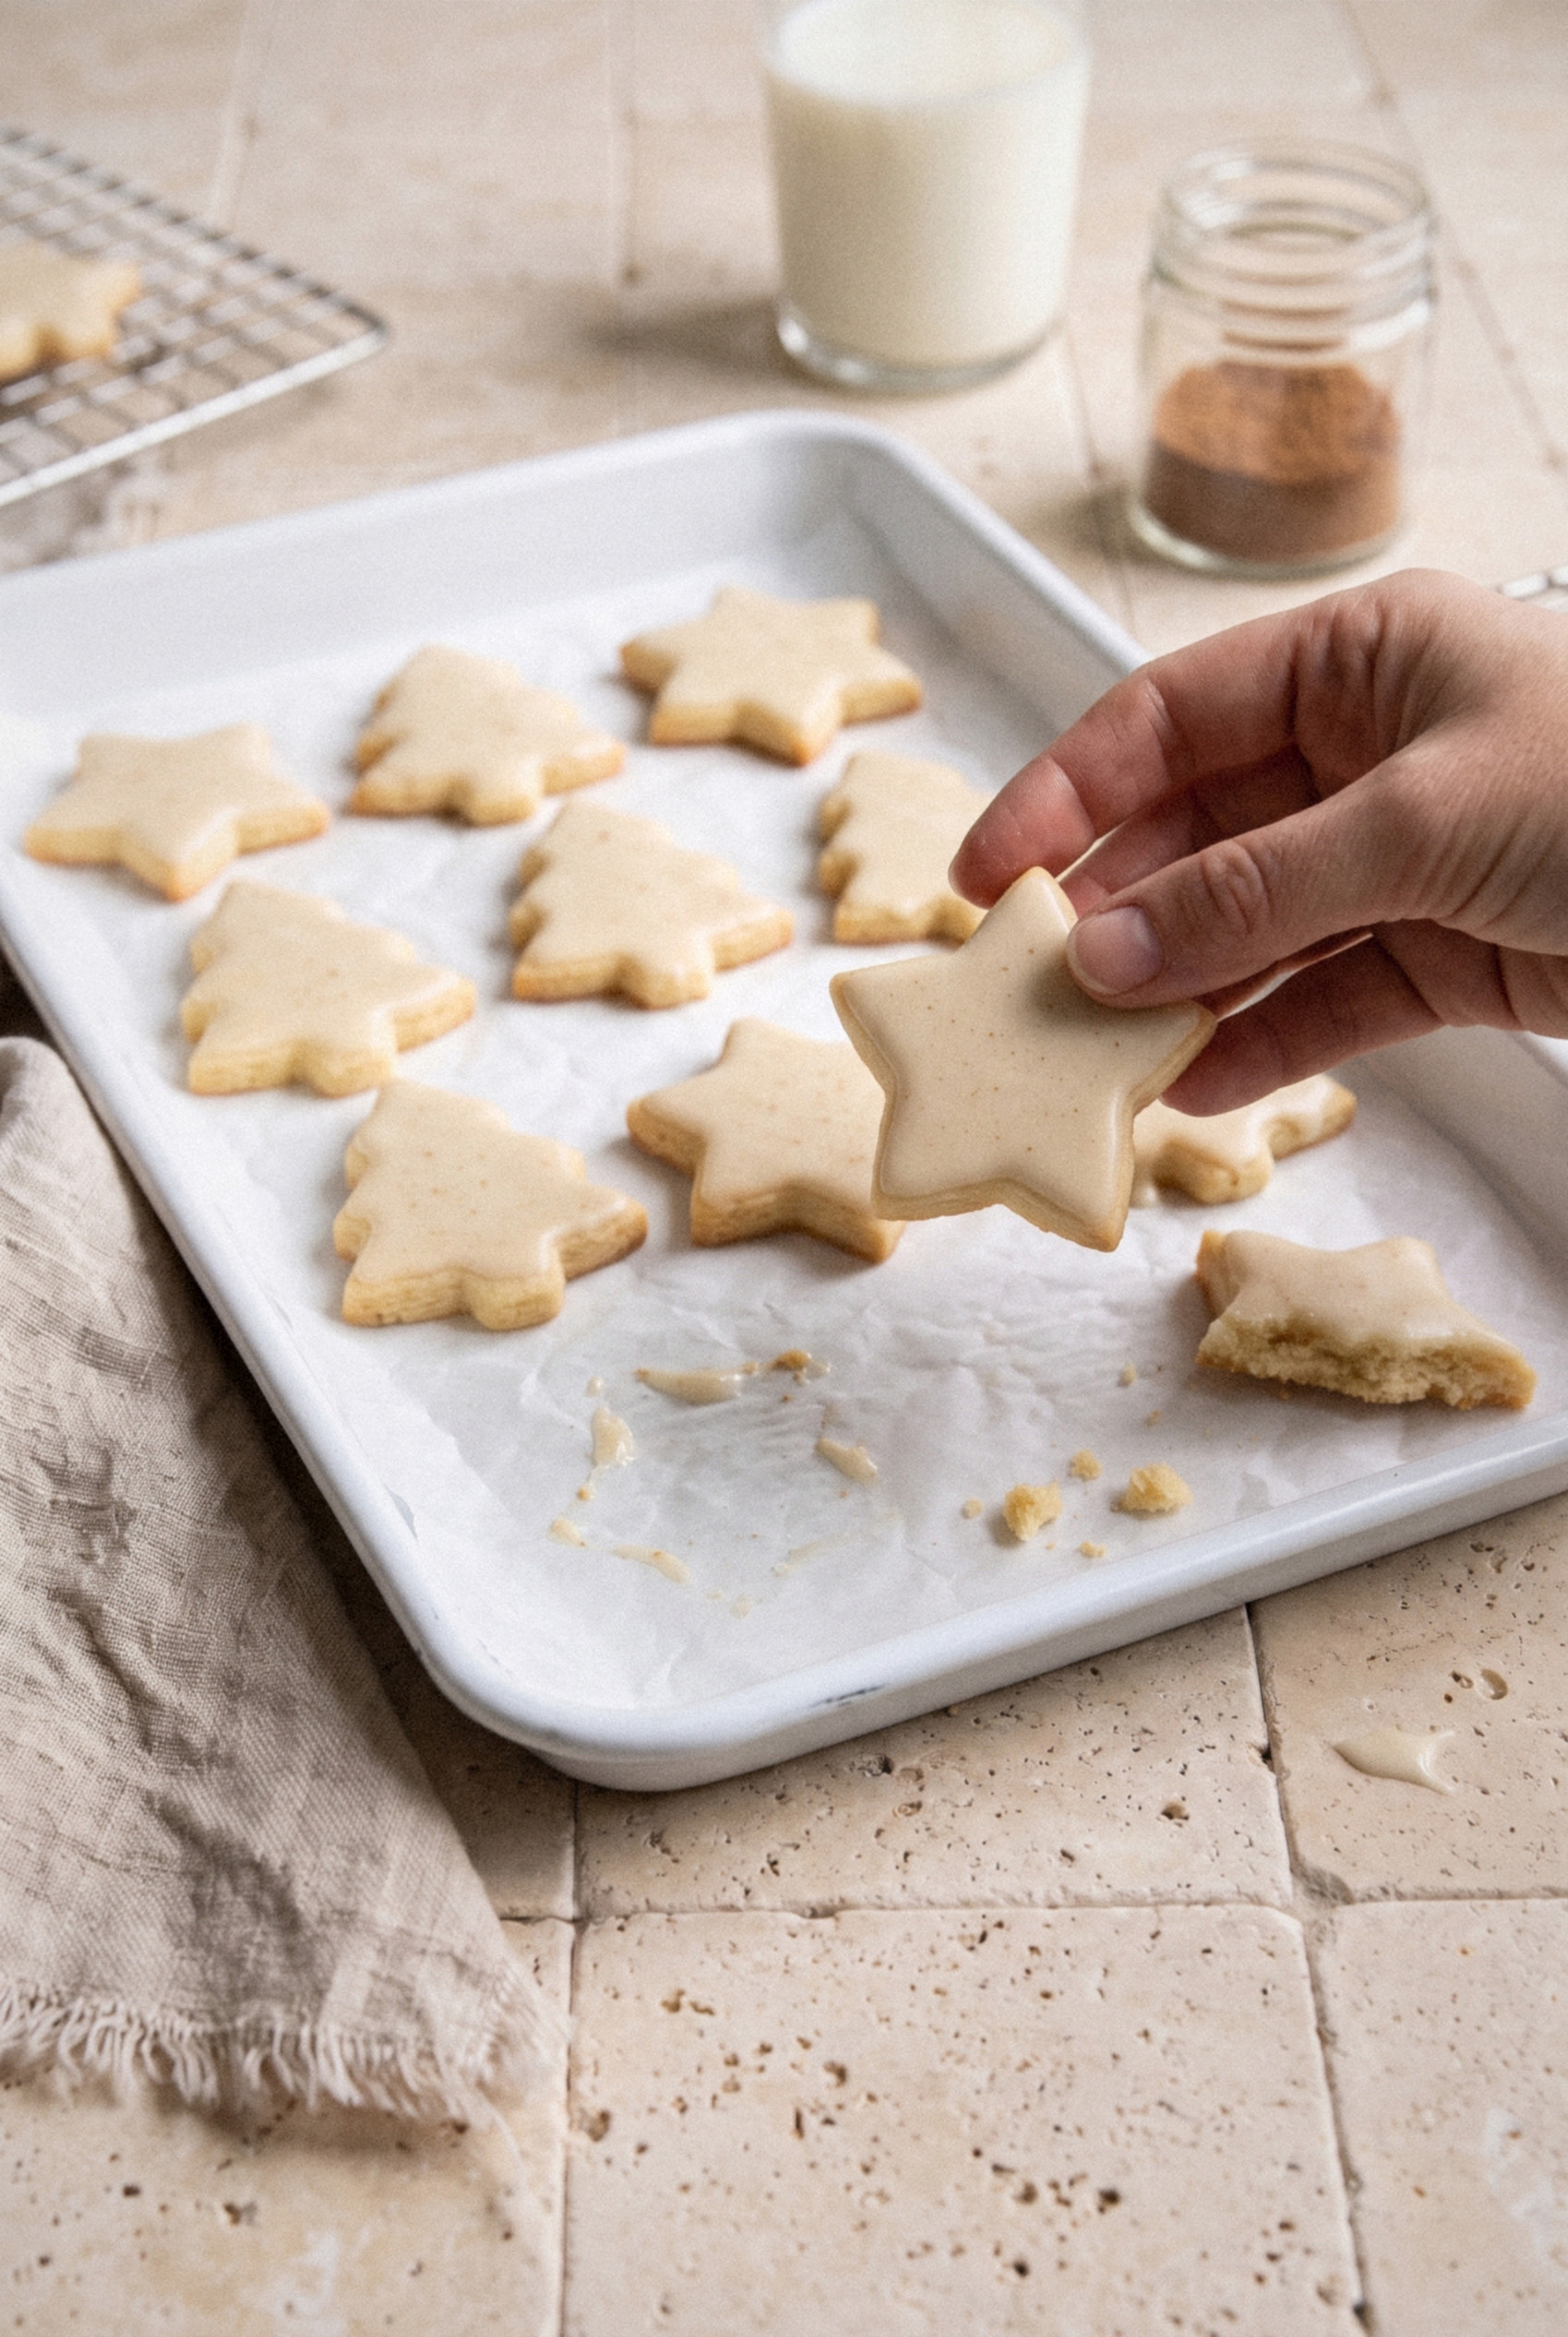
Hold each cooled cookie by its edges and dip the top straight into the glaze. Lift it, let the extra drip back into the bowl, and give it a gentle twist to clean the edge.
Set the cookies glaze side up on the rack, dust with a little nutmeg if you like, and let them set for about 30 minutes at room temperature.
Do I Have to Chill the Dough?
Yes, and this is the step people want to skip most. Please don't.
Soft, warm butter melts the second it hits the oven, and that's what turns a crisp star into a round puddle.
An hour in the fridge firms the butter and lets the flour fully hydrate, so the dough rolls cleanly and holds every point.
- Minimum. 1 hour for flat disks.
- Overnight. Totally fine. Let the dough sit on the counter for 10 minutes so it doesn't crack when you roll.
- Cut shapes. The 10-minute freezer rest after cutting is my secret for sharp edges on detailed cutters like snowflakes and reindeer.
Short on time? Roll the dough between two sheets of parchment right after mixing, then chill the flat sheet for 30 minutes. It cuts beautifully.
How to Keep the Dough From Sticking to the Cutter
Sticky cutters are almost always a temperature problem. The colder the dough, the cleaner the cut.
- Flour the cutter. Dip the edge in a little flour before every cut, and tap off the excess.
- Roll between parchment. You use less extra flour this way, so the cookies stay tender and pale.
- Work in batches. Keep half the dough in the fridge while you roll the other half.
- Re-chill when it softens. If the dough starts to feel tacky, slide it onto a sheet and give it 10 minutes in the freezer.
- Use metal cutters. Thin metal edges cut cleaner than thick plastic ones.
Glaze or Frosting?
I'm team glaze for these, and it's not even close. It's faster, it tastes more like eggnog, and it sets firm.
Dipping takes about five minutes for the whole batch. Nobody needs piping bags.
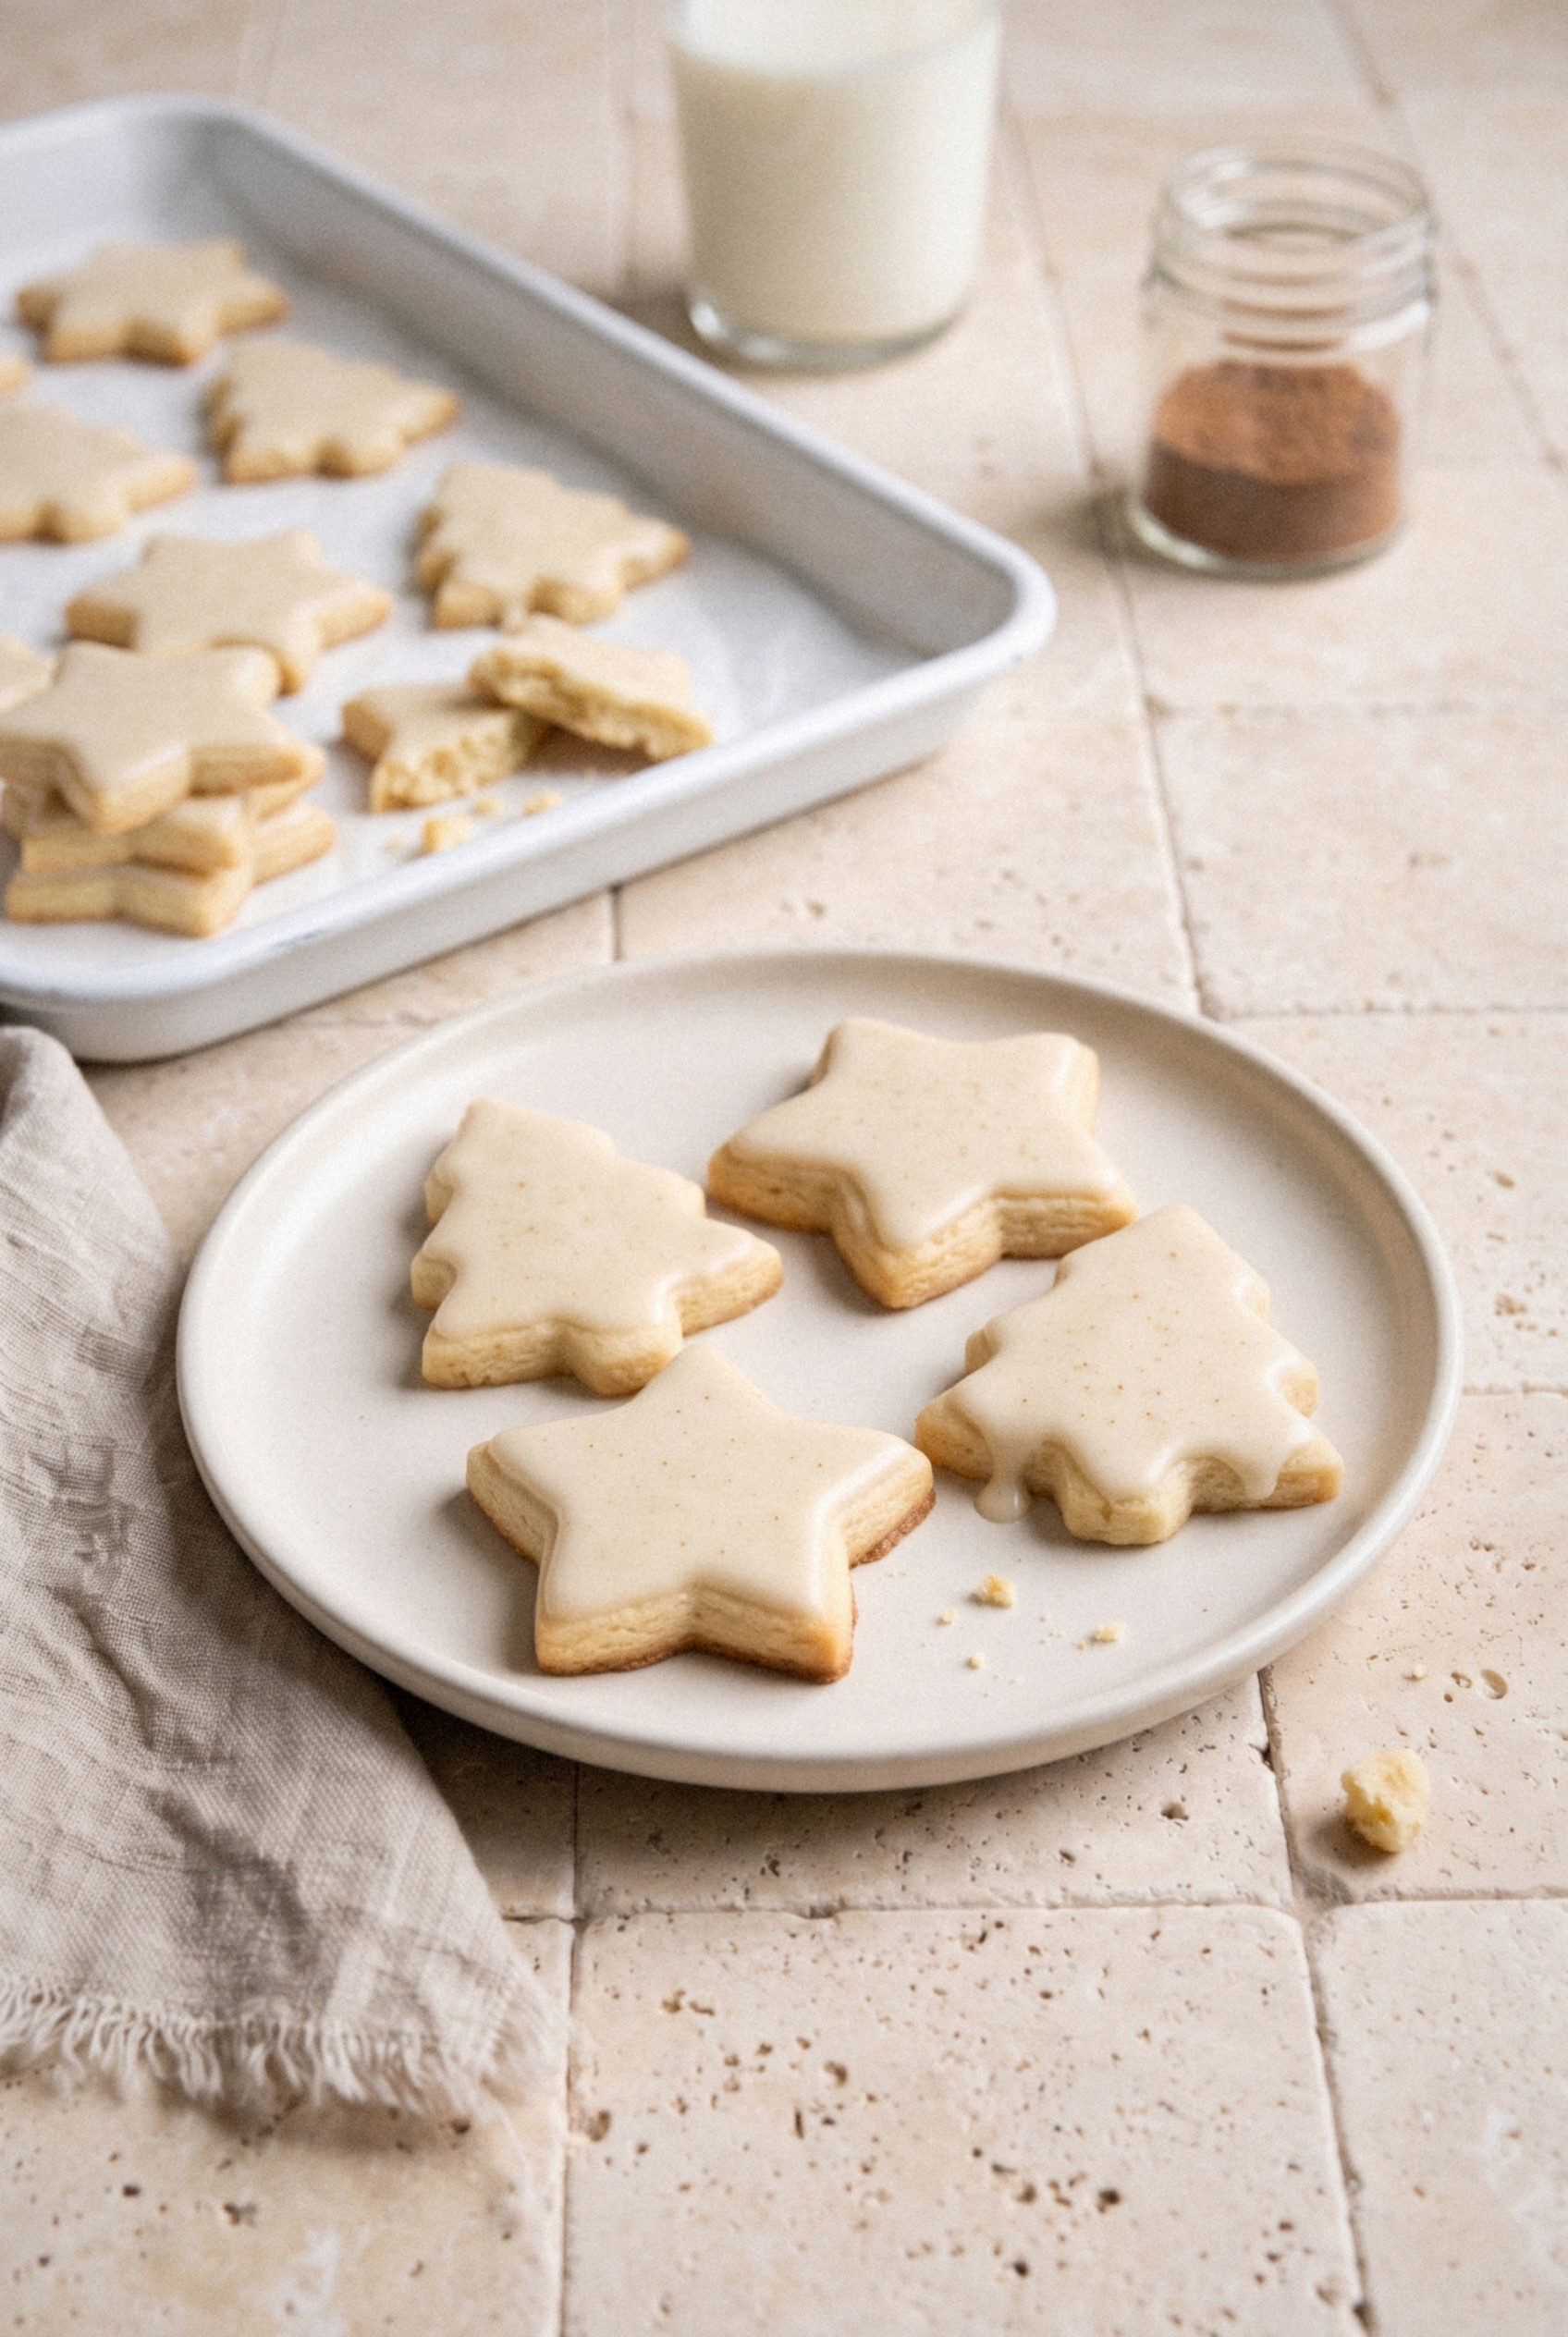
- Eggnog dip glaze. Smooth, shiny and thin enough to let the cookie flavor through. Sets in about 30 minutes and stacks once it's firm.
- Swirled glaze. Drop a few dots of red or green gel coloring onto the bowl of glaze, drag a toothpick through once, then dip. Every cookie comes out a little different.
- Buttercream. Softer and thicker, great if you like a fluffy topping. Use eggnog in place of the milk. It never fully hardens, so skip stacking.
- Royal icing. Best for detailed piping. It's the sturdiest option for gift tins, though it tastes more like sweet vanilla than eggnog.
Tips for the Best Cut-Out Cookies
Even thickness is the biggest factor in an even bake. A few small habits make every tray come out the same.
- Use rolling guides. Two chopsticks or paint stirrers on either side of the dough keep the whole sheet at ¼ inch.
- Cool your pans. Never put cut dough on a hot baking sheet. Let the pan cool or rotate between two.
- Reroll scraps once. The second roll is fine, but the third gets tough from extra flour.
- Match your shapes. Bake similar sizes together so tiny stars don't overbake next to big trees.
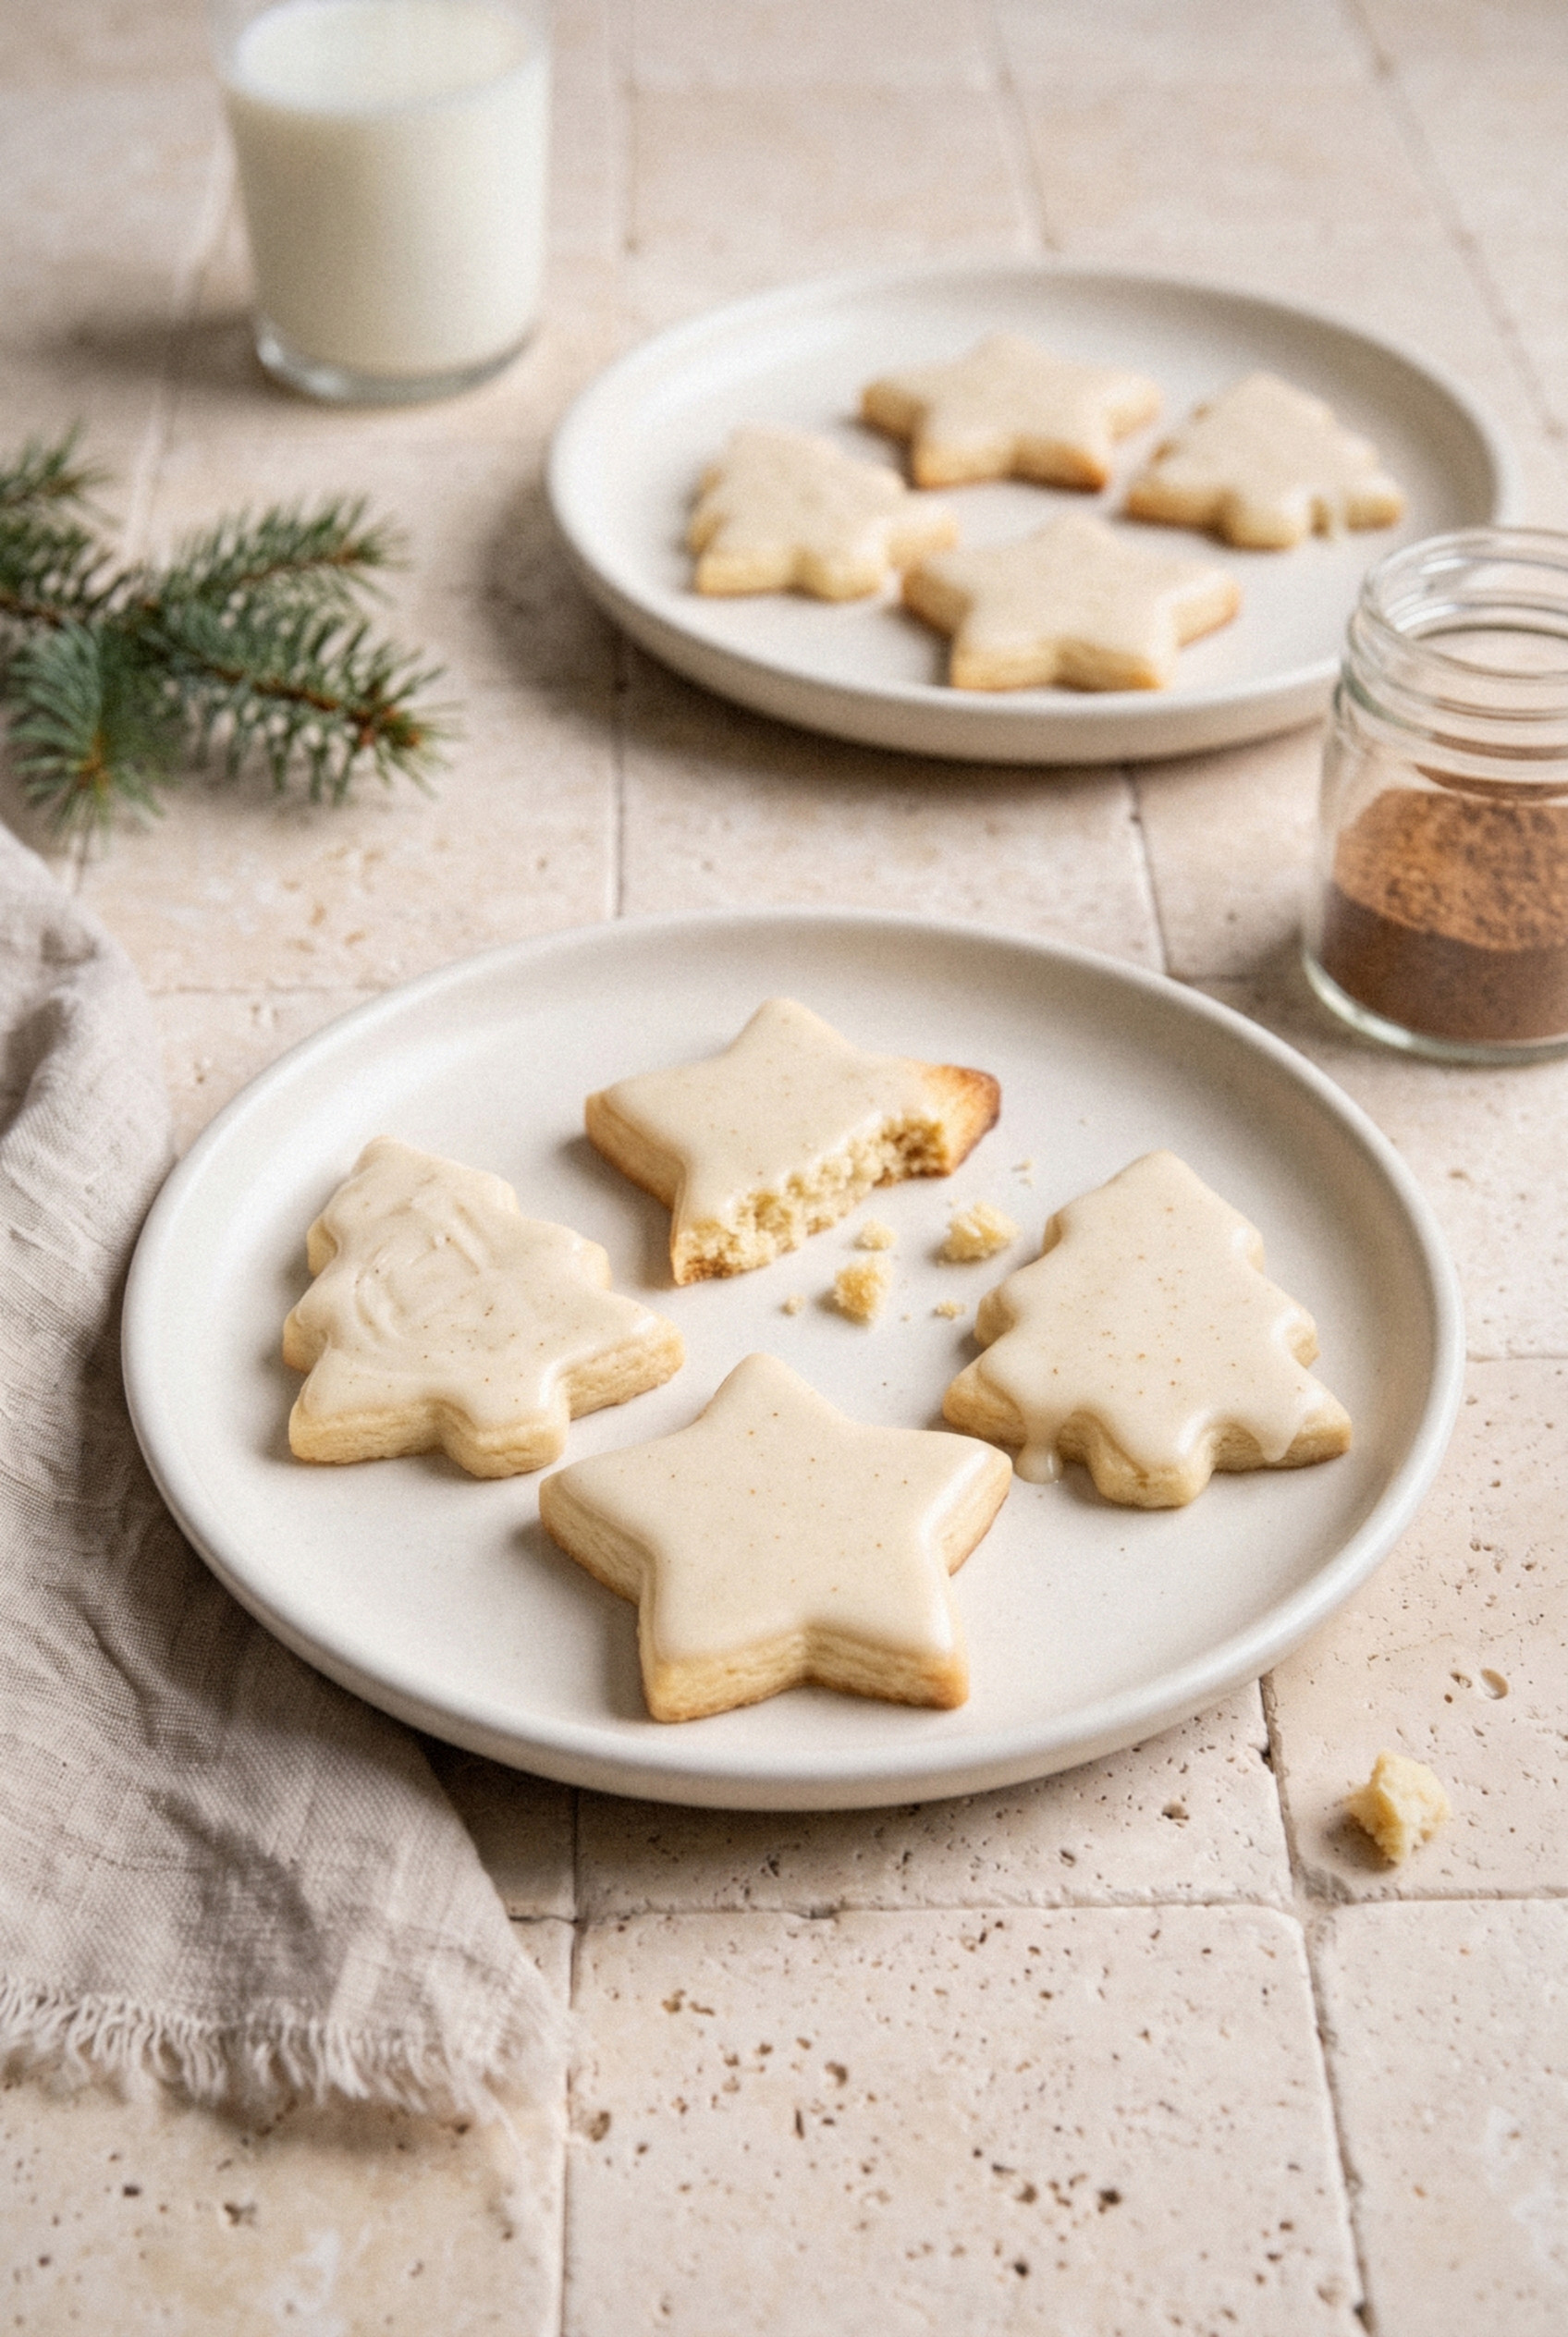
- Pull them early. The tops should stay pale. Golden tops mean a crunchy cookie.
- Glaze only cool cookies. Warm cookies melt the glaze into a sticky, see-through layer.
Make-Ahead Timeline for Christmas Cookie Trays
These are a holiday baker's dream because every stage can be done ahead. This is how I spread them out the week before a party.
- Up to 2 days ahead. Mix and chill the dough disks.
- 1 to 3 days ahead. Roll, cut and bake. Store the plain cookies airtight.
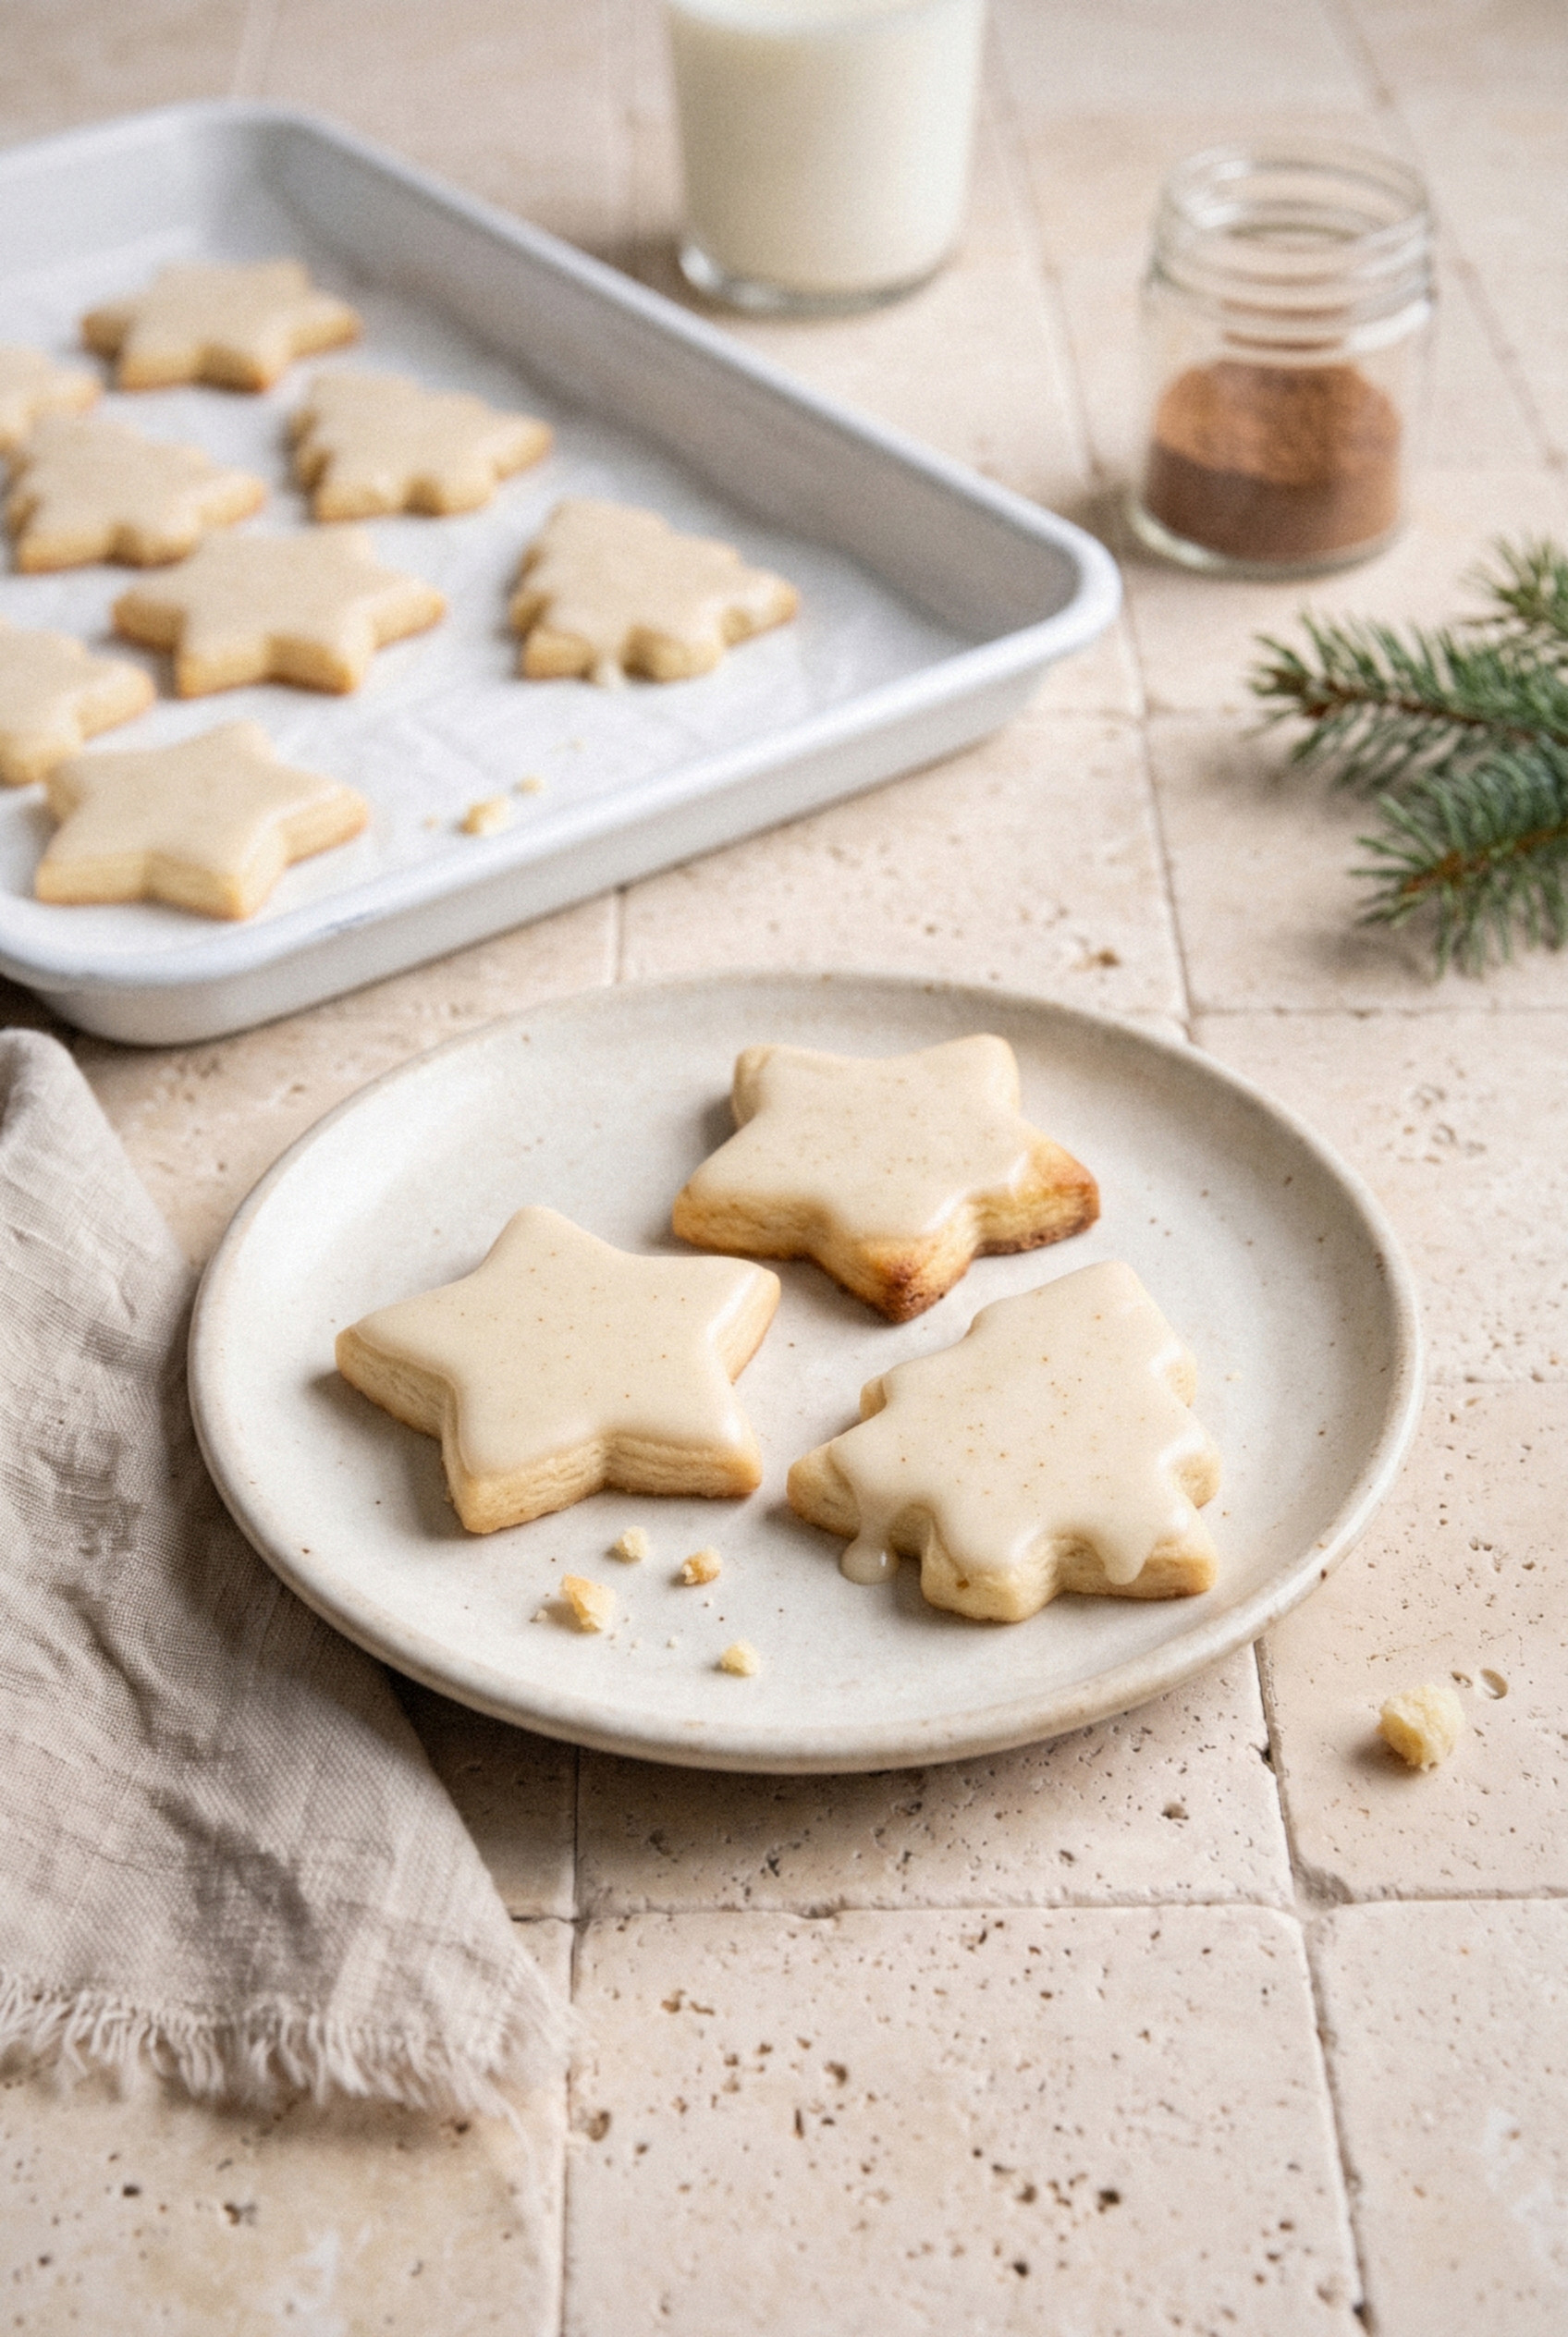
- The day before. Dip in glaze and let them set overnight, uncovered, so the tops harden completely.
- Party day. Arrange them on the tray. That's it!
Easy Variations
The base dough is flexible, so you can make it your own. These are the swaps I've tried and liked.
- Eggnog latte. Add 1 tablespoon espresso powder to the dry ingredients for a coffee-house twist.
- Warm spice. Add ¼ teaspoon cinnamon with the nutmeg.
- Rum flavor. Stir ½ teaspoon rum extract into the glaze for that classic holiday-party taste.
- Sparkle finish. Sprinkle sanding sugar over the wet glaze.
- Not an eggnog fan? Use whole milk or heavy cream in both the dough and glaze for a plain vanilla sugar cookie.
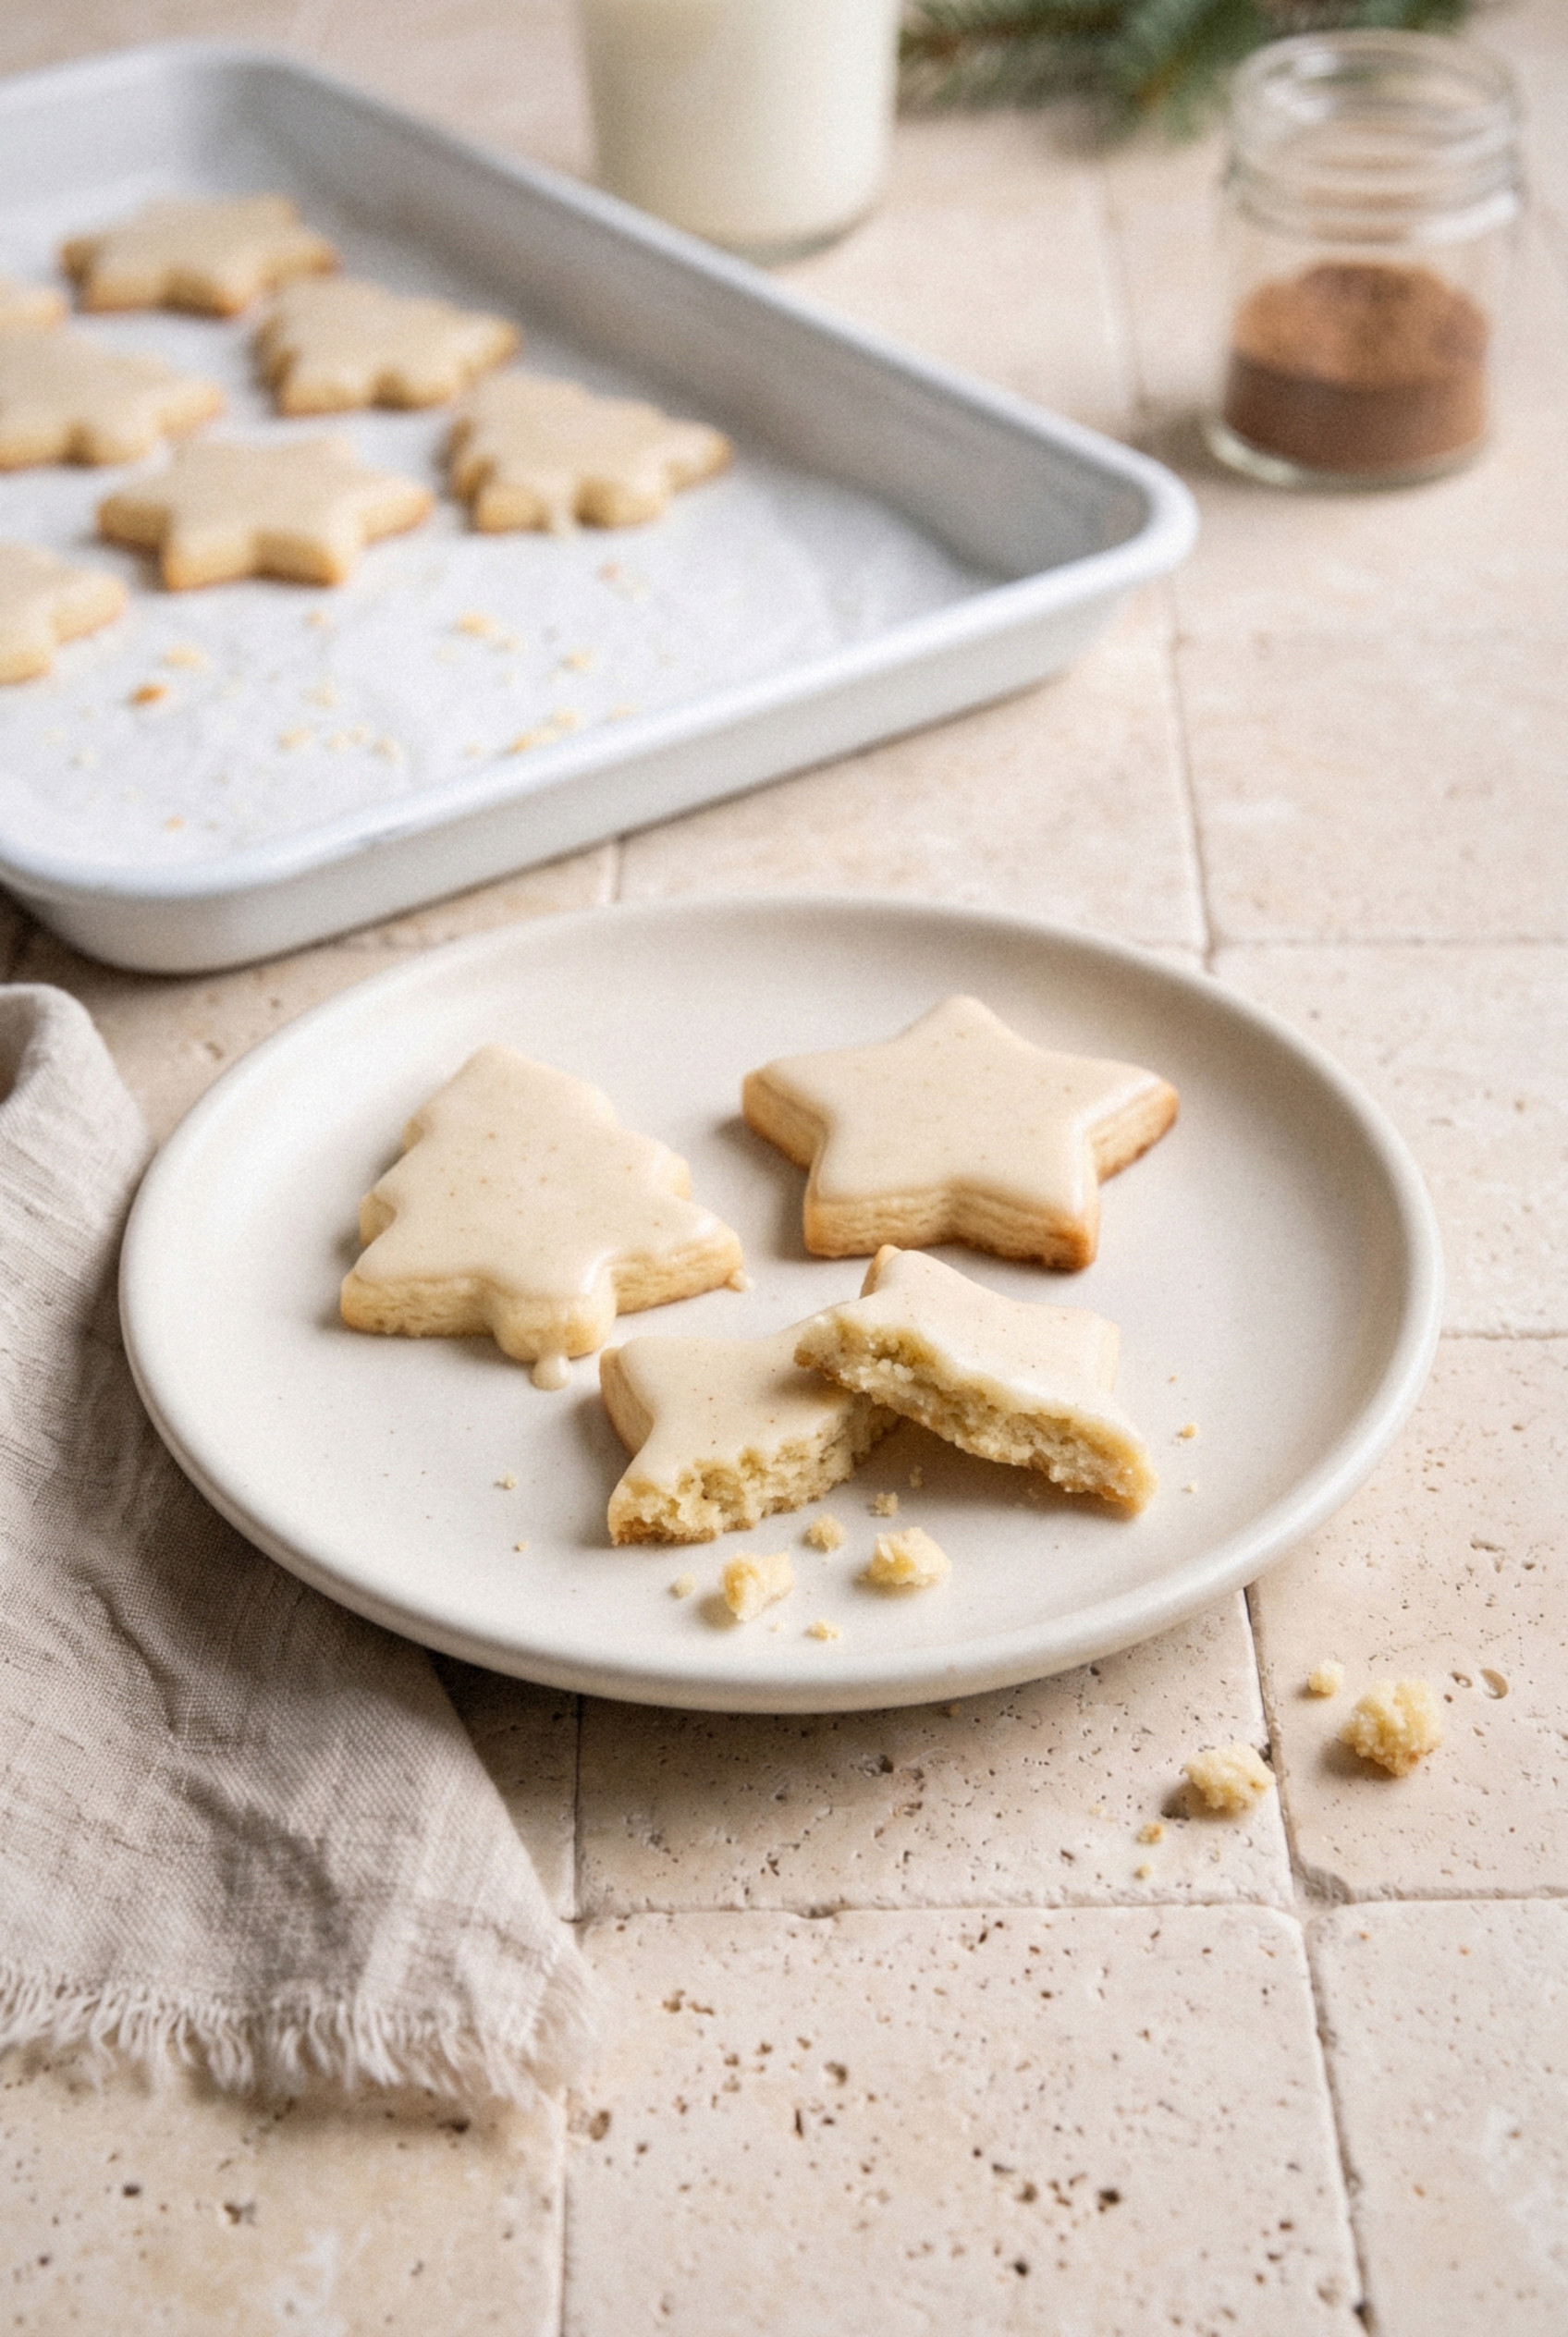
How to Store and Freeze Eggnog Cookies
Once the glaze is fully set, these keep remarkably well. They actually taste better on day two.
- Room temperature. Store in an airtight container with a sheet of parchment between layers for up to 5 days.
- Gift tins. Let the glaze set overnight first, then pack them snugly in a single row or with parchment between layers so they don't slide.
- Freeze baked cookies. Freeze undecorated cookies flat in a zip-top bag for up to 2 months. Thaw at room temperature, then glaze.
- Freeze the dough. Wrap disks well and freeze up to 2 months. Thaw overnight in the fridge before rolling.
- Glazed cookies. These freeze too, but the glaze can get a little tacky as it thaws. I prefer to glaze fresh.
Who doesn't love a cookie tin that's ready before the holiday rush even starts?
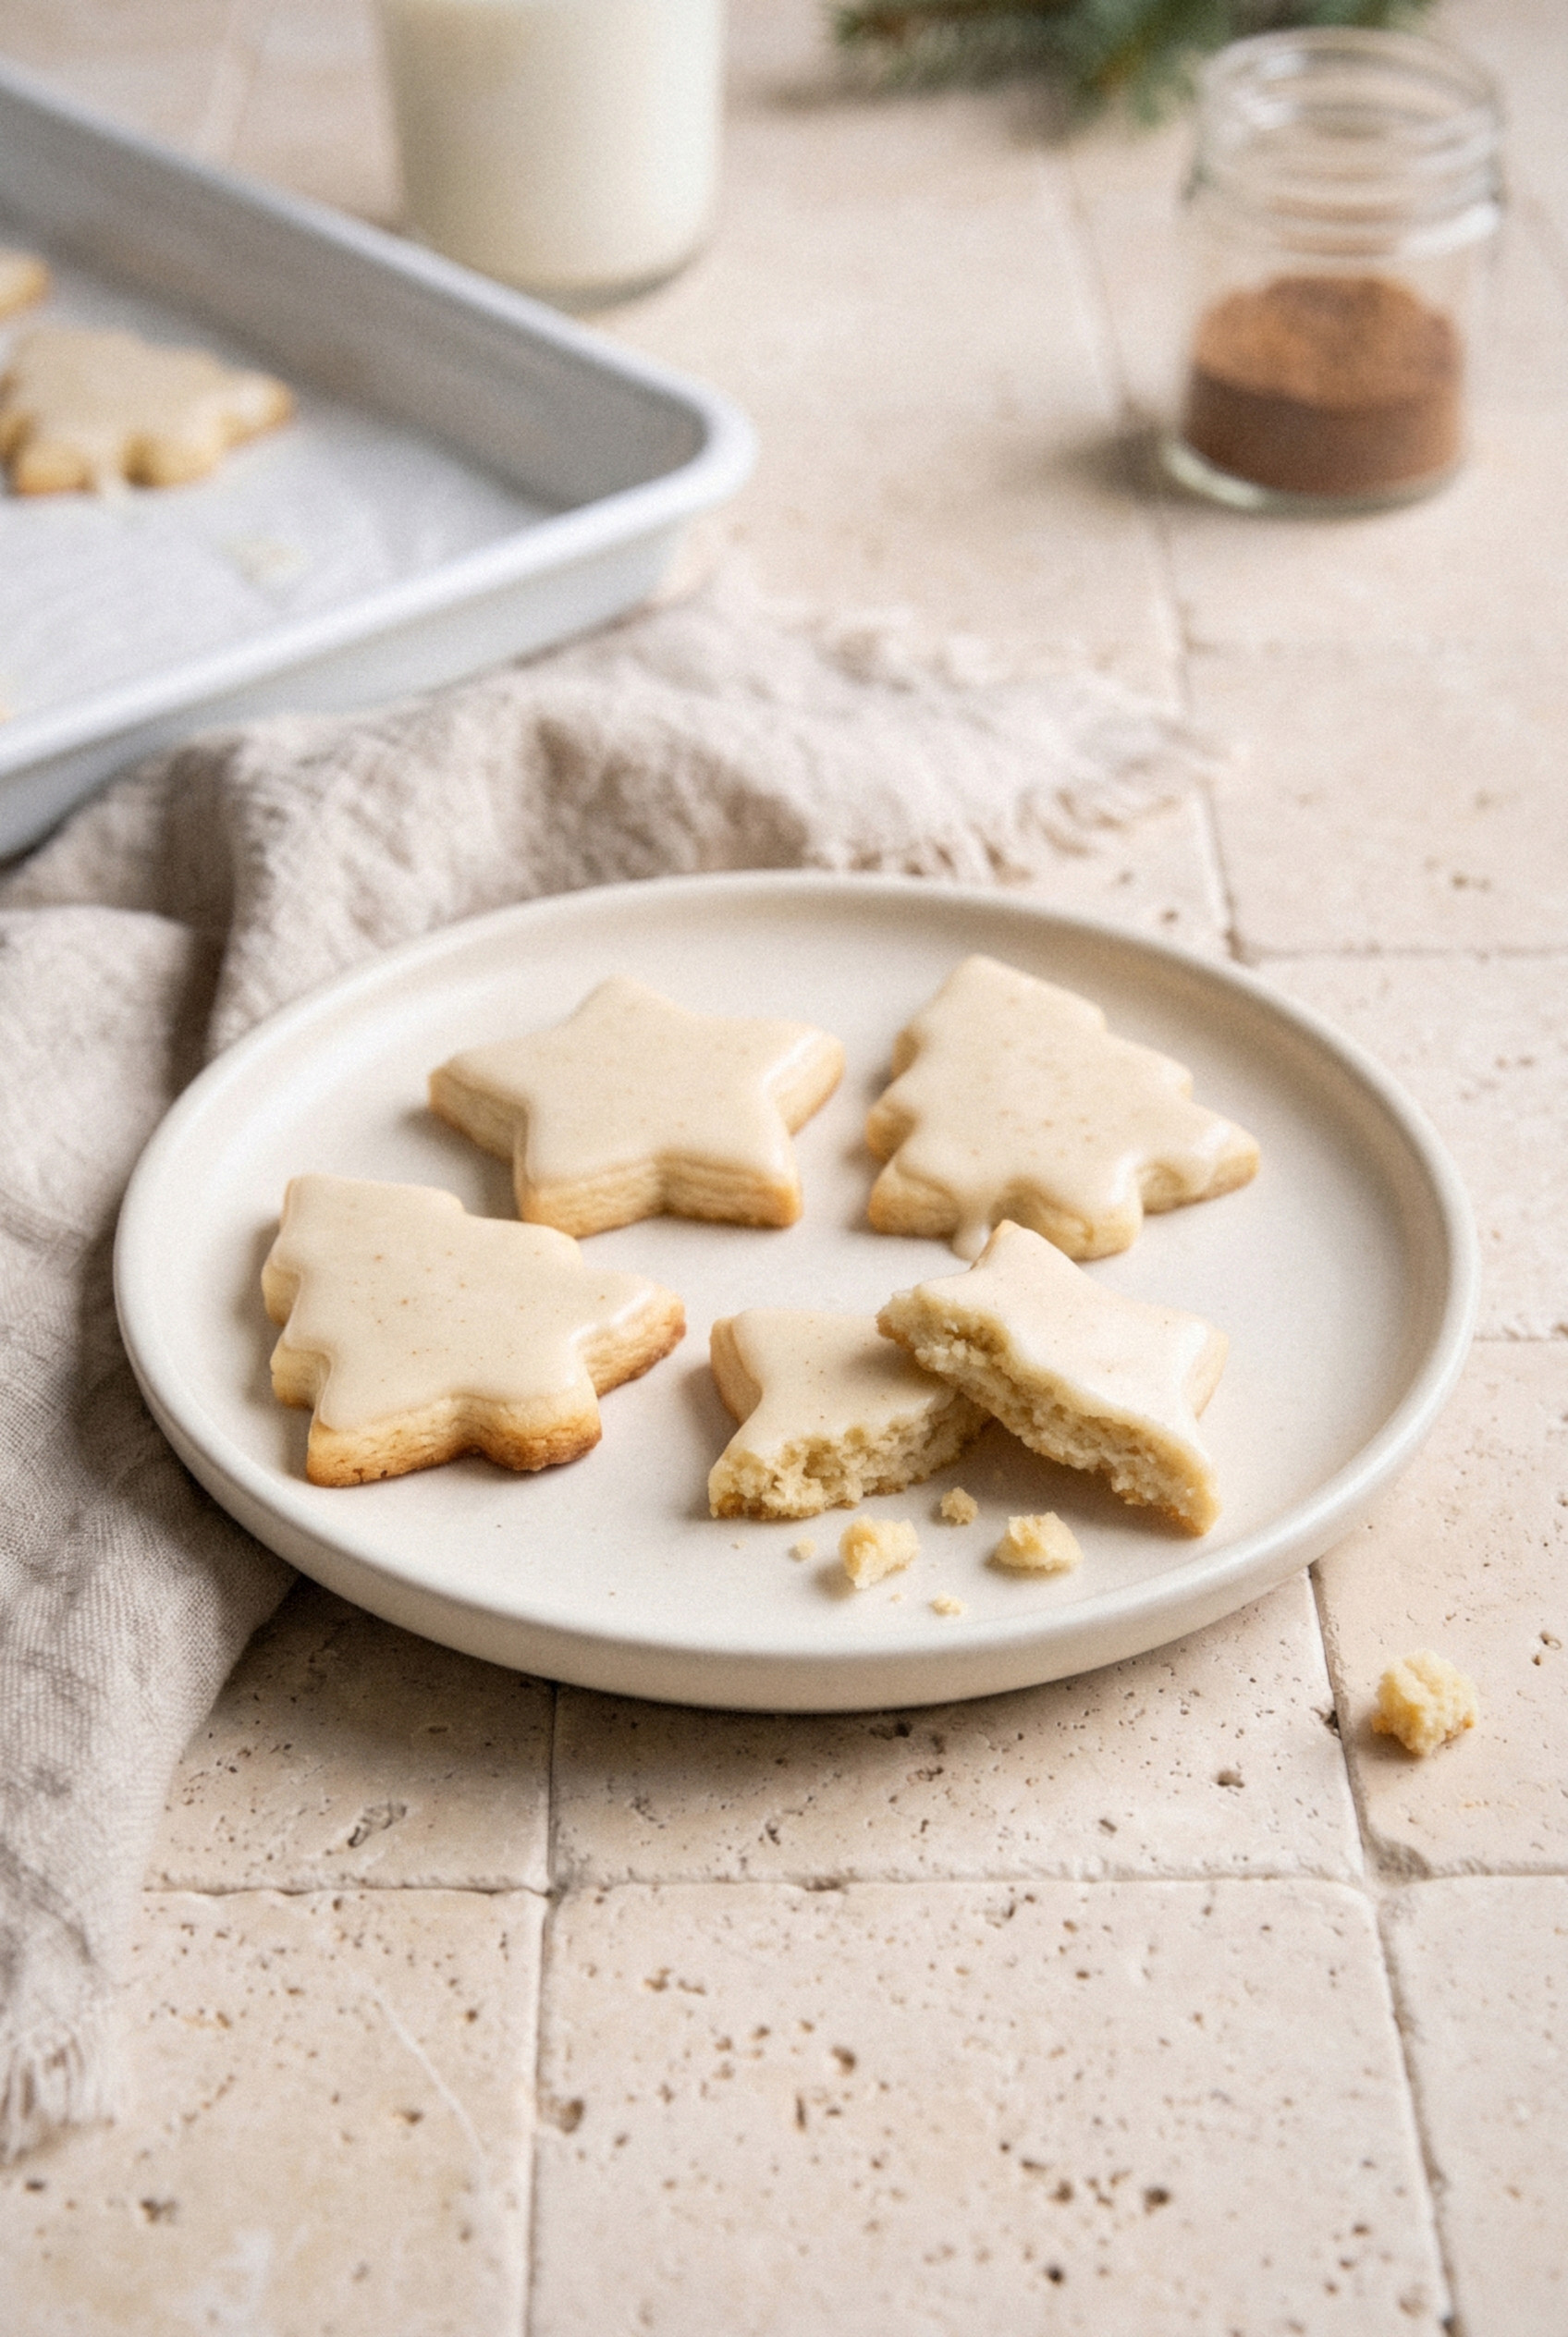
Recipe
Eggnog Cut-Out Cookies
Ingredients
For the Cookies
- 3 ¼ cups all-purpose flour spooned and leveled, plus more for rolling
- 1 teaspoon baking powder
- ½ teaspoon ground nutmeg freshly grated if possible
- ½ teaspoon salt
- 1 cup unsalted butter softened
- 1 cup granulated sugar
- 1 large egg room temperature
- ⅓ cup eggnog full-fat
- 1 teaspoon vanilla extract
For the Eggnog Glaze
- 2 cups powdered sugar sifted
- 3 tablespoons eggnog plus up to 1 tablespoon more as needed
- ½ teaspoon vanilla extract
- 1 pinch salt
- 1 pinch ground nutmeg optional, for dusting
Instructions
Make the Dough
- Whisk the flour, baking powder, nutmeg and salt in a medium bowl.
- In a large bowl, beat the butter and sugar on medium speed for 2 to 3 minutes, until pale and fluffy.
- Beat in the egg, then the eggnog and vanilla.
- Add the dry ingredients in three batches on low speed, mixing just until no flour streaks remain.
Chill
- Divide the dough in half, press each half into a flat 1-inch disk, wrap in plastic and refrigerate at least 1 hour or up to 2 days.
Roll, Cut and Bake
- Heat the oven to 350°F and line two baking sheets with parchment.
- Roll one disk on a lightly floured surface to ¼ inch thick. Cut shapes with a 3-inch cutter and place 1 inch apart on the sheets. Reroll scraps once.
- Freeze the cut shapes on the sheet for 10 minutes.
- Bake 9 to 11 minutes, until the edges are set and the bottoms are barely golden. Cool 5 minutes on the sheet, then move to a wire rack to cool completely.
Glaze
- Whisk the powdered sugar, 3 tablespoons eggnog, vanilla and salt until smooth, adding more eggnog a teaspoon at a time until thick but dippable.
- Dip the top of each cooled cookie into the glaze, let the excess drip off, and set glaze side up on a rack. Dust with nutmeg if desired.
- Let the glaze set about 30 minutes before serving, or overnight before stacking.
Notes
- Eggnog: Use full-fat store-bought or homemade eggnog. Light eggnog is thinner and bakes up flat in flavor.
- Sharp edges: The 10-minute freeze after cutting keeps detailed shapes from spreading.
- Yield: About 30 cookies with a 3-inch cutter. Smaller cutters make up to 36.
- Storage: Keep airtight with parchment between layers up to 5 days. Freeze undecorated cookies or dough disks up to 2 months.
- No eggnog: Whole milk or heavy cream works in both the dough and glaze.