My wife's December coffee order hasn't changed in six years.
Peppermint mocha, extra whipped cream, a sprinkle of crushed candy cane on top.
The first cold week of the season, she starts ordering it on the way to work, and I start getting asked for "the cookie version."
So I went looking for one I could cut into stars for our Christmas cookie tray.
Almost everything I found was a soft drop cookie. Delicious, sure, but packed with chocolate chips and so soft it would never hold a cutter shape.
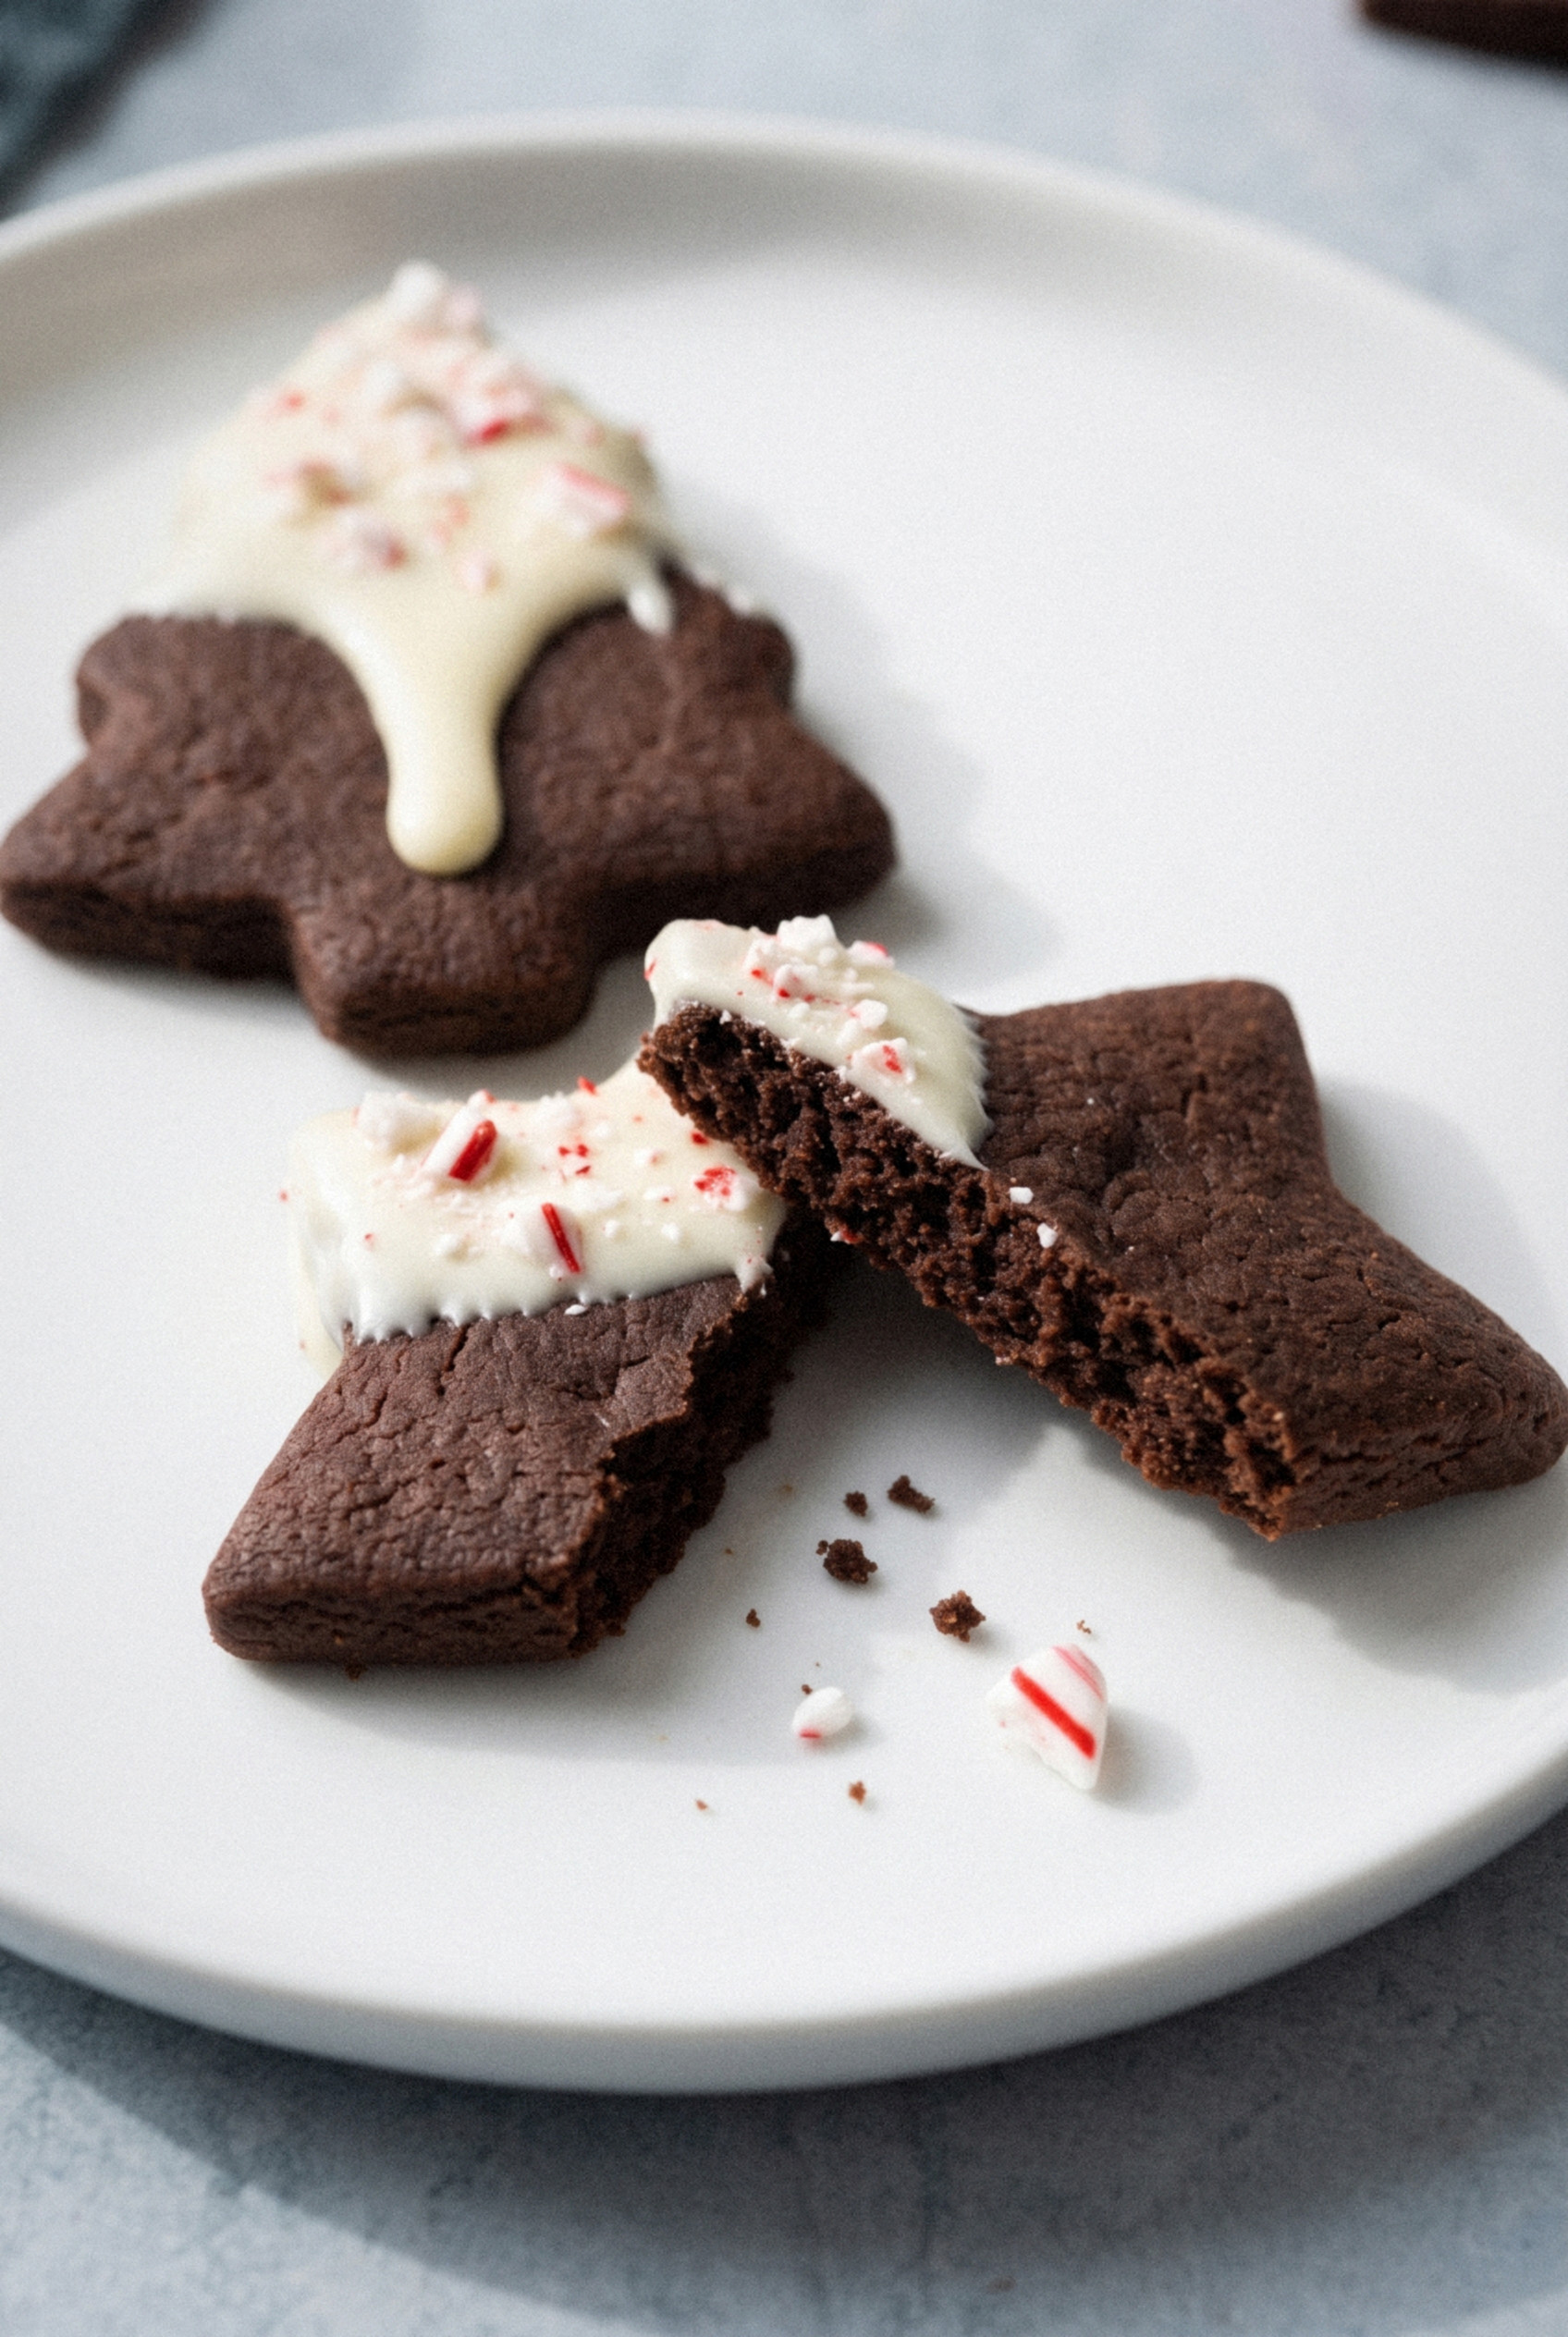
These peppermint mocha cut-out cookies are what I came up with after a few rounds of testing.
The dough is dark with cocoa and has a real coffee backbone from espresso powder. A splash of peppermint extract goes right in.
It rolls out smoothly, holds sharp points, and bakes into a cookie that's crisp at the edges and tender in the middle.
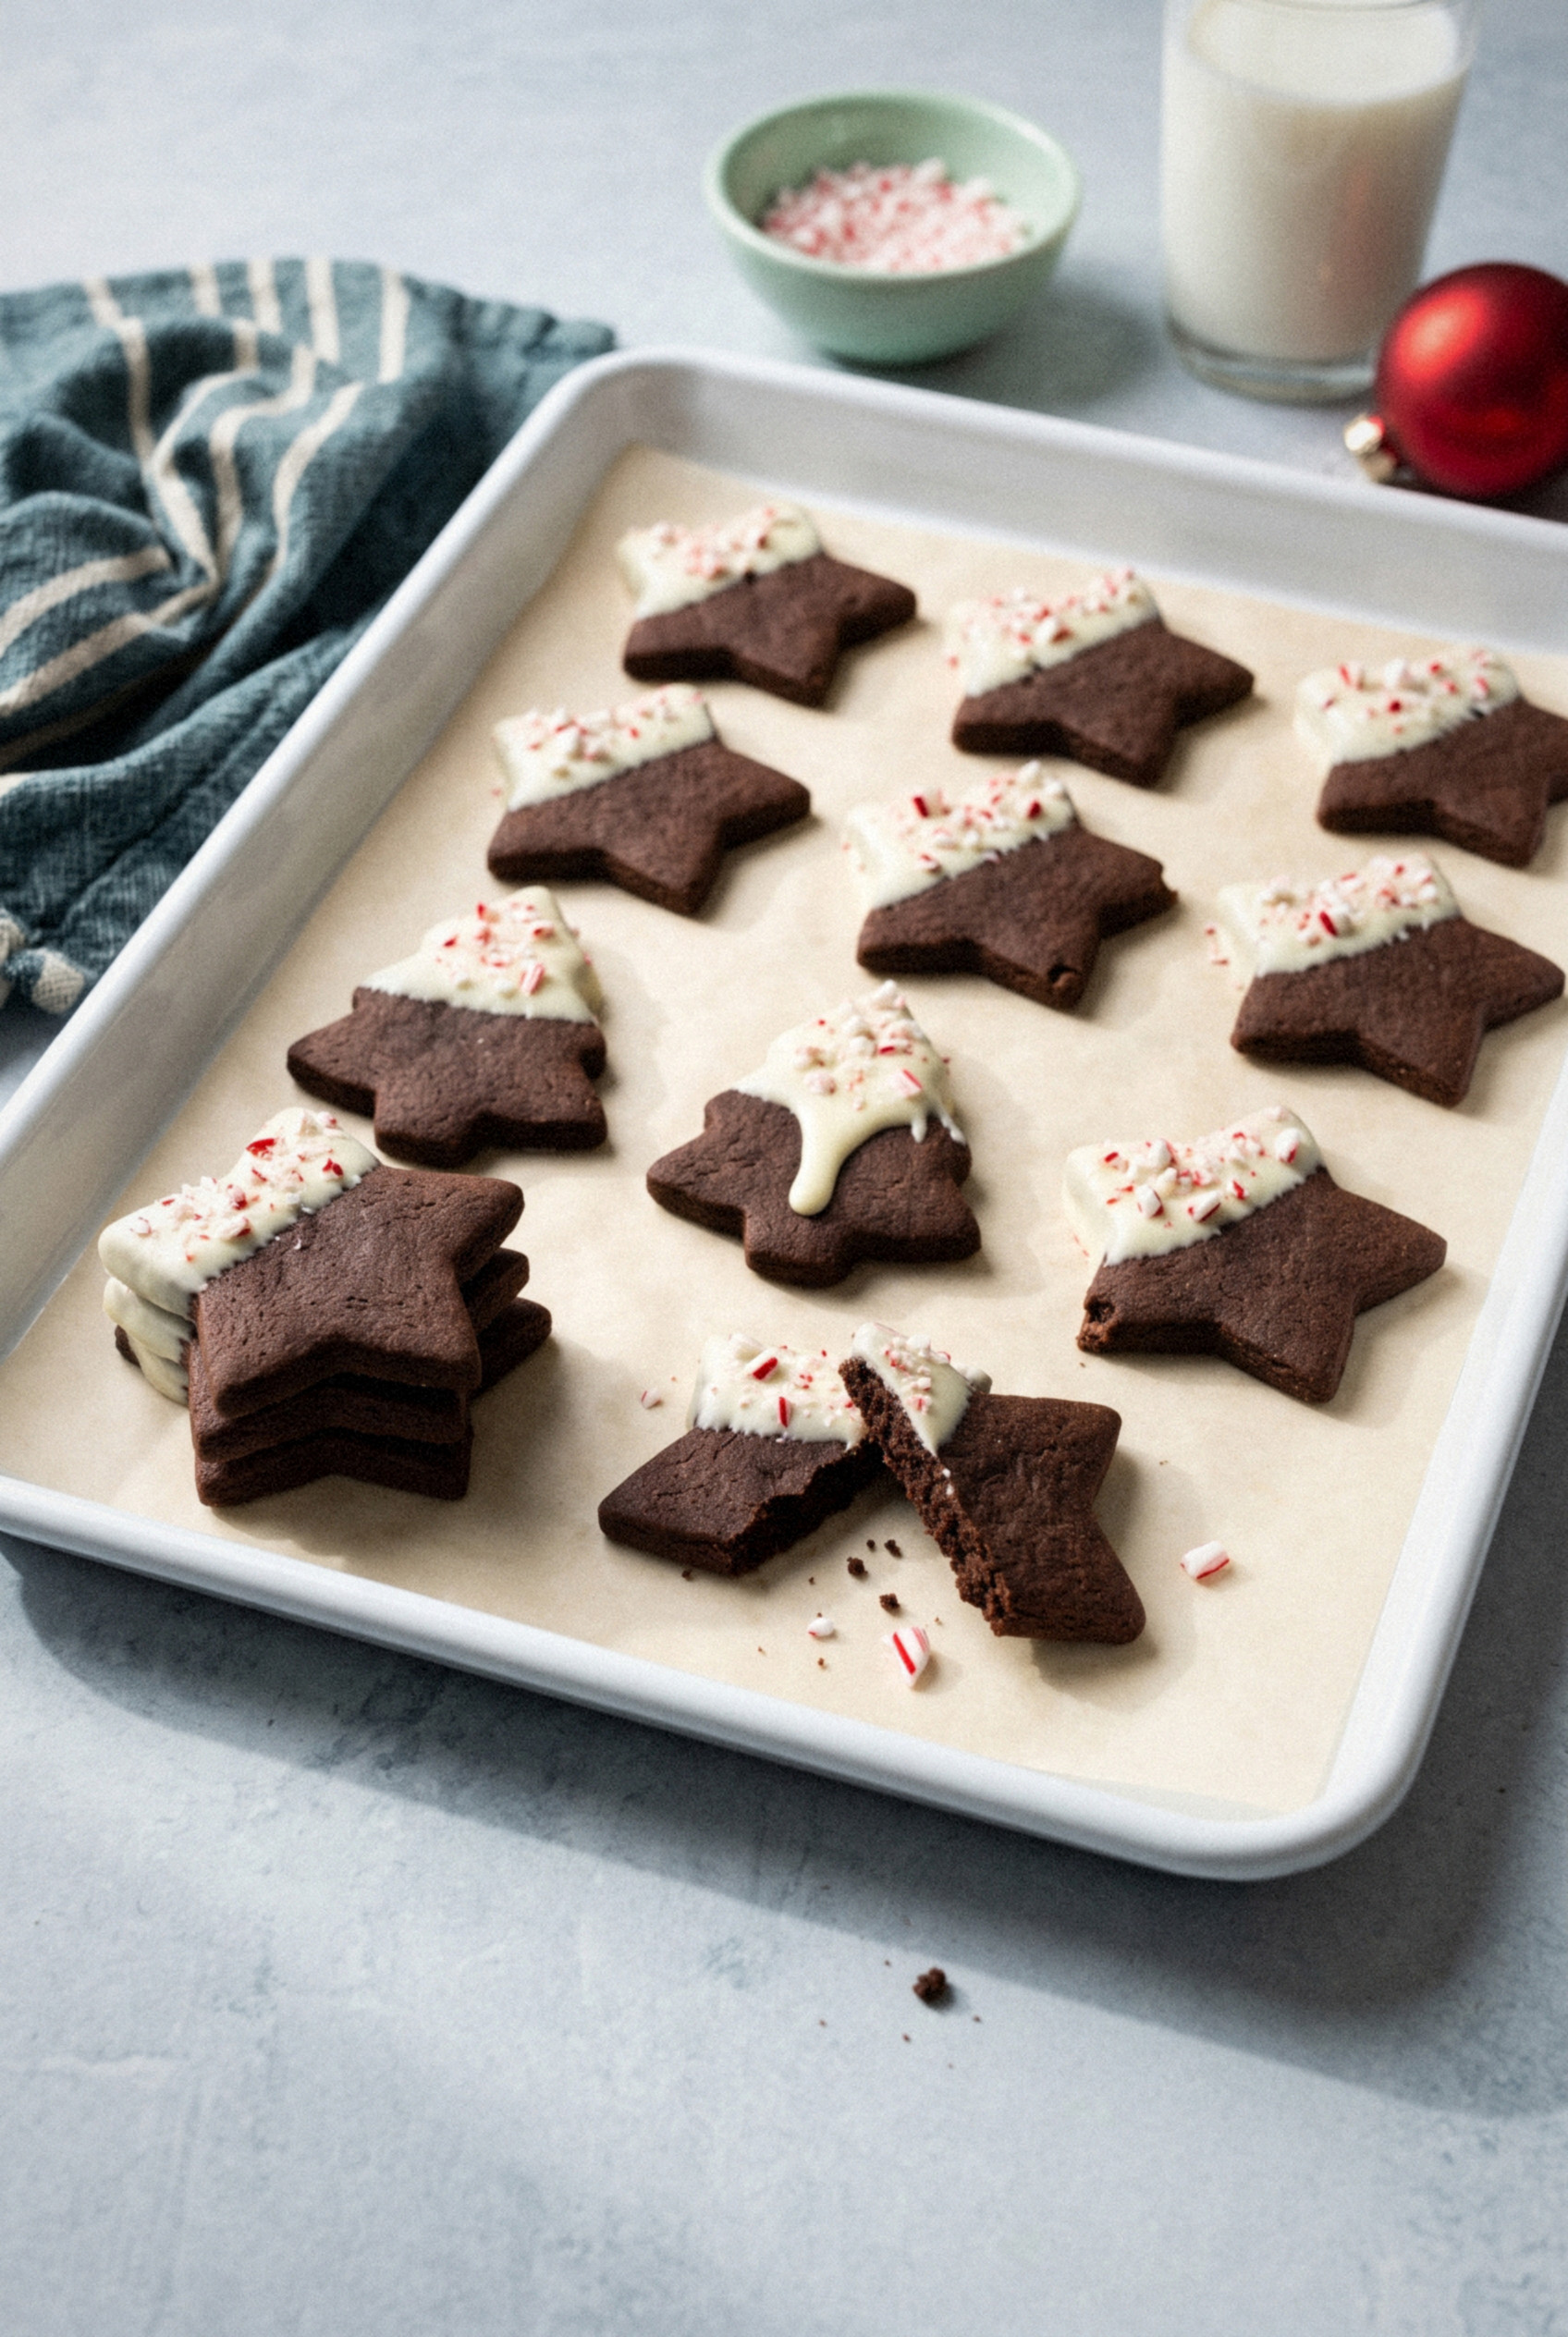
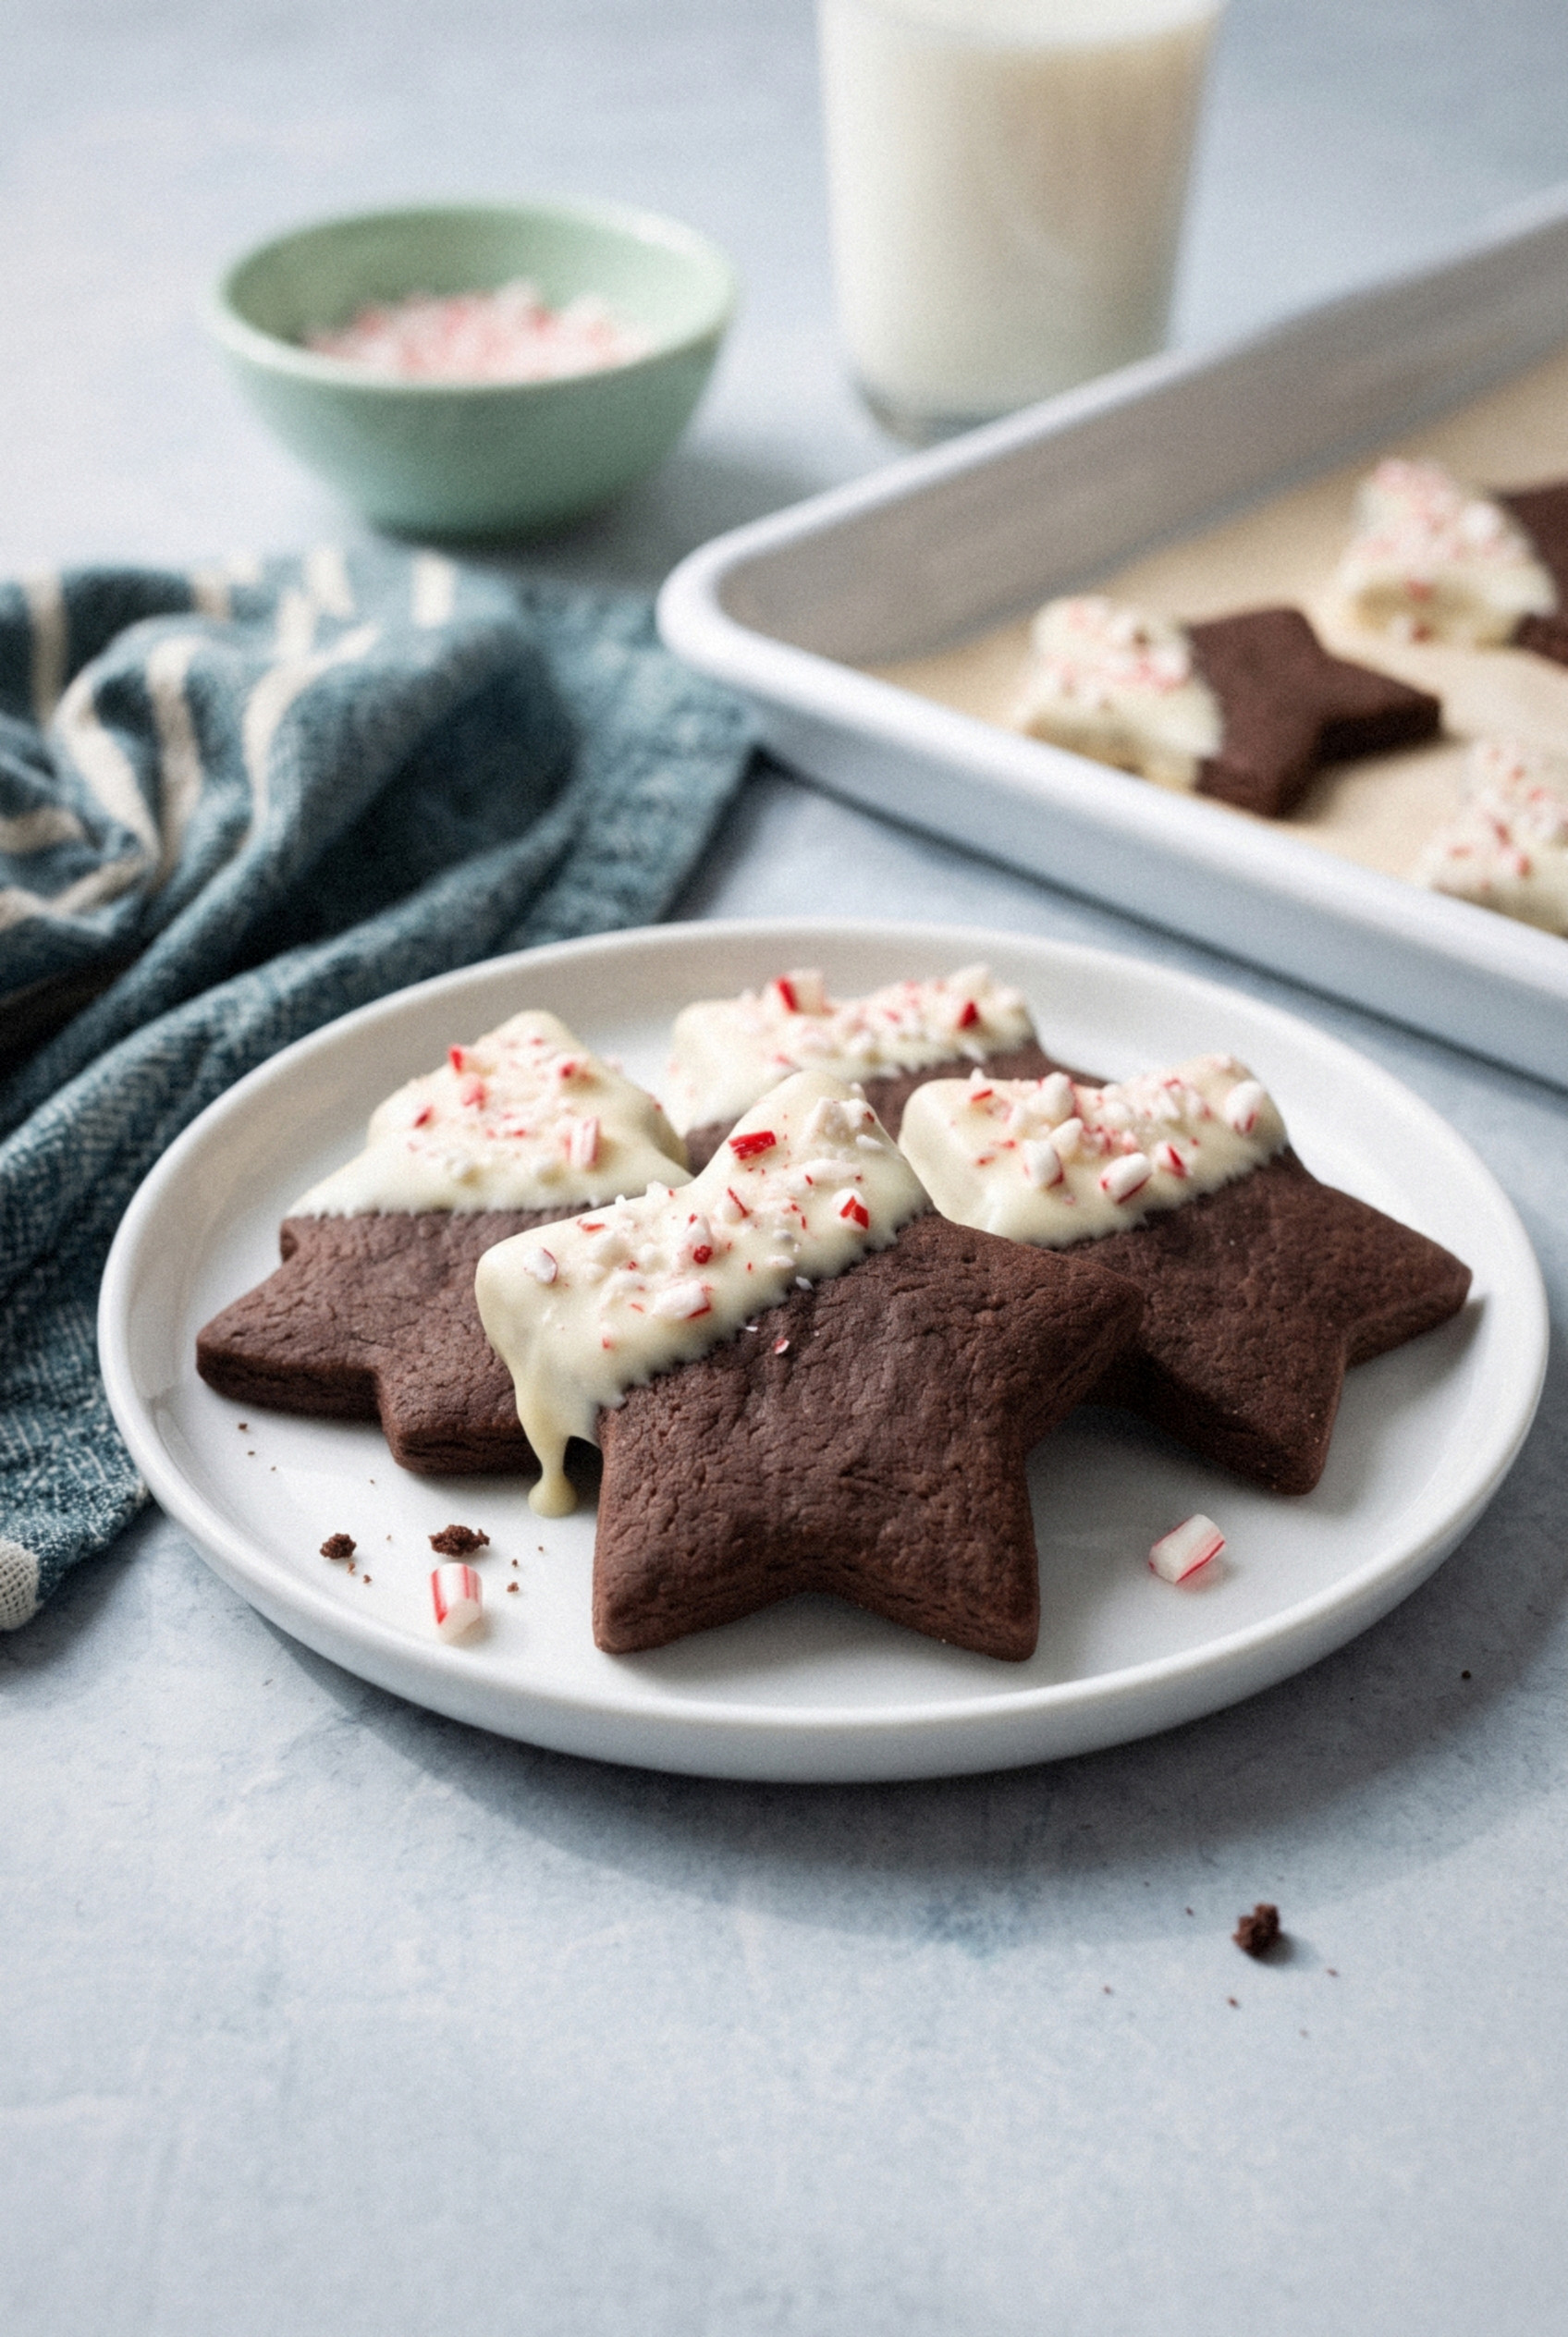
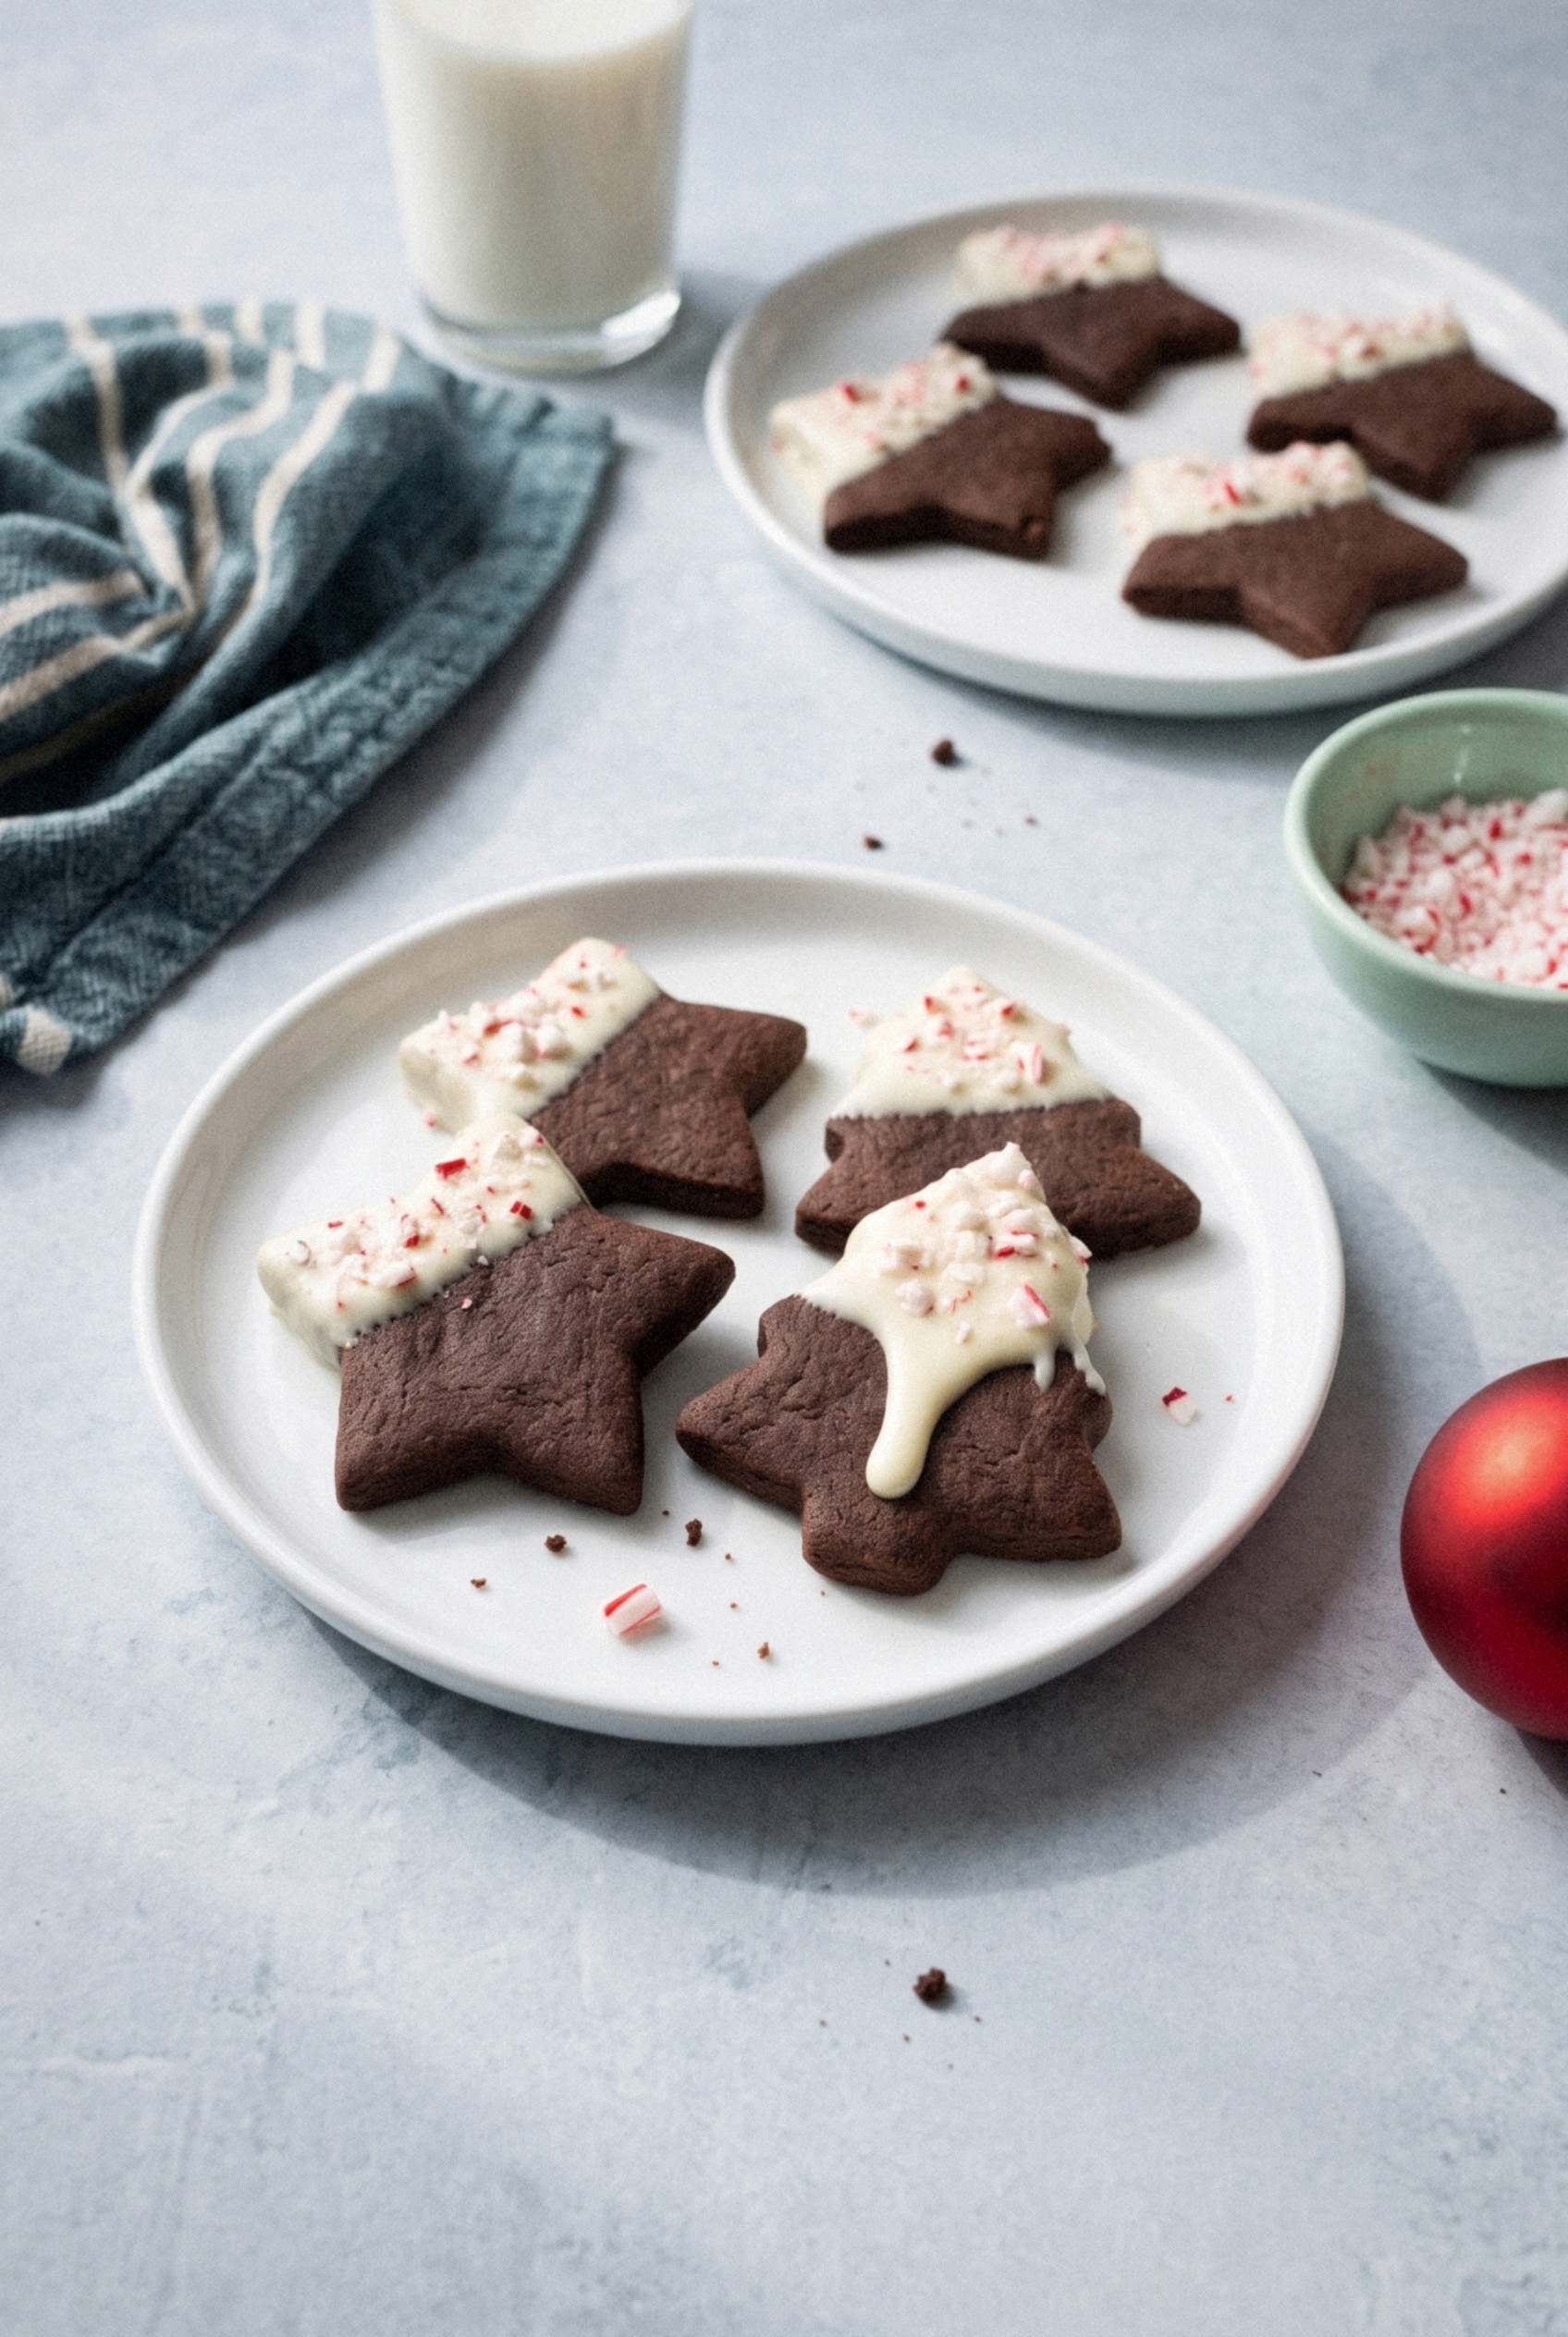
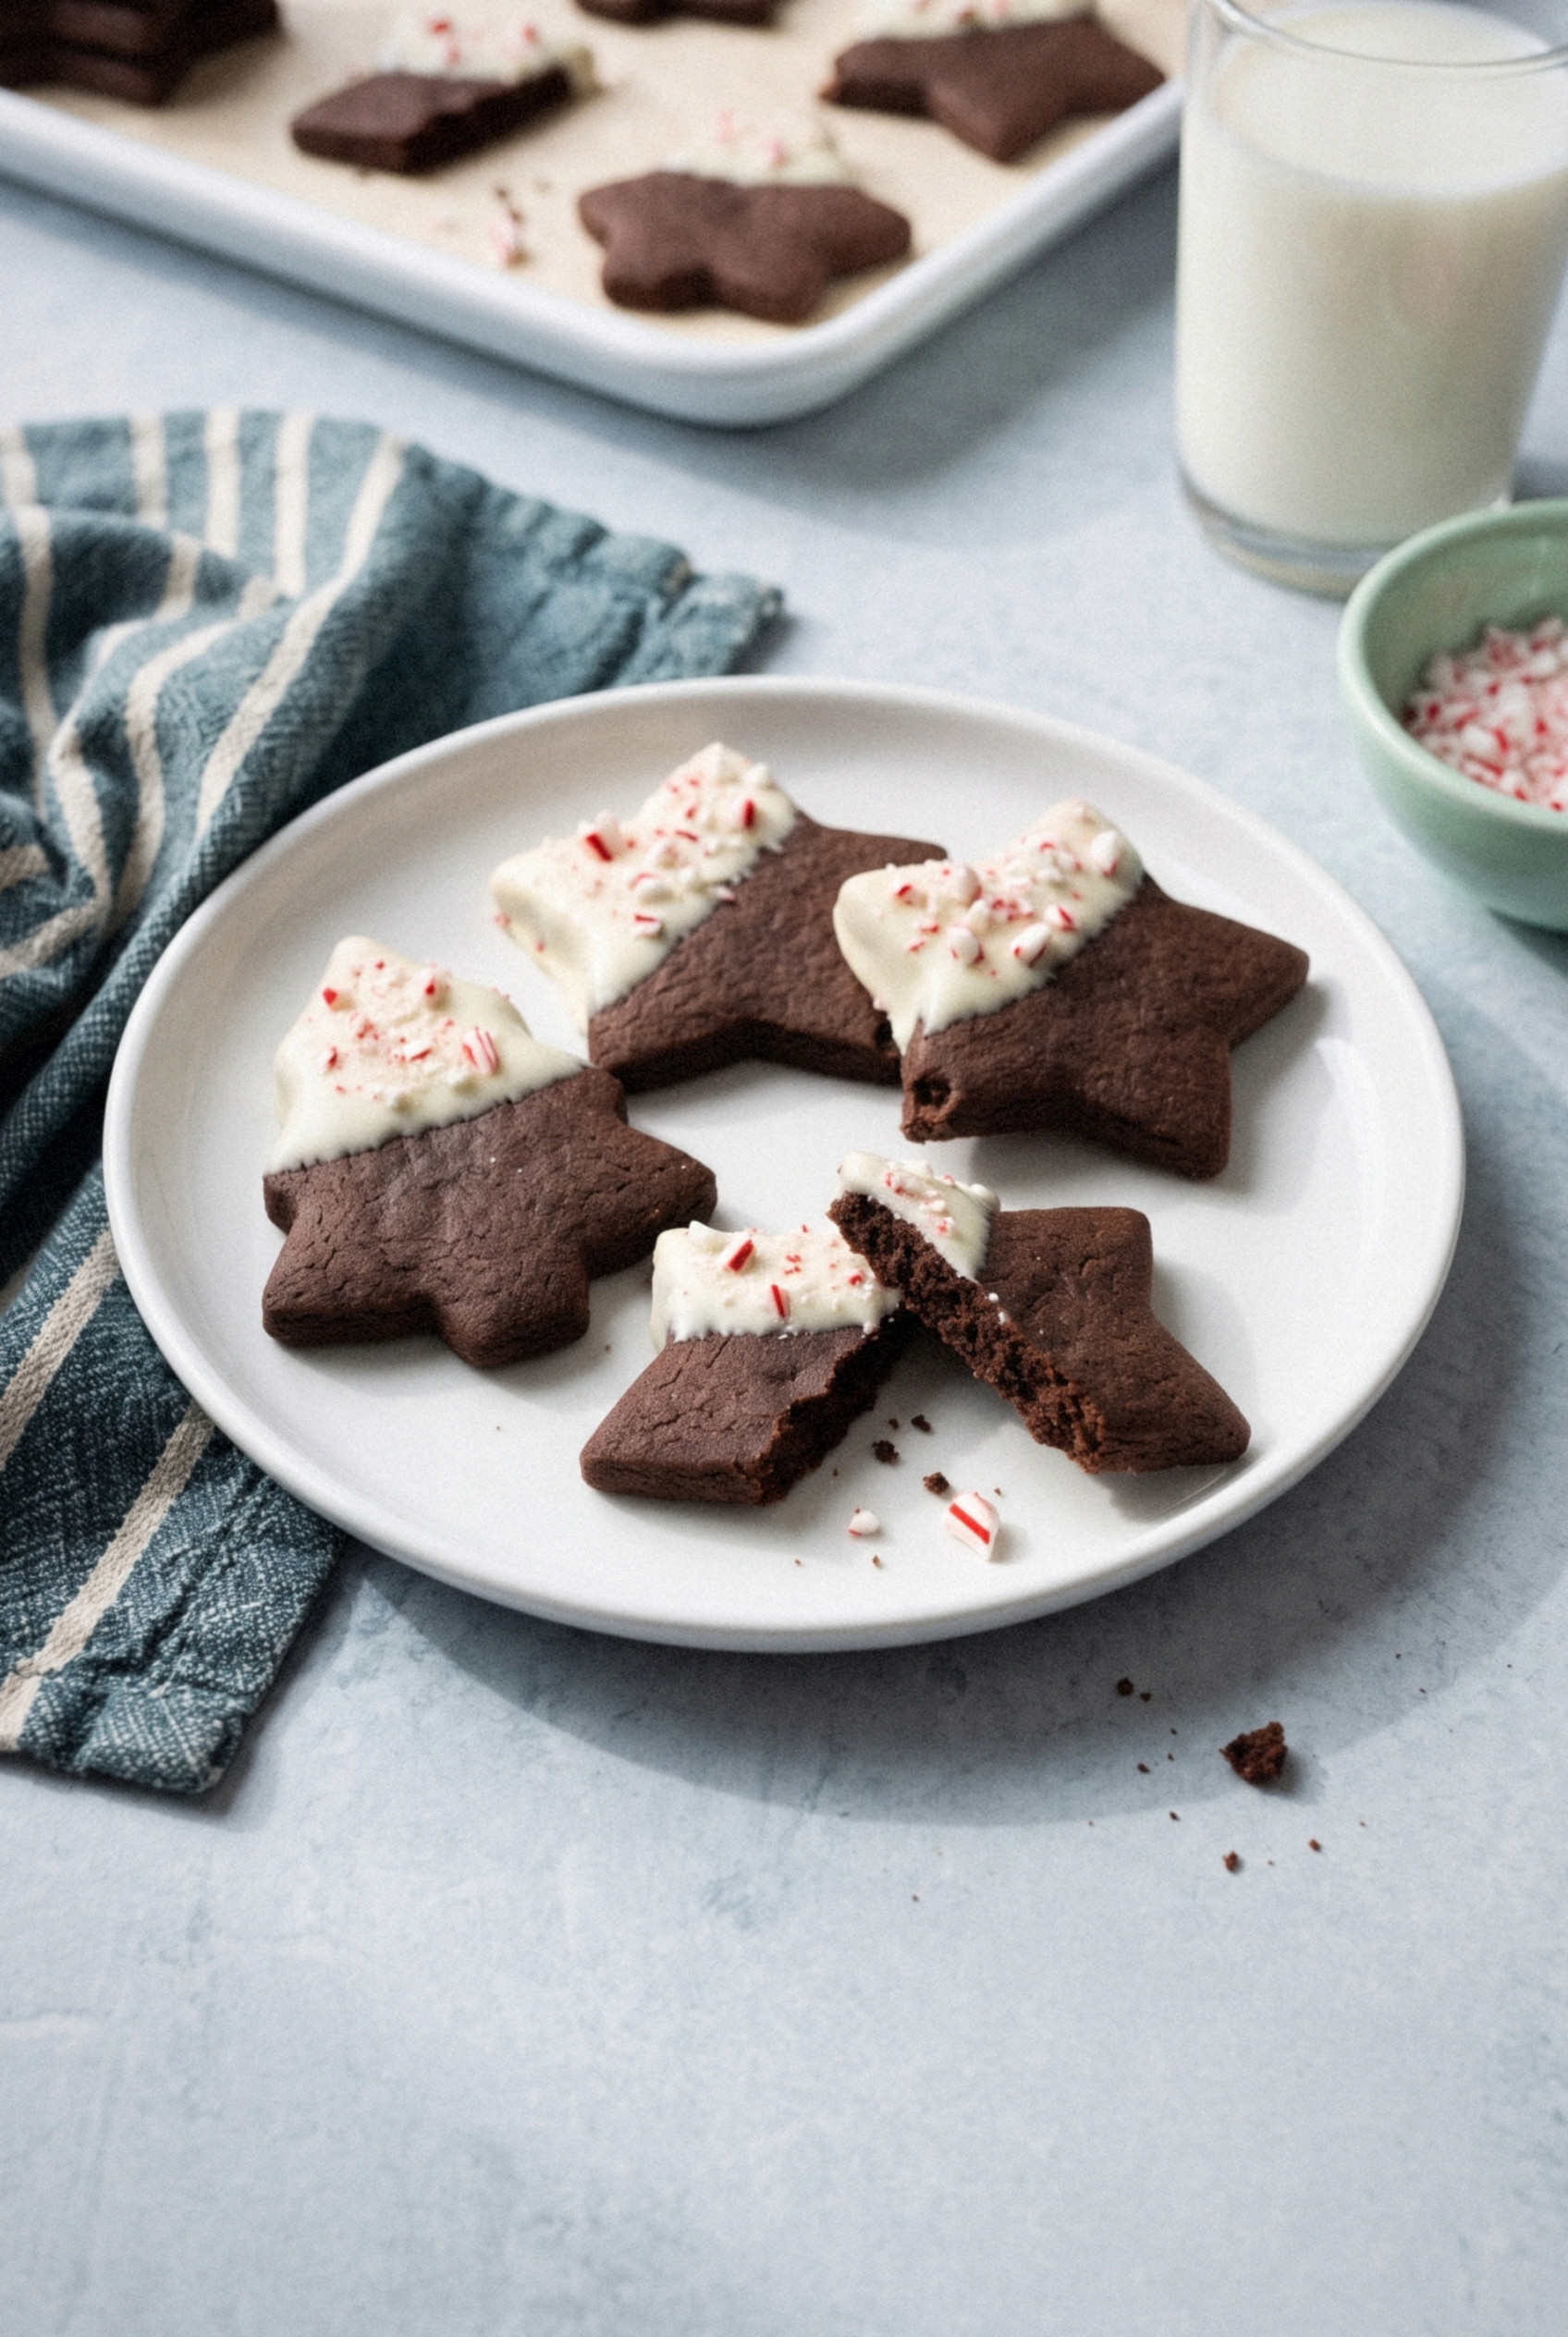
Then I dip the top half of each one in white chocolate and crushed candy cane, just like the whipped cream on her drink.
They're the first cookies to vanish from the holiday gift tins we hand out, and they stack in a tin without smudging.
Make a batch once and you'll be getting requests for them every December too.
What These Taste Like
Picture a peppermint mocha you can hold in your hand. That's the whole idea.
The cookie itself is deep, dark and chocolatey, with a coffee note that makes the cocoa taste richer without screaming "coffee."
The peppermint comes in at the end. It's cool and clean, not sharp.
The white chocolate adds a sweet, creamy layer, and the candy cane gives you a little glassy crunch on top.
Texture-wise, these sit somewhere between a brownie and a classic sugar cookie. Firmer than a brownie, softer than a gingersnap.
Who doesn't love a coffee-shop drink in cookie form?
Why You'll Love These
- They hold their shape. No chocolate chips, very little baking powder and a chilled sheet of dough mean your stars stay stars.
- They taste like the real drink. Cocoa, espresso and peppermint in the dough, plus white chocolate and candy cane on top. Every part of a peppermint mocha is here.
- No royal icing required. A quick dip in melted white chocolate sets in about 30 minutes in the fridge. It's super easy, even for beginners.
- Built for gift tins. Once the white chocolate sets, these stack neatly with parchment between layers.
- The dough waits for you. Roll it out, chill it, and bake whenever you're ready, up to 3 days later.
Ingredients You'll Need
This is a short list of pantry staples, plus white chocolate and candy canes. Here's what each one does.
For the Cookies
- All-purpose flour (2 ½ cups). Spoon and level it. Too much flour makes cocoa dough crack when you roll it.
- Unsweetened cocoa powder (½ cup). Natural or Dutch-process both work here, since baking powder does the lifting. Dutch-process gives you a darker, smoother cookie.
- Espresso powder (1 tablespoon). This is the "mocha." More on it below.
- Baking powder (½ teaspoon). Just enough to keep the cookies tender. More and they puff and lose their edges.
- Salt (½ teaspoon). It sharpens the chocolate.
- Unsalted butter (1 cup). Two sticks at cool room temperature. It should dent when you press it but not look greasy.
- Granulated sugar (1 cup). White sugar only. Brown sugar makes cookies chewier and spreadier, which is great for drop cookies and bad for cut-outs.
- Egg (1 large). Room temperature, so it mixes in smoothly.
- Vanilla extract (1 teaspoon). It doubles as the liquid I dissolve the espresso in.
- Peppermint extract (1 teaspoon). Use pure peppermint, not "mint" extract. Mint extract is usually spearmint and tastes like toothpaste.
For the Finish
- White chocolate (8 ounces). Chopped bars melt smoother than chips, which contain stabilizers that keep them from turning fluid.
- Coconut oil or shortening (1 teaspoon). It thins the white chocolate so it coats in a smooth, even layer and sets with a soft shine.
- Candy canes (4 regular). Crushed fine, about ⅓ cup. Round peppermint candies work too.
Good to know: I leave chocolate chips out on purpose. They snag the cutter, poke through the edges, and make the shapes look lumpy.
The Secret Is Espresso Powder
Espresso powder is what turns a chocolate peppermint cookie into a peppermint mocha cookie. It's finely ground, dried espresso that dissolves completely.
In a cocoa dough, it doesn't make the cookies taste like a cup of coffee. It makes the chocolate taste darker and deeper, the same way a pinch of salt makes caramel taste sweeter.
I stir it into the vanilla before it goes into the butter. It dissolves into a dark syrup, so you never get bitter specks in the finished cookie.
- Instant coffee works. Use 2 tablespoons of instant coffee granules in place of 1 tablespoon of espresso powder, and crush them fine first.
- Skip ground coffee. Regular ground coffee doesn't dissolve. It stays gritty in the cookie.
- Decaf is fine. Decaf espresso powder works the same way if you're baking with kids.
Worth tracking down a jar? Every time. You'll use it in brownies too.
How to Make Peppermint Mocha Cut-Out Cookies
Roll first, chill second, cut third. That order is what keeps the shapes clean.
Step 1: Make the Dough
Stir the espresso powder into the vanilla in a small cup until it dissolves into a dark syrup. In a bowl, whisk the flour, cocoa powder, baking powder and salt until the cocoa is evenly mixed and no streaks remain.
In a large bowl, beat the butter and sugar on medium speed for about 2 minutes, until smooth and creamy. Don't beat it until it's pale and fluffy. That extra air makes cut-outs puff.
Beat in the egg, peppermint extract and espresso mixture. On low speed, add the dry ingredients in three additions and mix just until a soft, dark dough forms and pulls away from the bowl.
Step 2: Roll and Chill
Split the dough in half. Roll each half between two sheets of parchment paper to an even ¼ inch thick.
Stack the sheets flat on a baking tray and refrigerate for 1 hour. Warm cocoa dough is soft and sticky, and the chill firms it up so it cuts cleanly.
Step 3: Cut and Bake
Heat the oven to 350°F and line two baking trays with parchment. Peel the top parchment off one sheet of dough and cut shapes with 2 ½ to 3 inch cutters. I like stars and Christmas trees for this one.
Arrange them 1 inch apart on the lined trays. If the dough softened while you worked, freeze the tray for 10 minutes first.
Bake for 8 to 9 minutes, until the edges are firm and the tops look dry and matte instead of shiny. Cool on the tray for 5 minutes, then move them to a wire rack to cool completely.
Pro tip: Dust your counter with cocoa powder instead of flour when you re-roll scraps. The cookies stay dark instead of picking up white streaks.
Step 4: Dip and Top
Melt the white chocolate and coconut oil together in a small, deep bowl in the microwave at 50% power, in 30-second bursts, stirring between each one. Stop while a few small lumps remain and stir until they melt.
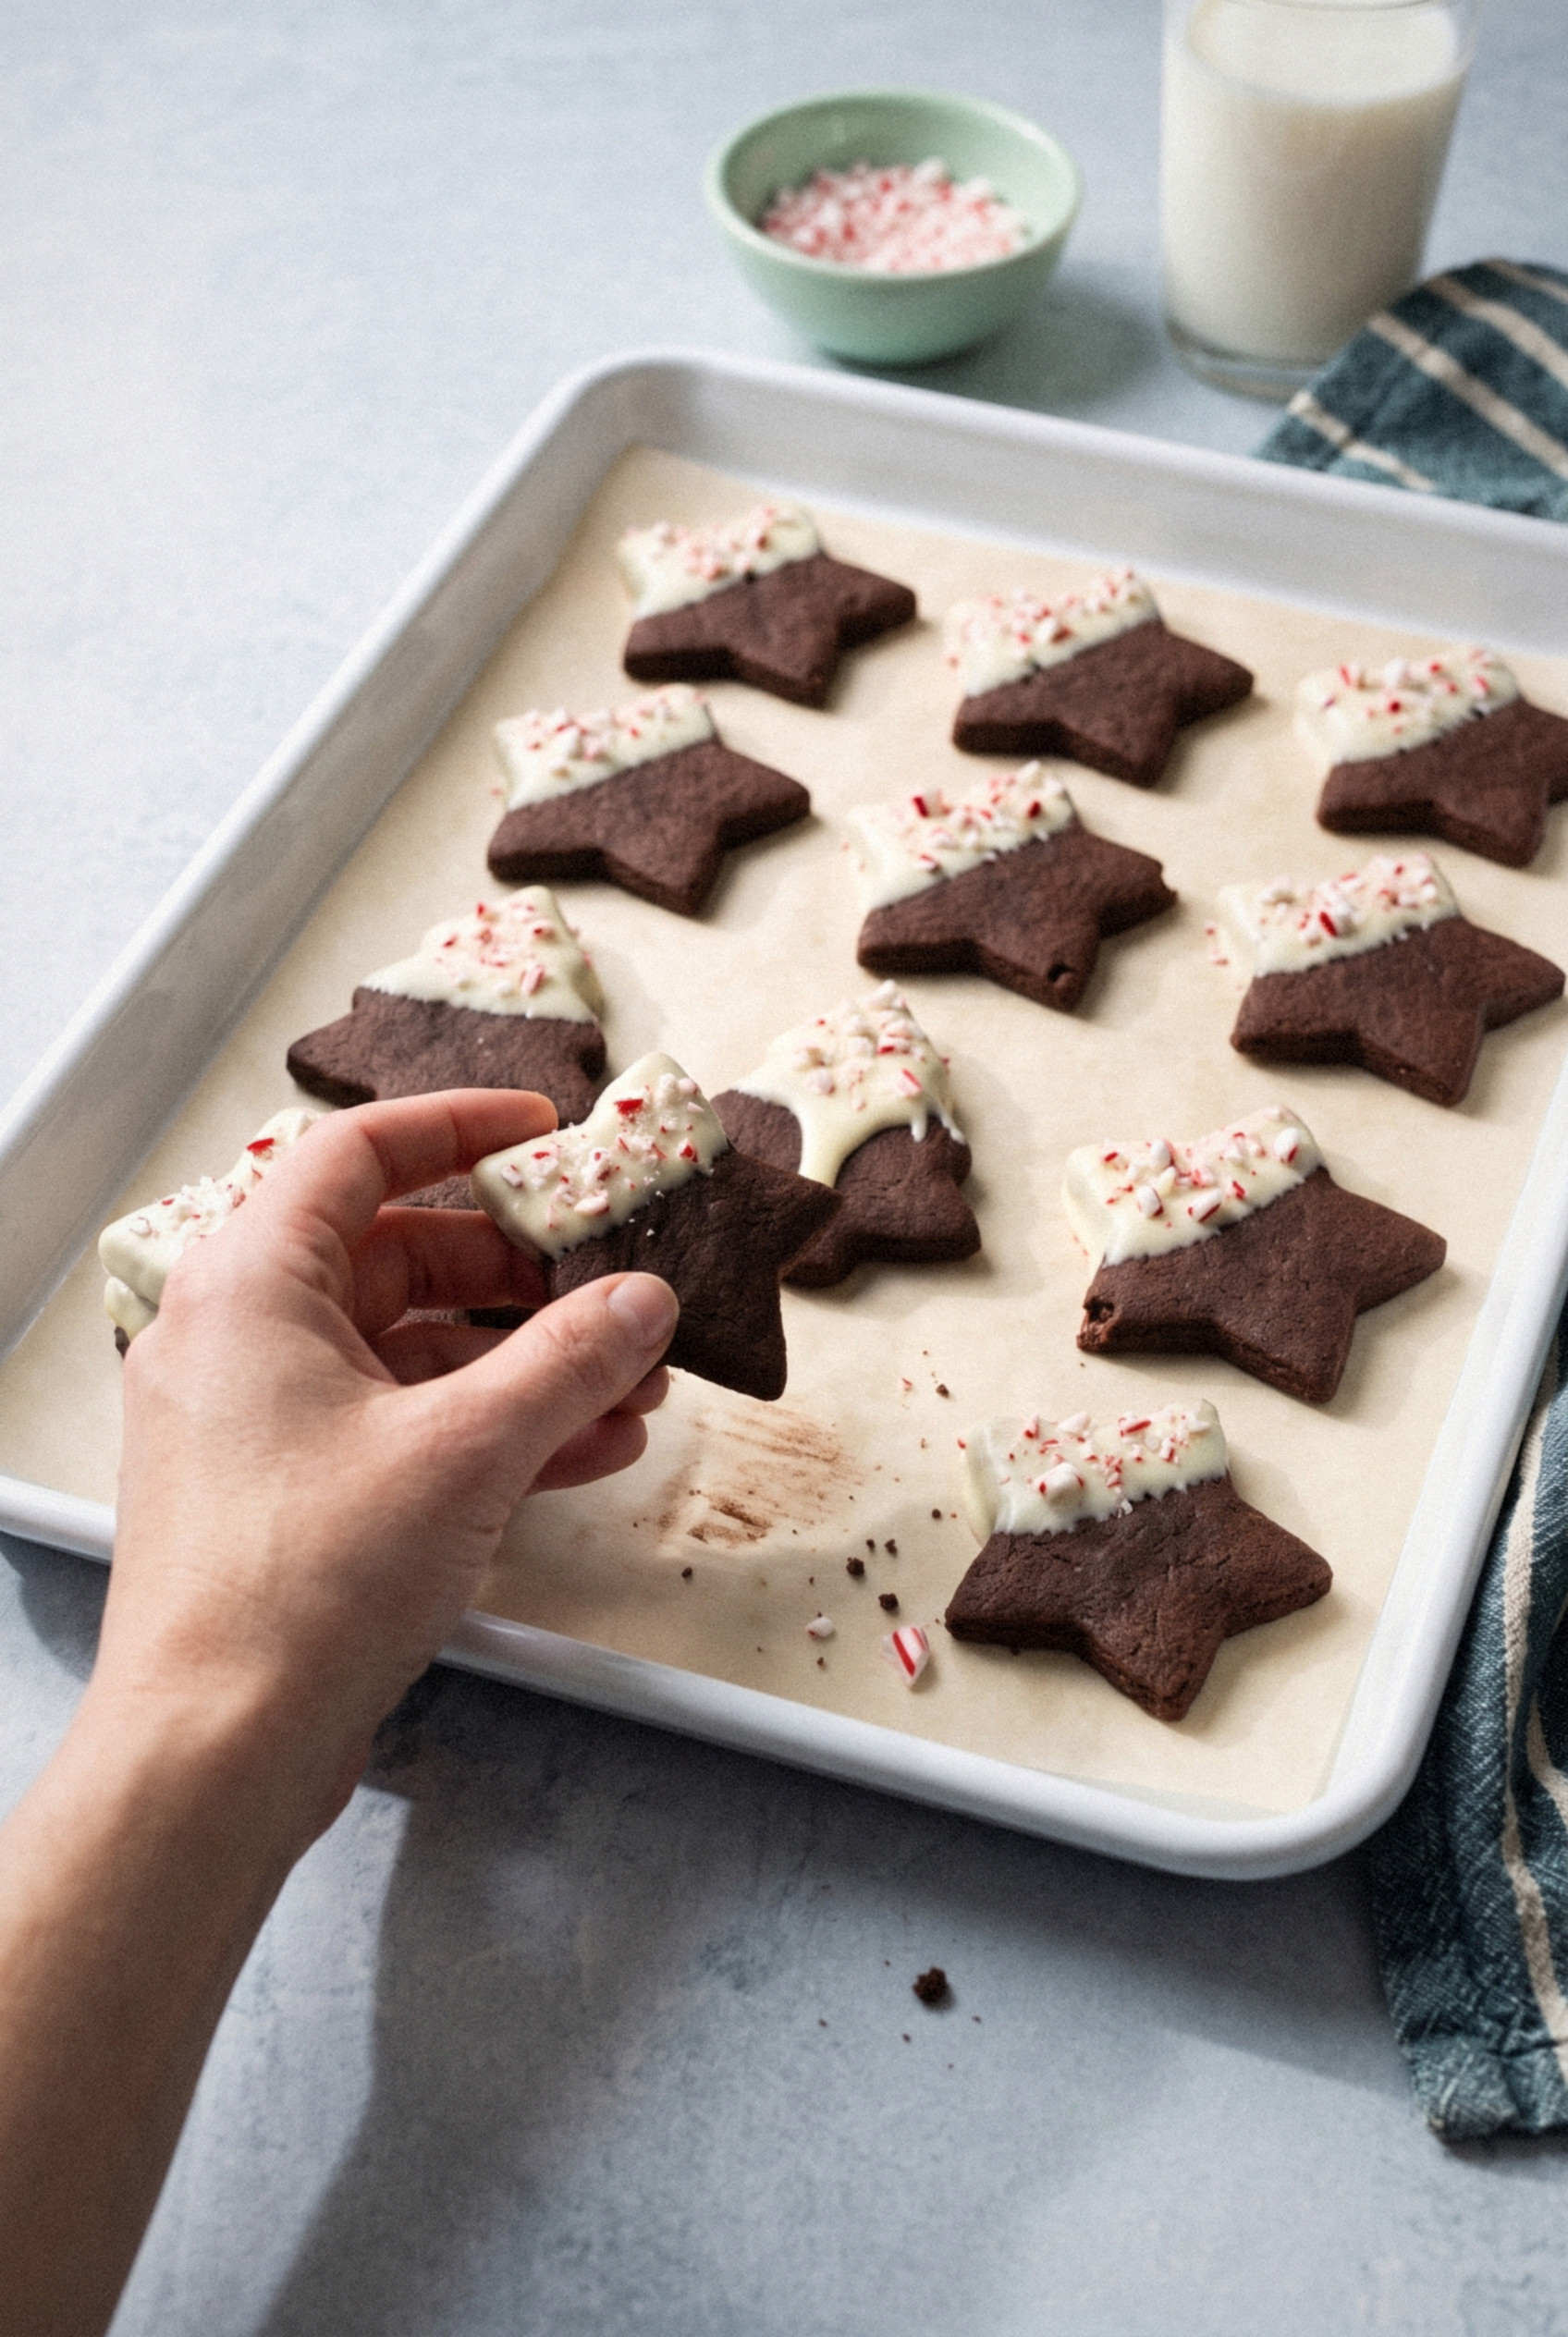
Dip the top half of each cooled cookie into the white chocolate, let the extra drip off, and lay it flat on parchment. Sprinkle the dipped half with crushed candy cane right away, before the chocolate sets.
Chill the cookies for 20 to 30 minutes until the white chocolate is firm.
Fair warning: they're hard to leave alone while they set!
Tips for Sharp Chocolate Cut-Outs
Chocolate cut-outs are a little trickier than plain sugar cookies, mostly because you can't see them brown. These are the things that matter most.
- Judge by the top, not the color. Cocoa dough is dark from the start. Pull the cookies when the tops look matte and the edges feel firm. If they look shiny, give them another minute.
- Don't overbake. A minute too long and they go dry and crumbly. They firm up as they cool.
- Keep the butter cool. Soft, shiny butter is the most common reason for spreading.
- Cream for 2 minutes, not 5. You want smooth, not fluffy.
- Chill the rolled sheets. One hour in the fridge is plenty. Rolling before chilling saves you from fighting a cold, cracking disk.
- Bake same-size shapes together. Little stars bake faster than big trees.
- Re-cut while warm. If a cookie spreads a bit, press the cutter over it as soon as the tray leaves the oven and peel away the extra.
- Watch the white chocolate. It burns and seizes easily. Low power, short bursts, and keep every drop of water out of the bowl.
Decorating Options
The white chocolate half-dip is my favorite, but these cookies take almost any finish. Pick whatever fits your cookie tray.
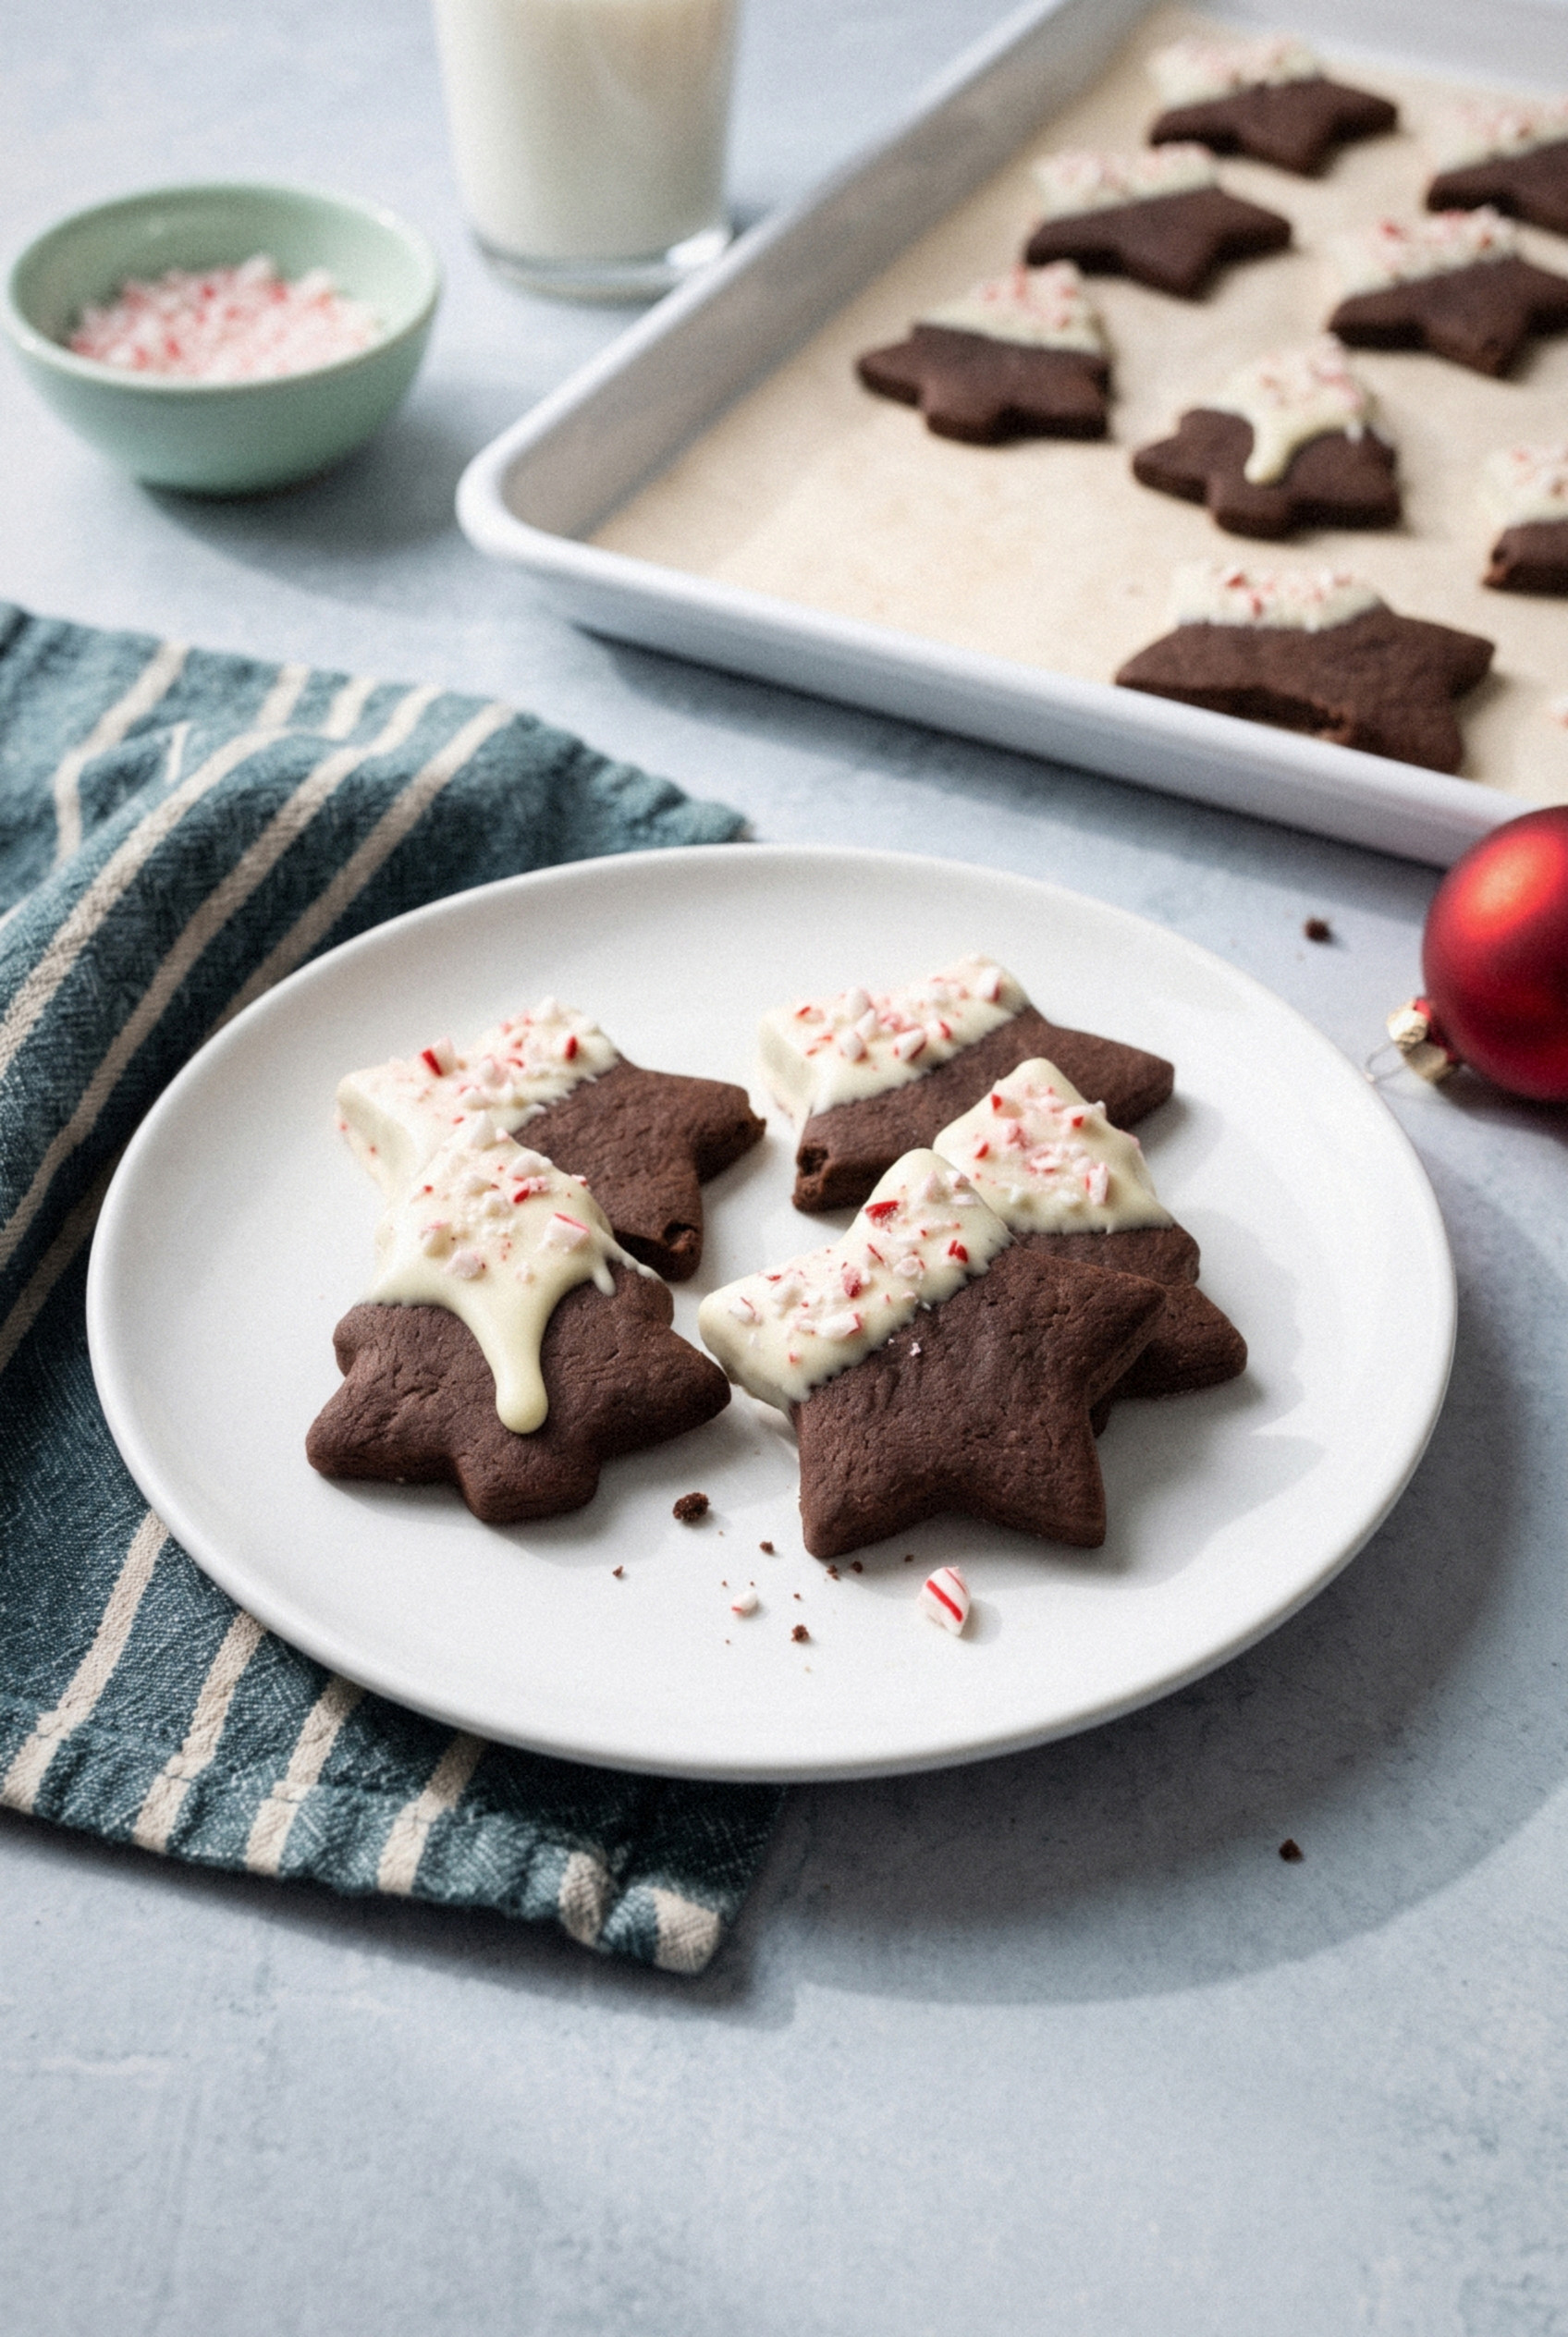
- White chocolate half-dip. The classic peppermint mocha look, with crushed candy cane on the white half.
- White chocolate drizzle. Faster than dipping. Drizzle thin lines across a tray of cookies and sprinkle with candy cane.
- Royal icing. Pipe white outlines on stars and trees for a snowy look against the dark cookie.
- Espresso buttercream. Beat butter, powdered sugar and a little espresso powder, then pipe a swirl on top. These won't stack, so serve them on a platter.
- Dark chocolate dip. For serious chocolate fans, dip in melted semisweet and finish with candy cane.
You can't go wrong with any of them.
Variations
Once you have the base dough down, it's easy to change things up. Here are a few swaps I've tried.
- Mexican mocha. Add 1 teaspoon of cinnamon and a tiny pinch of cayenne, and skip the peppermint.
- Extra-dark. Swap 2 tablespoons of the cocoa for black cocoa for a cookie that's almost black.
- Sandwich cookies. Cut small rounds and sandwich them with peppermint buttercream.
- Stronger mint. Go up to 1 ½ teaspoons of peppermint extract. Any more and it tastes medicinal.
- Gluten-free. A 1:1 gluten-free flour blend with xanthan gum works. Chill the sheets a little longer, as the dough is more fragile.
Make Ahead, Storage and Freezing
These are a great way to get ahead on holiday baking. I usually make the dough on a weekend and bake midweek.
- Rolled dough sheets. Wrap the parchment sheets tightly and refrigerate for up to 3 days, or freeze for up to 3 months. Let frozen sheets sit for 5 minutes before cutting and add 1 minute to the bake time.
- Plain baked cookies. Freeze undipped cookies in a freezer bag for up to 3 months. Thaw at room temperature, then dip.
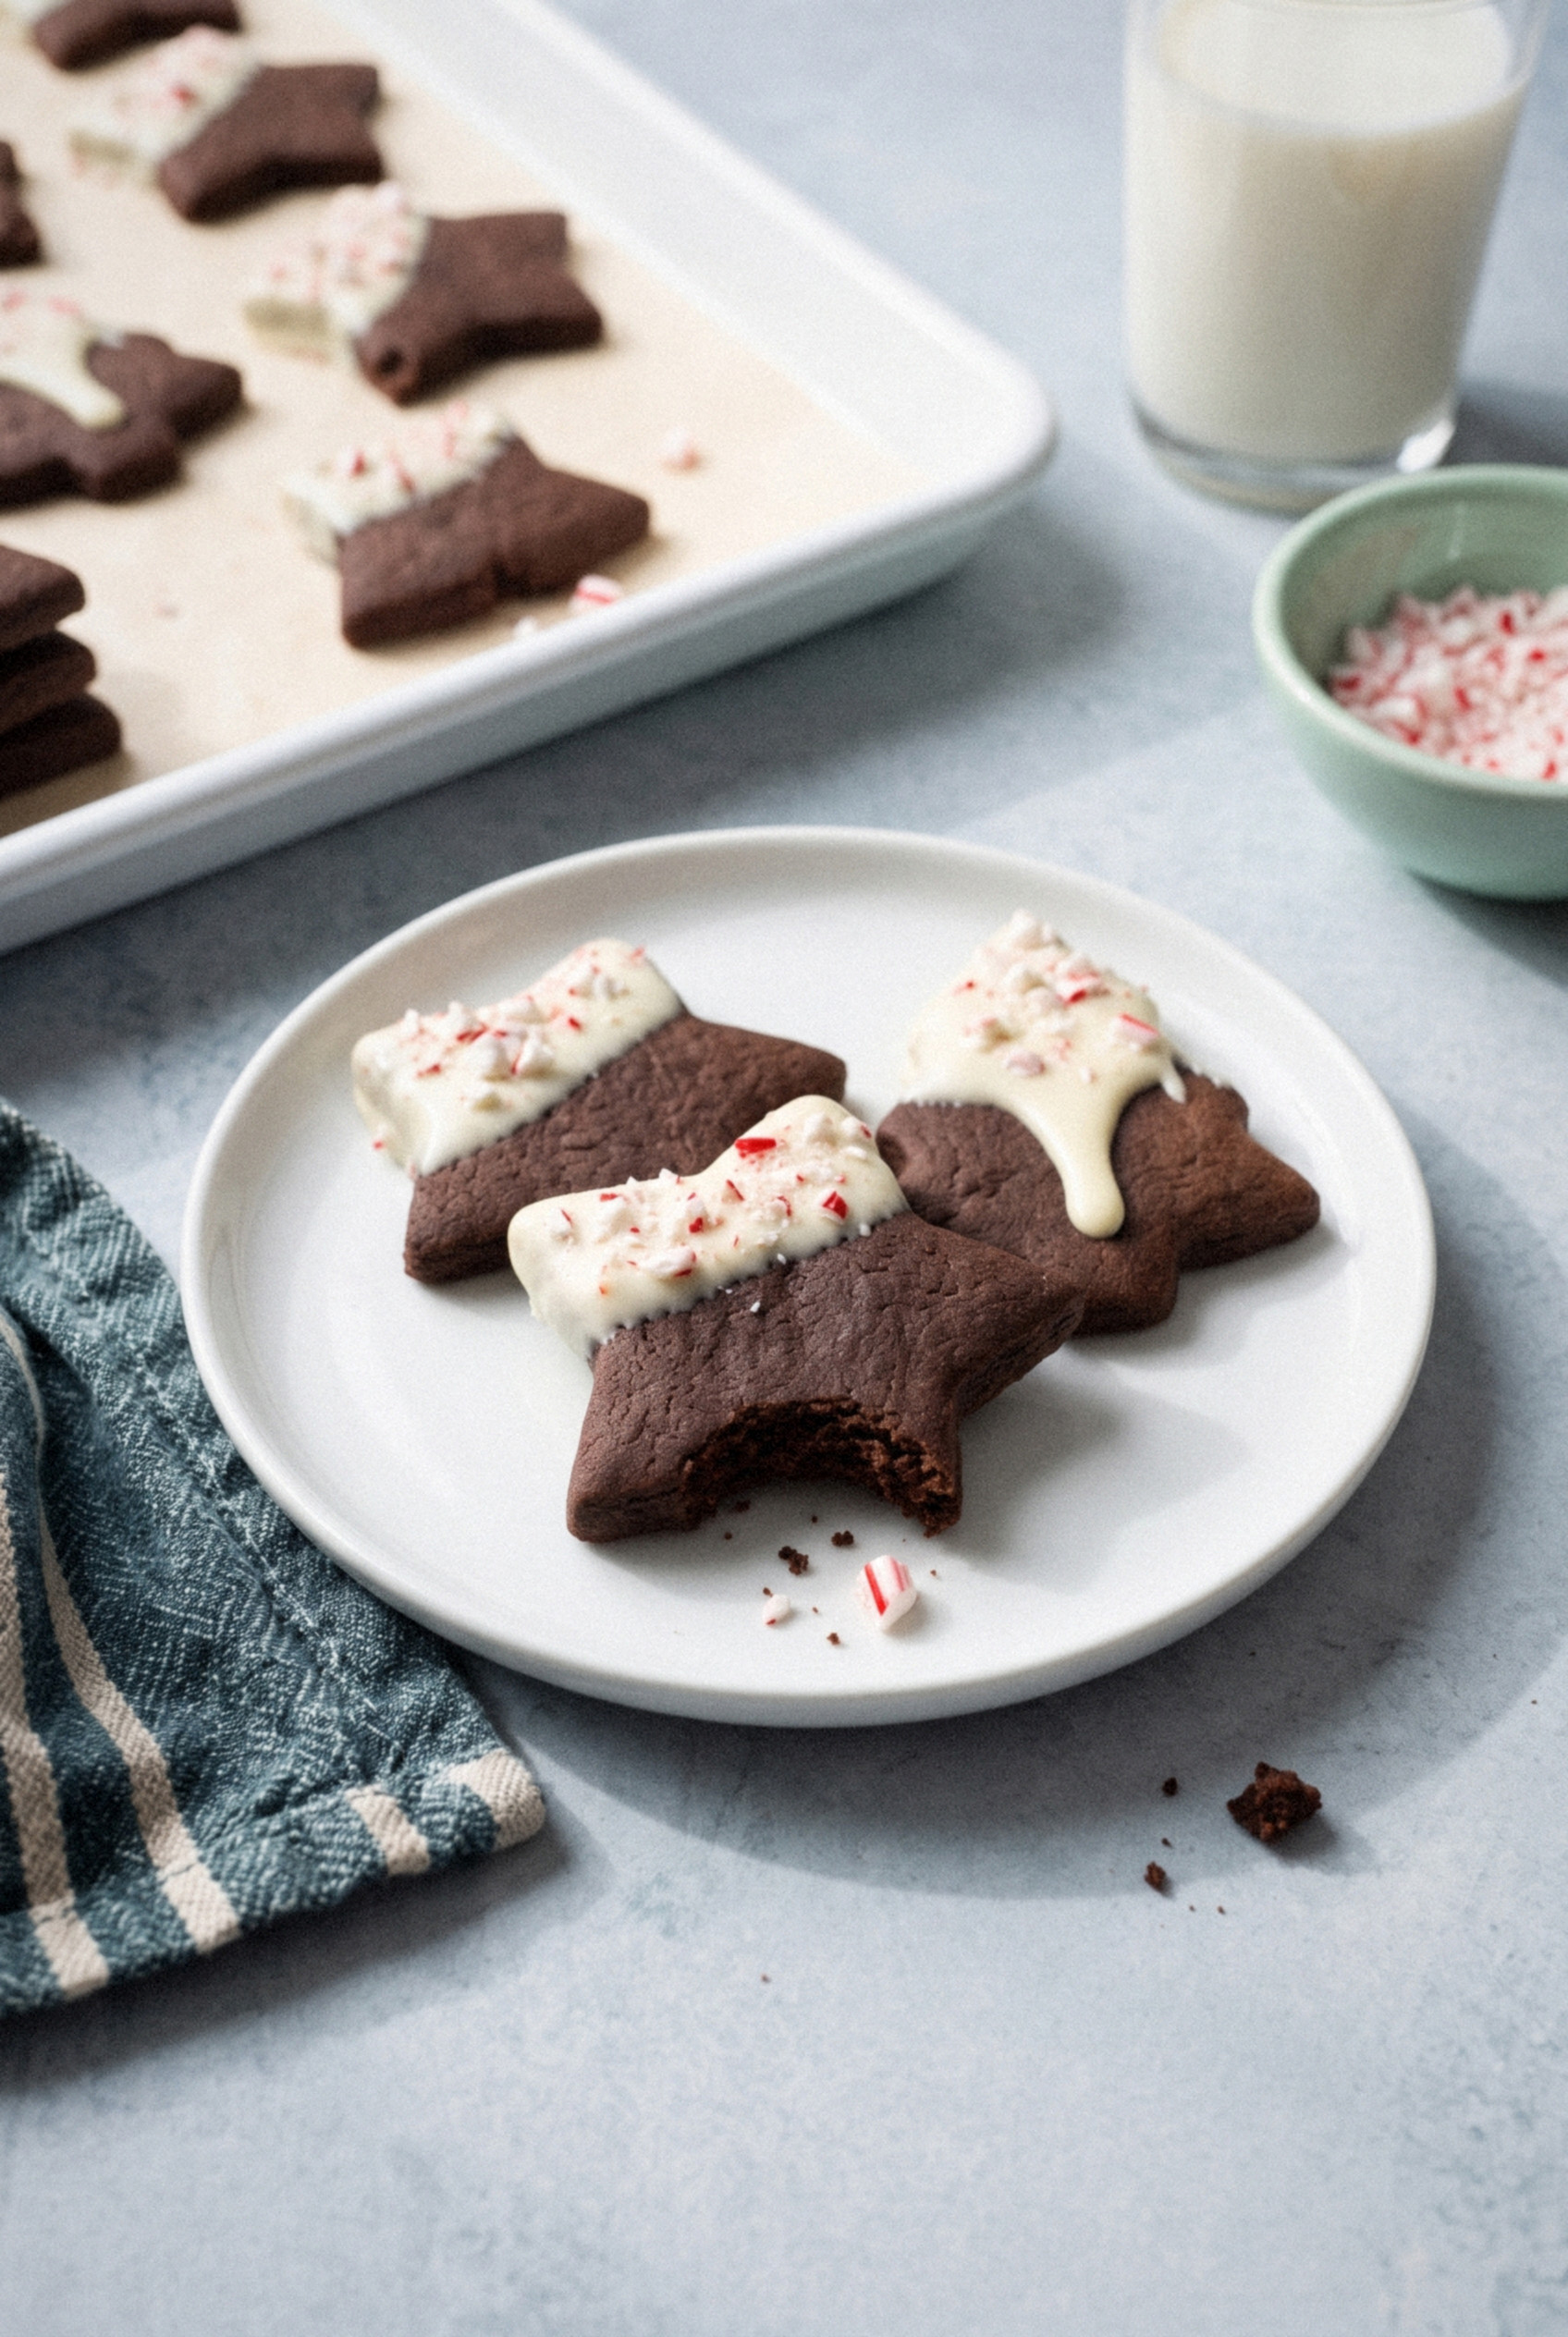
- Dipped cookies. Store in an airtight tin at cool room temperature for up to 1 week, with parchment between the layers.
- In warm kitchens. Keep dipped cookies in the fridge so the white chocolate doesn't soften. Let them sit out 10 minutes before serving.
- Candy cane topping. It slowly softens and turns sticky in humidity. For gift tins, I dip and top them no more than 2 days before handing them out.
Give them a try this Christmas. I promise they'll be the first ones gone from the cookie tray!
Recipe
Peppermint Mocha Cut-Out Cookies
Ingredients
For the Cookies
- 2 ½ cups all-purpose flour 315g, spooned and leveled
- ½ cup unsweetened cocoa powder 45g, natural or Dutch-process, plus more for rolling
- ½ teaspoon baking powder
- ½ teaspoon salt
- 1 tablespoon espresso powder or 2 tablespoons finely crushed instant coffee
- 1 teaspoon vanilla extract
- 1 cup unsalted butter 226g, cool room temperature
- 1 cup granulated sugar 200g
- 1 large egg room temperature
- 1 teaspoon peppermint extract not mint extract
For the Finish
- 8 ounces white chocolate 226g, chopped bars
- 1 teaspoon coconut oil or vegetable shortening
- 4 candy canes regular size, finely crushed (about ⅓ cup)
Instructions
Make the Dough
- Stir the espresso powder into the vanilla extract until dissolved.
- Whisk the flour, cocoa powder, baking powder and salt together in a bowl.
- In a large bowl, beat the butter and sugar on medium speed for about 2 minutes, just until smooth. Do not beat until fluffy.
- Beat in the egg, peppermint extract and espresso mixture.
- On low speed, add the dry ingredients in three additions and mix just until the dough comes together and pulls away from the bowl.
Roll and Chill
- Divide the dough in half. Roll each half between two sheets of parchment paper to ¼ inch thick.
- Stack the rolled sheets on a baking tray and refrigerate for 1 hour.
Cut and Bake
- Heat the oven to 350°F and line two baking trays with parchment paper.
- Peel off the top parchment and cut shapes with 2 ½ to 3 inch cookie cutters. Place them 1 inch apart on the lined trays. If the dough has softened, freeze the tray for 10 minutes.
- Bake for 8 to 9 minutes, until the edges are firm and the tops look dry and matte.
- Cool on the tray for 5 minutes, then move to a wire rack to cool completely. Re-roll the scraps on a cocoa-dusted surface or between parchment, chill 15 minutes, and cut again.
Dip and Top
- Melt the white chocolate and coconut oil in a small deep bowl in the microwave at 50% power in 30-second bursts, stirring between each, until smooth.
- Dip the top half of each cooled cookie into the white chocolate, let the excess drip off, and lay flat on parchment.
- Sprinkle the dipped half with crushed candy cane immediately.
- Refrigerate for 20 to 30 minutes until the white chocolate is set.
Notes
- Doneness: Cocoa dough does not visibly brown. Pull the cookies when the tops look matte and the edges are firm.
- Coffee: Use espresso powder or finely crushed instant coffee. Ground coffee stays gritty.
- Extract: Use pure peppermint extract, not mint extract.
- Make ahead: Rolled dough sheets keep 3 days in the fridge or 3 months in the freezer. Plain baked cookies freeze for 3 months; dip after thawing.
- Storage: Store dipped cookies in an airtight tin with parchment between layers for up to 1 week.