Somewhere around the second week of December, my kitchen counter turns into a packing station for empty gift tins, and I usually have about four days to fill them.
These days every one of those tins gets a stack of peppermint bark fudge. The neighbors get one, my wife's coworkers get one, and my brother gets two, because he complains if he doesn't.
For years I filled the gaps with those fancy boxed peppermint bark tins from the kitchen store.
They're delicious, sure, but the price tag stings when you need six of them.
Old-fashioned fudge wasn't the answer either. I don't have the patience to babysit a candy thermometer while the cookie dough is chilling and the oven is full.
So I started making my own, and it solved the whole problem in one pan.
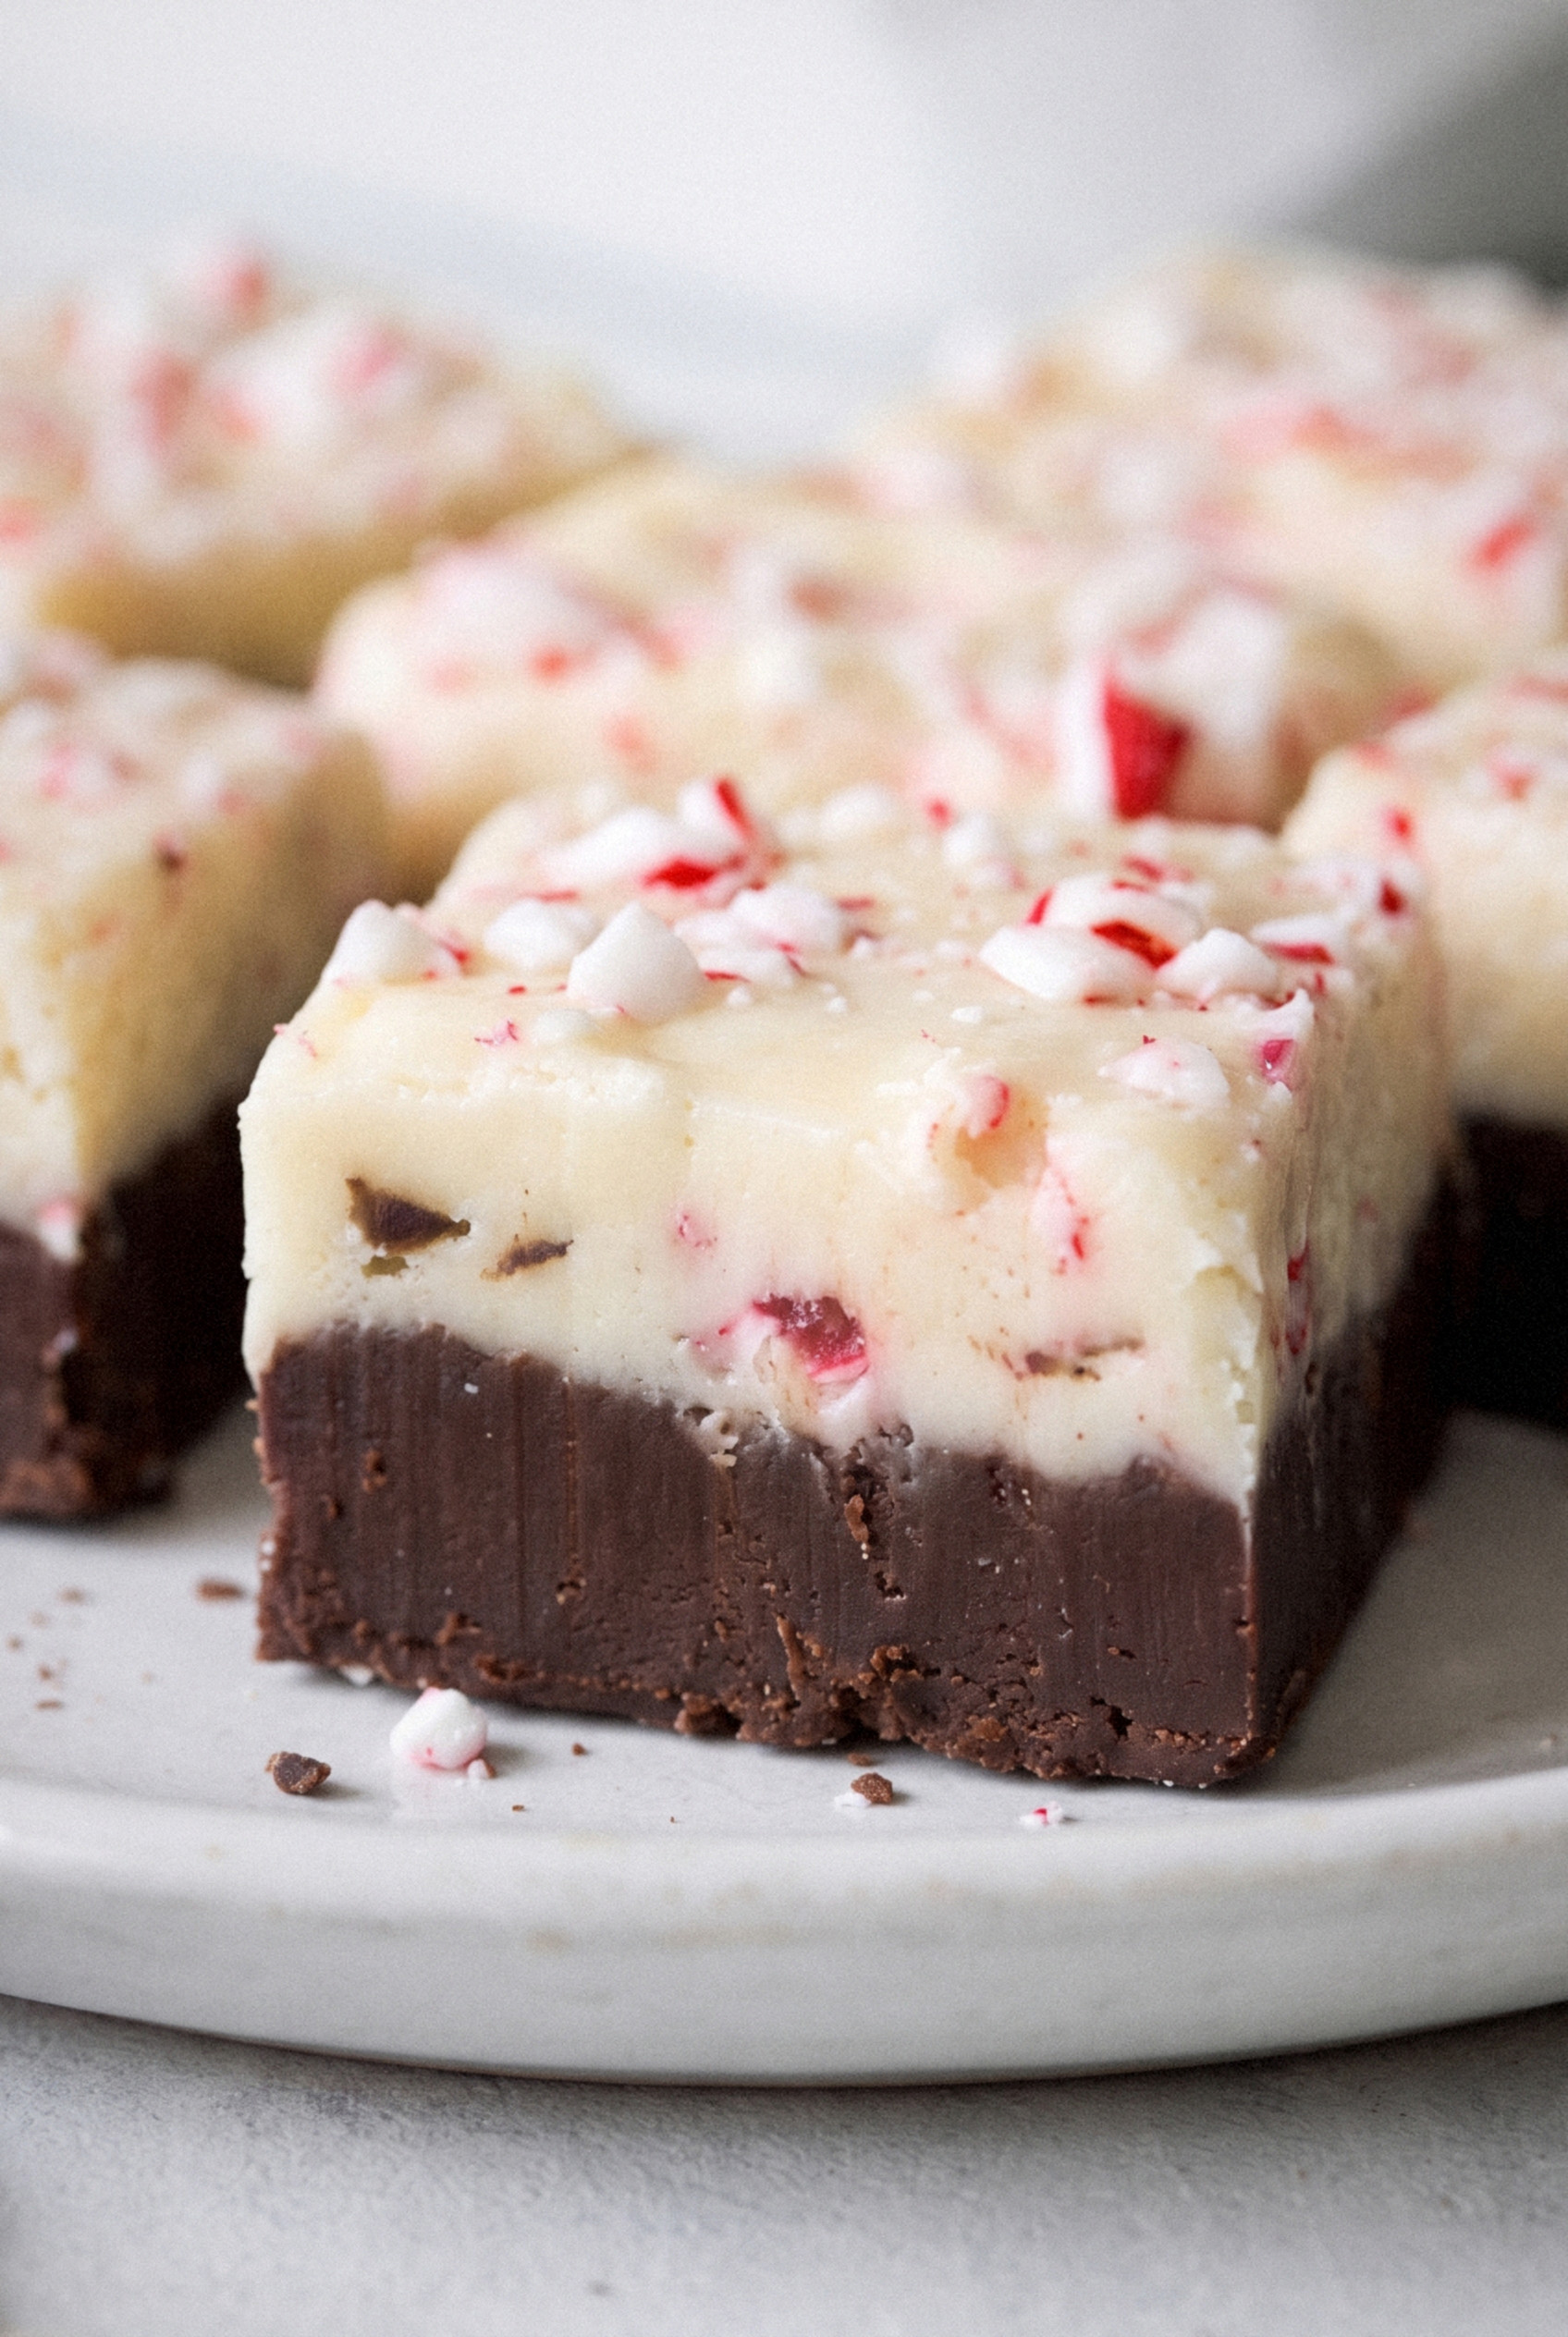
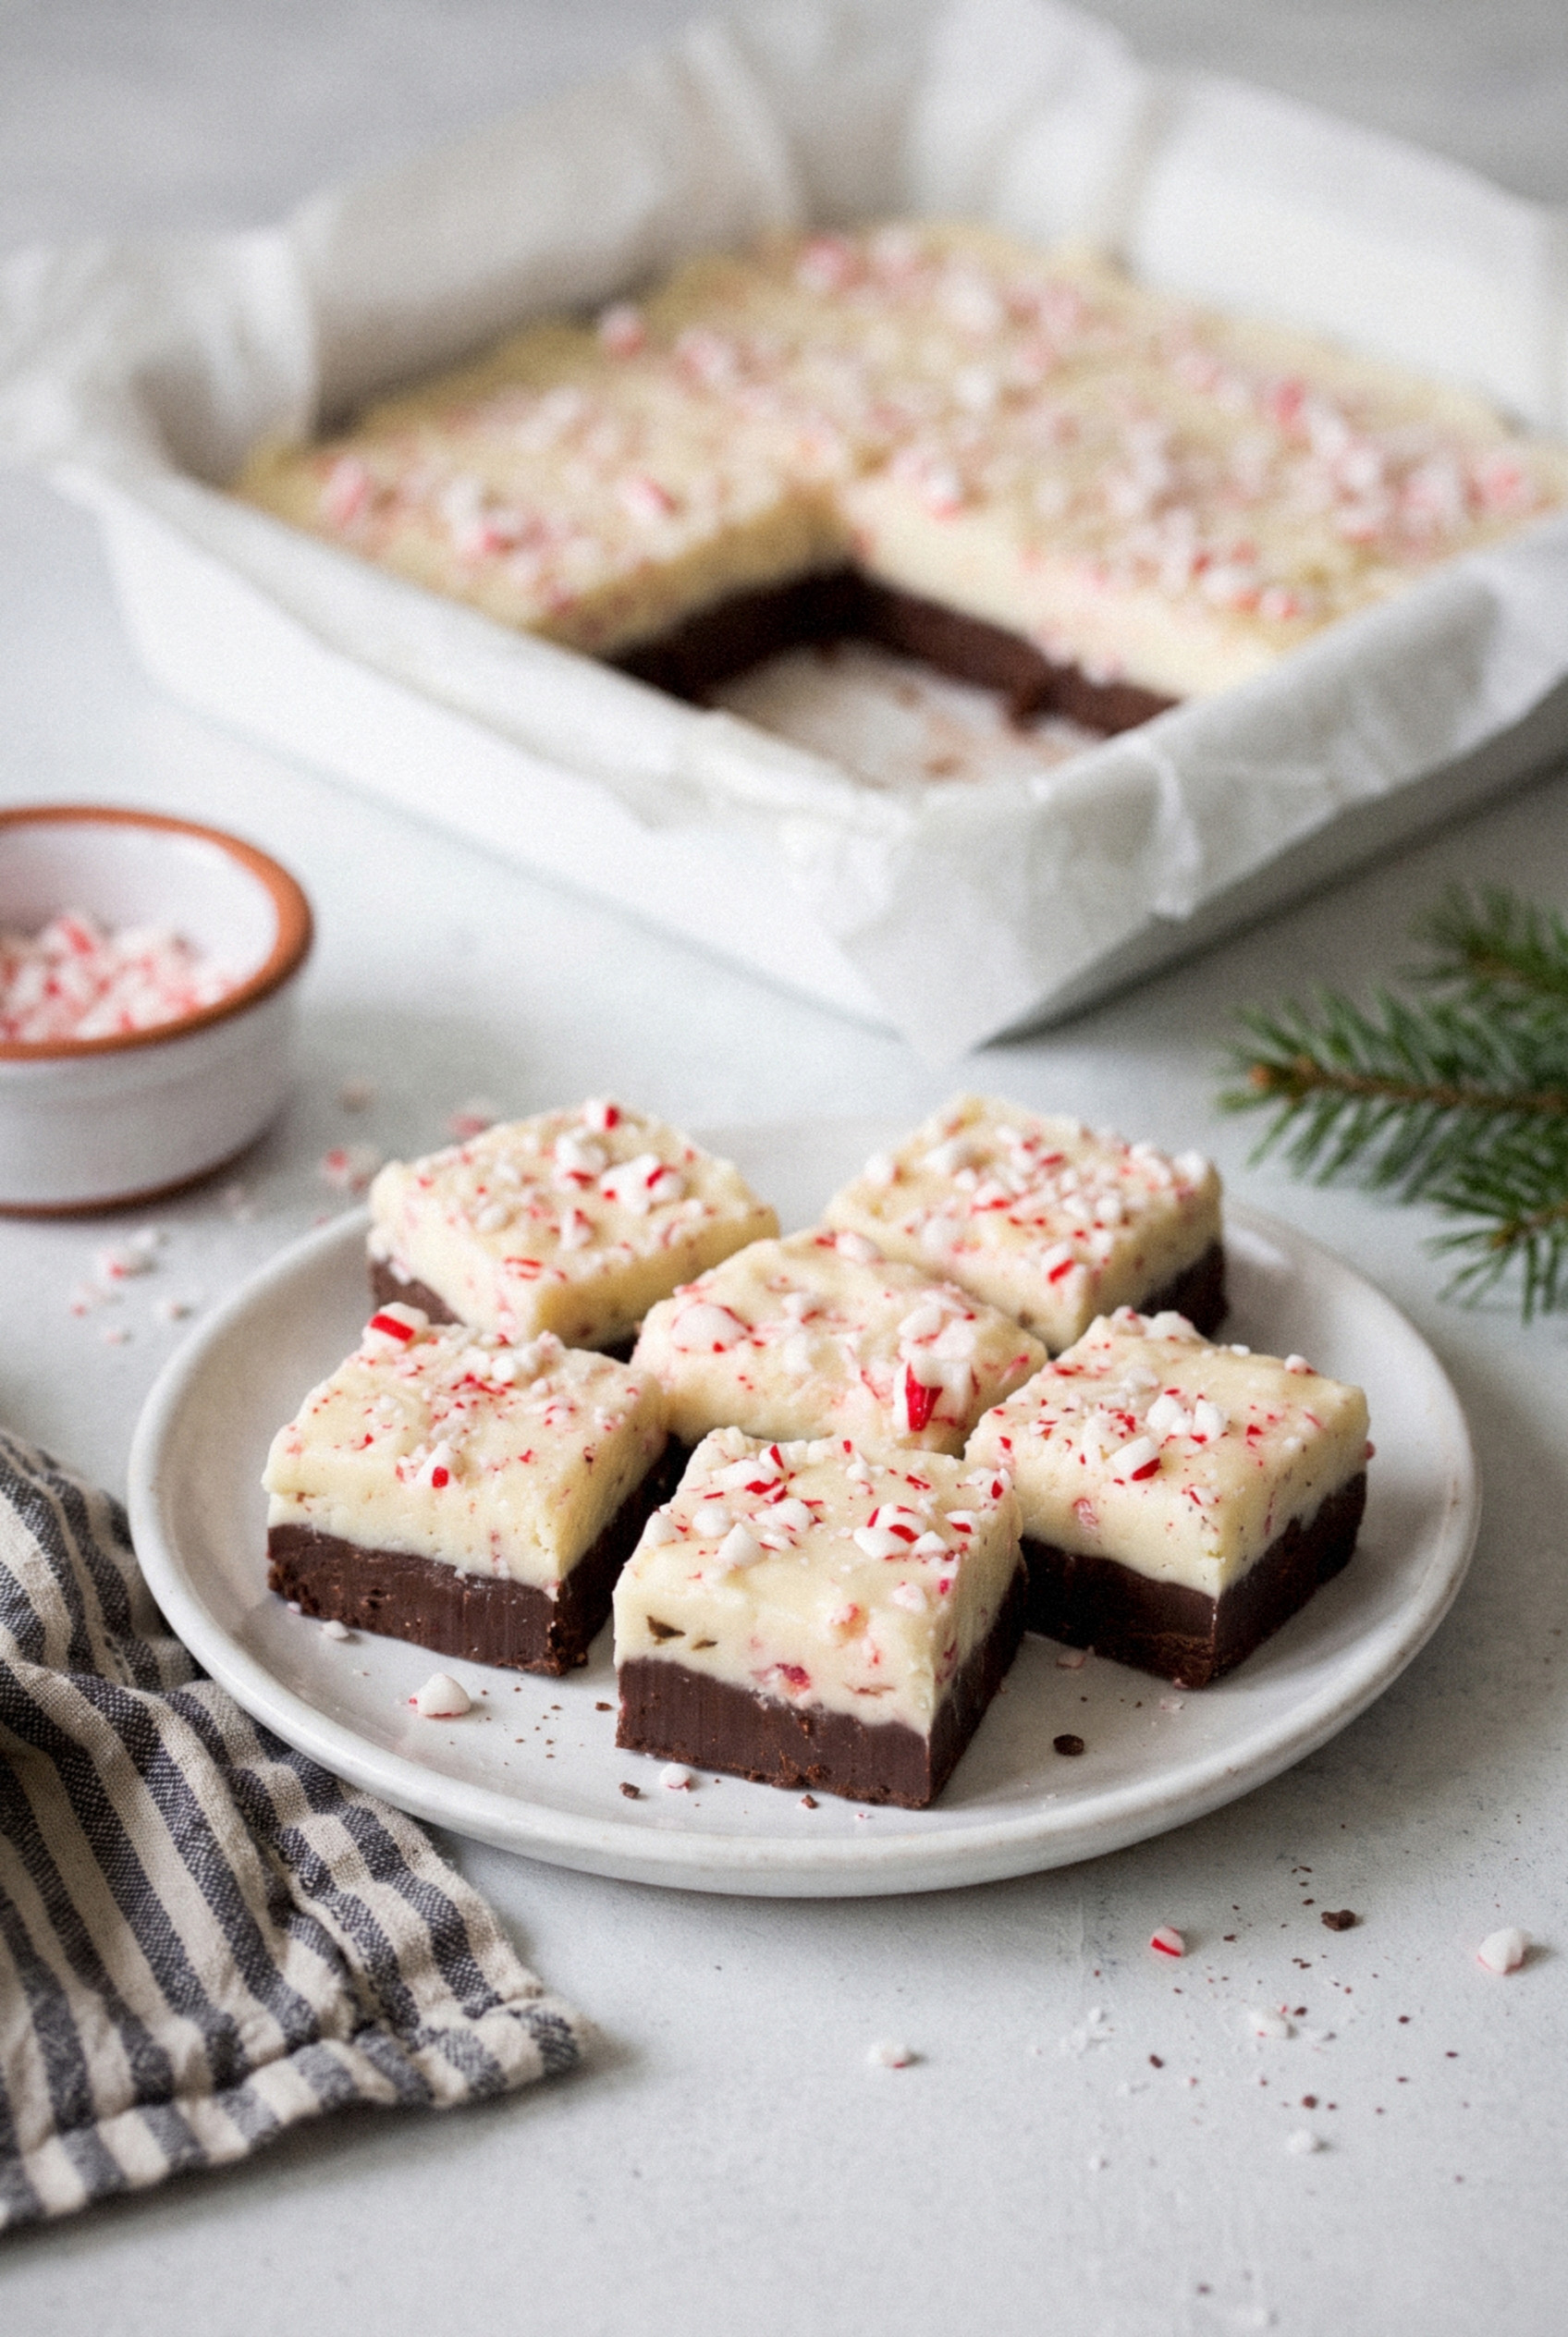
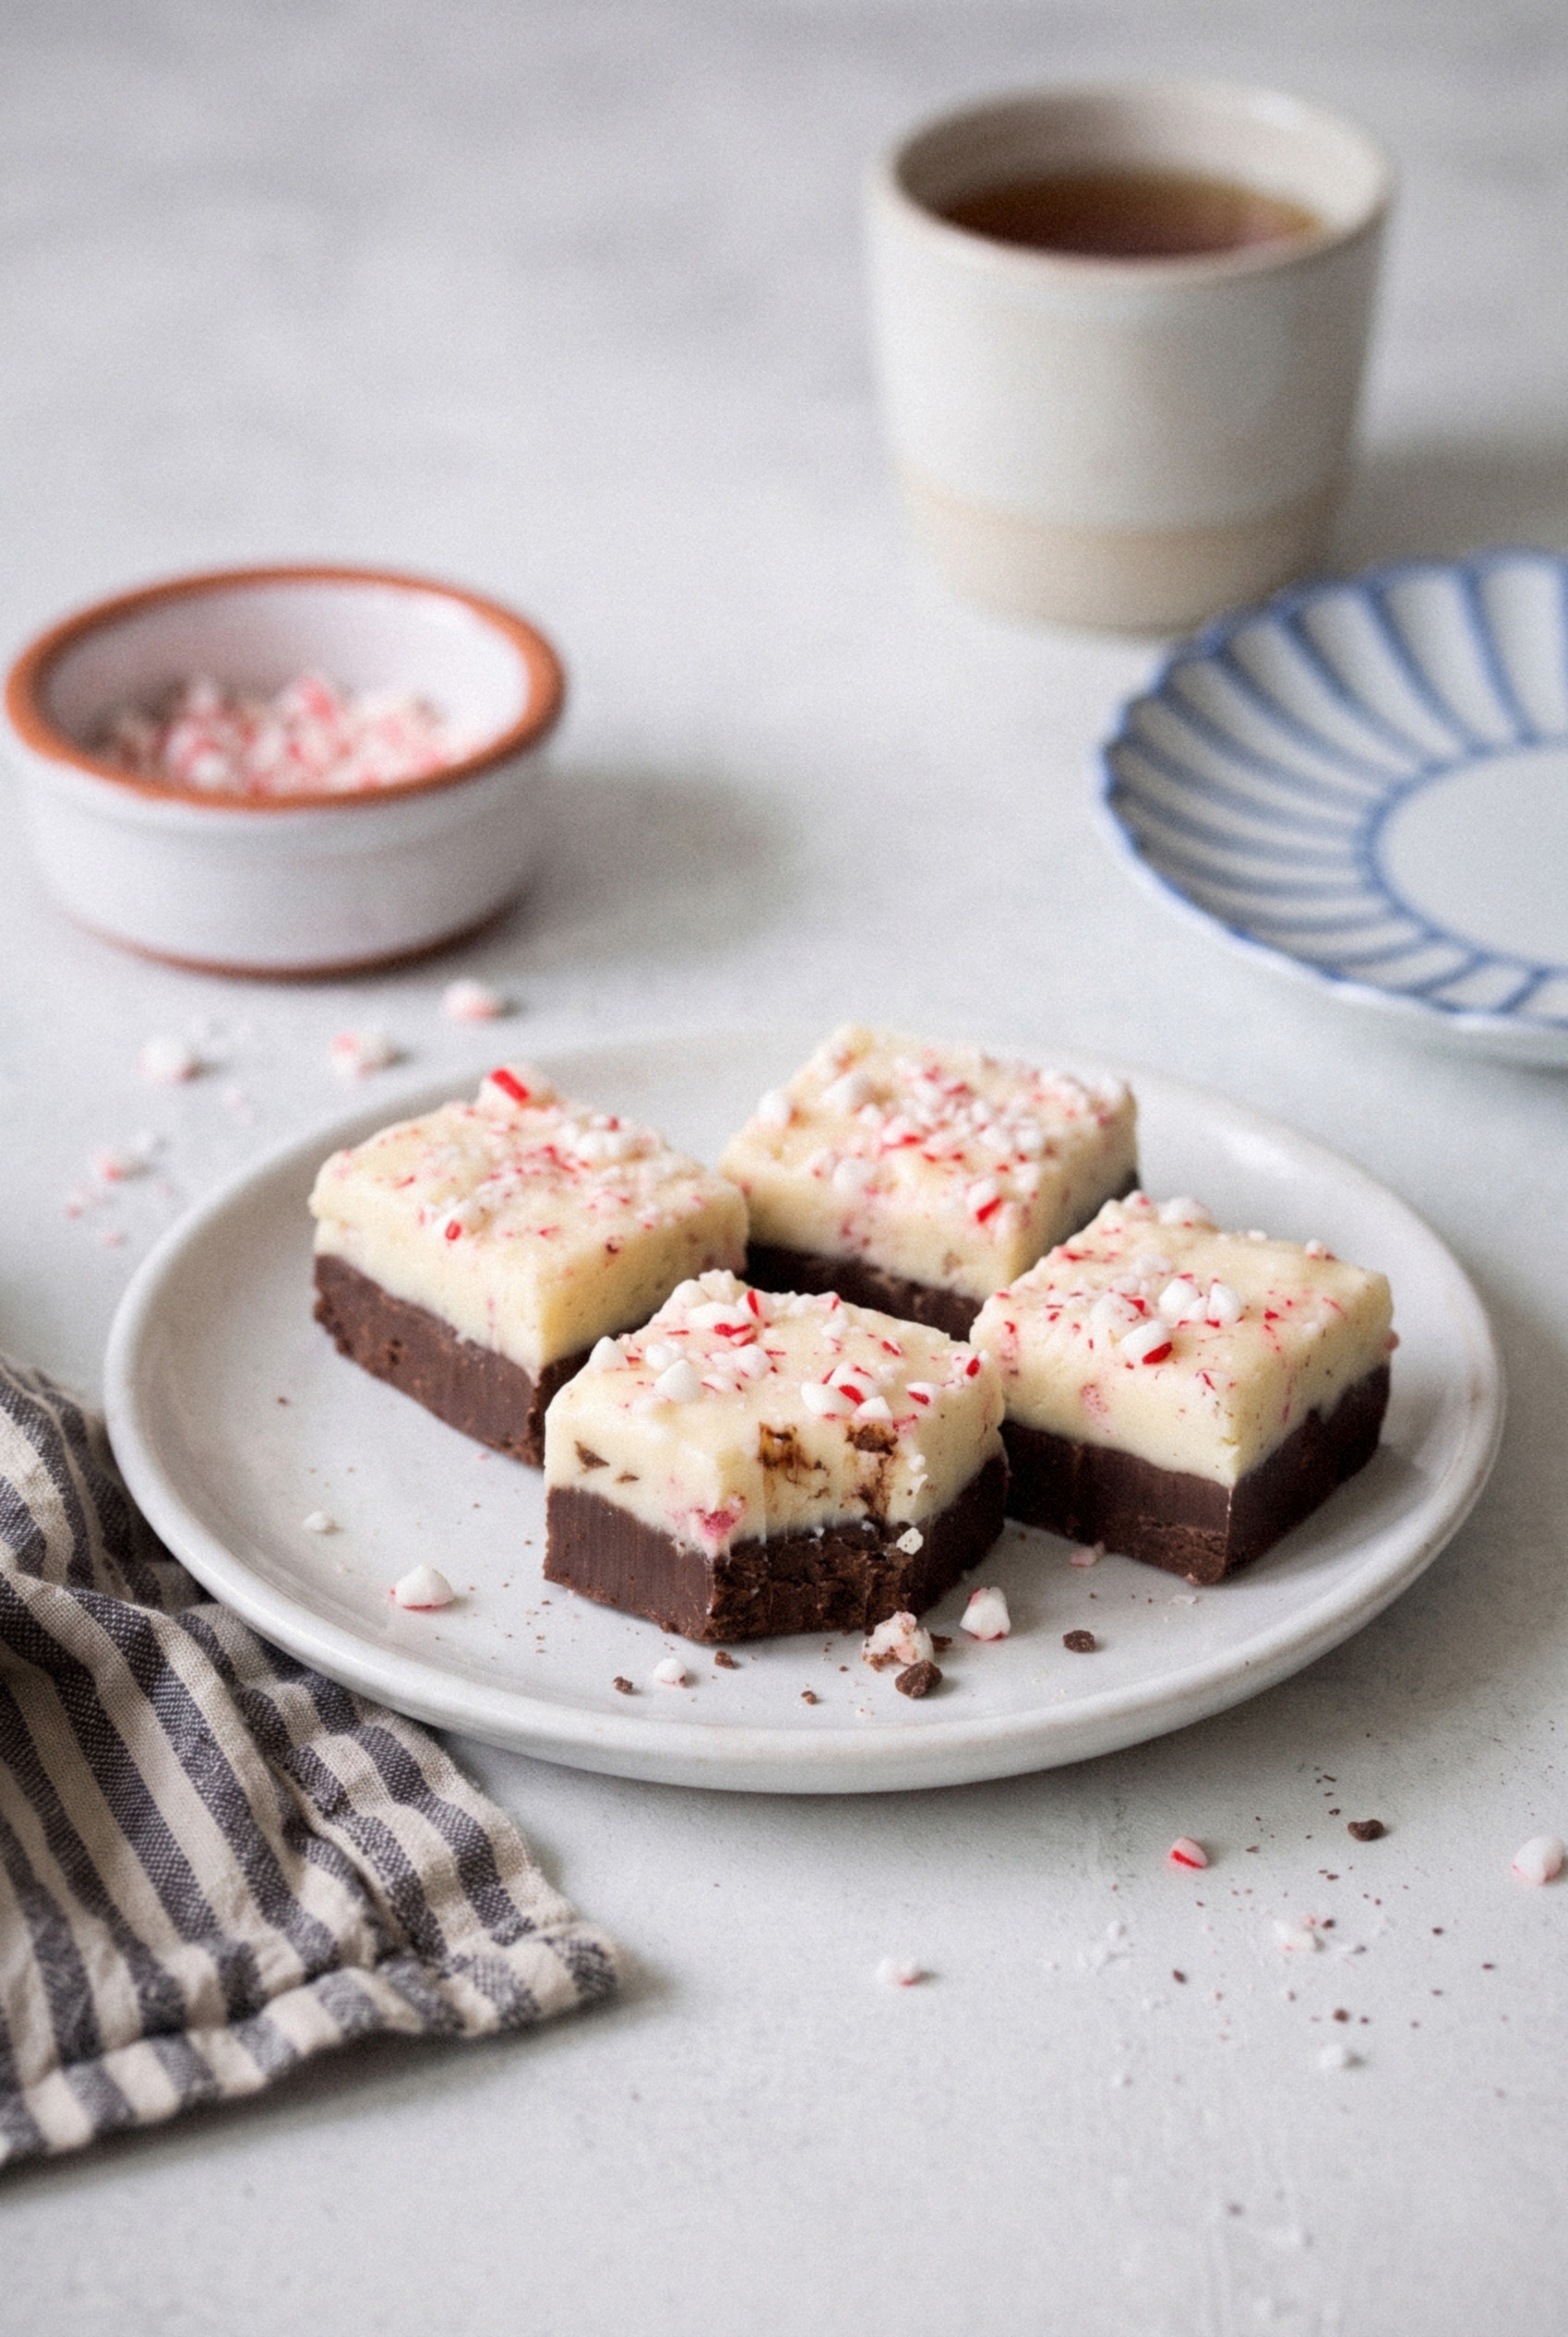
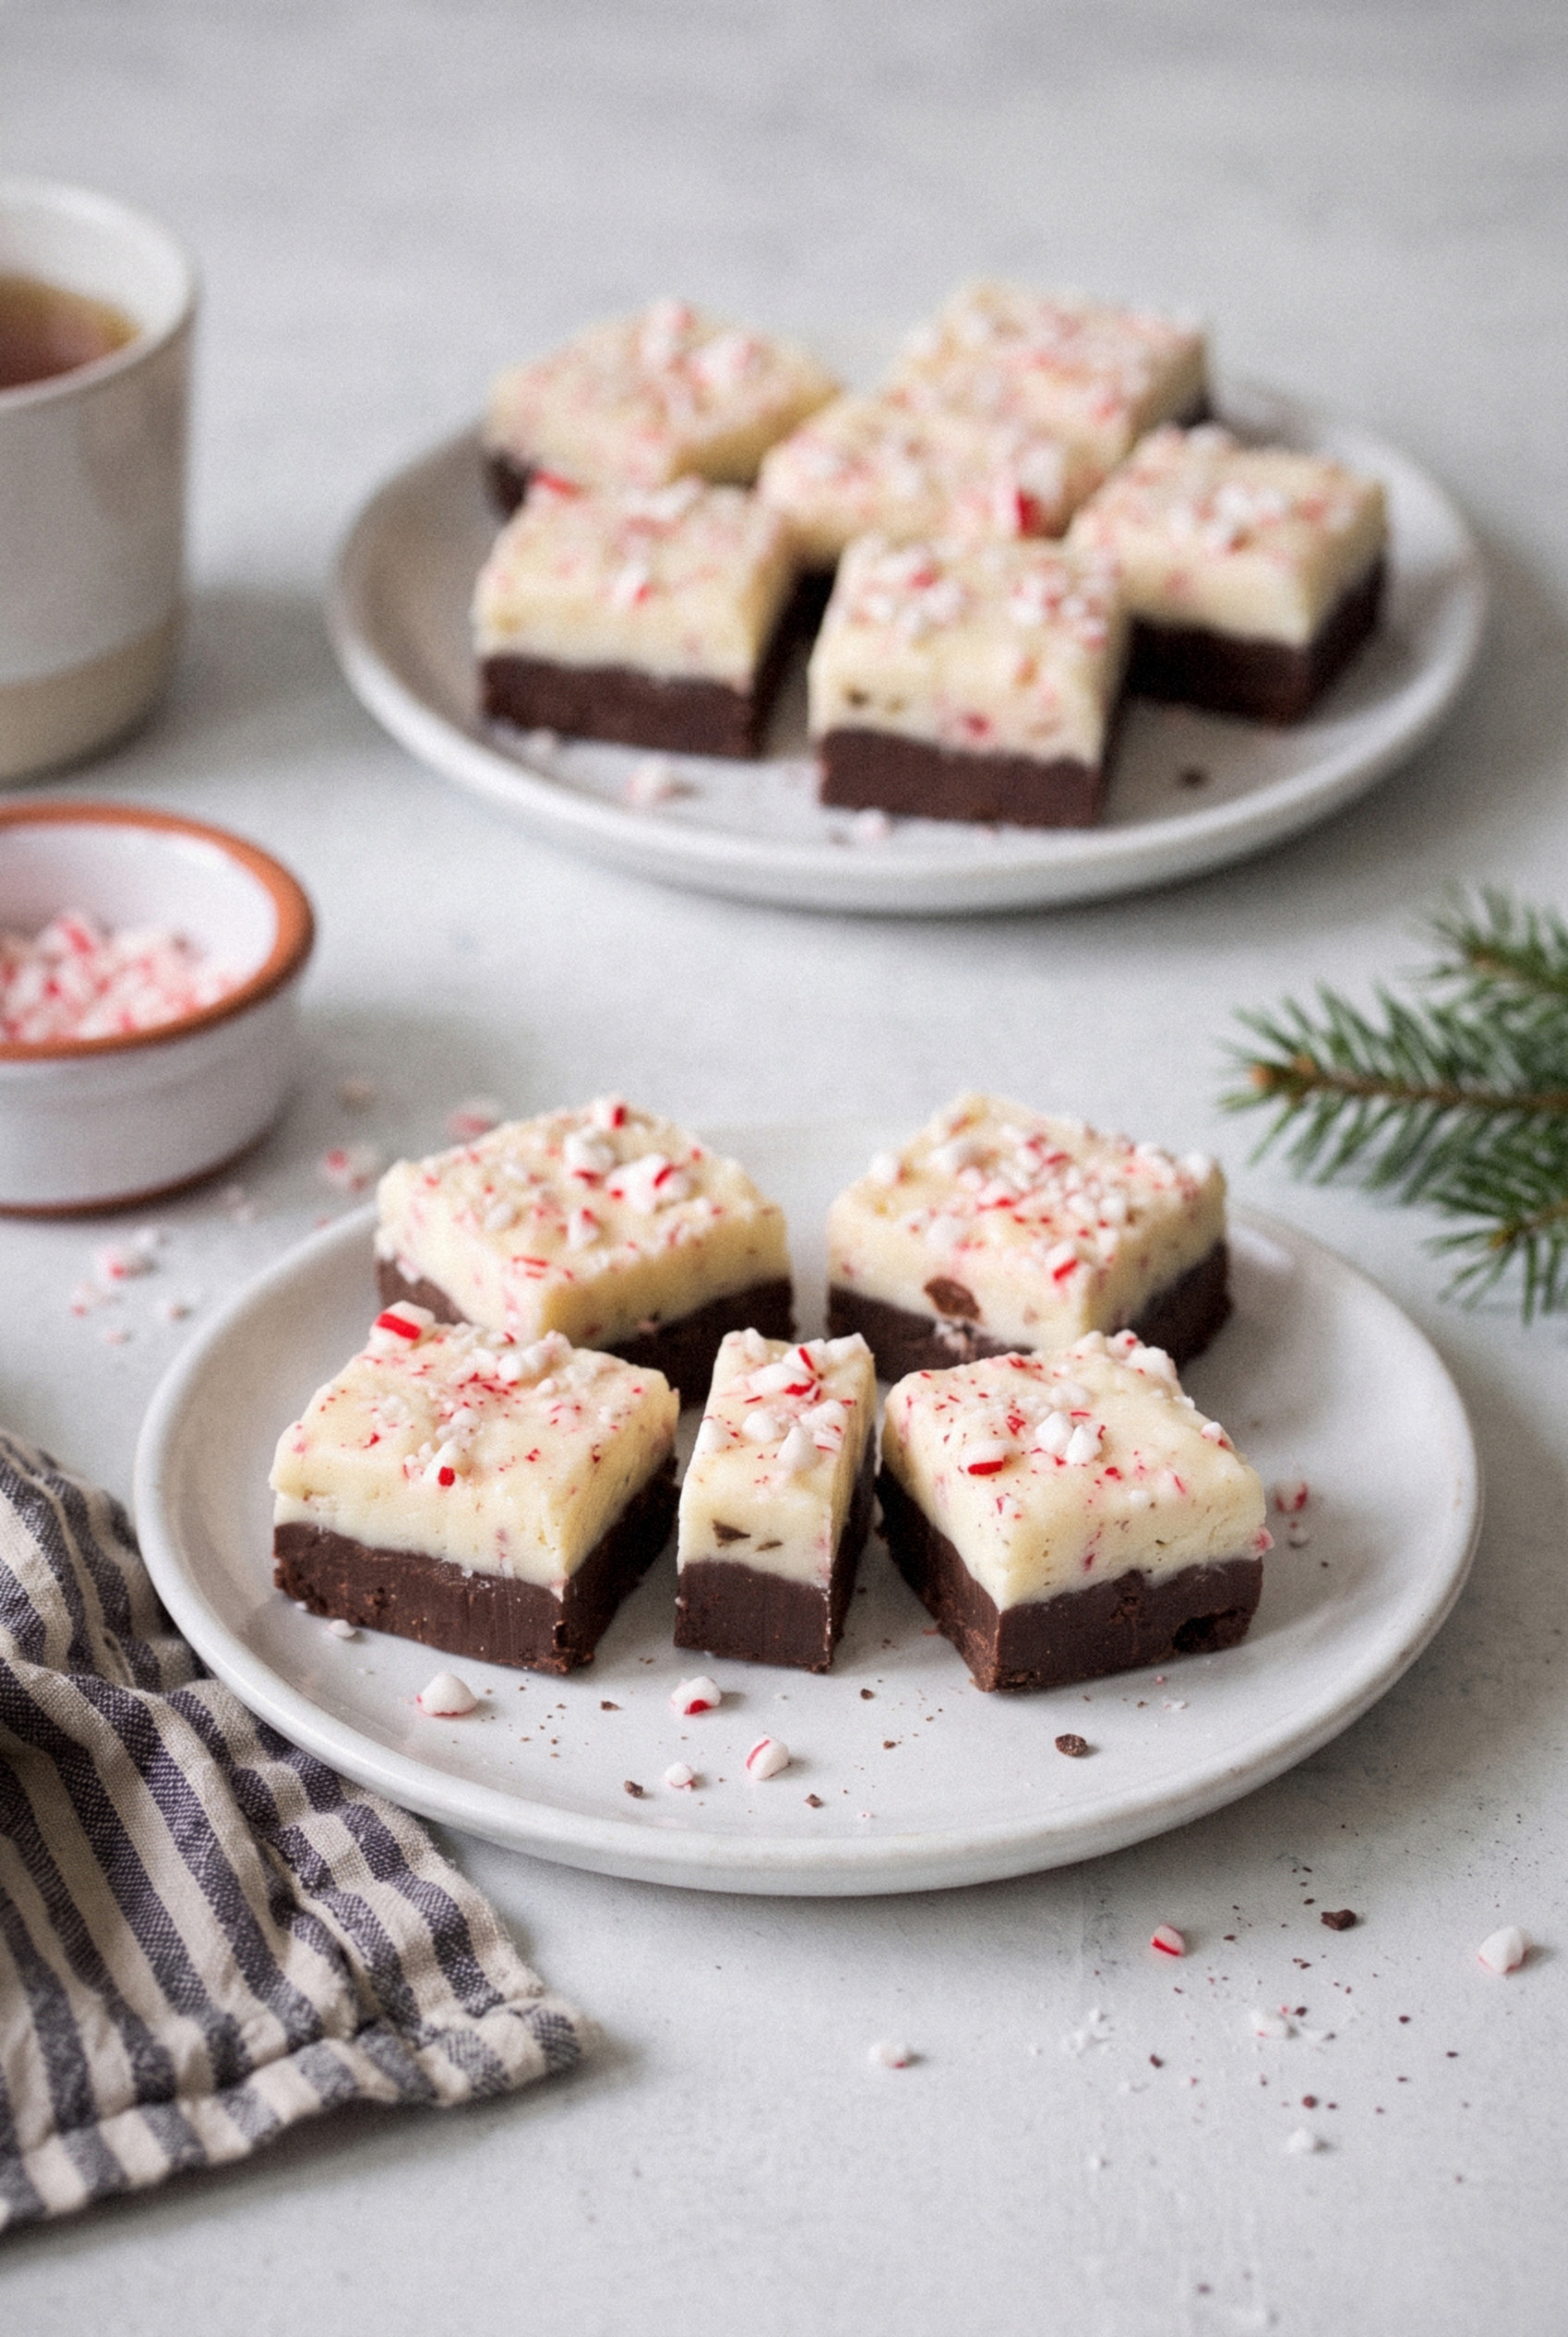
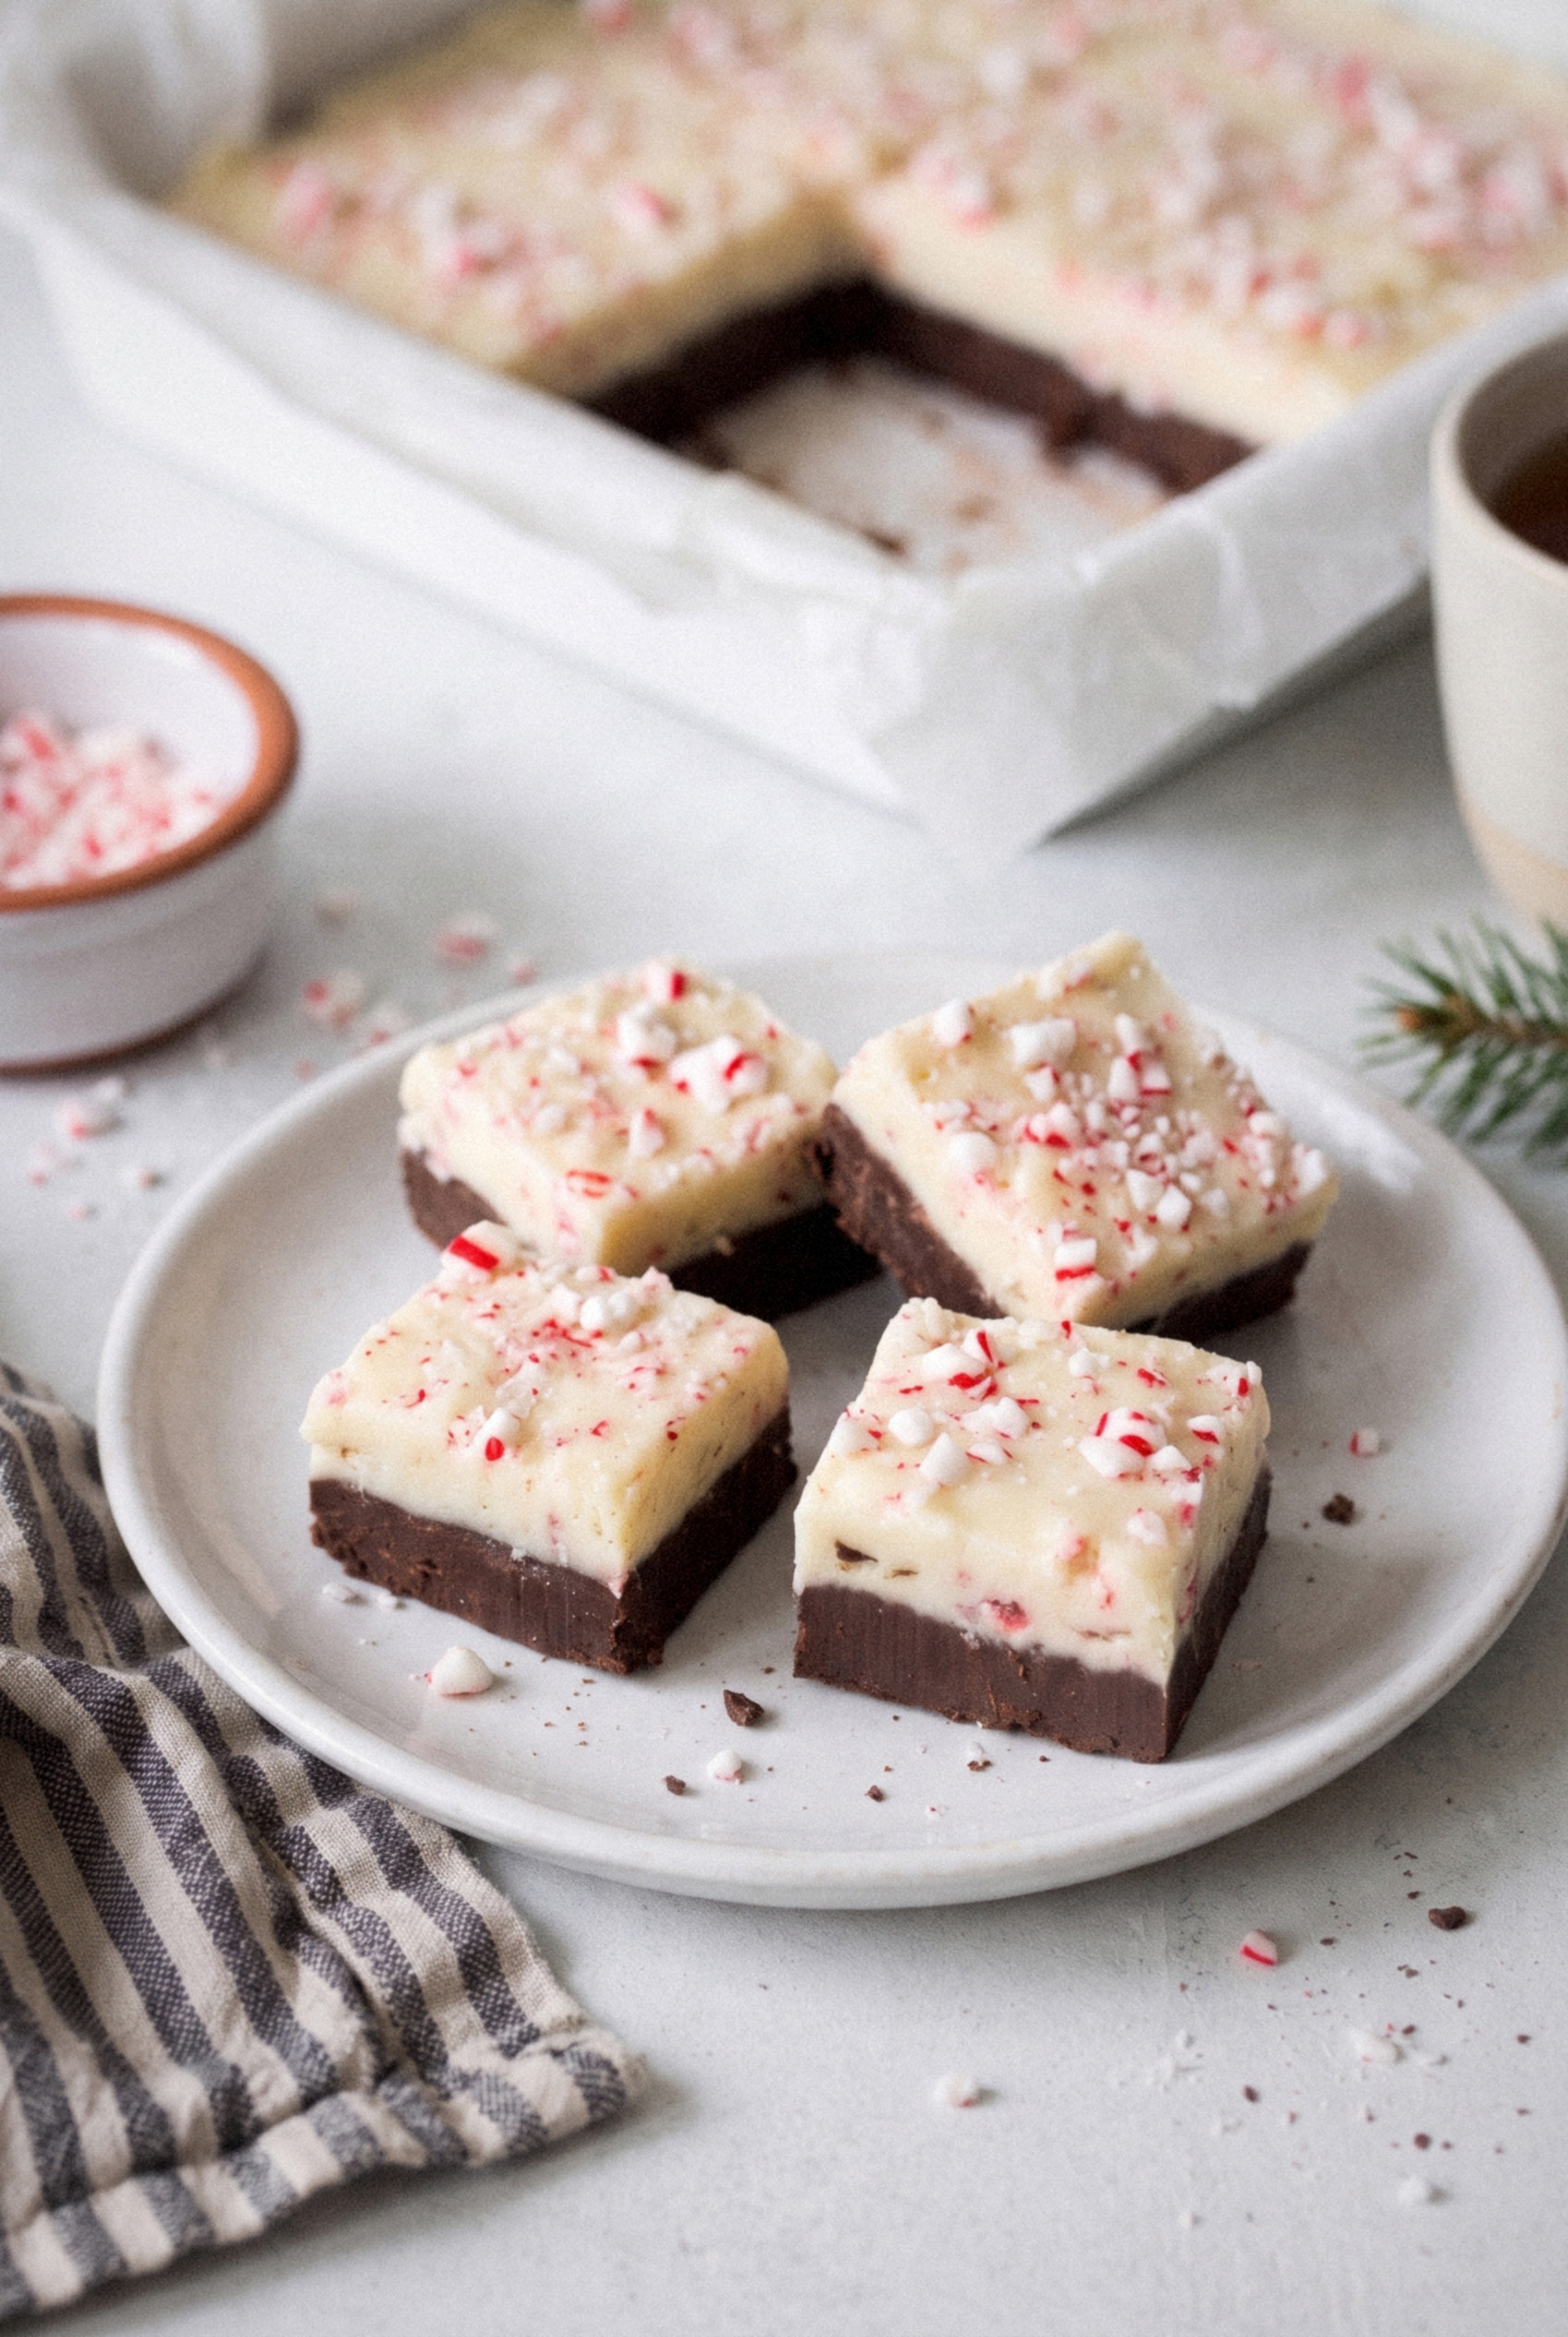
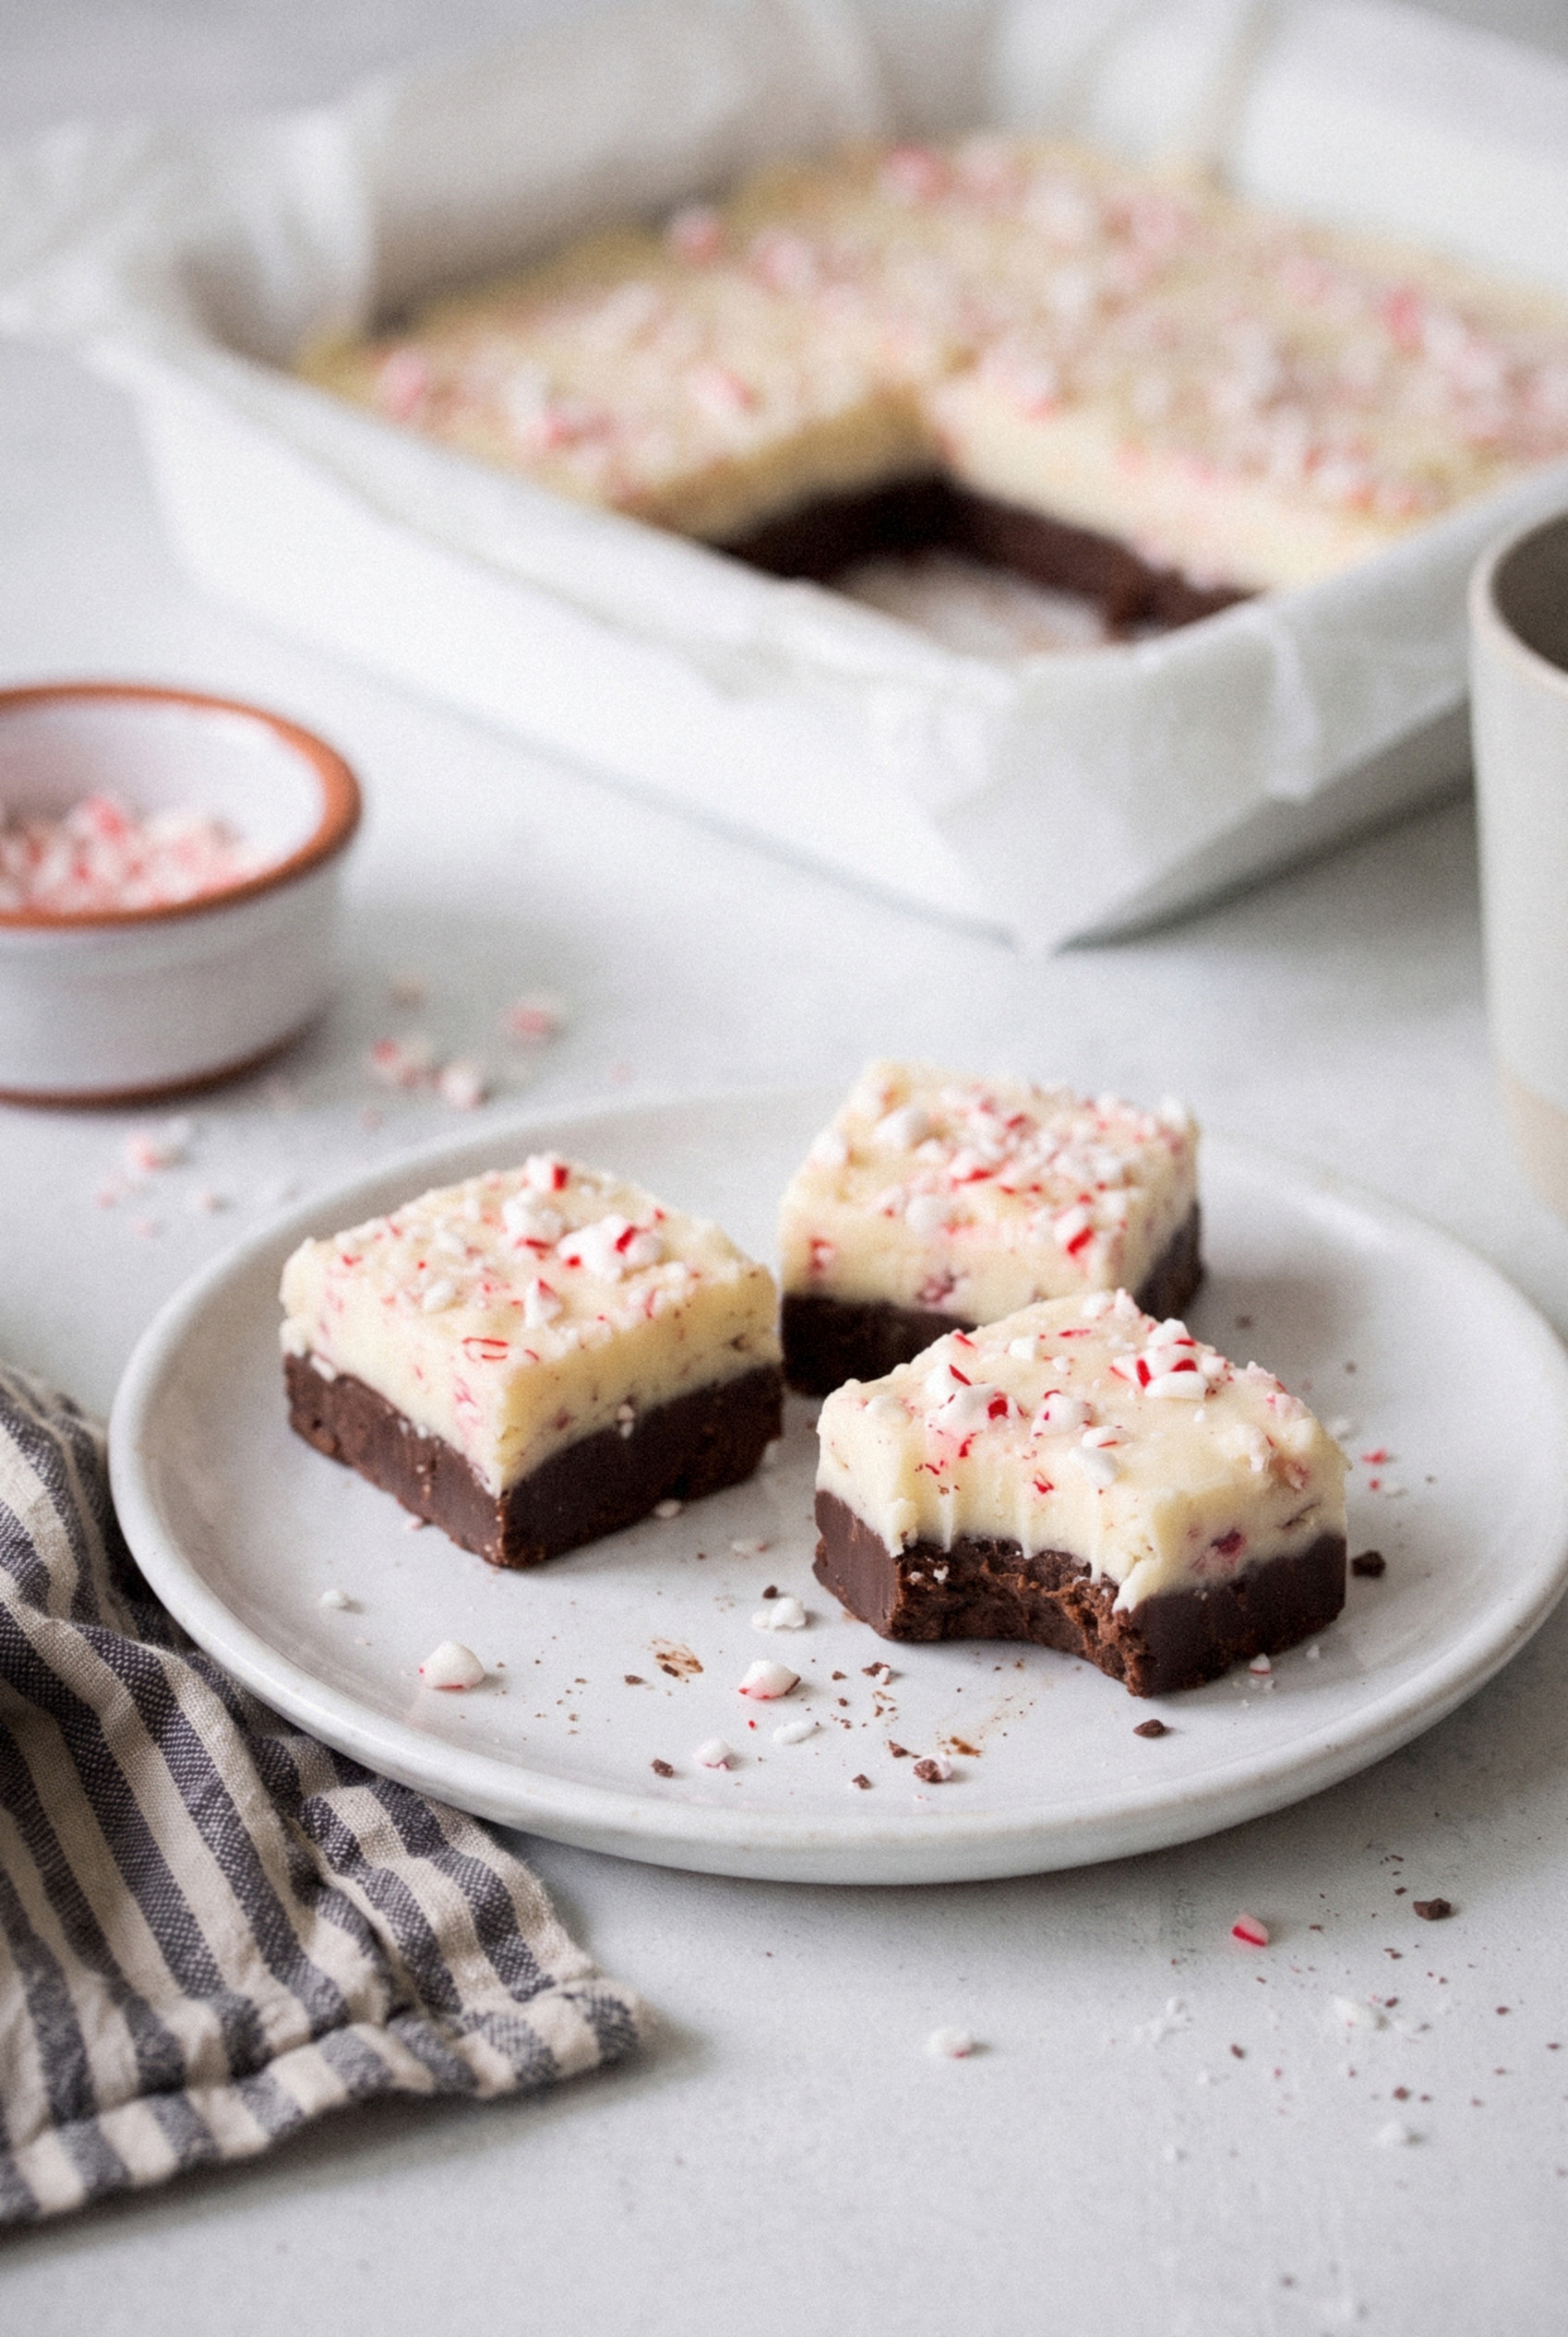
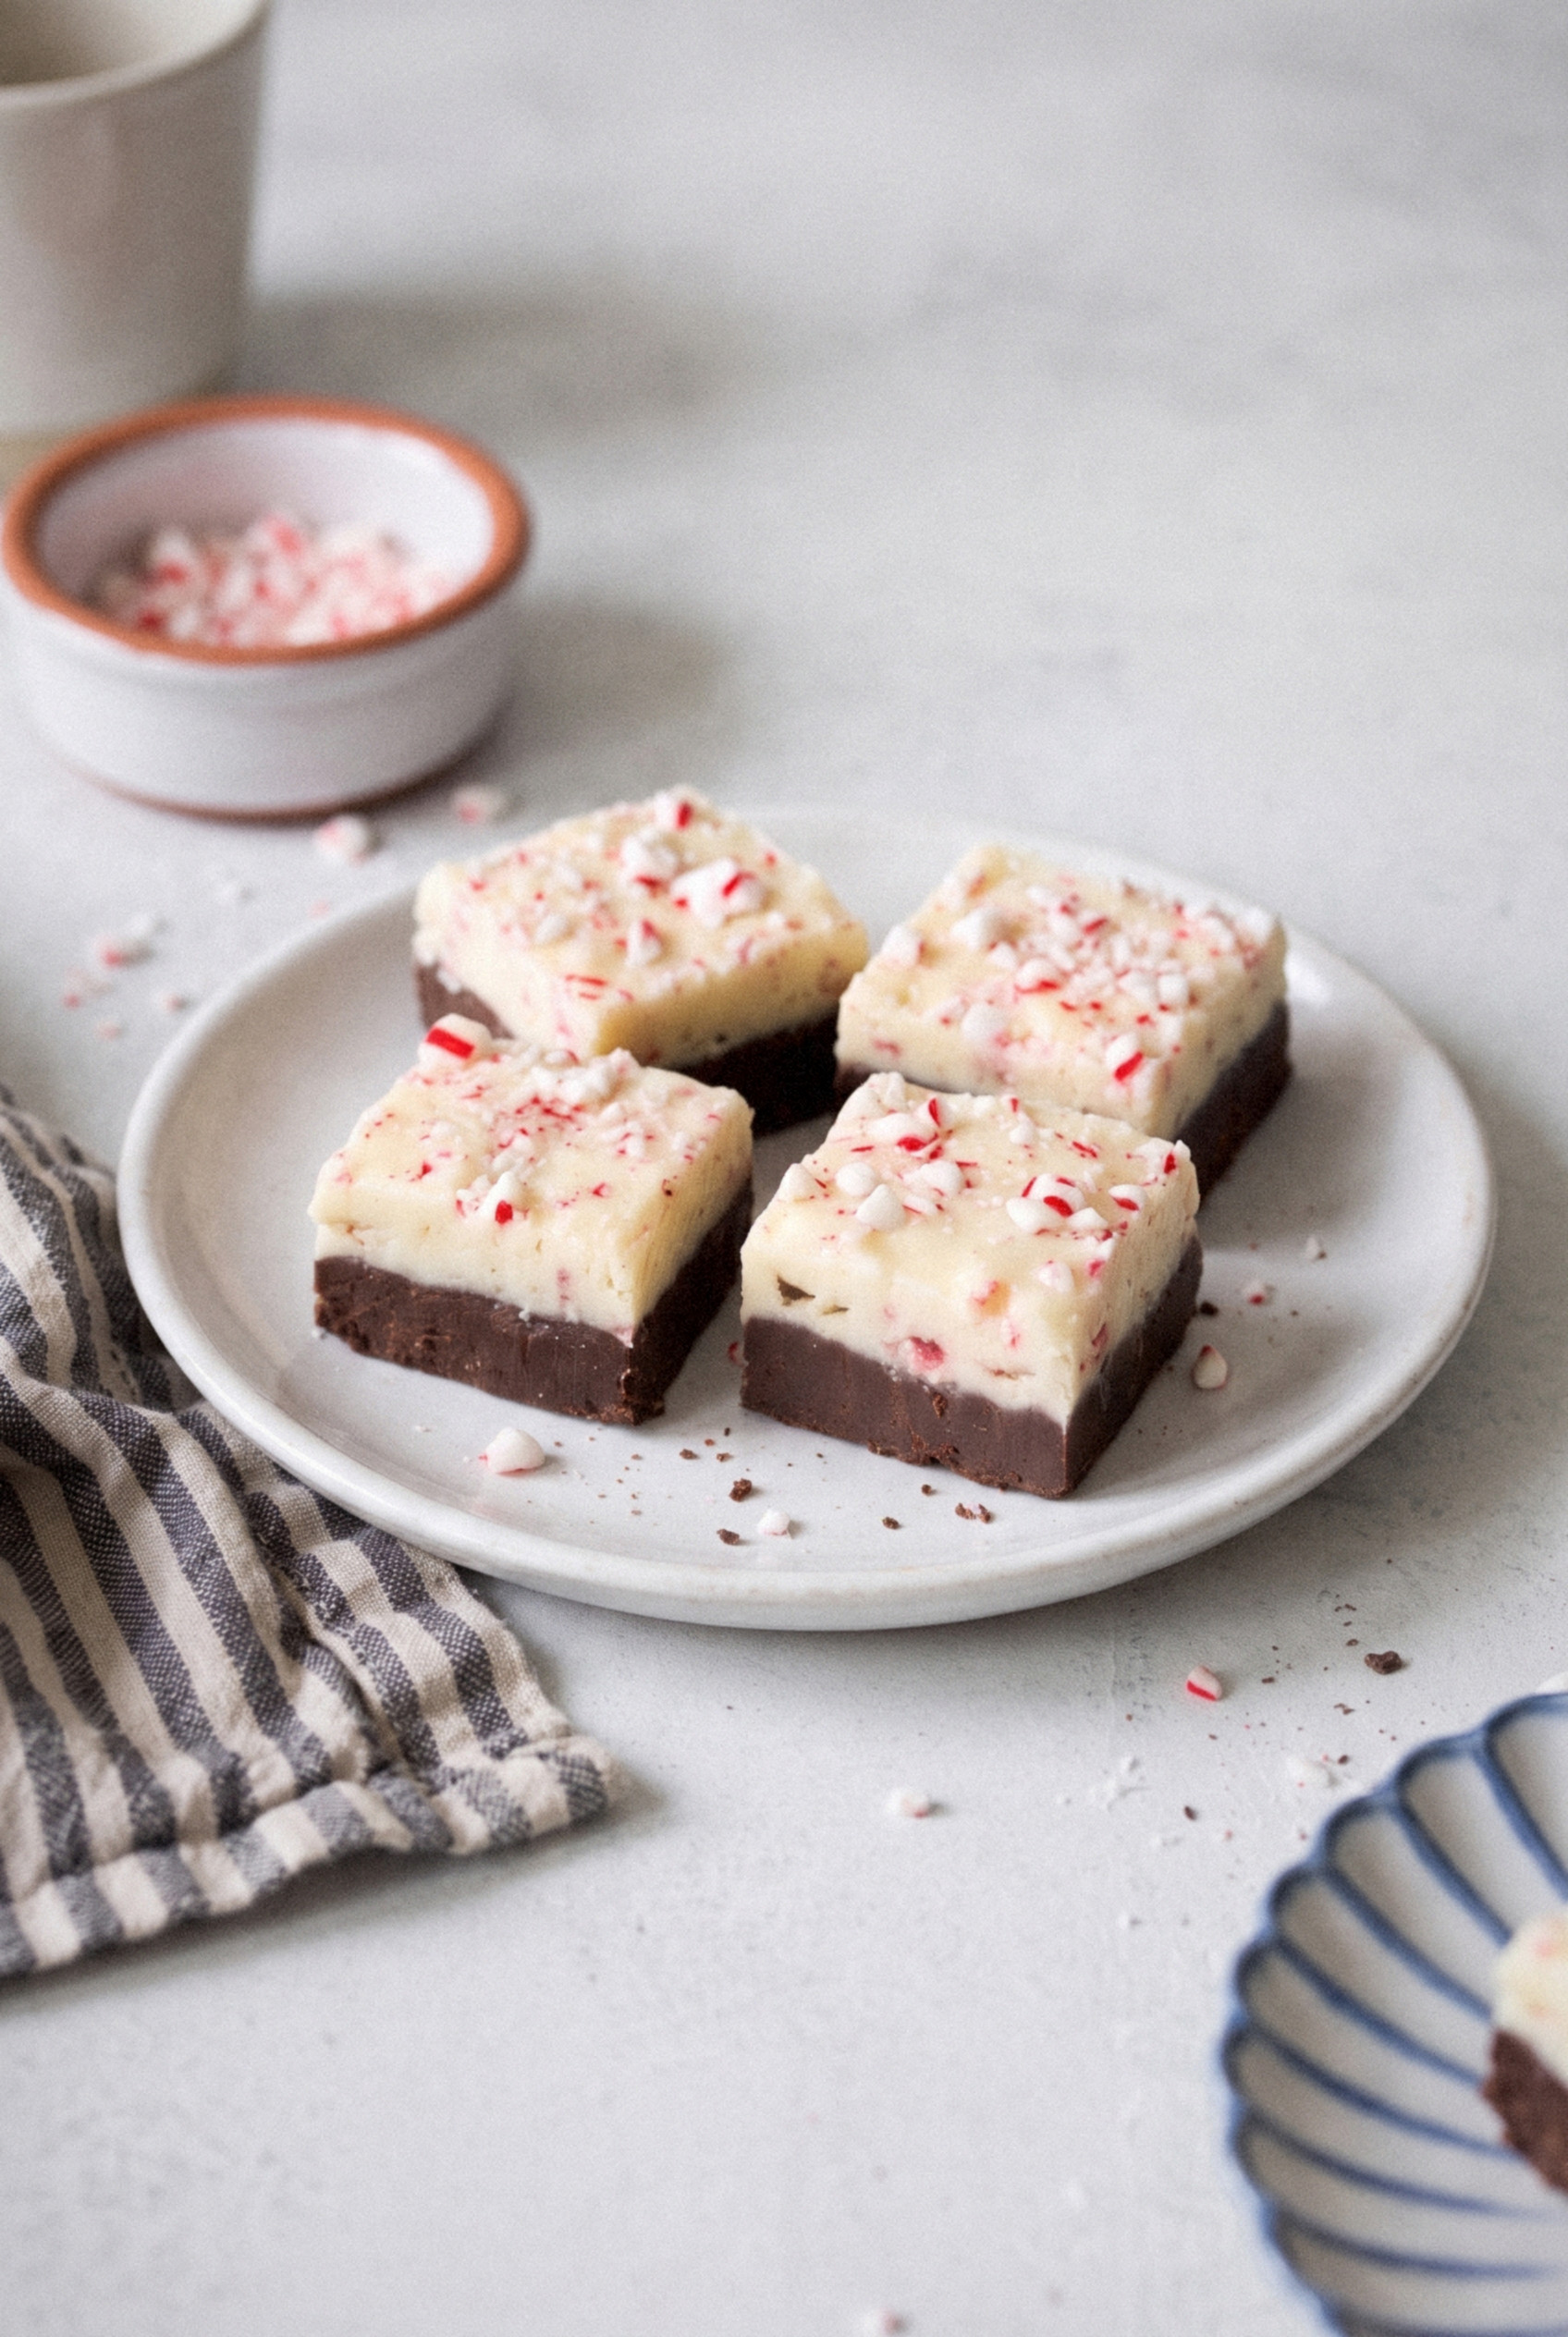
It's a dark, creamy chocolate fudge layer on the bottom, a white chocolate peppermint layer on top, and a crunchy coat of crushed candy canes to finish.
No thermometer. No endless stirring. One can of sweetened condensed milk split between two saucepans.
I've made it every Christmas for the last five years, and it's the first thing to disappear off our holiday cookie tray.
One 8x8 pan gives you 64 little squares, which is enough for a full round of gift tins with a few left over for you.
Make it once and you'll see why it beats the store-bought tins every time!
Why This Fudge Works
This is shortcut fudge, and the shortcut is sweetened condensed milk. Classic fudge boils sugar and milk to the soft-ball stage, around 234°F, then beats it as it cools so the sugar crystals stay tiny.
Condensed milk is already cooked down and loaded with dissolved sugar, so it does that job before you even open the can.
Melt it gently with chocolate and you get a fudge that sets firm but creamy, with zero risk of a grainy batch.
- No thermometer needed. The condensed milk replaces the boiled sugar syrup, so there's no temperature to hit.
- Butter and salt keep it balanced. A tablespoon of butter in each layer makes the fudge softer and glossier, and a pinch of salt keeps all that sweetness from tasting flat.
- A short chill keeps the layers clean. Giving the chocolate layer 15 minutes in the fridge means the white layer sits on top instead of swirling in.
- One can, two layers. You split a single 14-ounce can right down the middle. No half can sitting in the fridge until February.
Sound too simple to be real fudge? It's real fudge, I promise.
Peppermint Bark Fudge Ingredients
You need eight ingredients, and you probably have half of them already. Here's what goes into each layer and why.
- Semisweet chocolate chips (1 ½ cups, 9 ounces). This is the base of the bottom layer. Semisweet gives a rich, deep chocolate flavor that stands up to all the sugar on top.
- White chocolate (1 ½ cups, 9 ounces). I chop a good white chocolate bar for the top layer. It melts smoother than most chips.
- Sweetened condensed milk (one 14-ounce can). Divided in half, about ½ cup plus 2 tablespoons per layer. Do NOT grab evaporated milk by mistake; it won't set.
- Unsalted butter (2 tablespoons). One tablespoon per layer for a softer bite and a little shine.
- Vanilla extract (½ teaspoon). Goes in the chocolate layer to round it out.
- Peppermint extract (¼ teaspoon). Goes in the white layer. Peppermint is strong stuff, so measure it carefully.
- Crushed candy canes (¼ cup plus 3 tablespoons). Some get stirred into the white layer, the rest go on top. About 5 or 6 regular candy canes covers it.
- Salt (a pinch). Just enough to sharpen the chocolate.
Choosing Your Chocolate
The chocolate you buy decides how smooth this fudge turns out. For the bottom layer, semisweet chips work great. If you like a darker, less sweet fudge, swap in 60% cacao chips or a chopped dark bar.
White chocolate is where people get burned.
Cheap white chips are full of stabilizers that help them hold their shape in cookies. That same feature makes them melt thick and pasty in fudge, and sometimes they turn grainy.
Pro tip: Check the label and look for cocoa butter near the top of the list. Skip anything labeled white baking chips, candy melts or almond bark if you can.
A bar of real white chocolate, chopped small, gives you that silky, melt-in-your-mouth top layer that makes this taste like the expensive stuff.
How to Make Peppermint Bark Fudge
The whole process takes about 30 minutes of hands-on time, then the fridge does all the work. Get everything measured before you turn on the stove, because each layer moves fast once it melts.
Step 1: Make the Chocolate Layer
Line an 8x8-inch pan with parchment paper, leaving a couple of inches hanging over two sides so you can lift the fudge out later. Open the can of condensed milk and pour half into a medium saucepan, about ½ cup plus 2 tablespoons.
Add the semisweet chocolate chips, 1 tablespoon of butter and the pinch of salt. Set the pan over low heat and stir constantly with a silicone spatula until everything is melted and smooth, about 3 to 5 minutes.
Take it off the heat and stir in the vanilla. Scrape it into the lined pan and spread it into an even layer, pushing it right into the corners. Pop the pan in the fridge for 15 minutes while you make the top layer.
Heads up: The chocolate mixture will be thick, almost like frosting. That's exactly right.
Step 2: Make the White Chocolate Peppermint Layer
Wipe out the saucepan, or grab a clean one. Add the rest of the condensed milk, the chopped white chocolate and the remaining 1 tablespoon of butter.
Melt it over the lowest heat your stove has, stirring the whole time. White chocolate scorches fast, so pull the pan off the burner the moment the last few lumps disappear. This takes about 3 to 4 minutes.
Stir in the peppermint extract and ¼ cup of the crushed candy canes. Work quickly here, since the candy starts to melt into pink streaks if it sits in the warm fudge too long.
Step 3: Layer, Top and Chill
Pull the chocolate layer out of the fridge. Drop spoonfuls of the white fudge all over the surface, then gently spread them together with an offset spatula so you don't drag up the chocolate underneath.
Sprinkle the last 3 tablespoons of crushed candy canes evenly over the top and press them down lightly with your palm so they stick. Cover the pan and refrigerate for at least 3 hours, or until the fudge is completely firm.
Worth the wait? Every single time.
How to Cut Clean Squares
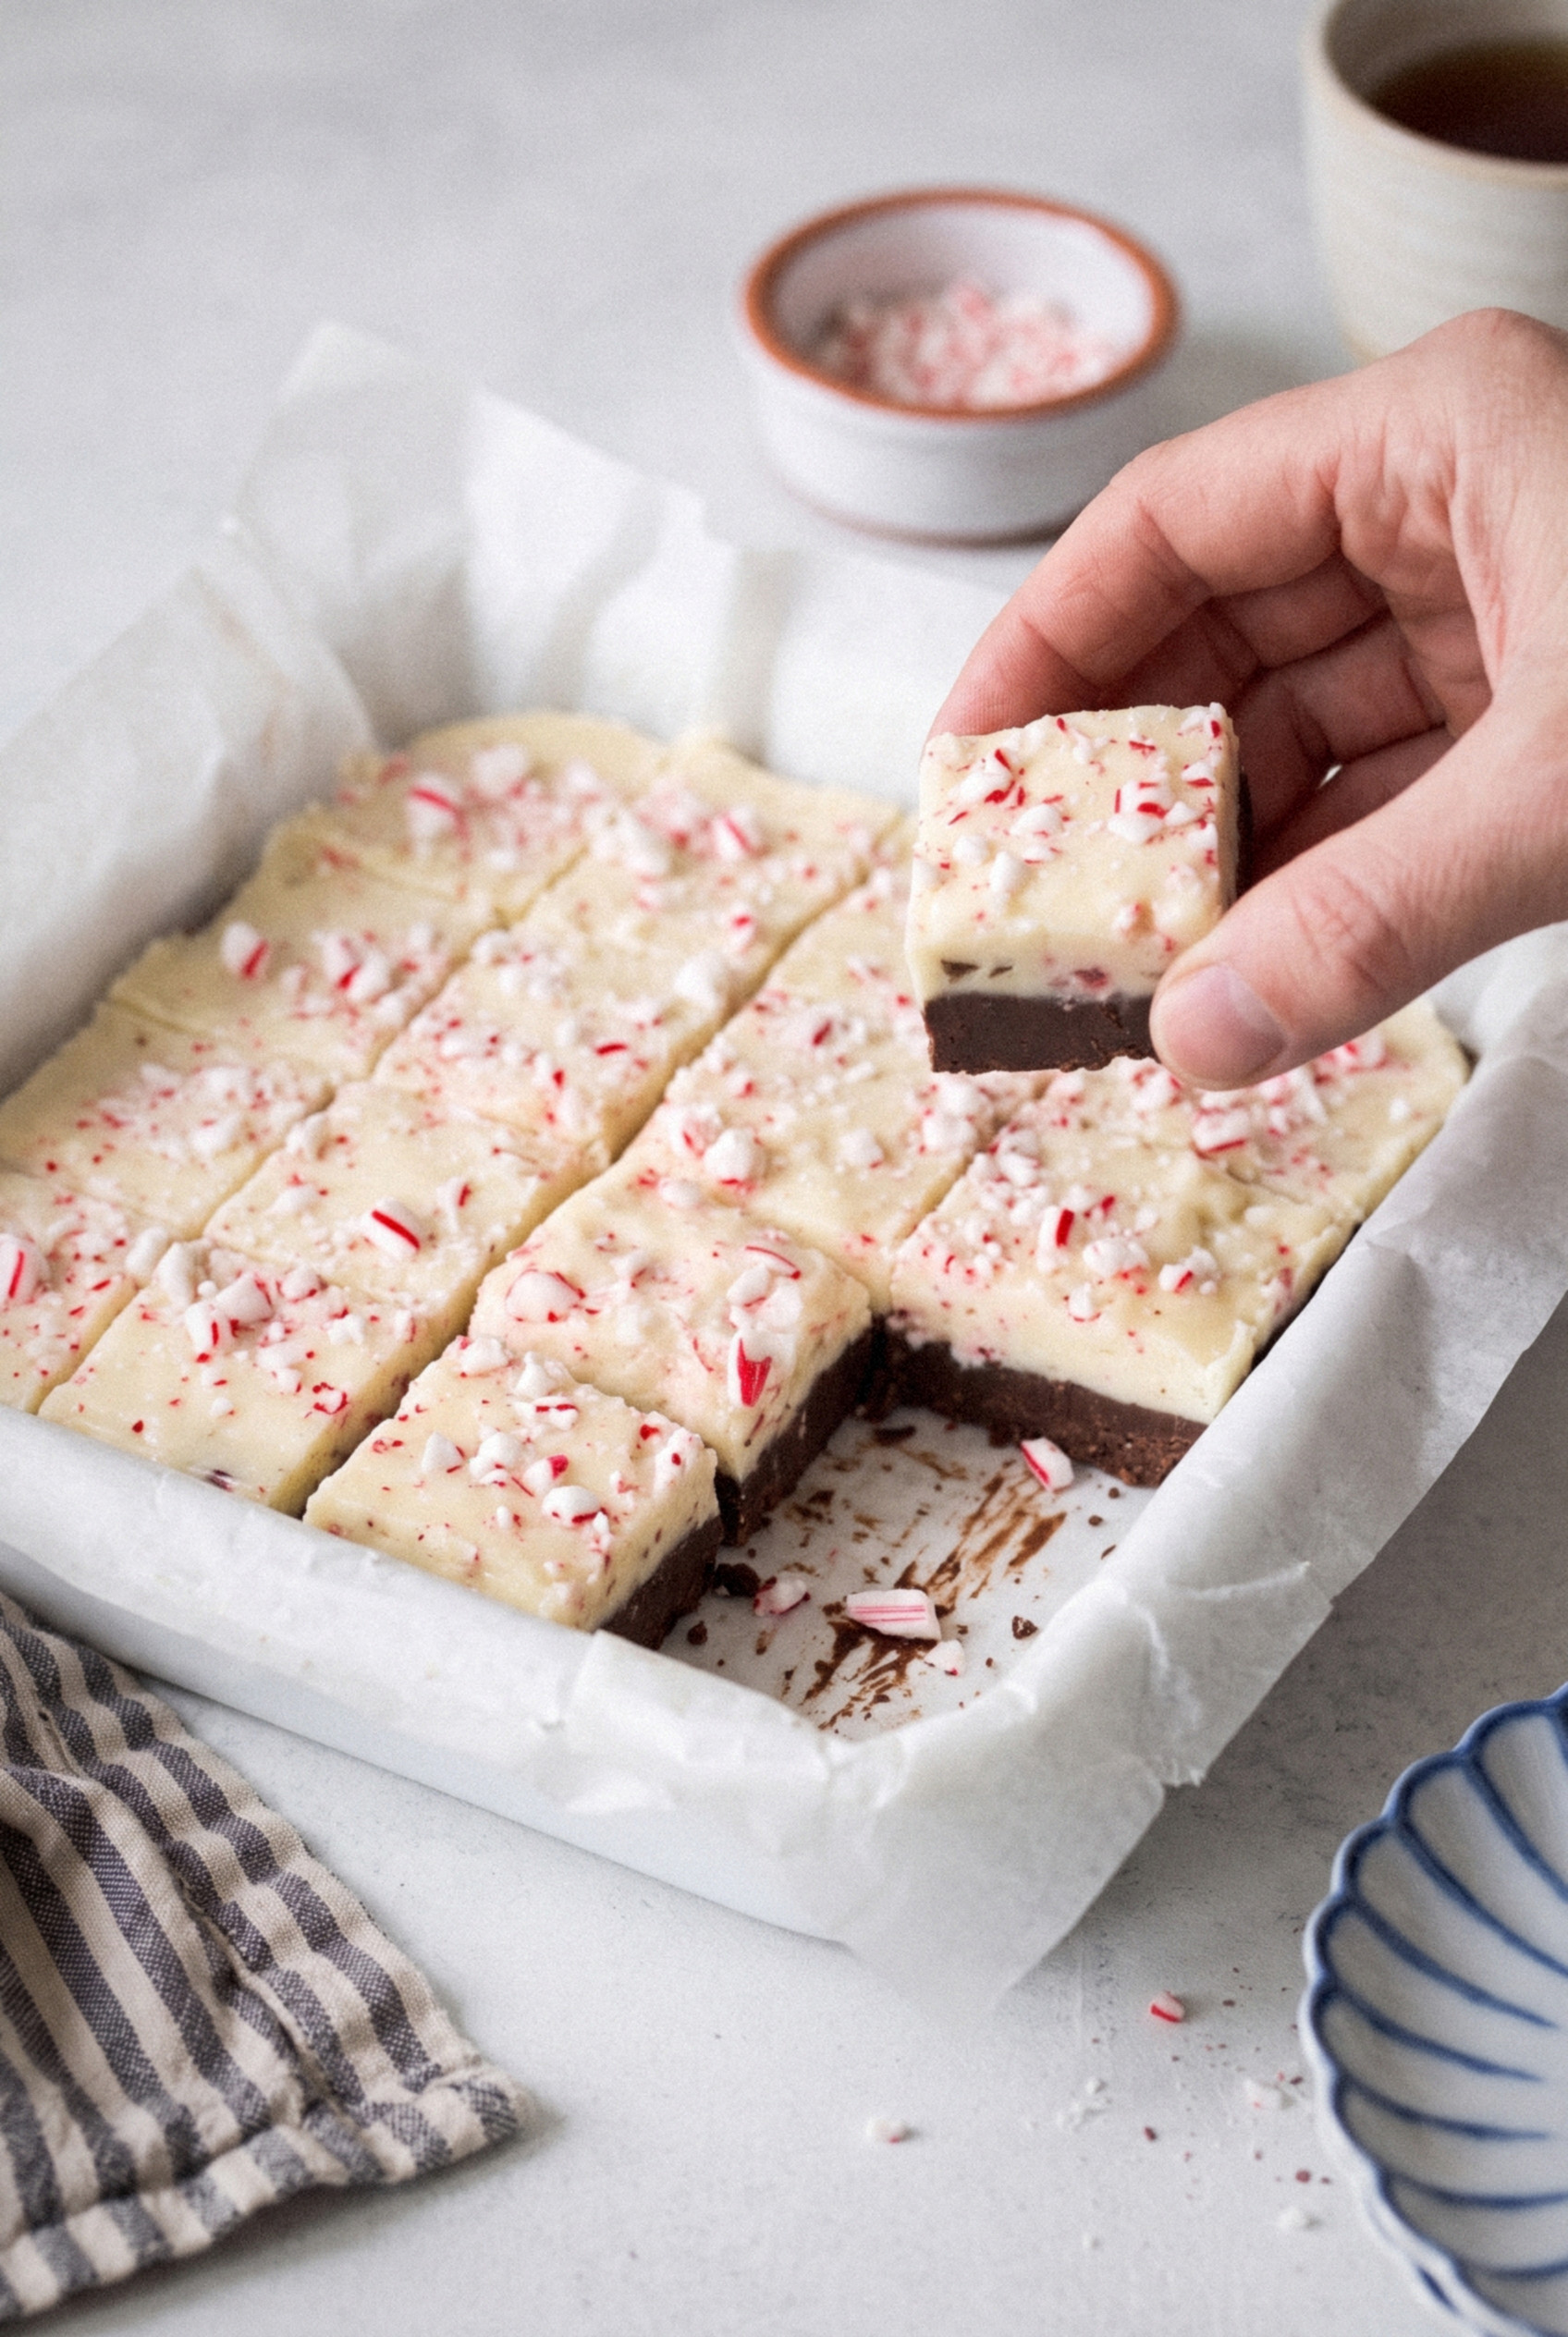
Clean edges make this fudge look like it came from a candy shop. Lift the whole block out of the pan with the parchment overhang and set it on a cutting board.
- Cut it cold. Fudge straight from the fridge cuts cleanest. If it's been sitting out, give it 20 minutes back in the fridge.
- Use your biggest knife. A long chef's knife cuts each row in one push instead of sawing.
- Heat and wipe. Run the blade under hot water, dry it, cut once, then wipe it clean. Repeat for every cut. It feels fussy, but it stops chocolate from smearing across the white layer.
- Press straight down. Don't drag the knife toward you. Press down firmly and lift.
- Go 8 by 8. Cut 7 lines each way for 64 one-inch squares. Fudge is rich, so small pieces are the way to go.
The crushed candy cane on top will crack a little as you cut, and that's fine. It looks rustic and festive.
Tips for Smooth, Creamy Fudge
Almost every fudge failure comes down to too much heat. Keep these in mind and you'll nail it on the first try.
- Keep the heat low. High heat makes chocolate seize into a grainy clump or separate into an oily mess. Low and slow is the whole game.
- Stop stirring once it's smooth. Over-stirring warm fudge can make it turn greasy. Stir until melted, then move on.
- Sift your candy canes. Shake the crushed candy cane in a fine sieve before using it. The fine powder melts into sticky pink streaks, while the chunky bits stay crunchy.
- Top it late in humid weather. If your kitchen is humid, wait and add the top layer of candy cane a few hours before serving or gifting.
- Go easy on the peppermint. ¼ teaspoon of extract is plenty. More than that starts to taste like toothpaste.
- Microwave option. No stove free? Melt each layer in a microwave-safe bowl in 20 to 30 second bursts, stirring between each one.
Fudge turned out grainy anyway? It probably got too hot, or the white chocolate was the cheap kind. Use a better bar next time and keep the burner on low.
Gifting Peppermint Bark Fudge
This is my number one Christmas gift fudge, and it travels like a champ. The layers look festive without any decorating skills, and a single pan fills several tins.
- Line the tins. Put a square of parchment in the bottom of each tin before you add the fudge.
- Separate the layers. Stack the squares no more than two layers deep with wax paper in between so they don't stick together.
- Pick the right amount. 12 to 16 squares per tin is a nice, generous gift without overwhelming anyone.
- Mix it up. It looks great on a holiday cookie tray next to sugar cookies, gingerbread and shortbread.
- Keep it cool. Tell people to stash it in the fridge if they won't eat it within a few days.
Don't be surprised if someone asks for the recipe before they finish the tin.
Make-Ahead and Timing
Peppermint bark fudge is the perfect make-ahead holiday treat. Here's how I plan it around the rest of my Christmas baking.
- Up to 3 months ahead. Make the fudge, skip the candy cane topping, and freeze the uncut block. Thaw it and add the topping later.
- Up to 2 weeks ahead. Make the whole thing, cut it, and keep it in the fridge in an airtight container.
- The day before. Make it in the evening, let it chill overnight, and cut and pack the tins in the morning.
- Last minute. You need about 3 ½ hours from start to finish, almost all of it chill time.
Storing and Freezing
Fudge keeps really well, but the candy cane topping is the weak link. Candy cane pulls moisture from the air, so it gets sticky faster than the fudge gets old.
- Room temperature. In an airtight container in a cool spot, it keeps 3 to 4 days.
- Refrigerator. Airtight with wax paper between layers, it lasts up to 2 weeks. Let it sit out 10 minutes before serving for the creamiest texture.
- Freezer. Wrap the block or squares in plastic wrap, then foil, and freeze in a container for up to 3 months.
- Thawing. Thaw overnight in the fridge while still wrapped. That keeps condensation from making the candy cane weep.
What to Serve With Peppermint Bark Fudge
This fudge is rich, so it pairs perfectly with something simple. A couple of squares go a long way.
- Hot drinks. A mug of coffee or hot chocolate next to a square of this hits the spot on a cold night.
- A Christmas cookie tray. Pair it with buttery cookies like shortbread or spritz for contrast.
- A holiday dessert table. It's a great way to round out a spread of pies and cakes with something bite-size.
- Movie night. Put a plate out for a holiday movie marathon and watch it vanish.
Variations
Once you've made the classic version, there are plenty of ways to switch it up. The method stays the same for all of these.
- Go darker. Swap the semisweet chips for dark chocolate for a less sweet, more grown-up fudge.
- Mint in both layers. Add ¼ teaspoon of peppermint extract to the chocolate layer too if you love a bold mint flavor.
- Mint chips. Fold ⅓ cup of chopped chocolate mint candies or mint baking chips into the white layer.
- All white. Double the white layer and skip the chocolate for a snowy white peppermint fudge.
- Milk chocolate. Use milk chocolate chips in the bottom layer for a sweeter, kid-friendly version.
- Bigger batch. Double everything and use a 9x13-inch pan for about 100 squares.
What's not to love about a Christmas fudge that only needs one pan? Give it a try!
Recipe
Peppermint Bark Fudge
Ingredients
For the Chocolate Layer
- 1 ½ cups semisweet chocolate chips 9 ounces
- ½ cup plus 2 tablespoons sweetened condensed milk half of a 14-ounce can
- 1 tablespoon unsalted butter
- ½ teaspoon vanilla extract
- 1 pinch salt
For the White Chocolate Peppermint Layer
- 1 ½ cups white chocolate 9 ounces, finely chopped bar or good-quality chips
- ½ cup plus 2 tablespoons sweetened condensed milk the other half of the can
- 1 tablespoon unsalted butter
- ¼ teaspoon peppermint extract
- ¼ cup crushed candy canes sifted
For the Topping
- 3 tablespoons crushed candy canes sifted
Instructions
Make the Chocolate Layer
- Line an 8x8-inch pan with parchment paper, leaving an overhang on two sides.
- In a medium saucepan over low heat, combine half the condensed milk, the semisweet chocolate chips, 1 tablespoon butter and a pinch of salt. Stir constantly until melted and smooth, 3 to 5 minutes.
- Remove from the heat and stir in the vanilla. Spread evenly in the prepared pan and refrigerate for 15 minutes.
Make the White Chocolate Peppermint Layer
- In a clean saucepan over the lowest heat, combine the remaining condensed milk, the chopped white chocolate and 1 tablespoon butter. Stir constantly until just melted and smooth, 3 to 4 minutes.
- Remove from the heat and quickly stir in the peppermint extract and ¼ cup crushed candy canes.
Layer and Chill
- Spoon the white layer over the chilled chocolate layer and gently spread it into an even layer.
- Sprinkle the remaining 3 tablespoons crushed candy canes over the top and press lightly so they stick.
- Cover and refrigerate for at least 3 hours, until completely firm.
- Lift the fudge out using the parchment. Cut into 64 one-inch squares with a large knife, warming it in hot water and wiping it dry between cuts.
Notes
- White Chocolate: A chopped white chocolate bar with cocoa butter melts smoothest. Avoid candy melts and almond bark.
- Candy Canes: Sift out the fine candy dust before using so the topping stays crunchy and does not streak.
- Microwave Method: Melt each layer in a microwave-safe bowl in 20 to 30 second bursts, stirring between each.
- Storage: Keeps 3 to 4 days airtight at room temperature, up to 2 weeks in the refrigerator, or up to 3 months in the freezer.
- Gifting: Pack in parchment-lined tins with wax paper between layers.