Our tree comes down the first weekend of January, and the candy canes come down with it, still in their wrappers.
Every year I hang about two dozen of them.
Every year my wife and I eat maybe three.
The rest go into a kitchen drawer, where they slowly glue themselves to each other until somebody throws the whole clump away in March.
Nobody hates candy canes. We just don't want to suck on a hard stick of sugar for twenty minutes anymore.
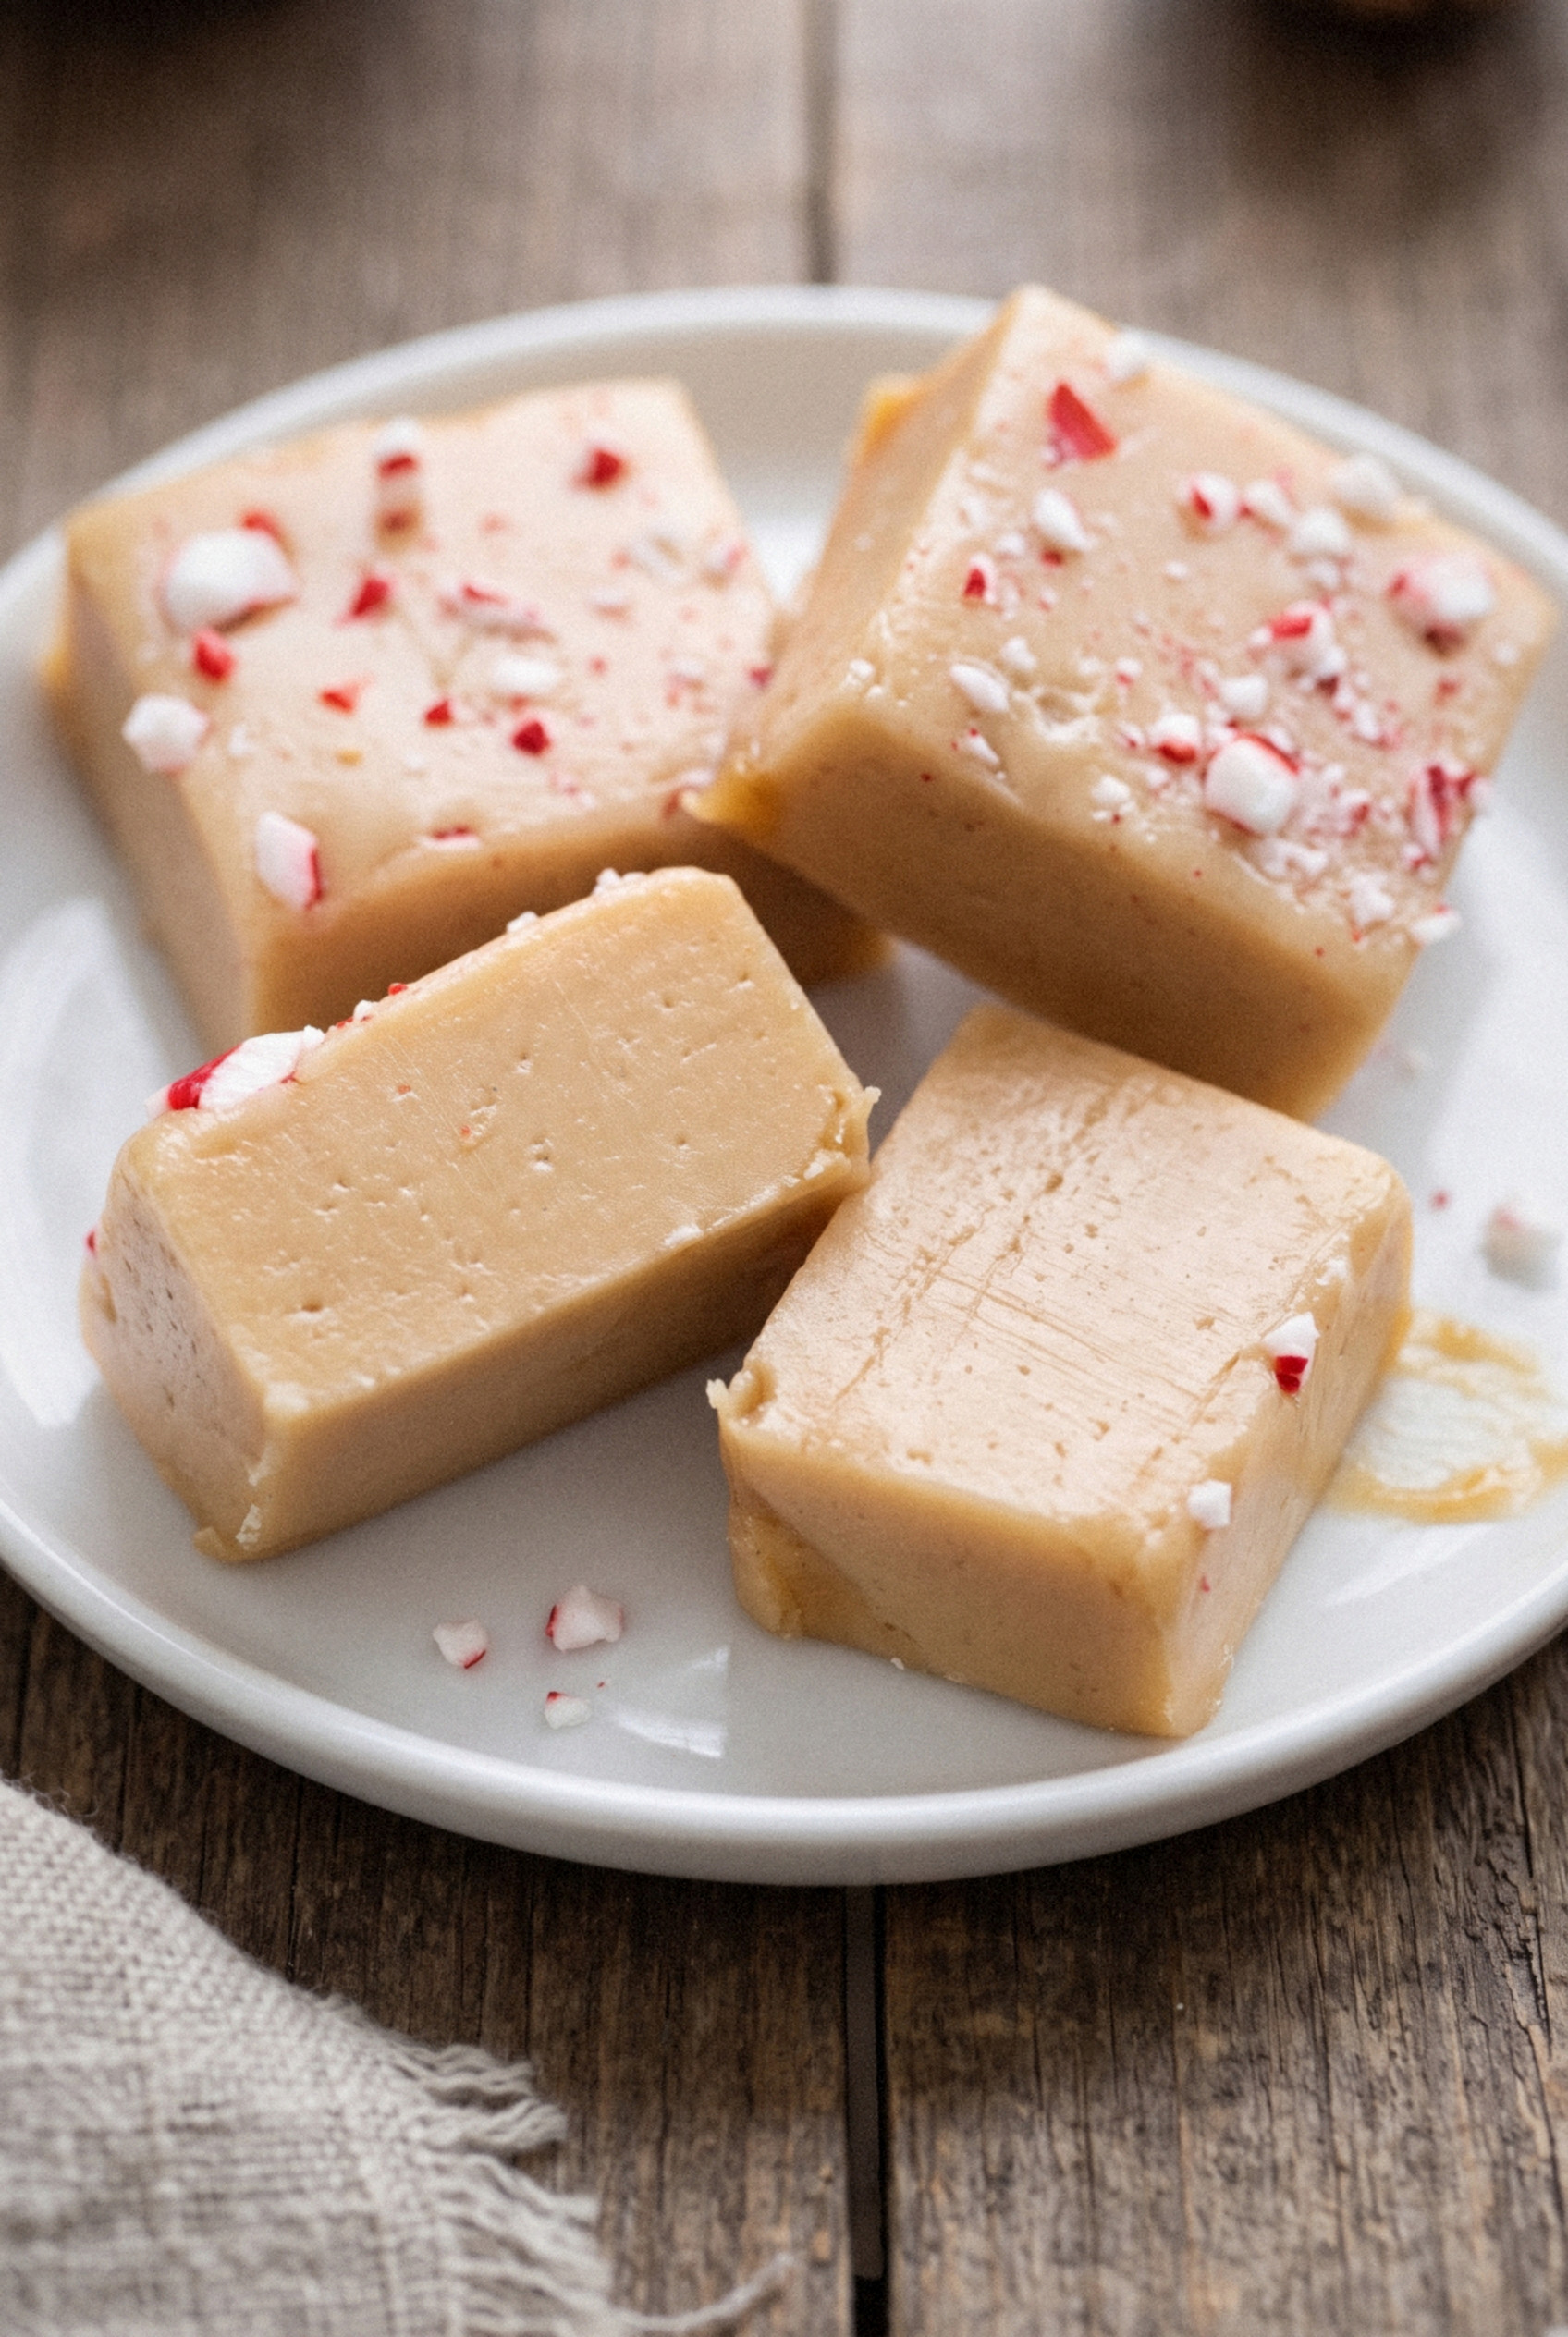
So a few Decembers back I moved that flavor into something people actually reach for: soft, buttery peppermint caramels.
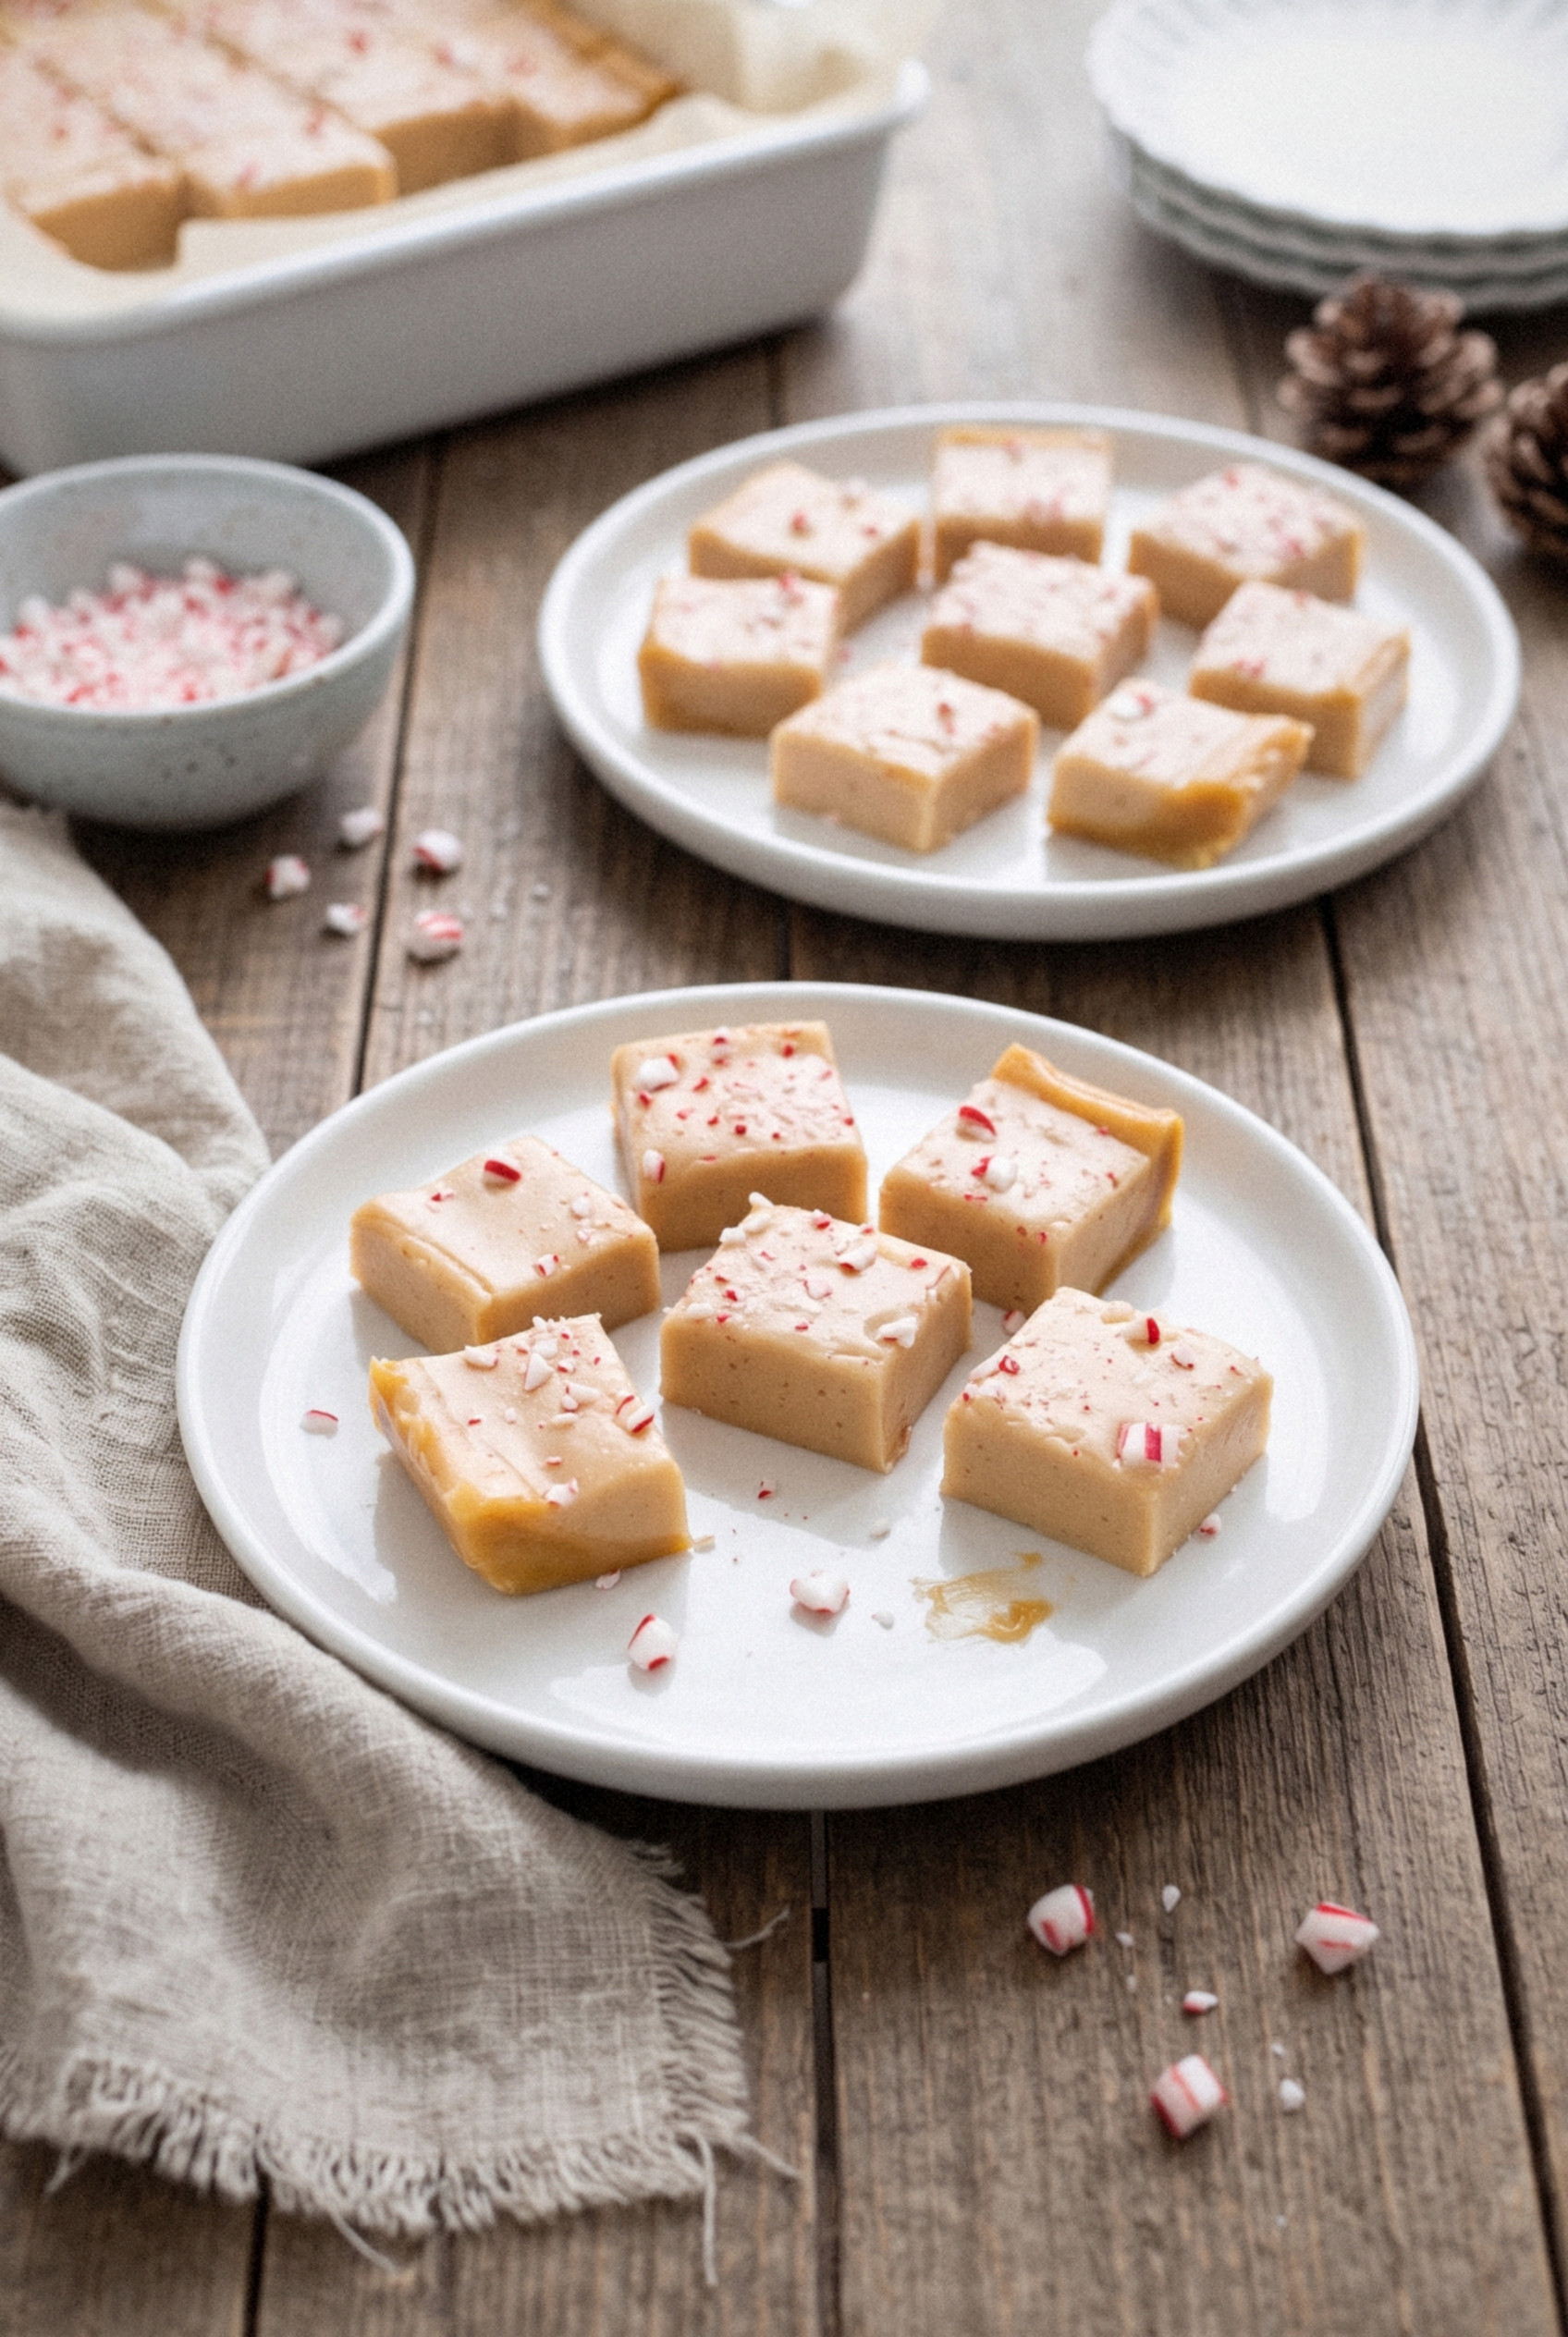
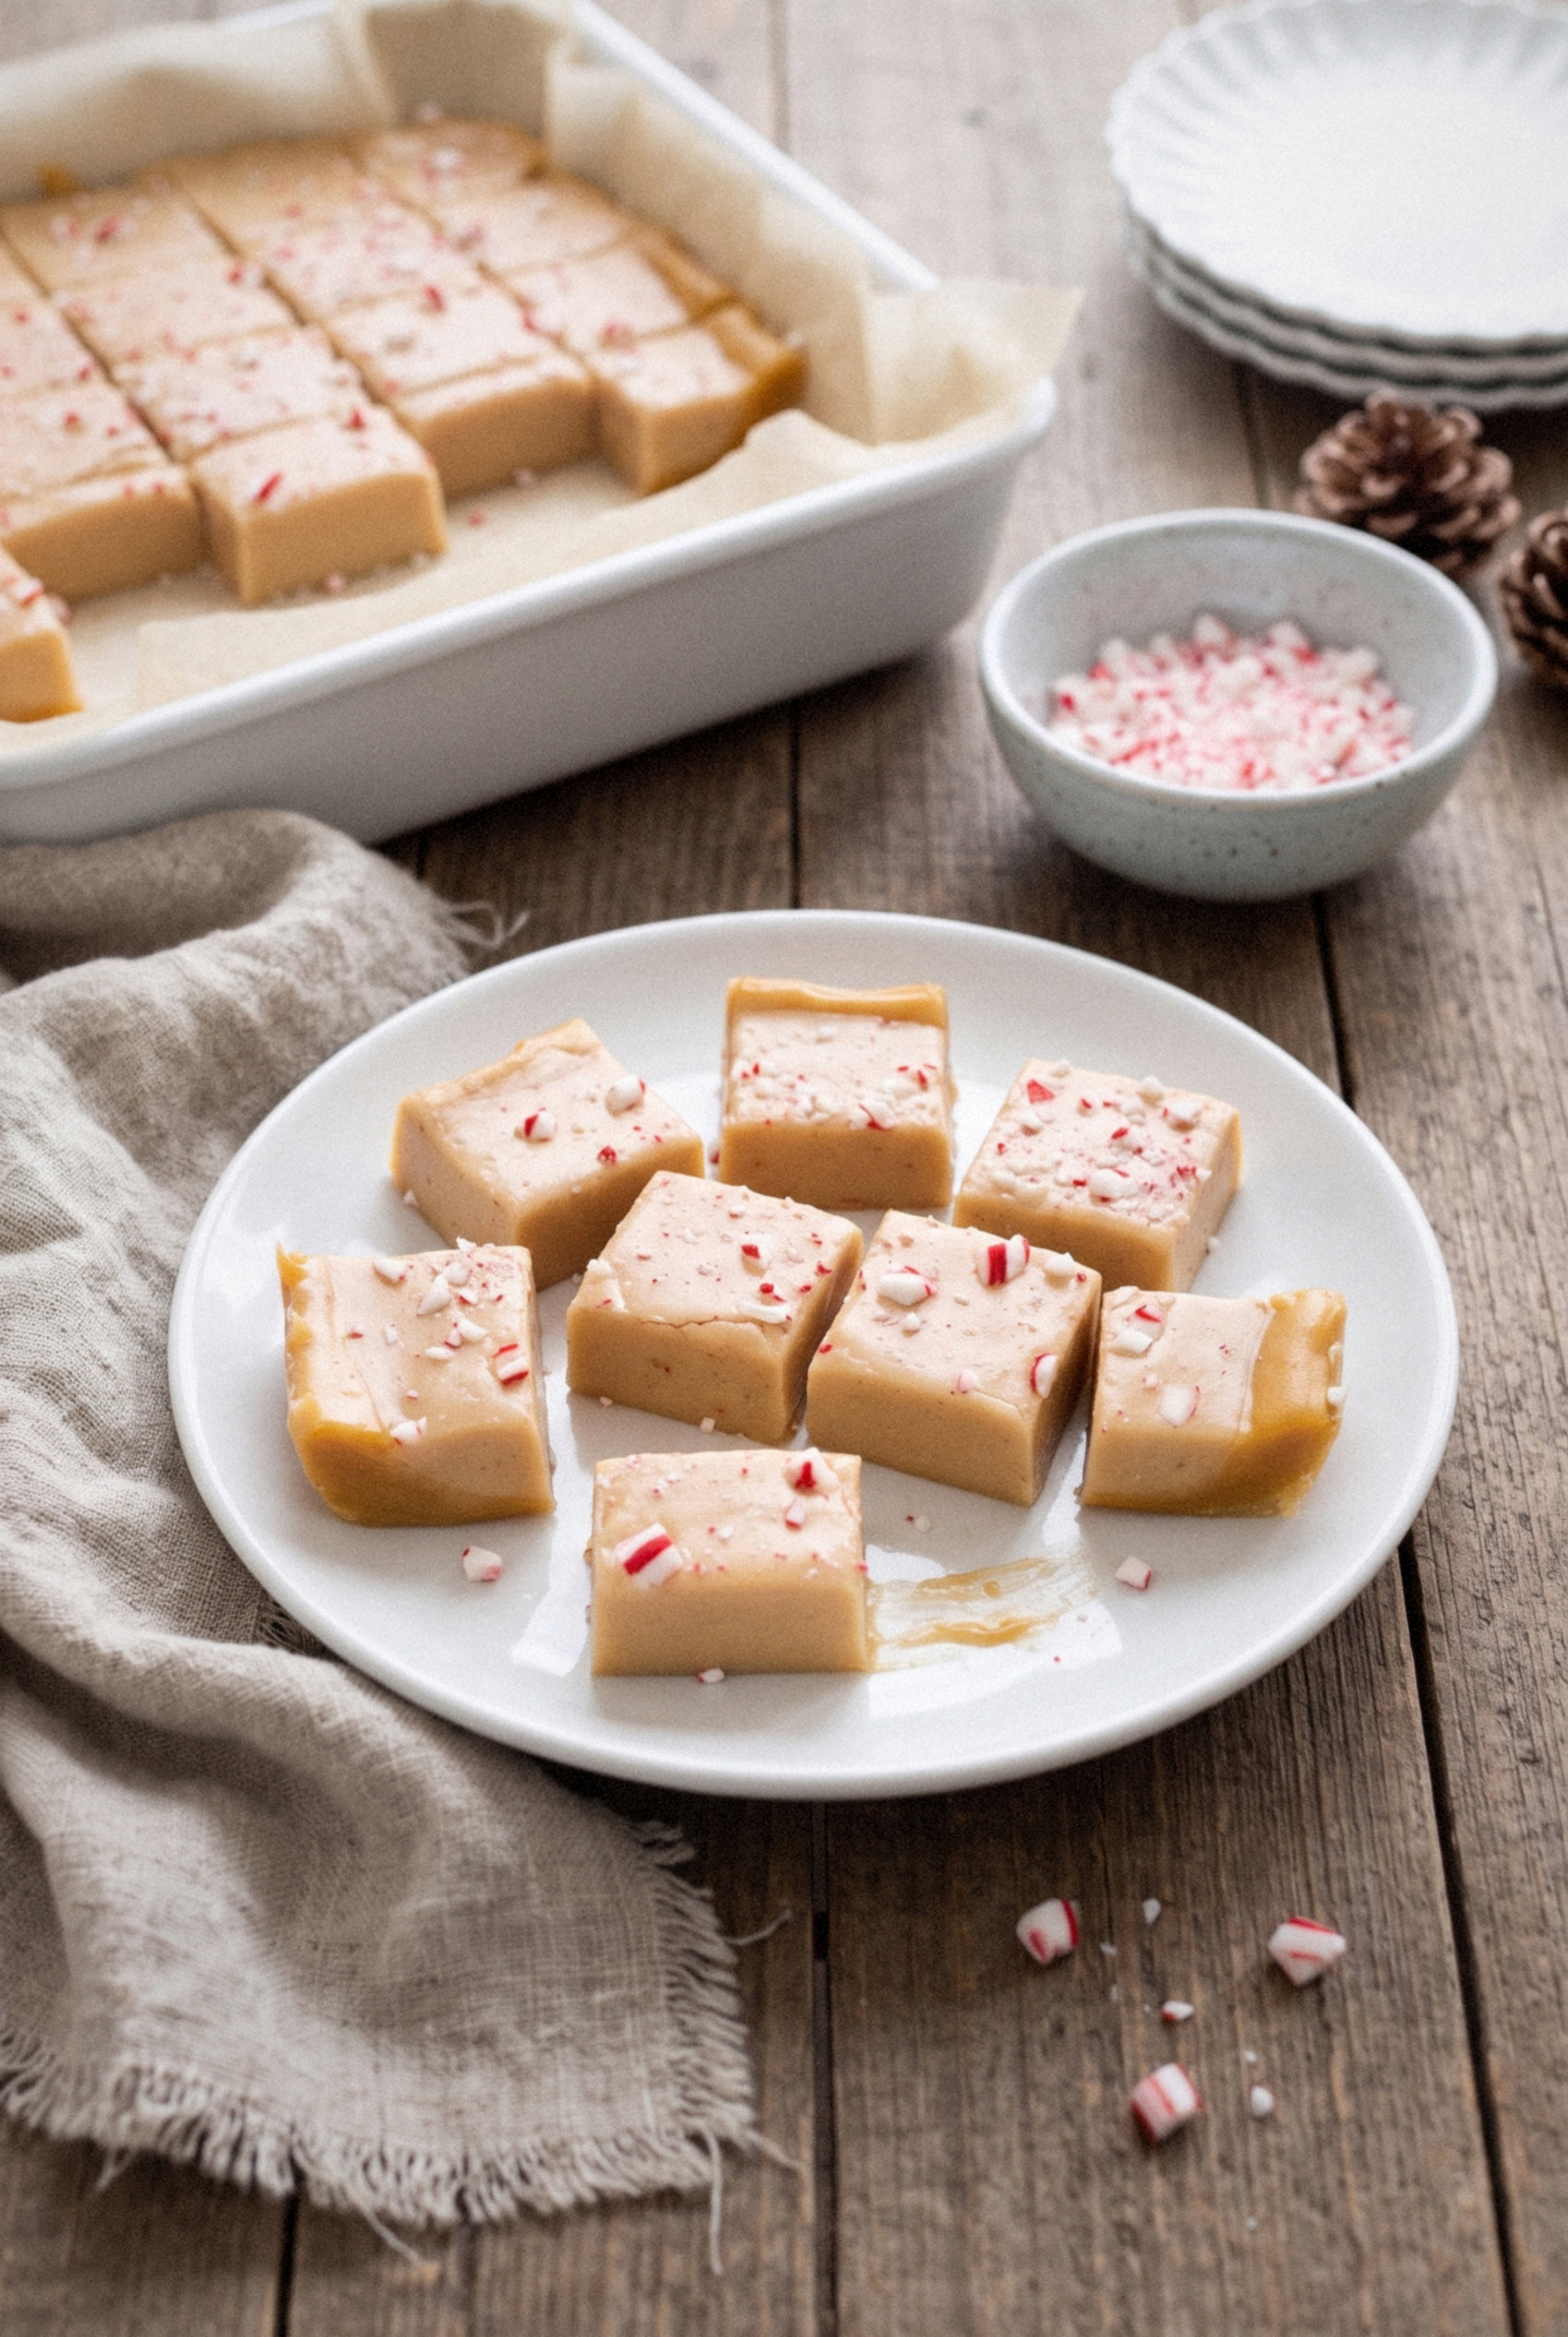
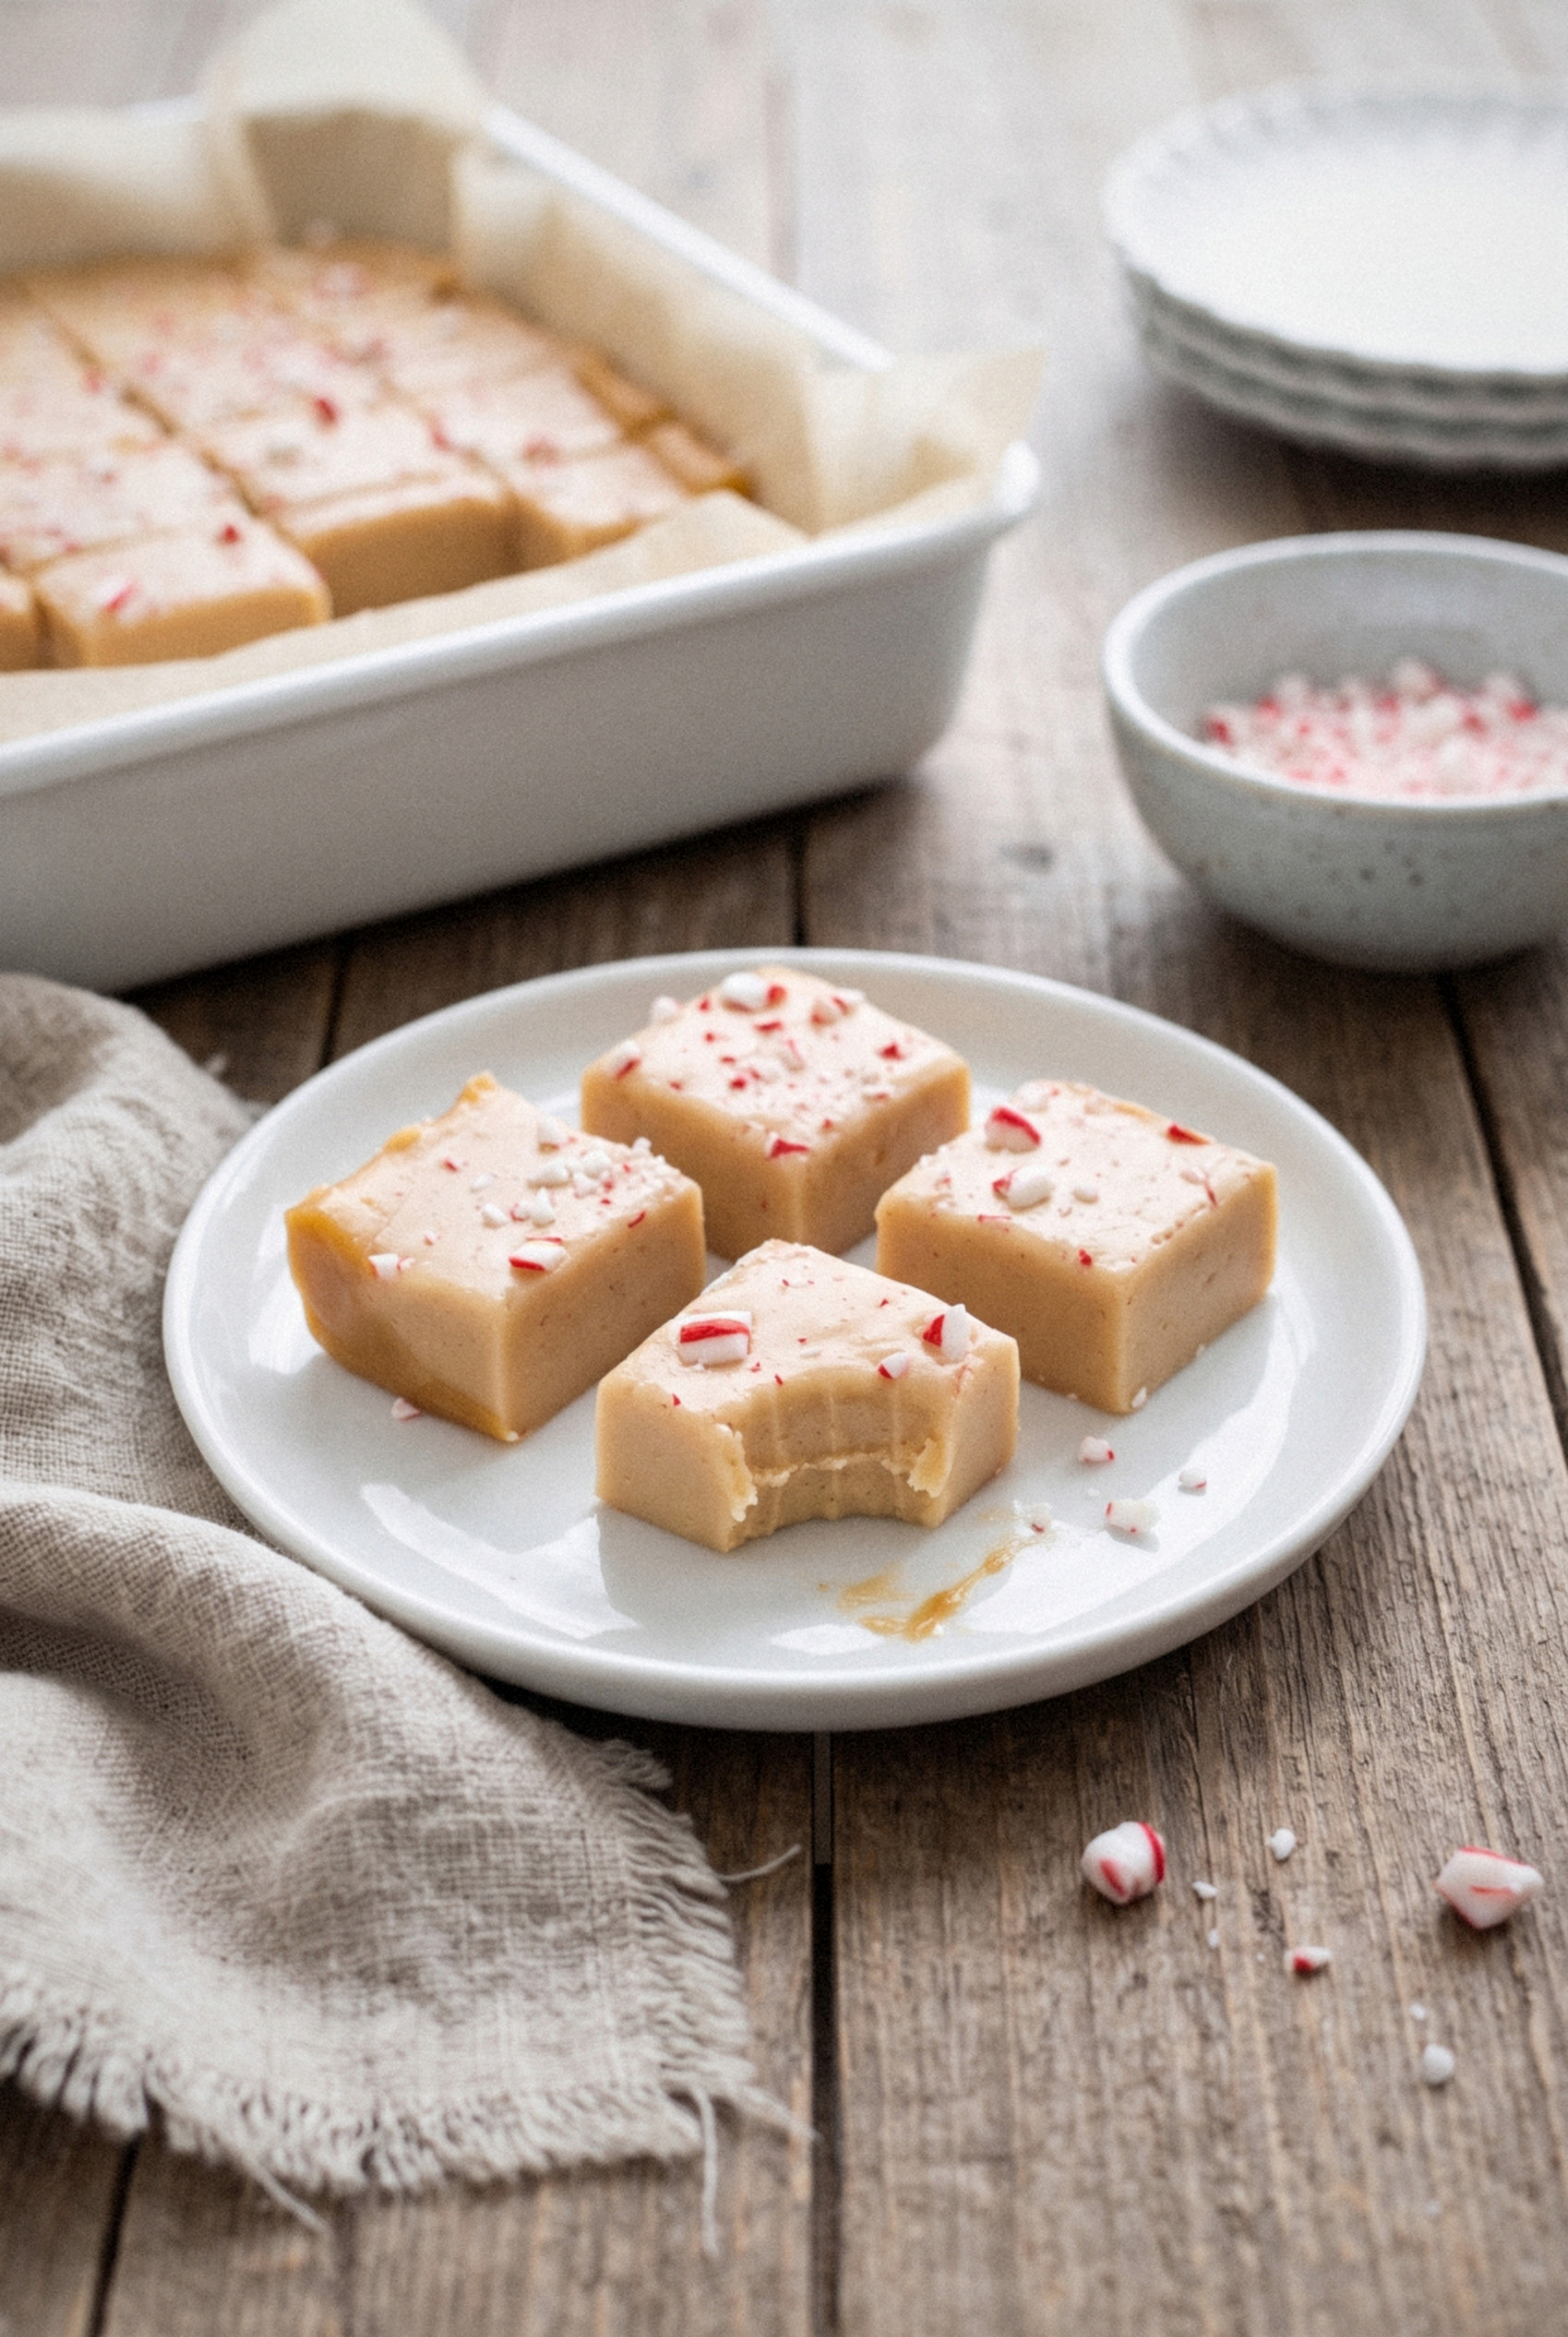
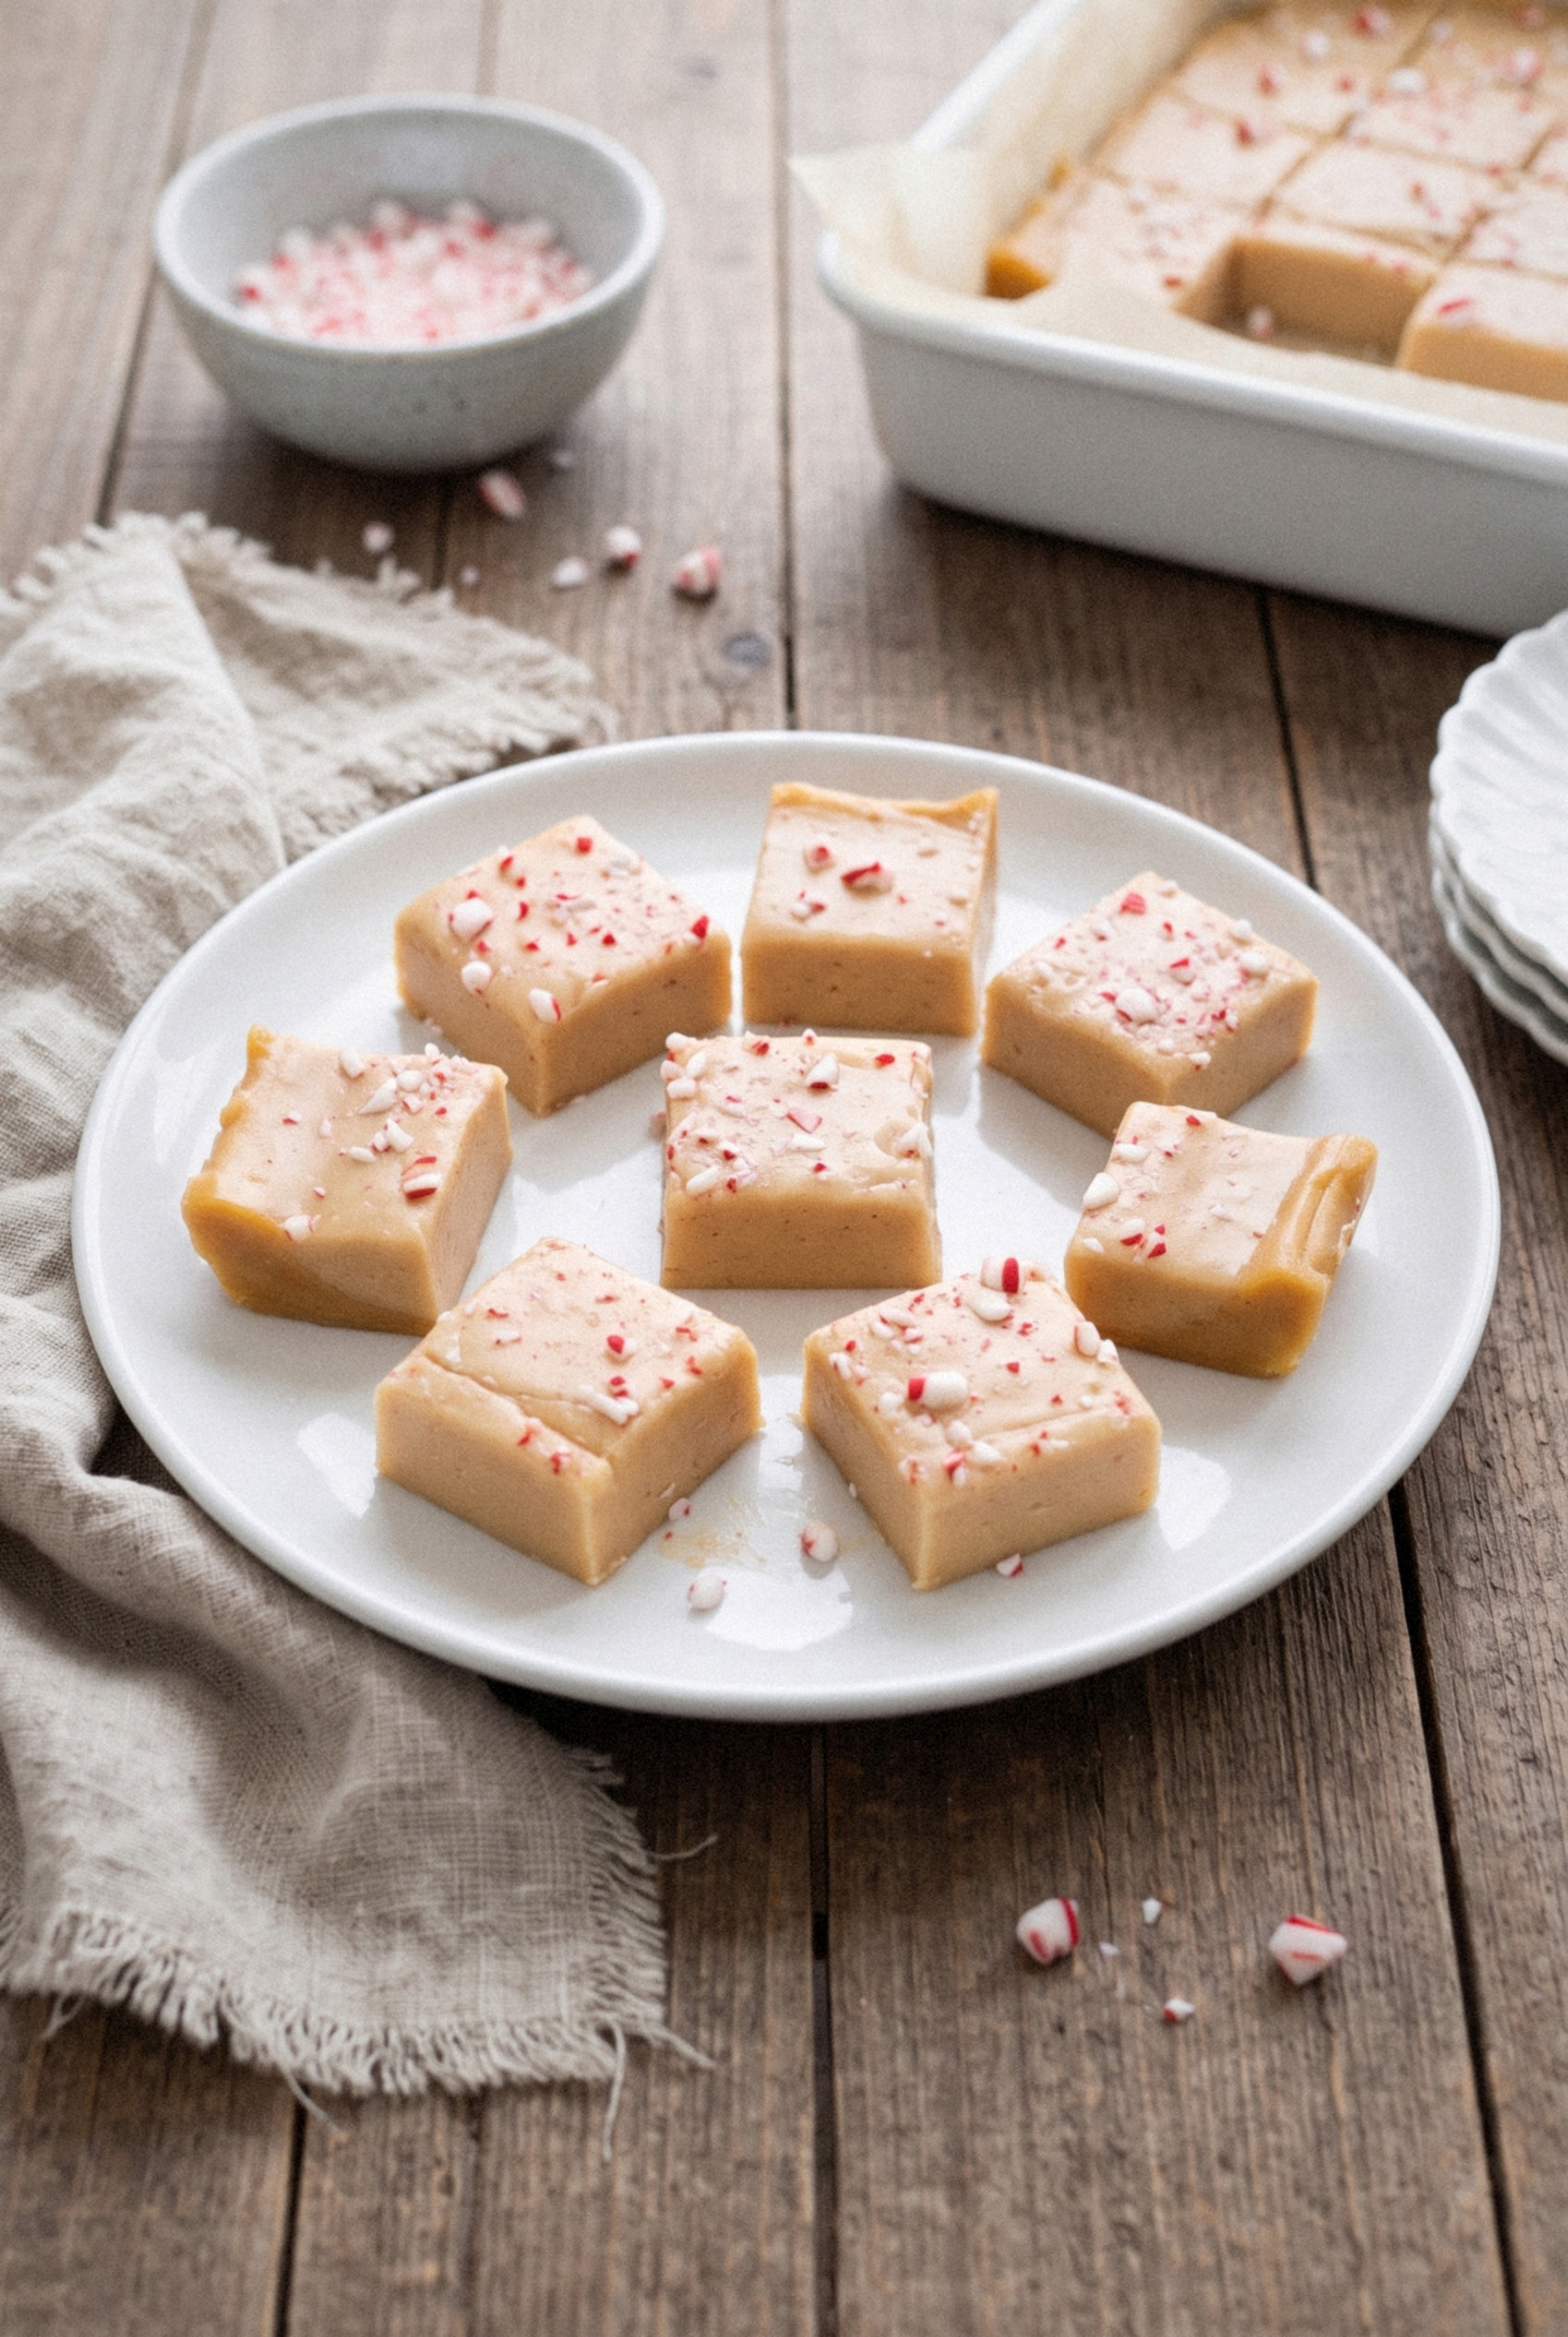
They're cream, butter and sugar cooked to a gentle chew, with a little peppermint extract stirred in at the end and a sprinkle of crushed candy cane pressed into the top.
My wife now asks for them before she asks for cookies.
They're also the first thing gone from the holiday cookie tray, and the thing neighbors text me about after the gift tins go out.
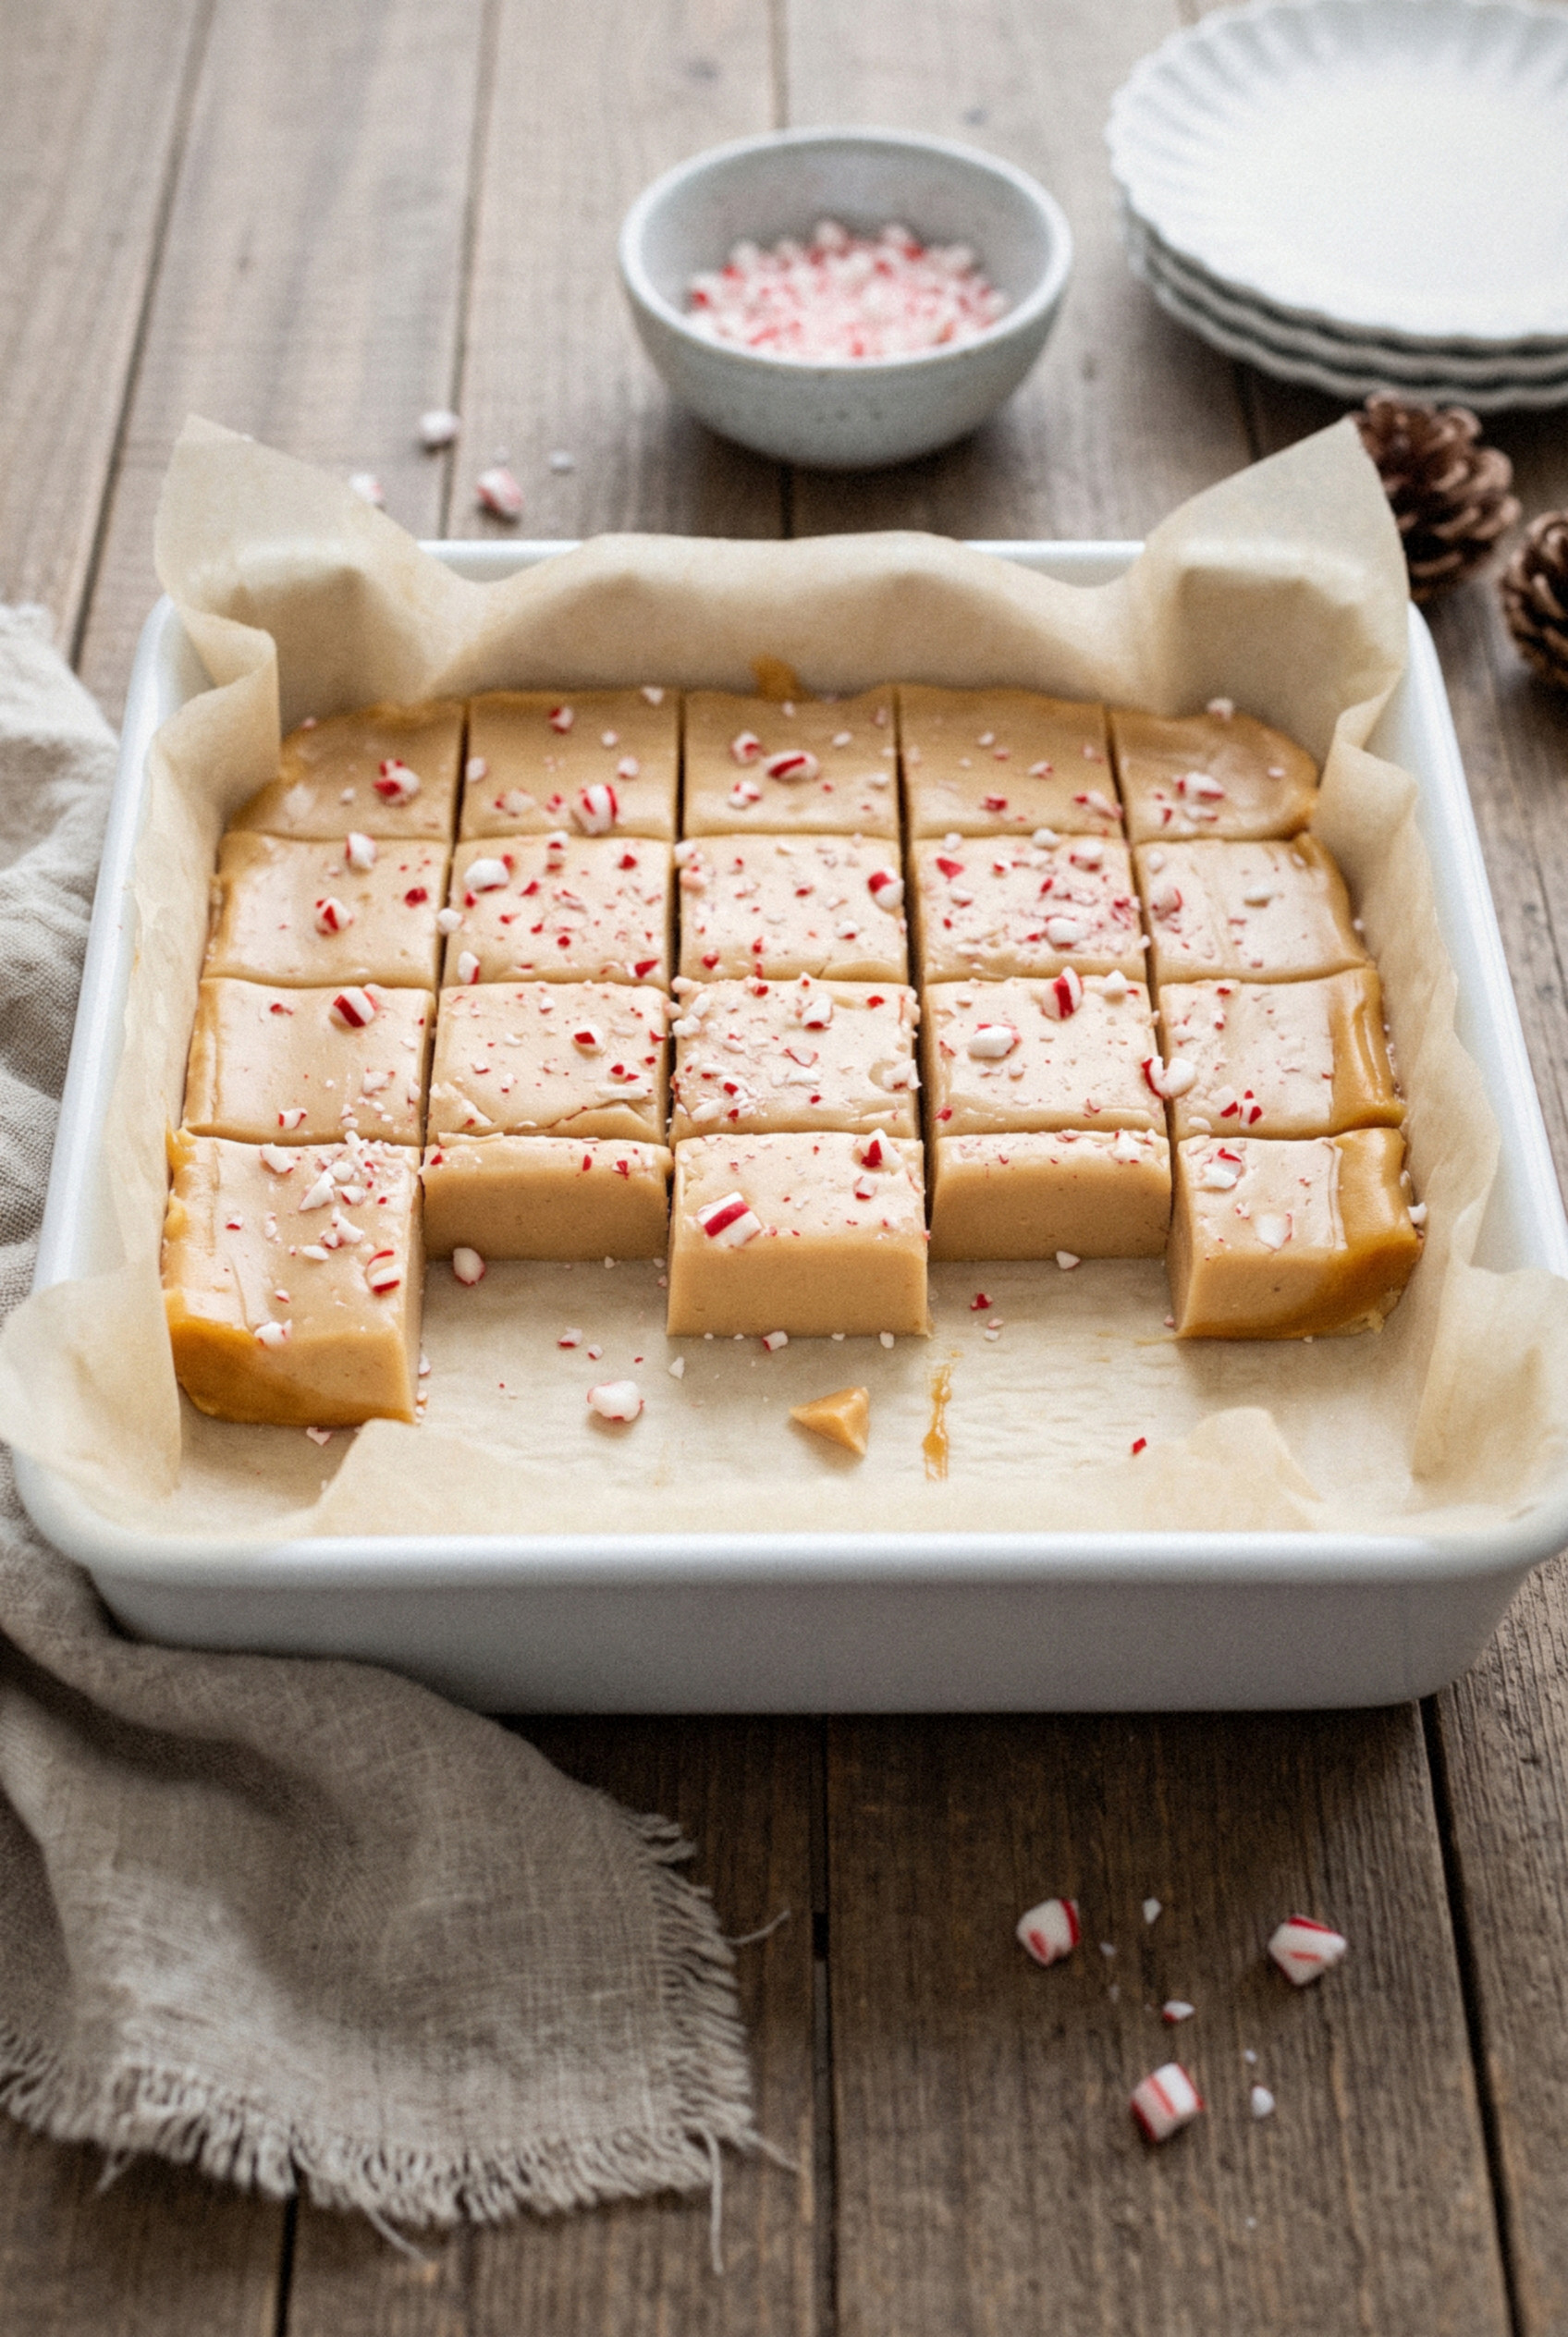
One 8x8 pan gives you 64 little squares, they keep for weeks, and the only special tool you need is a candy thermometer.
Make them once and you'll see why the candy canes in my drawer finally have a job.
Why These Peppermint Caramels Work
Caramels are easier than they look, and this method takes most of the guesswork out. You cook the sugar on its own first, then add warm cream, then finish at a low, soft-chew temperature.
That two-stage cook gives you a smooth caramel with no grainy bits.
It also keeps the color a pale, toasty gold instead of deep brown, which matters more than you'd think.
Dark caramel tastes like burnt sugar. Burnt sugar and mint taste like a mistake.
Light caramel, on the other hand, is mostly butter and cream, and that's exactly what lets the peppermint taste clean and cool.
Does caramel taste good with peppermint? Oh my, yes.
The butter rounds off the sharp edge of the mint, and the mint keeps the caramel from feeling heavy. It's the same reason a candy cane tastes so good dunked in hot cocoa.
- Soft, not sticky. Cooking to 248°F gives a tender chew that won't pull out a filling.
- Bright mint flavor. The extract goes in off the heat, so it doesn't cook away.
- Real crunch on top. Crushed candy cane pressed into the warm slab gives every square red and white flecks.
- Gift-tin friendly. Wrapped caramels hold for 3 weeks at room temperature.
Ingredients You Need
Ten simple ingredients make a full pan, and you probably have most of them for holiday baking already. Here's what each one is doing in the pot.
Cream, Butter and Sugar
- Heavy cream (1 ¼ cups). Use heavy cream or heavy whipping cream with at least 36% fat. Half and half or milk will curdle and won't set into a chew.
- Unsalted butter (4 tablespoons). Cut it into pieces so it melts fast into the cream. Unsalted lets you control the salt.
- Kosher salt (¼ teaspoon). Just enough to make the caramel taste like caramel instead of plain sweet.
- Granulated sugar (1 ½ cups). Plain white sugar keeps the color light. Brown sugar would push it darker and fight the mint.
- Water (¼ cup). It helps the sugar dissolve evenly before it boils.
Corn Syrup
Light corn syrup (½ cup) is the thing that keeps your caramels silky instead of sandy.
It gets in the way of sugar crystals forming, so the whole batch stays smooth from the first square to the last.
I know some people want to skip it. Please don't, at least not in this recipe.
Fair warning: without it, one stray crystal on the side of the pot can turn the entire pan grainy.
Peppermint Extract vs Peppermint Oil
- Peppermint extract (¾ teaspoon). This is what I use. It's easy to find, easy to measure, and gentle enough that a little extra won't ruin anything.
- Peppermint oil (5-6 drops). Oil is roughly four times stronger than extract and holds up better to heat. Use a candy-grade or food-grade oil only, and count the drops carefully.
- Vanilla extract (½ teaspoon). It sounds odd next to mint, but it fills in the background and makes the caramel taste richer.
Pro tip: never taste pure peppermint oil straight from the bottle, and keep it away from little kids. It's very concentrated.
Candy Canes for the Top
Three regular candy canes give you about ¼ cup crushed, which is plenty for one pan.
Put them in a zip-top bag, wrap the bag in a kitchen towel and tap with a rolling pin until the pieces are about the size of coarse sea salt.
Then shake the bits in a fine sieve and toss the dusty powder. That powder melts into sticky pink syrup on the caramel, while the bigger pieces stay crunchy.
Any hard peppermint candy works here too, including the round striped ones.
Equipment That Matters
Candy making is about temperature, so a good thermometer is the one tool I won't skip. A few other pieces make the job easier.
- Candy thermometer. A clip-on or a digital probe both work. Set it so the tip sits ½ inch above the bottom of the pot, never touching it, or you'll read the hot metal instead of the caramel.
- High-sided heavy saucepan (3-4 quart). The caramel bubbles up hard when the cream goes in. A small pot will boil over.
- 8x8-inch metal pan. Metal or ceramic cools evenly. Glass holds heat at the edges and can crack from the hot sugar.
- Parchment paper. Leave a little overhang on two sides so you can lift the whole slab out.
- Wet pastry brush. For washing sugar crystals off the sides of the pot.
- Heatproof silicone spatula. For stirring in the cream and extract.
Not sure your thermometer is accurate? Test it.
Clip it into a pot of boiling water. At sea level it should read 212°F. If it reads 208°F, subtract 4 degrees from every target in this recipe.
How to Make Peppermint Caramels
The whole cook takes about 35 minutes, and most of it is just watching a thermometer climb. Read through the steps once before you start, because the end moves quickly.
Step 1: Prep the Pan and Candy
Line an 8x8-inch metal pan with parchment, letting it hang over two sides. Lightly butter or spray the parchment. Crush and sieve the candy canes and set them right next to the stove.
Step 2: Warm the Cream
In a small saucepan, warm 1 ¼ cups heavy cream, 4 tablespoons butter and ¼ teaspoon salt over low heat until the butter melts and the cream is hot but not boiling. Turn off the heat and cover it to keep it warm.
Warm cream is non-negotiable. Cold cream hitting 270°F sugar makes the caramel seize into a hard lump.
Step 3: Cook the Sugar Syrup
In your high-sided pot, stir together 1 ½ cups sugar, ½ cup corn syrup and ¼ cup water until the sugar looks like wet sand. Brush down the inside of the pot with a wet pastry brush to dissolve any crystals clinging to the sides.
Clip on the thermometer and bring the syrup to a boil over medium-high heat. Do NOT stir from here. Let it boil until it reaches 270°F, about 12-15 minutes. It should still look clear to barely golden.
Step 4: Add the Cream
Turn the heat to medium. Pour in the warm cream a little at a time, standing back, because the pot will bubble up hard and hiss. Stir gently with the silicone spatula after each addition, scraping the bottom and corners.
The temperature will drop to around 220°F. That's normal.
Step 5: Cook to Soft Caramel
Let the caramel cook over medium heat, tilting and swirling the pot every couple of minutes instead of stirring. Cook until the thermometer reads 248°F, about 12-15 minutes. The color should be a light toasty gold, like a latte.
Watch closely past 240°F. The last few degrees go fast.
Step 6: Flavor and Pour
Take the pot off the heat and stir in ¾ teaspoon peppermint extract and ½ teaspoon vanilla. It will sputter for a second. Pour the caramel into the prepared pan, but don't scrape the pot, since the bits stuck to the bottom are the ones most likely to be grainy or overcooked.
Step 7: Top and Set
Let the caramel sit for 10 minutes, then scatter the crushed candy cane evenly over the top and press it in lightly with the back of a spoon. Cool at room temperature until completely firm, about 2 hours, or chill for 1 hour if you're in a hurry.
Step 8: Cut and Wrap
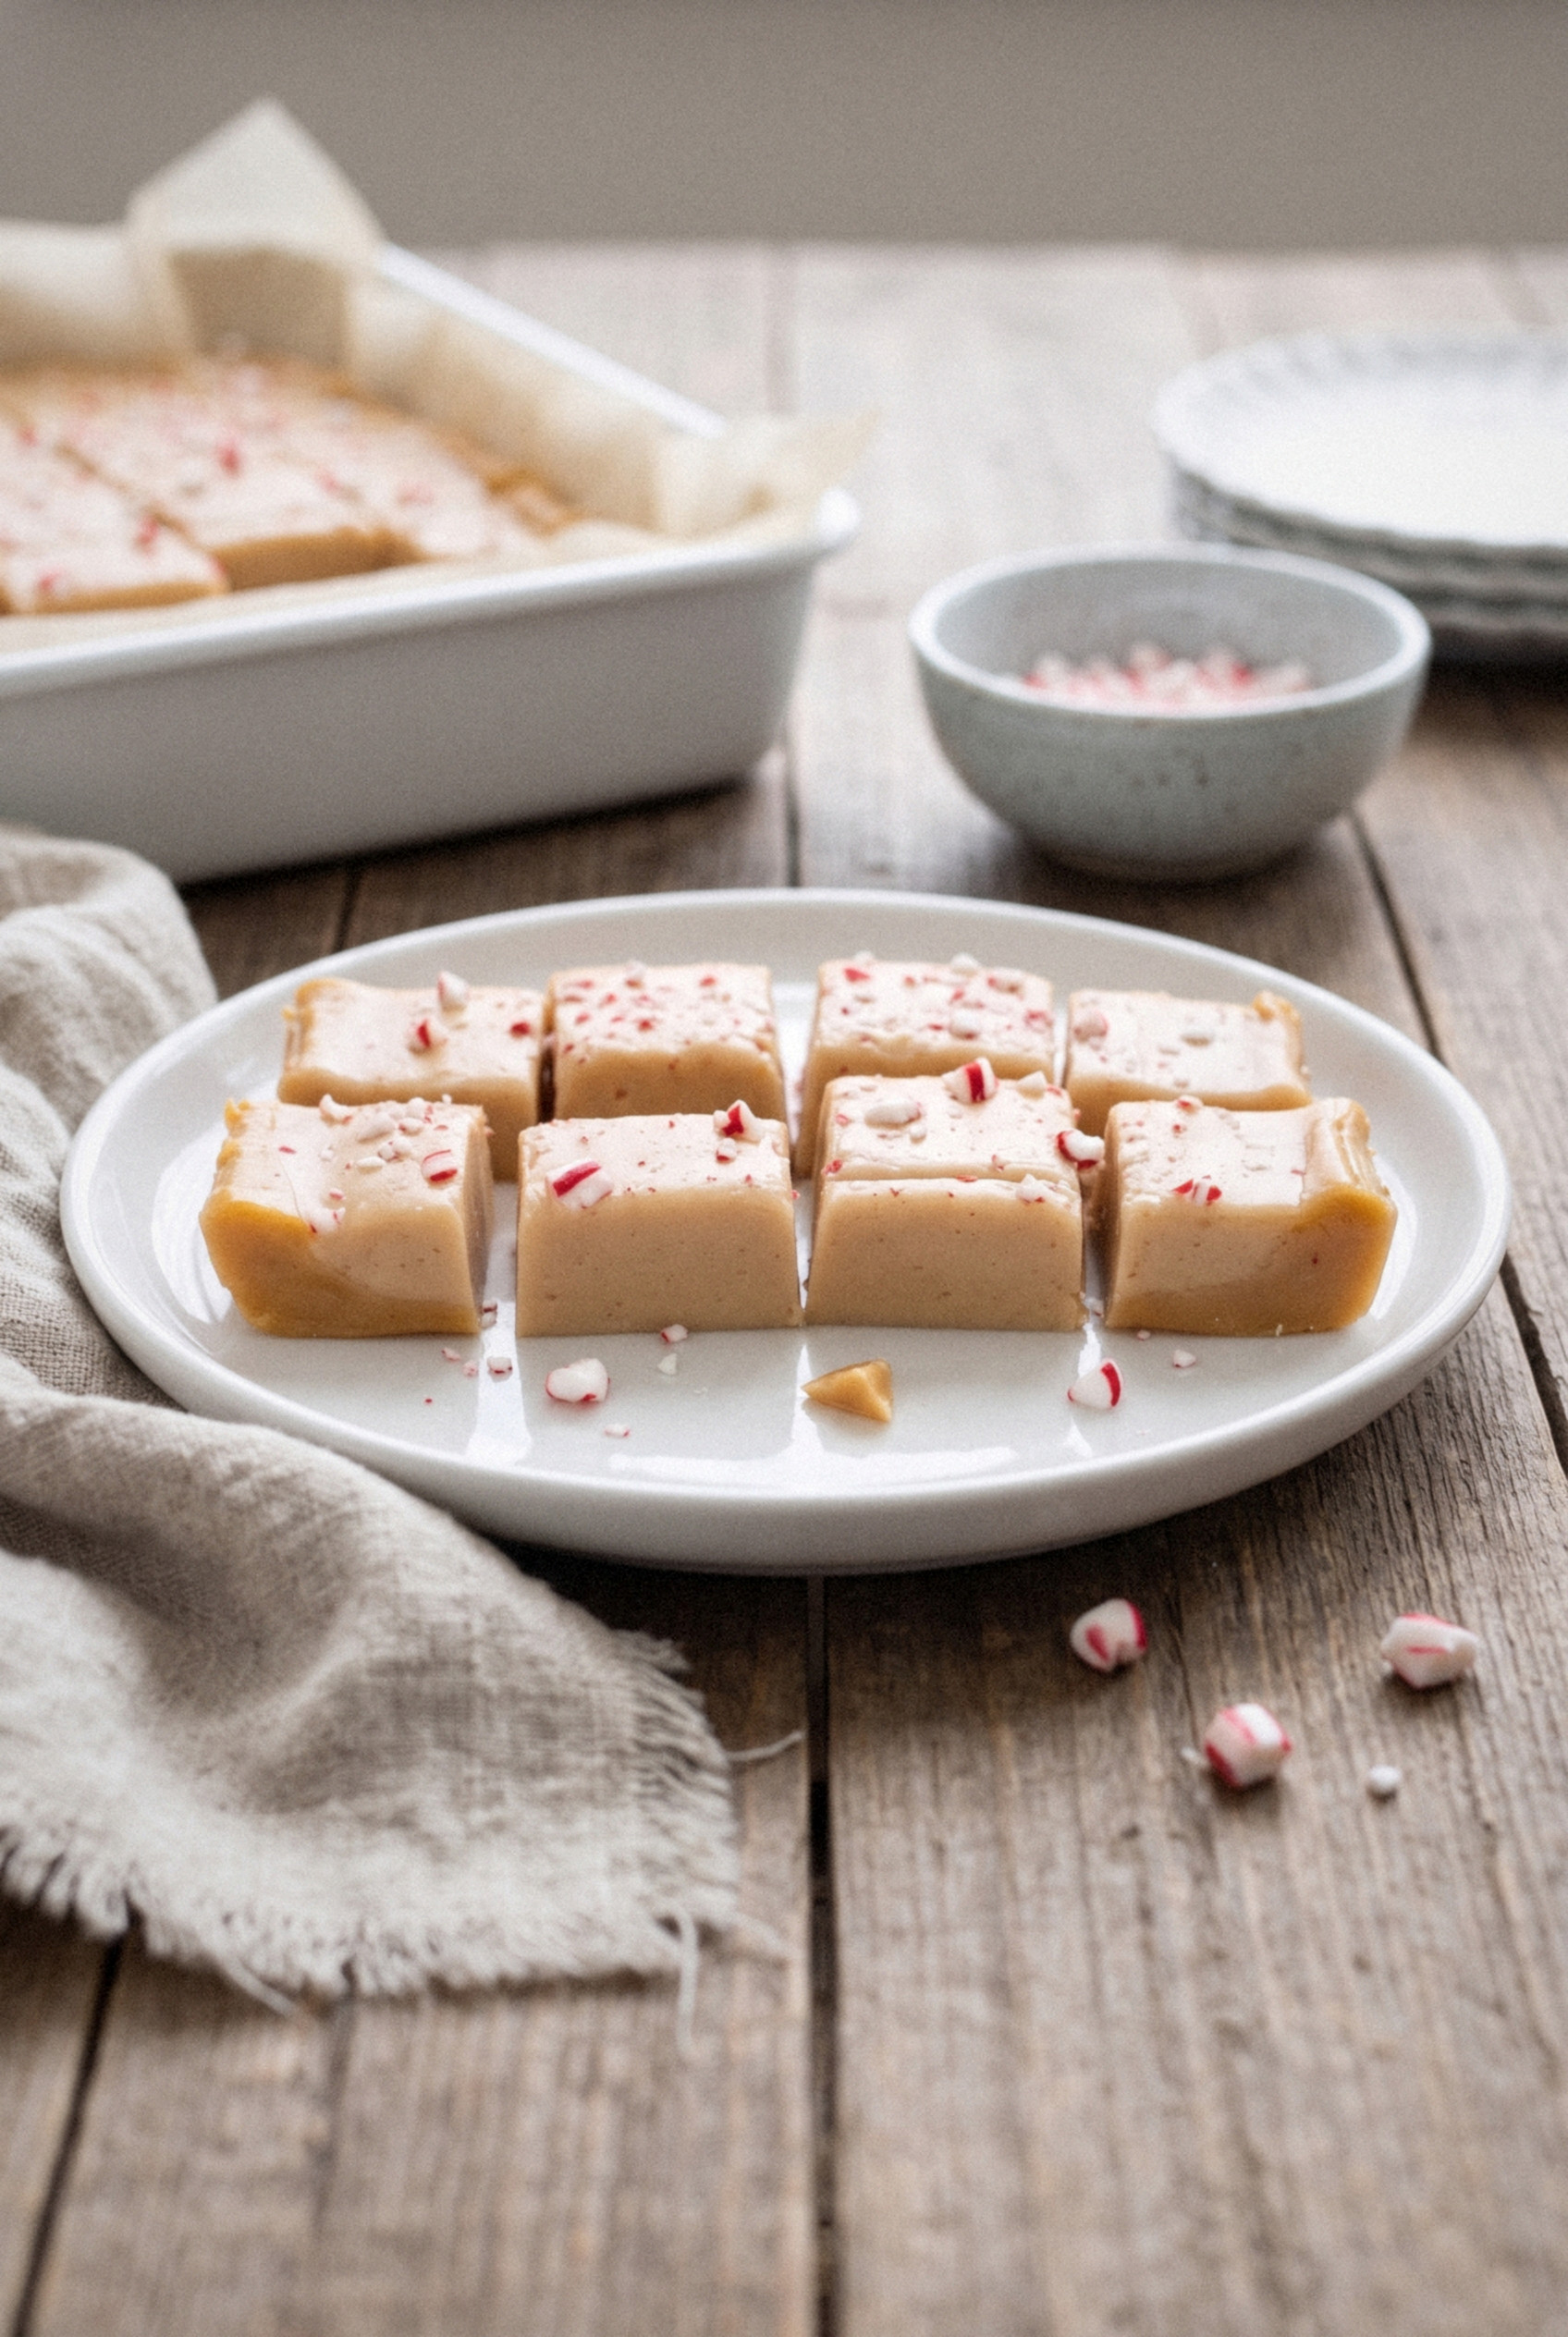
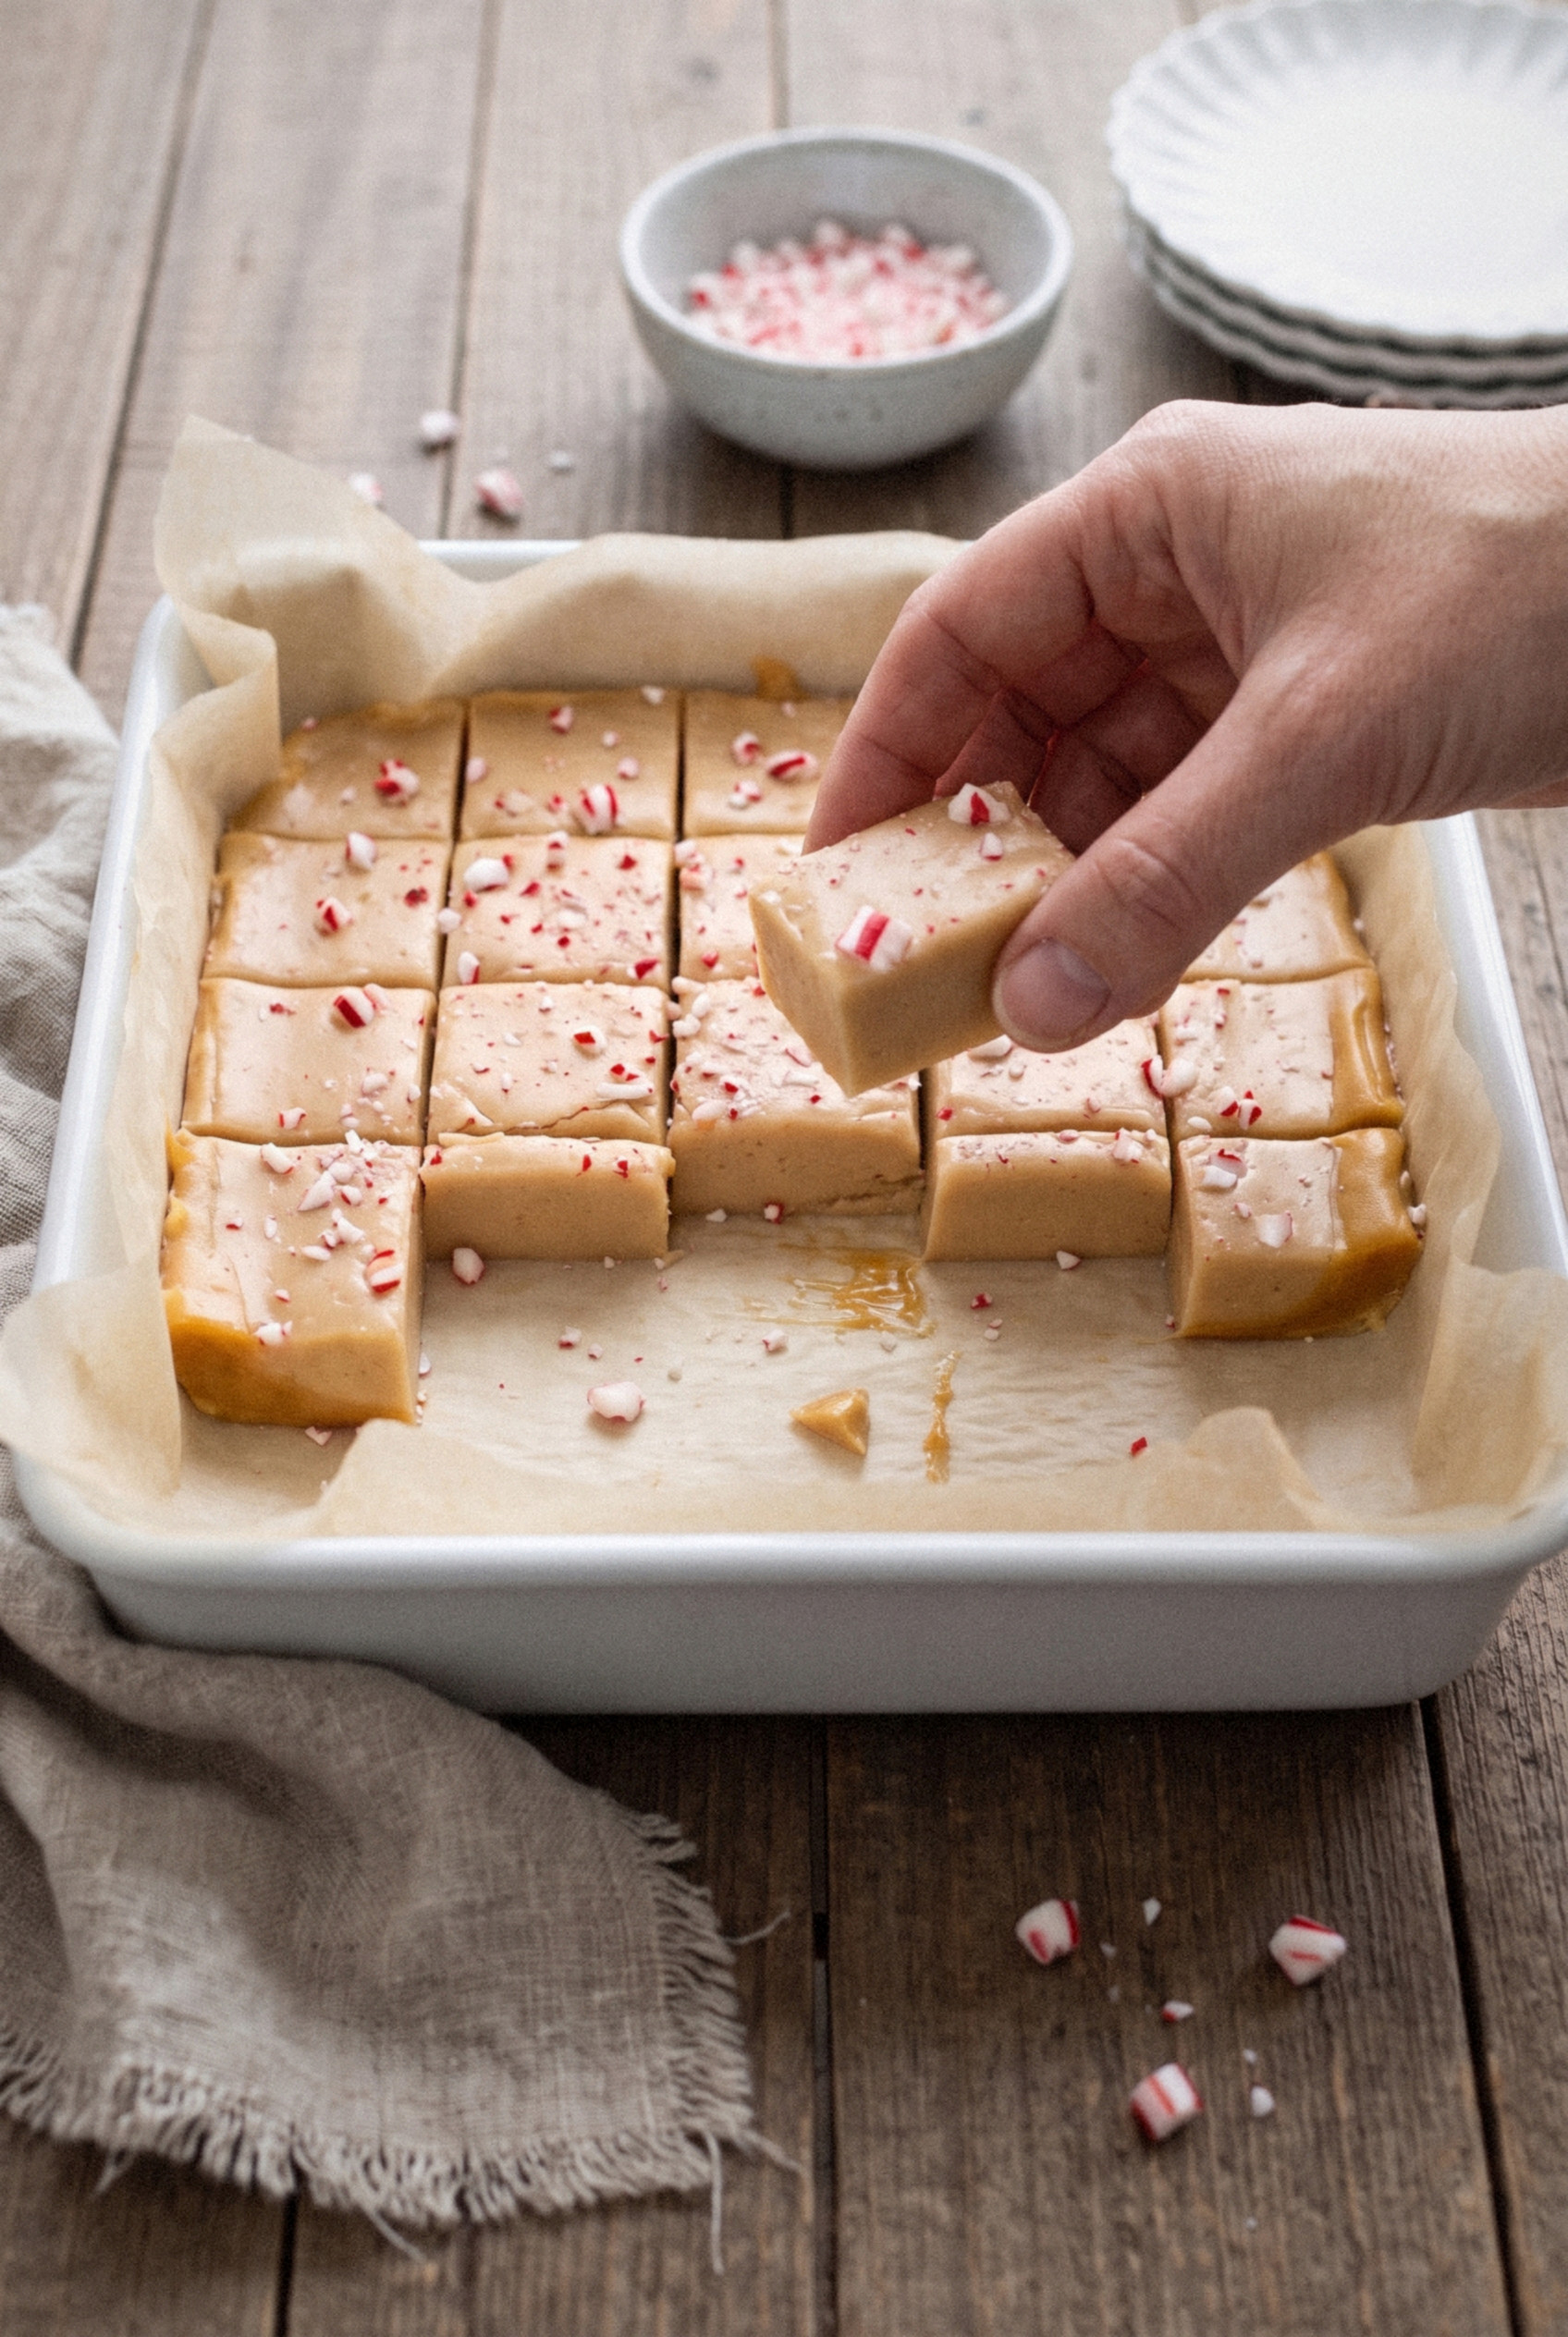
Lift the slab out by the parchment. Butter a long sharp knife and cut the caramel into 1-inch strips, then into 1-inch squares, for 64 pieces. Wrap each one in a 3x4-inch square of wax paper and twist the ends.
Pro tip: if the caramel feels too soft to cut cleanly, chill it for 10 minutes and try again.
How Not to Ruin Your Caramels
Most caramel failures come from the same handful of mistakes, and every one of them is easy to dodge. I've made most of them myself.
- Stirring the sugar syrup. Stirring before the cream goes in knocks sugar crystals loose and turns the batch grainy. Swirl the pot instead.
- Skipping the pastry brush. One dry crystal on the side of the pot can seed the whole pan. A wet brush fixes it in ten seconds.
- Adding cold cream. The temperature shock makes the sugar seize. Keep the cream warm and covered.
- Pulling it too early. At 240°F the caramel stays saucy and won't hold a square.
- Cooking it too far. At 255°F and above you get a firm, jaw-workout chew. For soft caramels, 245-250°F is the sweet spot.
- Scraping the pot. The crust on the bottom is where crystals and scorched bits hide. Leave it behind.
- Adding the extract on the heat. Mint flavor is mostly alcohol and oil, and it cooks off fast.
No thermometer? You can use the cold water test.
Drop a little caramel into a glass of ice water. When it forms a ball that holds its shape but squishes easily between your fingers, it's at firm ball, which is right where you want it.
Safety and Cleanup
Cooked sugar is hotter than boiling water and it sticks to skin, so treat this pot with respect. A little care keeps the whole thing calm.
- Stand back when the cream goes in. The warmth burst is real. Add it slowly and keep your face away from the pot.
- Keep kids and pets out of the kitchen. Just for the 30 minutes the sugar is on the stove.
- Use long sleeves and a dry towel. A wet towel conducts heat right into your hand.
- Clean the pot the easy way. Fill it with water, put the spatula and thermometer in, and bring it to a boil. The hardened caramel melts right off.
Variations
Once you've nailed the base, it's a great way to play with holiday flavors. Here are the versions I make most.
- Salted peppermint caramels. Skip the candy cane and finish with a pinch of flaky sea salt on each square. Salt and mint is a sneaky-good combo.
- Chocolate-dipped peppermint caramels. Dip the bottom half of each cut square in melted dark chocolate, then set on parchment. Sprinkle the crushed candy on the chocolate instead.
- Chocolate peppermint caramels. Melt 4 ounces chopped bittersweet chocolate into the warm cream in Step 2. The caramel turns dark and fudgy, and you'll want to cook it to 250°F.
- Condensed milk peppermint caramels. Swap ½ cup of the cream for sweetened condensed milk. The caramels come out a bit softer and creamier, and they brown faster, so watch the color.
- Peppermint vanilla bean. Scrape half a vanilla bean into the cream instead of using extract for little black specks and a deeper flavor.
Wrapping, Gifting and Storage
These caramels were made for gift tins, but they do need to be wrapped. Left loose, they slowly slump into each other and become one giant caramel.
- Wrapping. Cut wax paper or parchment into 3x4-inch rectangles. Roll each caramel up and twist both ends like a little candy.
- Gifting. Pack wrapped caramels in a tin, a small box or a cellophane bag tied with ribbon. They sit nicely next to cookies on a holiday tray without making them soggy.
- Room temperature. Wrapped and airtight, they keep for up to 3 weeks in a cool, dry spot.
- Fridge. They hold for up to 1 month. Let them sit out for 15 minutes before eating so they soften.
- Freezer. Wrapped caramels in a freezer bag last up to 3 months. Thaw in the bag on the counter so condensation doesn't make the candy topping sticky.
- Humidity. On damp days, the candy cane bits can get tacky. Wrap the caramels the same day you cut them.
Make-Ahead Timing for the Holidays
Because they keep so well, I make these the first or second weekend of December. That frees up the oven for cookies later.
- 3 weeks ahead. Cook, cut and wrap. Store airtight at room temperature.
- Same week. Pack into tins and add a tag.
- Double batch. Make two separate pans instead of doubling the pot. A doubled batch cooks unevenly and takes much longer to reach temperature.
What to Do With Leftover Candy Canes
If your drawer looks like mine in January, this recipe only uses three of them. Here's where the rest of mine go.
- Another batch of these. Honestly, this is the best use I've found.
- Peppermint bark. Melted dark and white chocolate with crushed candy on top.
- Cookie topping. Press crushed bits onto chocolate crinkle cookies or sugar cookies right out of the oven.
- Hot cocoa stirrers. Hang a whole one on each mug.
- Brownie topping. Scatter over frosted brownies for a cookie-tray look.
- Peppermint sugar. Blitz candy canes to a powder and use it to rim a mug or dust a cake.
That drawer never stood a chance. Give it a try!
Recipe
Peppermint Caramels
Ingredients
For the Cream
- 1 ¼ cups heavy cream
- 4 tablespoons unsalted butter cut into pieces, plus more for the pan
- ¼ teaspoon kosher salt
For the Caramel
- 1 ½ cups granulated sugar
- ½ cup light corn syrup
- ¼ cup water
- ¾ teaspoon peppermint extract or 5-6 drops food-grade peppermint oil
- ½ teaspoon vanilla extract
For the Topping
- 3 regular candy canes crushed and sieved, about ¼ cup
Instructions
Prep
- Line an 8x8-inch metal pan with parchment, leaving an overhang on two sides. Lightly butter the parchment.
- Crush the candy canes in a zip-top bag with a rolling pin, sieve out the fine powder and set the pieces aside.
- Warm the cream, butter and salt in a small saucepan over low heat until the butter melts and the cream is hot but not boiling. Turn off the heat and cover.
Cook the Caramel
- In a 3-4 quart high-sided saucepan, stir together the sugar, corn syrup and water. Brush down the sides of the pot with a wet pastry brush.
- Clip on a candy thermometer with the tip ½ inch above the bottom. Boil over medium-high heat without stirring until the syrup reaches 270°F, 12 to 15 minutes.
- Reduce the heat to medium. Carefully add the warm cream mixture a little at a time, stirring gently and scraping the bottom after each addition.
- Cook without stirring, tilting and swirling the pot every couple of minutes, until the caramel reaches 248°F and is light golden, 12 to 15 minutes.
- Remove from the heat and stir in the peppermint extract and vanilla.
Set, Cut and Wrap
- Pour the caramel into the prepared pan without scraping the pot. Let it sit for 10 minutes.
- Sprinkle the crushed candy canes evenly over the top and press them in lightly with the back of a spoon.
- Cool at room temperature until firm, about 2 hours, or refrigerate for 1 hour.
- Lift out the slab, cut into 1-inch strips and then 1-inch squares with a buttered knife. Wrap each caramel in wax paper and twist the ends.
Notes
- Thermometer check: Test your thermometer in boiling water first. If it reads below 212°F at sea level, lower the target temperatures by the same amount.
- Texture: 245°F gives a very soft caramel, 248°F a soft chew, and 252°F a firmer chew.
- Storage: Keep wrapped caramels airtight at room temperature up to 3 weeks, in the fridge up to 1 month, or frozen up to 3 months.
- Humidity: Wrap the caramels the same day you cut them so the candy cane topping stays crunchy.