Pink and murky green. That's what came out of my pan the night I promised my wife's book club a tray of red and green holiday fudge.
I'd used liquid food coloring, stirred the colors together like I was mixing paint, and watched the whole thing go dull and soft.
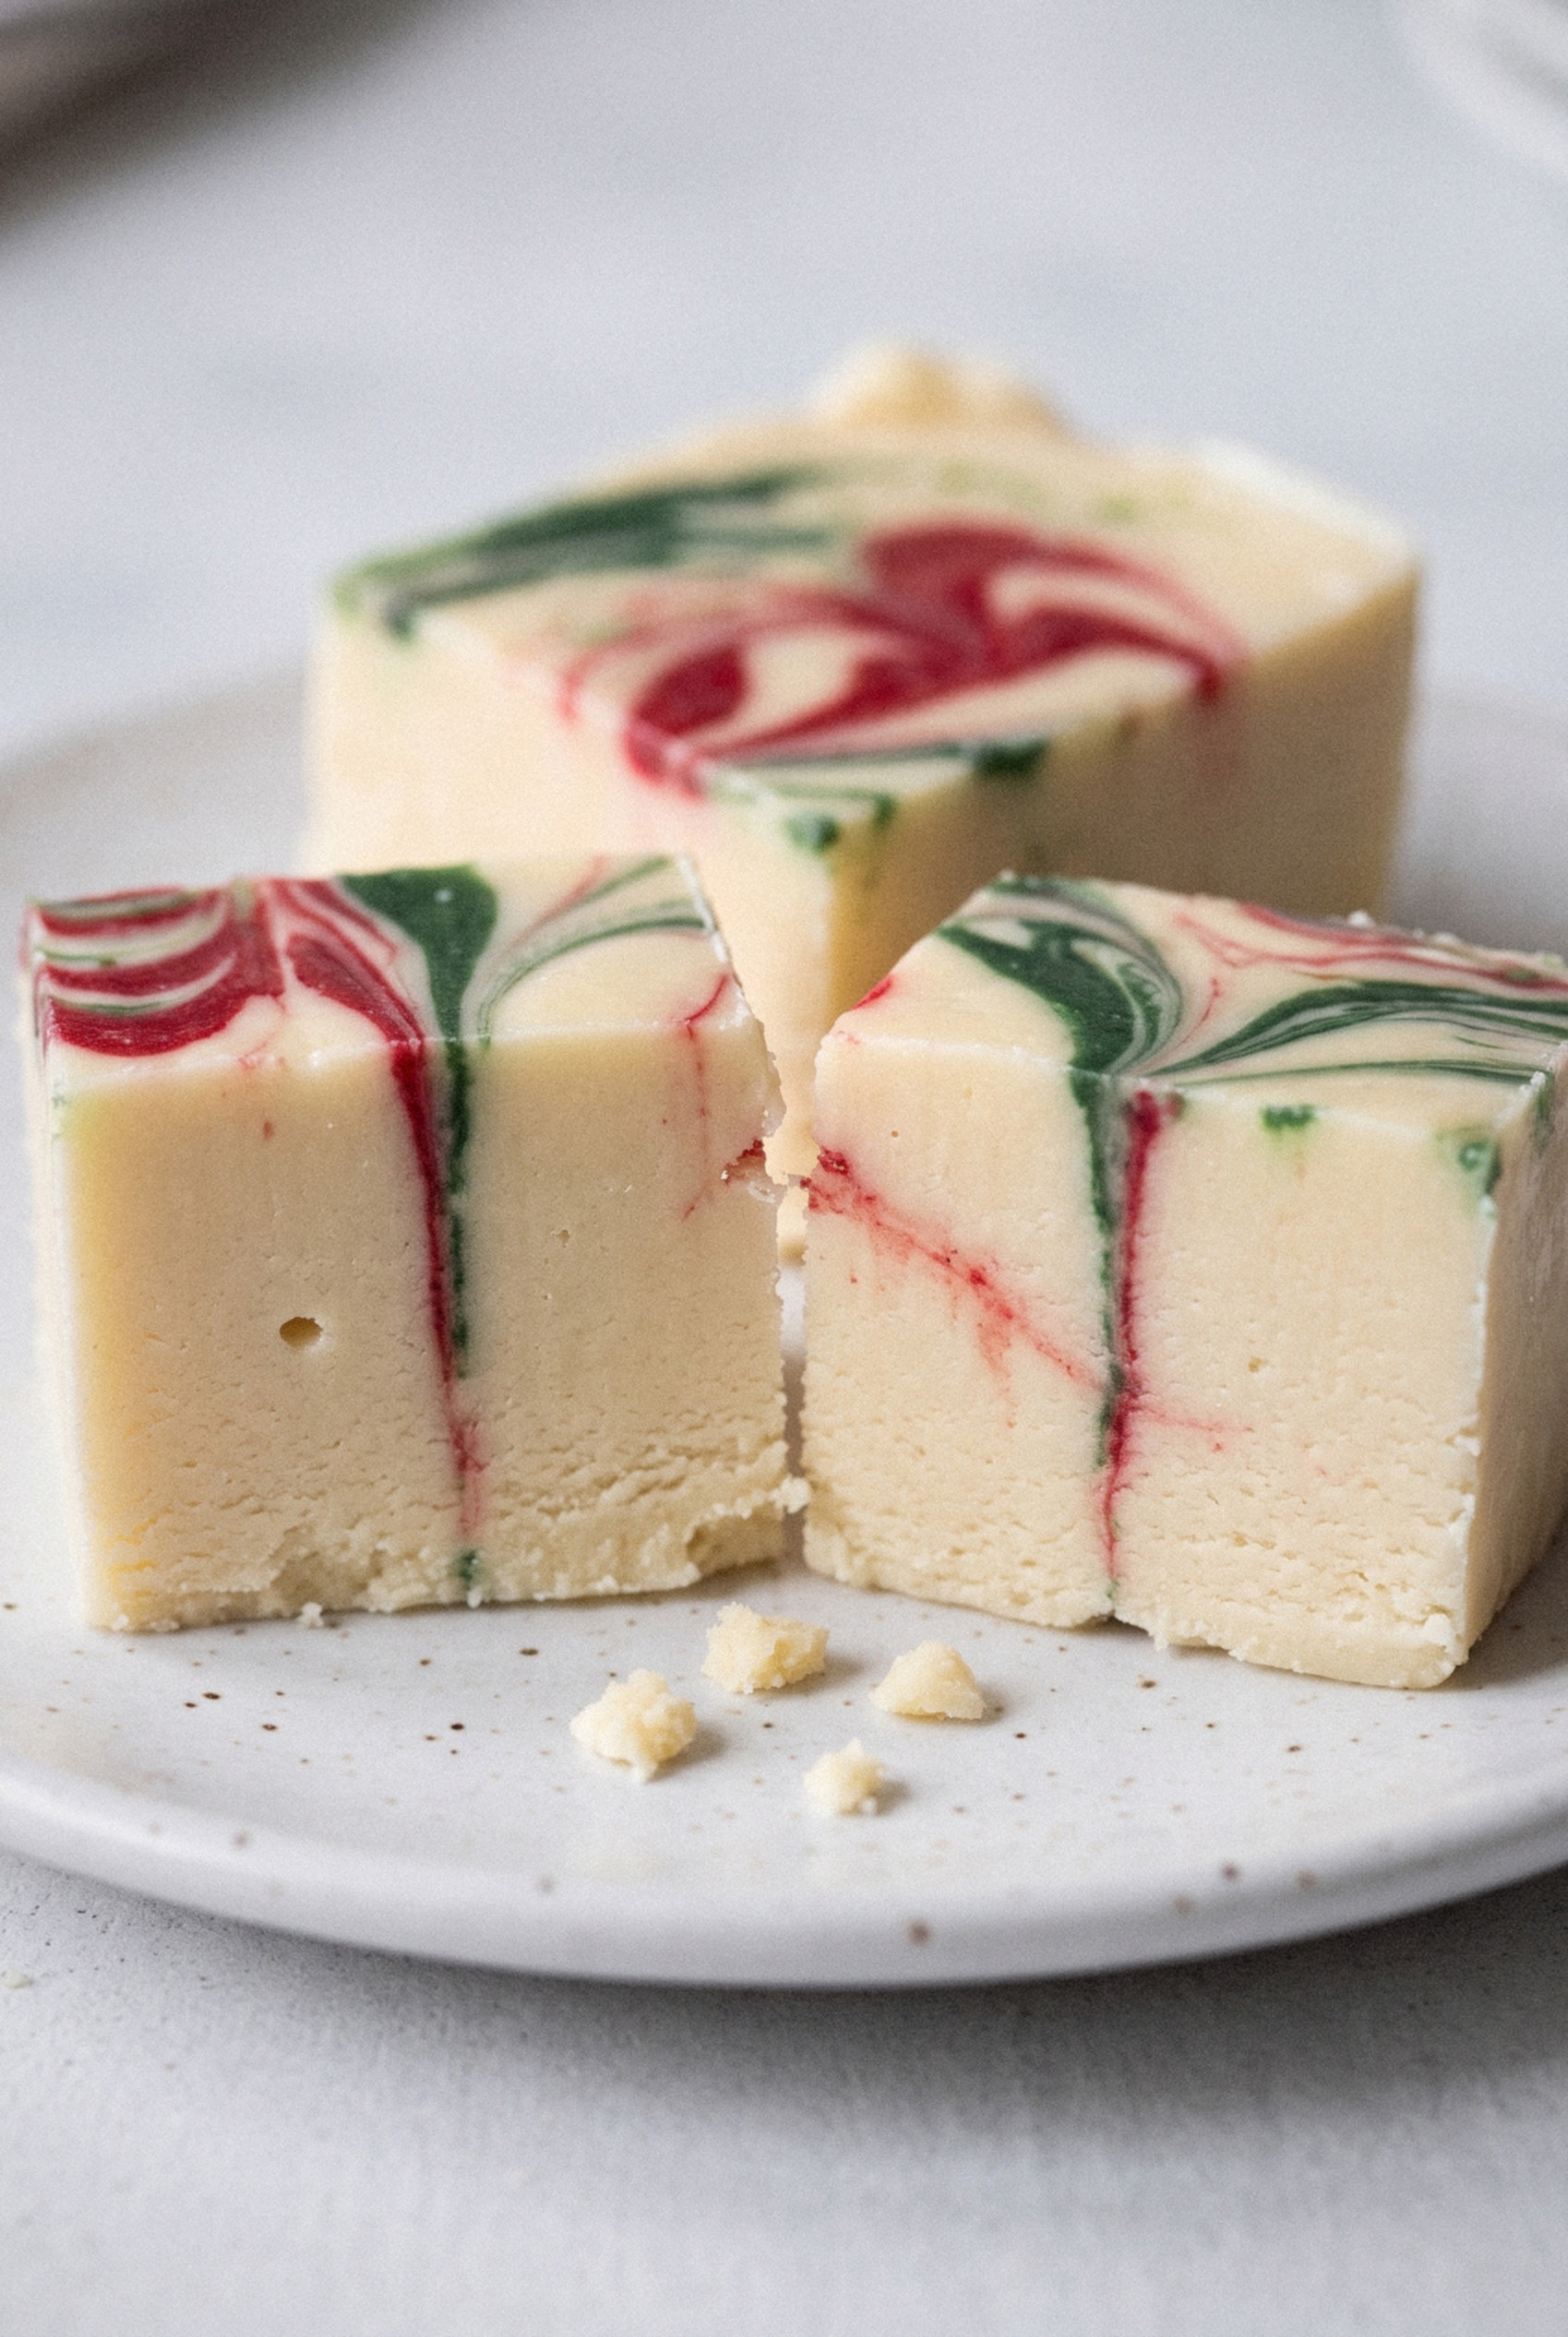
It tasted fine. It just looked like a melted crayon box.
So I went back to the stove the next weekend and fixed it one mistake at a time.
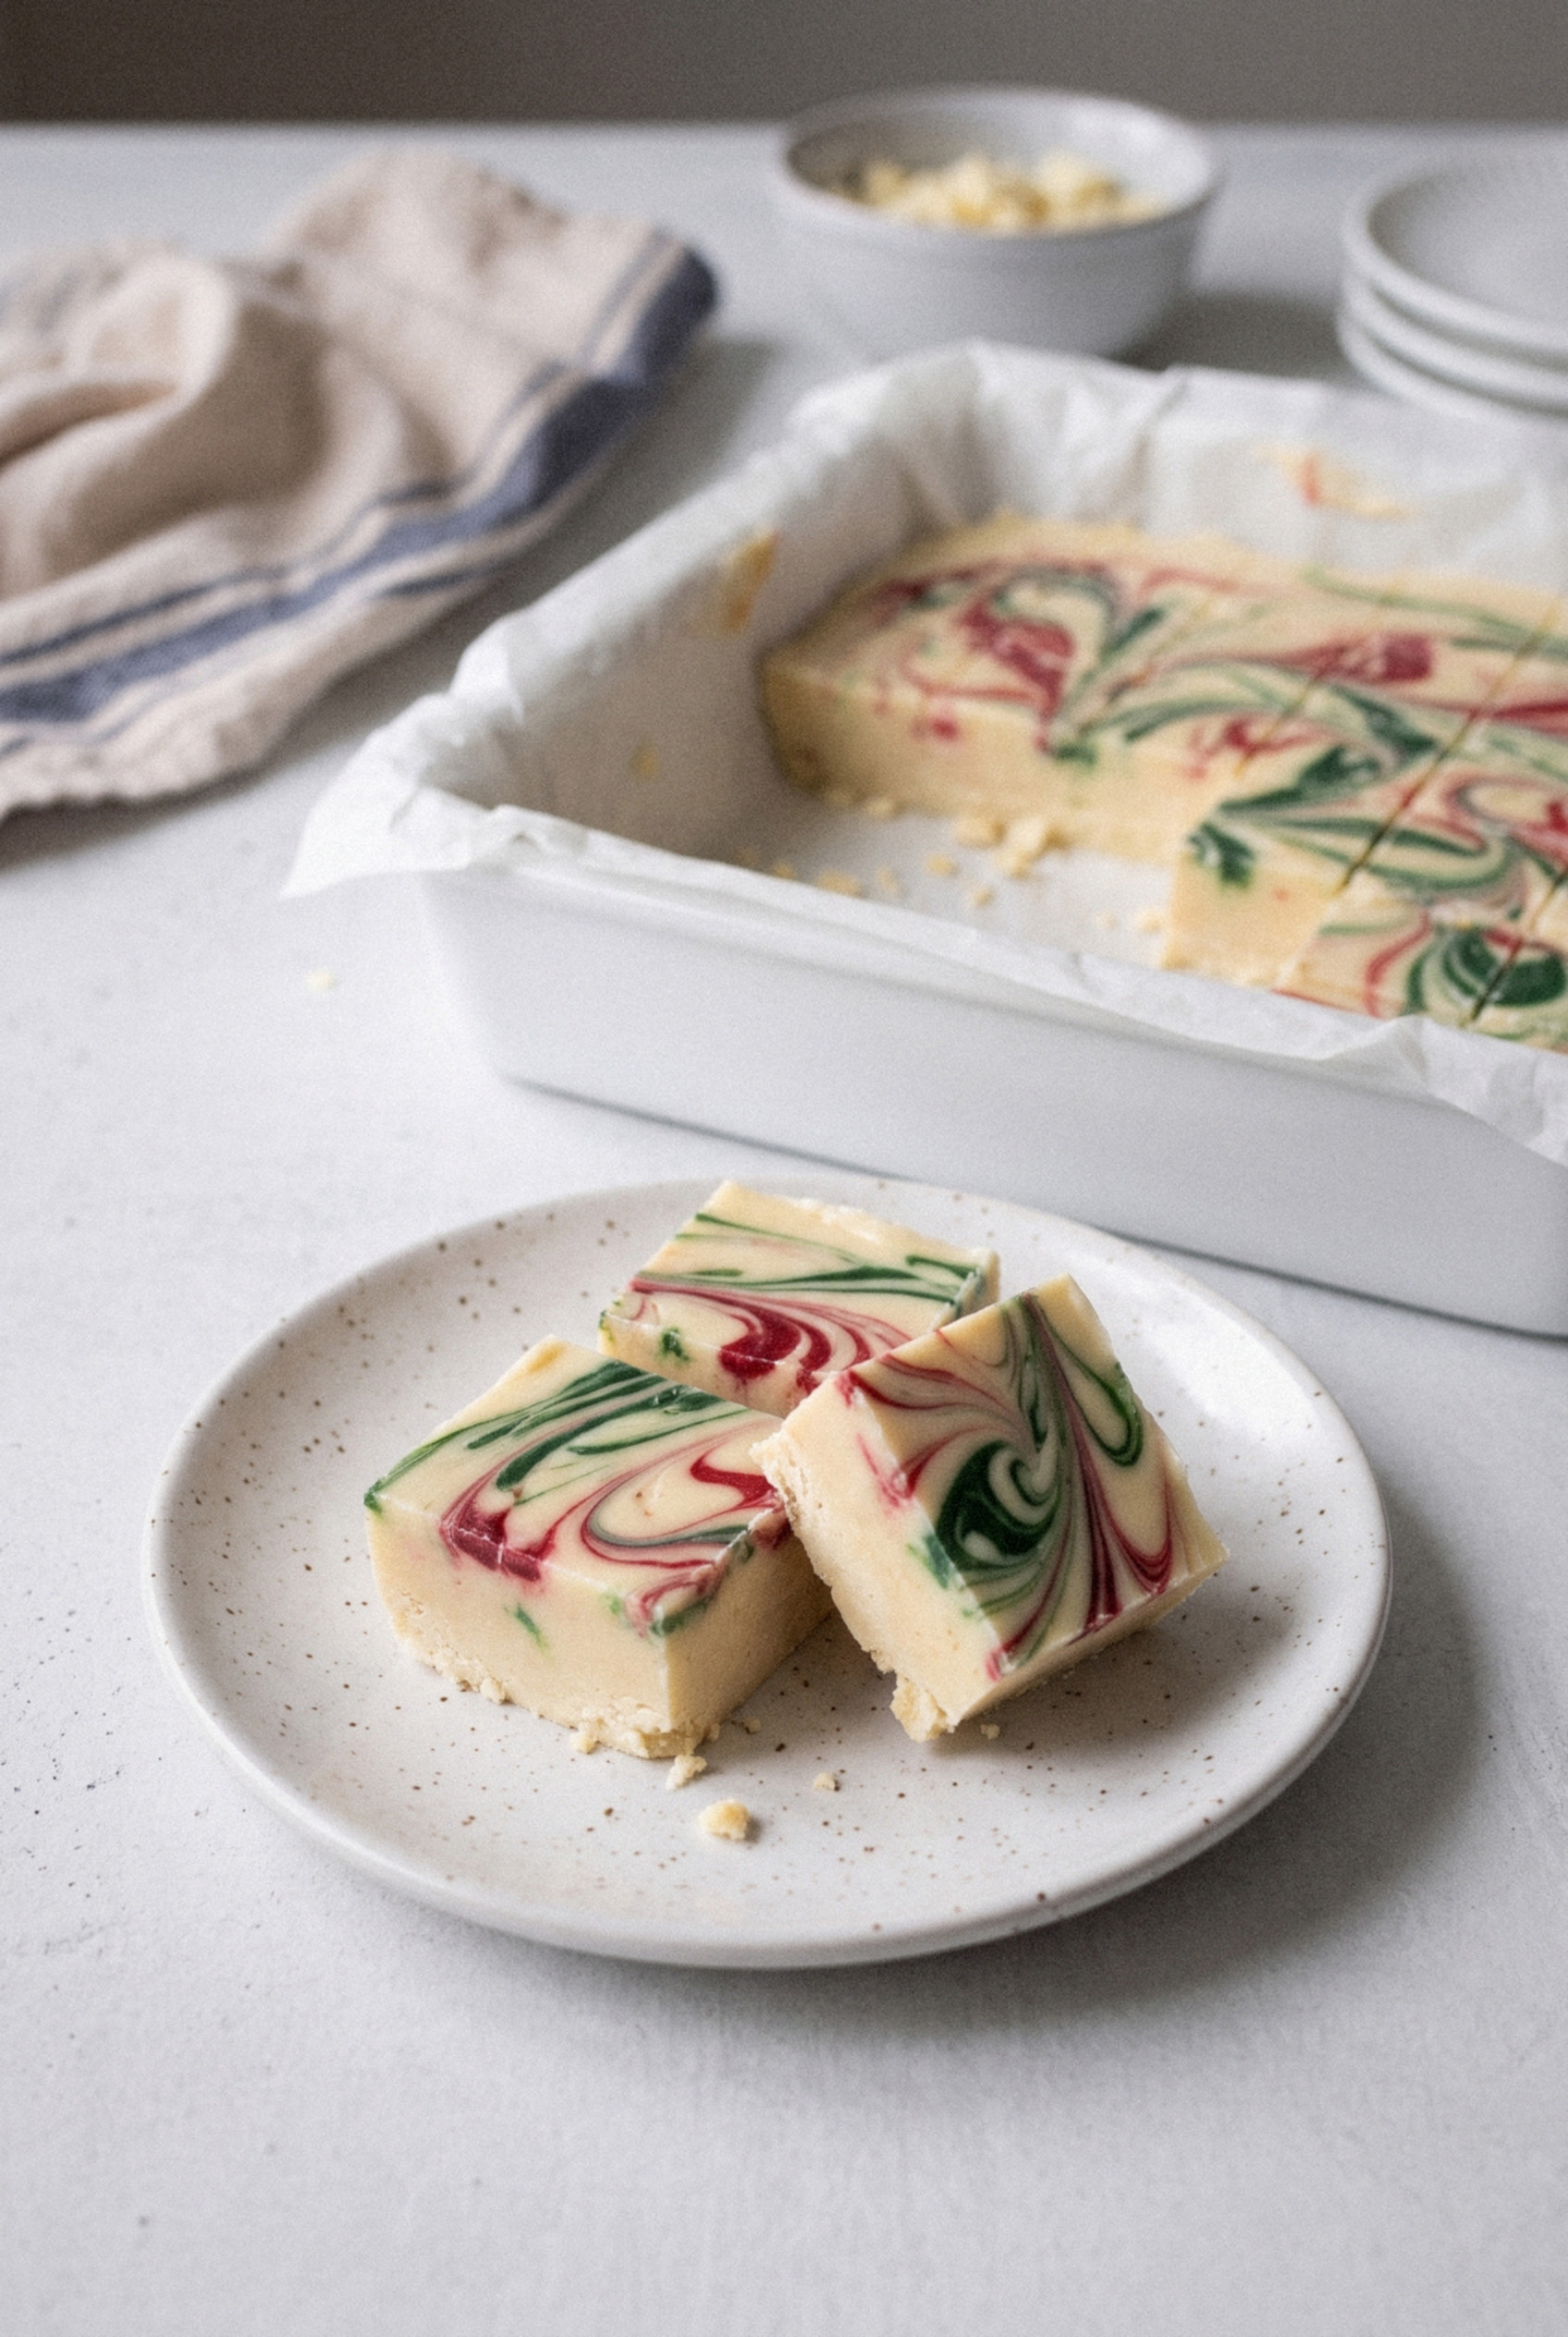
The result is this White Chocolate Swirl Christmas Fudge, and it's now the first thing I make once December baking starts.
Gel coloring keeps the red bright and the green deep.
Cold butter and sweetened condensed milk give the white chocolate a smooth, creamy set that slices clean.
And a few slow passes with a skewer, then stopping, gives you those sharp ribbons of color instead of mud.
My wife says it's the prettiest thing on our cookie tray, and the book club still asks for it.
There's no candy thermometer and no boiling sugar here.
It's about 15 minutes of work, a few hours in the fridge, and one pan that cuts into enough squares to fill a stack of gift tins.
I promise it's easier than it looks.
Why This Is the Easiest Christmas Gift Fudge
This fudge is a no-cook, no-thermometer recipe that still looks like it came from a candy shop. You melt, you color, you swirl, and the fridge does the rest.
- No candy thermometer. You never boil sugar, so there's no soft-ball stage to hit.
- About 15 minutes of hands-on time. Start it after lunch and it's cut and boxed by dinner.
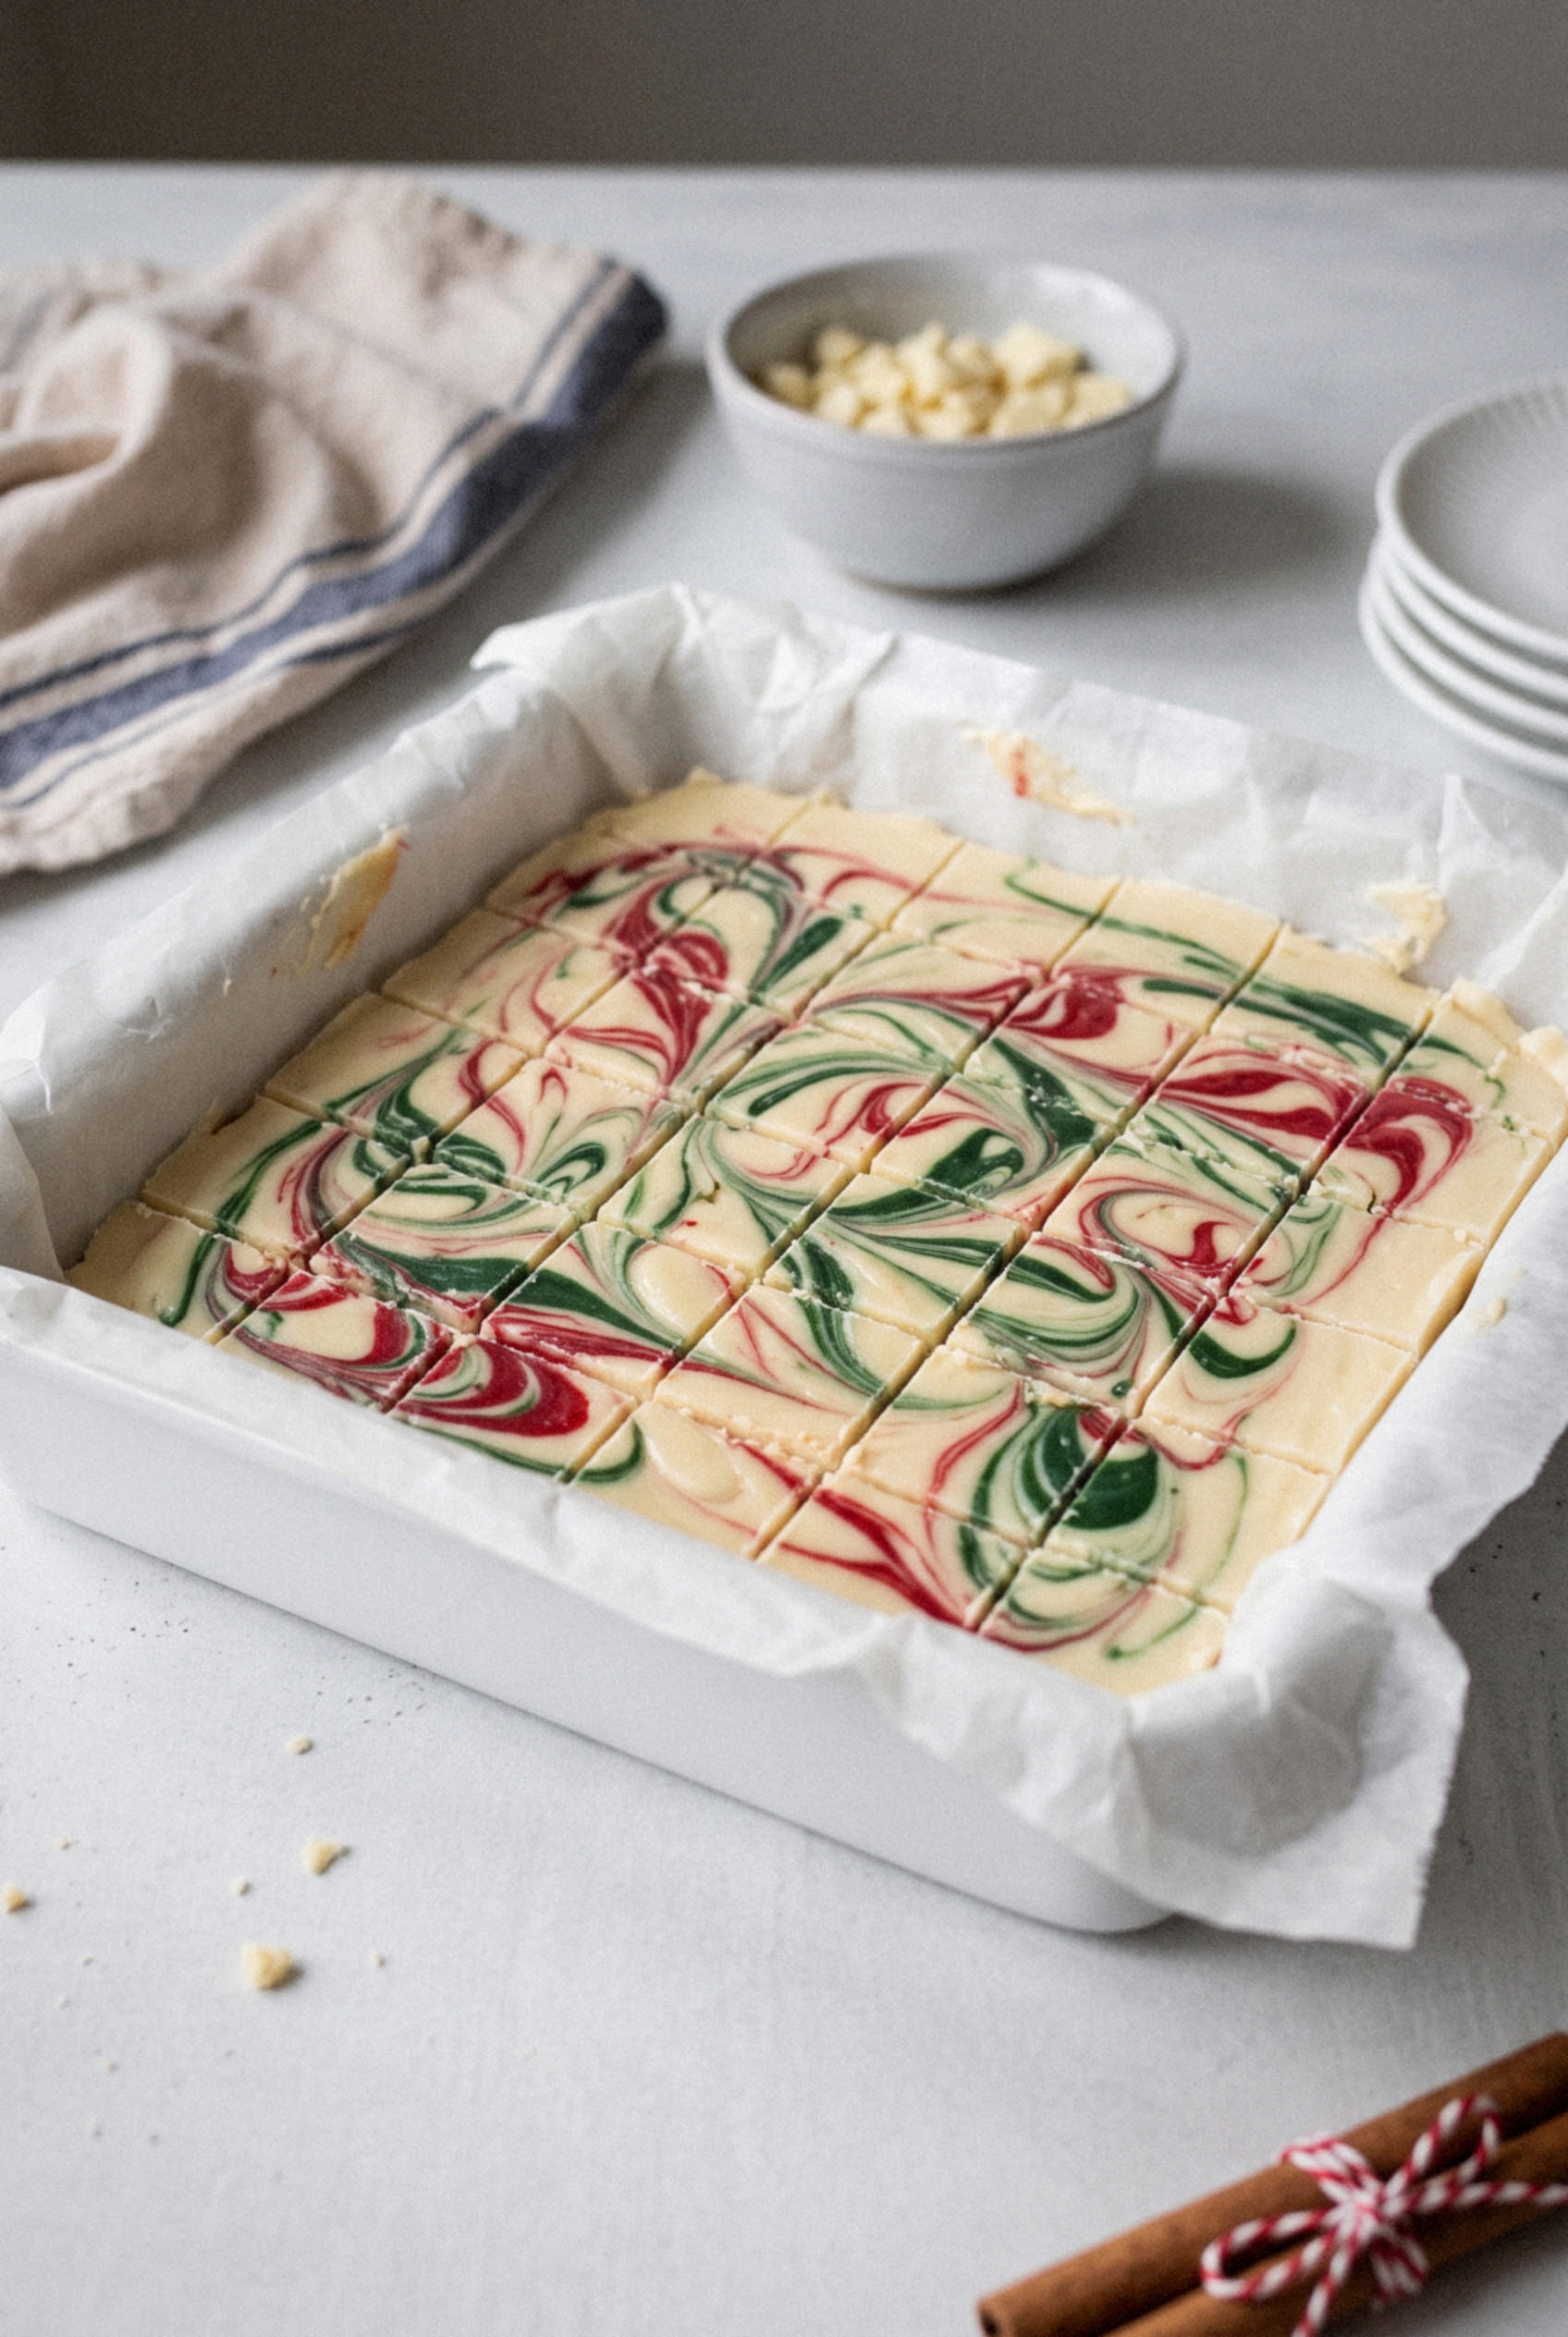
- One pan, 49 squares. That's enough for three or four small gift tins.
- Five pantry ingredients plus color. White chips, condensed milk, butter, vanilla and salt.
- Totally customizable. Swap the colors for any holiday or team colors you like.
Why does it set so firm without cooking? Sweetened condensed milk is already thick and full of sugar, so it gives white chocolate the body it needs to hold a clean edge once chilled.
Read This Before You Start
White chocolate is fussier than milk or dark chocolate, so set everything out first. Once it melts, you have a few minutes to color and swirl before it starts to firm up.
- Line the pan. Use an 8x8-inch straight-sided pan with parchment, leaving an overhang on two sides for lifting.
- Grab two small bowls. One for red, one for green. Microwave-safe is handy in case a bowl stiffens.
- Open the gel colors. Have a toothpick or the bottle tip ready so you're not hunting for it mid-batch.
- Find a skewer. A wooden skewer or a thin butter knife does the swirling.
Fair warning: Don't walk away from the stove while the chips melt. White chocolate scorches fast and there's no saving it once it does.
Ingredients That Make or Break It
With so few ingredients, every one of them matters. Here's what to buy and why.
- White chocolate chips (22 ounces, two 11-ounce bags). Quality counts here. Ghirardelli and similar brands melt smoother than store-brand chips, which can stay thick and grainy.
- Sweetened condensed milk (one 14-ounce can). NOT evaporated milk. They sit side by side on the shelf, but evaporated milk won't let this fudge set.
- Cold unsalted butter (4 tablespoons, cubed). Cold butter melts in slowly and keeps the mixture glossy and smooth.
- Vanilla extract (1 teaspoon). Most recipes skip it, but it rounds out the sweetness of white chocolate.
- Salt (a pinch). Just enough to keep it from tasting flat.
- Red and green gel food coloring (¼ to ½ teaspoon each). Start with the smaller amount and add more until you like the shade.
Why Gel Coloring, Never Liquid
Liquid coloring is mostly water, and water is the enemy of melted white chocolate. It can make the mixture seize into a stiff, grainy lump or keep the fudge from setting at all.
Gel coloring is concentrated, so a tiny amount gives you a deep, true red and green without thinning anything out. That was the single biggest fix for my pink-and-murky disaster.
How to Make White Chocolate Swirl Christmas Fudge
The method is four simple stages, and the whole thing takes about 20 minutes before chilling. Keep the heat low and work steadily.
Step 1: Melt Low and Slow
Add the white chocolate chips, sweetened condensed milk, cold butter cubes and salt to a medium saucepan over medium-low heat. Stir constantly for 4-6 minutes, scraping the bottom, until the chips melt completely and the mixture looks smooth and glossy.
Take it off the heat as soon as the last chip melts and stir in the vanilla. If you prefer the microwave, heat everything in a large bowl in 30-second bursts, stirring well between each one.
Step 2: Divide and Tint
Scoop about one-third of the fudge into one small bowl and another third into a second bowl, leaving the last third in the pan. Stir red gel into the first bowl and green gel into the second.
Mix each color until it's completely even with no white streaks. Work quickly here, because the fudge starts to thicken as it cools.
Step 3: Dollop and Swirl
Drop spoonfuls of white, red and green fudge randomly into the lined pan, alternating colors like a checkerboard until it's all used. Gently tap the pan on the counter to settle it.
Drag a skewer through the fudge in long, slow lines, first top to bottom, then side to side. Stop after a few passes, while you can still see three separate colors.
Lay a sheet of parchment on top and press lightly with your palm to smooth the surface. Peel it off gently.
Step 4: Chill and Cut
Refrigerate the fudge for a full 3 hours, until it's firm all the way through. Lift the slab out by the parchment and set it on a cutting board.
Cut it into a 7-by-7 grid for 49 squares, each a little over an inch across. Warm your knife under hot water and dry it between cuts for clean, sharp edges.
Worth the wait? Every time.
How to Get a Clean, Store-Bought Swirl
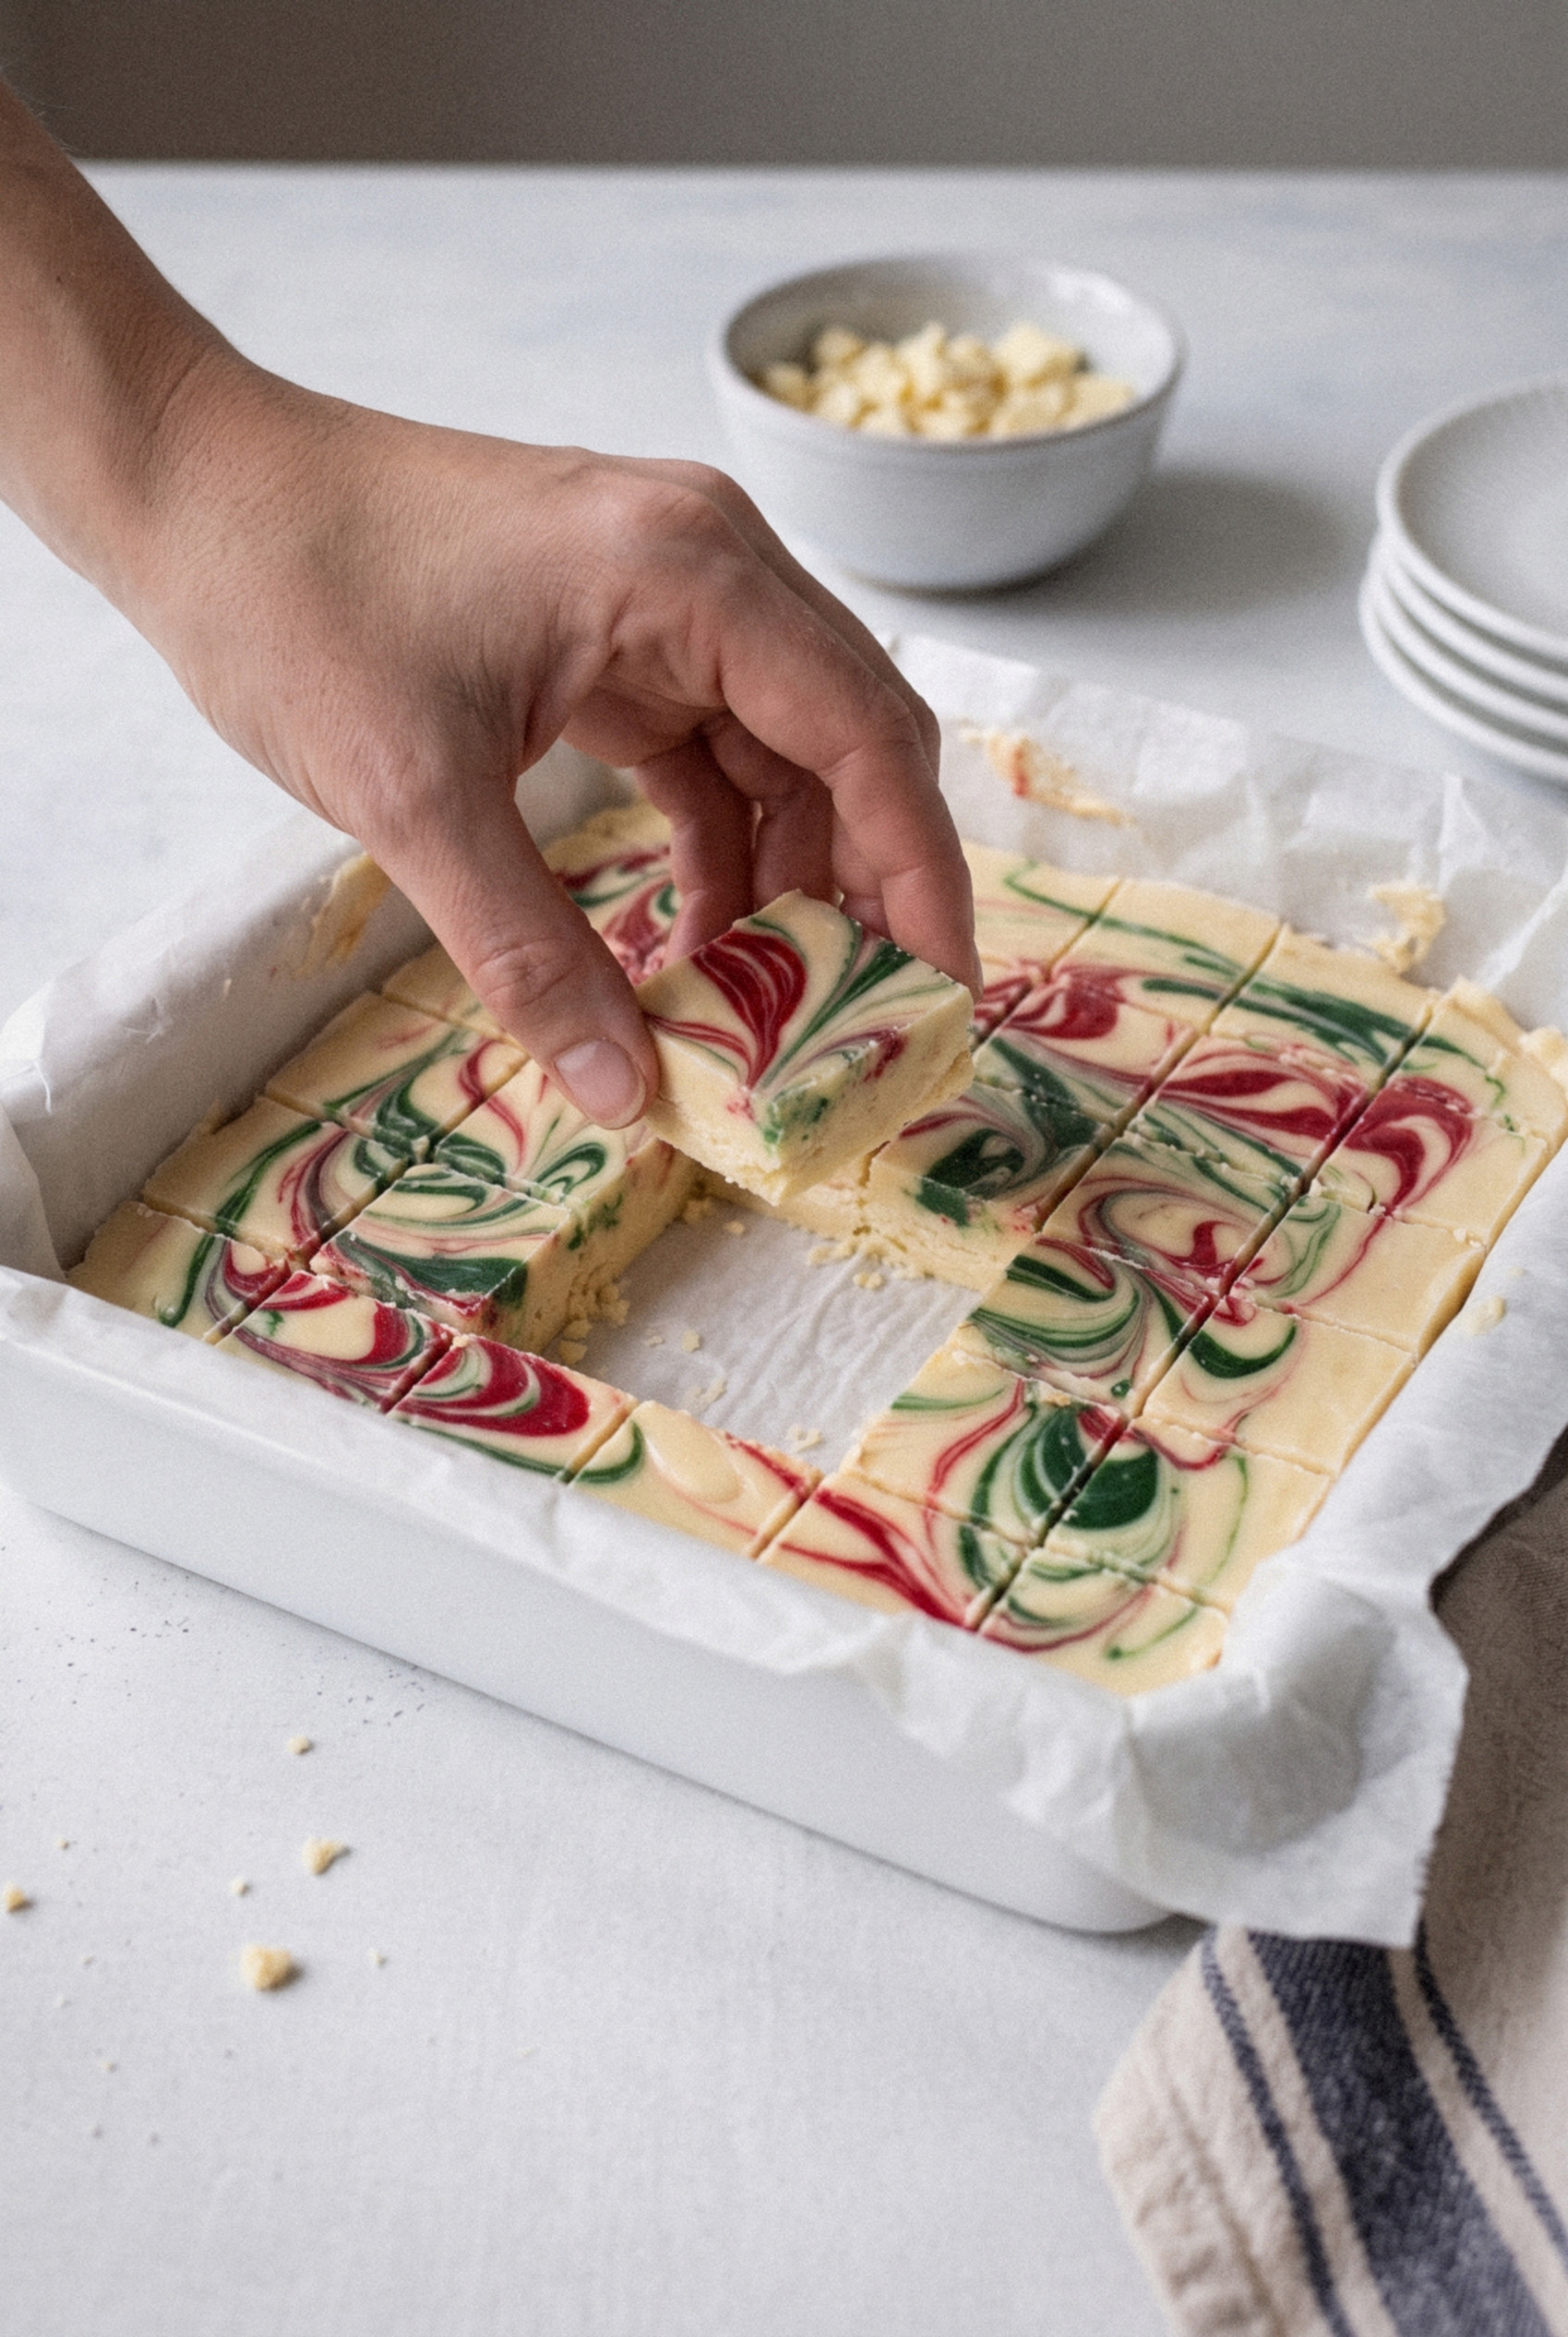
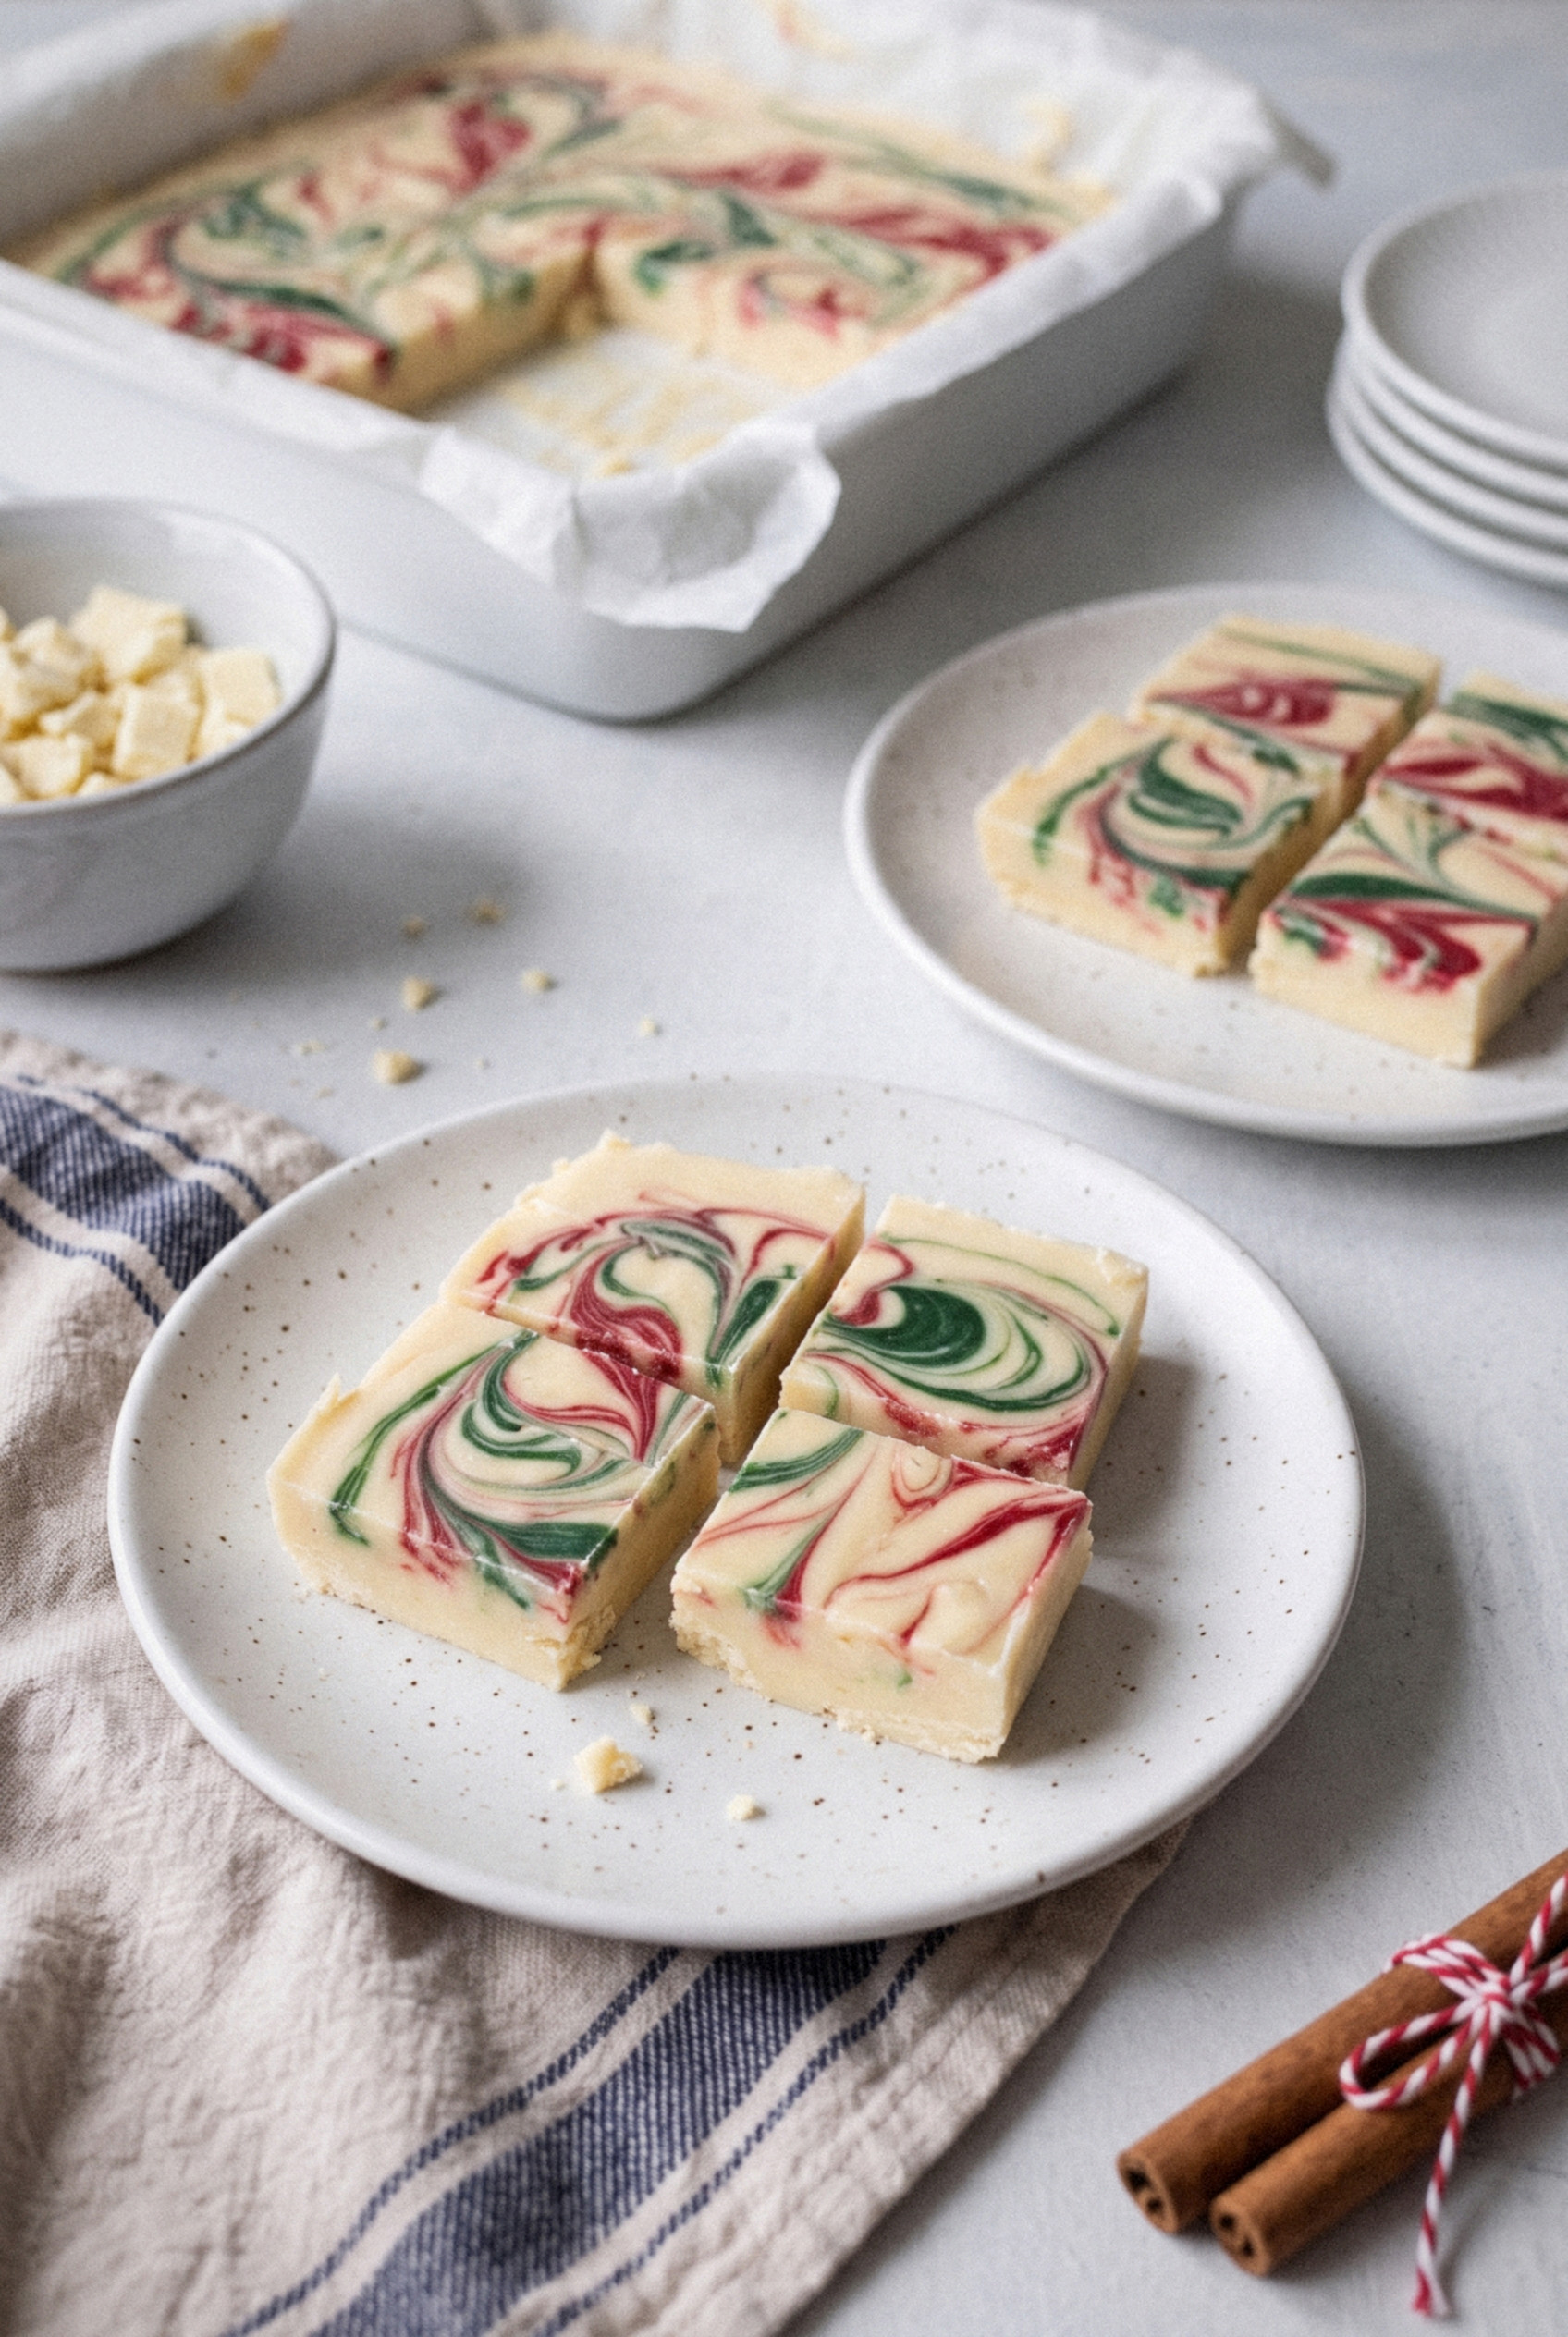
The swirl is what makes this fudge, and the secret is doing less than you think. Over-swirling is the number one reason it turns muddy.
- Dollop, don't layer. Random spoonfuls of each color give the skewer something to pull through. Stripes of color just blend.
- Use long, slow strokes. Four or five passes in each direction is plenty.
- Stop early. When you can still see distinct white, red and green ribbons, put the skewer down.
- Keep the depth shallow. Drag the skewer through the top half of the fudge only, so the colors don't fold over each other.
- Press smooth with parchment. This gives a flat, polished top that looks like it came from a candy counter.
Why Fudge Does Not Set (and Other Fixes)
Most problems with this fudge trace back to milk, moisture or heat. Here's how to spot each one.
- Soft fudge that won't set. Usually it didn't chill long enough. Give it the full 3 hours, or longer in a crowded fridge. Using evaporated milk instead of sweetened condensed milk causes this too.
- Thick, grainy or seized mixture. The chocolate got too hot or picked up water. Keep the heat at medium-low and never use liquid coloring.
- A bowl stiffens before you swirl. Microwave it for 15-20 seconds and stir well. Don't overheat it, or it can go grainy.
- Oily surface. The butter separated from too much heat. Stir hard off the heat and it usually comes back together.
- Muddy colors. Too much swirling. Next time, stop sooner.
Christmas Variations
Once you have the base down, it's a great way to play with holiday flavors. These are my favorites.
- Peppermint swirl. Add ½ teaspoon peppermint extract with the vanilla and use only red and white.
- Candy cane crunch. Press finely crushed candy canes on top right after smoothing.
- Green and white only. Skip the red for a softer, wintry look.
- Pistachio swirl. Fold chopped pistachios into the green portion before dolloping.
- Other holidays. Pink and white for Valentine's Day, orange and black for Halloween. The method doesn't change.
Make-Ahead, Gifting and Mailing
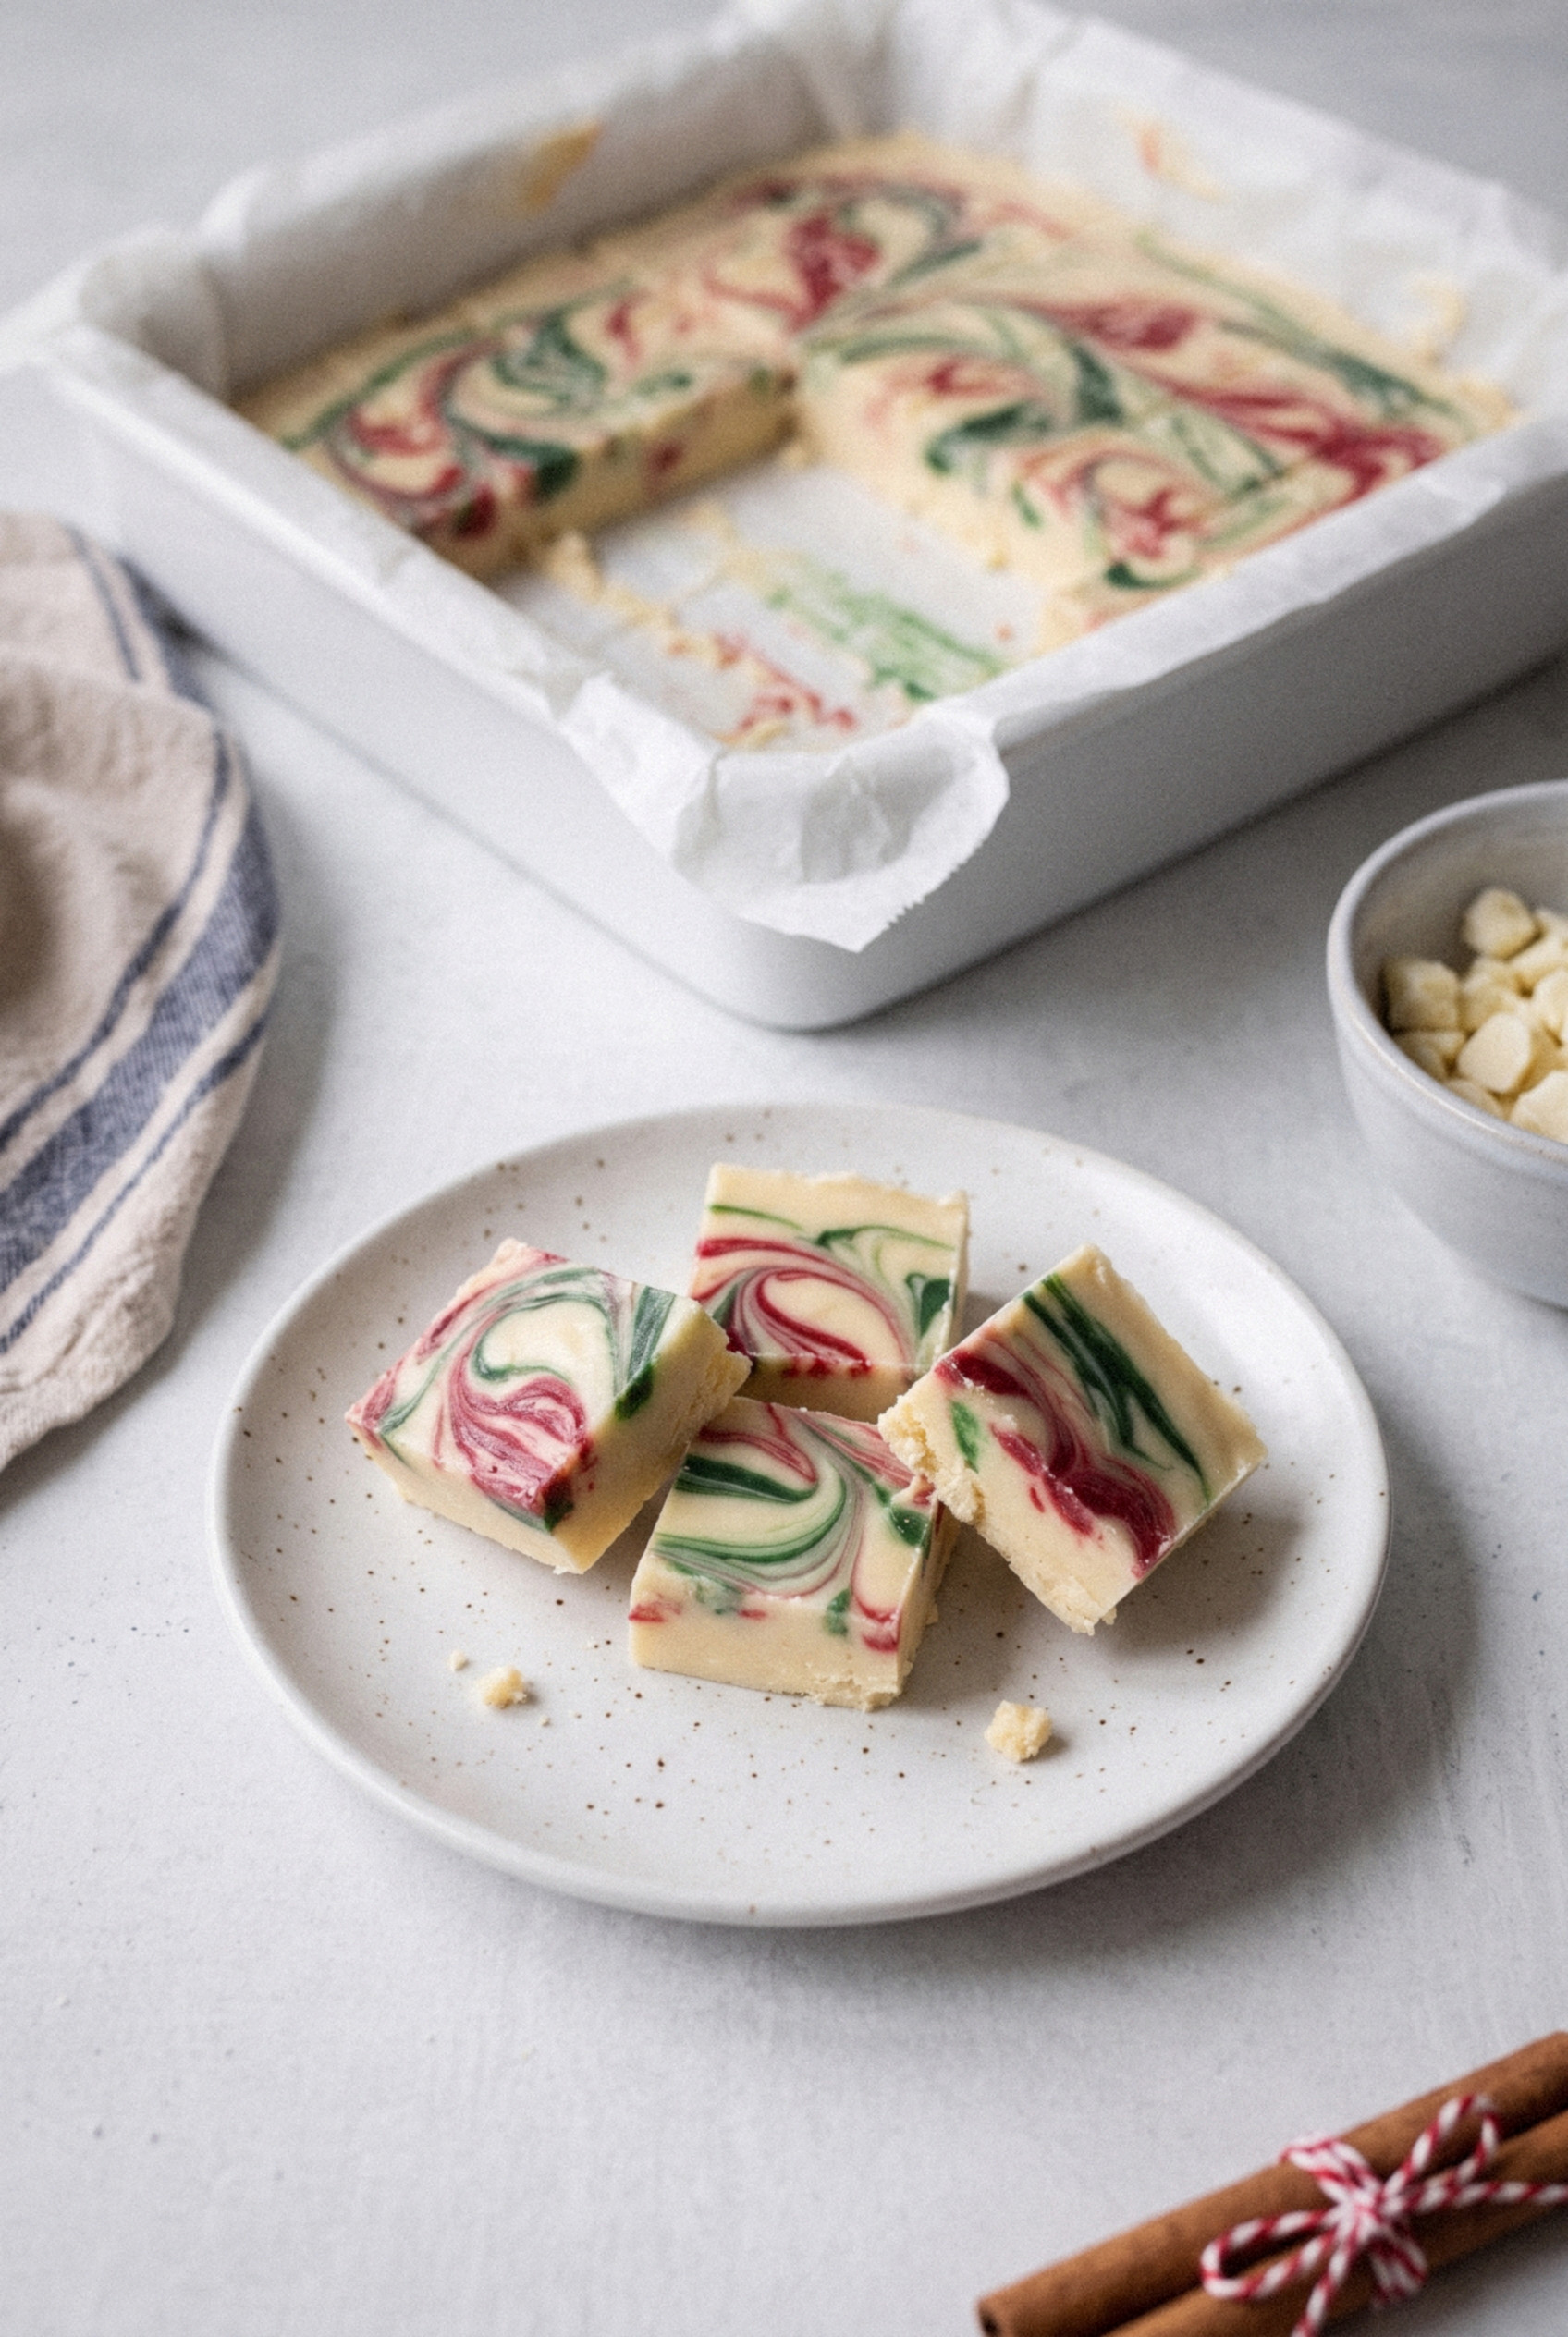
This is one of the best Christmas candies to make ahead and give away. It holds its shape and color for weeks.
- Make it ahead. The fudge keeps in the fridge for up to 2 weeks, so you can make it the first weekend of December.
- Pack it cold. Cut and pack the squares straight from the fridge. Cold fudge holds clean edges in the tin.
- Layer with wax paper. A small tin holds about 12-16 squares, with wax paper between each layer.
- Mail early in the week. Ship on a Monday or Tuesday so the box doesn't sit in a warm warehouse over the weekend.
How to Store and Freeze Christmas Fudge
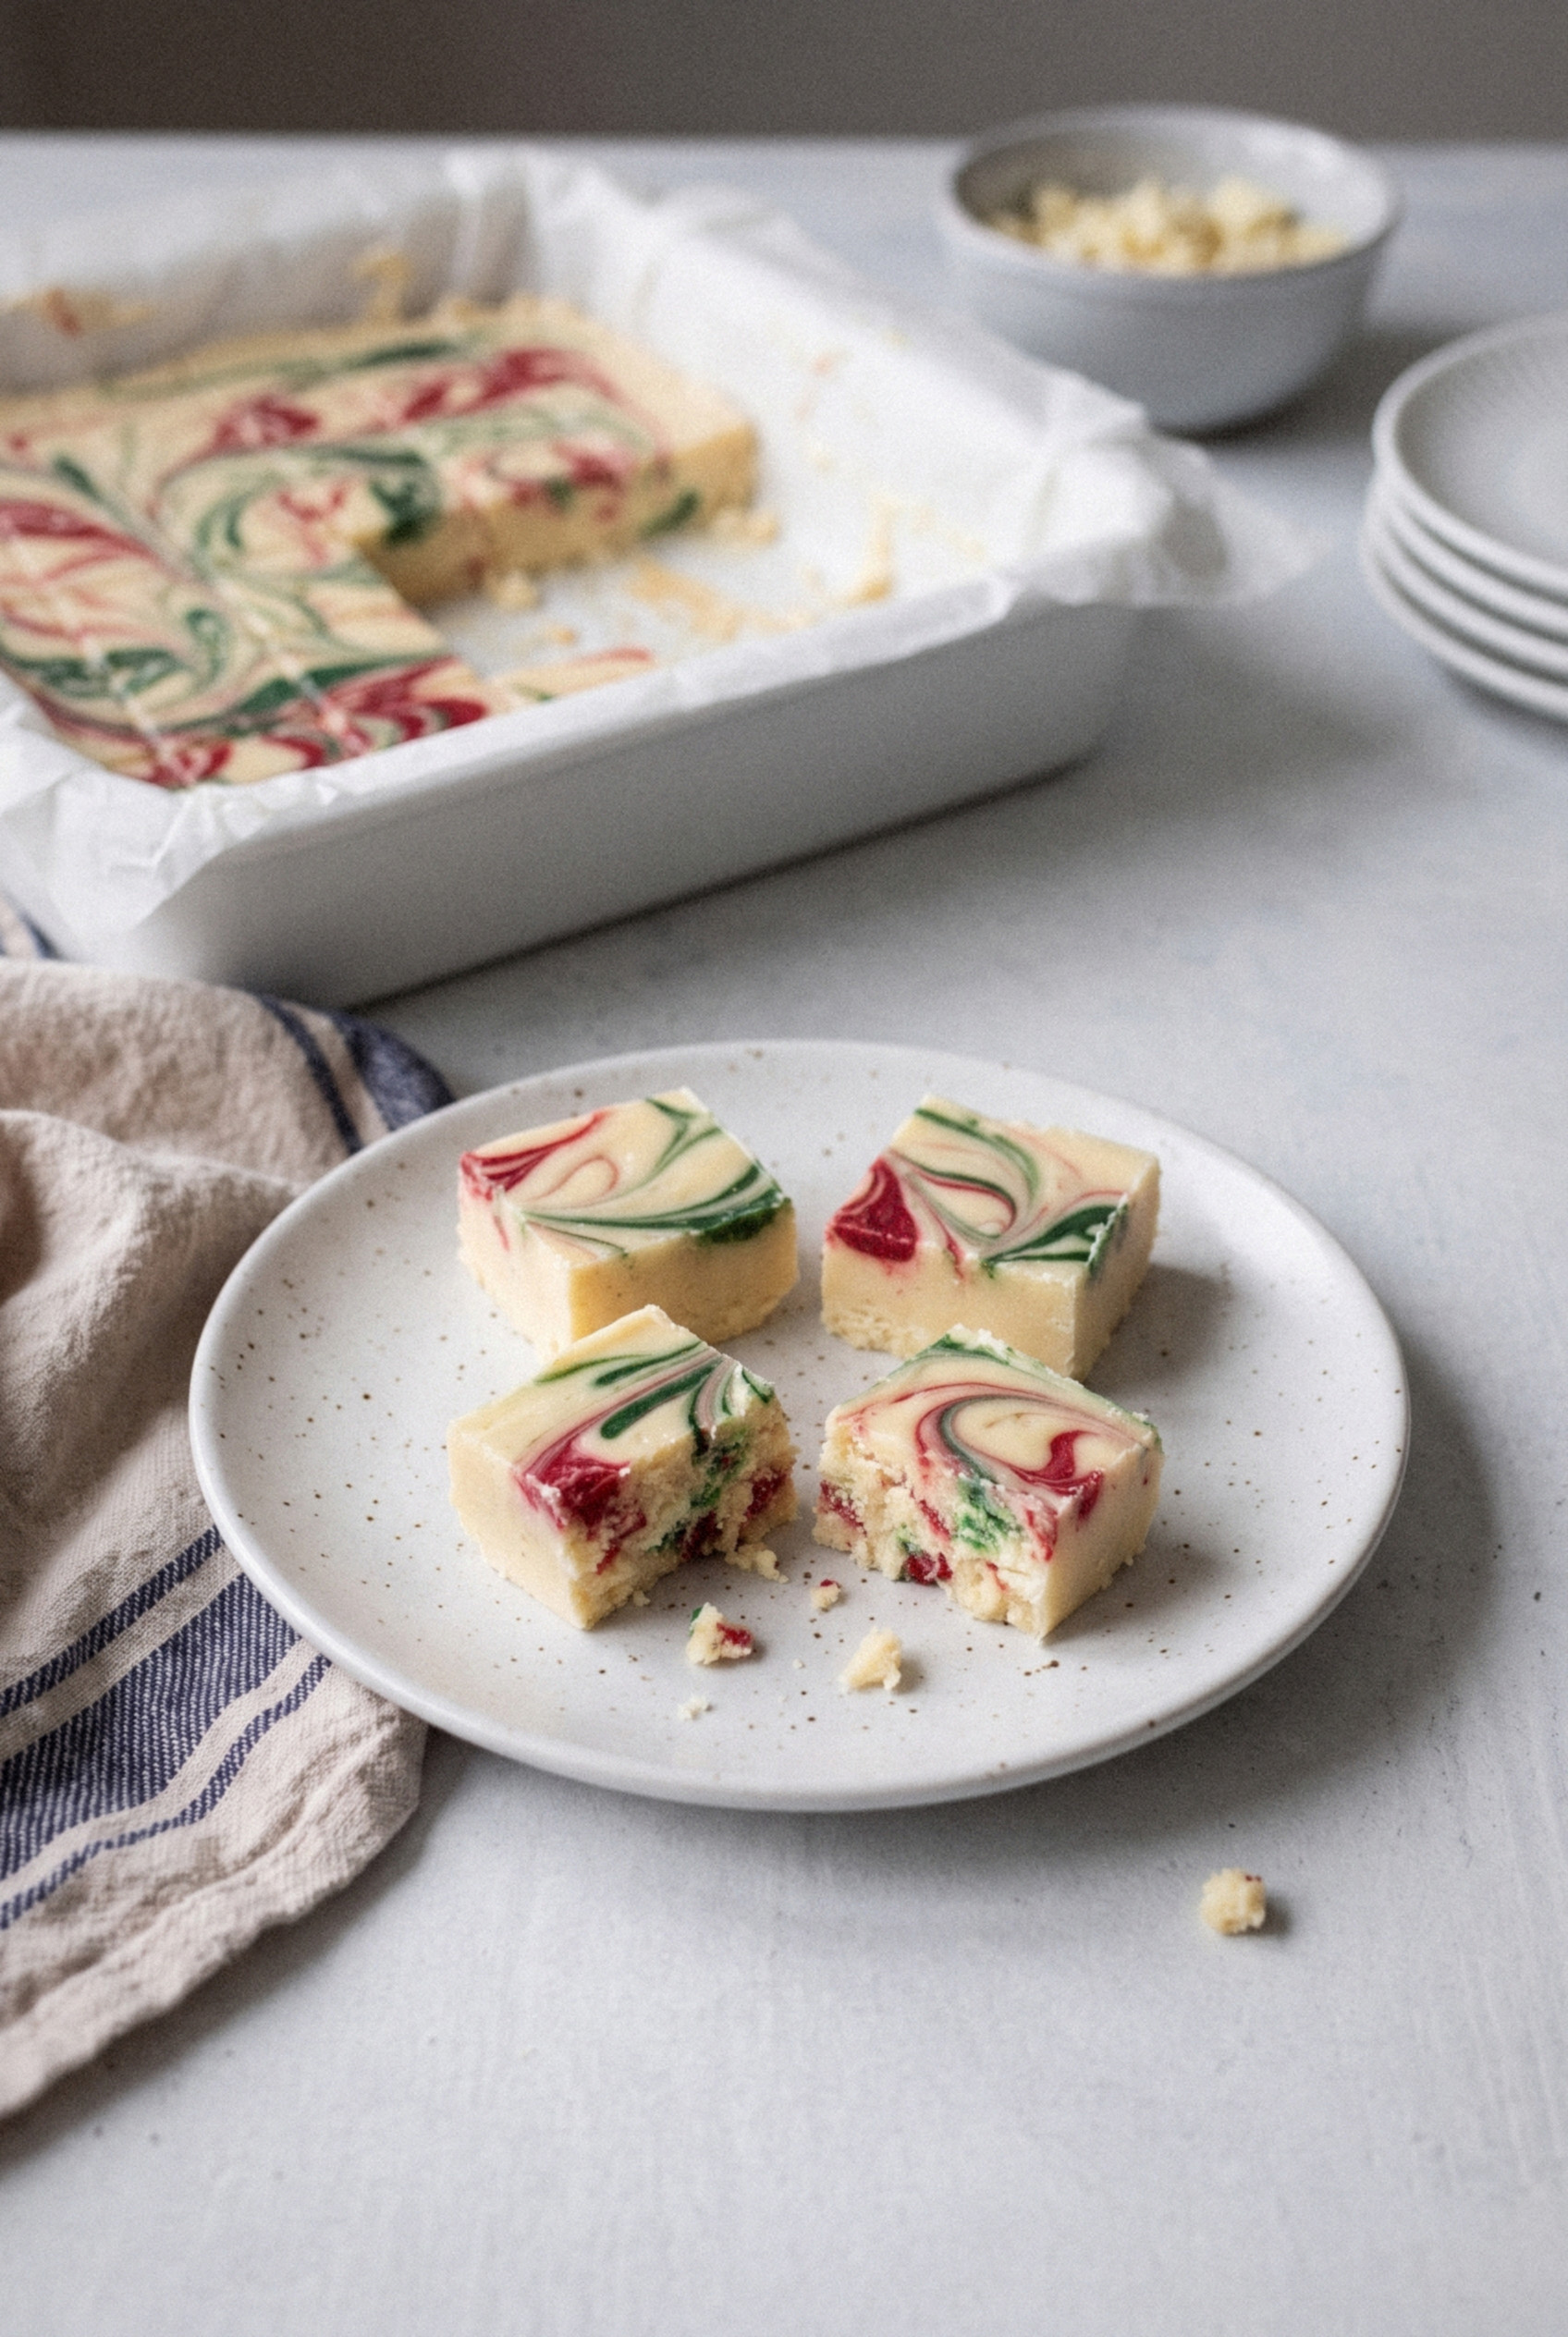
Store this fudge cold for the cleanest texture. White chocolate fudge softens faster than chocolate fudge at room temperature.
- Refrigerator. In an airtight container with wax paper between layers for up to 2-3 weeks.
- Room temperature. Fine for 2-3 days on a cookie tray, but it will soften slightly.
- Freezer. Wrap the uncut block or the squares tightly and freeze for up to 3 months. Thaw overnight in the fridge, still wrapped, so condensation doesn't spot the colors.
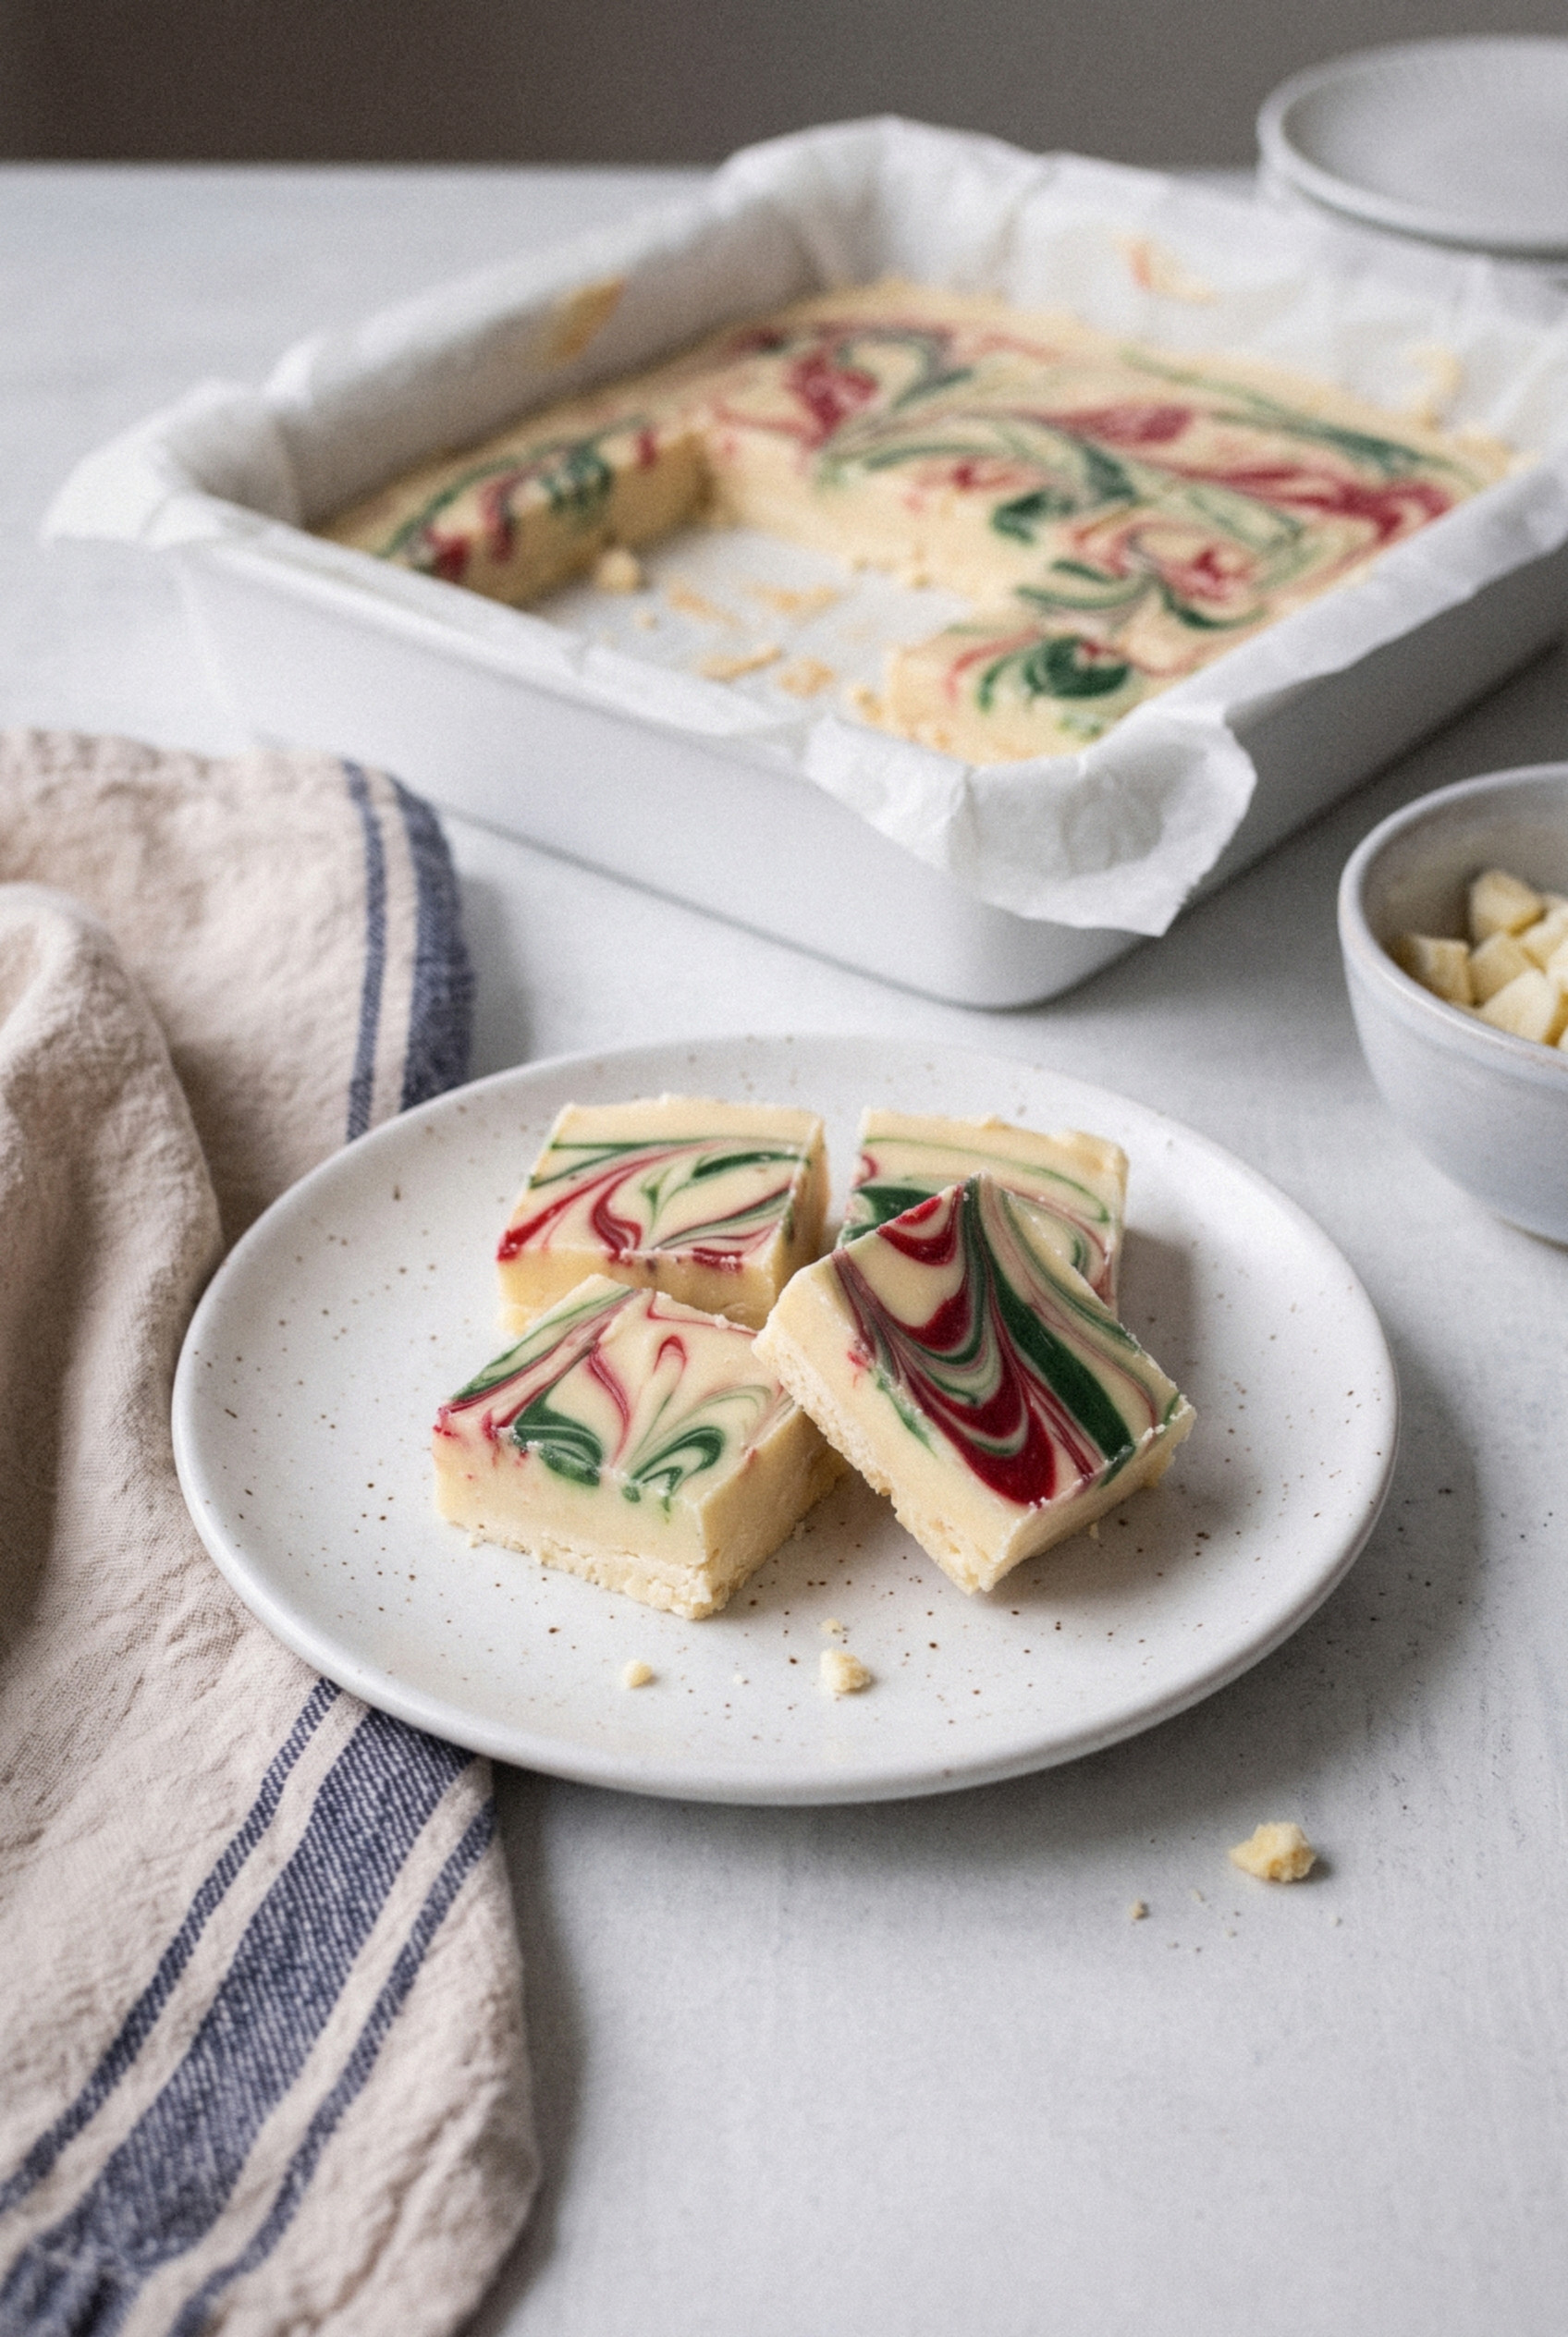
It's festive, it's super easy, and it's a crowd-pleaser every time. Give it a try!
Recipe
White Chocolate Swirl Christmas Fudge
Ingredients
For the Fudge
- 22 ounces white chocolate chips two 11-ounce bags
- 14 ounce can sweetened condensed milk not evaporated milk
- 4 tablespoons unsalted butter cold, cubed
- 1 teaspoon vanilla extract
- 1 pinch salt
For the Swirl
- ¼-1/2 teaspoon red gel food coloring gel only, not liquid
- ¼-1/2 teaspoon green gel food coloring gel only, not liquid
Instructions
Prepare
- Line an 8x8-inch straight-sided pan with parchment paper, leaving an overhang on two sides. Set out two small bowls, the gel colors and a wooden skewer.
Make the Fudge
- Combine the white chocolate chips, sweetened condensed milk, cold butter and salt in a medium saucepan over medium-low heat. Stir constantly for 4 to 6 minutes, until completely melted and smooth.
- Remove from the heat and stir in the vanilla.
- Transfer about one-third of the mixture to one small bowl and another third to a second bowl. Stir red gel coloring into the first and green gel coloring into the second until evenly colored. Leave the remaining third white.
Swirl, Chill and Cut
- Drop spoonfuls of white, red and green fudge randomly into the prepared pan until all of it is used. Tap the pan to settle.
- Drag a skewer through the fudge in a few long strokes top to bottom, then side to side, stopping while the colors are still distinct. Press a sheet of parchment lightly on top to smooth, then peel it off.
- Refrigerate for 3 hours, until firm. Lift out by the parchment and cut into a 7-by-7 grid for 49 squares, wiping a warm knife between cuts.
Notes
- Gel coloring only: Liquid food coloring adds water and can make white chocolate seize or keep the fudge from setting.
- Milk: Use sweetened condensed milk. Evaporated milk will not set this fudge.
- If a bowl stiffens: Microwave it for 15 to 20 seconds and stir well before swirling.
- Storage: Refrigerate airtight with wax paper between layers for up to 2 to 3 weeks, or freeze for up to 3 months.