Two of the most popular sugar cookie recipes online tell you to skip royal icing.
Too fussy, they say. Too much work for a busy December.
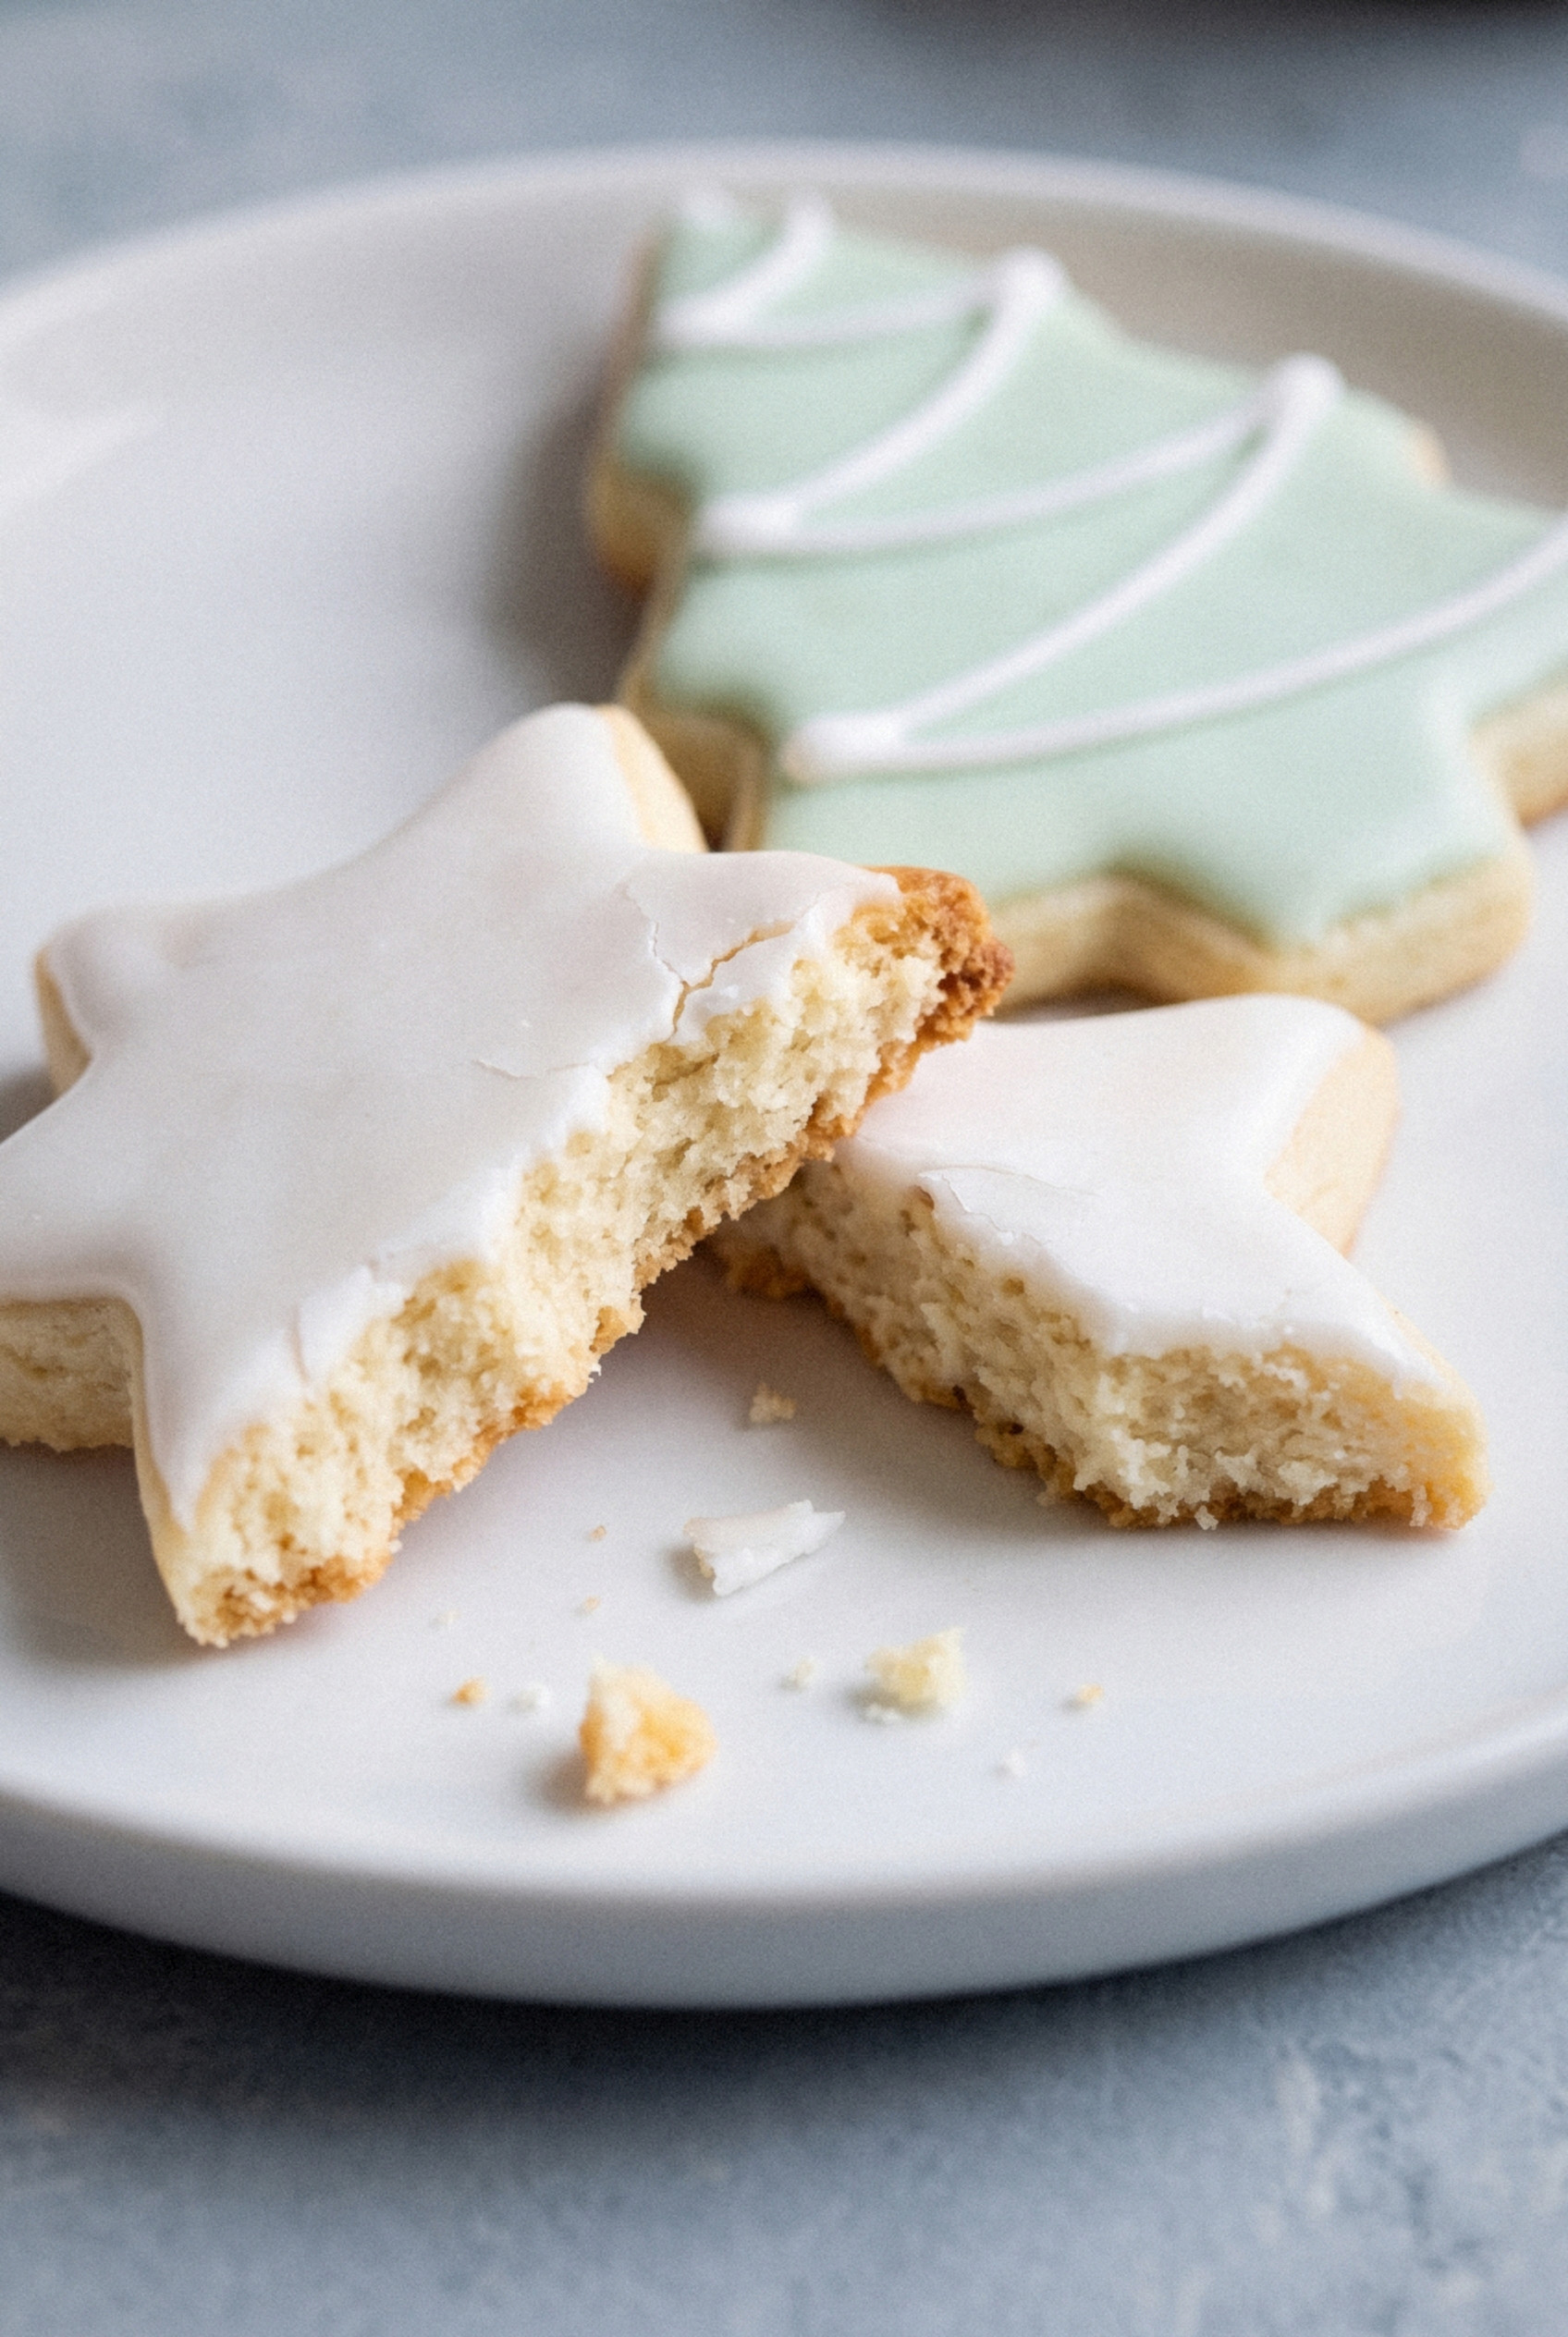
I get it, and I still make royal icing every single year.
A soft glaze never fully sets, so the cookies smudge the second you stack them in a tin.
Royal icing dries hard like a thin candy shell. You can layer it, mail it, and hand it over the fence to the neighbors without one smeared line.
The other problem with most cut-outs is the cookie underneath.
Too many of them taste like sweet cardboard, a pretty plate that nobody actually finishes.
These Christmas cut-out sugar cookies with royal icing fix both problems at once.
The dough is buttery, with vanilla and a little almond, and it holds a sharp star point in the oven.
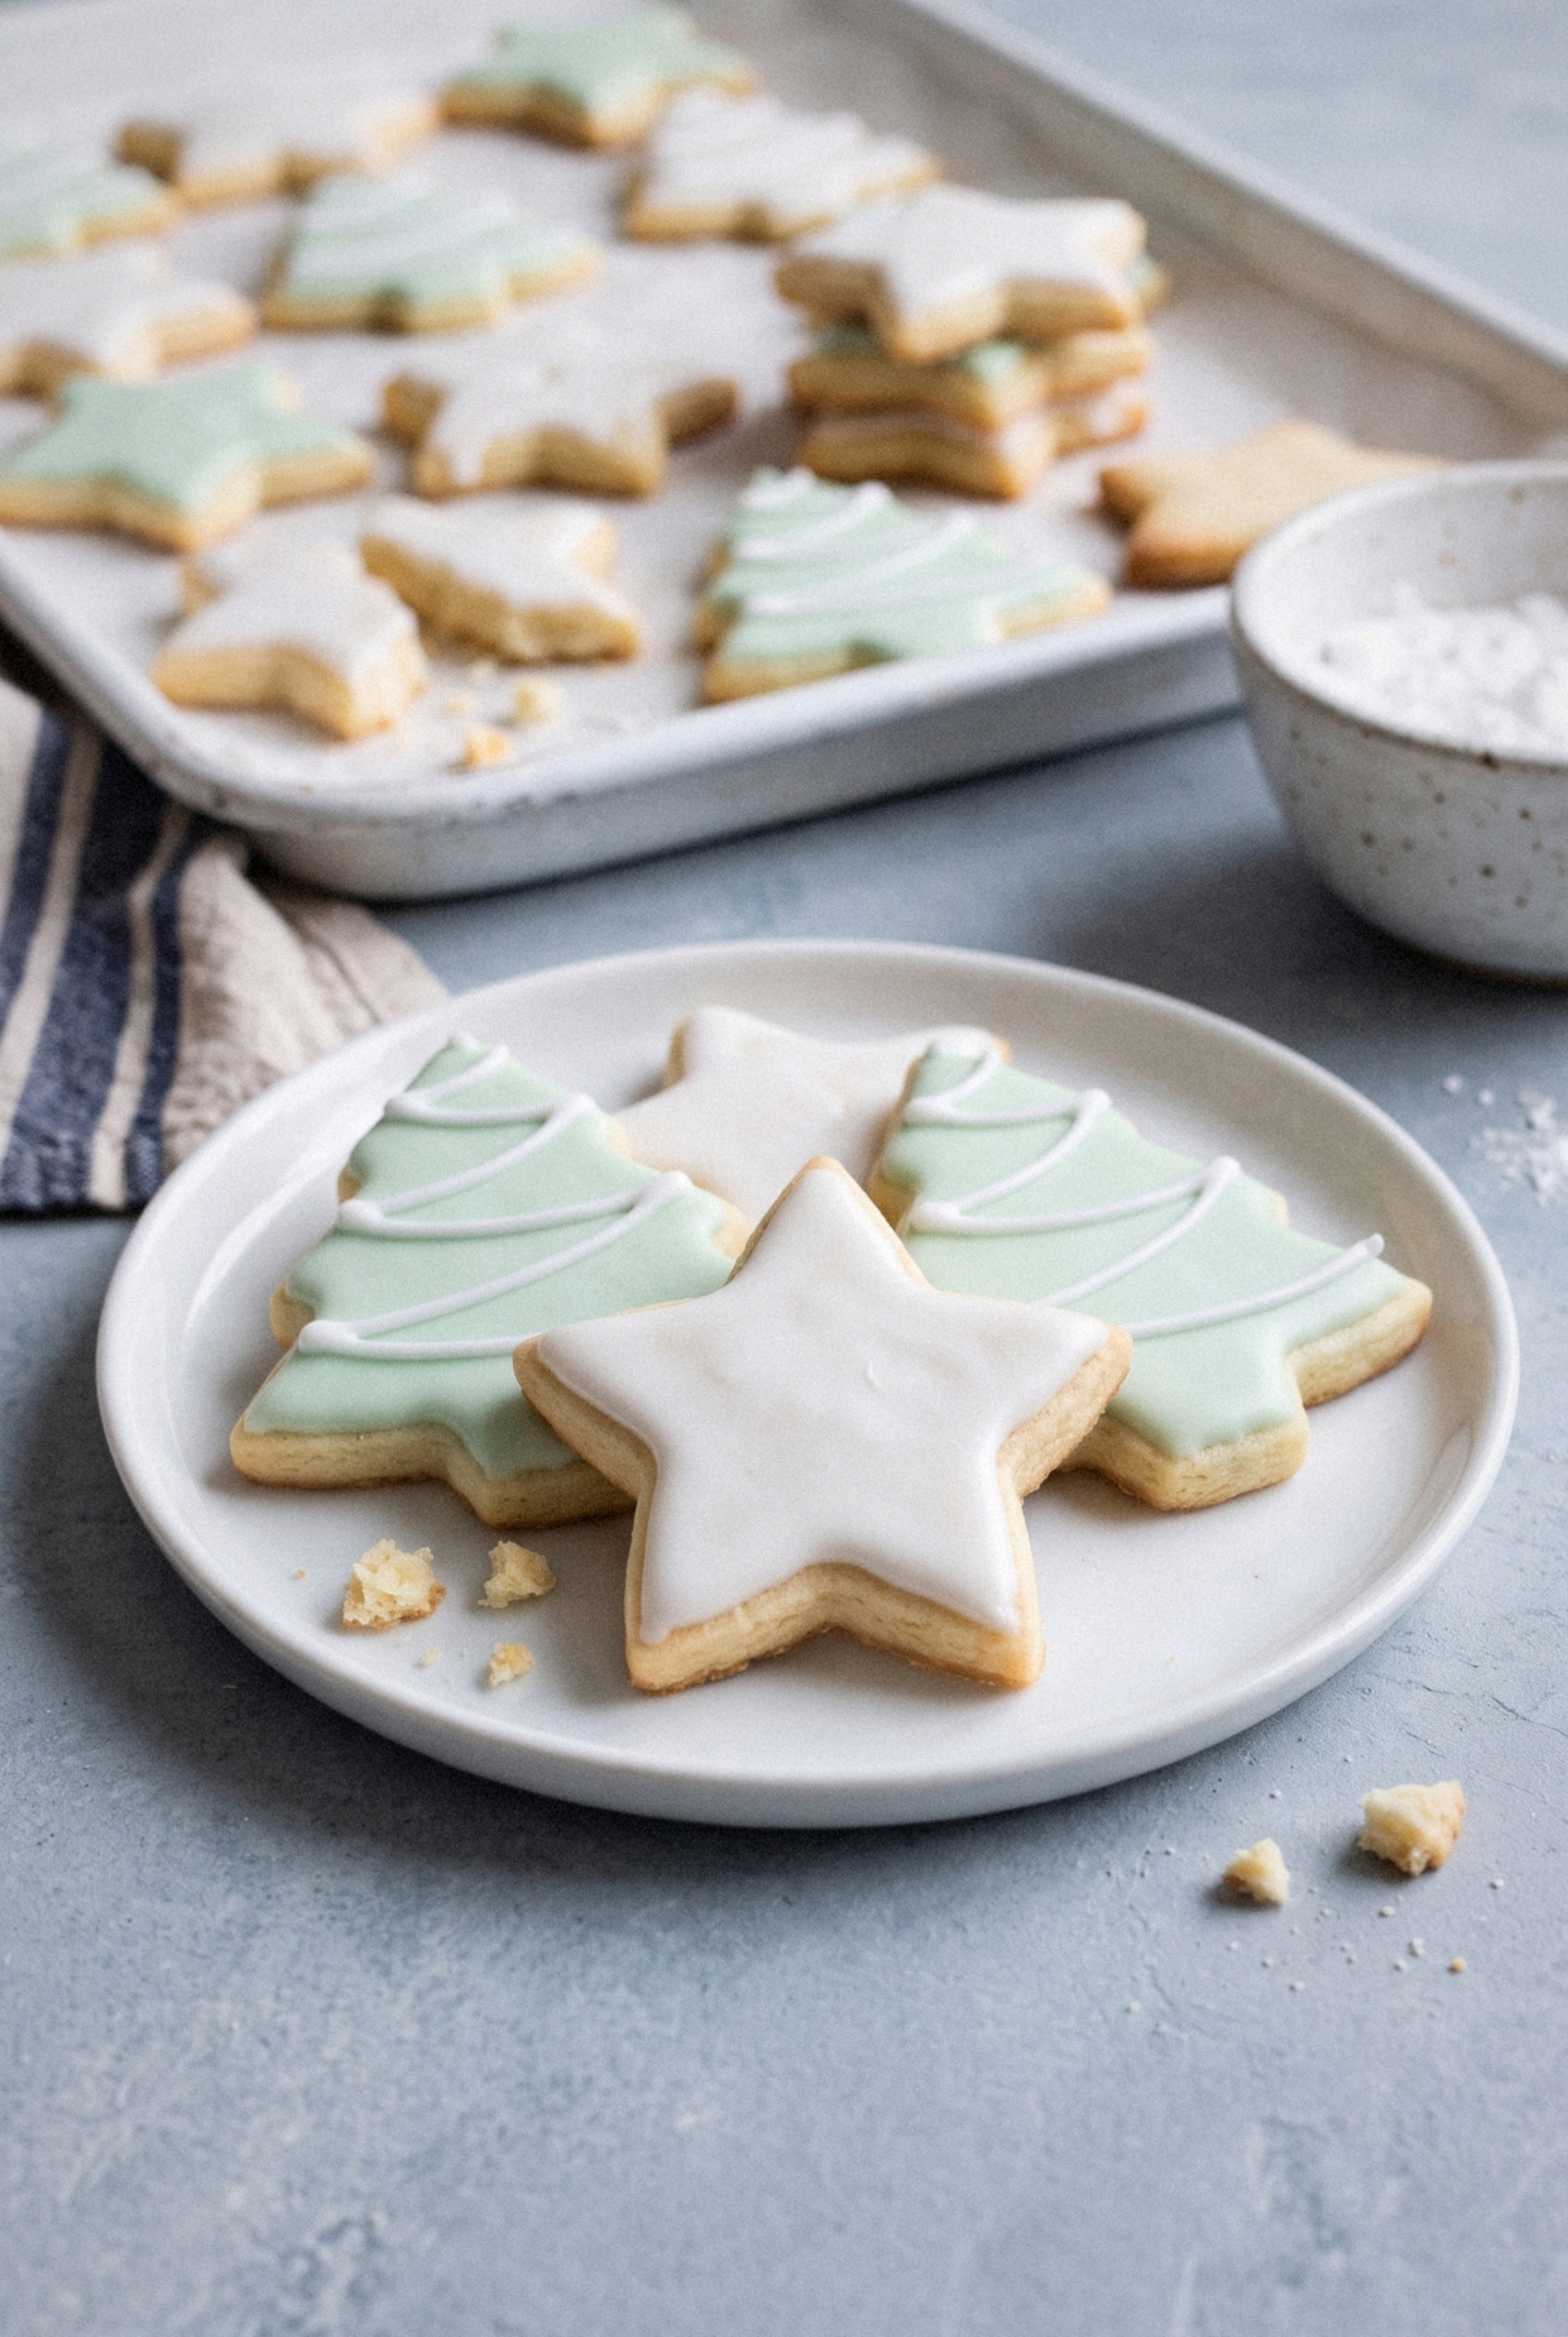
My wife handles the white stars, my kids fight over the green trees, and I'm the guy refilling piping bags.
The icing uses meringue powder, so there are no raw egg whites to worry about.
One bowl gives you two consistencies: a thick one for outlines and a thinner one for flooding.
Make them once and you'll see why I never went back to glaze.
Why These Cookies Work for Decorating
A cut-out cookie has one job: keep its shape and give the icing a flat place to land. This dough does both, and it tastes good enough to eat plain.
- No spread in the oven. The ratio of butter to flour is dialed in, and the dough gets chilled twice, so star points stay crisp and sharp.
- Flat tops. The cookies bake up level, which means your flood icing sits smooth instead of sliding off a dome.
- Real flavor. Butter, vanilla and a small hit of almond make these taste like a bakery cookie, not a decorating board.
- Soft in the middle. Rolled to ¼ inch, they're tender on the inside with lightly crisp edges.
- Icing that sets hard. Once dry, you can stack them, box them, or ship them across the country.
- Make-ahead friendly. The dough, the baked cookies and even the finished cookies all freeze well.
Who doesn't love a cookie tin that still looks perfect on Christmas Eve?

Ingredients You Need
Everything here is a pantry staple except meringue powder. You'll find it in the baking aisle near the sprinkles, or at any craft store with a cake section.
For the Cookies
- All-purpose flour (2 ¾ cups). Spoon it into the cup and level it off. Scooping straight from the bag packs in extra flour and gives you dry, crumbly dough.
- Baking powder (1 teaspoon). Just enough lift for a soft bite without puffing the shapes out of line.
- Salt (½ teaspoon). Keeps the cookie from tasting flat next to all that sweet icing.
- Unsalted butter (1 cup). Softened, but still cool to the touch. If it looks shiny or greasy, it's too warm and the cookies will spread.
- Granulated sugar (1 cup). Creamed with the butter, it builds the light, tender texture.
- Egg (1 large). Room temperature, so it blends in smoothly.
- Vanilla extract (2 teaspoons). The main flavor, so use a good one.
- Almond extract (½ teaspoon). This is what makes people ask what's in these. Skip it for a nut allergy and add another ½ teaspoon vanilla.
For the Royal Icing
- Powdered sugar (4 cups). Sift it. Lumps in royal icing clog piping tips and leave bumps in the flood.
- Meringue powder (3 tablespoons). This is what makes the icing set hard. It's shelf-stable, consistent, and food-safe without raw eggs.
- Warm water (9 to 10 tablespoons). Plus a little more for thinning to flood consistency.
- Clear vanilla extract (½ teaspoon). Regular vanilla tints the icing ivory. Clear keeps it bright white.
- Green gel food coloring. Gel, not liquid. Liquid color thins the icing and makes it runny.
No meringue powder? You can use 3 pasteurized egg whites in place of the powder and most of the water. Beat them with the powdered sugar until glossy and stiff, then adjust with a few drops of water.
How to Make Christmas Cut-Out Sugar Cookies
The big move here is rolling the dough BEFORE you chill it. Soft dough rolls easily between parchment, and cold rolled sheets cut cleanly.
Step 1: Mix the Dry Ingredients
Whisk the flour, baking powder and salt in a medium bowl. Set it aside while you work on the butter.
Step 2: Cream the Butter and Sugar
Beat the butter and sugar on medium-high for 2 to 3 minutes, until pale and fluffy. Scrape the bowl, then beat in the egg, vanilla and almond extract for about 1 minute.
Step 3: Add the Flour
Turn the mixer to low and add the flour mixture in two batches. Mix only until the dough comes together and no dry streaks remain. If it feels very sticky, add 1 tablespoon more flour.
Step 4: Roll Between Parchment
Divide the dough in half. Roll each half between two sheets of parchment to an even ¼ inch thickness. Slide both sheets onto a tray, stack them, and refrigerate for 1 hour, or up to 2 days.
Pro tip: Rolling guides or two wooden dowels on either side of the dough keep the thickness perfectly even, so every cookie bakes at the same rate.
Step 5: Cut the Shapes
Preheat the oven to 350°F and line baking sheets with parchment. Peel off the top parchment, cut stars, trees and whatever else you like, and place them 1 inch apart. Gather the scraps, re-roll, and chill again before cutting more.
Pop the tray of cut shapes in the freezer for 10 minutes before baking. Those ten minutes are your insurance against spreading.
Step 6: Bake and Cool
Bake for 9 to 11 minutes, until the edges are set and just barely starting to color. Let the cookies rest on the sheet for 5 minutes, then move them to a wire rack. They must be completely cool before any icing touches them.
Tips for Sharp Edges and Flat Tops
Spreading cookies almost always come down to warm dough or too much leavening. These small habits fix it.
- Keep the dough cold. If the dough softens while you cut, slide it back in the fridge for 10 minutes. Warm butter melts before the cookie sets.
- Measure flour carefully. Too little flour means spreading. Too much means cracking. Spoon and level, or weigh it at 345g.
- Cut close together. Every re-roll works in extra flour, so squeeze the shapes in tight on the first pass.
- Bake one size per tray. Small stars finish before big trees. Group them so nothing over-browns.
- Pull them early. The cookies keep cooking on the hot sheet. Pale centers are exactly right.
- Use cool sheets. Never put dough on a pan straight out of the oven. Rotate two or three pans.
Why did my cookies spread? Nine times out of ten, the butter was too soft or the dough sat out too long.
How to Make Royal Icing for Sugar Cookies
Royal icing looks intimidating, but it's just three ingredients and a mixer. The only real skill is adjusting the thickness.
Add the powdered sugar and meringue powder to a stand mixer bowl and stir them together. Pour in 9 tablespoons of warm water and the clear vanilla. Beat on medium-high for 4 to 5 minutes, until the icing turns bright white, loses its shine, and holds a stiff peak.
That stiff icing is your base. Keep the bowl covered with a damp towel the whole time, because royal icing crusts over fast.
Outline vs Flood Consistency
You need two thicknesses from the same batch. Use a simple count test to check each one.
- Outline icing (about 20 seconds). Drag a knife through the surface. The line should take about 15 to 20 seconds to smooth back over. It pipes clean borders and fine details.
- Flood icing (about 10 seconds). Thin a portion with water, ½ teaspoon at a time. The line should vanish in 8 to 10 seconds. It fills the inside of the shape and settles flat.
- Too thin? Stir in a spoonful of sifted powdered sugar.
- Too thick? A few drops of water at a time. It changes fast.
Fair warning: Flood icing that's too thin will run right off the edge and take forever to dry. Go slow with the water.
Coloring the Icing for Christmas
I keep my color scheme simple: bright white and soft pale green. It looks classic on a tray, and it's hard to mess up.
- Use gel color. A toothpick dip of green gel is plenty for a pale shade.
- Colors deepen as they dry. Mix a shade lighter than you want. Deep red especially darkens over a few hours.
- Color before thinning. Tint the stiff icing first, then split it into outline and flood portions so both match.
- Cover every bowl. A damp paper towel pressed on the surface stops a crust from forming.

How to Decorate
Outline first, flood second, details last. That order gives you clean, professional-looking cookies even on your first try.
- Pipe the border. Use outline icing in a bag with a small round tip (#2 or #3) or a squeeze bottle. Trace just inside the edge of each cookie.
- Let it set. Give the border about 10 minutes to firm up so it can hold back the flood.
- Flood the middle. Fill the shape with flood icing, then nudge it into the corners and star points with a toothpick. Pop any air bubbles while it's wet.
- Add sprinkles now. Anything you want stuck to the cookie goes on while the flood is still wet.
- Pipe details later. Wait about 1 hour for a crust, then pipe simple lines, zigzags or garland swags on top with outline icing.
- Dry completely. Leave the cookies uncovered in a single layer for 8 hours or overnight before stacking.
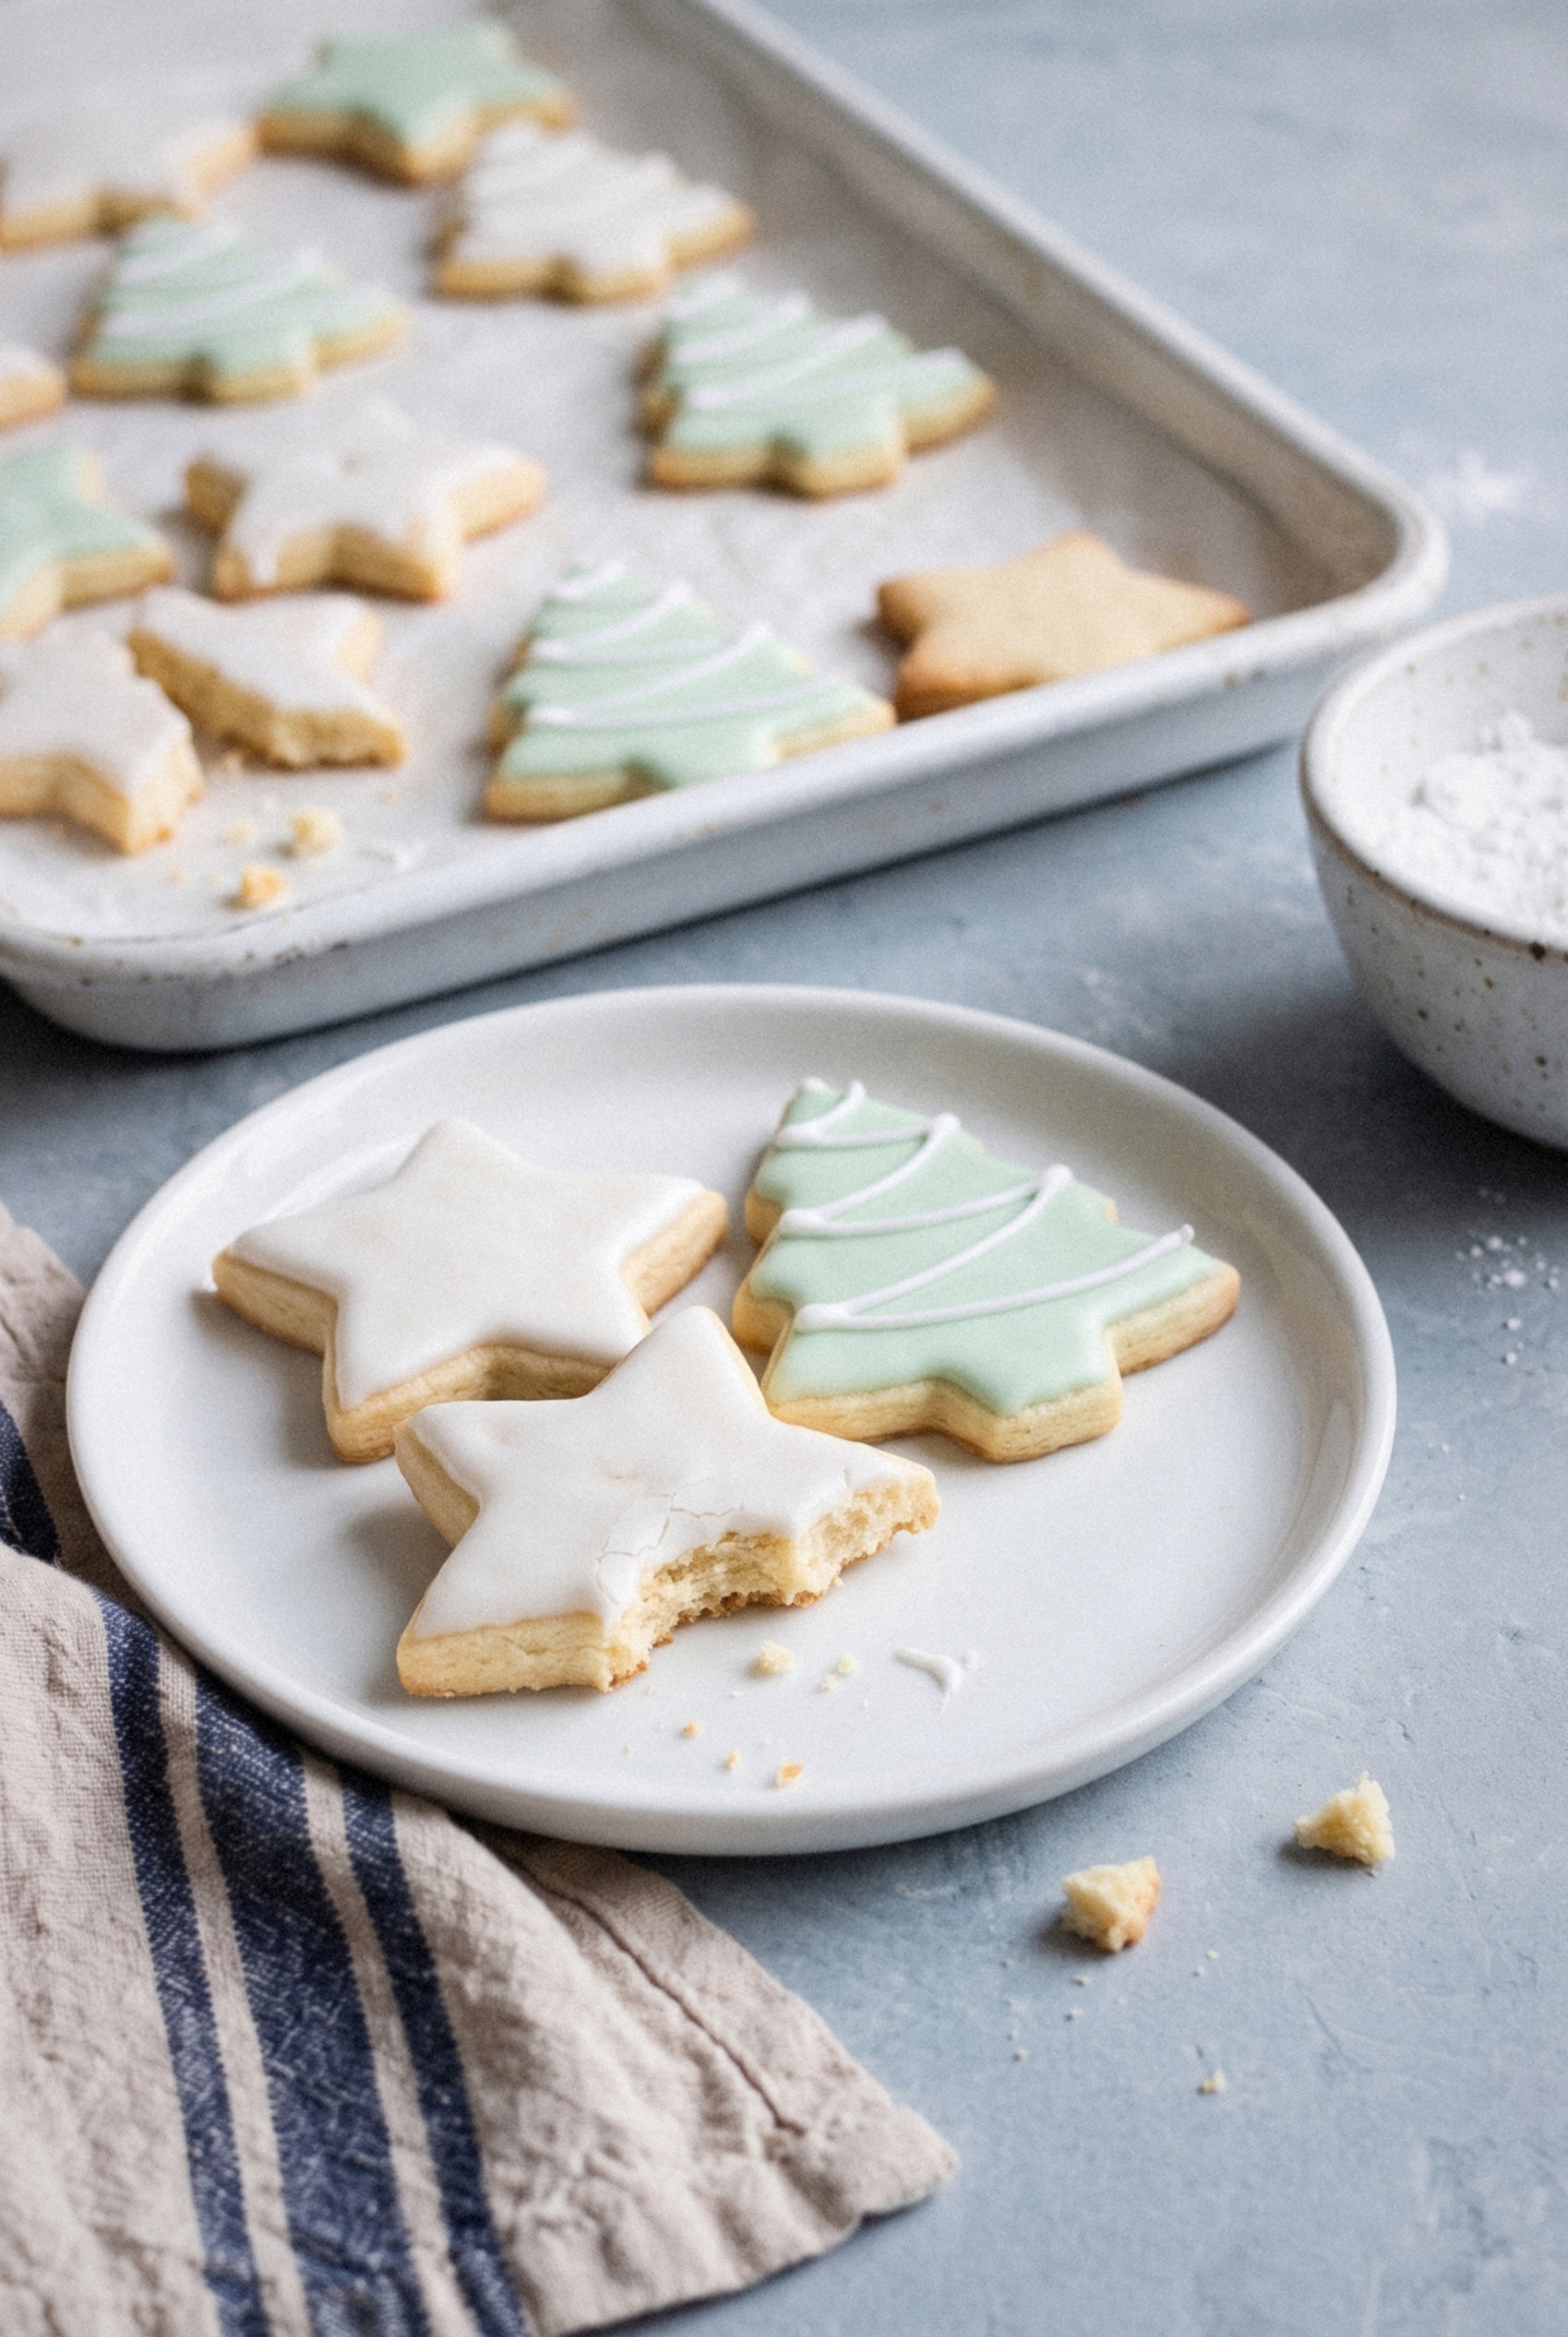
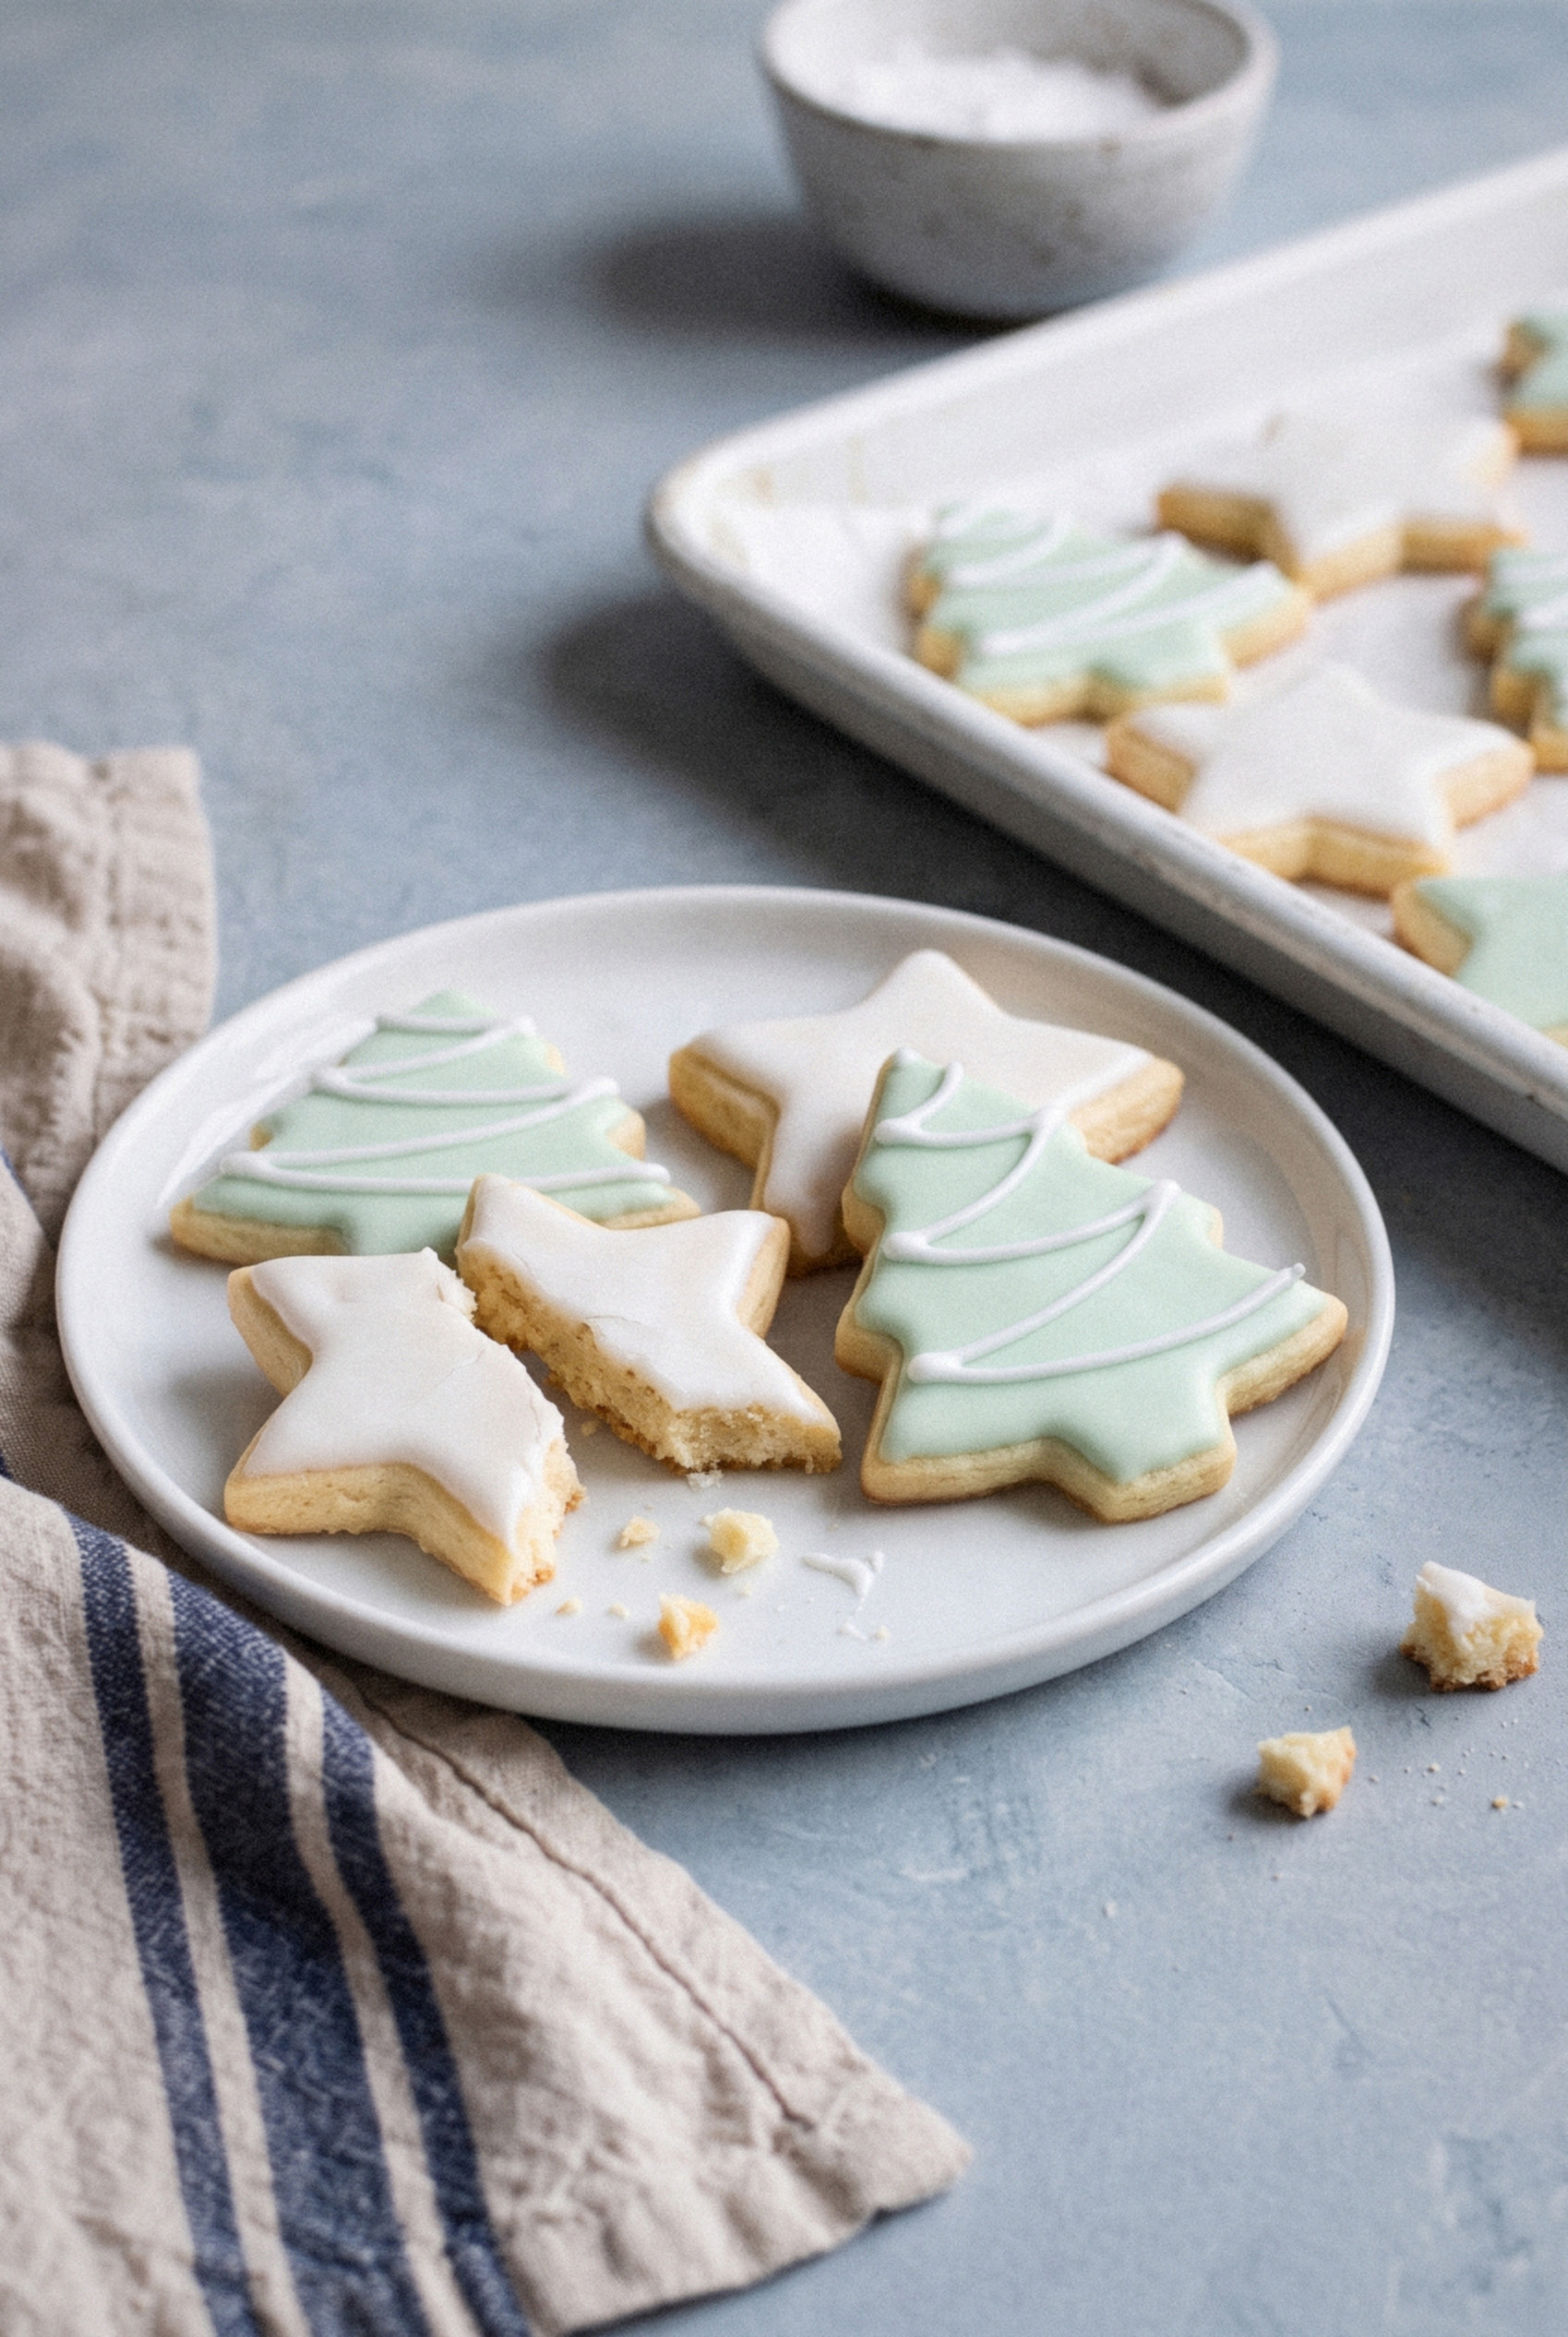
My favorite easy combo? White flooded stars with a thin white border, and pale green trees with a few thin white garland lines. Simple, clean and so festive.

Make Ahead and Storage
These are the perfect cookie for planning ahead. Every stage can be done days or even months early.
- Dough. Rolled sheets keep in the fridge, wrapped, for up to 3 days. Frozen, they last 3 months. Thaw in the fridge before cutting.
- Baked, undecorated cookies. Store airtight at room temperature for 3 days, or freeze for up to 3 months. Thaw completely before icing.
- Royal icing. Keep it in an airtight container with plastic wrap pressed on the surface for up to 3 days at room temperature. Beat it again before using.
- Decorated cookies. Once fully dry, they keep in an airtight tin at room temperature for about 1 week.
- Freezing decorated cookies. Freeze in a single layer until firm, then stack with parchment in a sealed container. Thaw them still covered, so condensation forms on the lid and not on your icing.
How far ahead can you make them for a party? A full week is completely safe, and I often decorate the weekend before.
Packing Cookies for a Gift Tin
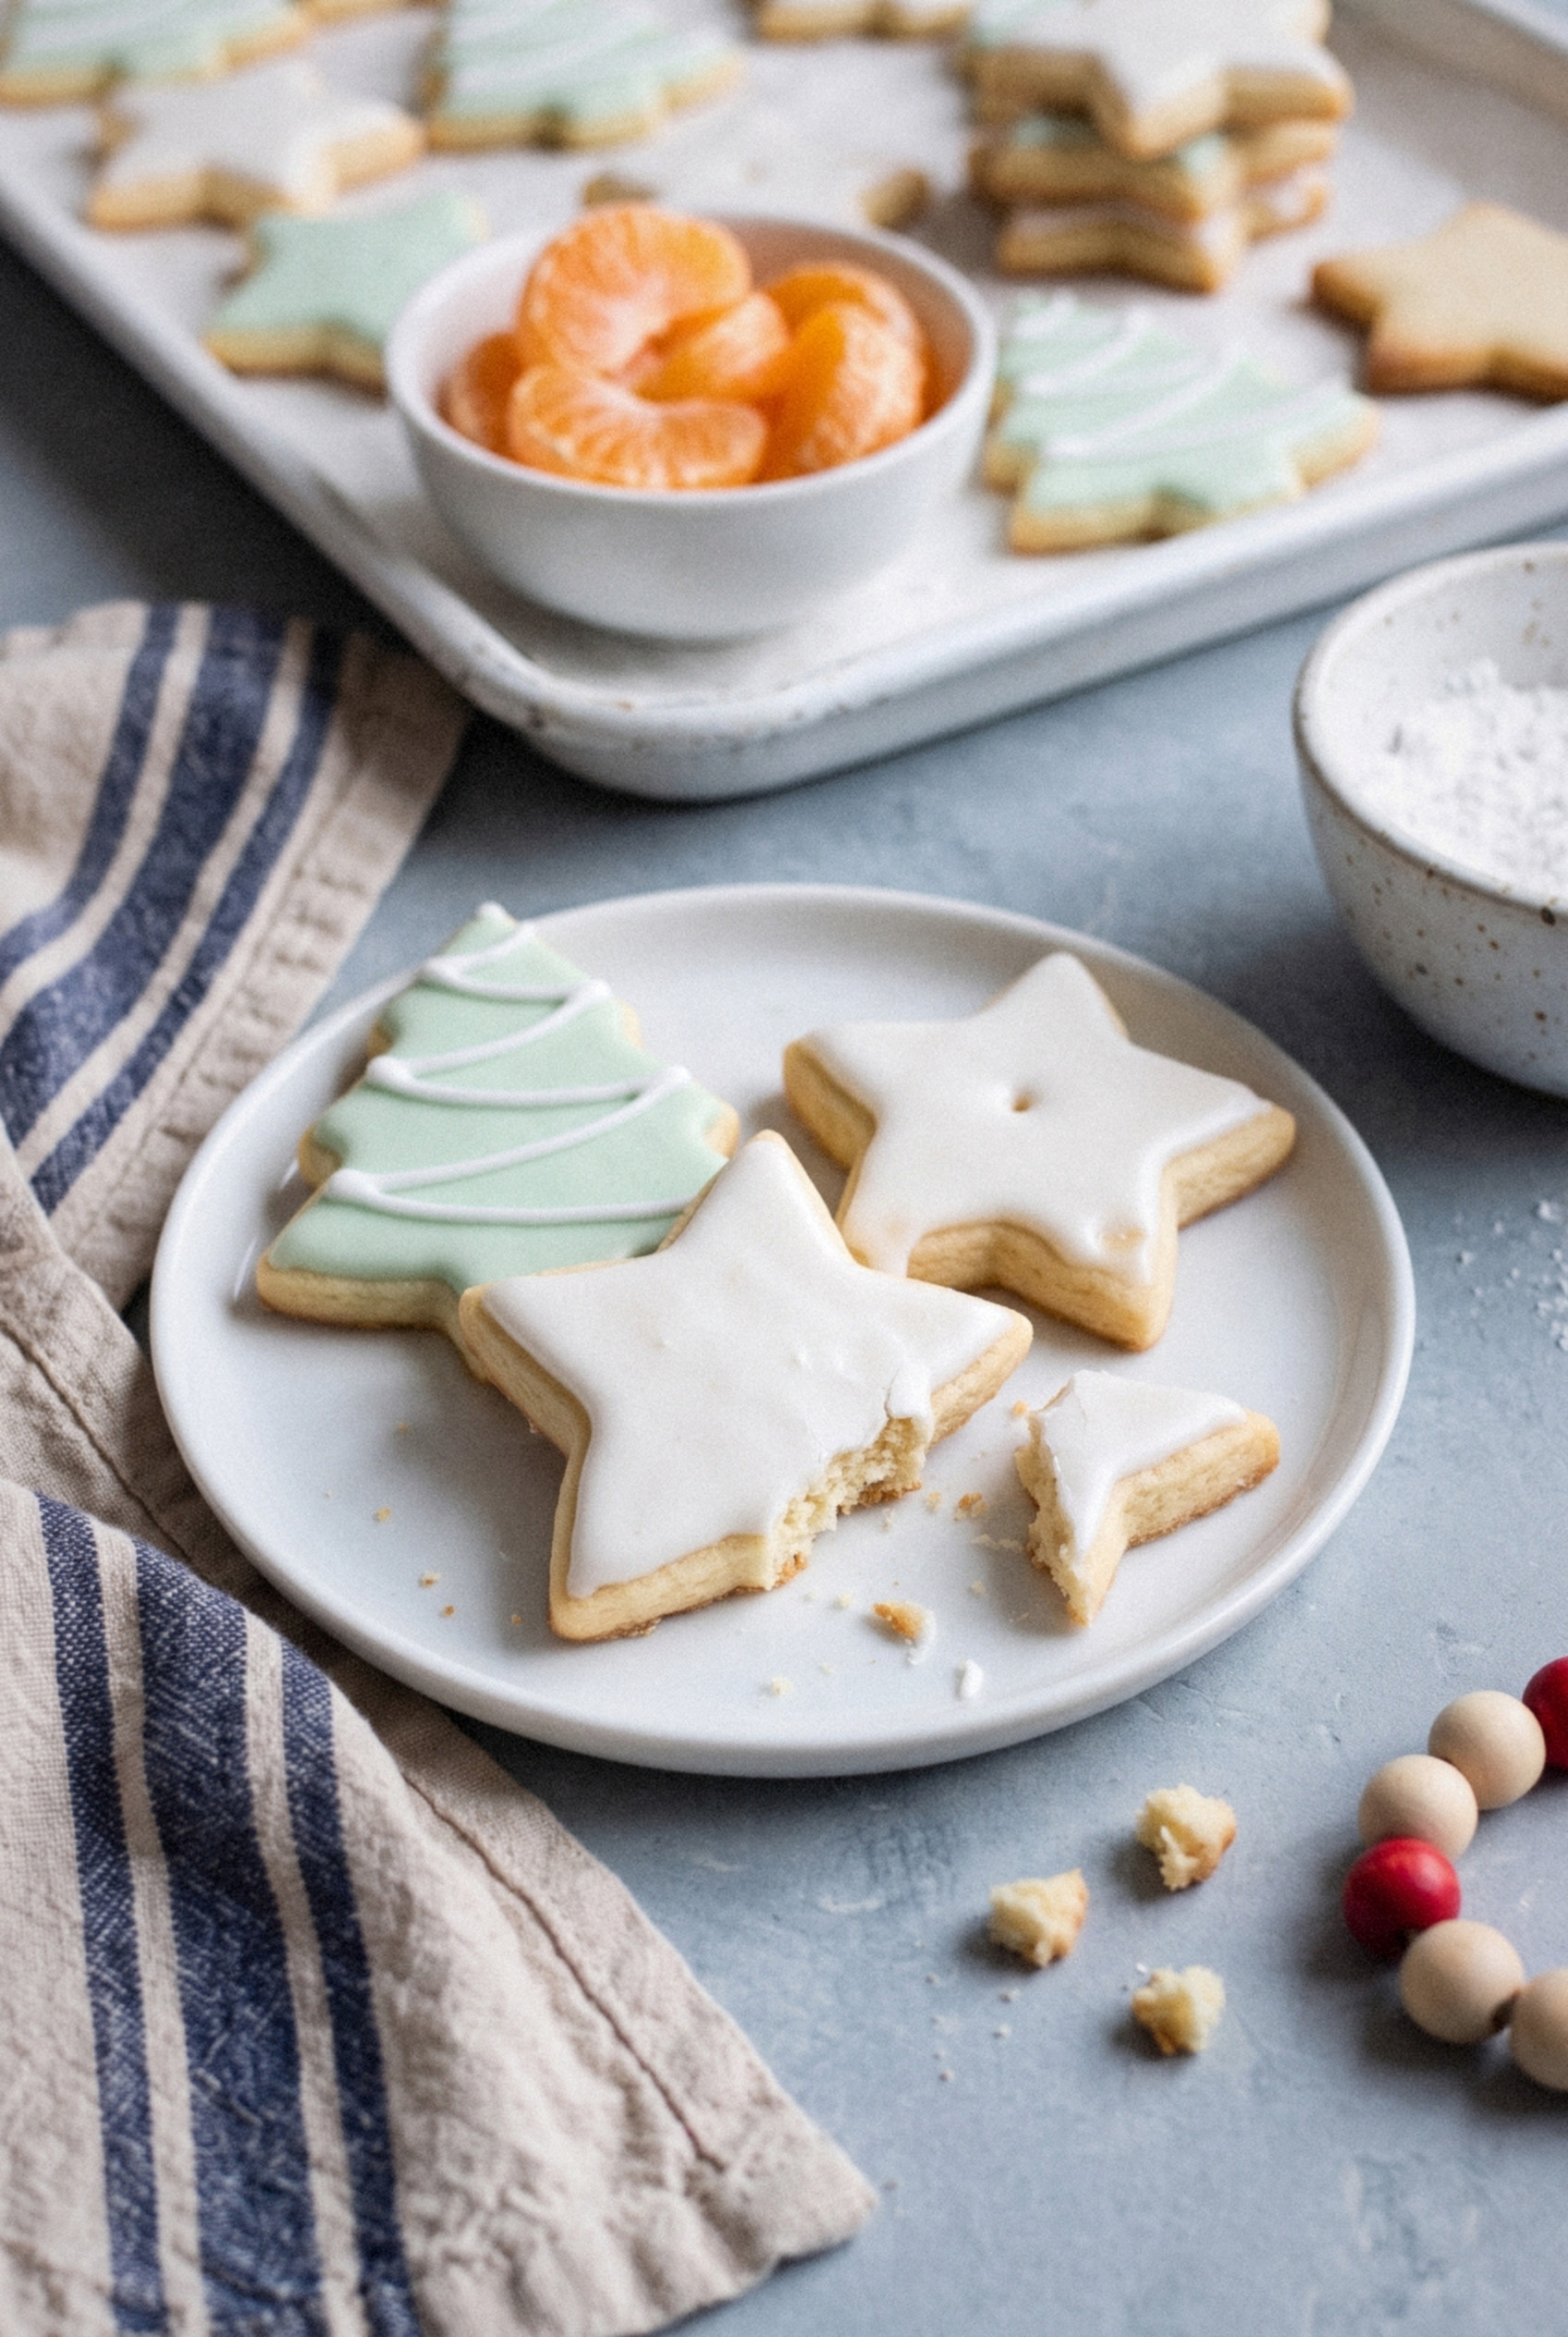
This is where royal icing really earns its keep. A fully dry cookie can travel just about anywhere.
- Test the icing first. Press gently on the thickest spot. If it gives at all, wait a few more hours.
- Line the tin. A square of parchment on the bottom keeps the cookies from sliding.
- Sturdy shapes on the bottom. Round and square shapes go first. Delicate stars with thin points go on top.
- Parchment between layers. One sheet between every layer, no exceptions.
- Fill the gaps. A snug tin doesn't rattle, and a cookie that doesn't move doesn't break.
- Shipping. Pack the tin inside a box with crumpled paper all around, and mail early in the week.
Here's my December timeline: dough on Monday, bake Tuesday, decorate Wednesday, pack Thursday. Breaking it up makes the whole project feel like a breeze to make.
Variations
Once you have the base dough down, it's easy to switch things up.
- Orange vanilla. Add 2 teaspoons of orange zest to the butter and sugar. It's lovely next to the almond.
- Lemon. Swap the almond for lemon zest and use a squeeze of lemon juice in place of some icing water.
- Peppermint. Replace the almond with ¼ teaspoon peppermint extract for a candy-cane flavor.
- Thin and crisp. Roll to ⅛ inch and bake 7 to 8 minutes for a snappier cookie.
- Gluten-free. A 1-to-1 gluten-free baking flour works well. Chill the dough a little longer, as it's softer.
What to Serve With Them
On a Christmas cookie tray, these give you the color and the shapes. Pair them with something rich and something spiced so the tray has variety.
- Hot cocoa. The classic for a reason, especially with the kids.
- Coffee or eggnog. The buttery almond flavor pairs perfectly with both.
- Other tray cookies. Gingerbread, chocolate crinkles and shortbread balance the bright icing.
Ready to roll? Grab your favorite cutters and give it a try!
Recipe
Christmas Cut-Out Sugar Cookies with Royal Icing
Ingredients
For the Cookies
- 2 ¾ cups all-purpose flour 345g, spooned and leveled
- 1 teaspoon baking powder
- ½ teaspoon salt
- 1 cup unsalted butter 227g, softened but cool
- 1 cup granulated sugar 200g
- 1 large egg room temperature
- 2 teaspoons vanilla extract
- ½ teaspoon almond extract
For the Royal Icing
- 4 cups powdered sugar 480g, sifted
- 3 tablespoons meringue powder
- 9 to 10 tablespoons warm water plus more for thinning
- ½ teaspoon clear vanilla extract
- green gel food coloring optional
Instructions
Make the Dough
- Whisk the flour, baking powder and salt in a medium bowl and set aside.
- Beat the butter and sugar on medium-high for 2 to 3 minutes until pale and fluffy. Beat in the egg, vanilla and almond extract for 1 minute.
- On low speed, add the flour mixture in two batches and mix just until the dough comes together. Add 1 tablespoon more flour if very sticky.
- Divide the dough in half. Roll each half between two sheets of parchment to ¼ inch thick. Stack on a tray and refrigerate for 1 hour or up to 2 days.
Cut and Bake
- Preheat the oven to 350°F and line baking sheets with parchment.
- Cut the chilled dough into shapes and place them 1 inch apart on the sheets. Re-roll and re-chill scraps as needed.
- Freeze the cut shapes on the tray for 10 minutes.
- Bake for 9 to 11 minutes, until the edges are set and barely starting to color. Cool on the sheet for 5 minutes, then transfer to a wire rack to cool completely.
Make the Royal Icing
- Stir the powdered sugar and meringue powder together in a stand mixer bowl. Add 9 tablespoons warm water and the clear vanilla.
- Beat on medium-high for 4 to 5 minutes until bright white, matte and holding stiff peaks. Keep covered with a damp towel.
- Tint with gel coloring if using. For outline icing, add water until a line drawn through it smooths in about 20 seconds. For flood icing, thin a portion further until a line smooths in 8 to 10 seconds.
Decorate
- Pipe a border just inside the edge of each cookie with outline icing. Let it set for 10 minutes.
- Fill the inside with flood icing and spread it into the corners with a toothpick. Add sprinkles while wet.
- After about 1 hour, pipe any details on top with outline icing.
- Let the cookies dry uncovered in a single layer for 8 hours or overnight before stacking or packing.
Notes
- Spreading: Keep the dough cold and freeze the cut shapes for 10 minutes before baking.
- Egg whites: Use 3 pasteurized egg whites in place of the meringue powder and most of the water.
- Make ahead: Rolled dough keeps 3 days refrigerated or 3 months frozen. Fully dried decorated cookies keep 1 week airtight at room temperature.
- Freezing: Freeze decorated cookies in a single layer, then stack with parchment. Thaw covered.
- Drying time: Chill time is included in the total time. Allow 8 hours or overnight for the icing to dry hard.