Every November someone puts marshmallows on sweet potatoes and calls it a vegetable.
I've never bought that argument.
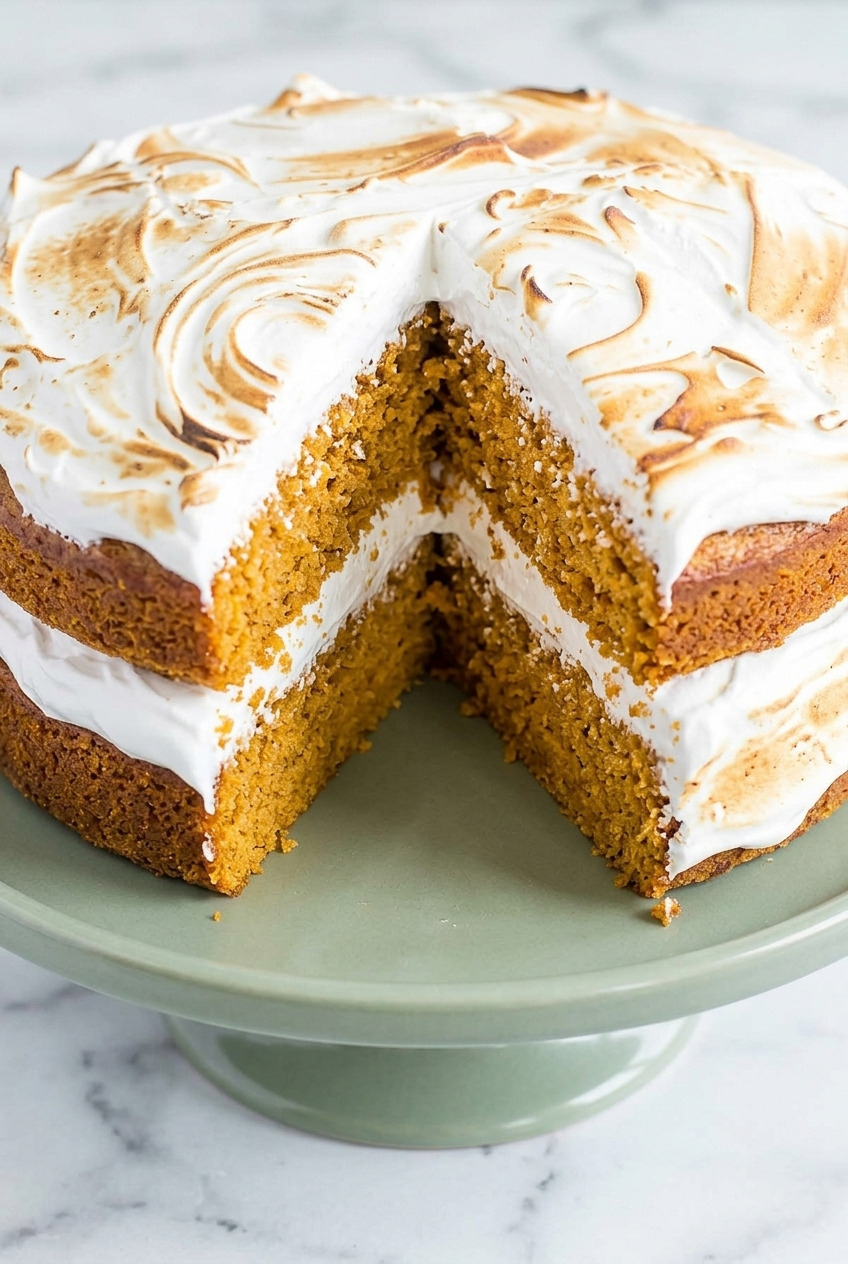
It's dessert wearing a name tag from the side dish table, and it sits there next to the green beans pretending otherwise.
So a couple of years ago I stopped pretending and built it as a cake.
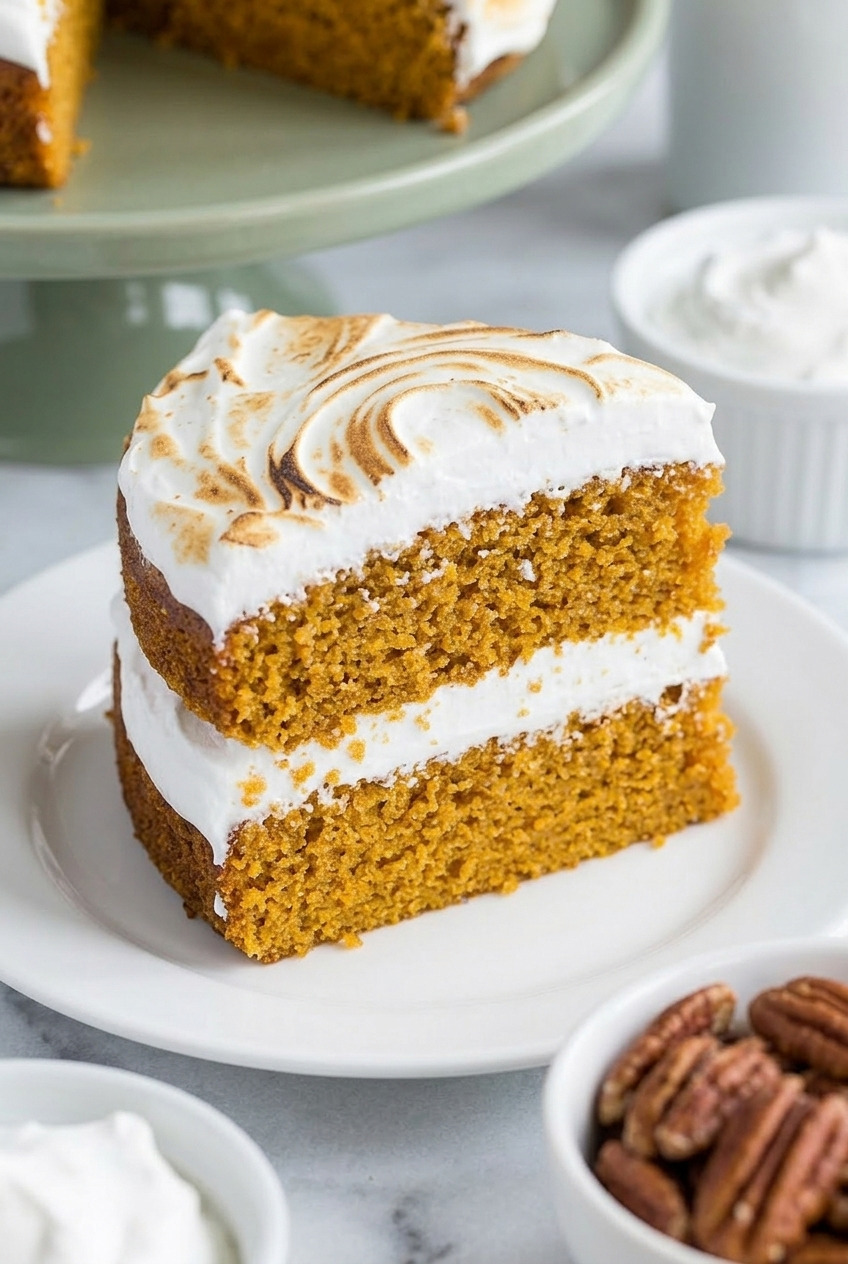
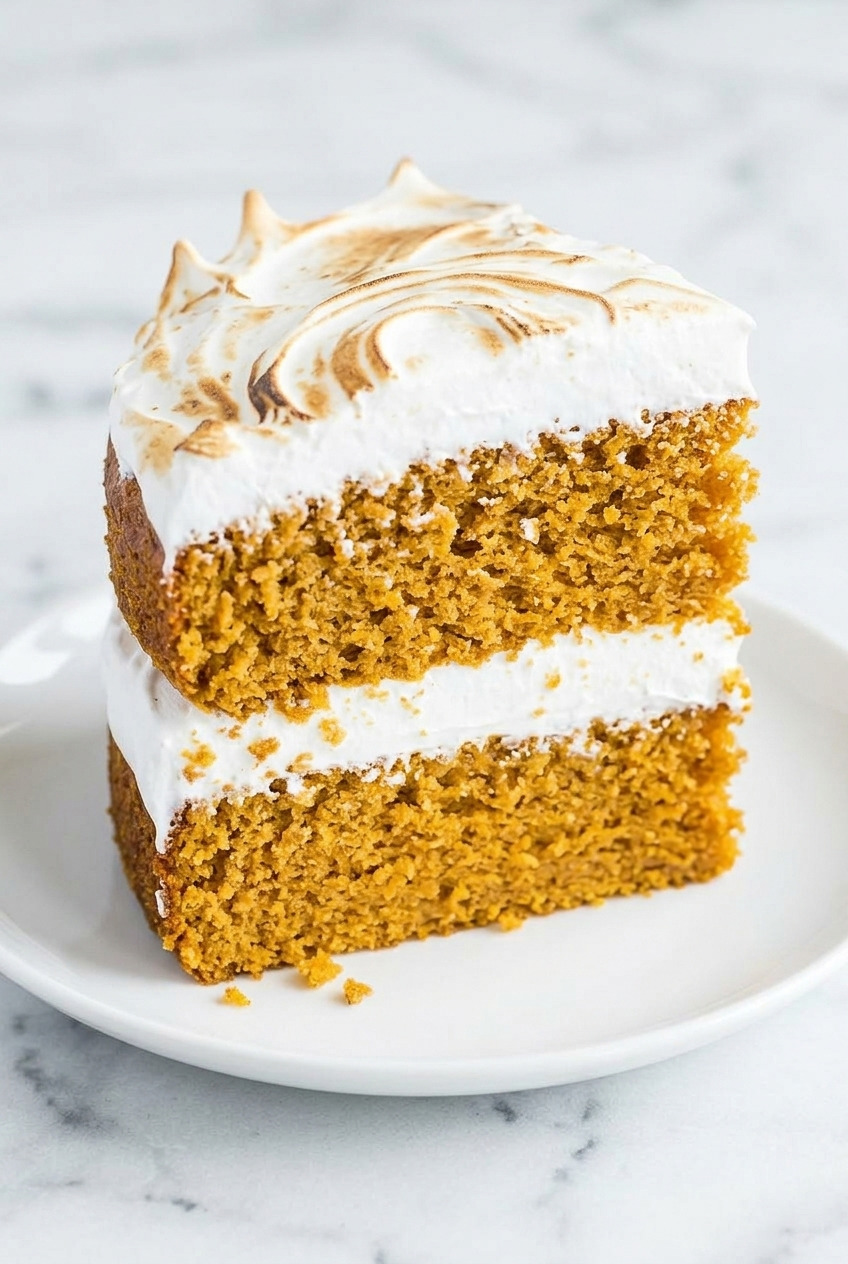
Two tall spiced sweet potato layers, soft and dark from brown sugar, with real marshmallow fluff between them.
Not the jarred kind.
Sugar syrup cooked to soft-ball stage and streamed into whipped egg whites until it turns glossy and holds a peak you could stand a spoon in.
It tastes exactly like the top of a casserole that's been under the broiler, except it's four inches tall and you eat it with a fork after dinner.
The first time I brought it to Thanksgiving my sister-in-law asked where the marshmallow sweet potatoes were, then took two slices of this instead.
The fluff sounds intimidating and it isn't.
A candy thermometer and eight minutes of attention, and I walk you through every degree of it below.
There's a jarred-creme shortcut in here too if you'd rather skip the syrup entirely.
Ingredient Notes
This is a dessert cake inspired by the Thanksgiving side, not a sweetened side dish. That distinction drives every ingredient choice below.
For the cake:
- Sweet potato puree (1 ½ cups). Roast whole sweet potatoes at 400°F for 50 minutes, then scoop and puree until completely smooth. Texture matters here more than in a quick bread. Lumps of potato in a cake layer read as underbaked. Canned puree works if it's drained well.
- Unsalted butter (6 tablespoons, melted and cooled) plus vegetable oil (6 tablespoons). The butter carries flavor and the oil keeps the crumb soft even straight out of the fridge, which matters for a cake that has to be refrigerated. Skipping the oil is why most layer cakes turn firm and dry overnight.
- All-purpose flour (2 ½ cups). Spooned and leveled. This cake wants enough structure to hold a marshmallow filling without compressing.
- Granulated sugar (1 cup) and light brown sugar (1 cup, packed). The brown sugar is doing the heavy work on flavor and color. Dark brown makes an even deeper cake if that's what you have.
- Eggs (3 large, room temperature). They emulsify the butter and oil into the puree. Cold eggs make the batter separate.
- Baking powder (2 ¼ teaspoons) and baking soda (1 teaspoon). Both, together. The soda reacts with the acidity in the sweet potato and gives the crumb its open texture.
- Cinnamon (1 teaspoon), nutmeg (¼ teaspoon), salt (¾ teaspoon). Restrained on purpose. Push the spice too far and it fights the marshmallow instead of supporting it.
- Water (⅔ cup) and vanilla (1 teaspoon). The water thins a very thick puree-heavy batter so it bakes evenly.
For the marshmallow filling:
- Granulated sugar (1 ½ cups), light corn syrup (1 ½ cups), water (⅔ cup). The corn syrup is non-negotiable. It prevents the sugar from crystallizing, which is what keeps the fluff smooth instead of grainy.
- Egg whites (6 large, room temperature). Room temperature whites whip to a higher volume. Not one speck of yolk, or they will not whip at all.
- Cream of tartar (1 teaspoon). Stabilizes the whites so the meringue holds for days instead of hours.
- Vanilla extract (2 teaspoons). Added at the very end, off the heat, once the fluff has cooled.
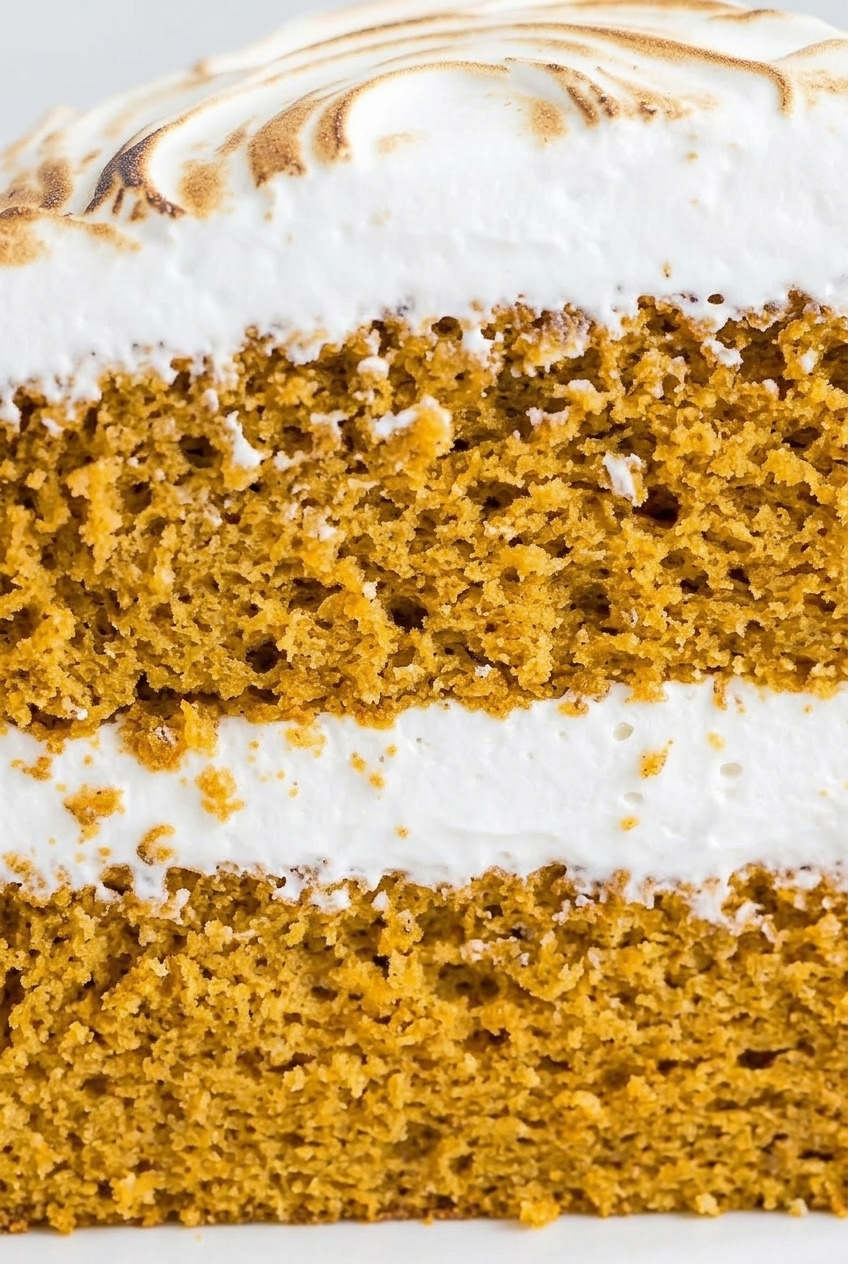
How to Make the Sweet Potato Cake Layers
One bowl for dry, one bowl for wet, and no mixer required for the layers. The batter is thick and forgiving.
Step 1: Prep
Butter two 8-inch round pans, line the bottoms with parchment, and butter the parchment.
Preheat to 350°F.
For a taller three-layer cake, use three 6-inch pans instead and cut about 5 minutes off the bake.
Step 2: Whisk the Dry Ingredients
Whisk the flour, baking powder, baking soda, cinnamon, nutmeg, and salt together thoroughly.
Thirty seconds of real whisking beats sifting here.
Step 3: Combine the Wet Ingredients
Whisk the melted butter, oil, granulated sugar, and brown sugar together until glossy.
Add the eggs one at a time, whisking after each.
Whisk in the sweet potato puree, water, and vanilla until fully uniform in color.
Step 4: Combine and Bake
Fold the dry into the wet with a spatula until the last streak of flour disappears, then stop.
Divide the batter evenly between the pans. A kitchen scale makes level layers effortless.
Bake 35 to 45 minutes, until a skewer in the center comes out clean and the top springs back.
Cool in the pans 10 minutes, then turn out onto a rack and cool completely.
Pro tip: Wrap the fully cooled layers in plastic and chill them for an hour before assembly. Cold layers produce fewer crumbs and stack straighter.
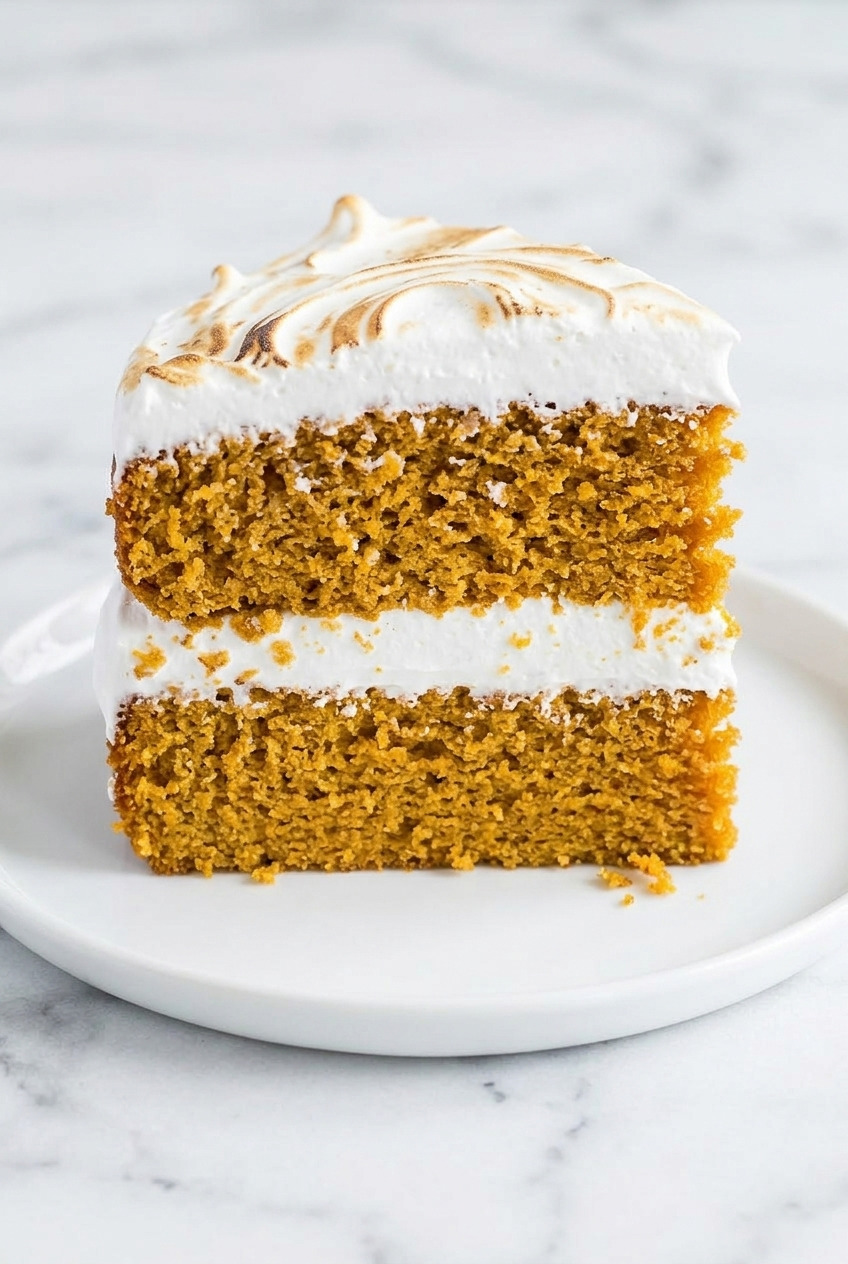
How to Make the Marshmallow Filling
This is an Italian meringue, and the only real skill is watching a thermometer. Get everything in place before you turn on the burner, because once the syrup is going you cannot step away.
Step 1: Start the Egg Whites
Put the egg whites and cream of tartar in a spotlessly clean stand mixer bowl.
Any trace of fat kills the whip, so wipe the bowl and whisk with vinegar first if you're unsure.
Whip on medium until soft peaks form, then hold.
Step 2: Cook the Syrup
Combine the sugar, corn syrup, and water in a saucepan over medium-high heat.
Clip on a candy thermometer and cook without stirring to 240°F, the soft-ball stage.
Soft-ball looks like large, slow, thick bubbles across the whole surface, and a drop in cold water forms a soft ball you can flatten between your fingers.
That takes roughly 8 to 10 minutes.
Step 3: Stream and Whip
With the mixer running on medium-low, pour the hot syrup down the side of the bowl in a thin, steady stream.
Down the SIDE, never onto the moving whisk. Syrup hitting the whisk flings molten sugar around the bowl and it sets into hard threads.
Once all the syrup is in, raise to high and whip 7 to 10 minutes, until the bowl feels close to room temperature and the fluff is thick, glossy, and holds a stiff peak.
Beat in the vanilla for 15 seconds and use it right away.
The jarred shortcut: Whip 1 cup of softened butter until light, beat in one 7-ounce jar of marshmallow creme, 2 cups of powdered sugar, 1 teaspoon of vanilla, and 1 to 2 tablespoons of milk. No thermometer, no syrup, about 6 minutes start to finish. It's a marshmallow buttercream rather than true fluff, richer and a little denser, and it pipes beautifully.
Assembly
Marshmallow fluff sets as it sits, so work continuously once you start. Have the layers cold and the cake stand ready before the fluff comes off the mixer.
- Level the layers. Trim any dome with a long serrated knife using a sawing motion, no downward pressure. Flat tops mean a cake that doesn't lean.
- Fill. First layer cut side up on the stand, then about 1 ½ cups of fluff spread to within half an inch of the edge. The weight of the top layer pushes it the rest of the way.
- Stack. Second layer cut side down so the flat bottom becomes your smooth top. Press gently and check that it's level from eye height.
- Crumb coat. A thin skim of fluff over the whole cake, sealing every crumb in. Chill 20 minutes until it's tacky to the touch.
- Final frost. The remaining fluff, spread in big swoops with an offset spatula. This filling is made for texture, not for glass-smooth sides.
- Toast it, if you want. A kitchen torch passed quickly over the peaks gives you the browned casserole top in cake form. Keep it moving and stay 4 inches back.
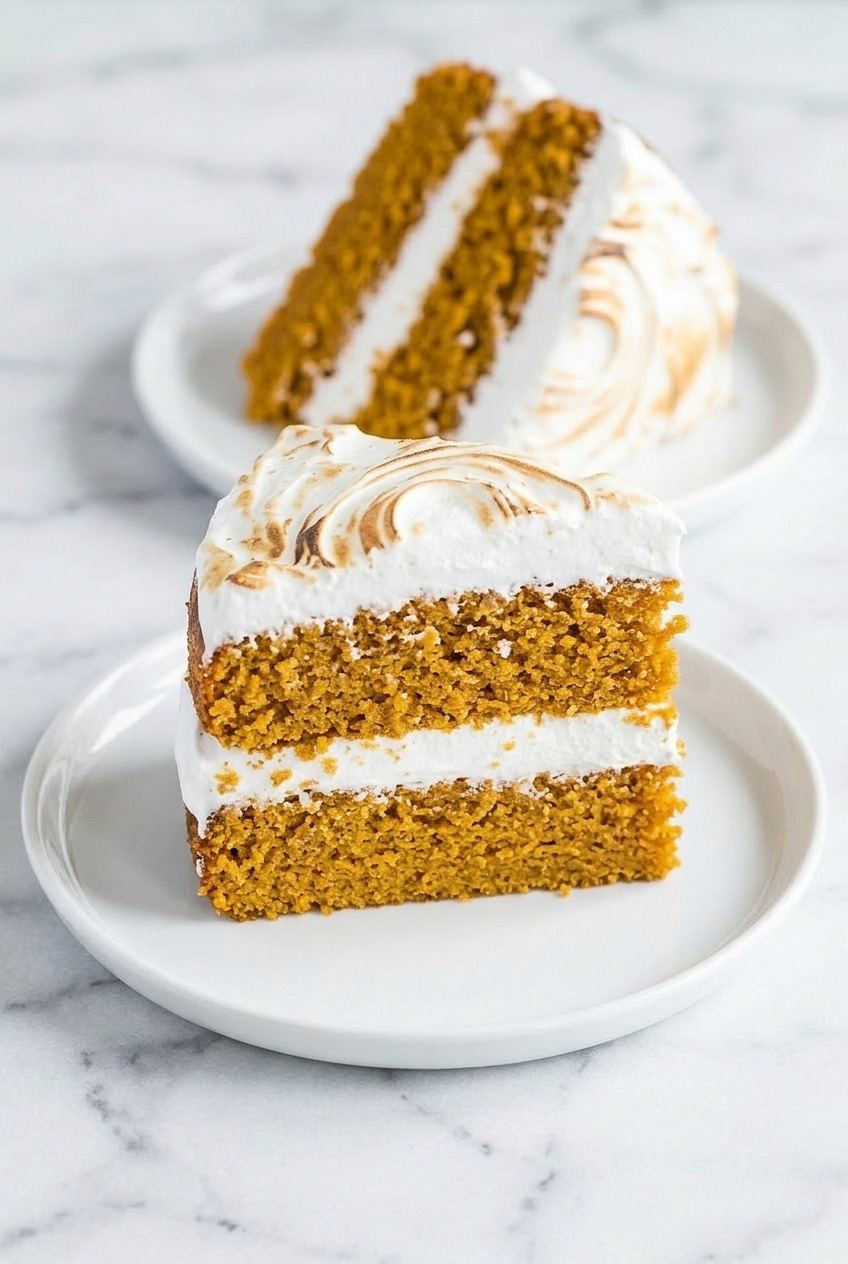
Storage
A cooked meringue filling behaves differently from buttercream. It's stable, but it doesn't love the fridge for long stretches.
- Room temperature. Loosely covered for up to 2 days in a cool kitchen. This is genuinely the best way to store it, since the cooked syrup makes the meringue food-safe and stable.
- Refrigerator. Up to 4 days in a cake keeper. The fluff firms up and may weep slightly at the base. Bring slices to room temperature for 30 minutes before serving.
- Freezing the layers. Unfrosted layers freeze well wrapped in plastic and foil for up to 2 months. Thaw overnight in the fridge, still wrapped.
- Don't freeze the assembled cake. Meringue crystallizes and weeps badly on thawing. The buttercream shortcut version freezes fine if that's a requirement.
- Frosting ahead. Frost no more than 24 hours before serving for the best texture. Fluff is at its peak the day it's made.
- Cut surfaces. Press plastic wrap directly against any cut side to keep the crumb from drying.
Sweet Potato Layer Cake FAQ
Can I use canned sweet potato puree instead of fresh?
Yes. Use 1 ½ cups of plain canned sweet potato puree, drained of any liquid sitting on top. If you're using canned sweet potatoes in syrup rather than puree, rinse them, blot them dry, and blend until smooth, then cut the granulated sugar to ¾ cup. Roasted fresh has deeper flavor, but canned makes a very good cake.
Can I make the marshmallow filling ahead of time?
Cooked marshmallow fluff is best used within about 30 minutes of making it, while it's still spreadable. It sets firm as it sits and can't be rewhipped into shape. Make the cake layers ahead instead, up to 2 days wrapped on the counter, and whip the fluff the day you assemble.
Can I use jarred marshmallow creme instead of making fluff from scratch?
You can, and it's a genuinely good alternative. Whip 1 cup of softened butter until light, then beat in a 7-ounce jar of marshmallow creme, 2 cups of powdered sugar, 1 teaspoon of vanilla, and 1 to 2 tablespoons of milk. The result is a marshmallow buttercream: richer, denser, and more stable at room temperature than true fluff, and it takes about 6 minutes.
How do I store a cake with marshmallow filling?
Loosely covered at room temperature for up to 2 days is best. The syrup is cooked to 240°F, which makes the meringue stable and safe outside the fridge. If your kitchen is warm, refrigerate it up to 4 days and let slices sit out 30 minutes before serving.
Can I make this as a sheet cake instead of a layer cake?
Easily. Pour the full batter into a greased 9x13-inch pan and bake at 350°F for 40 to 48 minutes. Cool completely, then spread the fluff over the top in swoops. You'll have fluff left over since a sheet cake needs no filling layer, so consider halving the marshmallow recipe.
Why did my marshmallow filling deflate or weep?
Three usual causes. The syrup didn't reach a true 240°F, so there wasn't enough dissolved sugar to stabilize the whites. A trace of fat or yolk got into the whites and prevented a full whip. Or the fluff was still warm when it went onto the cake, which lets it slump and release liquid. Whip until the outside of the bowl feels close to room temperature before you spread it.
Recipe
Sweet Potato Layer Cake with Marshmallow Filling
Ingredients
For the Cake
- 2 ½ cups all-purpose flour spooned and leveled
- 2 ¼ teaspoons baking powder
- 1 teaspoon baking soda
- 1 teaspoon ground cinnamon
- ¼ teaspoon ground nutmeg
- ¾ teaspoon salt
- 6 tablespoons unsalted butter melted and cooled
- 6 tablespoons vegetable oil
- 1 cup granulated sugar
- 1 cup light brown sugar packed
- 3 large eggs room temperature
- 1 ½ cups sweet potato puree roasted and pureed smooth
- ⅔ cup water
- 1 teaspoon vanilla extract
For the Marshmallow Filling
- 1 ½ cups granulated sugar
- 1 ½ cups light corn syrup
- ⅔ cup water
- 6 large egg whites room temperature
- 1 teaspoon cream of tartar
- 2 teaspoons vanilla extract
Instructions
Bake the Cake Layers
- Preheat the oven to 350 degrees F. Butter two 8-inch round pans, line the bottoms with parchment, and butter the parchment.
- Whisk together the flour, baking powder, baking soda, cinnamon, nutmeg, and salt for a full 30 seconds.
- In a large bowl, whisk the melted butter, vegetable oil, granulated sugar, and brown sugar until glossy. Add the eggs one at a time, whisking after each.
- Whisk in the sweet potato puree, water, and vanilla until the mixture is uniform in color.
- Fold the dry ingredients into the wet with a spatula until the last streak of flour disappears. Do not overmix.
- Divide the batter evenly between the pans and bake 35 to 45 minutes, until a skewer comes out clean and the tops spring back.
- Cool in the pans 10 minutes, turn out onto a rack, and cool completely. Wrap and chill for an hour before assembly for cleaner stacking.
Make the Marshmallow Filling
- Place the egg whites and cream of tartar in a spotlessly clean stand mixer bowl. Whip on medium to soft peaks, then stop and hold.
- Combine the sugar, corn syrup, and water in a saucepan over medium-high heat. Clip on a candy thermometer and cook without stirring to 240 degrees F, the soft-ball stage, about 8 to 10 minutes.
- With the mixer running on medium-low, pour the hot syrup down the side of the bowl in a thin, steady stream. Never pour onto the moving whisk.
- Raise the speed to high and whip 7 to 10 minutes, until the bowl feels close to room temperature and the fluff is thick, glossy, and holds a stiff peak.
- Beat in the vanilla for 15 seconds and use the fluff immediately.
Assemble
- Level the cooled layers with a long serrated knife, using a sawing motion and no downward pressure.
- Set the first layer cut side up on a cake stand and spread about 1 ½ cups of fluff to within half an inch of the edge.
- Place the second layer cut side down and press gently, checking that the stack is level from eye height.
- Spread a thin crumb coat of fluff over the whole cake and chill 20 minutes until tacky.
- Finish with the remaining fluff, spread in big swoops with an offset spatula. Toast the peaks with a kitchen torch held 4 inches away if desired.
Notes
- Corn syrup is required: It prevents the sugar from crystallizing, which is what keeps the fluff smooth instead of grainy.
- Spotless bowl: Any trace of fat or yolk stops the egg whites from whipping. Wipe the bowl and whisk with vinegar if unsure.
- Hit 240 degrees F: A syrup that falls short leaves the meringue unstable and it will weep.
- Three-layer option: Use three 6-inch pans and reduce the bake time by about 5 minutes.
- Sheet cake option: Bake the full batter in a 9x13-inch pan at 350 degrees F for 40 to 48 minutes and halve the filling.
- Jarred shortcut: Whip 1 cup softened butter with one 7 oz jar marshmallow creme, 2 cups powdered sugar, 1 teaspoon vanilla, and 1 to 2 tablespoon milk.
- Storage: Loosely covered at room temperature up to 2 days, or refrigerated up to 4 days. Do not freeze the assembled cake.