My mom packed the same sandwich in my lunch box for most of elementary school.
White bread, peanut butter spread thick, banana coins pressed into it, cut on the diagonal because that apparently mattered.
By noon the bread had gone soft and slightly purple where the banana touched it, and I ate it happily every single day.
I still want that combination at least once a week.
What I do not want anymore is the soft white bread underneath it.
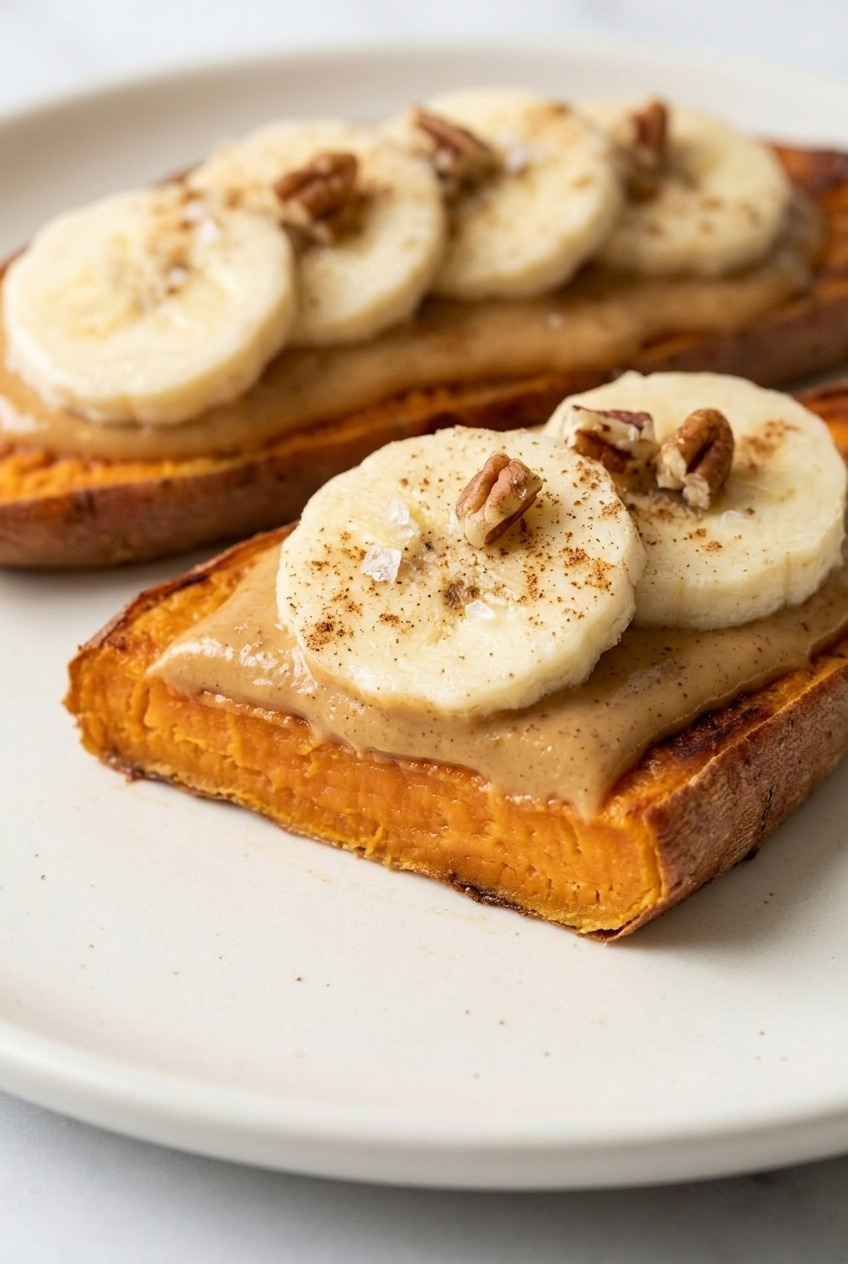
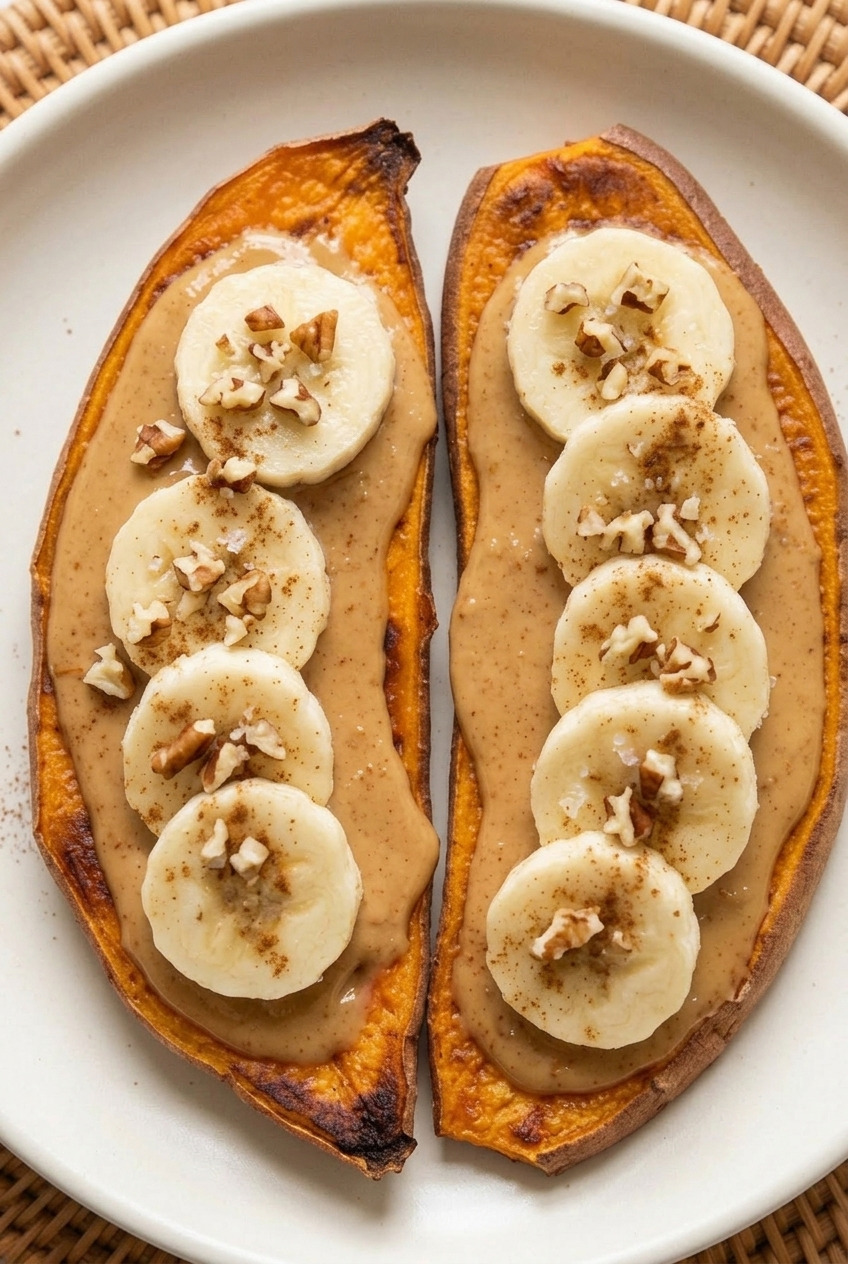
So now it goes on a plank of sweet potato, toasted until the edges caramelize and the middle turns tender.
It sounds like a health food swap and it honestly is not one.
The potato tastes sweeter than the bread ever did, the crisp edges give you something to bite through, and the warm plank melts the peanut butter into the surface instead of letting it sit on top in a cold slab.
Banana coins go on next, then cinnamon, then a pinch of flaky salt that changes the whole thing.
Four ingredients, about 15 minutes, and no added sugar anywhere.
My kids ask for it as an after school snack more often than they ask for cookies, which I did not see coming.
Make one, eat it standing at the counter, and see if it does not take you straight back to a lunch box.
Why Sweet Potato Instead of Bread
The plank brings its own sweetness, which bread never did. That is the real argument here, not the nutrition label.
Heat turns the starch in a sweet potato into sugar, and the cut edges caramelize where they touch the hot toaster element.
You get a base that already tastes a little like dessert before anything goes on it.
The texture is different from toast, and it is worth being honest about that.
It is softer, it flexes when you pick it up, and it will not shatter like a well toasted slice of sourdough.
Fair warning: this is not a sandwich and it never will be. Stack two of these together and the whole thing slides apart in your hands.
Open faced, on a plate, eaten with your fingers or a fork. That is the format.
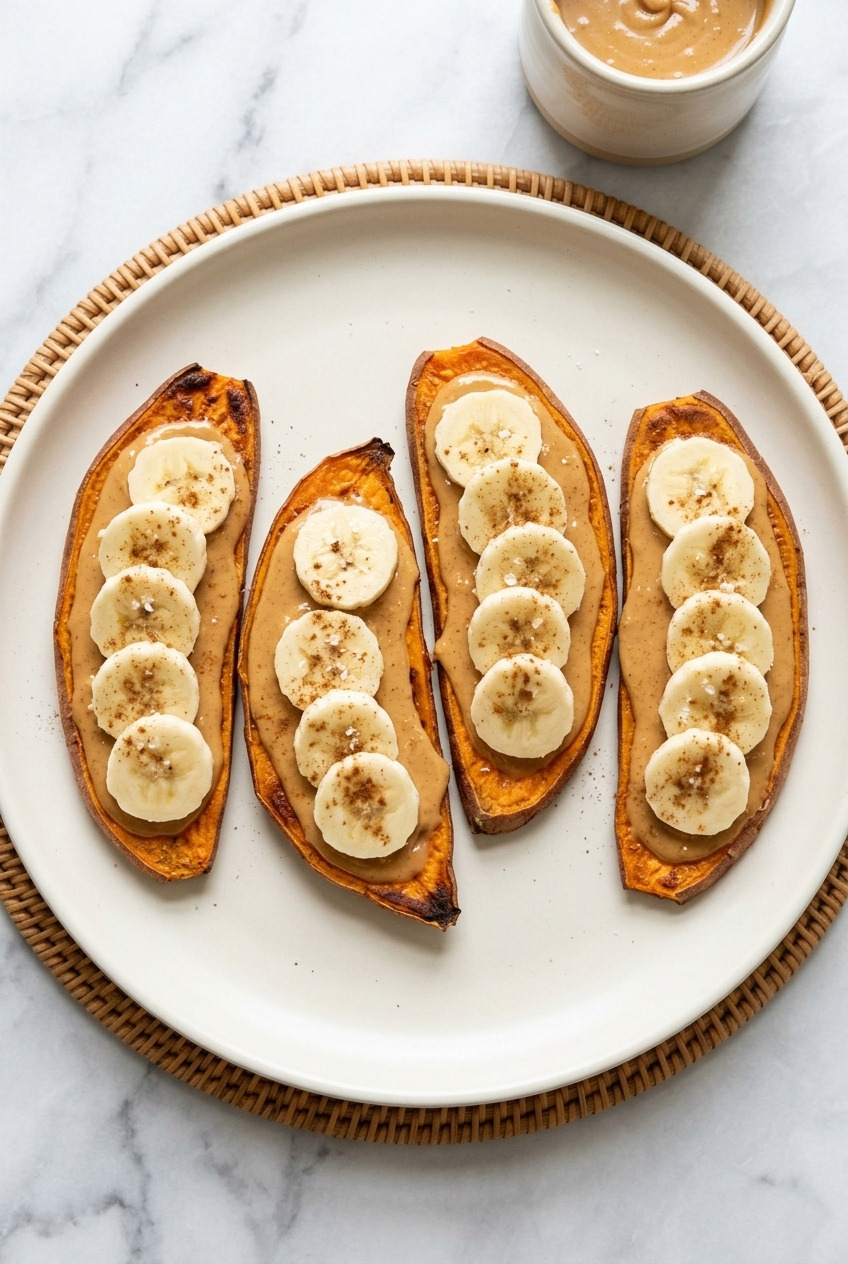
Ingredients You'll Need
Four things make the recipe and three more make it better. Nothing here needs a special trip.
- Sweet potato (1 large, about 12 ounces). Long and even beats round and stubby every time, because you want planks that fit a toaster slot without snapping.
- Creamy peanut butter (4 tablespoons). Natural or conventional, both work. Natural peanut butter melts faster on the warm plank and runs toward the edges, so spread it a little short of the sides.
- Banana (1 large). Sliced into coins about ¼ inch thick. A banana with a few brown freckles is sweeter and sits flatter than a firm green one.
- Ground cinnamon (¼ teaspoon). Dusted over the banana. It costs nothing and it makes the plate taste finished.
- Flaky salt (a pinch). My favorite addition and the one no other version bothers with. Salt on peanut butter is the difference between a snack and something you think about later.
- Toasted pecans (2 tablespoons, optional). Chopped, for crunch. Everything else on this plate is soft.
- Honey (2 teaspoons, optional). Only if you want it sweeter. I usually skip it and let the potato do the work.
How to Slice Sweet Potato Toast
Get the thickness right and the rest of this recipe is impossible to mess up. Get it wrong and no amount of extra toasting saves you.
Scrub the potato and leave the skin on. It holds the plank together and softens completely as it cooks.
Trim a thin slice off one long side so the potato stops rolling, then cut lengthwise into planks a solid ¼ inch thick.
Square off the two rounded outside pieces so every plank sits flat against the heat.
- At ⅛ inch: the edges scorch and turn bitter while the middle is still raw, and the plank goes limp within a minute of cooling.
- At ¼ inch: tender all the way through, crisp at the corners, sturdy enough to hold peanut butter. This is the number to hit.
- At ½ inch: the surface dries out and the center stays starchy and raw tasting.
One large potato gives you about four good planks plus two rounded end pieces to fry up later.
How to Make Sweet Potato Toast With Peanut Butter and Banana
Slice, toast, spread, top. The only timing that matters is spreading the peanut butter while the plank is hot.
Step 1: Slice
Cut the planks at ¼ inch as described above and pat them dry if there is any moisture on the cut faces.
Damp planks steam in the toaster instead of crisping.
Step 2: Toast
Run the planks through the toaster on the highest setting.
When they pop, put them straight back down. Most planks need 2 to 3 cycles, about 8 minutes total.
They are done when a fork goes into the center with no resistance and the corners have darkened.
In the oven, lay them on a sheet pan at 400°F for 20 minutes, flipping once.
Step 3: Spread While Hot
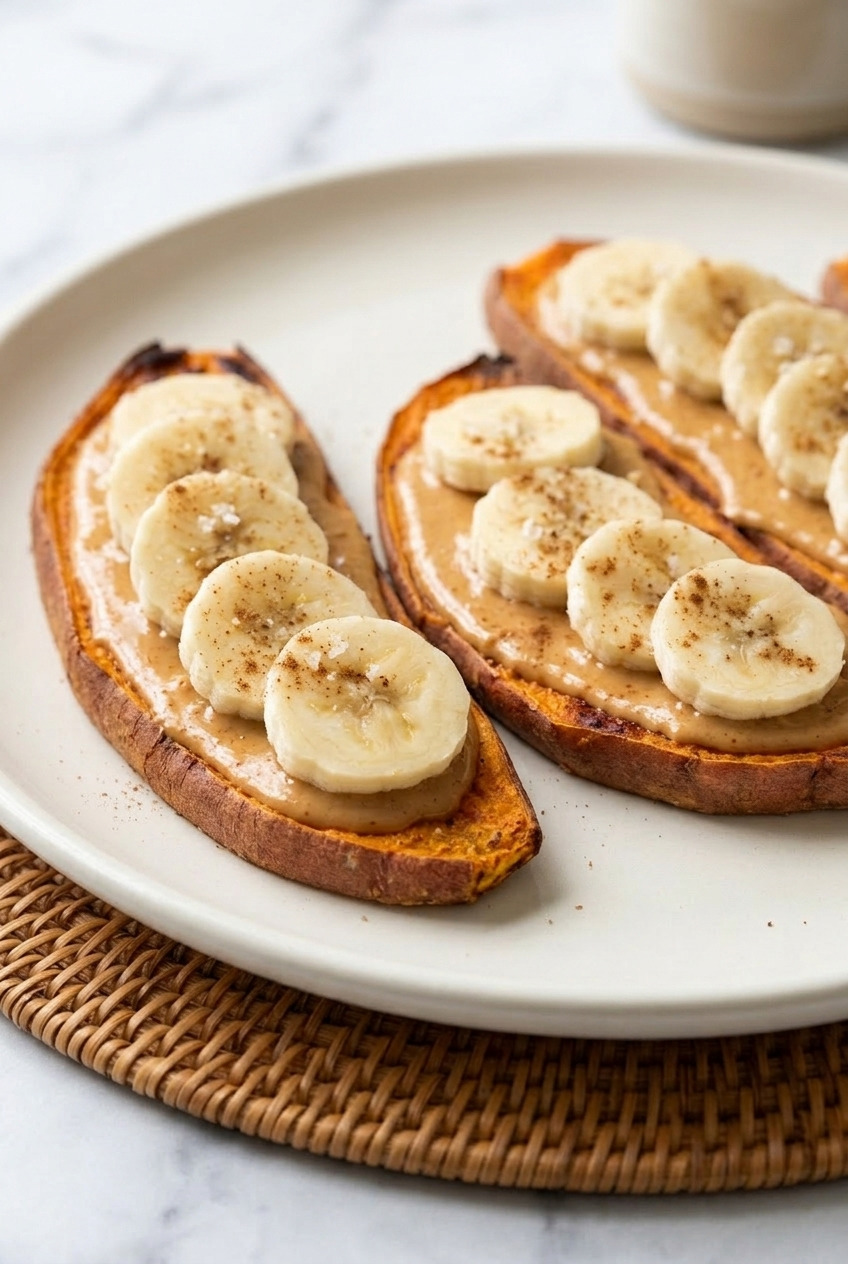
Spread 1 tablespoon of peanut butter over each plank the moment it comes out.
The heat thins it out so it sinks into the surface rather than sitting on top in a cold layer.
That warm layer is also what holds the banana in place, so do not let the planks cool first.
Step 4: Top and Finish
Lay the banana coins over the peanut butter in a single overlapping layer, pressing each one down lightly so it grips.
Dust with cinnamon, add a pinch of flaky salt, and scatter the chopped pecans over the top if you are using them.
Eat it right away. The banana starts to brown after about 10 minutes.
Toaster or Oven
Both get you there and the choice comes down to how many you are making. I use the toaster on weekdays without thinking about it.
- Toaster, for one or two servings. No preheat, no pan, and the direct heat gives the crispest corners. Roughly 8 minutes of hands off time.
- Oven, for a crowd. 400°F for 20 minutes on a sheet pan, flipped once. The slower heat caramelizes the sugars more deeply, so the planks taste sweeter.
- Air fryer. 400°F for 12 minutes, flipping halfway. Fast and very crisp at the edges.
- Skillet. Covered, medium heat, 5 minutes a side. It steams more than it crisps, so treat it as the backup plan.
More Topping Ideas
The plank is a sweet base, so lean into it. These are the ones that get made again in my kitchen.
- Almond butter and strawberry jam. Closer to the PB and J version, and the tart jam plays well against the potato.
- Peanut butter and mini chocolate chips. They soften on the warm plank without fully melting. My kids' pick.
- Banana and a thin honey drizzle. For anyone who wants it sweeter than the potato alone.
- Chopped pecans or walnuts. Toasted first, which takes 4 minutes in a dry skillet and is worth doing.
- A dusting of cocoa powder. Unsweetened, over the peanut butter. It tastes far more indulgent than it has any right to.
- Sunflower seed butter. The nut free swap, and the flavor holds up better here than it does on bread.
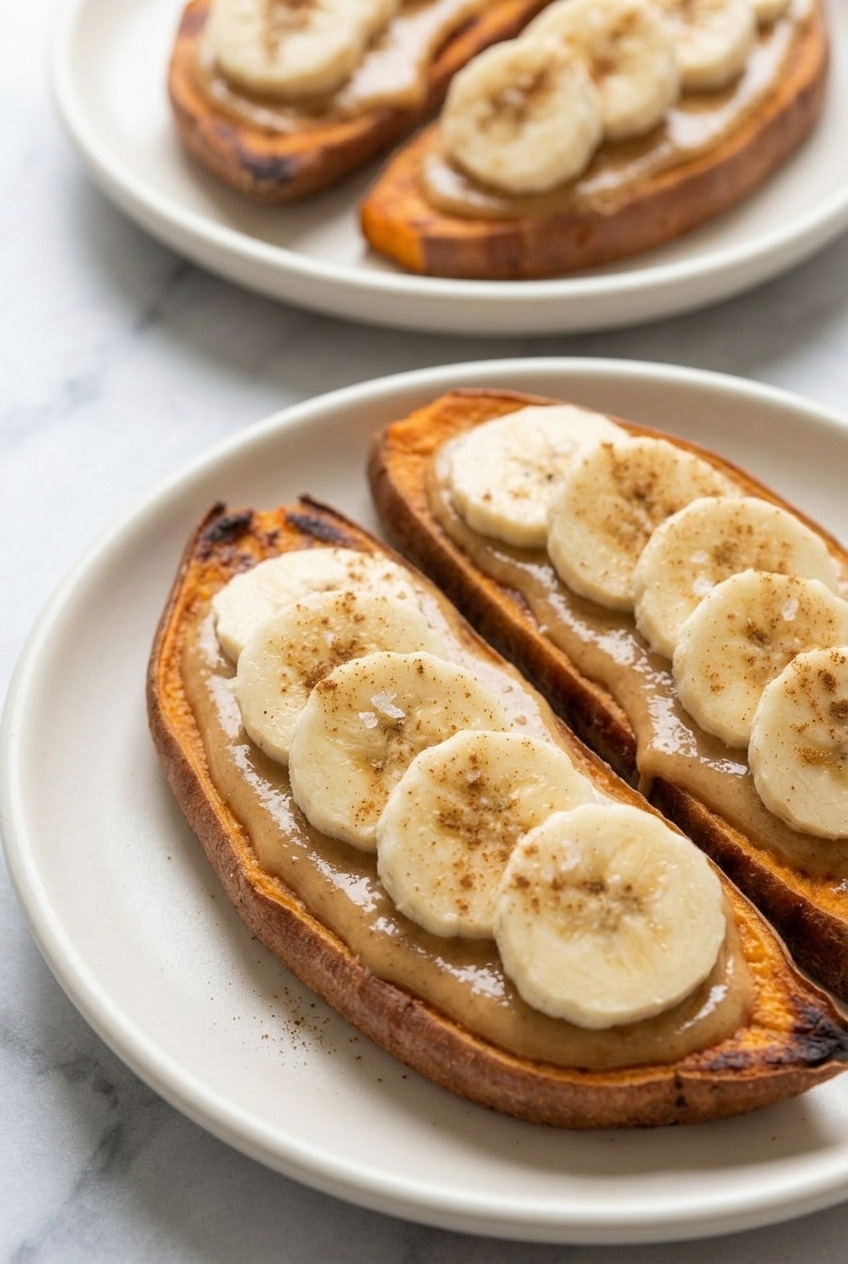
Who does not love peanut butter and banana? The base just changed.
Make Ahead and Storage
Batch the planks, never the assembled toast. This is the difference between a weekend novelty and a weekday breakfast.
- Cooked planks. Cool completely, then airtight in the fridge for up to 4 days. They firm up when cold, which is normal.
- Reheating. One toaster cycle brings them back, and they usually come out crisper than the first time.
- Raw sliced planks. Keep them submerged in cold water for 2 days, then pat completely dry before toasting.
- Freezer. Cooked planks freeze in a single layer for 2 months. Toast straight from frozen, two cycles.
- Banana. Slice it at the last second. Cut ahead, it browns and goes slippery.
- Assembled toast. Does not keep at all. Build it and eat it.
FAQ
How thick should sweet potato toast be?
A solid ¼ inch, cut lengthwise. At ⅛ inch the edges burn before the center cooks and the plank turns floppy as it cools. At ½ inch the middle stays raw and starchy no matter how long you toast it. Square off the rounded outer slices so each plank sits flat.
Can you make sweet potato toast in a toaster?
Yes, and it is the easiest way. Highest setting, 2 to 3 full cycles, checking between each one. A fork should slide into the center with no resistance. Cut the planks narrow enough to drop into the slot freely and never push them down by force.
Do you have to peel the sweet potato?
No, and I would not. Scrub it well and leave the skin on. It softens completely while cooking, adds a little fiber, and holds the plank together while you spread peanut butter across it. Peeled planks tear more easily at the edges.
Can I make these ahead for the week?
The planks, absolutely. Toast a whole potato's worth on Sunday, cool them, and keep them airtight in the fridge for 4 days. One toaster cycle re-crisps them in the morning. Spread the peanut butter and slice the banana fresh, which is about 2 minutes of work.
What peanut butter works best here?
Creamy is the classic choice and it spreads most evenly on a warm plank. Natural peanut butter tastes better to me but it loosens quickly with the heat, so stop spreading a little short of the edges. Crunchy works if you like the texture, though the pecans already cover that job.
Can I use almond butter or sunflower seed butter instead?
Both work. Almond butter is milder and lets the sweet potato come forward more. Sunflower seed butter is the nut free option and its slightly savory edge actually suits the caramelized plank better than it suits bread. Use the same 1 tablespoon per plank.
Is this sweet enough without honey or syrup?
For me, yes. Roasting concentrates the natural sugars in the potato, and the banana adds plenty more on top. Taste one plain before you reach for the honey. If you do want it sweeter, ½ teaspoon of honey per plank is enough without turning breakfast into dessert.
Recipe
Sweet Potato Toast With Peanut Butter And Banana
Ingredients
For the Toast
- 1 large sweet potato about 12 ounces, long and even, scrubbed and unpeeled
- 4 tablespoons creamy peanut butter
- 1 large banana sliced into ¼ inch coins
- ¼ teaspoon ground cinnamon
- 1 pinch flaky salt
Optional
- 2 tablespoons toasted pecans chopped
- 2 teaspoons honey only if you want it sweeter
Instructions
Slice and Toast
- Scrub the sweet potato and trim a thin slice off one long side so it sits flat. Cut lengthwise into planks a solid ¼ inch thick, squaring off the two rounded outer slices. Pat the cut faces dry.
- Toast the planks on the highest toaster setting for 2 to 3 full cycles, about 8 minutes, until a fork slides into the center with no resistance and the corners have darkened. For the oven, roast on a sheet pan at 400 degrees F for 20 minutes, flipping once.
Top and Serve
- Spread 1 tablespoon of peanut butter over each plank while it is still hot, stopping just short of the edges so it does not run off.
- Lay the banana coins over the peanut butter in a single overlapping layer, pressing each one down lightly.
- Dust with cinnamon, add a pinch of flaky salt, and scatter over the chopped pecans and honey if using. Serve immediately.
Notes
- Cut at ¼ inch: Thinner planks scorch and go limp, thicker planks stay raw in the middle.
- Spread while hot: Warm peanut butter sinks into the surface and grips the banana. Cold planks let the topping slide.
- Flaky salt: A pinch over the peanut butter is the difference between a snack and something you crave.
- Make ahead: Toasted planks keep 4 days in the fridge and re-crisp in one toaster cycle. Slice the banana fresh.
- Open faced only: These will not hold as a stacked sandwich.