Peanut butter blossoms owned the Christmas cookie tray at my parents' house for about thirty years running.
Nobody questioned it. They just showed up every December next to the fudge, years before I ever baked a single batch of Candy Cane Kiss Cookies.
Then my wife signed us up for a neighborhood cookie swap with one firm rule on the flyer: no nuts, because two of the kids on our street have peanut allergies.
My go-to cookie was suddenly off the table.
So I kept the shape and the pressed-in candy, swapped the peanut butter for a buttery peppermint sugar dough, and grabbed a bag of the red-and-white striped Kisses from the seasonal aisle.
That peppermint batch was the first tray emptied at the swap.
Now I bake them every year from Thanksgiving weekend until the candy disappears from store shelves, which happens fast.
By mid-December the red bags are usually gone, so I buy two the moment I see them.
What I love about this version is the cold-first method.
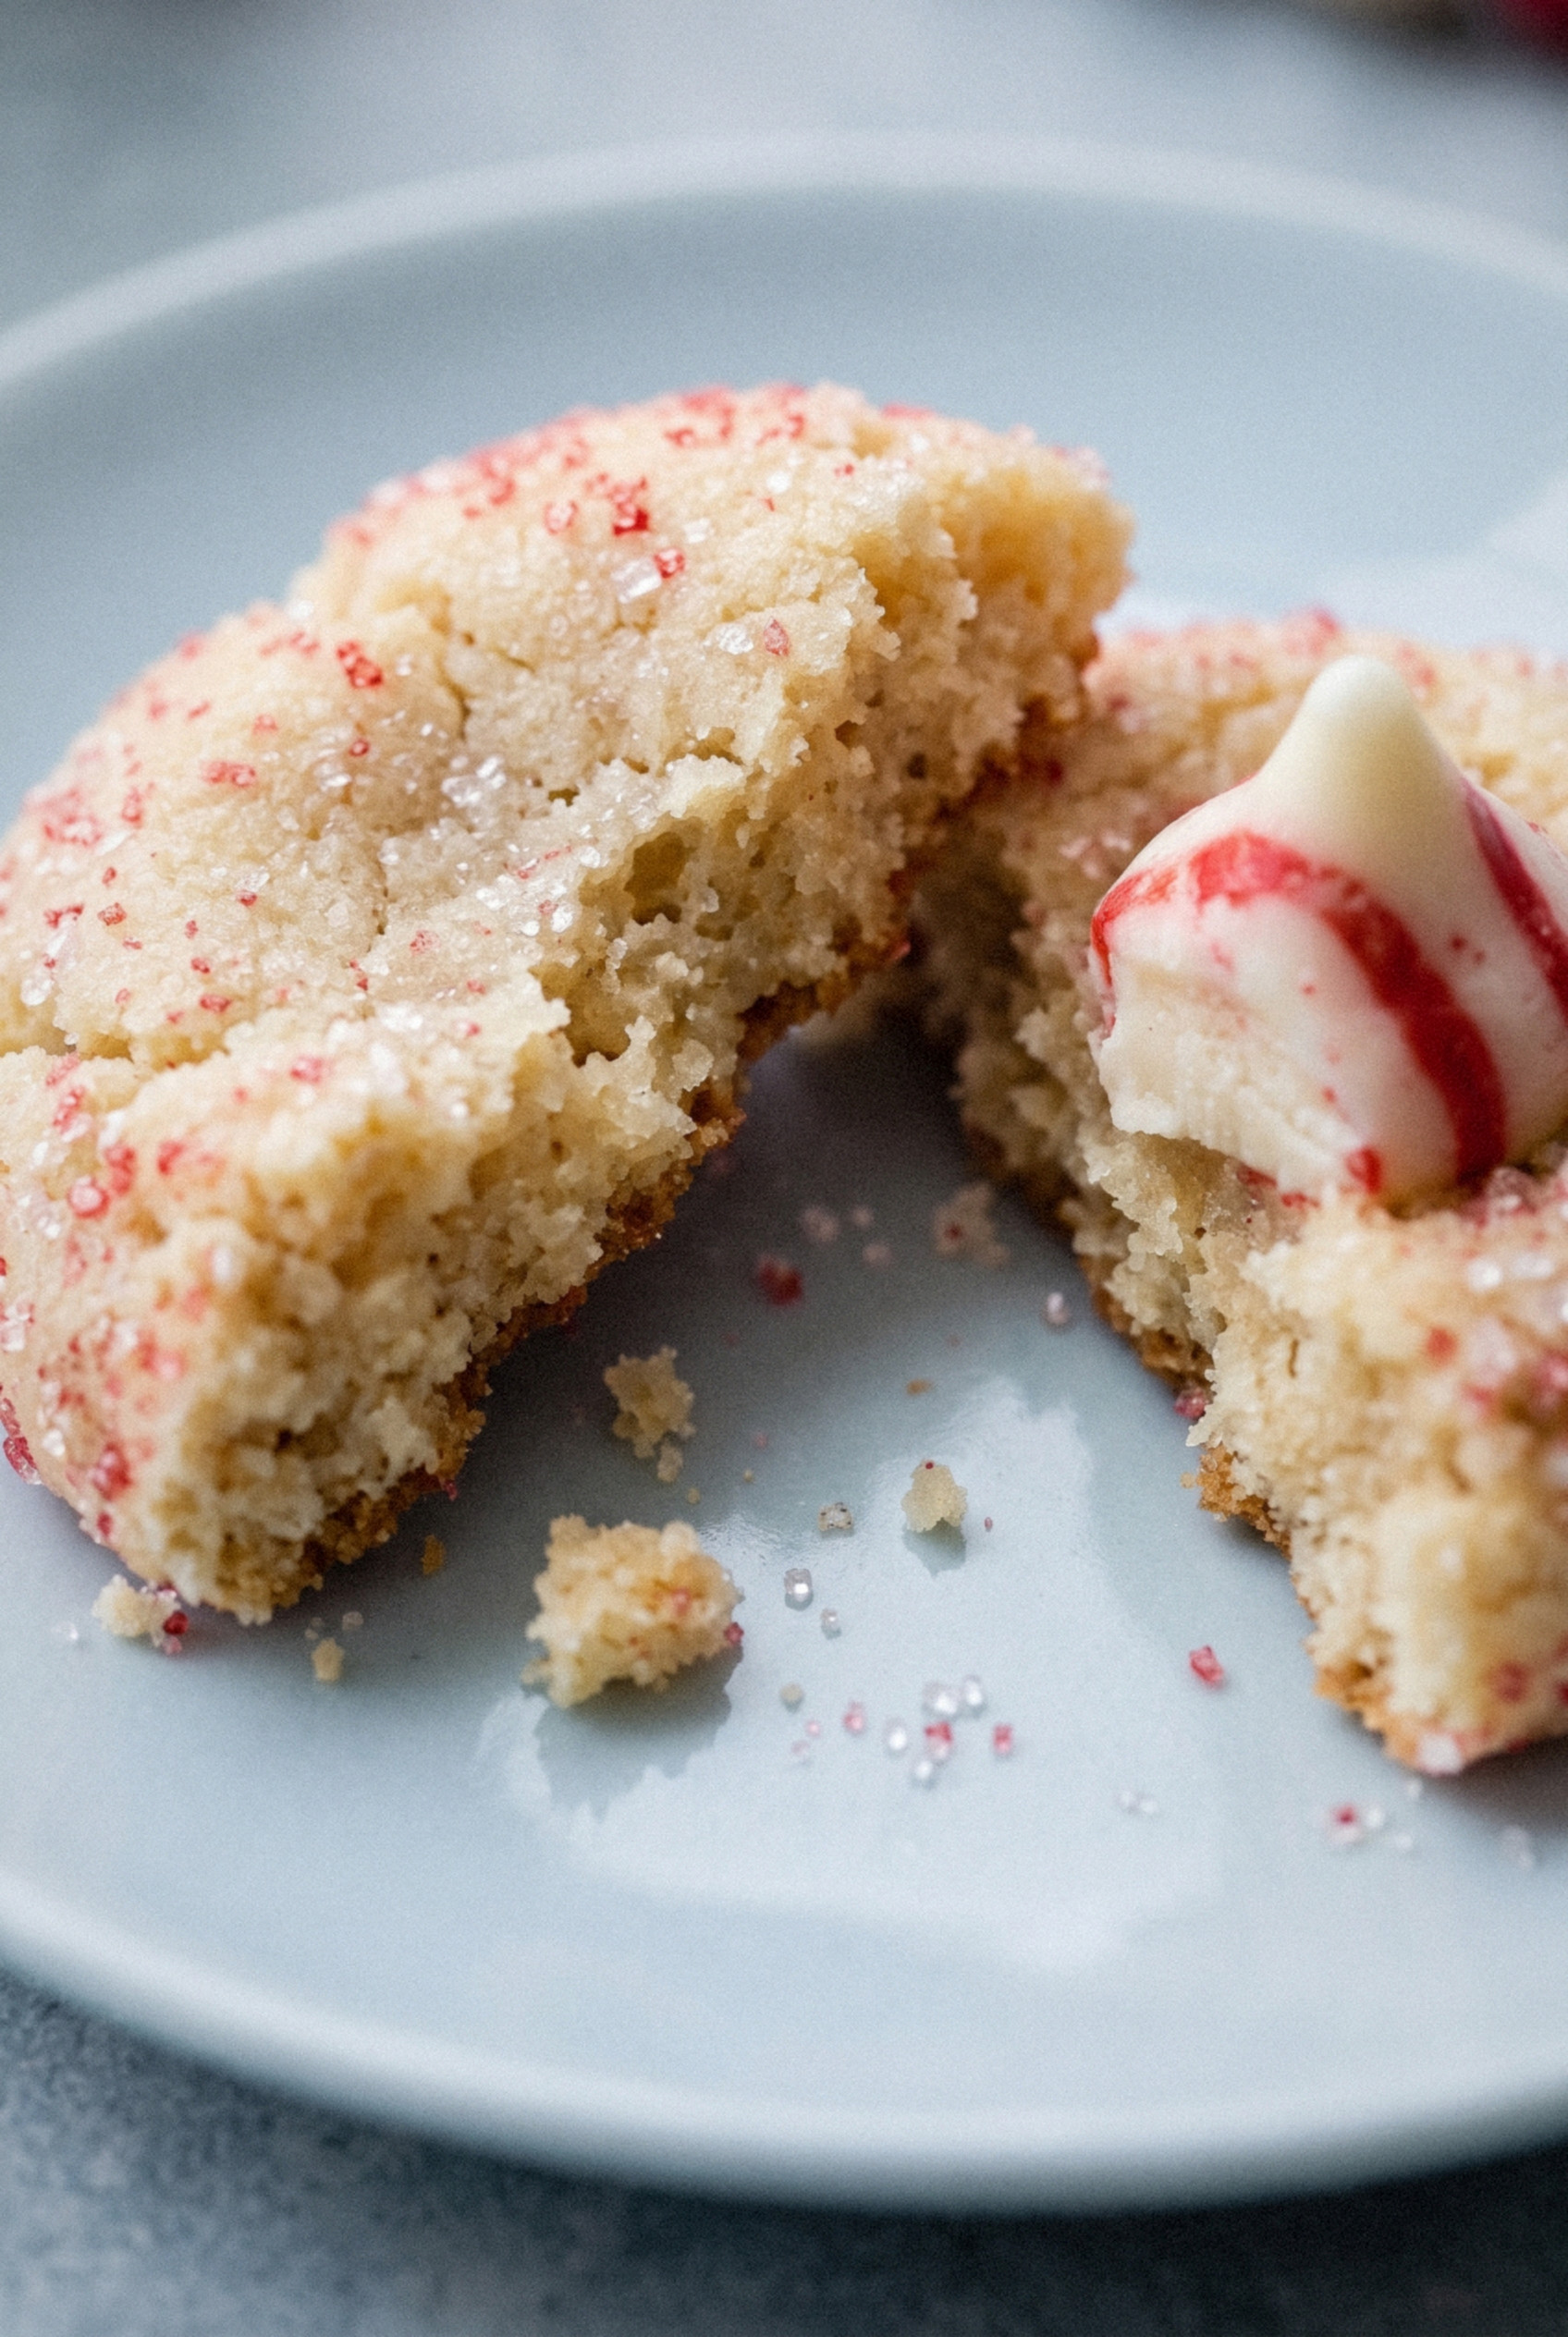
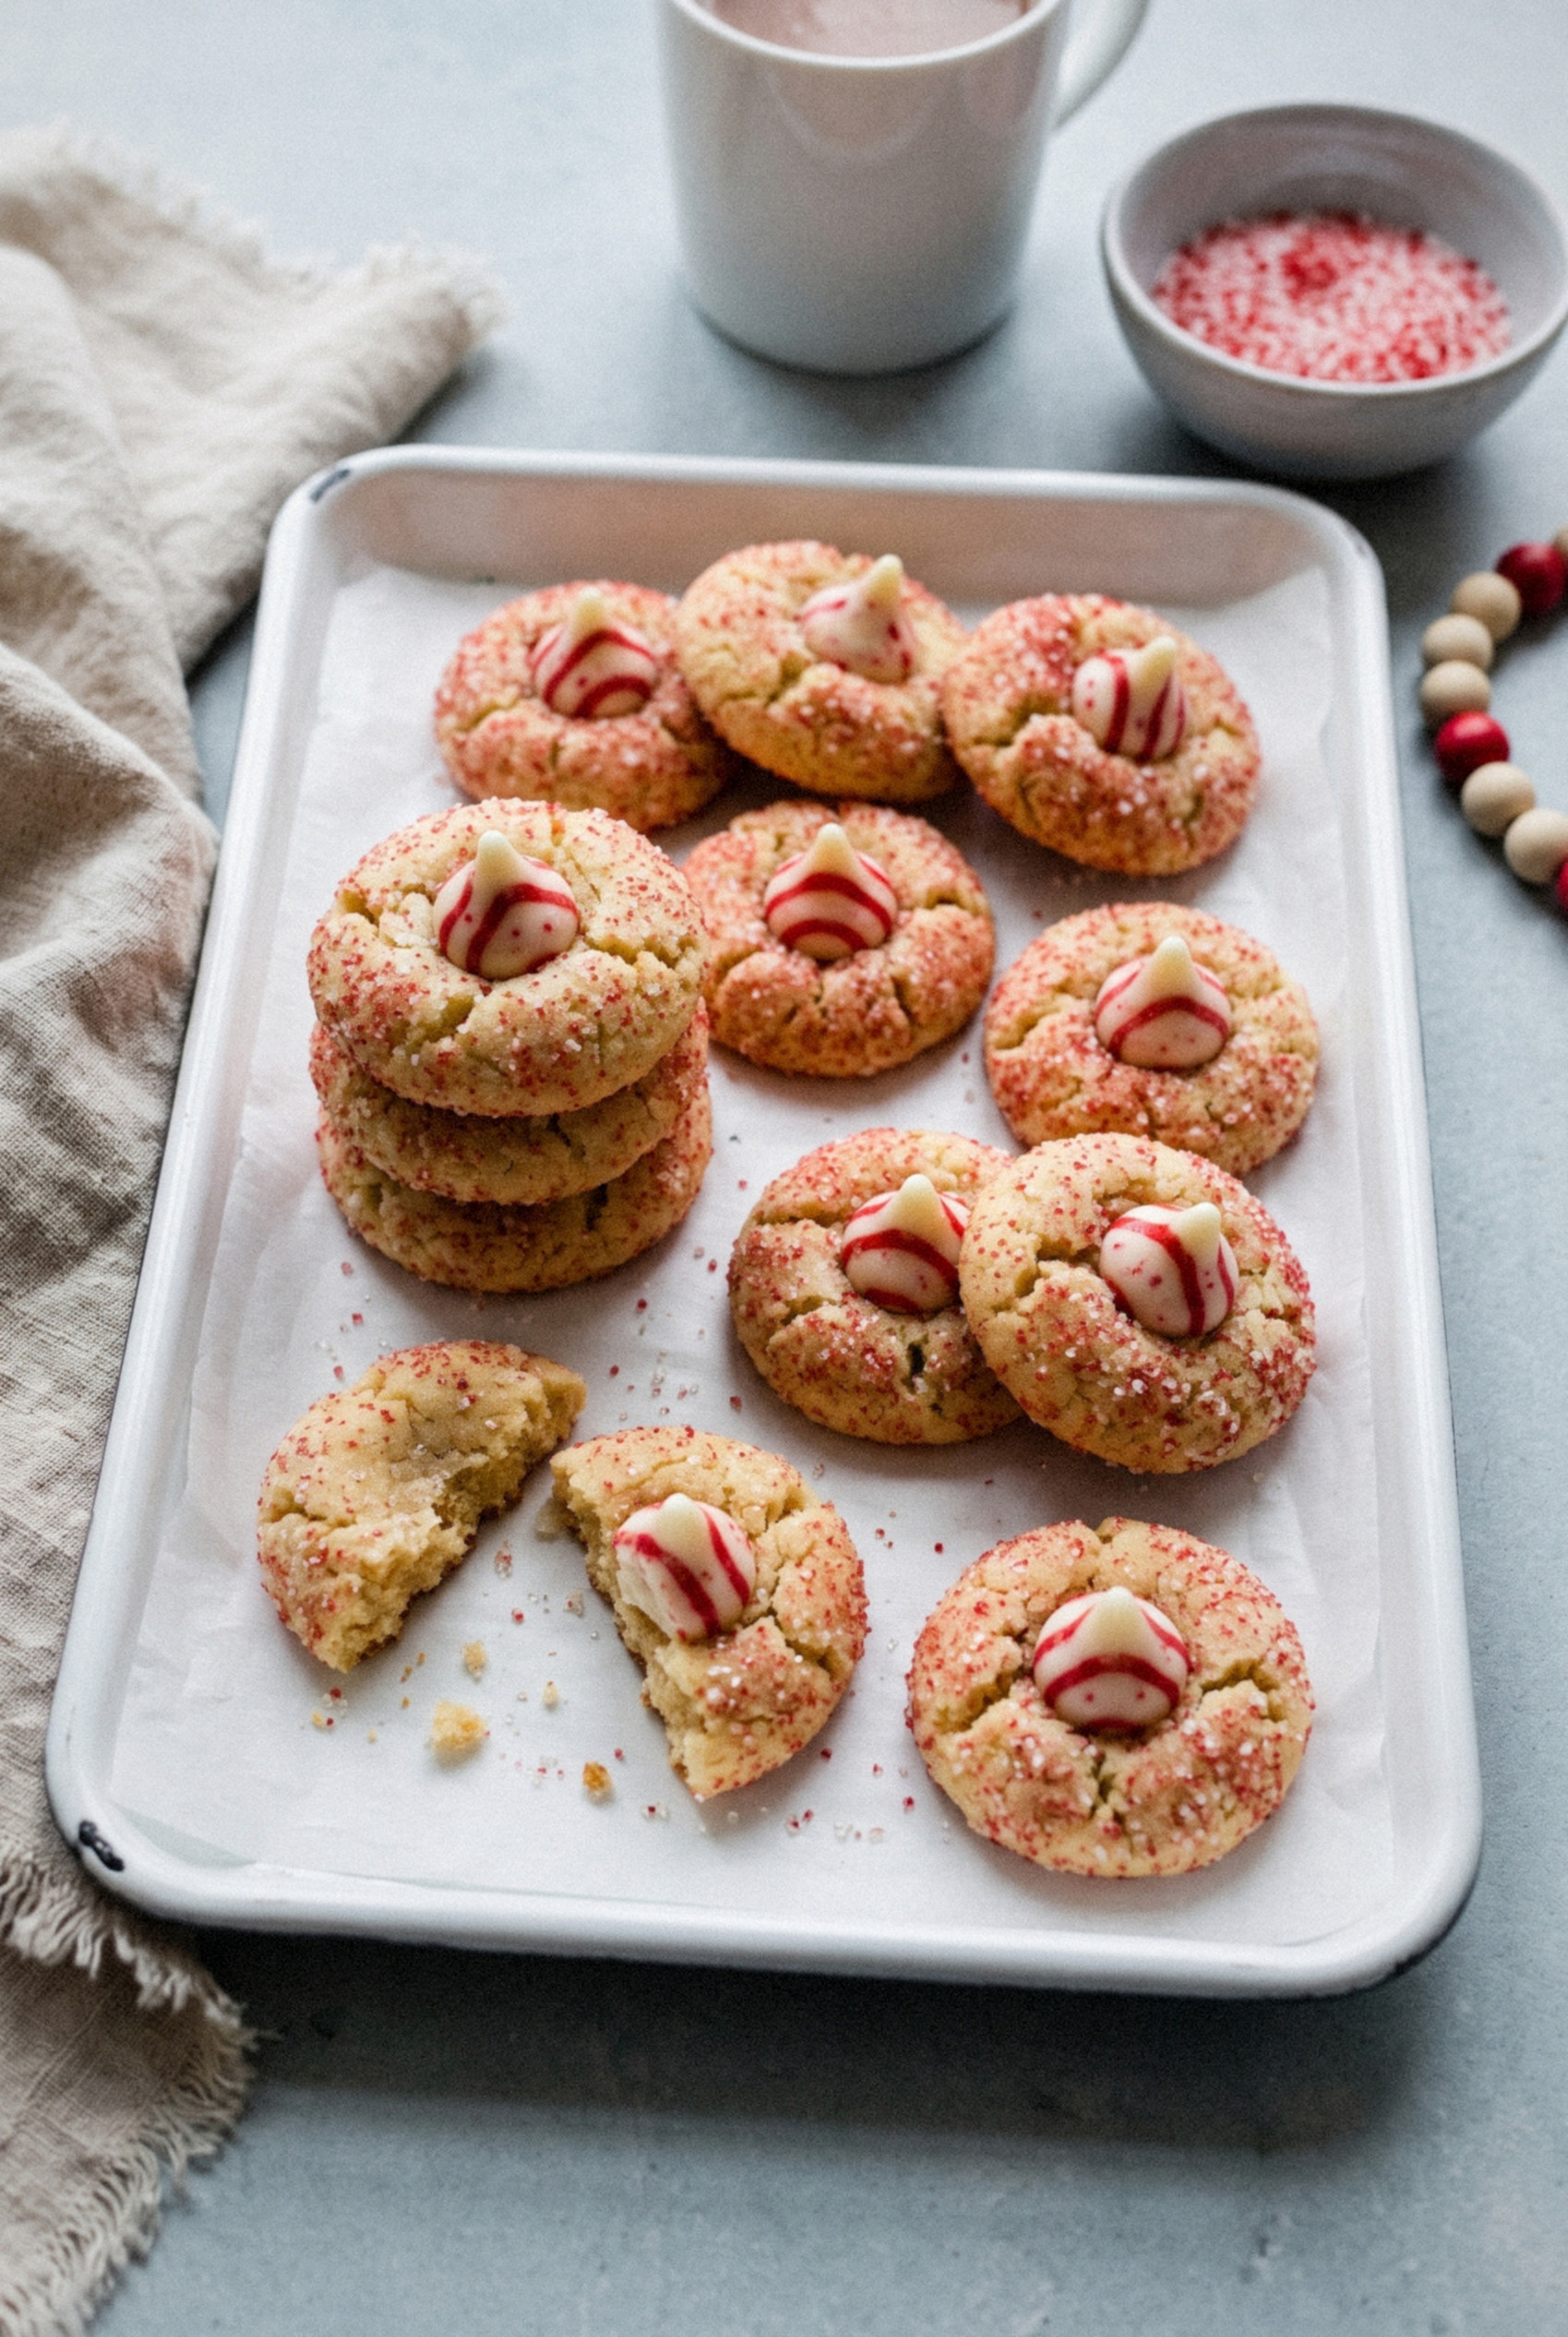
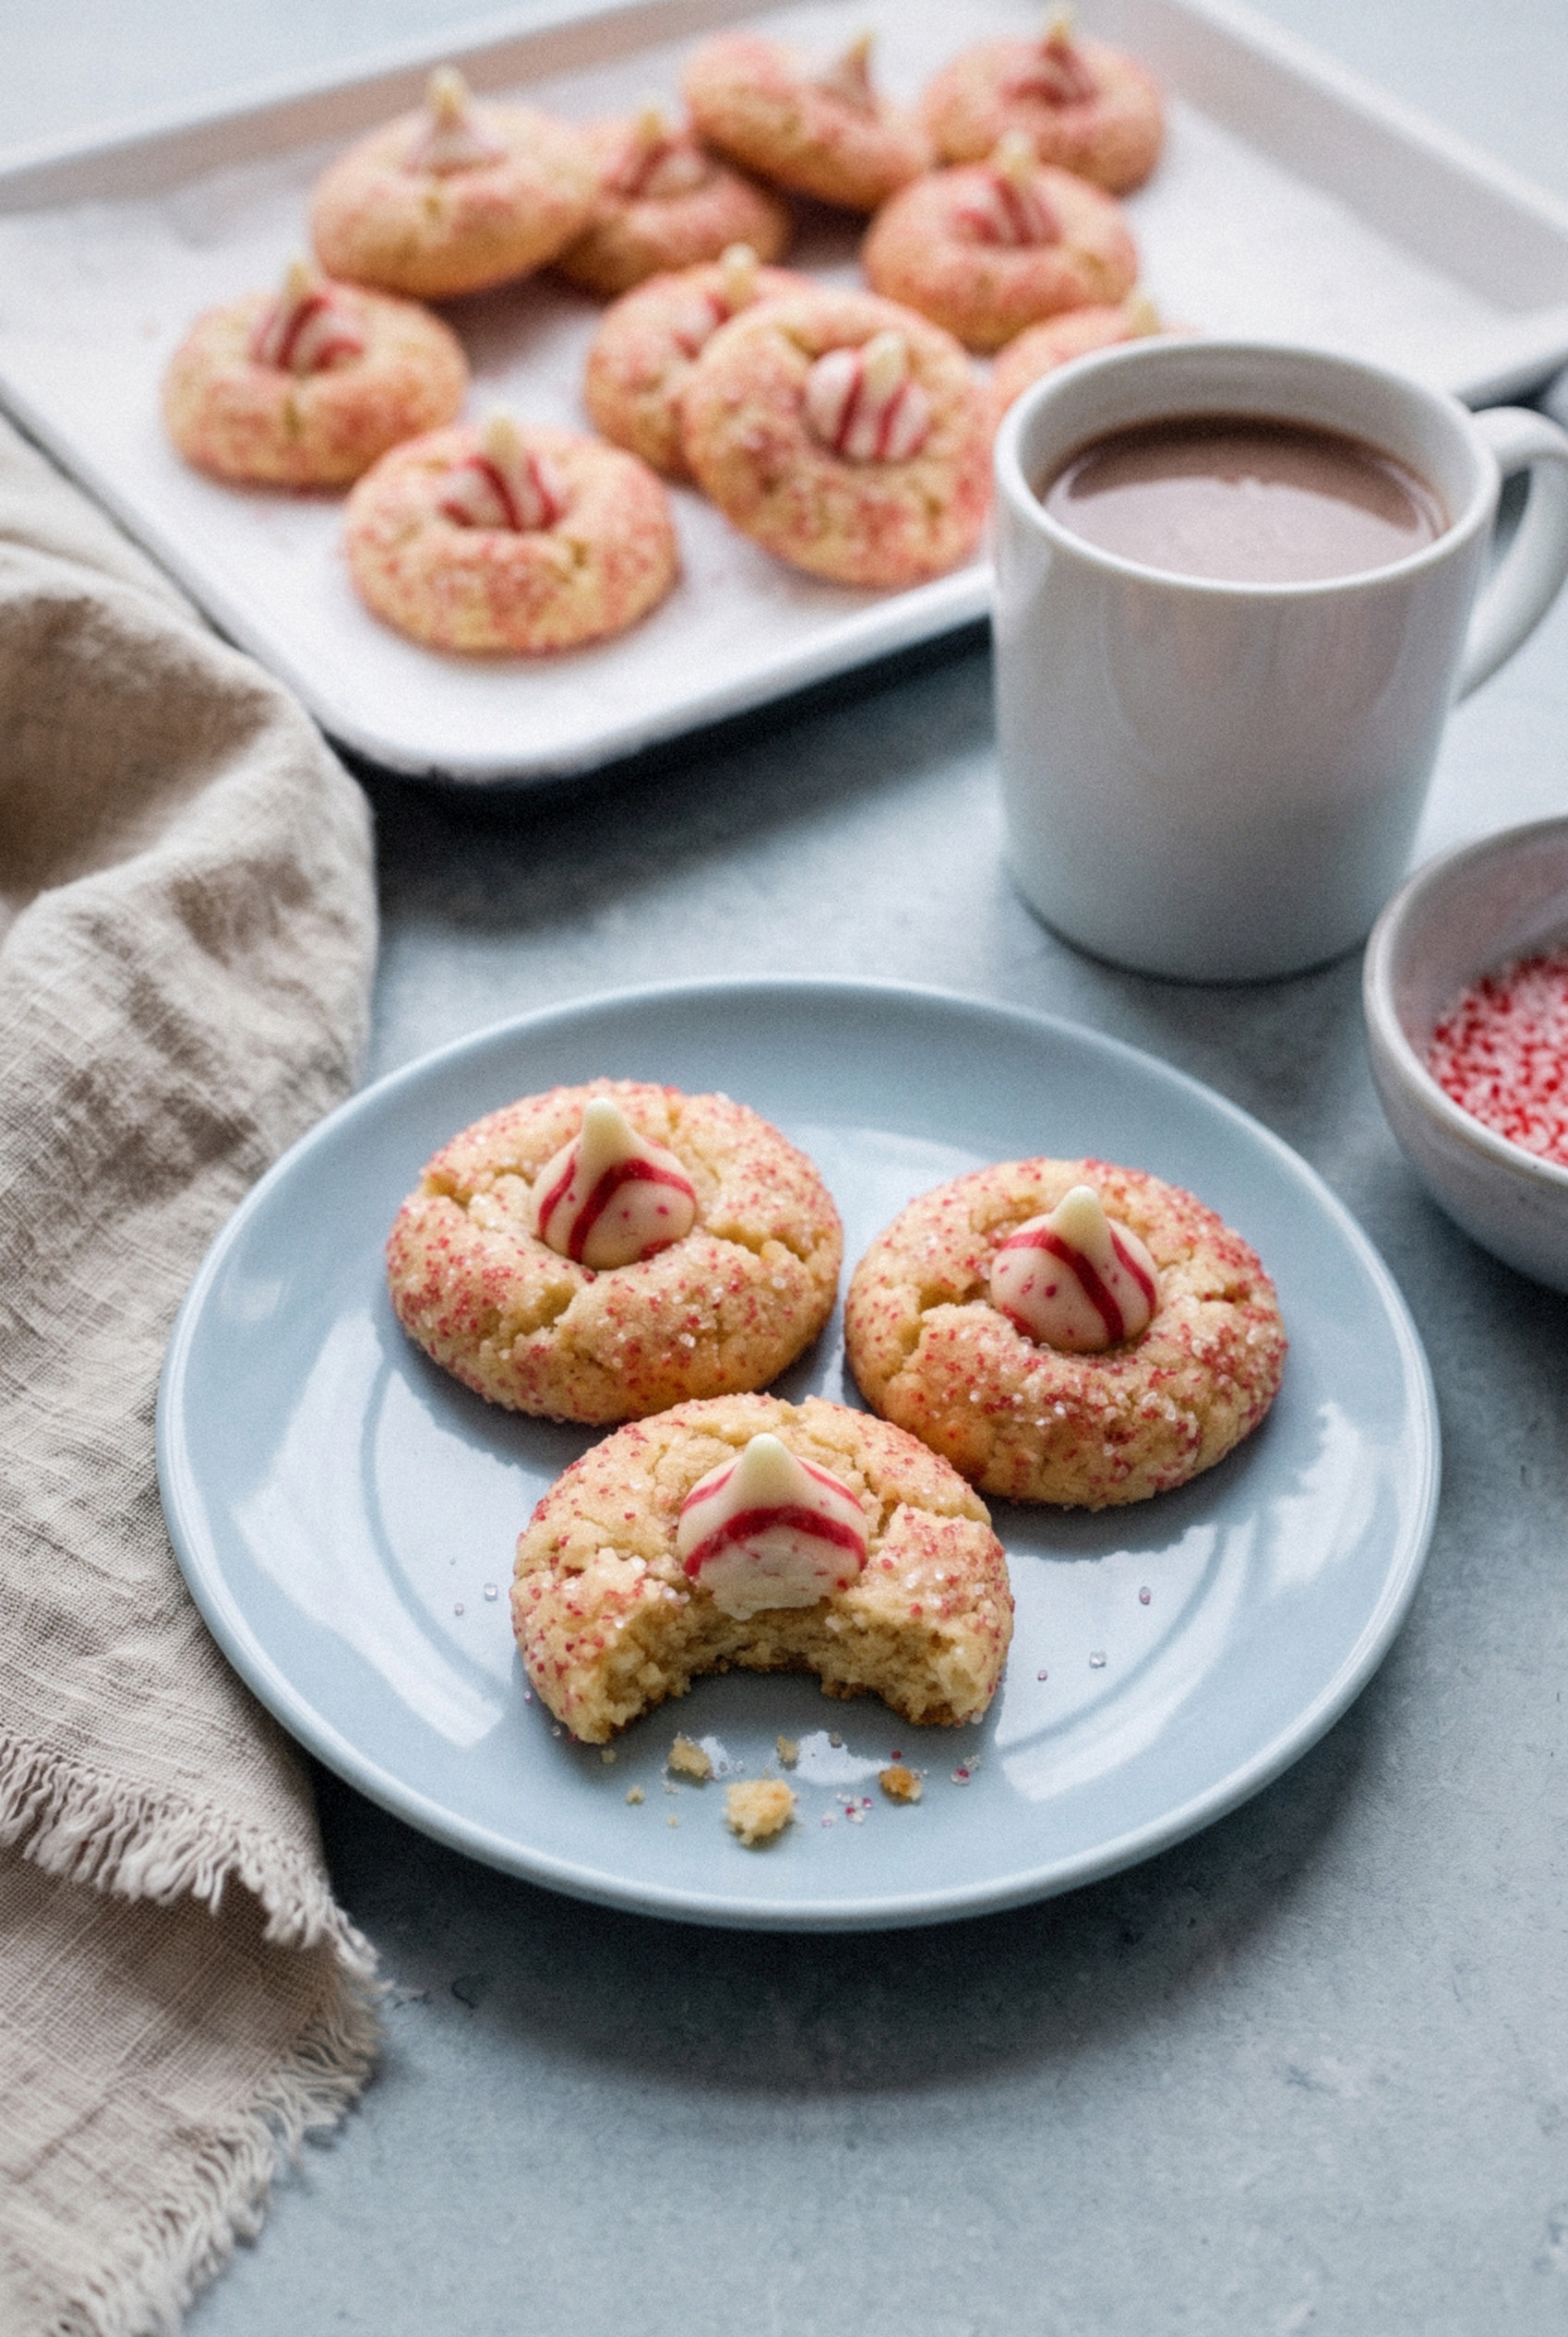
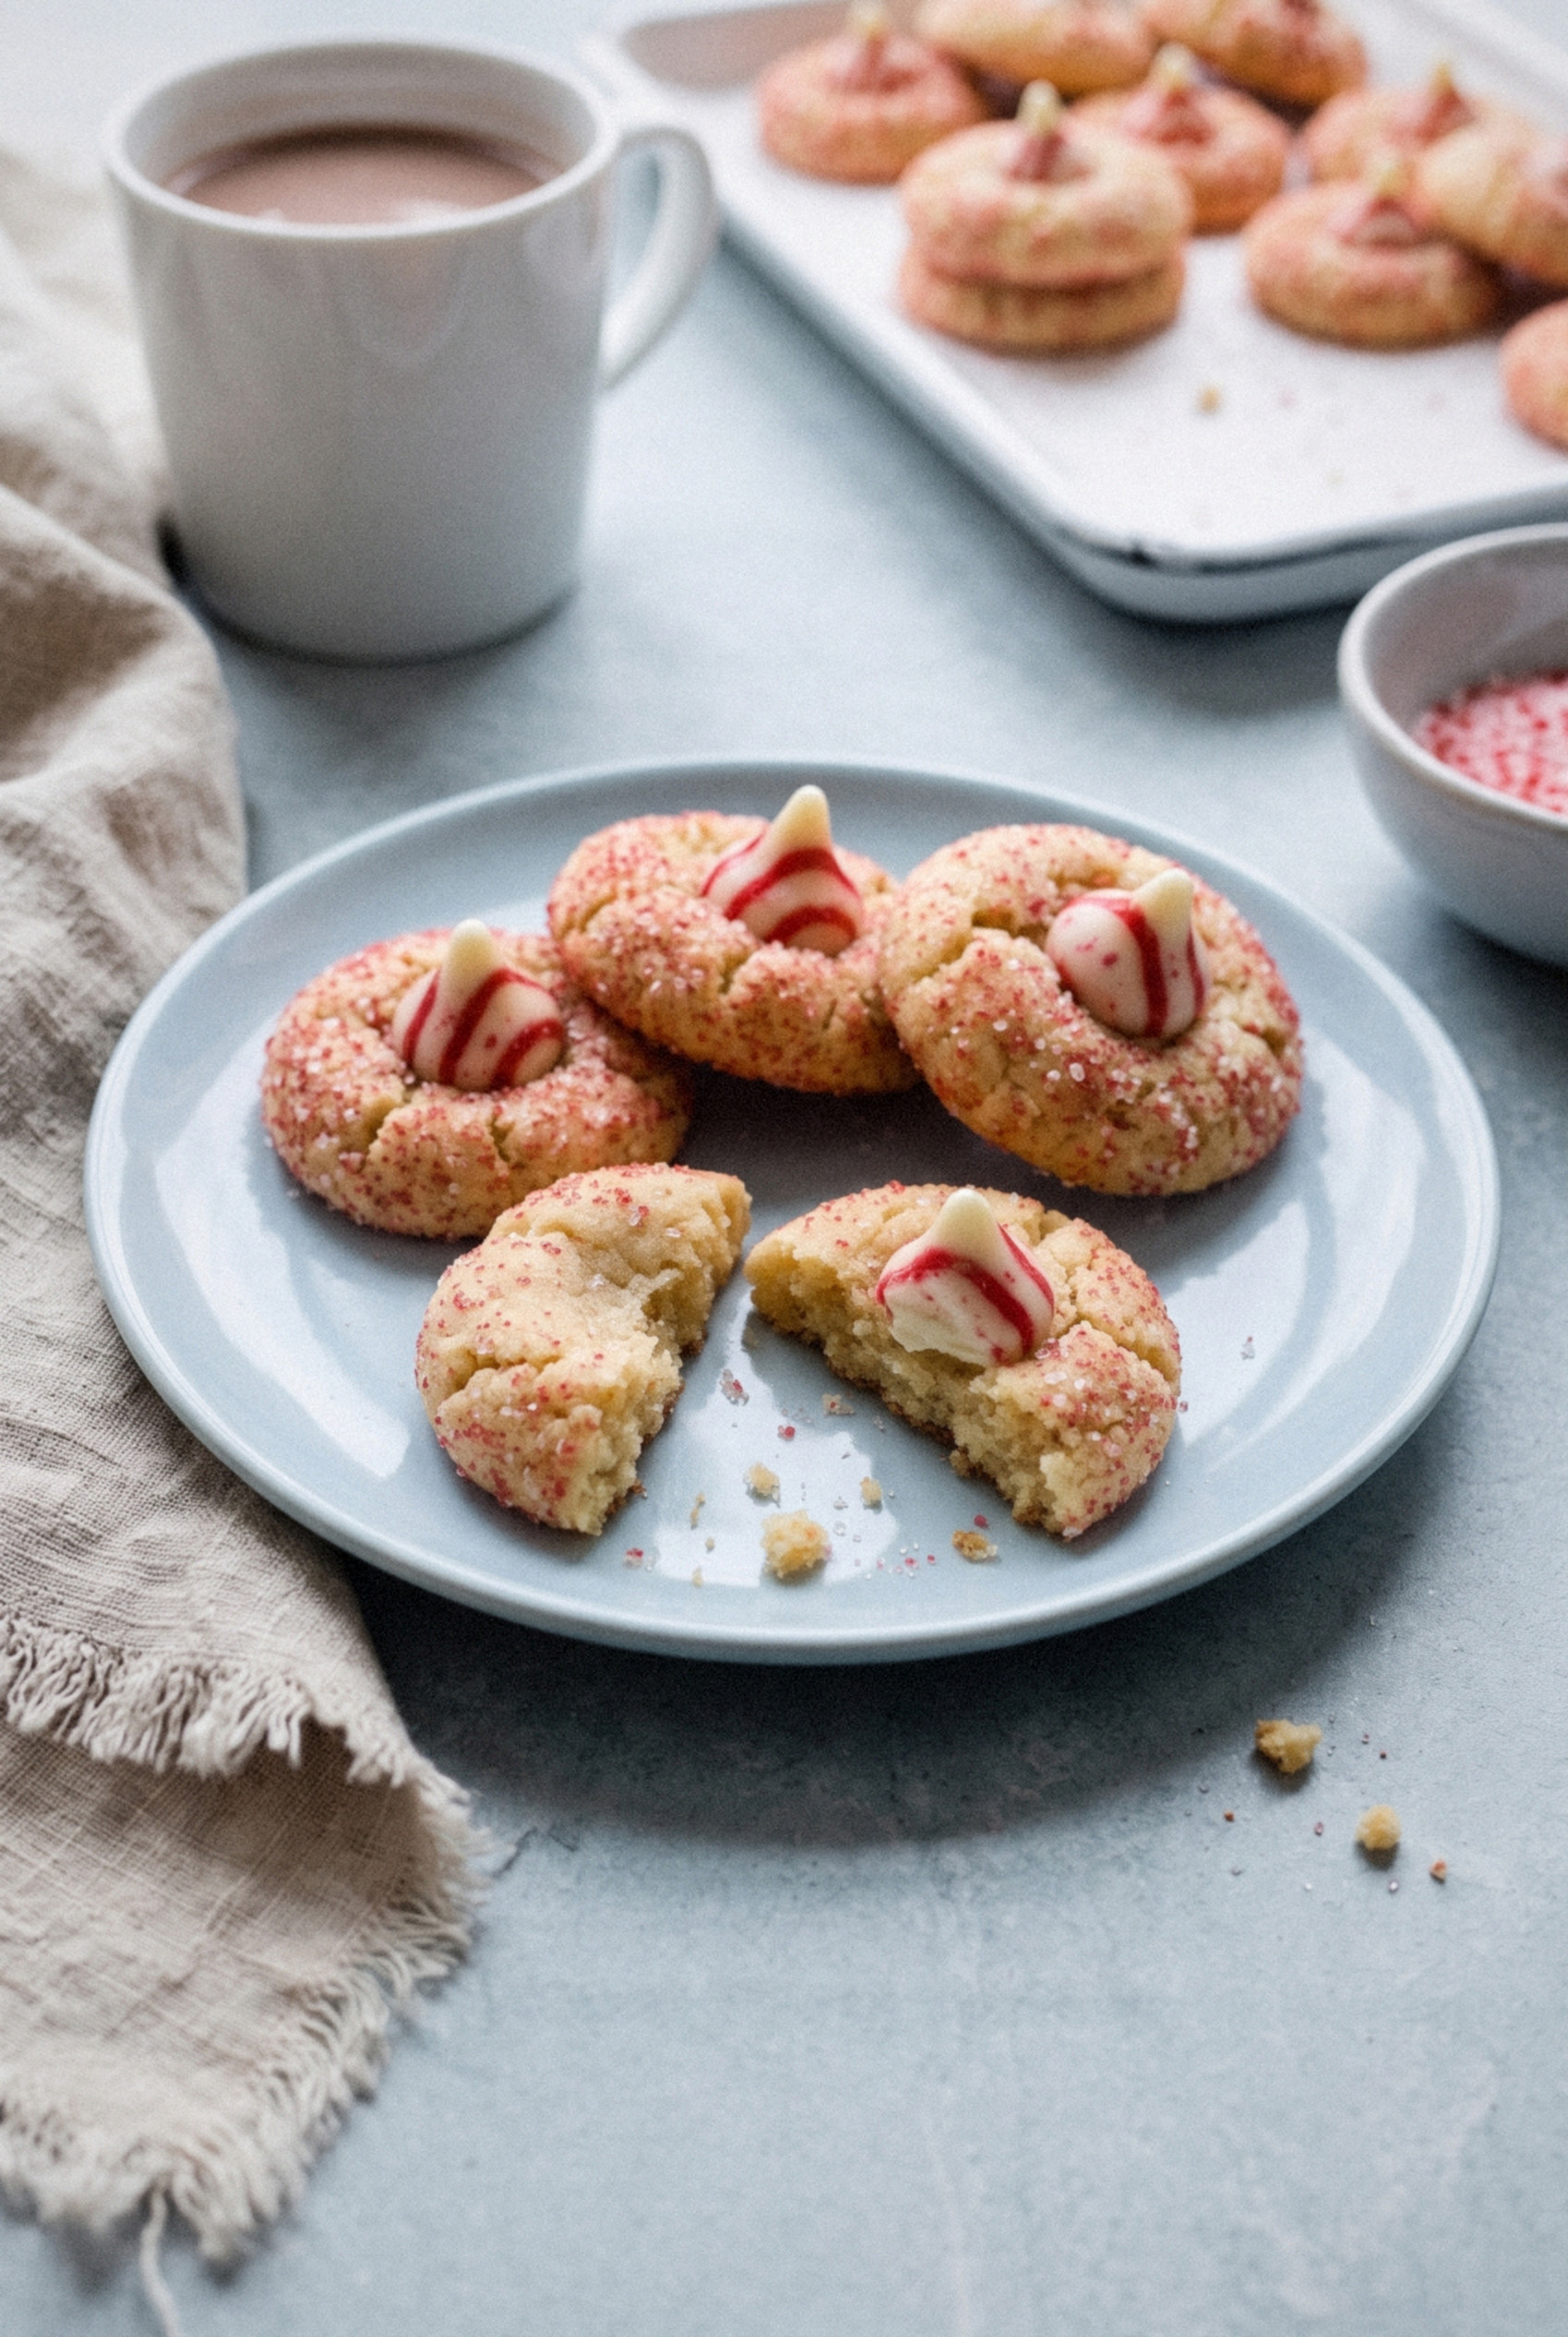
The cookies bake into soft, sugar-crusted domes, and the Kiss keeps its little point instead of slumping into a puddle.
Make them once and you'll see why they've replaced the blossom at my house.
Why These Beat the Usual Blossom
These are the peppermint, nut-free cousin of the classic peanut butter blossom. Same cozy dome, same candy on top, but a flavor that tastes like Christmas instead of a lunchbox.
- Nut-free for shared trays. They're safe for school parties, office potlucks, and any cookie swap with an allergy rule.
- One bowl, no rolling pin. You roll the dough into balls by hand. No cutters, no flour all over the counter.
- Soft inside, sparkly outside. The sanding sugar gives a crisp, glittery shell over a tender, buttery center.
- Make-ahead friendly. Coated dough balls keep in the fridge for 1 day or in the freezer for 3 months.
- Festive with zero decorating. The striped Kiss does all the work. You don't pipe a single line of icing.
Who doesn't love a cookie that looks this cheerful with so little effort?
About Candy Cane Kisses
Hershey's Candy Cane Kisses are white creme candies swirled with red peppermint and studded with tiny bits of crunchy candy cane. They taste like a peppermint stick melted into white chocolate.
They also melt much faster than classic milk chocolate Kisses.
White creme has more fat and less cocoa structure, so it softens at a lower temperature. Press one into a cookie straight from the oven and it slides right off the side.
That's why the whole method below is built around keeping things cold.
Fair warning: they're seasonal. They usually show up in early November and sell out by the middle of December, so grab a couple of bags early and stash one in the pantry.
Can't find them? Regular Kisses work too, and I'll cover that in the swaps below.
Ingredients You'll Need
Everything here is a pantry staple except the Kisses. You probably have most of it in the cupboard right now.
- All-purpose flour (2 cups + 1 tablespoon). Spoon it into the cup and level it off. That extra tablespoon makes the dough easier to roll without sticking.
- Baking powder (1 ½ teaspoons). Gives a gentle lift and that soft, puffy dome.
- Salt (¼ teaspoon). Keeps the sweetness from going flat.
- Unsalted butter (10 tablespoons). Softened to room temperature so it creams up light. It should dent when you press it, not look shiny or greasy.
- Granulated sugar (1 cup). Sweetens the dough and helps the edges set.
- Egg (1 large). Room temperature blends in smoother. Set it on the counter while the butter softens.
- Vanilla extract (1 teaspoon). Rounds out the peppermint.
- Peppermint extract (¼ teaspoon). Use pure peppermint, NOT mint extract, which can taste like toothpaste. A little goes a long way.
- Milk (1 teaspoon, optional). Only if your dough feels crumbly and won't hold a ball.
- Red and white sanding sugar (⅓ cup). The coarse crystals stay crunchy and sparkly in the oven instead of melting away.
- Candy Cane Kisses (32). Unwrapped and frozen. Unwrap them before you start so you're not fumbling with foil while the cookies cool.
Substitutions and Variations
- Regular milk chocolate Kisses. A great way to use up a bag you already have. They melt slower, so you can press them in a minute sooner.
- Hugs or other flavors. Hershey's Hugs or mint truffle Kisses both work with the same cold method.
- Chocolate dough. Swap ⅓ cup of the flour for unsweetened cocoa powder for a chocolate-peppermint cookie under the white Kiss.
- Nonpareils instead of sanding sugar. Tiny round sprinkles give a confetti look. Press the balls into them on a plate so they stick.
- Almond extract. Skip the peppermint and use ½ teaspoon almond extract. Just know this changes the nut-free status for some families, so label the tray.
- Crushed candy cane in the dough. Fold in ¼ cup finely crushed candy cane for extra crunch. Keep it inside the dough, since candy on the outside burns.
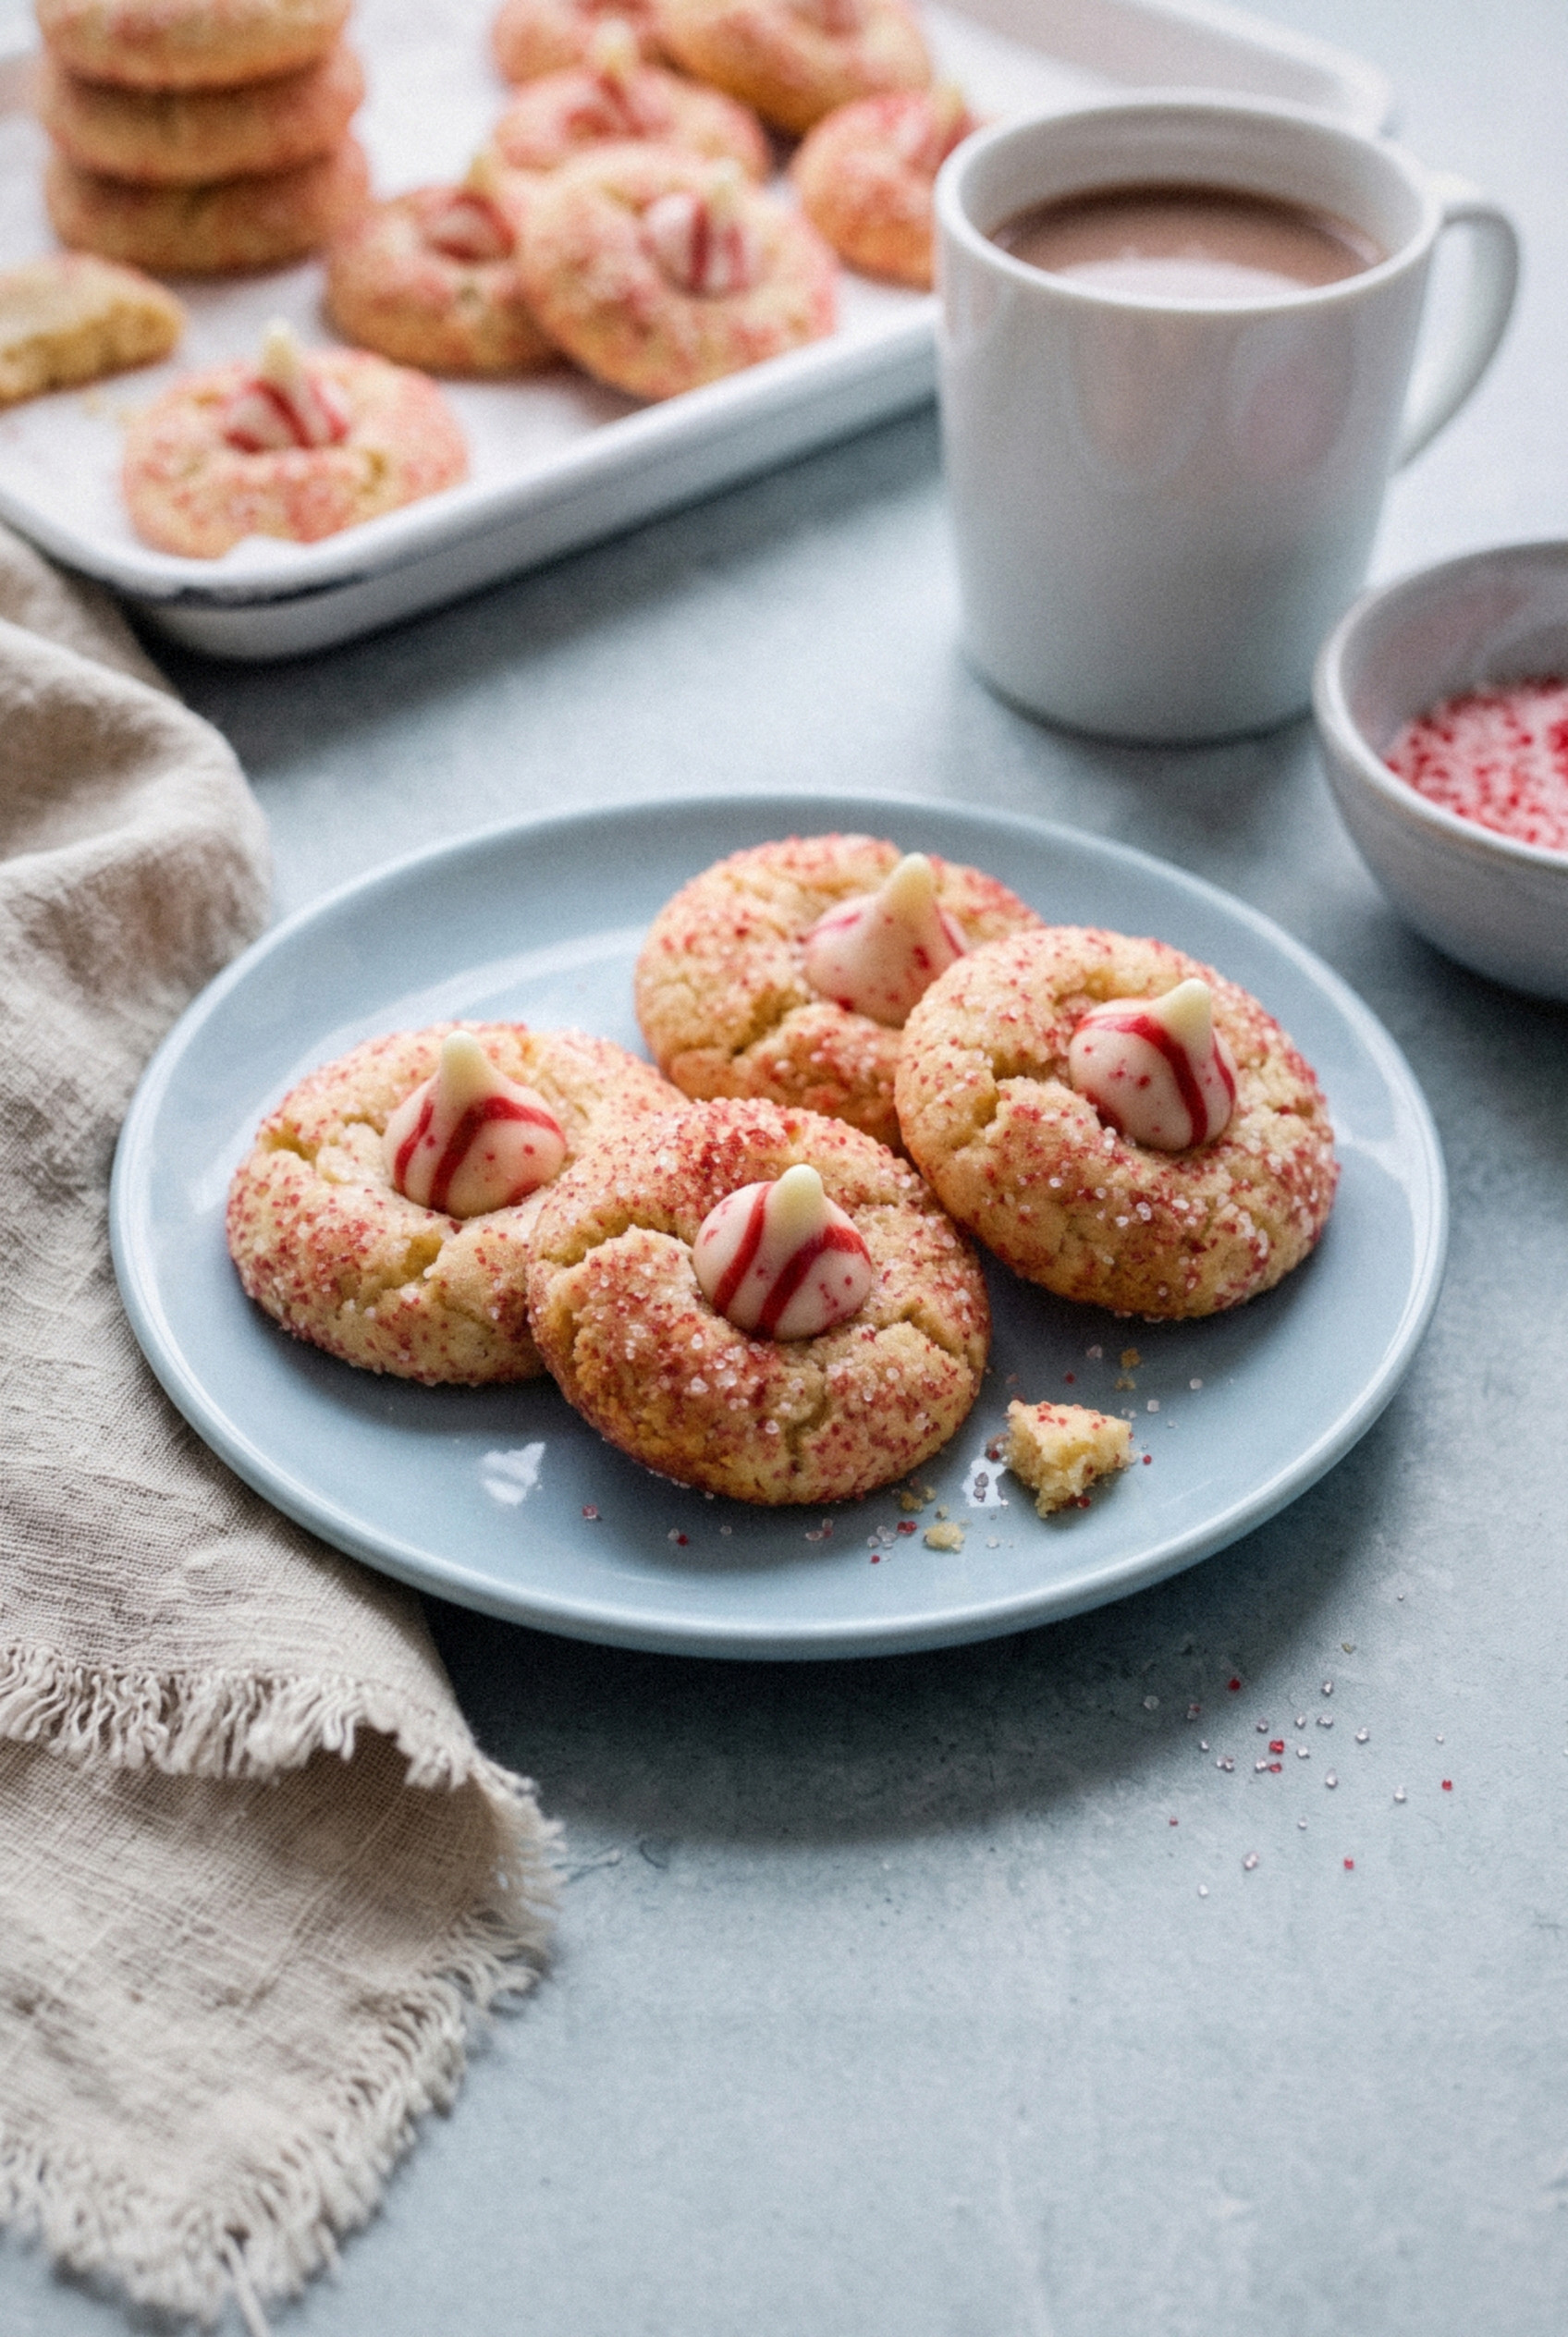
How to Make Candy Cane Kiss Cookies
The method has four stages, and the cold is what matters most. Frozen candy, chilled dough, and a quick freeze at the end.
Step 1: Freeze the Kisses First
Unwrap all 32 Kisses and spread them on a small plate. Slide the plate into the freezer while you make the dough, at least 30 minutes. Frozen Kisses soften slowly on a warm cookie, which gives you time to press them in neatly.
Step 2: Make the Dough
Whisk the flour, baking powder, and salt together in a bowl and set it aside. In a large bowl, beat the softened butter and sugar on medium-high for about 3 minutes until pale and fluffy. Beat in the egg, vanilla, and peppermint extract for about 1 minute, then scrape down the bowl.
Add the dry ingredients on low speed and mix just until no streaks of flour remain. The dough will be thick and soft, like play dough. If it crumbles when you squeeze it, beat in 1 teaspoon of milk.
Pro tip: Stop mixing the second the flour disappears. Overmixed dough spreads flat in the oven.
Step 3: Roll in Sugar and Chill
Pour the sanding sugar into a shallow bowl. Scoop the dough into balls of about 1 tablespoon each (roughly 20 grams) and roll them smooth between your palms. Roll each ball through the sugar until it's fully coated.
Set the coated balls on a parchment-lined tray and refrigerate for 20 minutes. Meanwhile, preheat the oven to 350°F.
Step 4: Bake and Press
Arrange the chilled balls 2 inches apart on parchment-lined baking sheets. Bake for 11-12 minutes, until the edges are set and the centers still look a little soft. They firm up as they cool.
Let the cookies rest on the sheet for 3-5 minutes. Press one frozen Kiss into the center of each, straight down, until the cookie cracks slightly around it. Move the cookies with a thin spatula to a cool tray or rack and freeze for 15 minutes to set the candy.
Sound fussy? It's really just a few extra trips to the freezer.
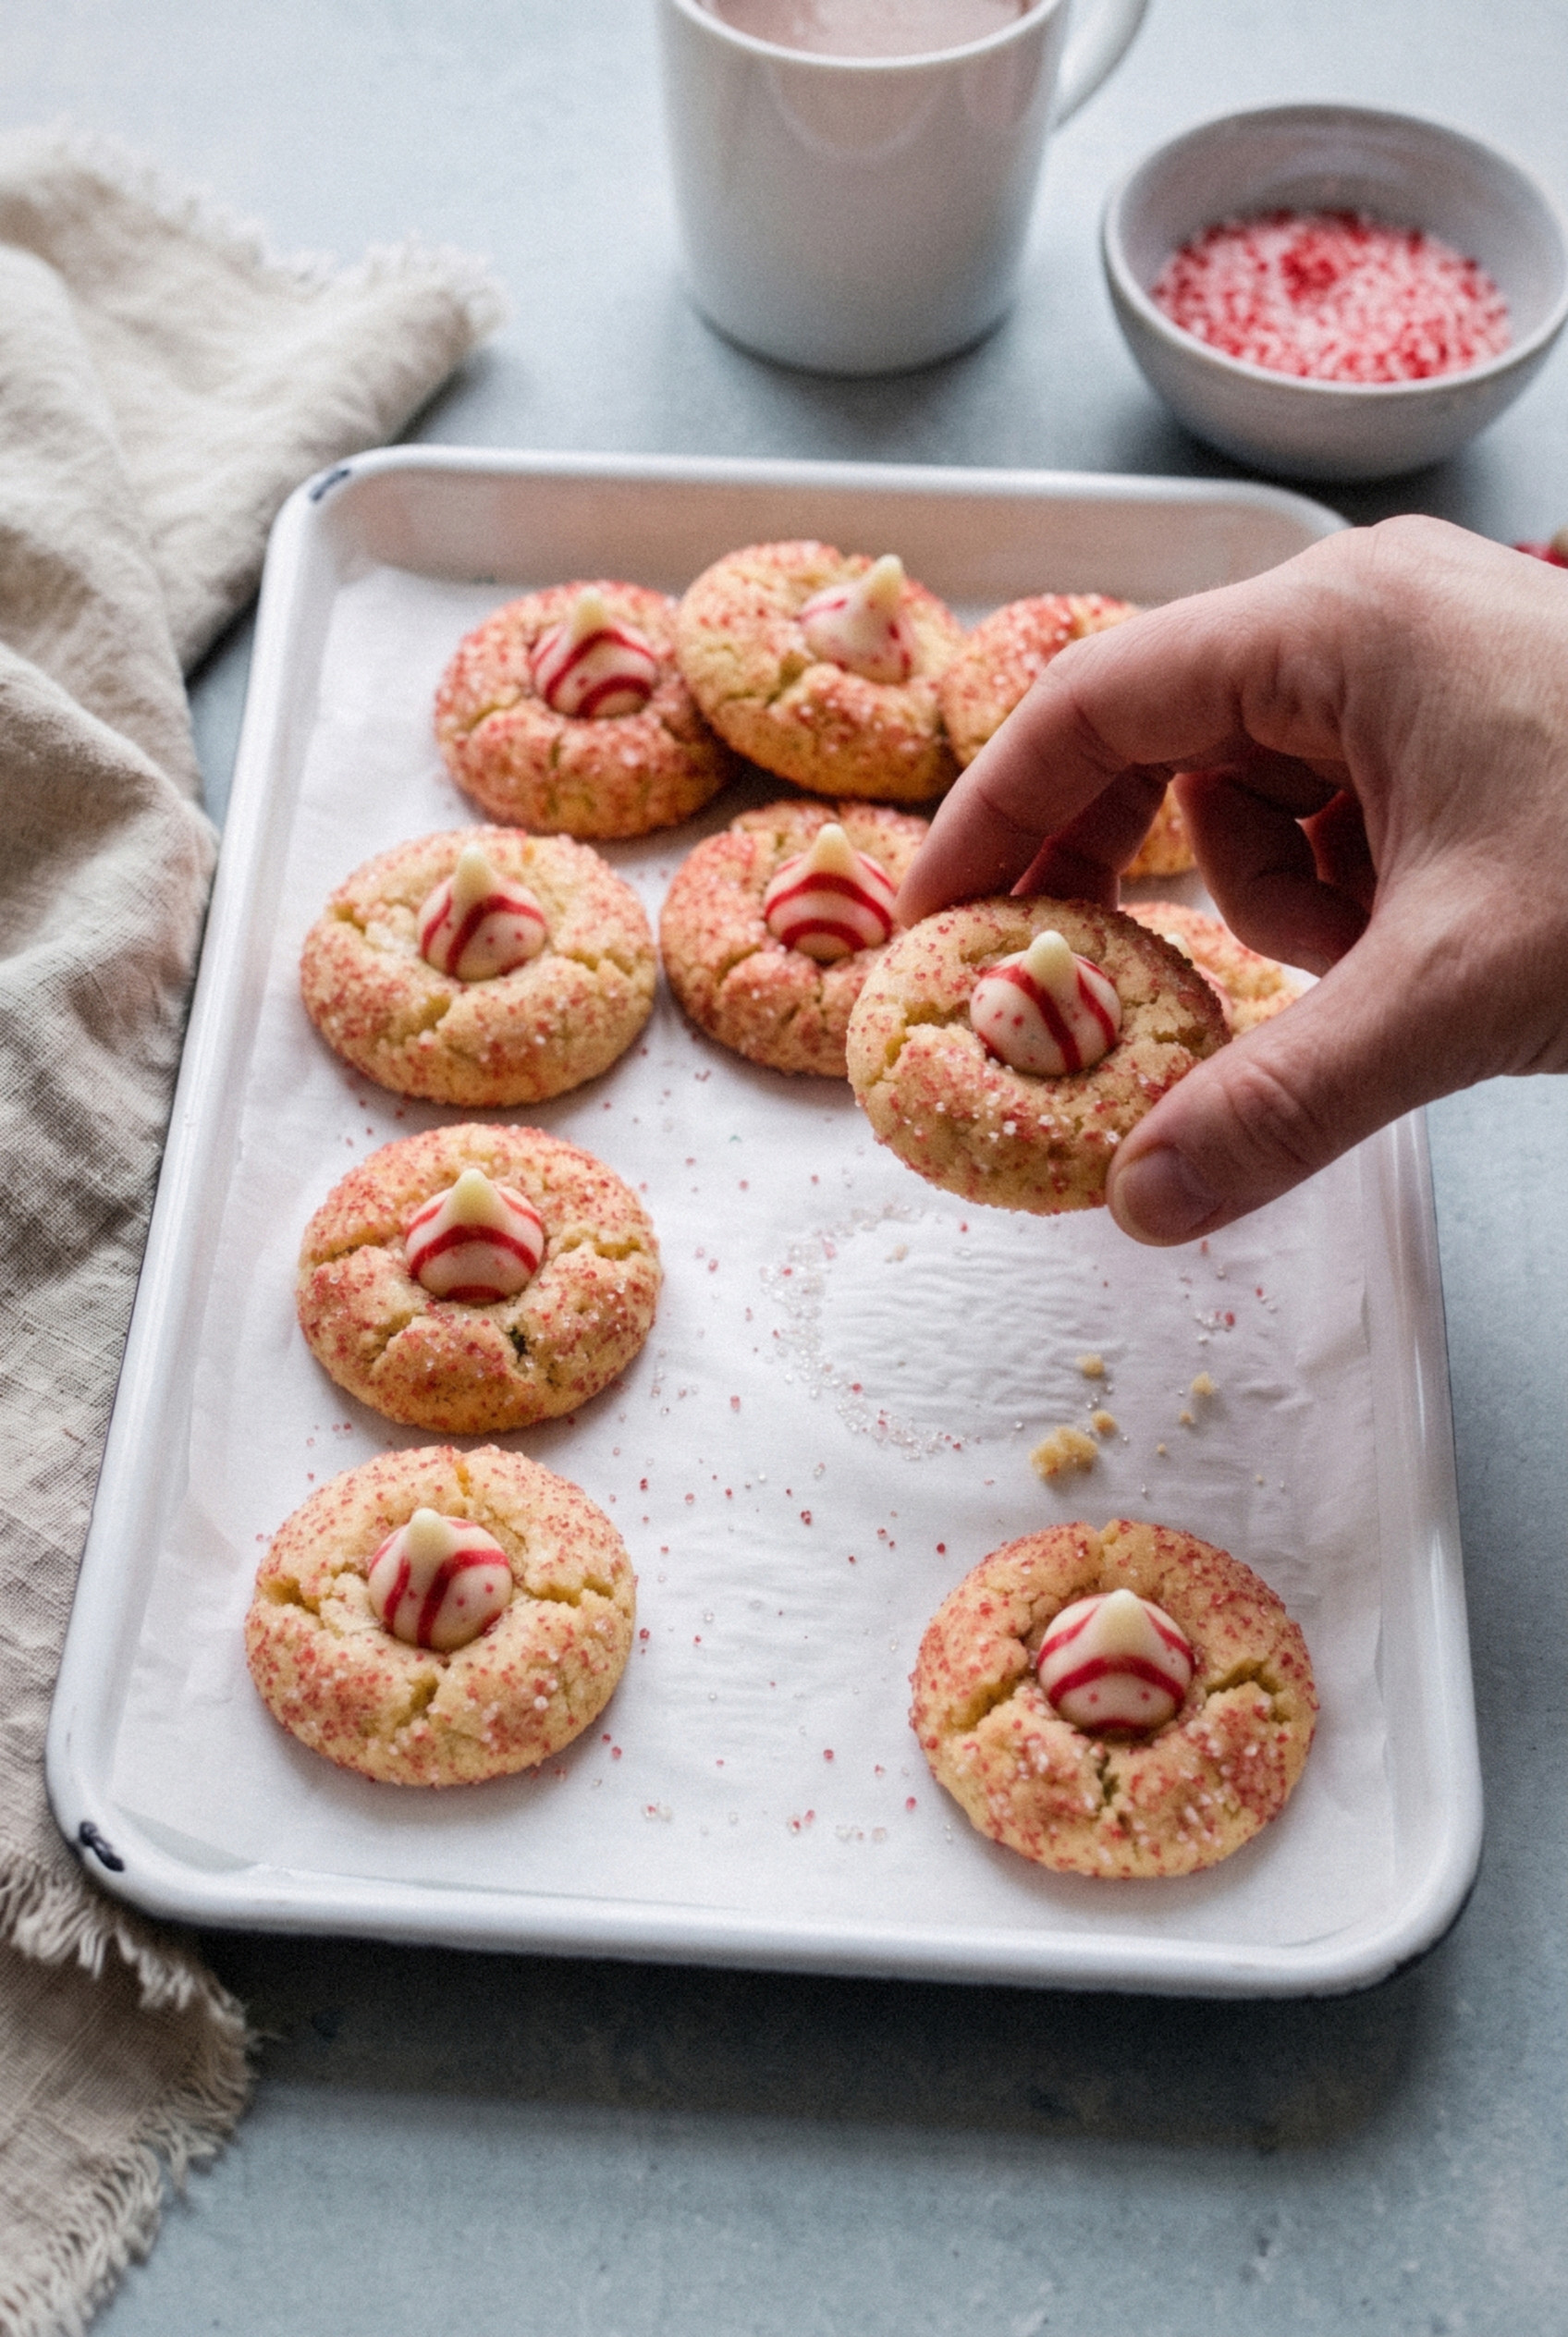
How to Keep the Kisses From Melting into Puddles
This is the number one problem with Candy Cane Kiss cookies, and it's completely avoidable. The white creme turns glossy and slides off if you rush it.
- Freeze the Kisses. Straight from the freezer, they take longer to warm, so they hold their shape while the cookie cools around them.
- Wait 3-5 minutes. A cookie fresh from the oven is too hot. A short rest drops the surface temperature just enough.
- Get them off the hot sheet. The metal keeps cooking the bottoms and warming the candy. Move them to a cool tray right after pressing.
- Freeze 15 minutes. This locks the candy in place. After that, they're fine at room temperature.
- Don't stack them warm. Even a set Kiss will smear if you stack the cookies before they're fully cool.
Worth the extra step? Every time. A slumped Kiss tastes the same, but it looks like it lost a fight.
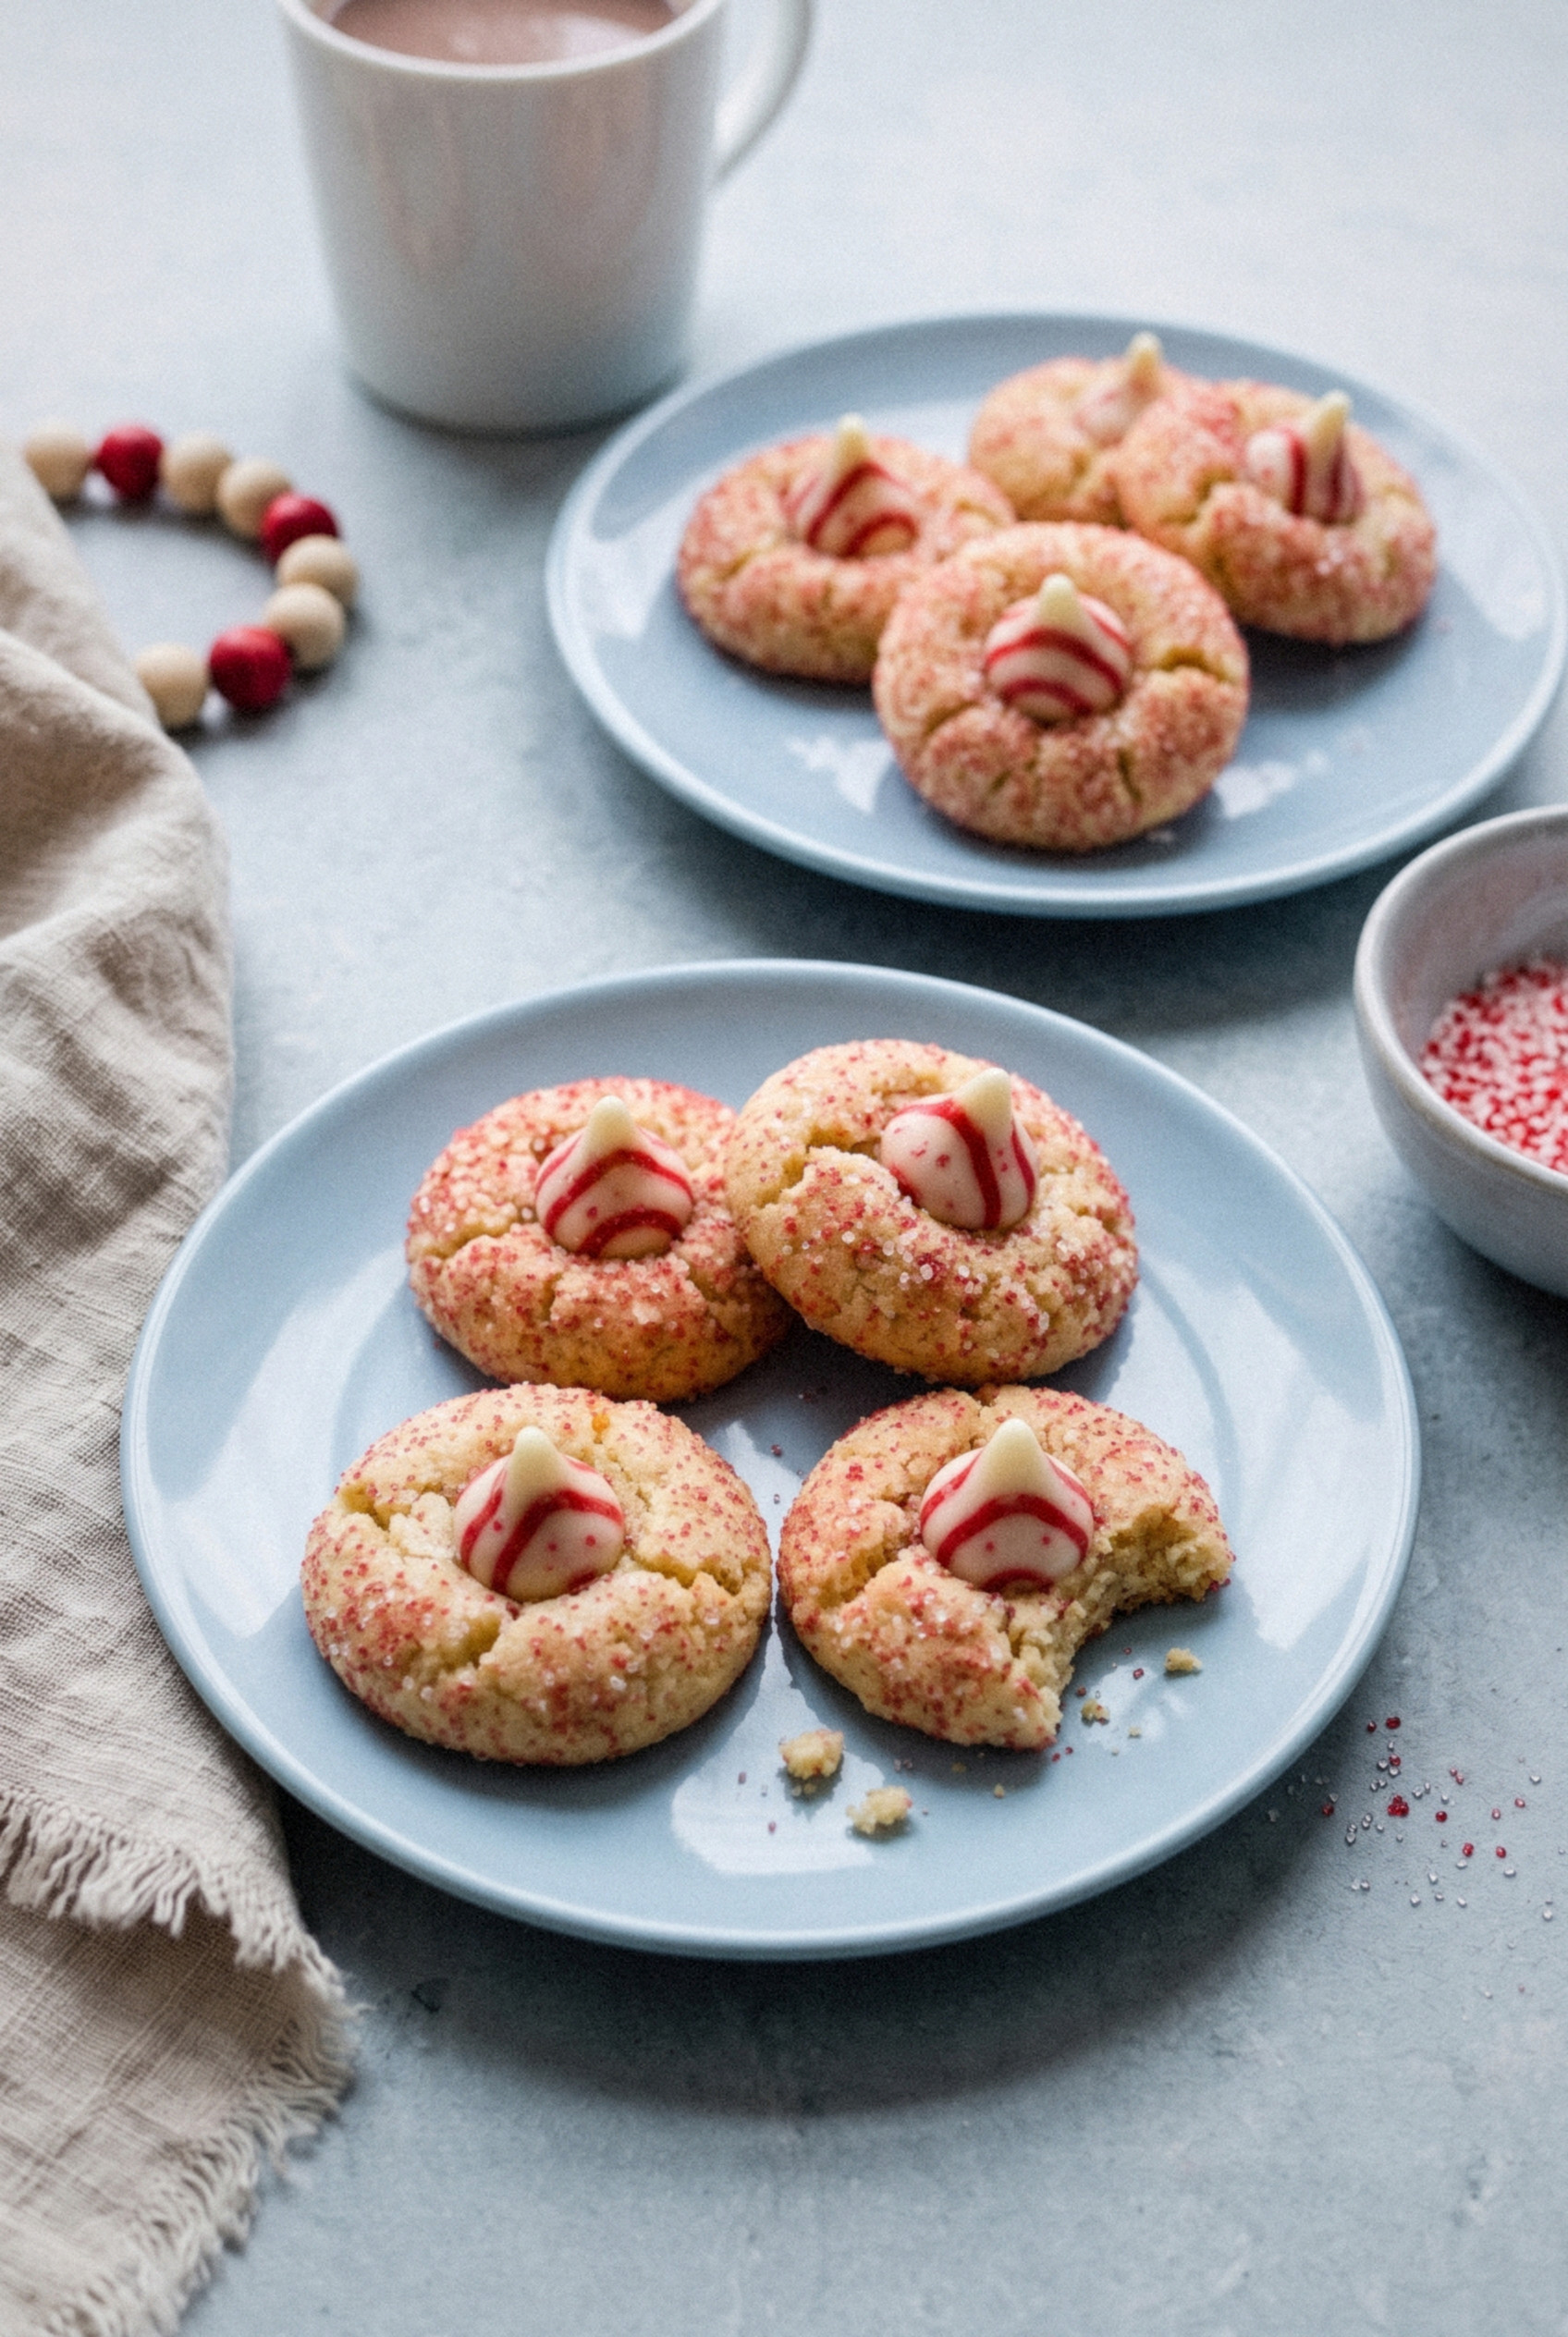
Tips for the Best Batch
A few small habits make every tray look bakery-perfect.
- Spoon and level the flour. Scooping straight from the bag packs in too much, and the cookies turn dry and crumbly.
- Don't skip the chill. Just 20 minutes keeps the domes tall enough to cradle the Kiss.
- Pull them early. At 11-12 minutes the centers look underdone. That's exactly right for a soft, tender cookie.
- Cracks are normal. A few cracks around the edge when you press the Kiss are part of the charm. If a big one opens, nudge it closed with your fingertips.
- Use parchment. The sanding sugar can stick to a bare pan and tear the bottoms.
- Cool your baking sheets between batches. A warm sheet melts the dough balls before they hit the oven. Run it under cool water and dry it if you're in a hurry.
Make-Ahead and Timing
This is my December schedule, and it takes all the stress out of holiday baking.
- The weekend before. Make the dough, roll the balls, coat them in sugar, and freeze them on a tray. Once they're solid, move them to a freezer bag.
- Any weeknight. Pull out as many as you need and bake from frozen. Add 1 minute to the bake time. No thawing.
- The day of a party. Bake 2-3 hours ahead so the Kisses have plenty of time to set firm before you stack them on a plate.
I keep a bag of frozen dough balls in my freezer all month, so a fresh dozen is never more than 15 minutes away.
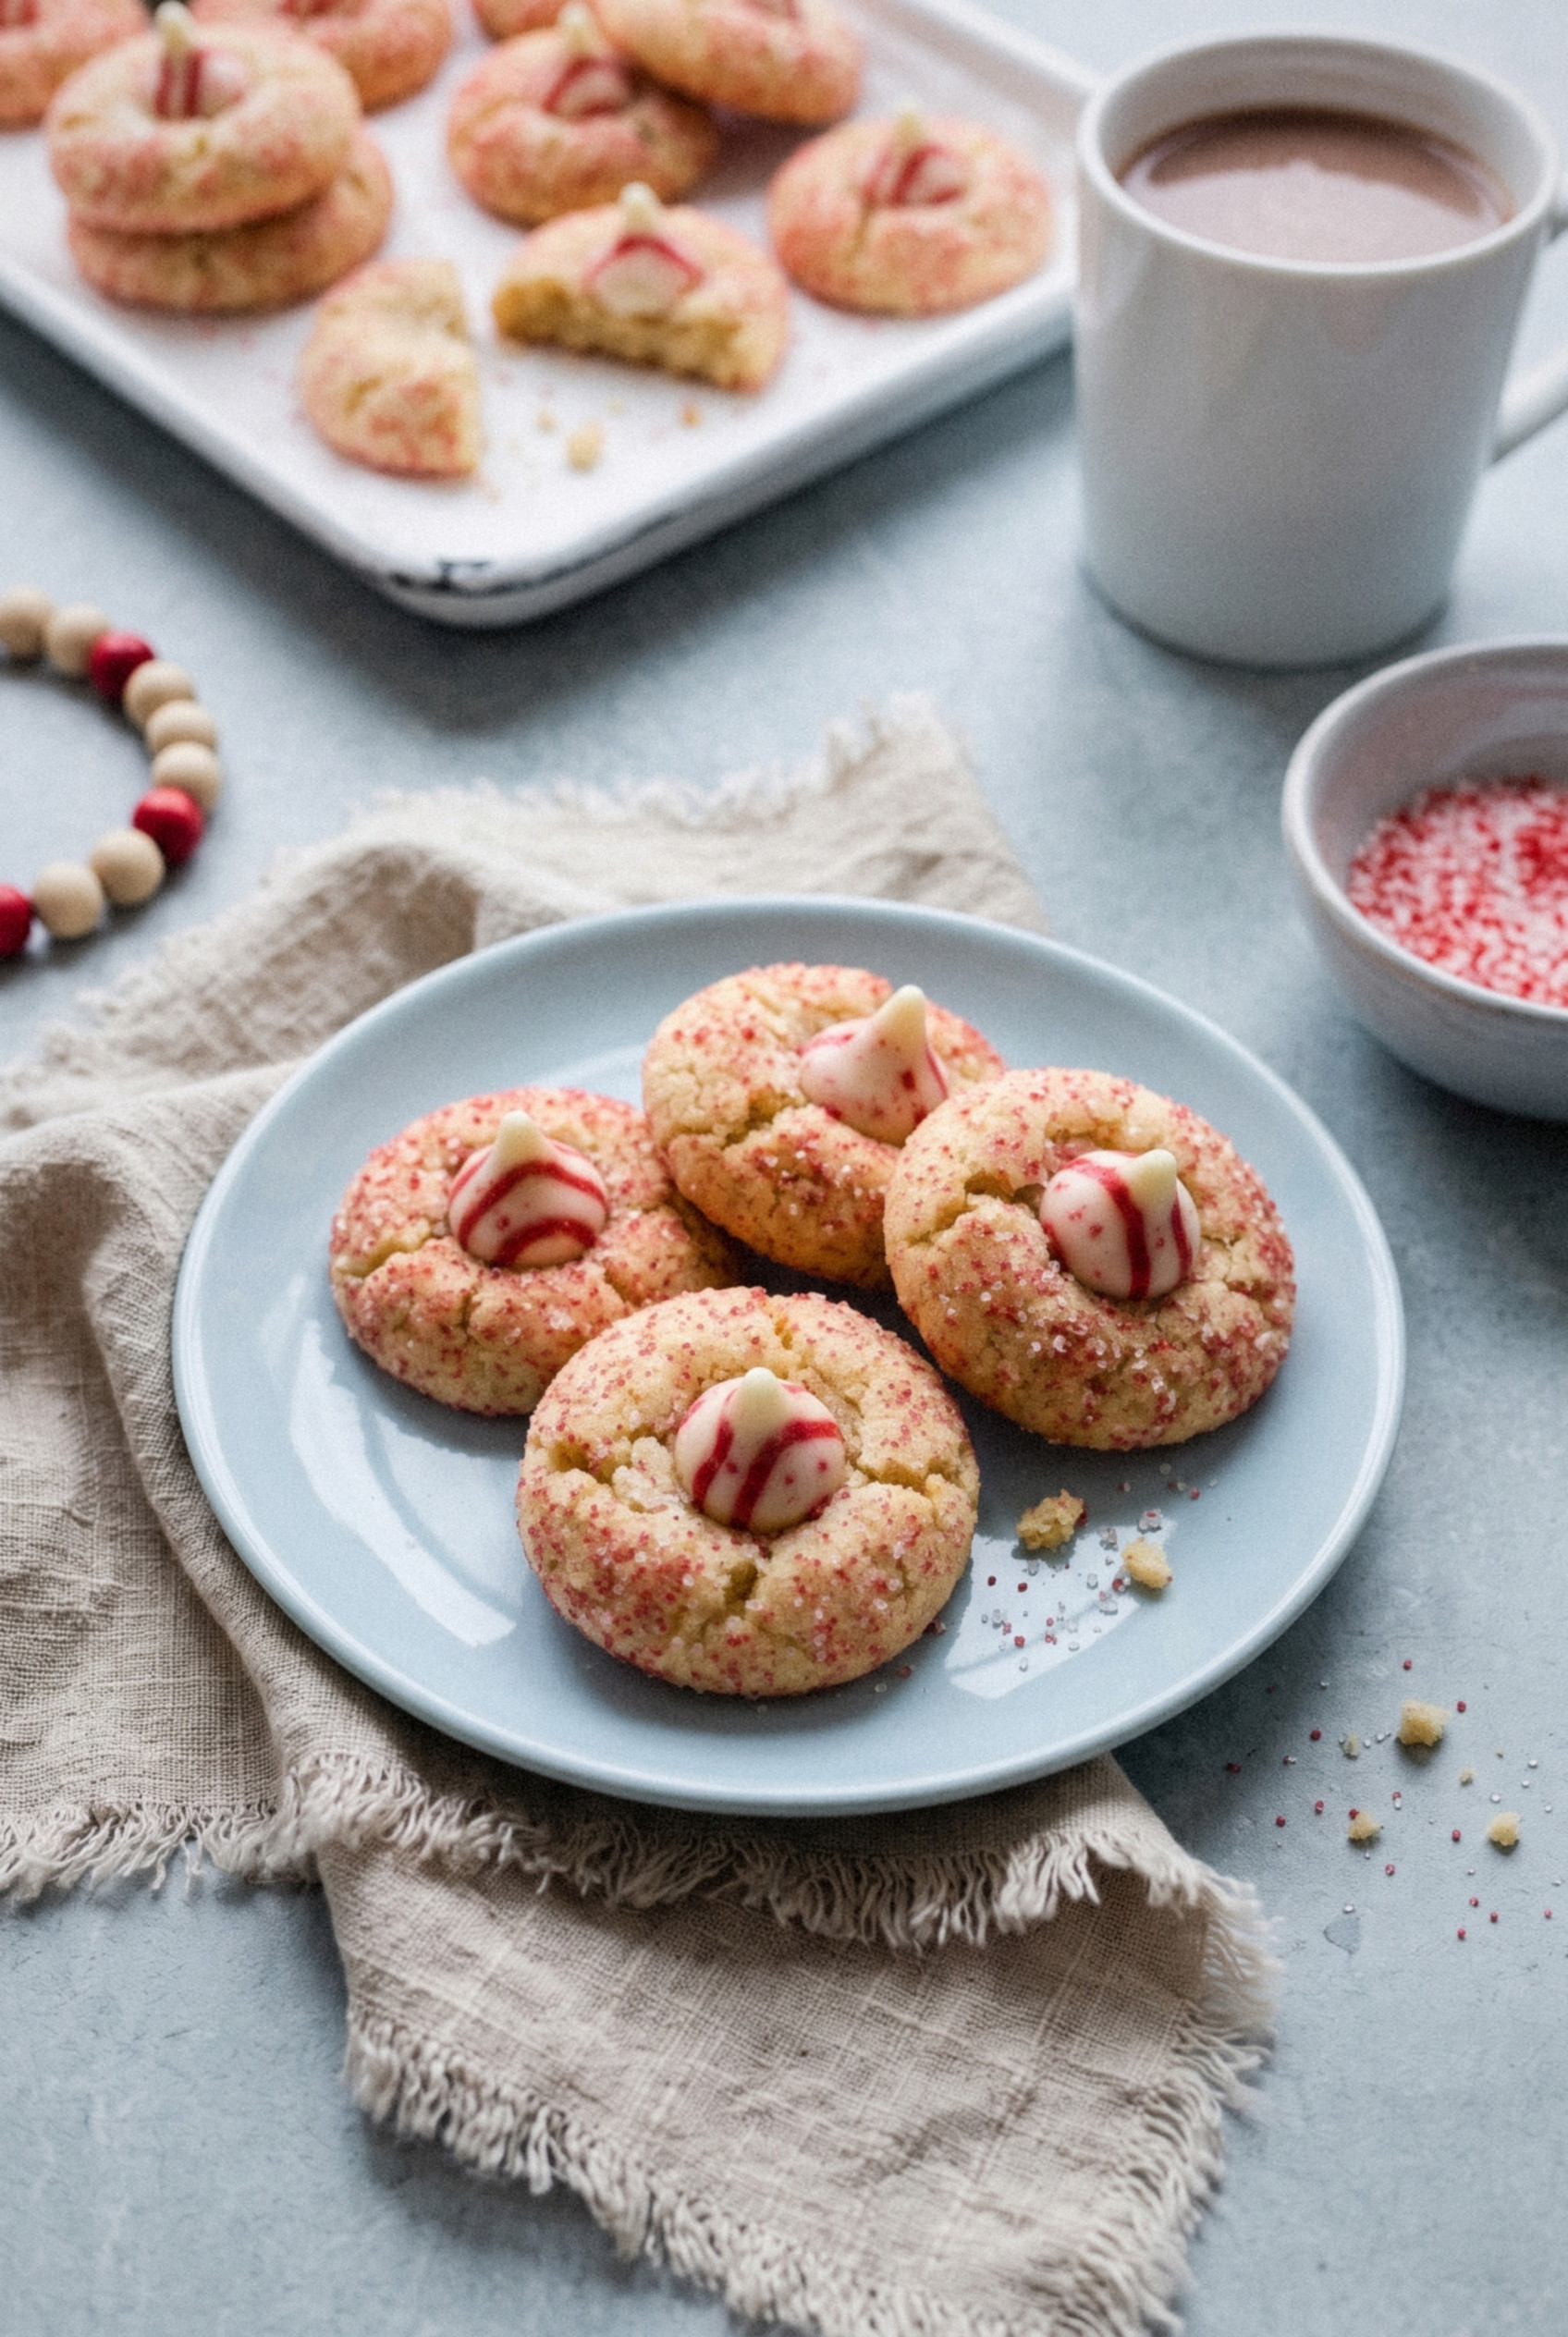
What to Serve With Them
These are a holiday tray cookie through and through. They look great next to anything chocolate or spiced.
- On a Christmas cookie tray. Pair them with gingerbread cutouts, snowballs, and chocolate crinkles for a mix of colors and textures.
- With hot cocoa. The peppermint and chocolate combo pairs perfectly.
- With coffee. A plain cup of coffee cuts the sweetness nicely after dinner.
- For Santa. My kids insist these go on Santa's plate every year. He's never left one behind.
Storing, Freezing, and Gifting
These keep beautifully, which makes them a great cookie for gifting.
- Room temperature. Store in an airtight container for up to 5-7 days. Use a single layer, or put parchment between layers.
- Unbaked dough balls. Freeze the sugar-coated balls for up to 3 months and bake from frozen.
- Baked cookies. Freeze in a single layer until firm, then move to a container for up to 3 months. Thaw at room temperature, uncovered, so condensation doesn't make the sugar sticky.
- Gift tins. Line the tin with parchment, set the cookies in snug rows, and add a parchment sheet between each layer.
- Keep them cool. Don't leave a tin in a warm car or near the oven. The Kisses soften faster than you'd think.
Give these a try this Christmas. I promise they'll be the first cookie gone from the tray!
Recipe
Candy Cane Kiss Cookies
Ingredients
For the Cookies
- 2 cups all-purpose flour plus 1 tablespoon, spooned and leveled
- 1 ½ teaspoons baking powder
- ¼ teaspoon salt
- 10 tablespoons unsalted butter softened to room temperature
- 1 cup granulated sugar
- 1 large egg room temperature
- 1 teaspoon vanilla extract
- ¼ teaspoon peppermint extract pure peppermint, not mint
- 1 teaspoon milk optional, only if dough is crumbly
For Coating and Topping
- ⅓ cup red and white sanding sugar
- 32 Hershey's Candy Cane Kisses unwrapped and frozen
Instructions
Prep
- Unwrap the Kisses, spread them on a small plate, and freeze for at least 30 minutes while you make the dough.
Make the Dough
- Whisk the flour, baking powder, and salt together in a bowl. Set aside.
- In a large bowl, beat the butter and sugar on medium-high speed for about 3 minutes until pale and fluffy.
- Beat in the egg, vanilla, and peppermint extract for about 1 minute. Scrape down the bowl.
- Add the dry ingredients on low speed and mix just until no flour streaks remain. If the dough is crumbly, beat in 1 teaspoon milk.
Shape and Chill
- Scoop the dough into 1-tablespoon balls (about 20 grams each) and roll smooth. Roll each ball in sanding sugar until fully coated.
- Place the coated balls on a parchment-lined tray and refrigerate for 20 minutes. Preheat the oven to 350°F.
Bake and Top
- Arrange the chilled balls 2 inches apart on parchment-lined baking sheets. Bake for 11 to 12 minutes, until the edges are set and the centers look slightly soft.
- Cool on the baking sheet for 3 to 5 minutes. Press one frozen Kiss into the center of each cookie.
- Transfer the cookies with a thin spatula to a cool tray and freeze for 15 minutes to set the Kisses. Store at room temperature once set.
Notes
- Prevent puddles: Use frozen Kisses, wait 3 to 5 minutes before pressing, and freeze the topped cookies for 15 minutes.
- Make ahead: Freeze the sugar-coated dough balls for up to 3 months. Bake from frozen, adding 1 minute.
- Storage: Keep in an airtight container at room temperature for up to 7 days, with parchment between layers. Freeze baked cookies up to 3 months.
- Swaps: Regular milk chocolate Kisses or Hugs work with the same method.