My Christmas cookie tray has a pecking order, and it gets settled in about twenty minutes.
The sugar cookies hang around. The spritz cookies hang around longer.
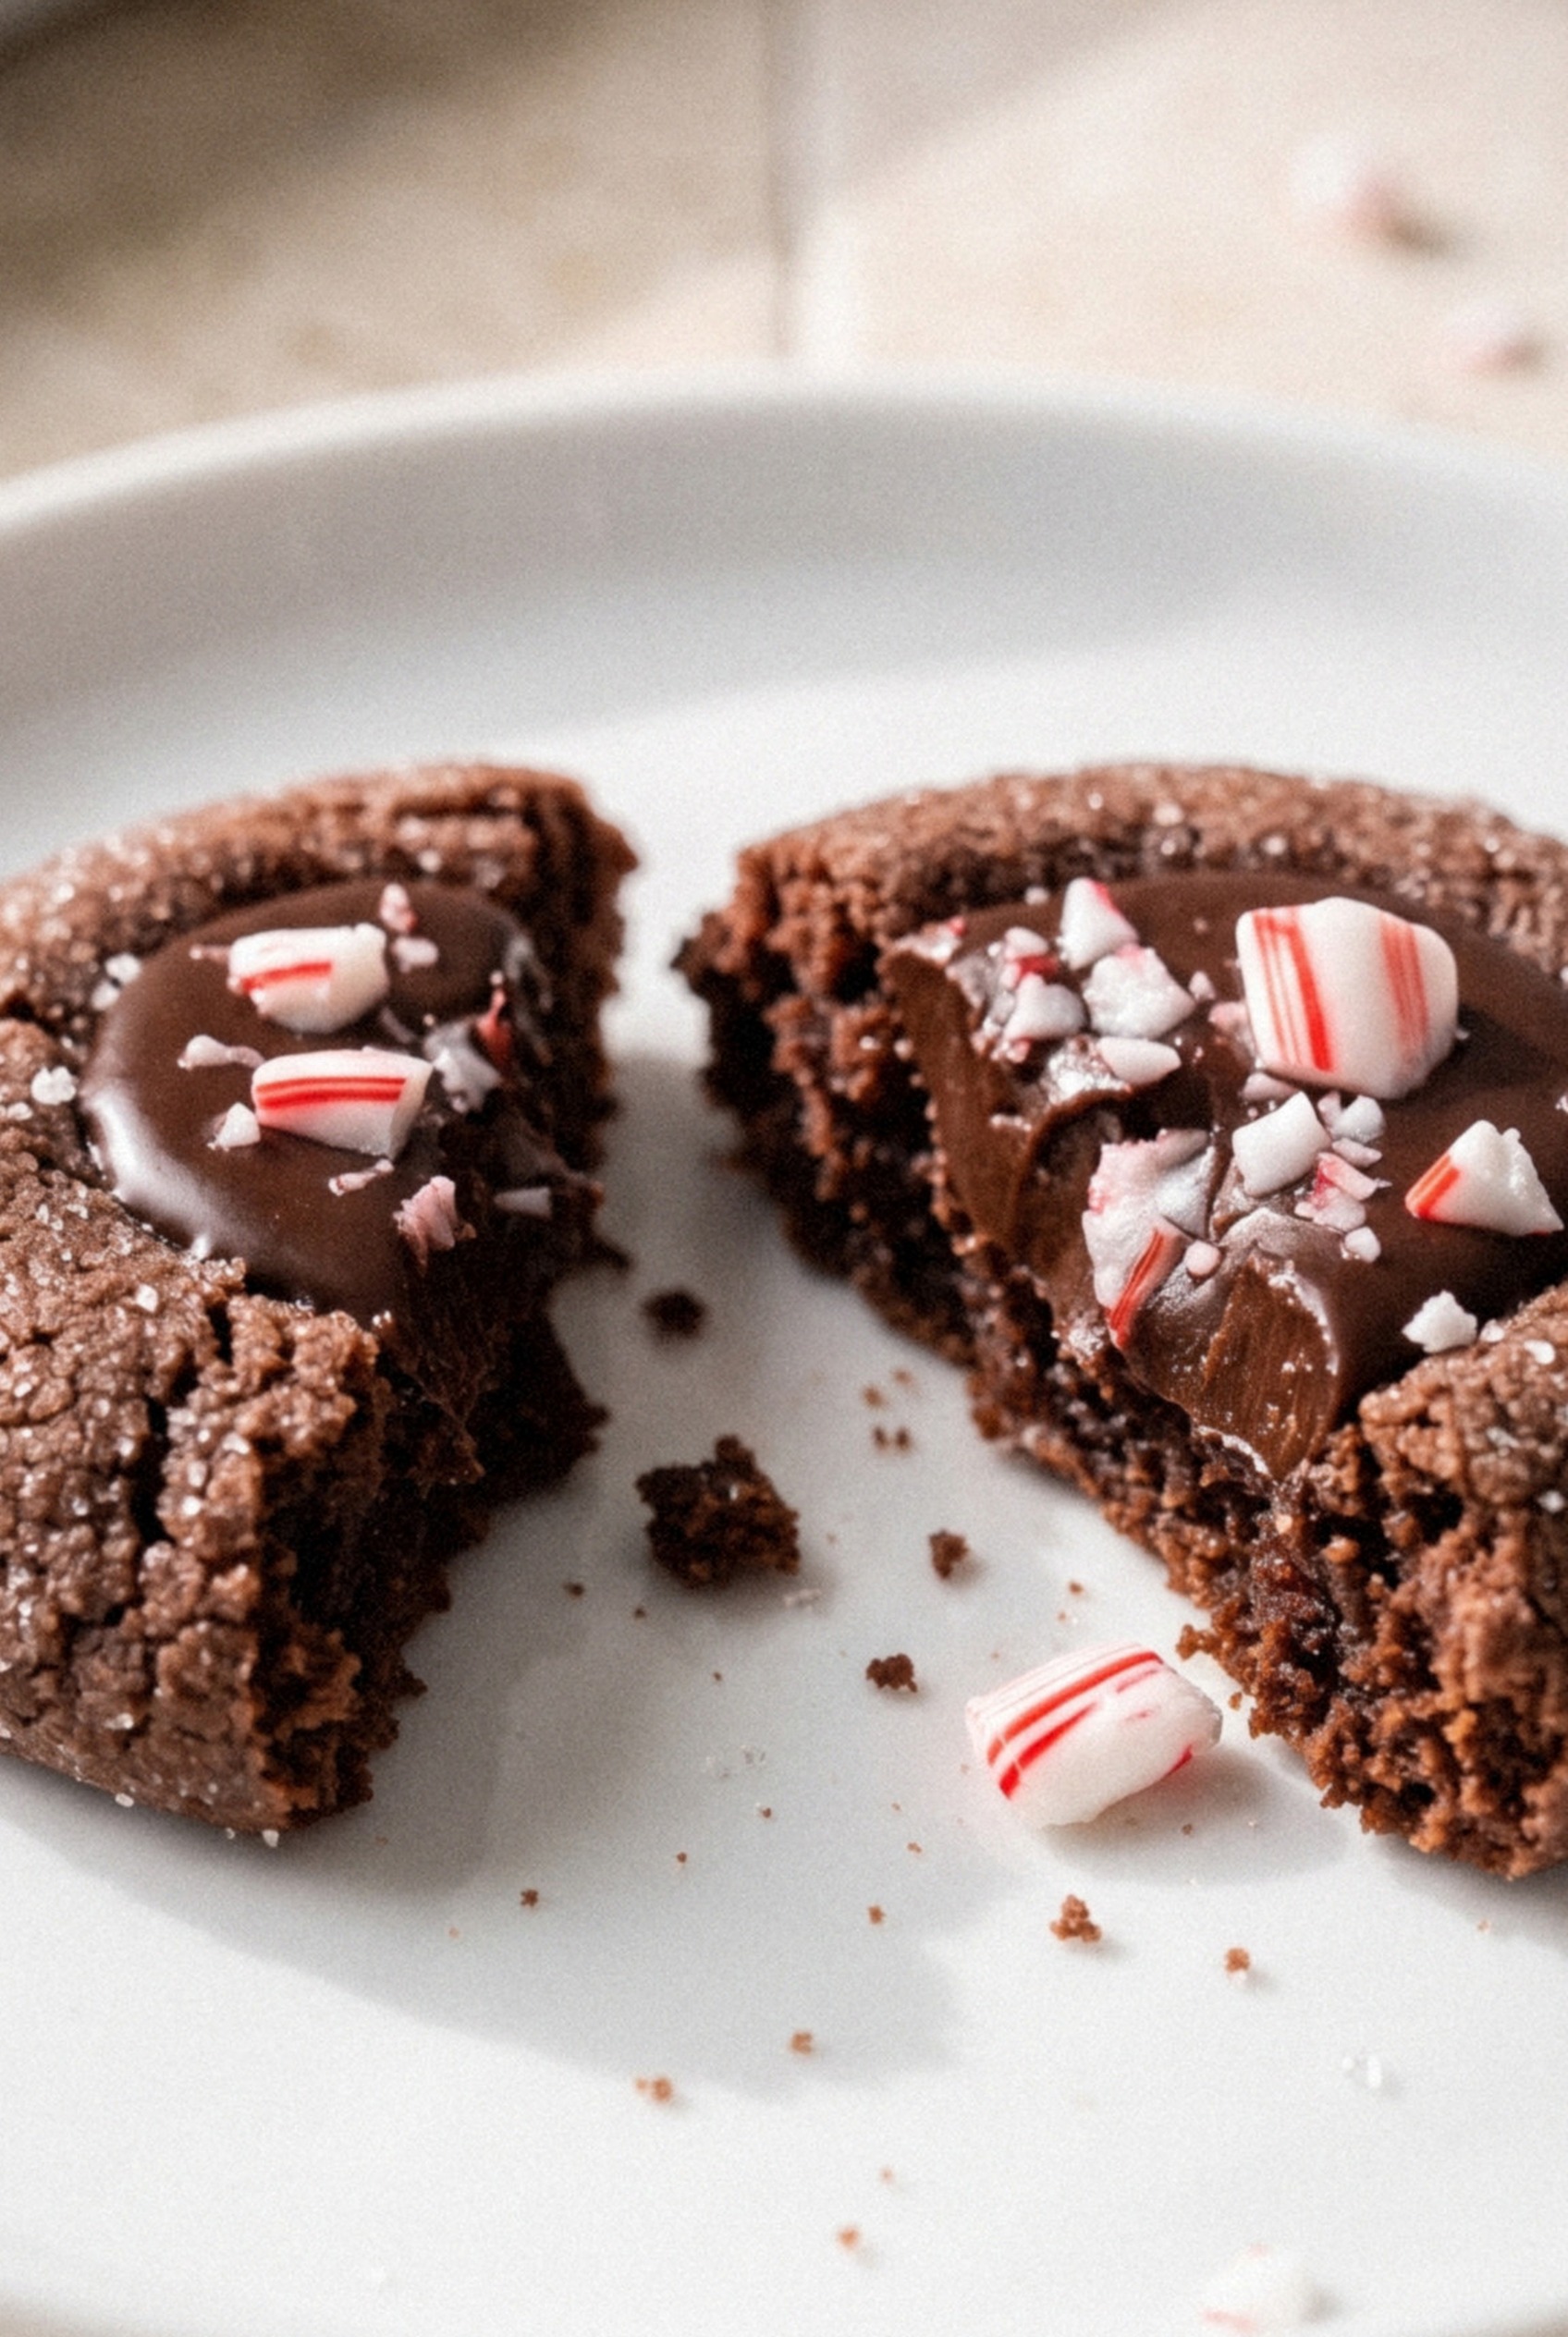
The dark chocolate ones with the shiny centers? Gone before anyone has finished their coffee.
That's why I keep a batch of these Chocolate Peppermint Thumbprint Cookies in my December rotation every single year.
They didn't start out as a winner, though.
My early batches had two problems. The little wells puffed shut in the oven, so the filling slid right off the top.
And I was heavy-handed with the peppermint extract, which made the whole thing taste like a tube of toothpaste.
My wife ate one, smiled politely, and went back to the gingerbread.
So I fixed both. A quick second press with a measuring spoon the second the tray comes out keeps the wells deep.
Measuring the peppermint in two small doses, one in the dough and a whisper in the ganache, keeps the mint fresh instead of medicinal.
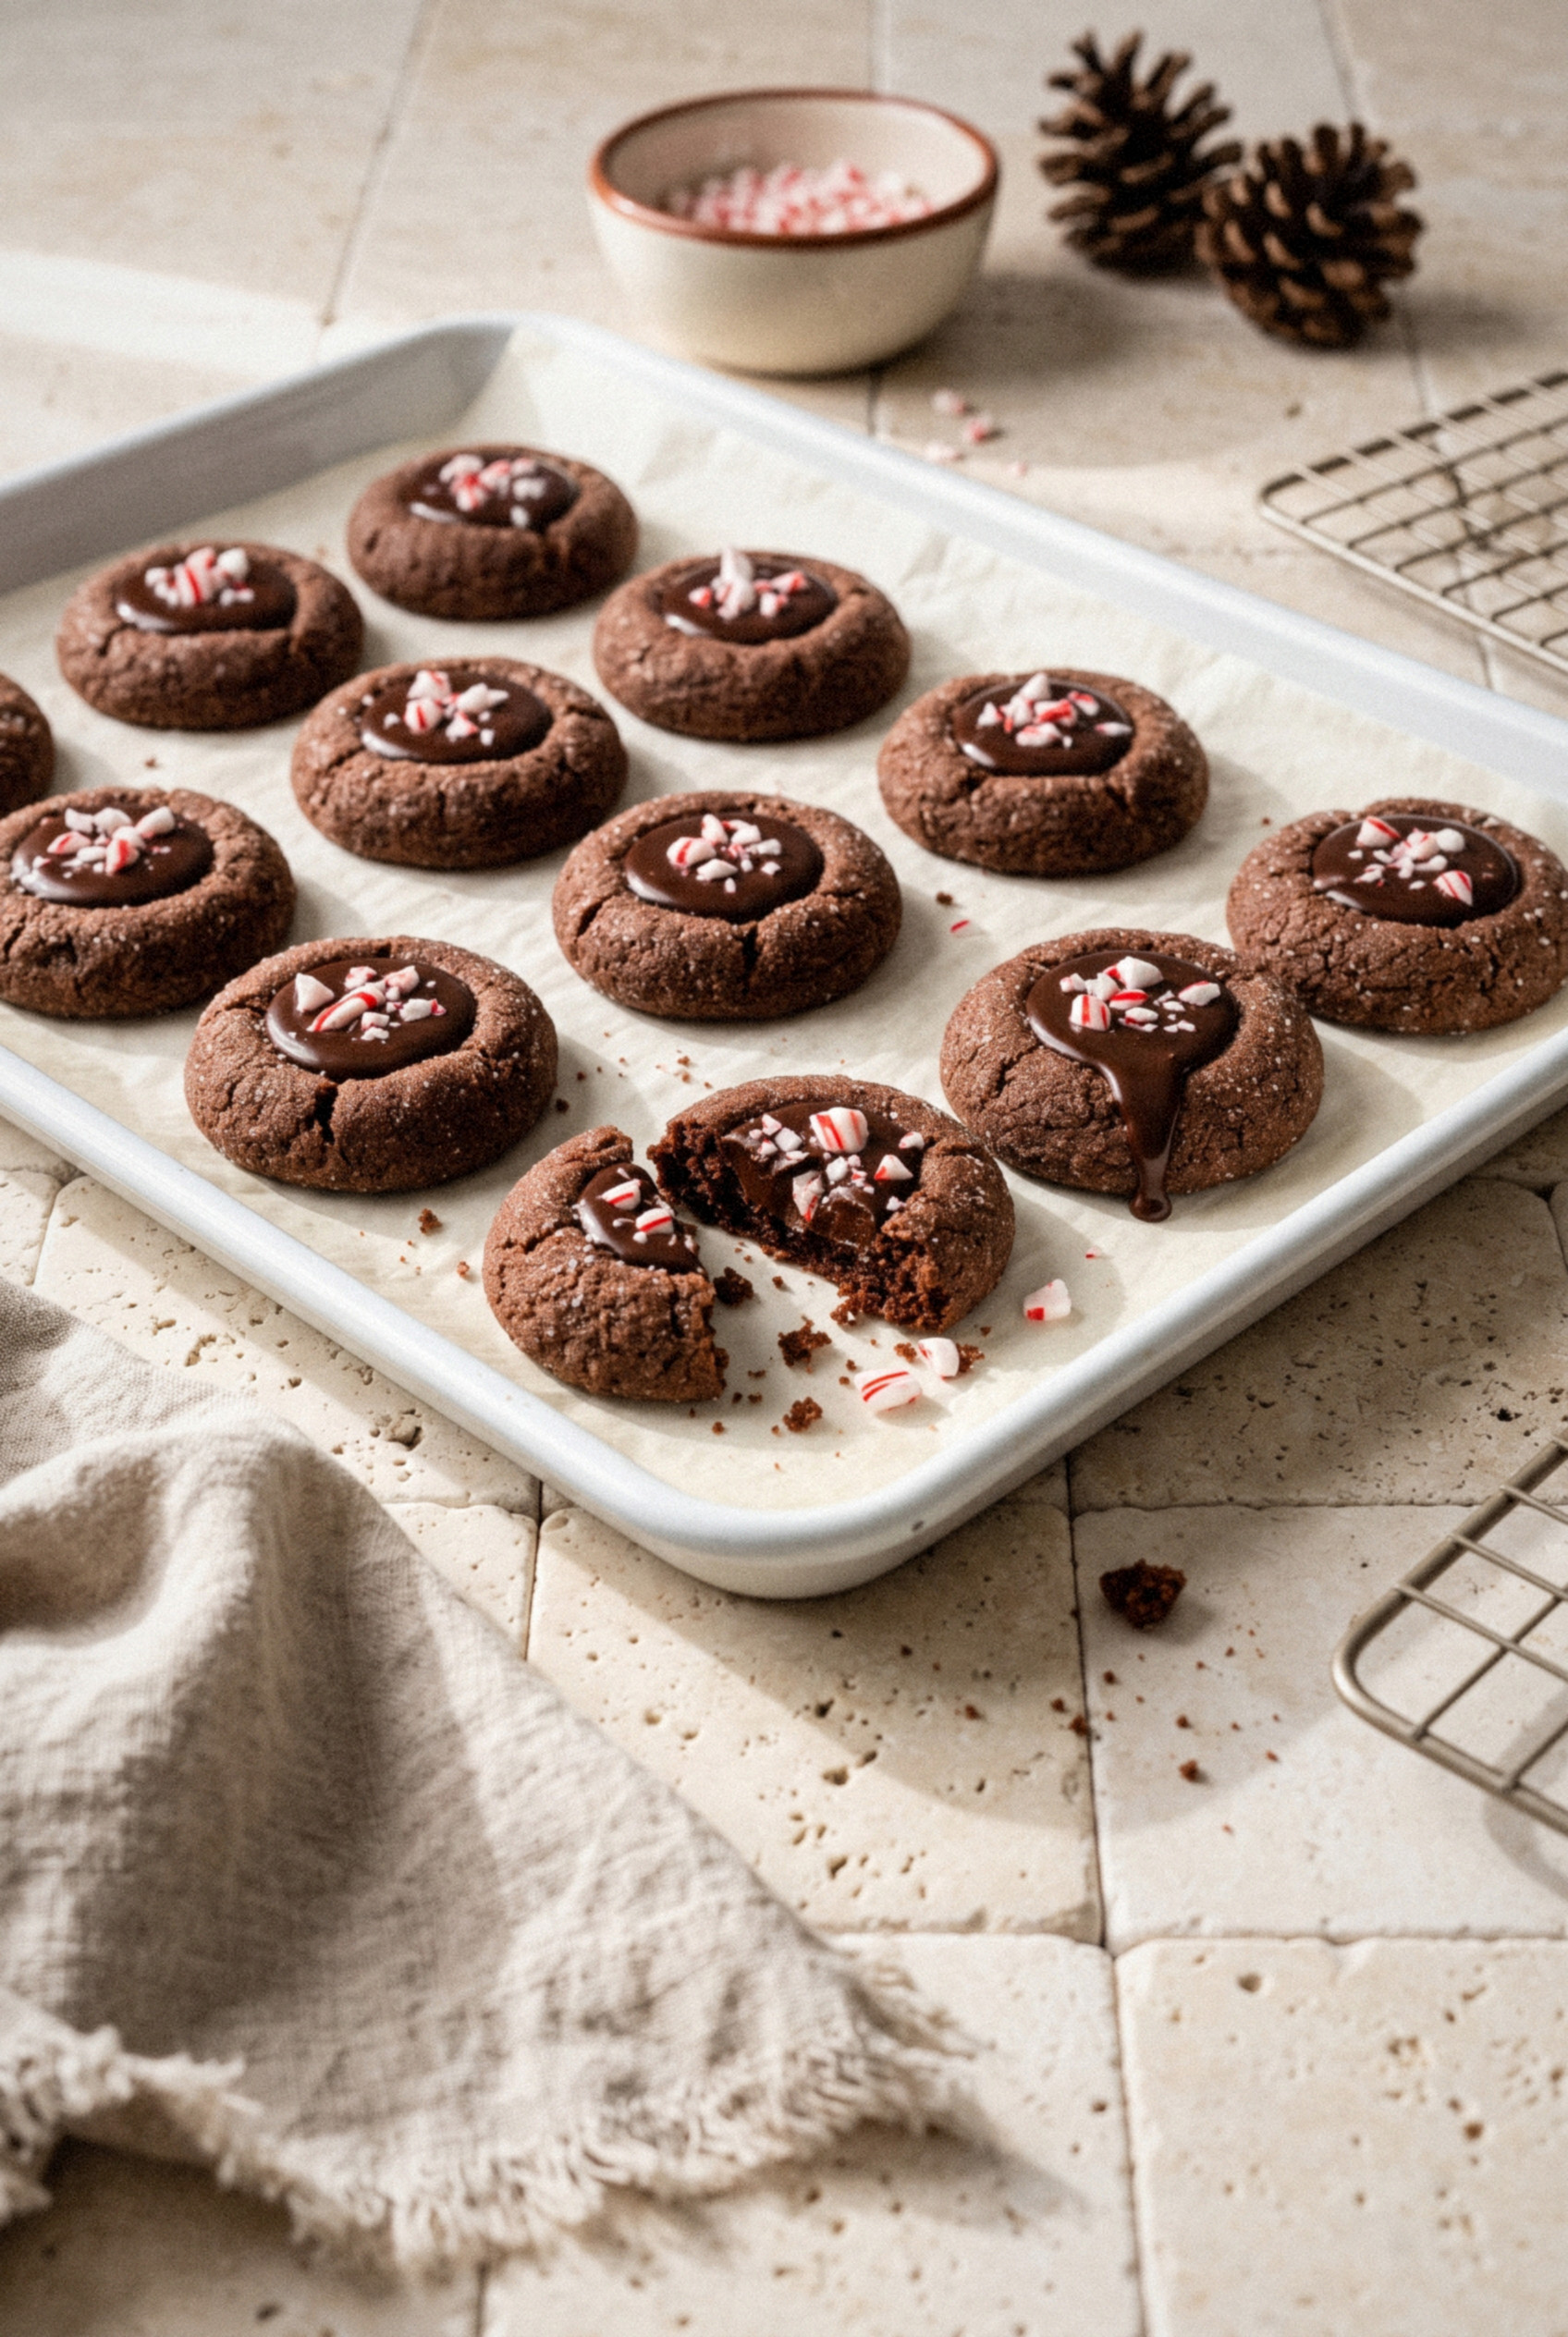
What you get is a soft, fudgy cocoa cookie with a glossy chocolate peppermint center and a sprinkle of crushed candy cane on top.
They hold their shape on a crowded holiday platter, they pack well for cookie swaps, and the dough balls freeze like a dream.
Make them once and you'll see why they never make it to the second day.
Why These Chocolate Peppermint Thumbprints Work
These cookies solve the two things that ruin most thumbprints. The wells stay open and the peppermint stays balanced. Here's what makes this version a crowd-pleaser on any Christmas cookie tray.
- Soft, fudgy centers. Brown sugar and a whole egg give you a cookie that's tender and almost brownie-like in the middle, not a dry, crumbly shortbread.
- Ganache goes in after baking. Filling the cookies once they cool keeps the chocolate glossy and smooth instead of dull and cracked from the oven heat.
- Peppermint in two small doses. Just ½ teaspoon in the dough and ⅛ teaspoon in the ganache. It reads as cool, fresh mint, never toothpaste.
- Built for the holiday tray. Once the ganache sets, these stack with parchment between the layers and travel well to parties, swaps, and the office.
- Freezer friendly. Roll the dough balls weeks ahead and bake them straight from the freezer when December gets busy.
Who doesn't love chocolate and peppermint at Christmas?
Ingredients You'll Need
Everything here is a pantry staple during the holidays. The only thing you might need to grab is a couple of candy canes.
For the Chocolate Cookies
- All-purpose flour (1 ½ cups). Spoon it into the cup and level it off. Scooping straight from the bag packs in extra flour and gives you cracked, dry cookies.
- Unsweetened natural cocoa powder (½ cup). Natural cocoa reacts with the baking soda for a little lift. Dutch-process works too, and gives a darker, smoother chocolate flavor.
- Baking soda (½ teaspoon). Just enough to keep the cookie soft and slightly puffed.
- Salt (¼ teaspoon). Sharpens the chocolate so it doesn't taste flat.
- Unsalted butter (½ cup), softened. It should leave a dent when you press it, but not look greasy. If you only have salted butter, drop the added salt to a pinch.
- Light brown sugar (½ cup, packed). This is where the chewy, fudgy texture comes from. Dark brown sugar works and adds a hint of molasses.
- Granulated sugar (⅓ cup, plus ⅓ cup for rolling). Half goes into the dough, half coats the outside for a sparkly, crackly finish.
- Large egg (1), at room temperature. A cold egg can seize the creamed butter. Set it in warm water for 5 minutes if you forgot to pull it out.
- Pure vanilla extract (1 teaspoon). Rounds out the chocolate.
- Pure peppermint extract (½ teaspoon). Measure it with a real measuring spoon, not a splash from the bottle.
- Milk (2 teaspoons). Softens the dough just enough to roll without cracking. Any milk works.
For the Peppermint Ganache
- Semi-sweet chocolate (4 ounces), finely chopped. Use a bar, not chips. Chips contain stabilizers that keep them from melting into a silky ganache.
- Heavy cream (½ cup). The higher the fat, the creamier the filling. Half-and-half will stay too loose.
- Pure peppermint extract (⅛ teaspoon). A tiny amount. Add it after the chocolate melts so the heat doesn't dull it.
For the Topping
- Crushed candy canes (¼ cup). About 2 regular candy canes. Pre-crushed peppermint bits from the baking aisle work too.
- Granulated sugar (⅓ cup) for rolling. The same sugar listed above. Coarse sanding sugar gives even more sparkle if you have it.
A note on extracts: Look for bottles labeled pure peppermint extract. Anything labeled "mint extract" often contains spearmint, which tastes more like chewing gum than a candy cane.
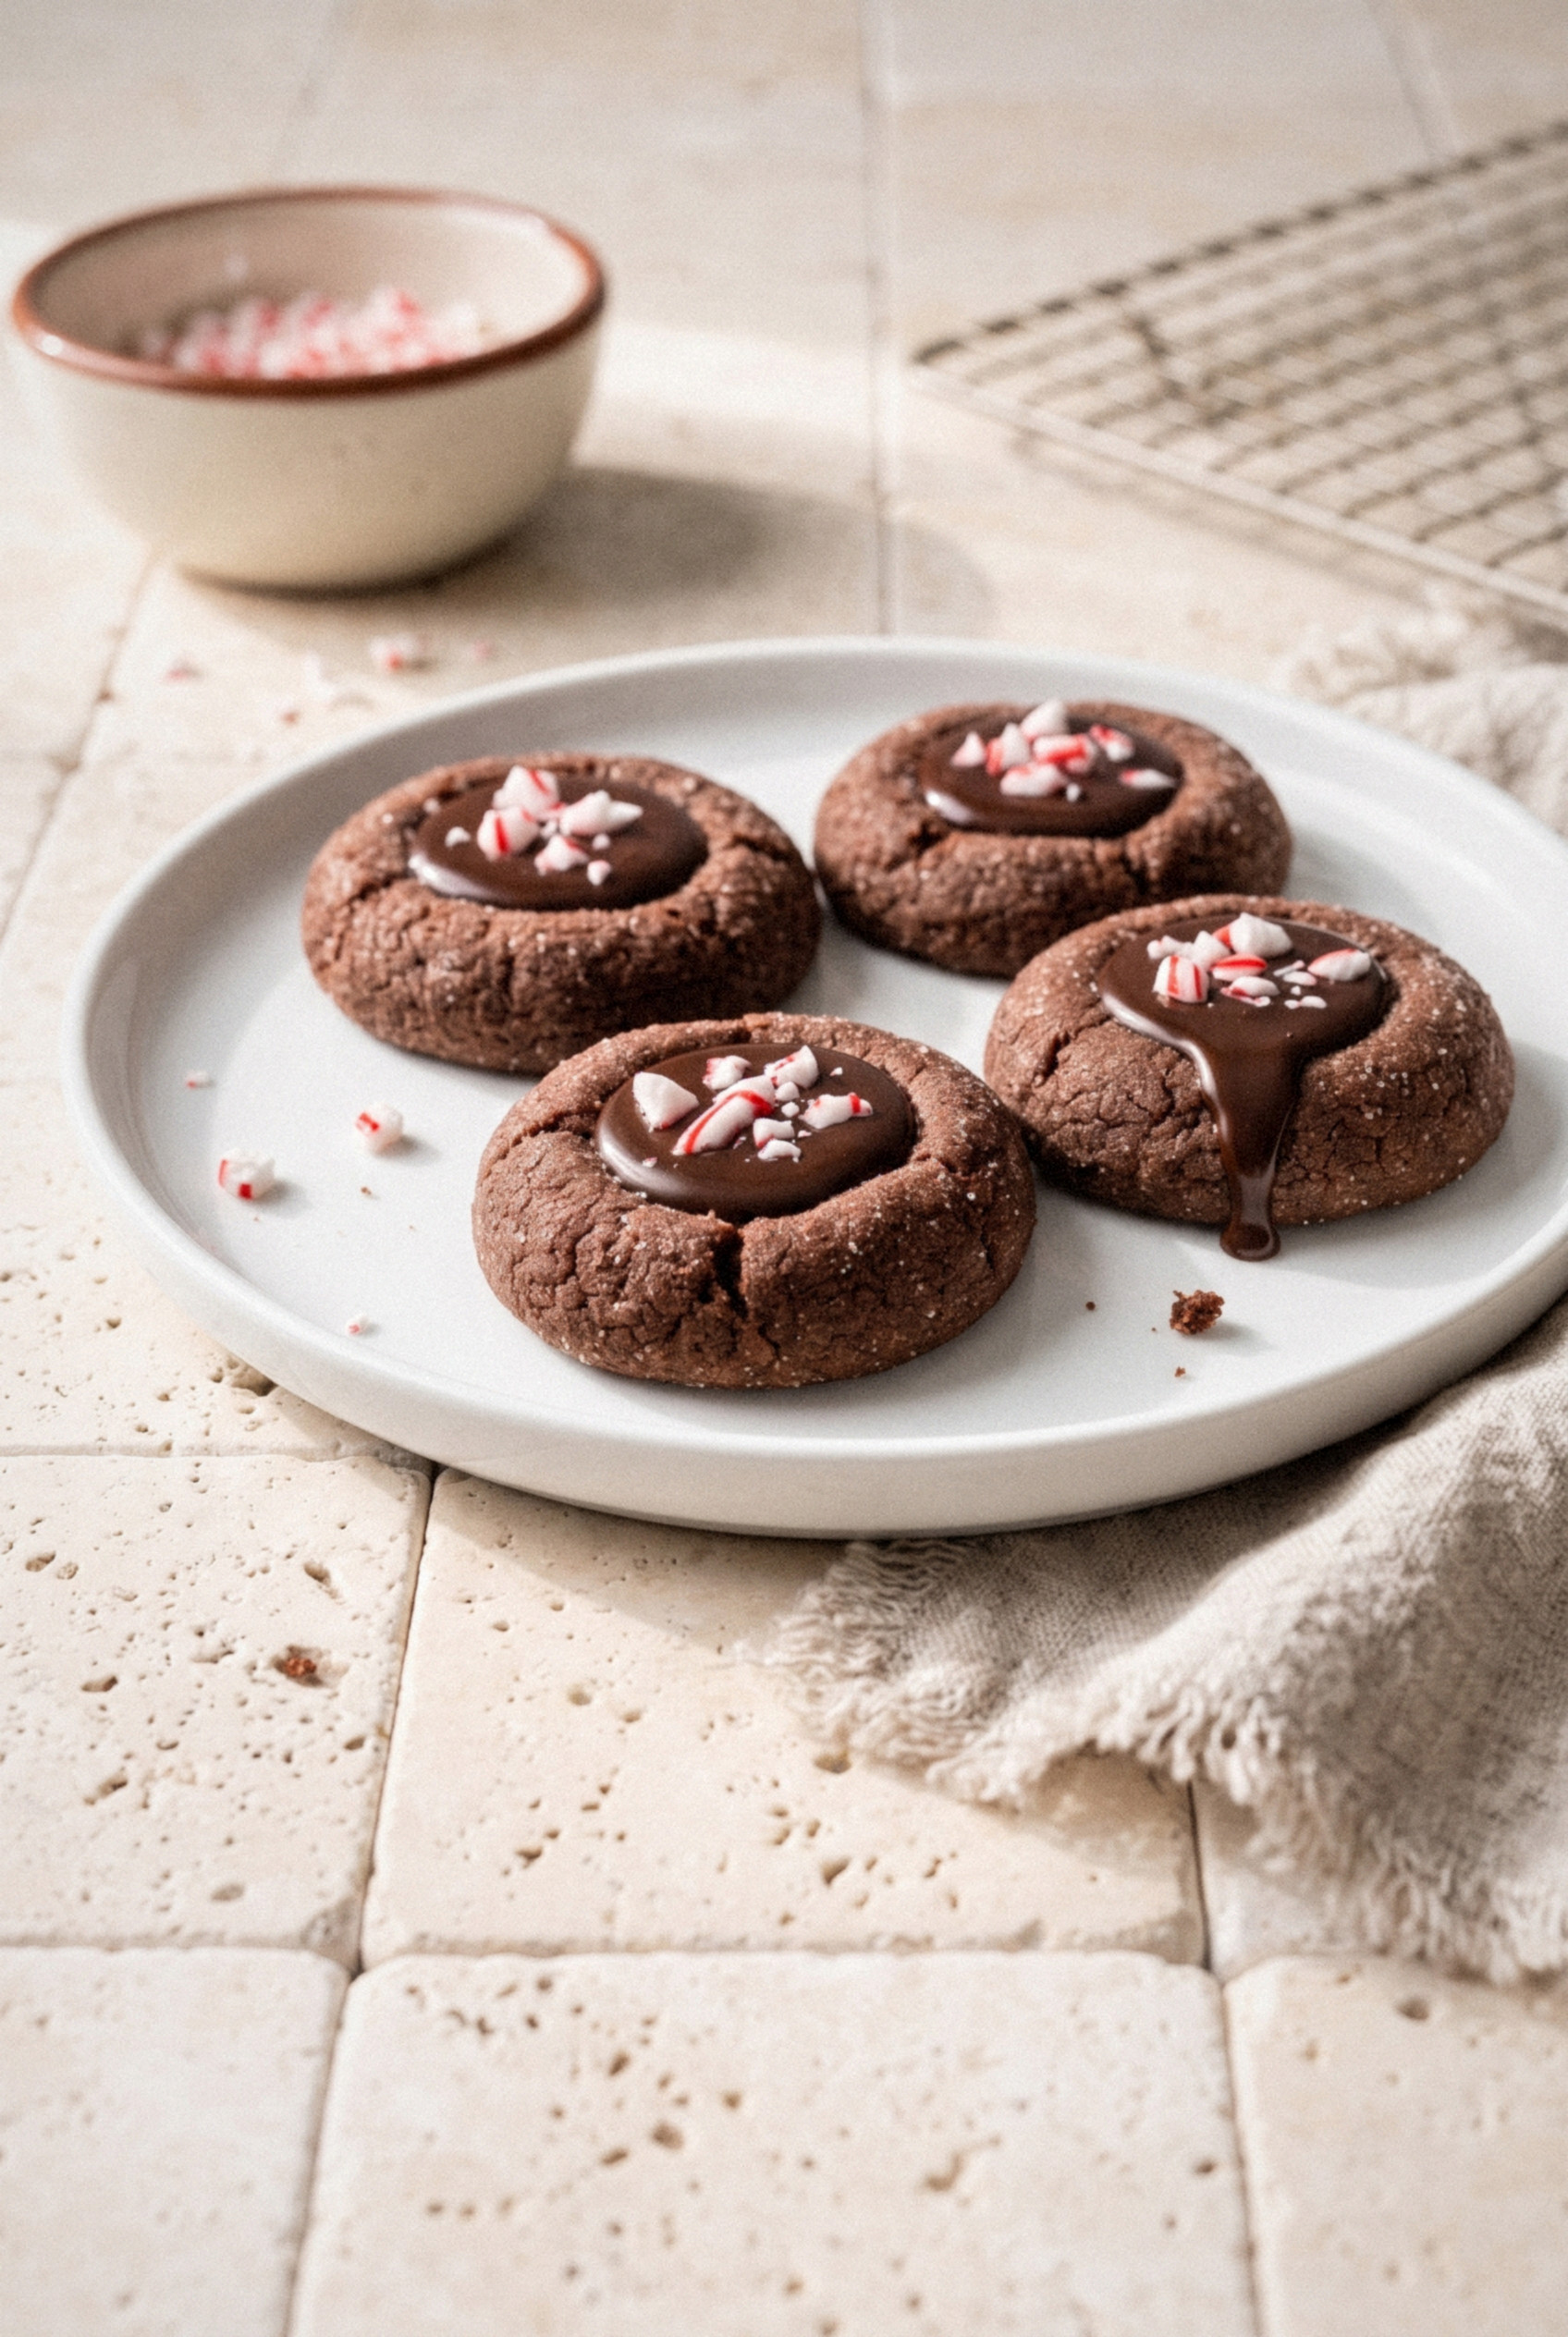
How to Make Chocolate Peppermint Thumbprint Cookies
The method is simple, and the second press is the step that makes them look bakery-perfect. Plan on about an hour of hands-on time plus chilling.
Step 1: Make and Chill the Dough
Whisk the flour, cocoa powder, baking soda, and salt together in a medium bowl and set it aside. In a large bowl, beat the softened butter, brown sugar, and ⅓ cup of the granulated sugar on medium speed for about 2 minutes, until it looks lighter in color and fluffy.
Beat in the egg, vanilla, and peppermint extract for 1 minute, scraping down the bowl once. Turn the mixer to low, add the dry ingredients and the milk, and mix just until no dry streaks remain. The dough will be thick and soft, a lot like brownie batter that decided to behave.
Cover the bowl and chill for 1 hour. Cold dough holds its shape in the oven, which keeps your cookies from spreading into flat discs.
Step 2: Roll, Coat, and Indent
Preheat the oven to 350°F and line two baking sheets with parchment paper. Pour the remaining ⅓ cup of granulated sugar into a shallow bowl.
Scoop the dough into 1-tablespoon portions and roll each one into a smooth ball between your palms. Roll each ball in the sugar and set them about 2 inches apart on the sheets.
Press a well into the center of each ball with the back of a rounded ½ teaspoon measuring spoon, about halfway down. If the edges crack a little, pinch them back together with your fingers.
Pro tip: If the spoon sticks, dip it in a little cocoa powder between cookies.
Step 3: Bake, Then Re-Press
Bake one sheet at a time for 11-12 minutes, until the edges look set and the tops look dry but the centers still feel soft. They'll firm up as they cool, so don't wait for them to feel hard in the oven.
The wells will have puffed up and shrunk. Right away, while the cookies are still hot, press the measuring spoon gently back into each center to reopen the well. You want a clean, round dip about ½ inch deep with a smooth rim around it.
Let the cookies cool on the sheet for 5 minutes, then move them to a wire rack to cool completely.
Sound fussy? It takes about thirty seconds per tray.
Step 4: Make the Peppermint Ganache
Put the finely chopped chocolate in a heatproof bowl. Heat the heavy cream in a small saucepan over medium heat until it just starts to simmer around the edges, then pour it over the chocolate.
Let it sit untouched for 3 minutes, then stir slowly from the center out until it turns smooth and glossy. Stir in the peppermint extract.
Let the ganache cool at room temperature for 15-20 minutes, until it's thick enough to mound on a spoon instead of running off it.
Step 5: Fill and Top
Spoon about ¾ teaspoon of ganache into each cooled well, filling it right to the rim. While the ganache is still wet, sprinkle a pinch of crushed candy cane on top so it sticks.
Let the cookies sit at room temperature for 1-2 hours until the ganache sets. If you're in a hurry, 20 minutes in the fridge does the job.
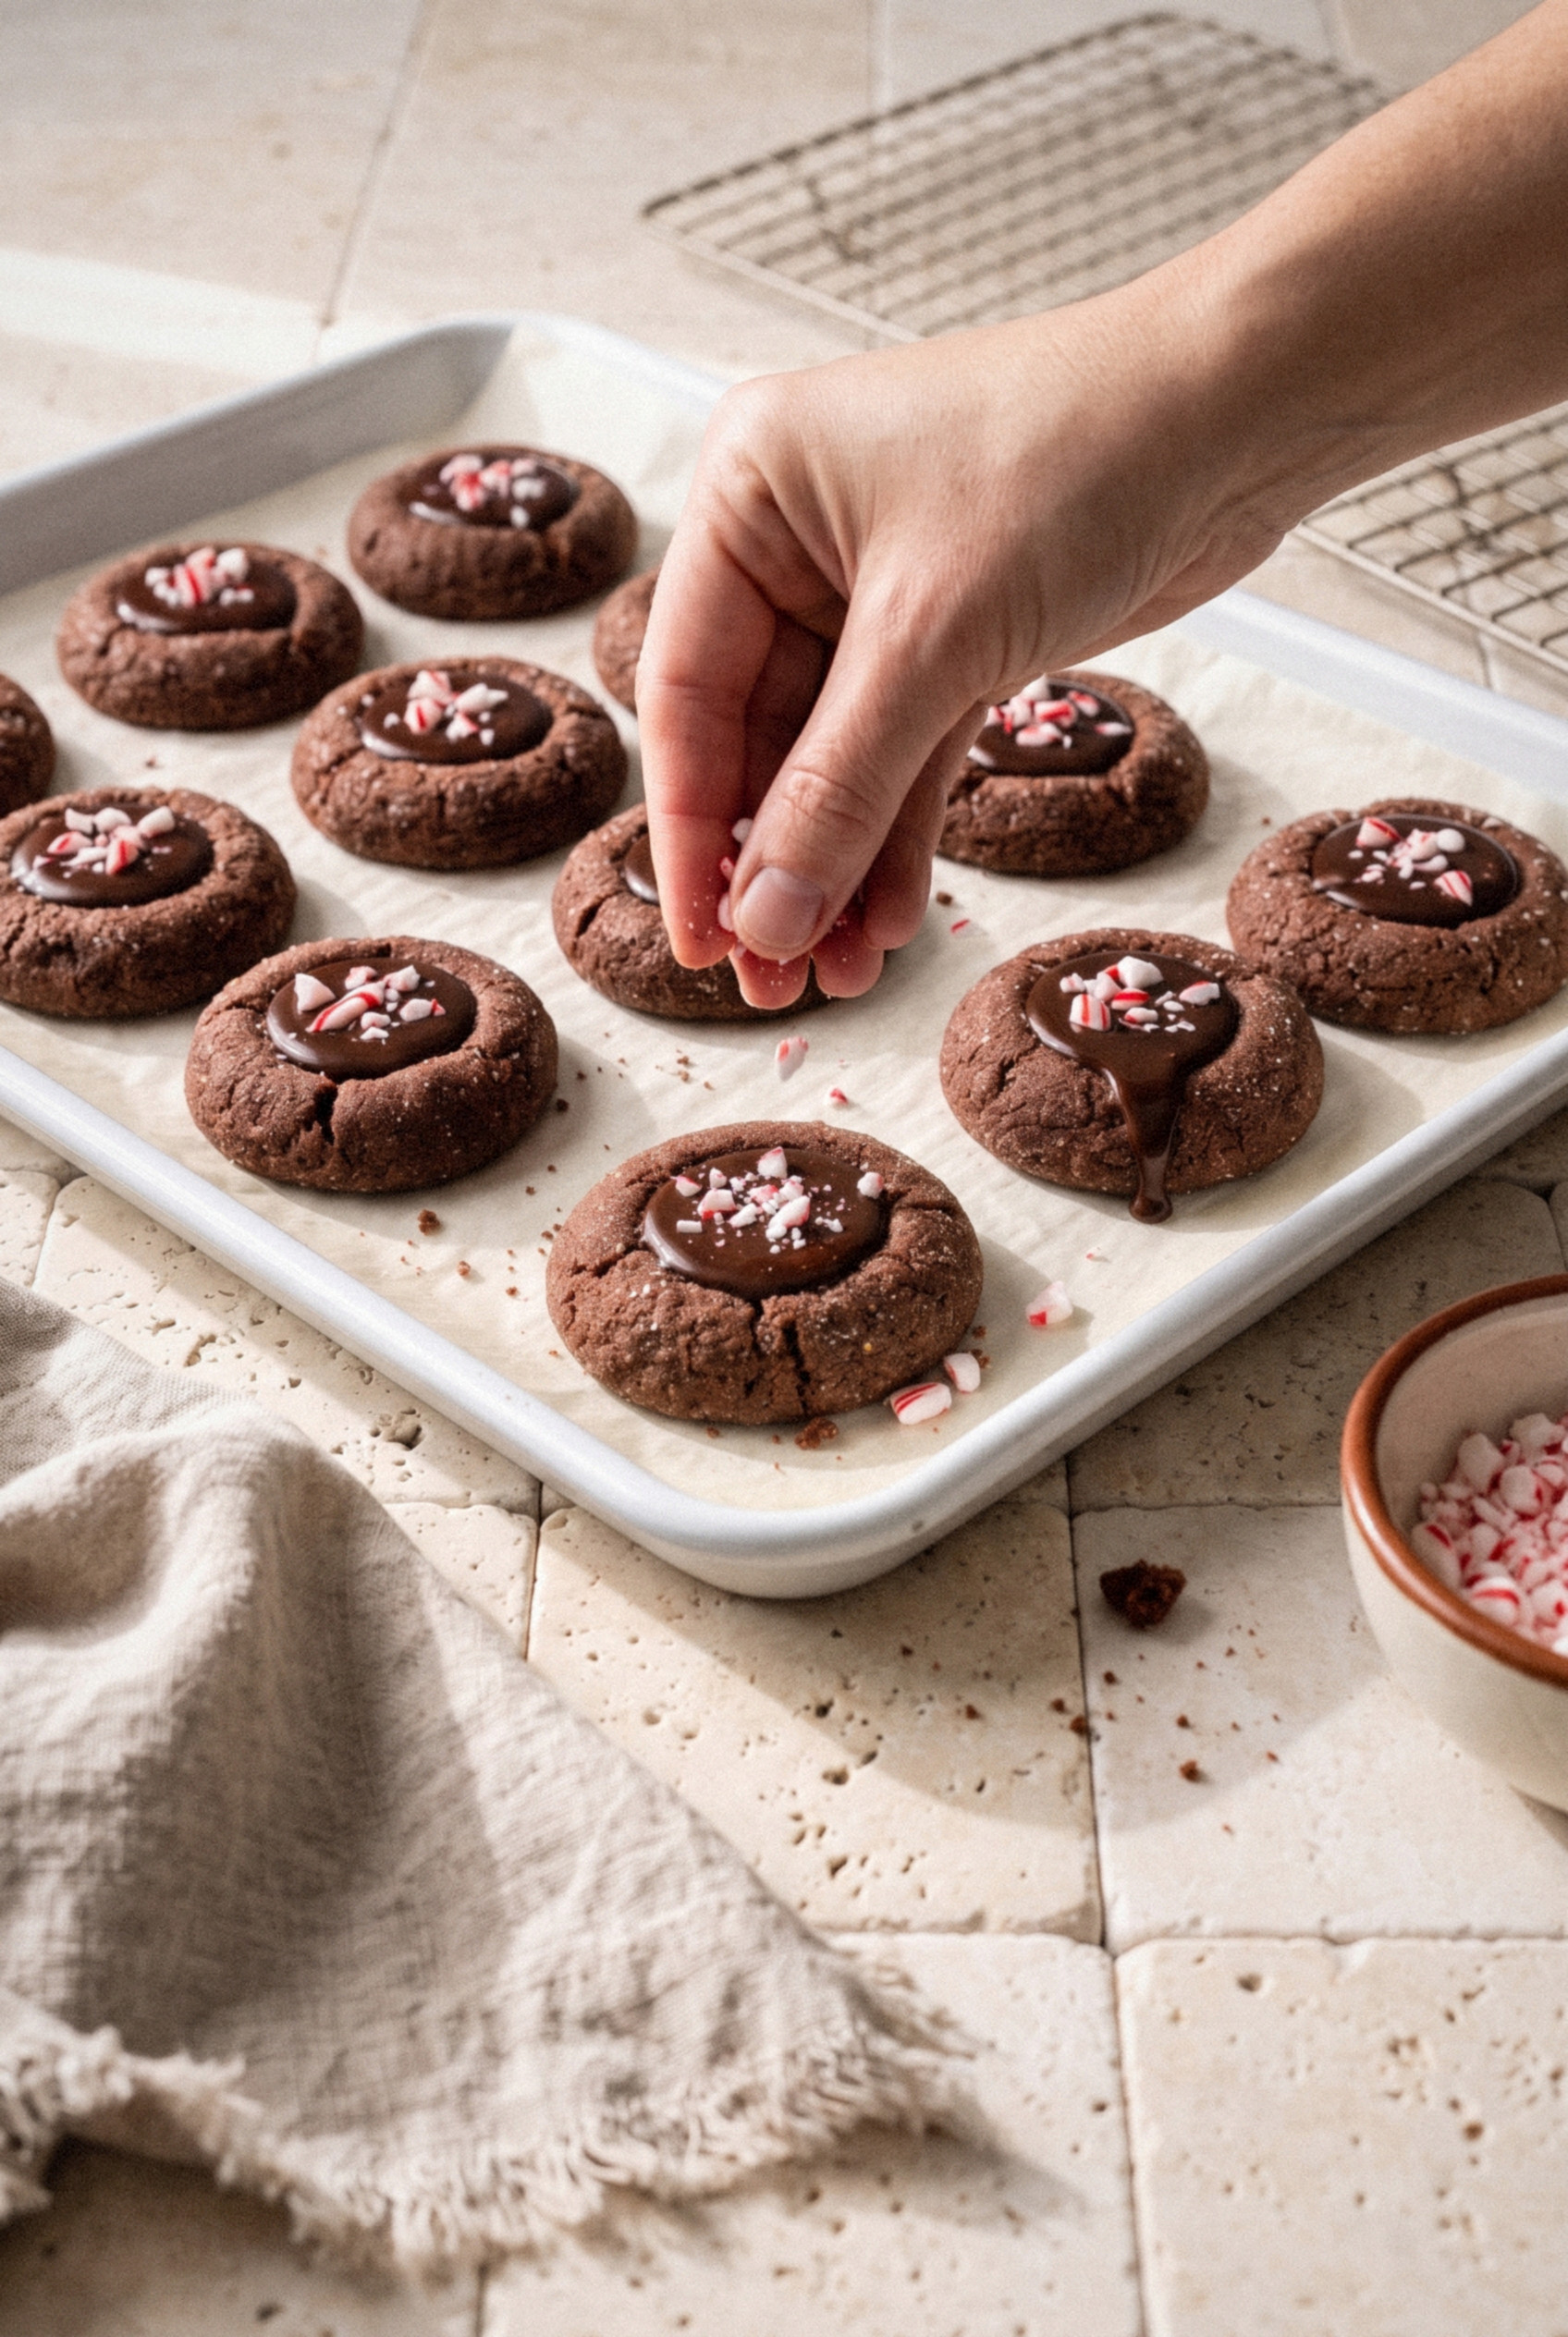
Tips for Deep Wells and Smooth Ganache
A few small habits make the difference between okay thumbprints and the ones everybody asks about.
- Fill after baking, never before. Chocolate ganache doesn't survive the oven. It turns grainy and dull. Bake the cookies empty and fill them once they're completely cool.
- Fix cracked edges. If the dough cracks badly when you press the well, it's either too cold or a little dry. Let it sit on the counter for 5 minutes, or work in another teaspoon of milk.
- Wait for the ganache to thicken. Runny ganache spills over the edges and soaks into the cookie. Give it the full 15-20 minutes to cool.
- Use a measuring spoon for the extract. Peppermint is about four times stronger than vanilla. An extra splash is all it takes to tip into toothpaste territory.
- Sift your candy cane. Crush the candy canes in a zip-top bag with a rolling pin, then shake them in a fine sieve. The powdery dust melts into the ganache, and the bigger bits stay crunchy and bright red.
- Don't overbake. An extra two minutes turns a soft cookie into a dry one. Pull them when the tops look dry, even if the centers feel soft.
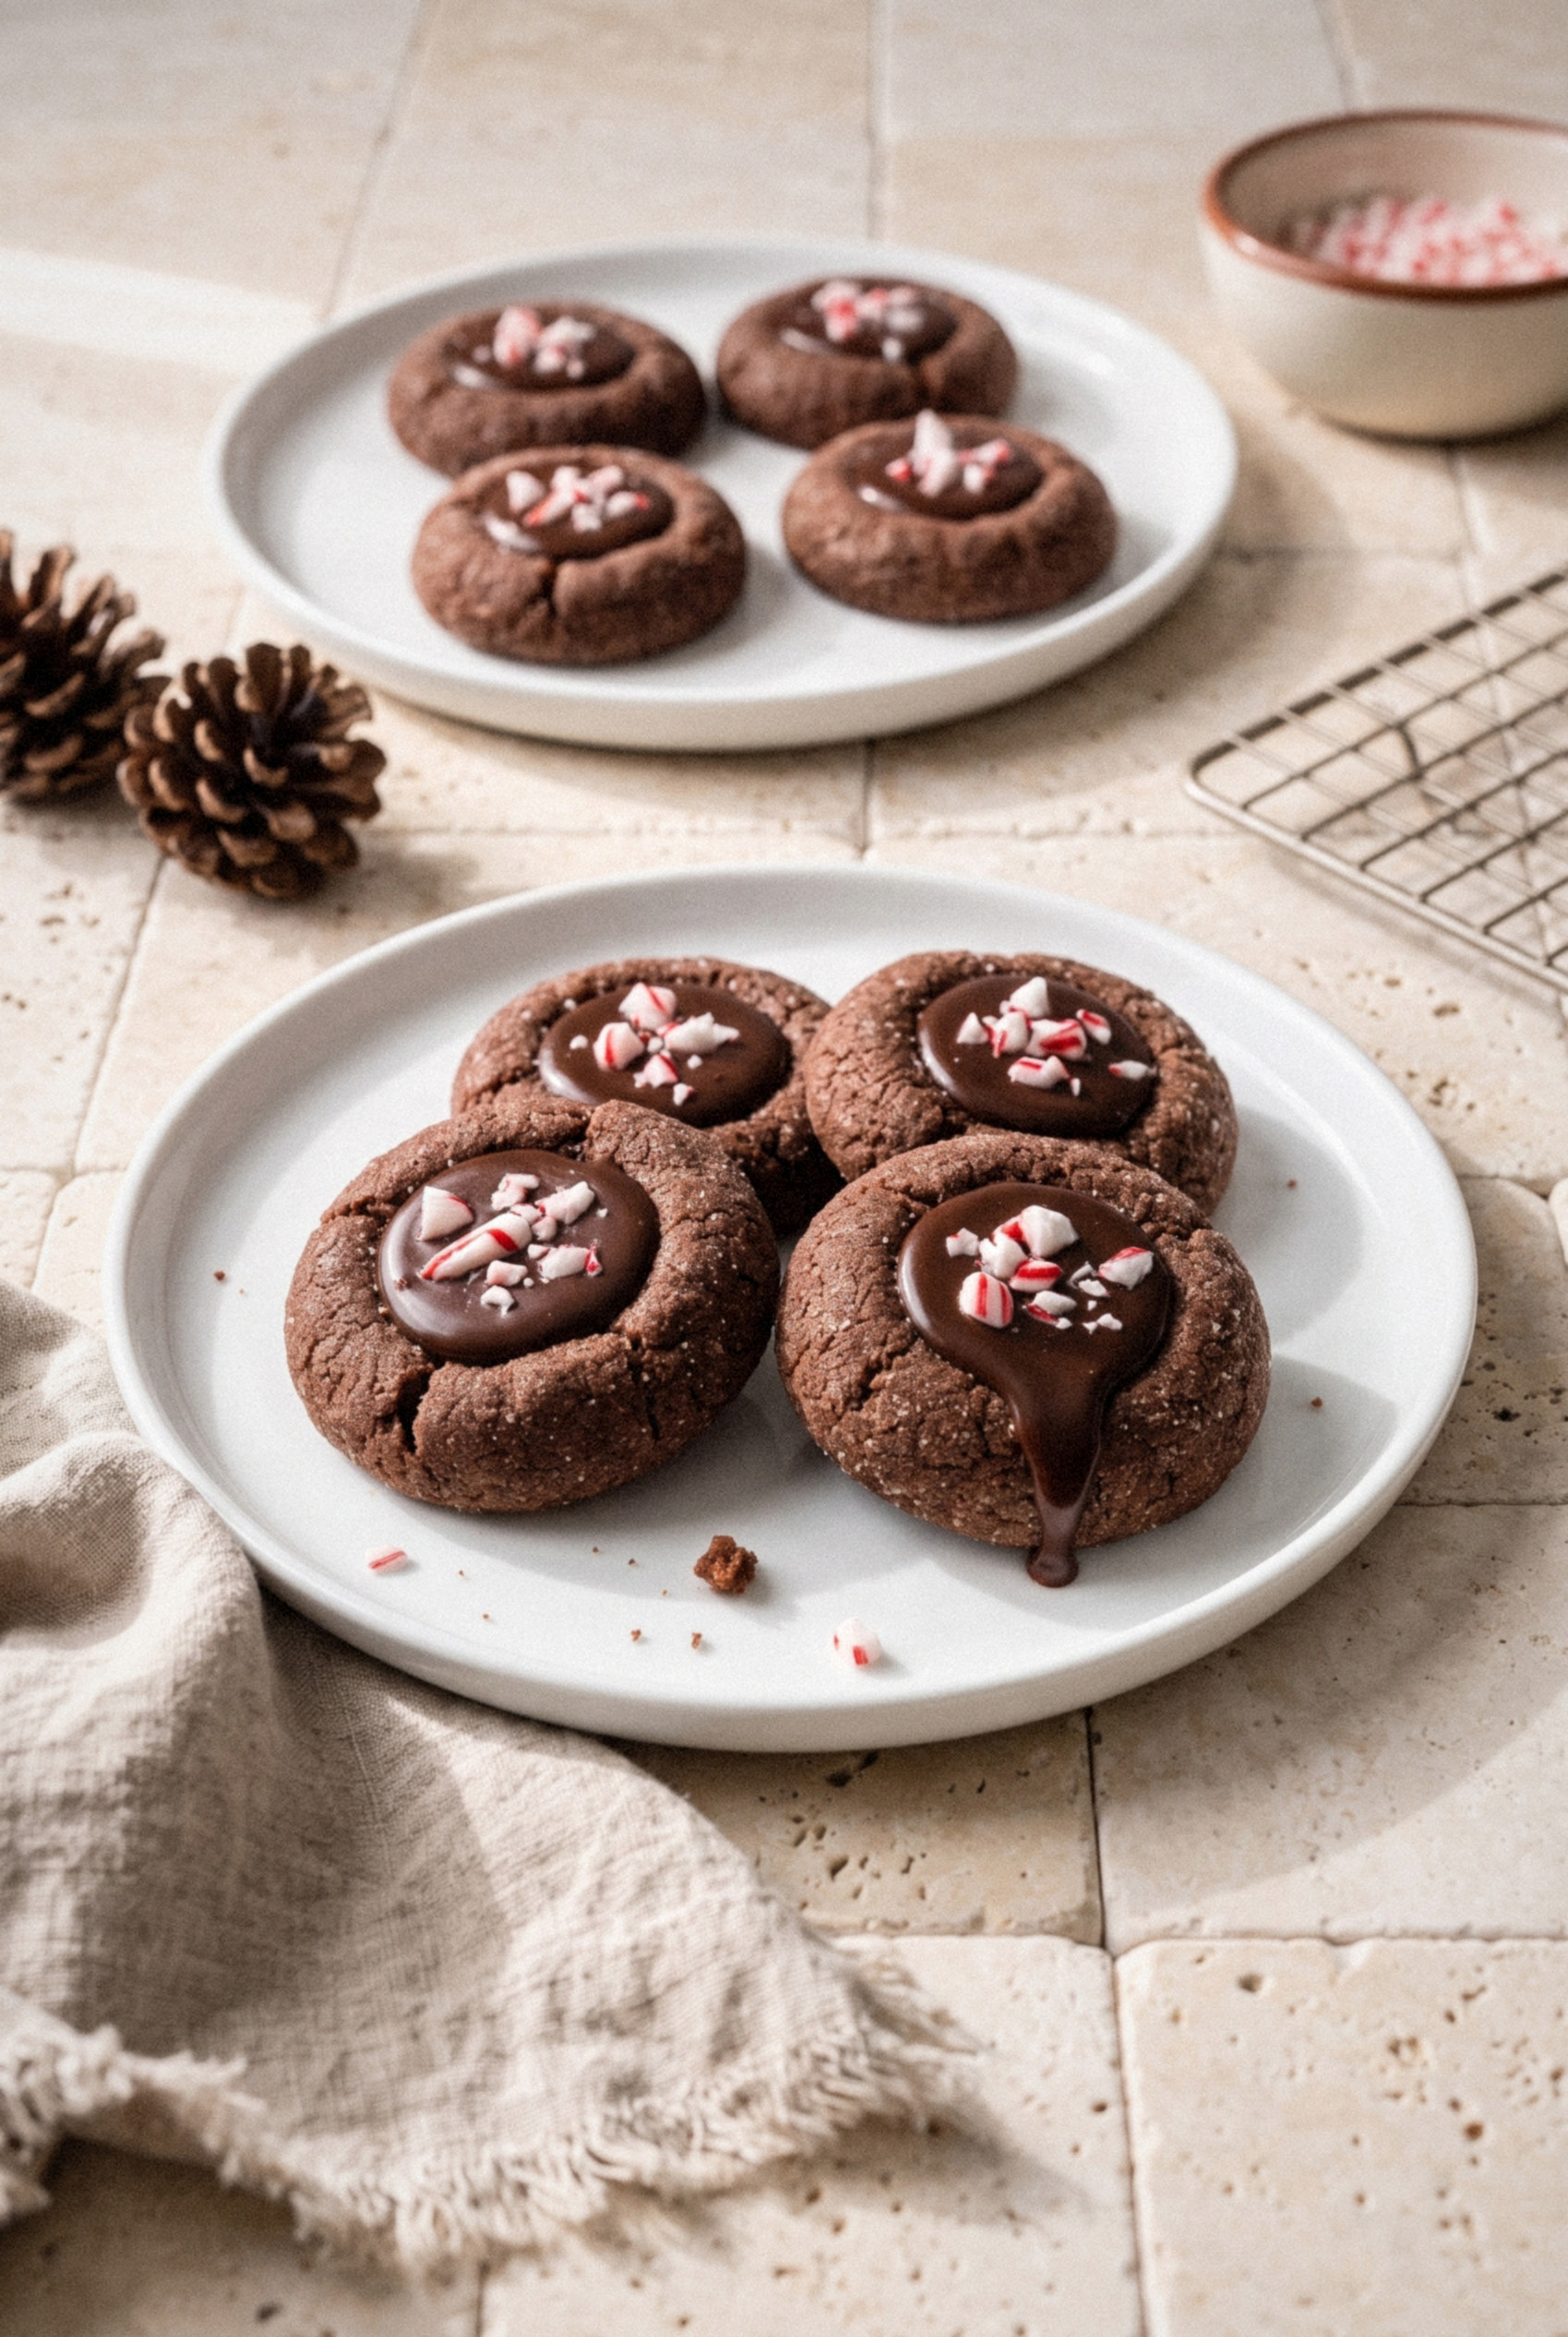
Variations
Once you have the base cookie down, the filling is easy to switch up.
- White chocolate peppermint ganache. Swap the semi-sweet chocolate for 4 ounces of good white chocolate and cut the cream to 3 tablespoons. The white center looks striking against the dark cookie.
- Peppermint kiss topping. Freeze a bag of peppermint chocolate candies for 2 hours, then press one into each cookie 3 minutes after it comes out of the oven. Skip the ganache entirely.
- Mint chocolate thins. Spoon in the ganache, then top each one with half a thin layered mint chocolate square instead of candy cane.
- Dark chocolate ganache. Use a 60-70% bittersweet bar for a less sweet, more grown-up cookie.
- Jam-filled chocolate thumbprints. Leave out the peppermint and fill the wells with raspberry jam. Unlike ganache, jam can go in before baking.
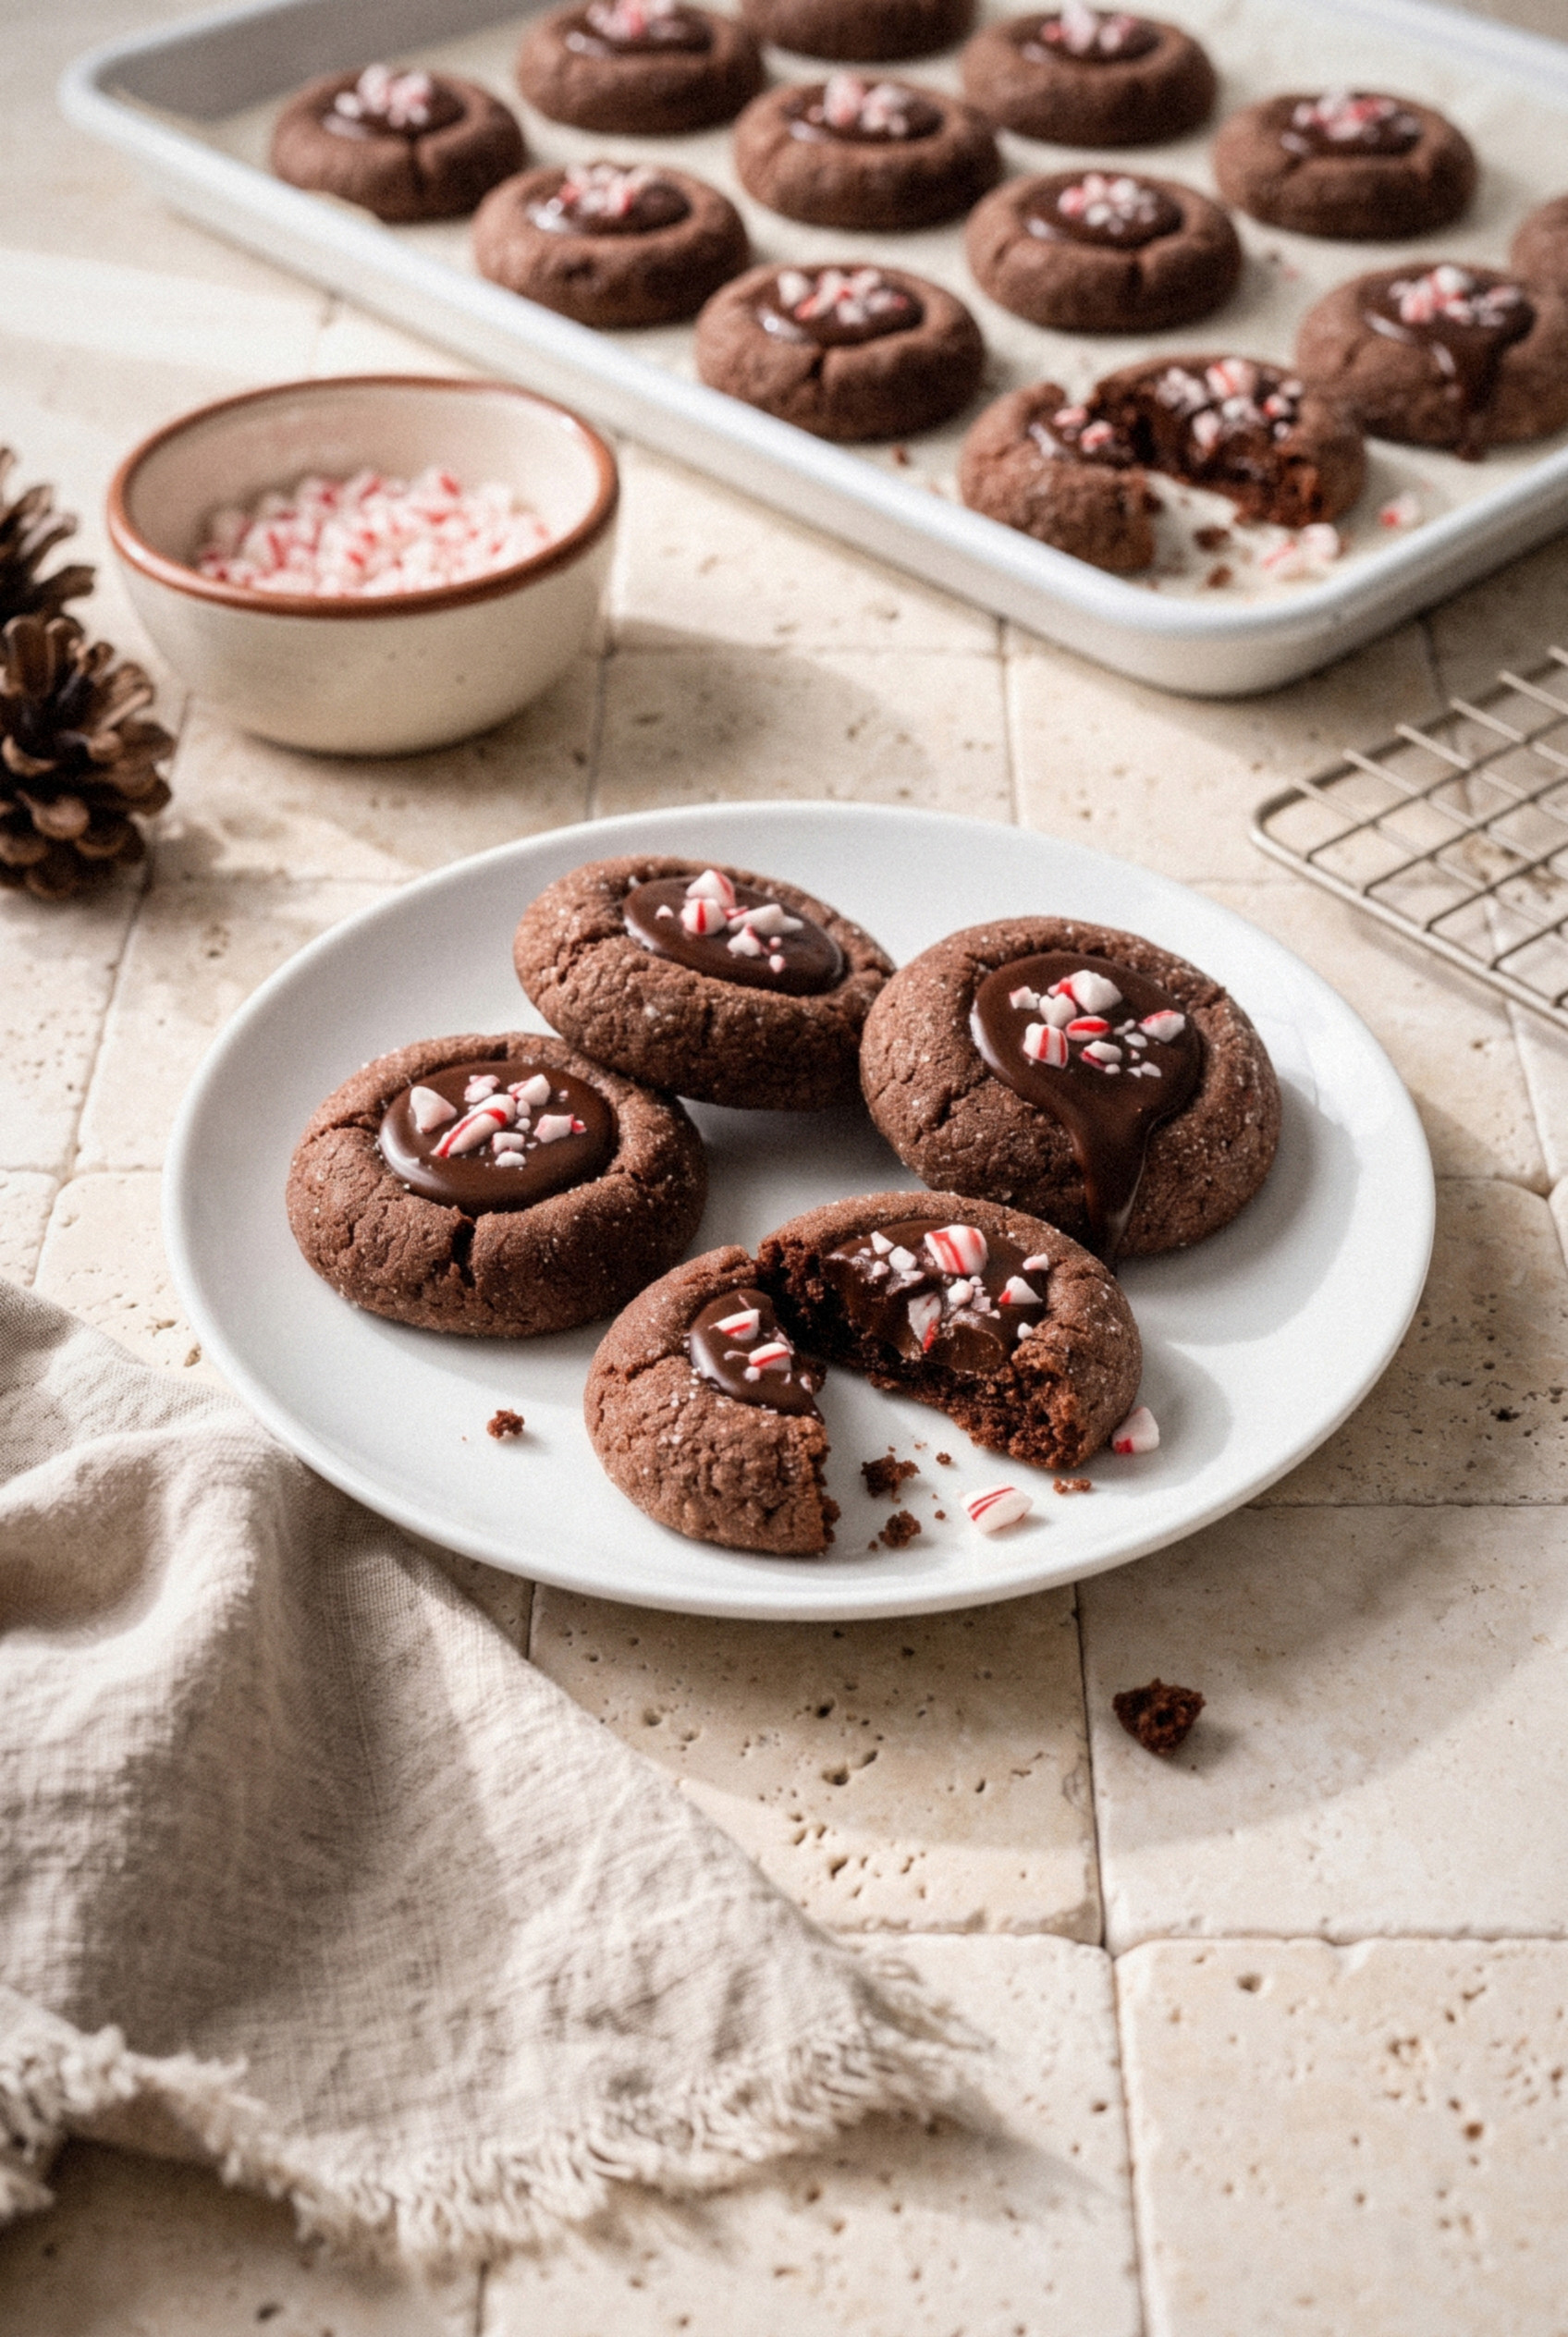
Make Ahead, Storage, and Freezing
These are one of the easiest Christmas cookies to plan ahead. Here's how I break it up during a busy December.
- Dough balls. Roll, coat in sugar, and freeze the balls on a tray until firm, then move them to a freezer bag for up to 3 months. Bake from frozen, adding 1-2 minutes to the bake time. Yes, you should freeze thumbprint dough before baking if you're working ahead. It actually helps the cookies hold their shape.
- Unfilled baked cookies. Freeze them in an airtight container for up to 3 months. Thaw at room temperature, then fill and top.
- Filled cookies. Store in an airtight container at room temperature for up to 5 days, in a single layer or with parchment between layers.
- Leftover ganache. Refrigerate for up to 1 week. Warm it in 10-second bursts in the microwave until it's spoonable again.
- Candy cane topping. Crushed peppermint gets sticky and starts to bleed in humid air. If you're baking more than two days ahead, add it the day you serve them.
My Christmas Tray Timeline
- One to four weeks ahead. Make and freeze the dough balls.
- Two days ahead. Bake from frozen and re-press the wells.
- The day before. Make the ganache and fill the cookies.
- The day of. Sprinkle on the crushed candy cane right before plating.
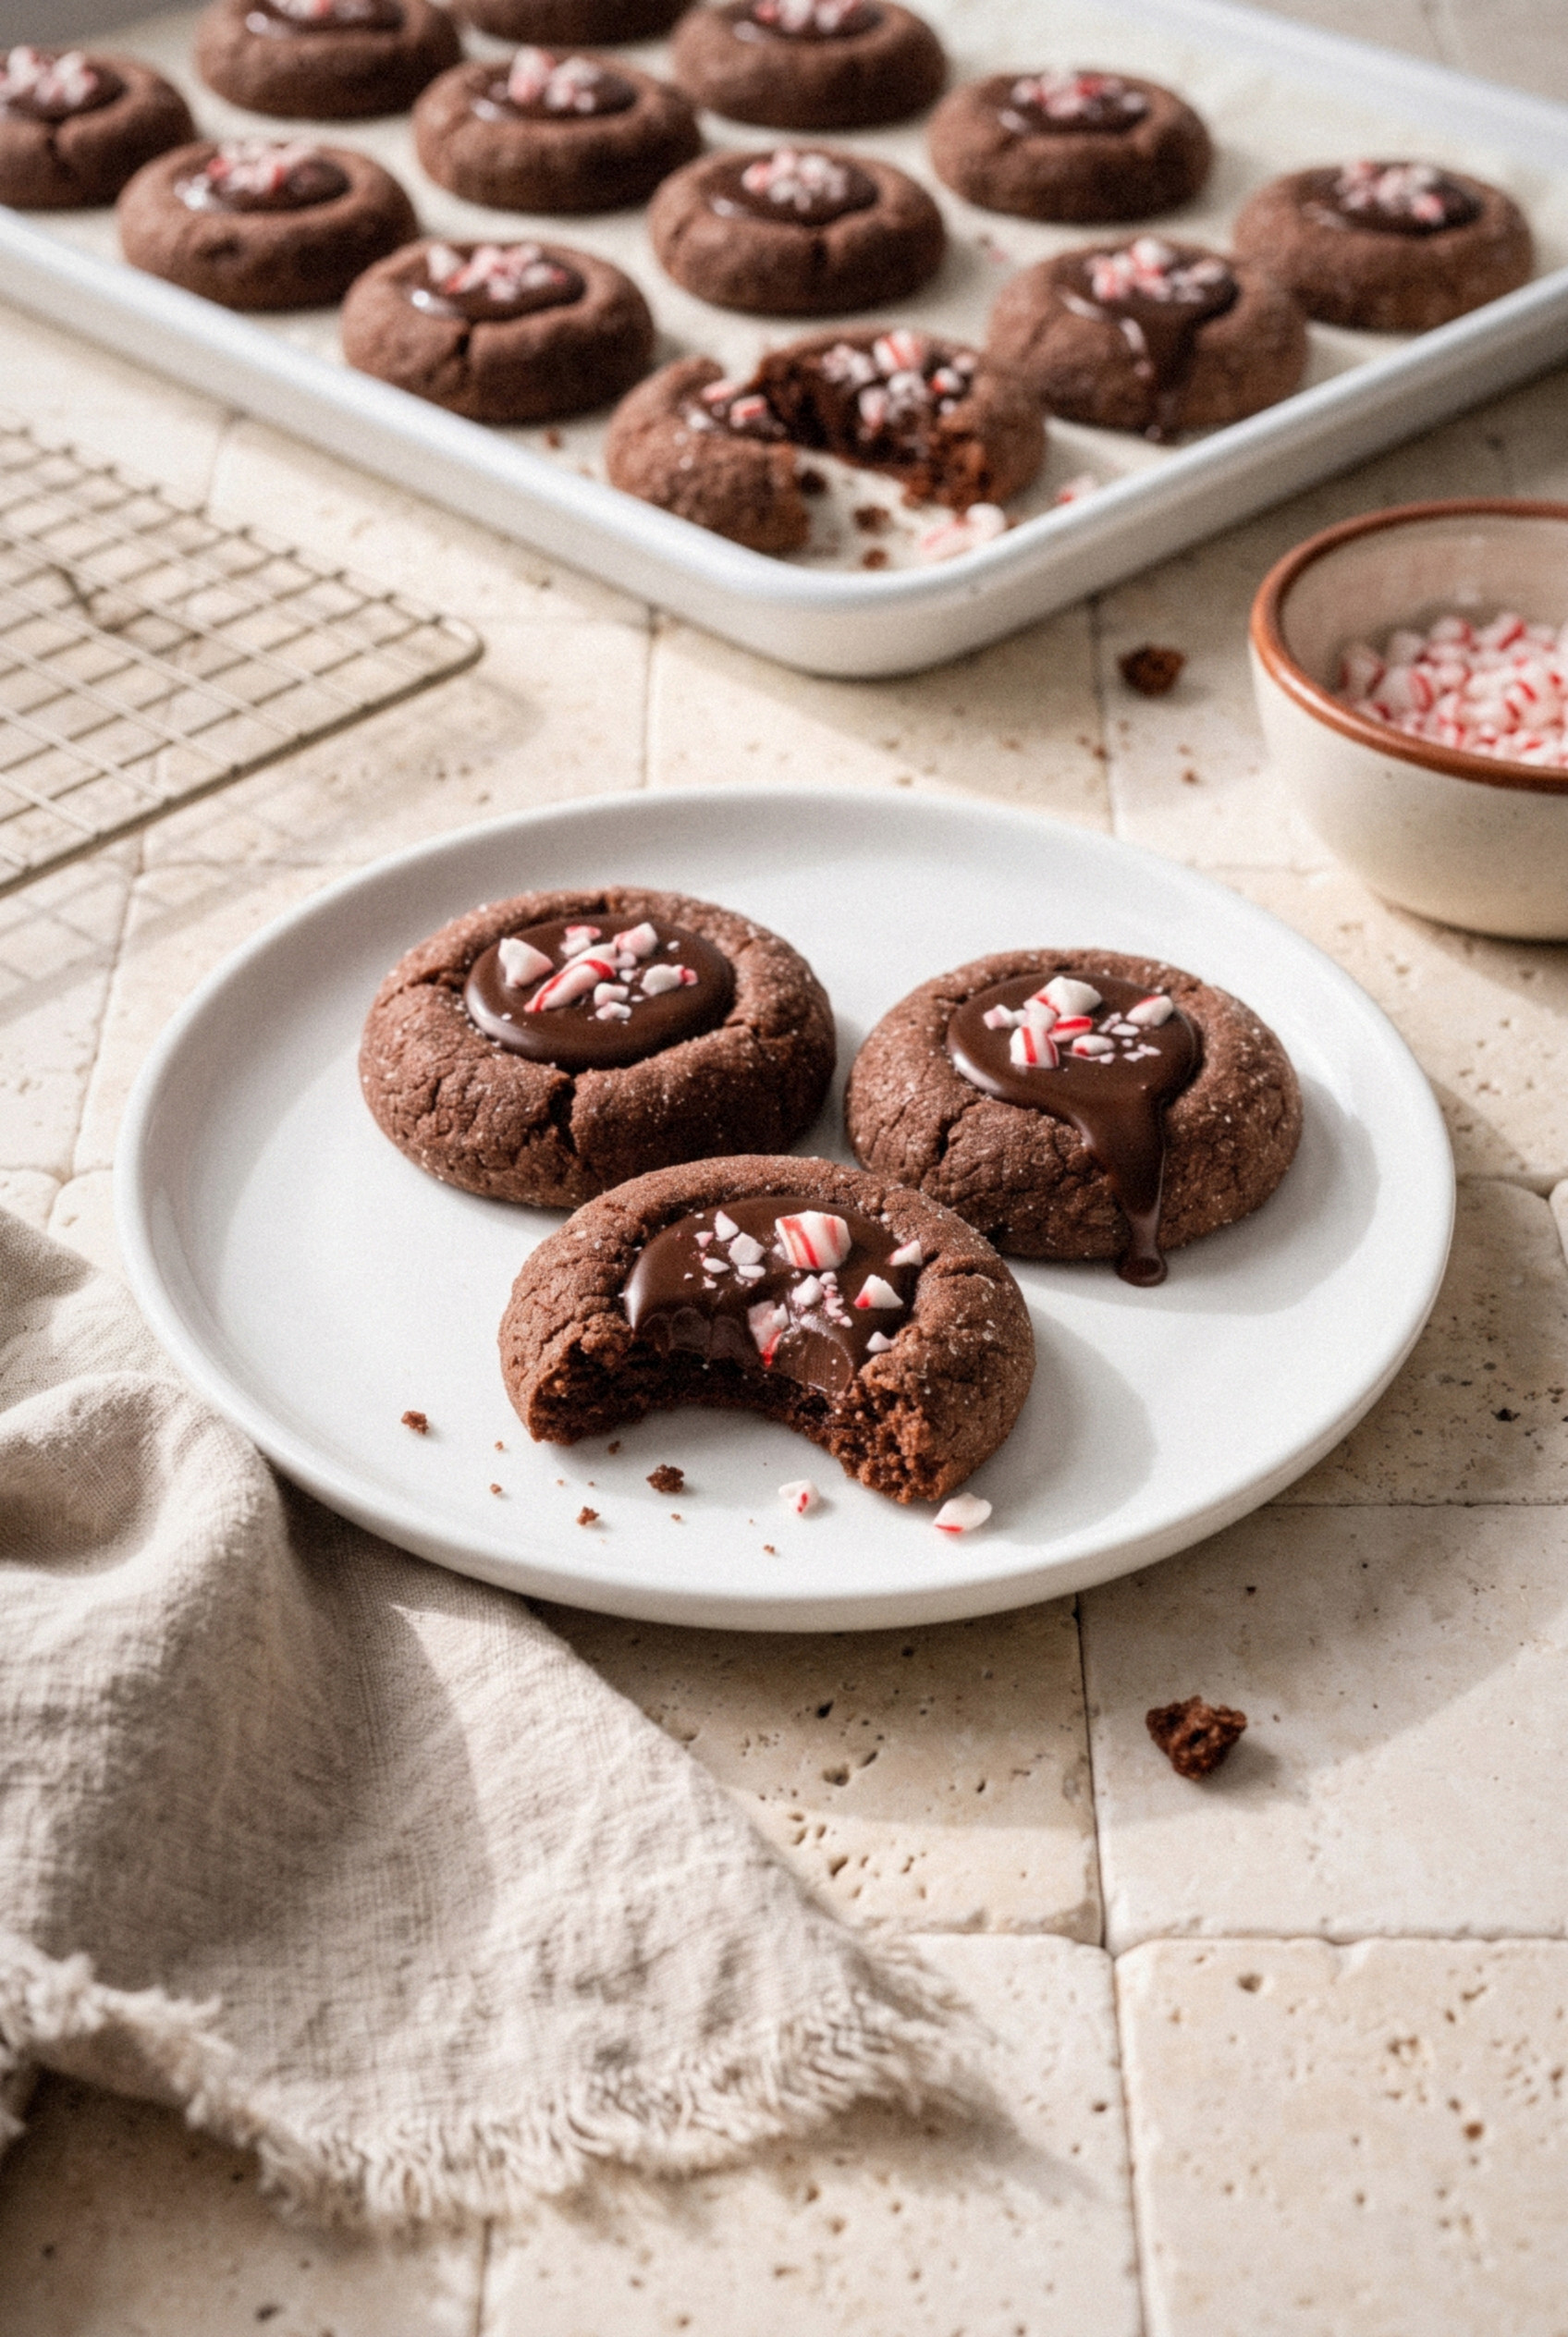
Serving Them on a Christmas Cookie Tray
A good cookie tray is all about contrast. These dark chocolate thumbprints look best next to cookies that are pale and buttery.
- Butter cookies and spritz. Light, crisp, and plain, they balance the rich chocolate.
- Snowball cookies. The powdered sugar coating looks great beside the red candy cane flecks.
- Gingerbread. Warm spice next to cool peppermint covers every flavor craving at the party.
- Something to drink. A mug of hot cocoa or a cold glass of milk pairs perfectly with these.
I like to scatter them across the tray instead of grouping them, so every corner has a little red and dark brown.
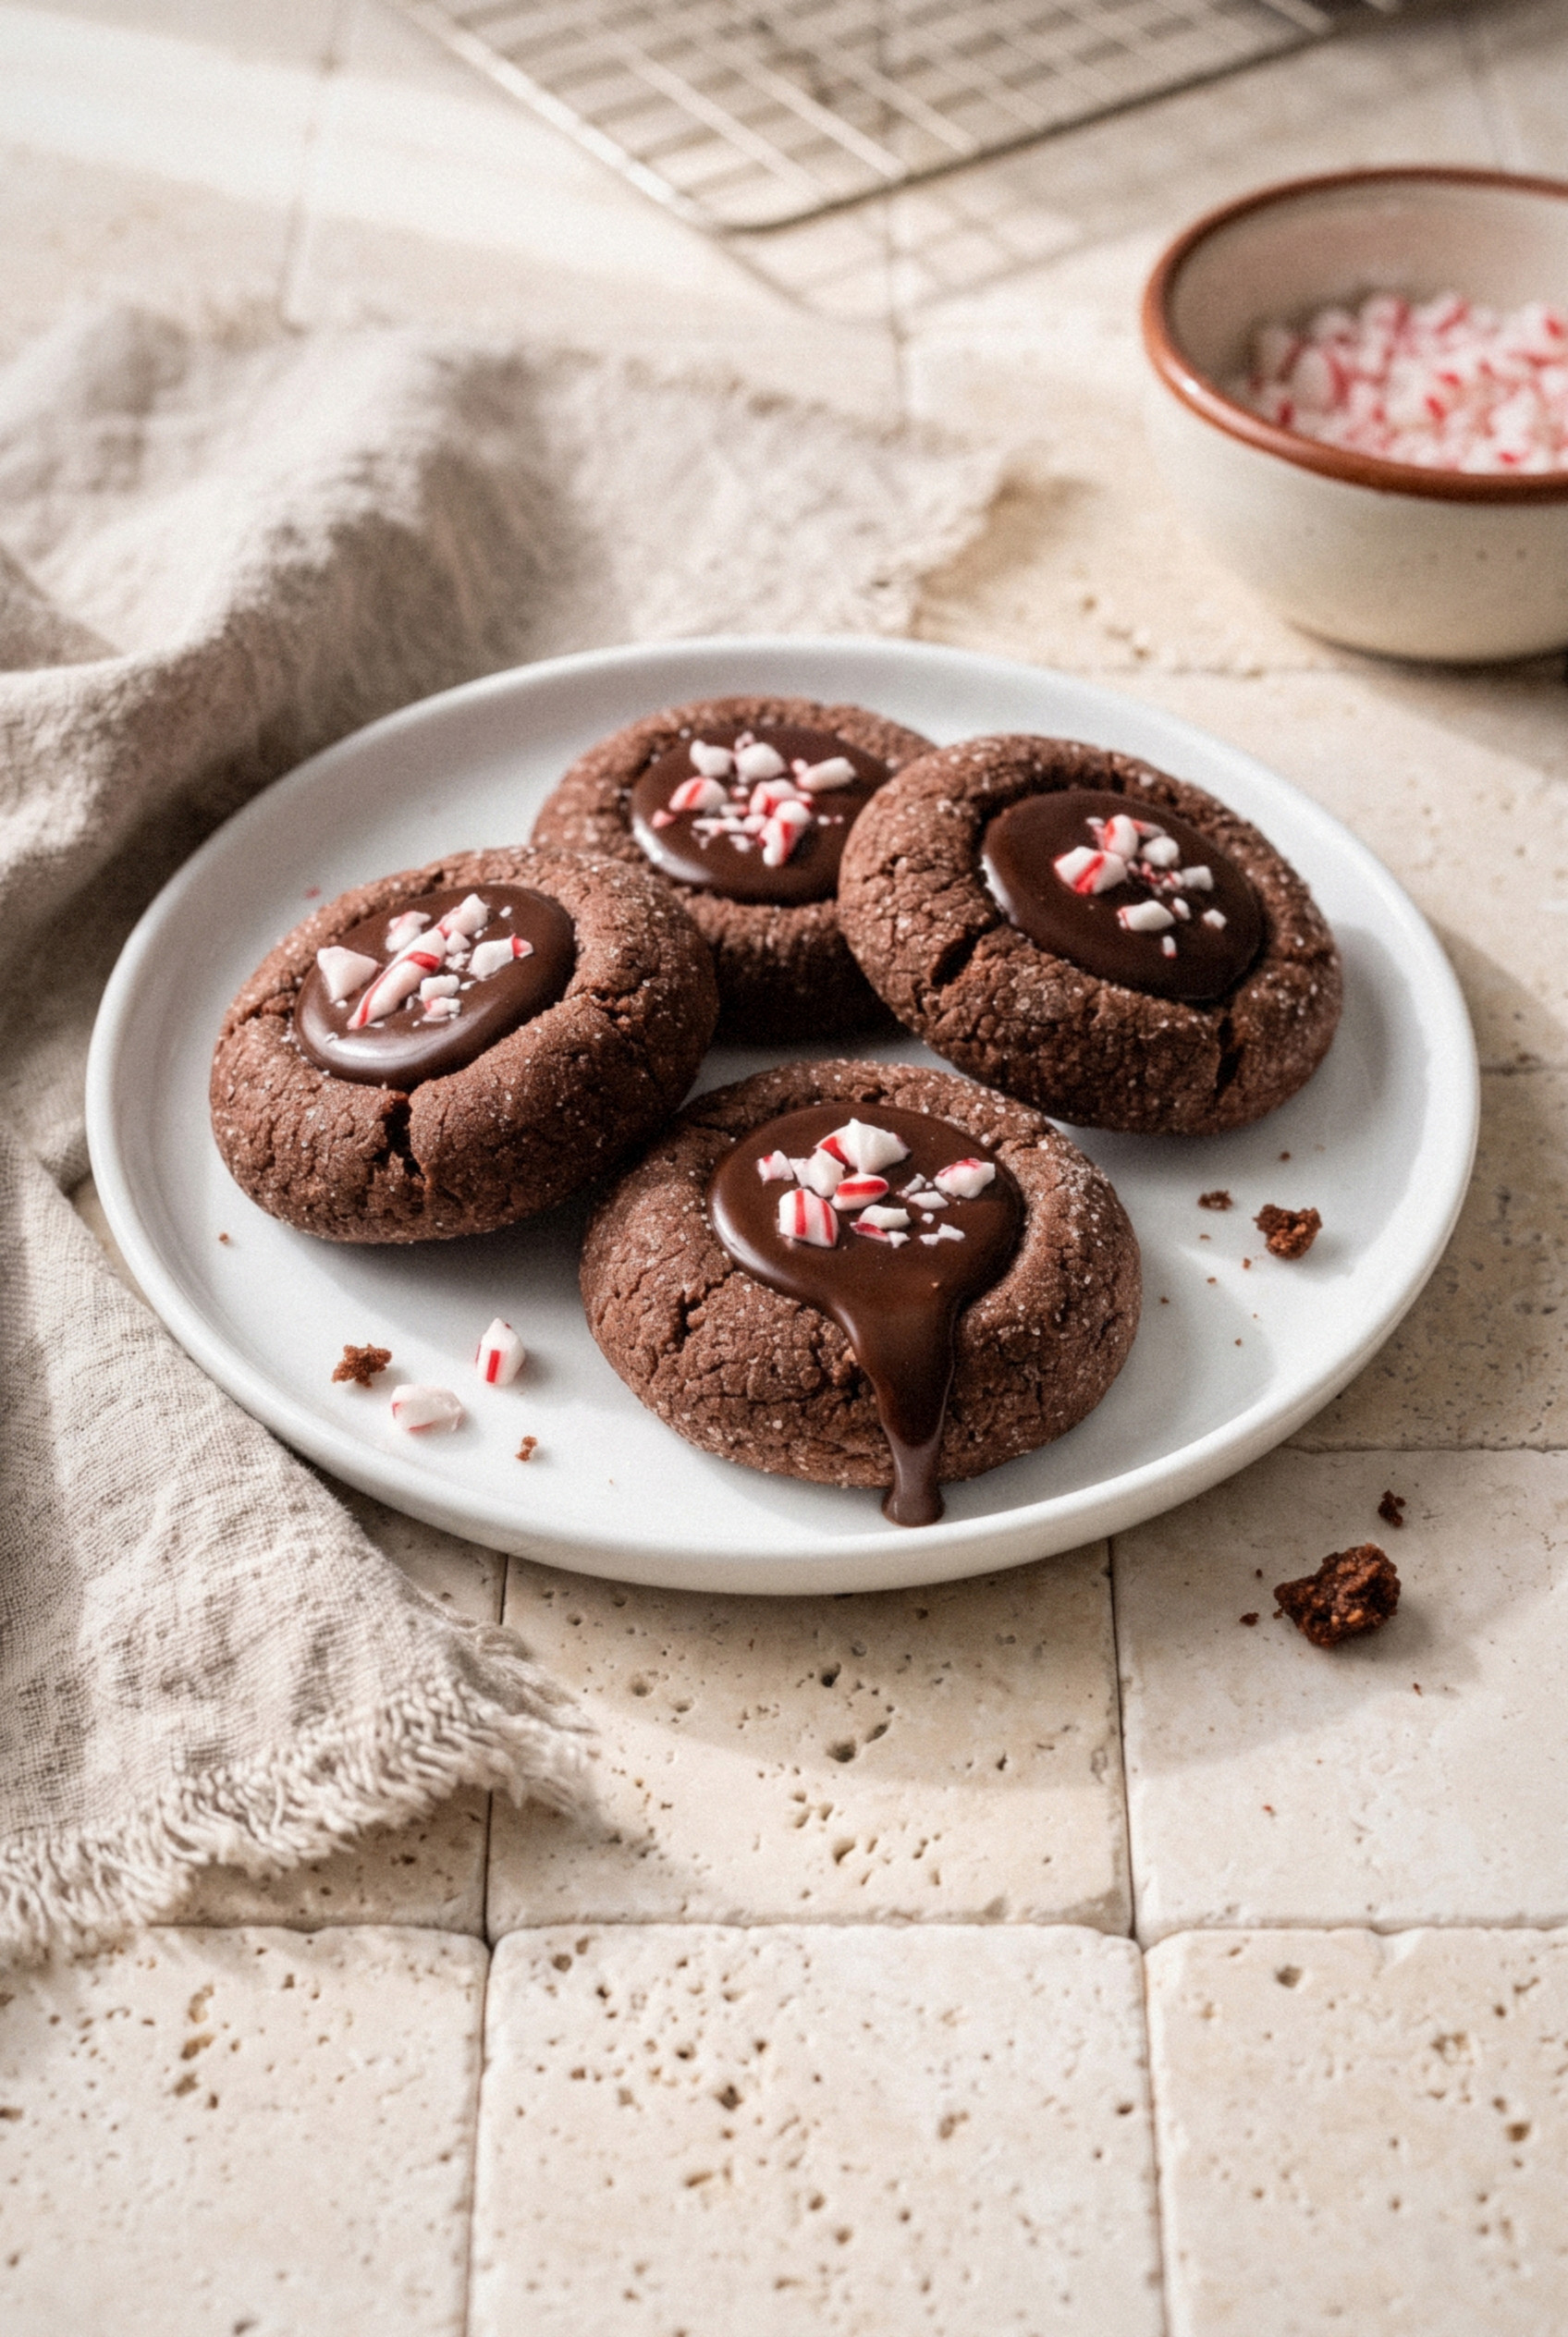
Recipe
Chocolate Peppermint Thumbprint Cookies
Ingredients
For the Chocolate Cookies
- 1 ½ cups all-purpose flour spooned and leveled
- ½ cup unsweetened natural cocoa powder
- ½ teaspoon baking soda
- ¼ teaspoon salt
- ½ cup unsalted butter softened
- ½ cup light brown sugar packed
- ⅓ cup granulated sugar for the dough
- 1 large egg room temperature
- 1 teaspoon pure vanilla extract
- ½ teaspoon pure peppermint extract
- 2 teaspoons milk
For the Peppermint Ganache
- 4 ounces semi-sweet chocolate finely chopped
- ½ cup heavy cream
- ⅛ teaspoon pure peppermint extract
For the Topping
- ⅓ cup granulated sugar for rolling
- ¼ cup crushed candy canes about 2 regular candy canes
Instructions
Make the Dough
- Whisk the flour, cocoa powder, baking soda, and salt together in a medium bowl. Set aside.
- In a large bowl, beat the butter, brown sugar, and ⅓ cup granulated sugar on medium speed for 2 minutes until light and fluffy.
- Beat in the egg, vanilla, and ½ teaspoon peppermint extract for 1 minute, scraping down the bowl.
- On low speed, add the dry ingredients and milk and mix just until combined. Cover and chill for 1 hour.
Shape and Bake
- Preheat the oven to 350°F and line two baking sheets with parchment paper. Place the rolling sugar in a shallow bowl.
- Roll the dough into 1-tablespoon balls, roll each in sugar, and place 2 inches apart on the baking sheets.
- Press a well into the center of each ball with the back of a rounded ½ teaspoon measuring spoon, pinching any cracks closed.
- Bake one sheet at a time for 11-12 minutes, until the edges are set and the tops look dry.
- Immediately re-press each well with the measuring spoon. Cool on the sheet for 5 minutes, then transfer to a wire rack to cool completely.
Make the Ganache and Fill
- Place the chopped chocolate in a heatproof bowl. Heat the cream until it just simmers at the edges and pour it over the chocolate.
- Let sit for 3 minutes, then stir until smooth and glossy. Stir in ⅛ teaspoon peppermint extract.
- Cool the ganache for 15-20 minutes, until thick enough to mound on a spoon.
- Spoon about ¾ teaspoon of ganache into each cooled well and sprinkle with crushed candy cane while still wet.
- Let the cookies sit at room temperature for 1-2 hours, or refrigerate for 20 minutes, until the ganache sets.
Notes
- Fill After Baking: Ganache turns grainy in the oven, so always bake the cookies empty and fill once cool.
- Peppermint Extract: Use pure peppermint extract, not mint extract, and measure carefully to avoid a toothpaste flavor.
- Make Ahead: Freeze sugar-coated dough balls for up to 3 months and bake from frozen, adding 1-2 minutes.
- Storage: Keep filled cookies airtight at room temperature for up to 5 days with parchment between layers.
- Candy Cane: If baking more than 2 days ahead, add the crushed candy cane on the day of serving so it stays crunchy.