At our neighborhood cookie swap last December, eighteen tins went around the room and only one came home empty.
It wasn't the fancy iced sugar cookies or the towering stack of fudge.
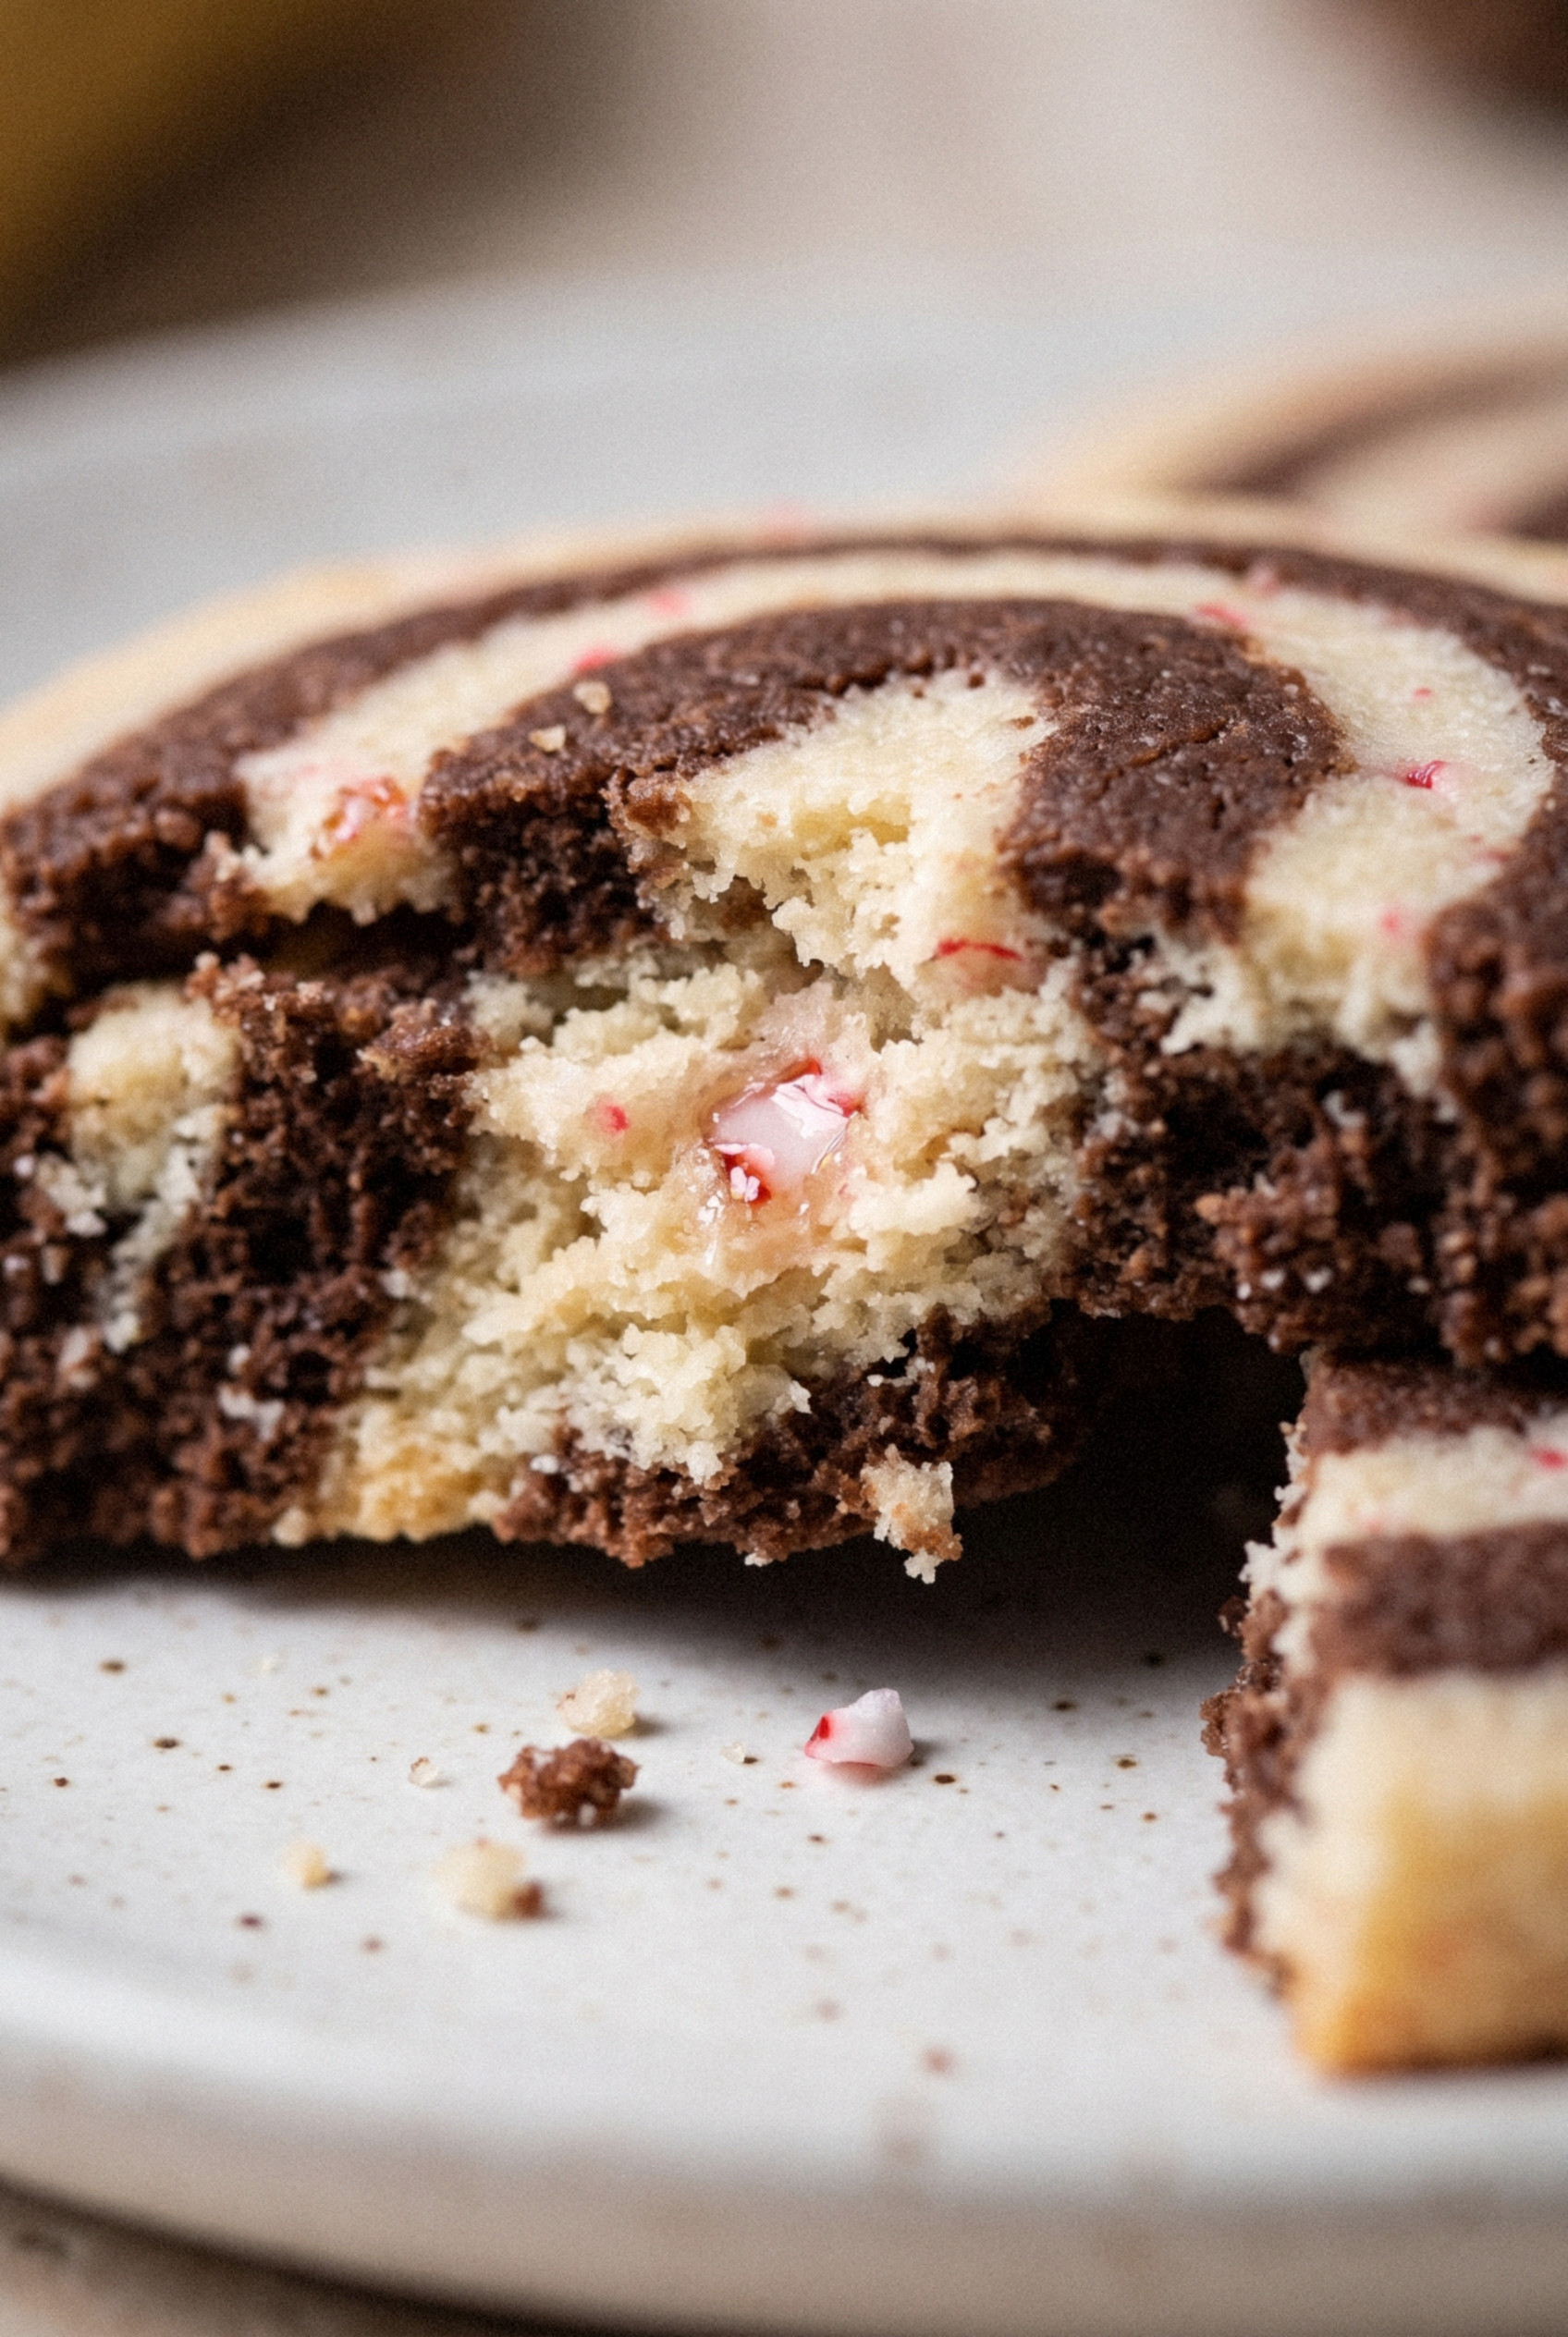
It was a plain-looking tin of chocolate and peppermint swirls that a retired schoolteacher down the street brings every year.
Everybody hovered over it, and everybody assumed she'd spent the whole weekend rolling them.
She laughed and told me it's one batch of dough, split in two.
I went home and made them that same night.
These Chocolate Peppermint Pinwheel Cookies start with a single butter cookie dough.
Half gets melted chocolate, the other half gets crushed candy canes and peppermint, and then you stack, roll, and slice.
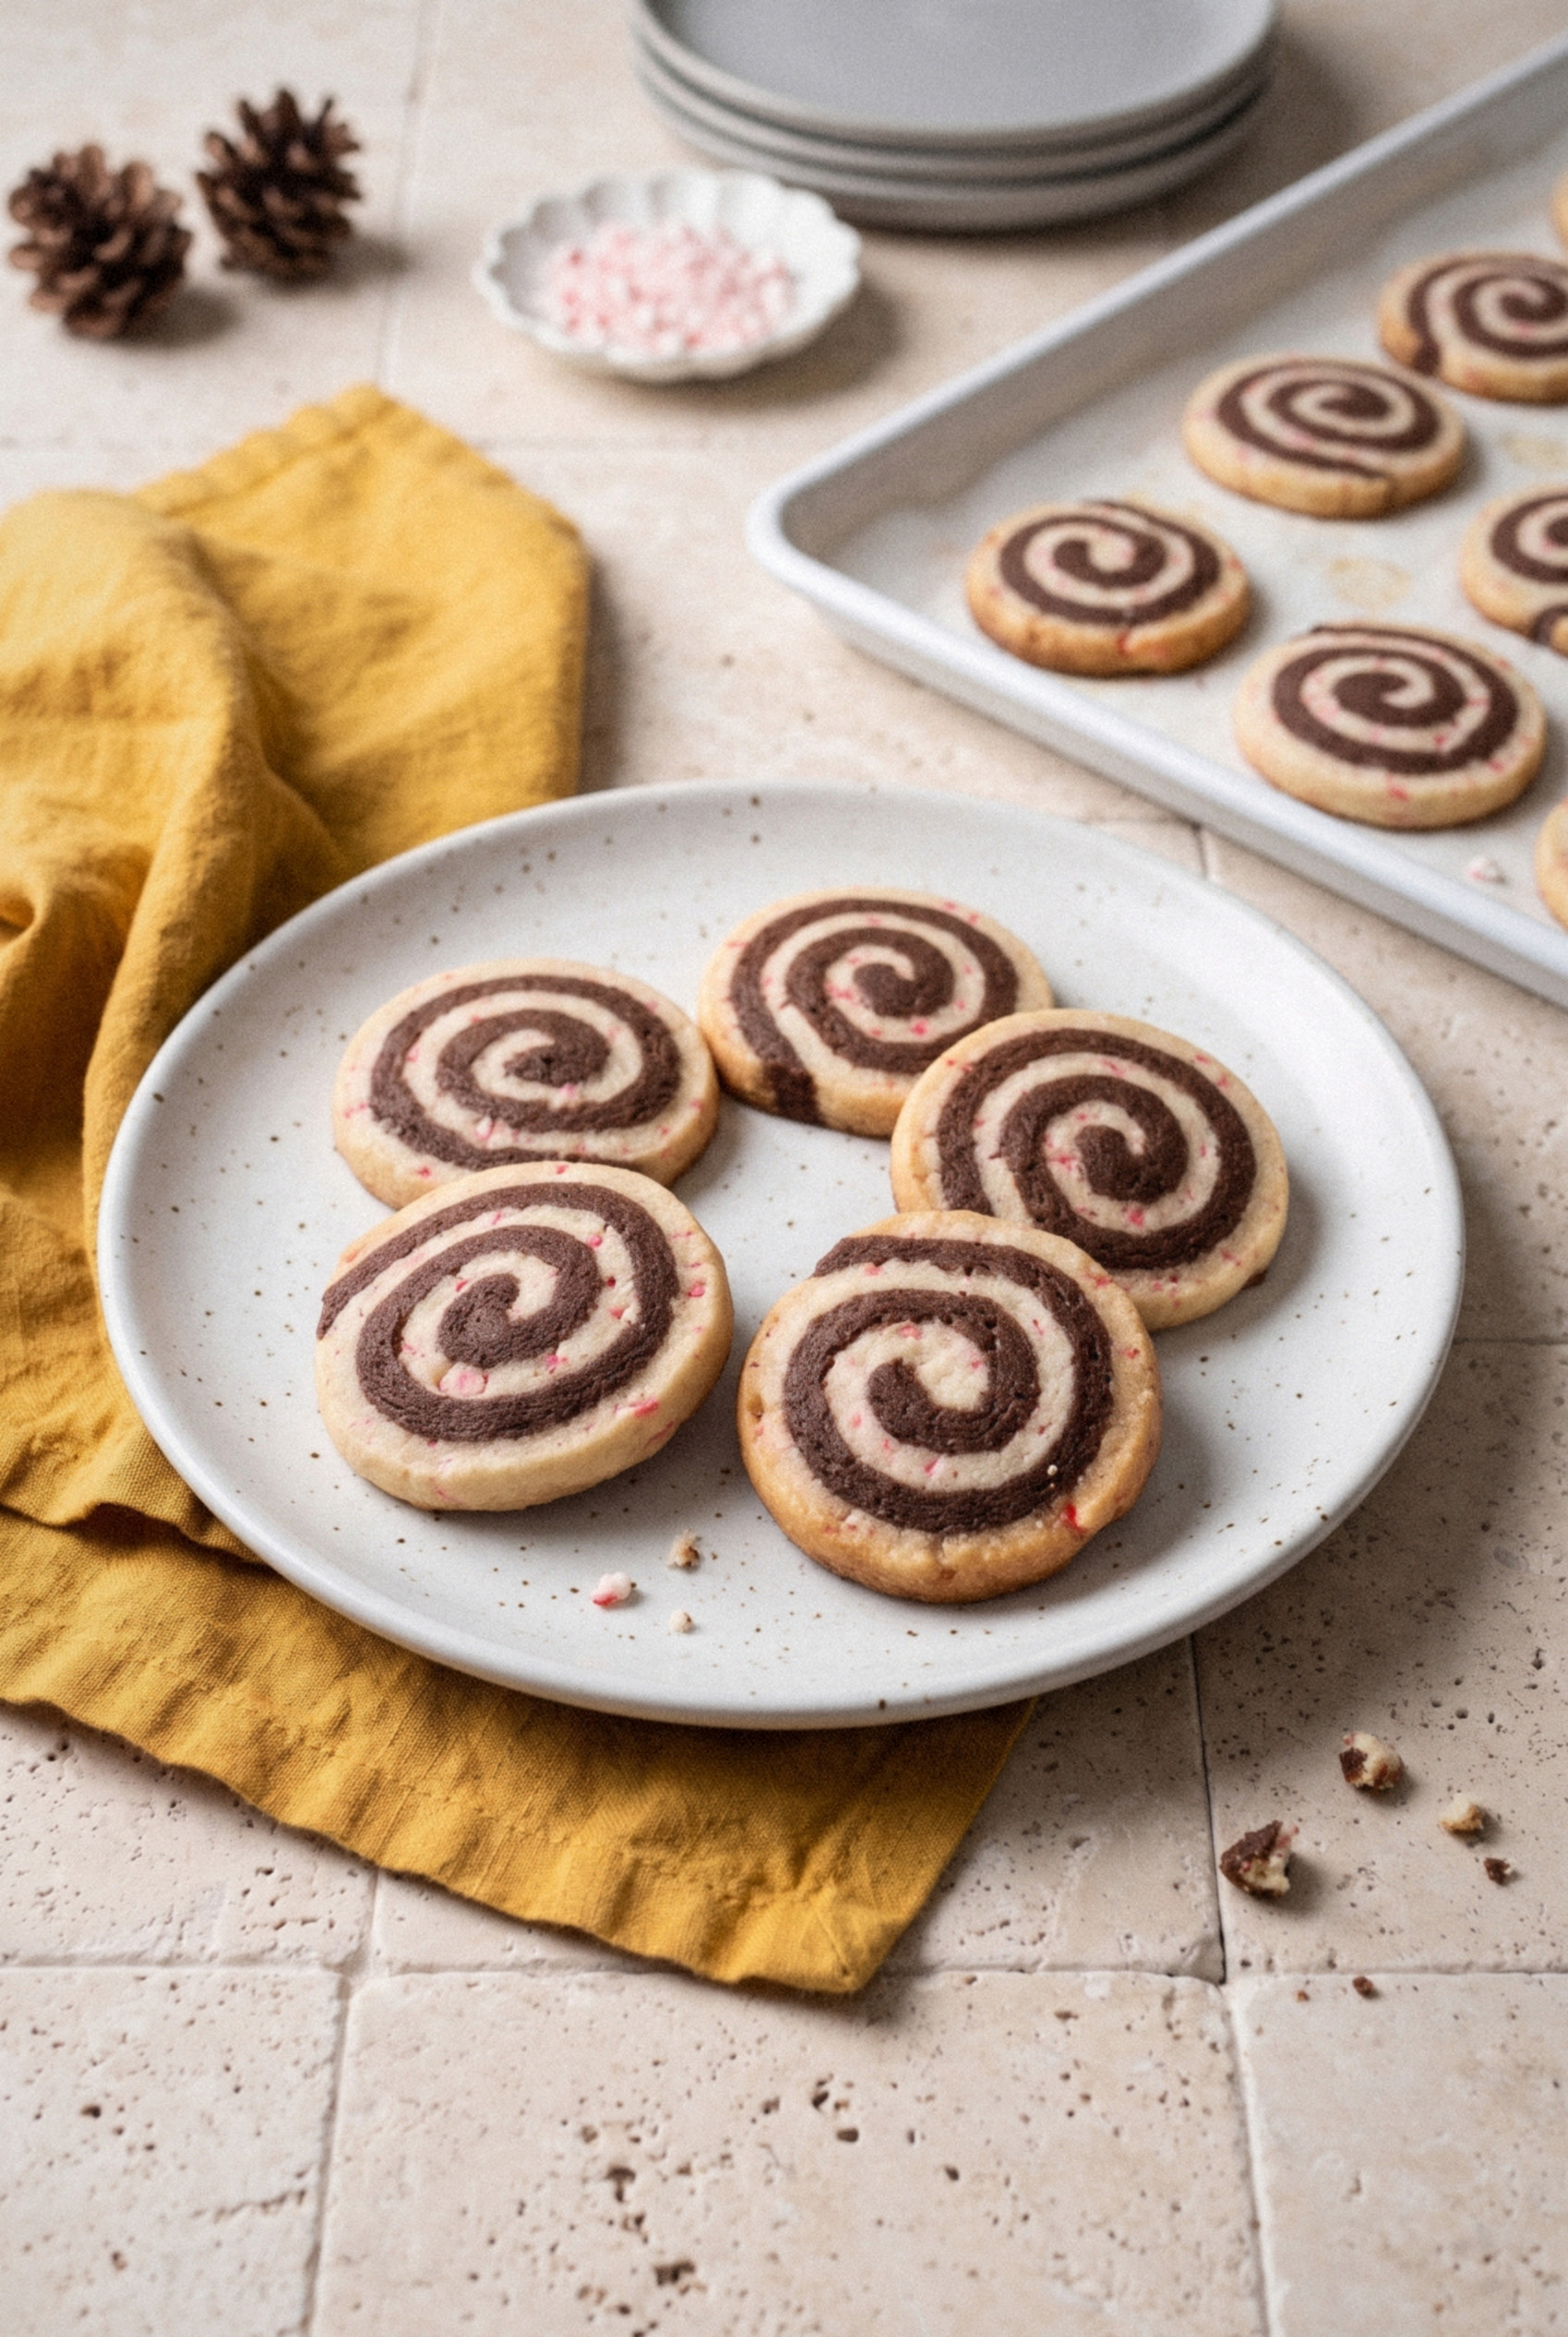
That's all there is to that bakery-style spiral.
I've baked them every Christmas since, and my wife now hides a few in the freezer before the cookie tins go out.
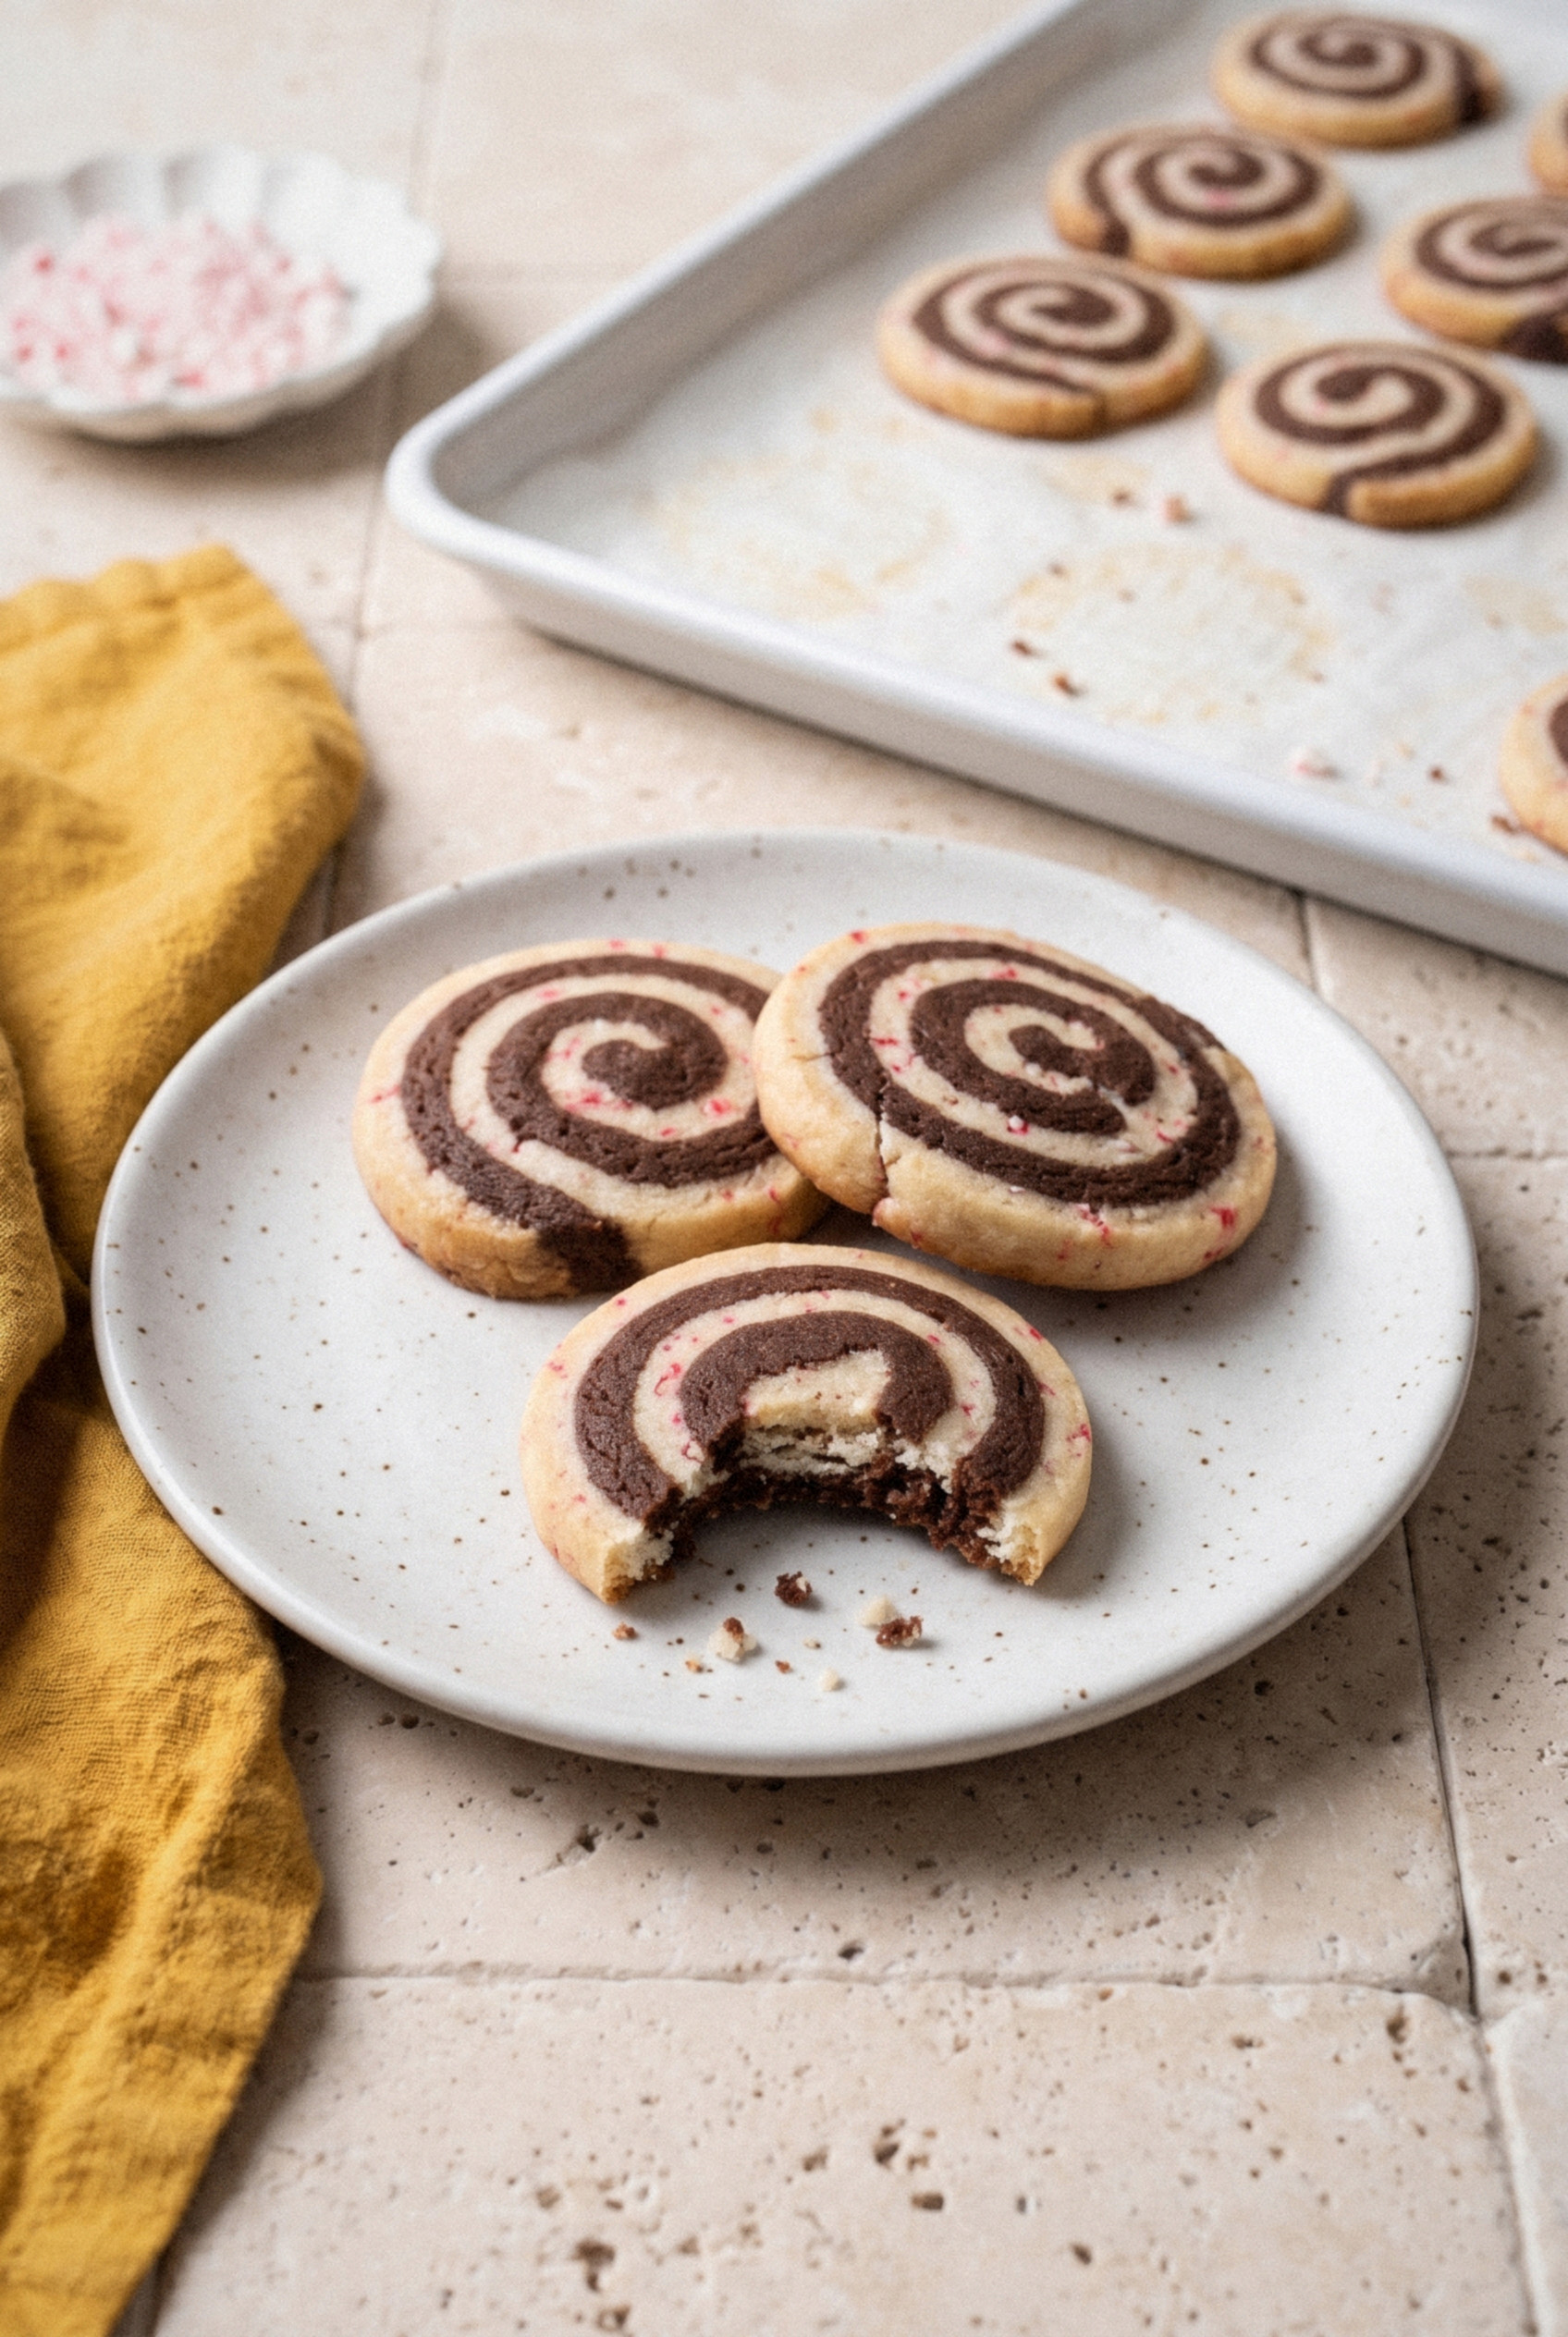
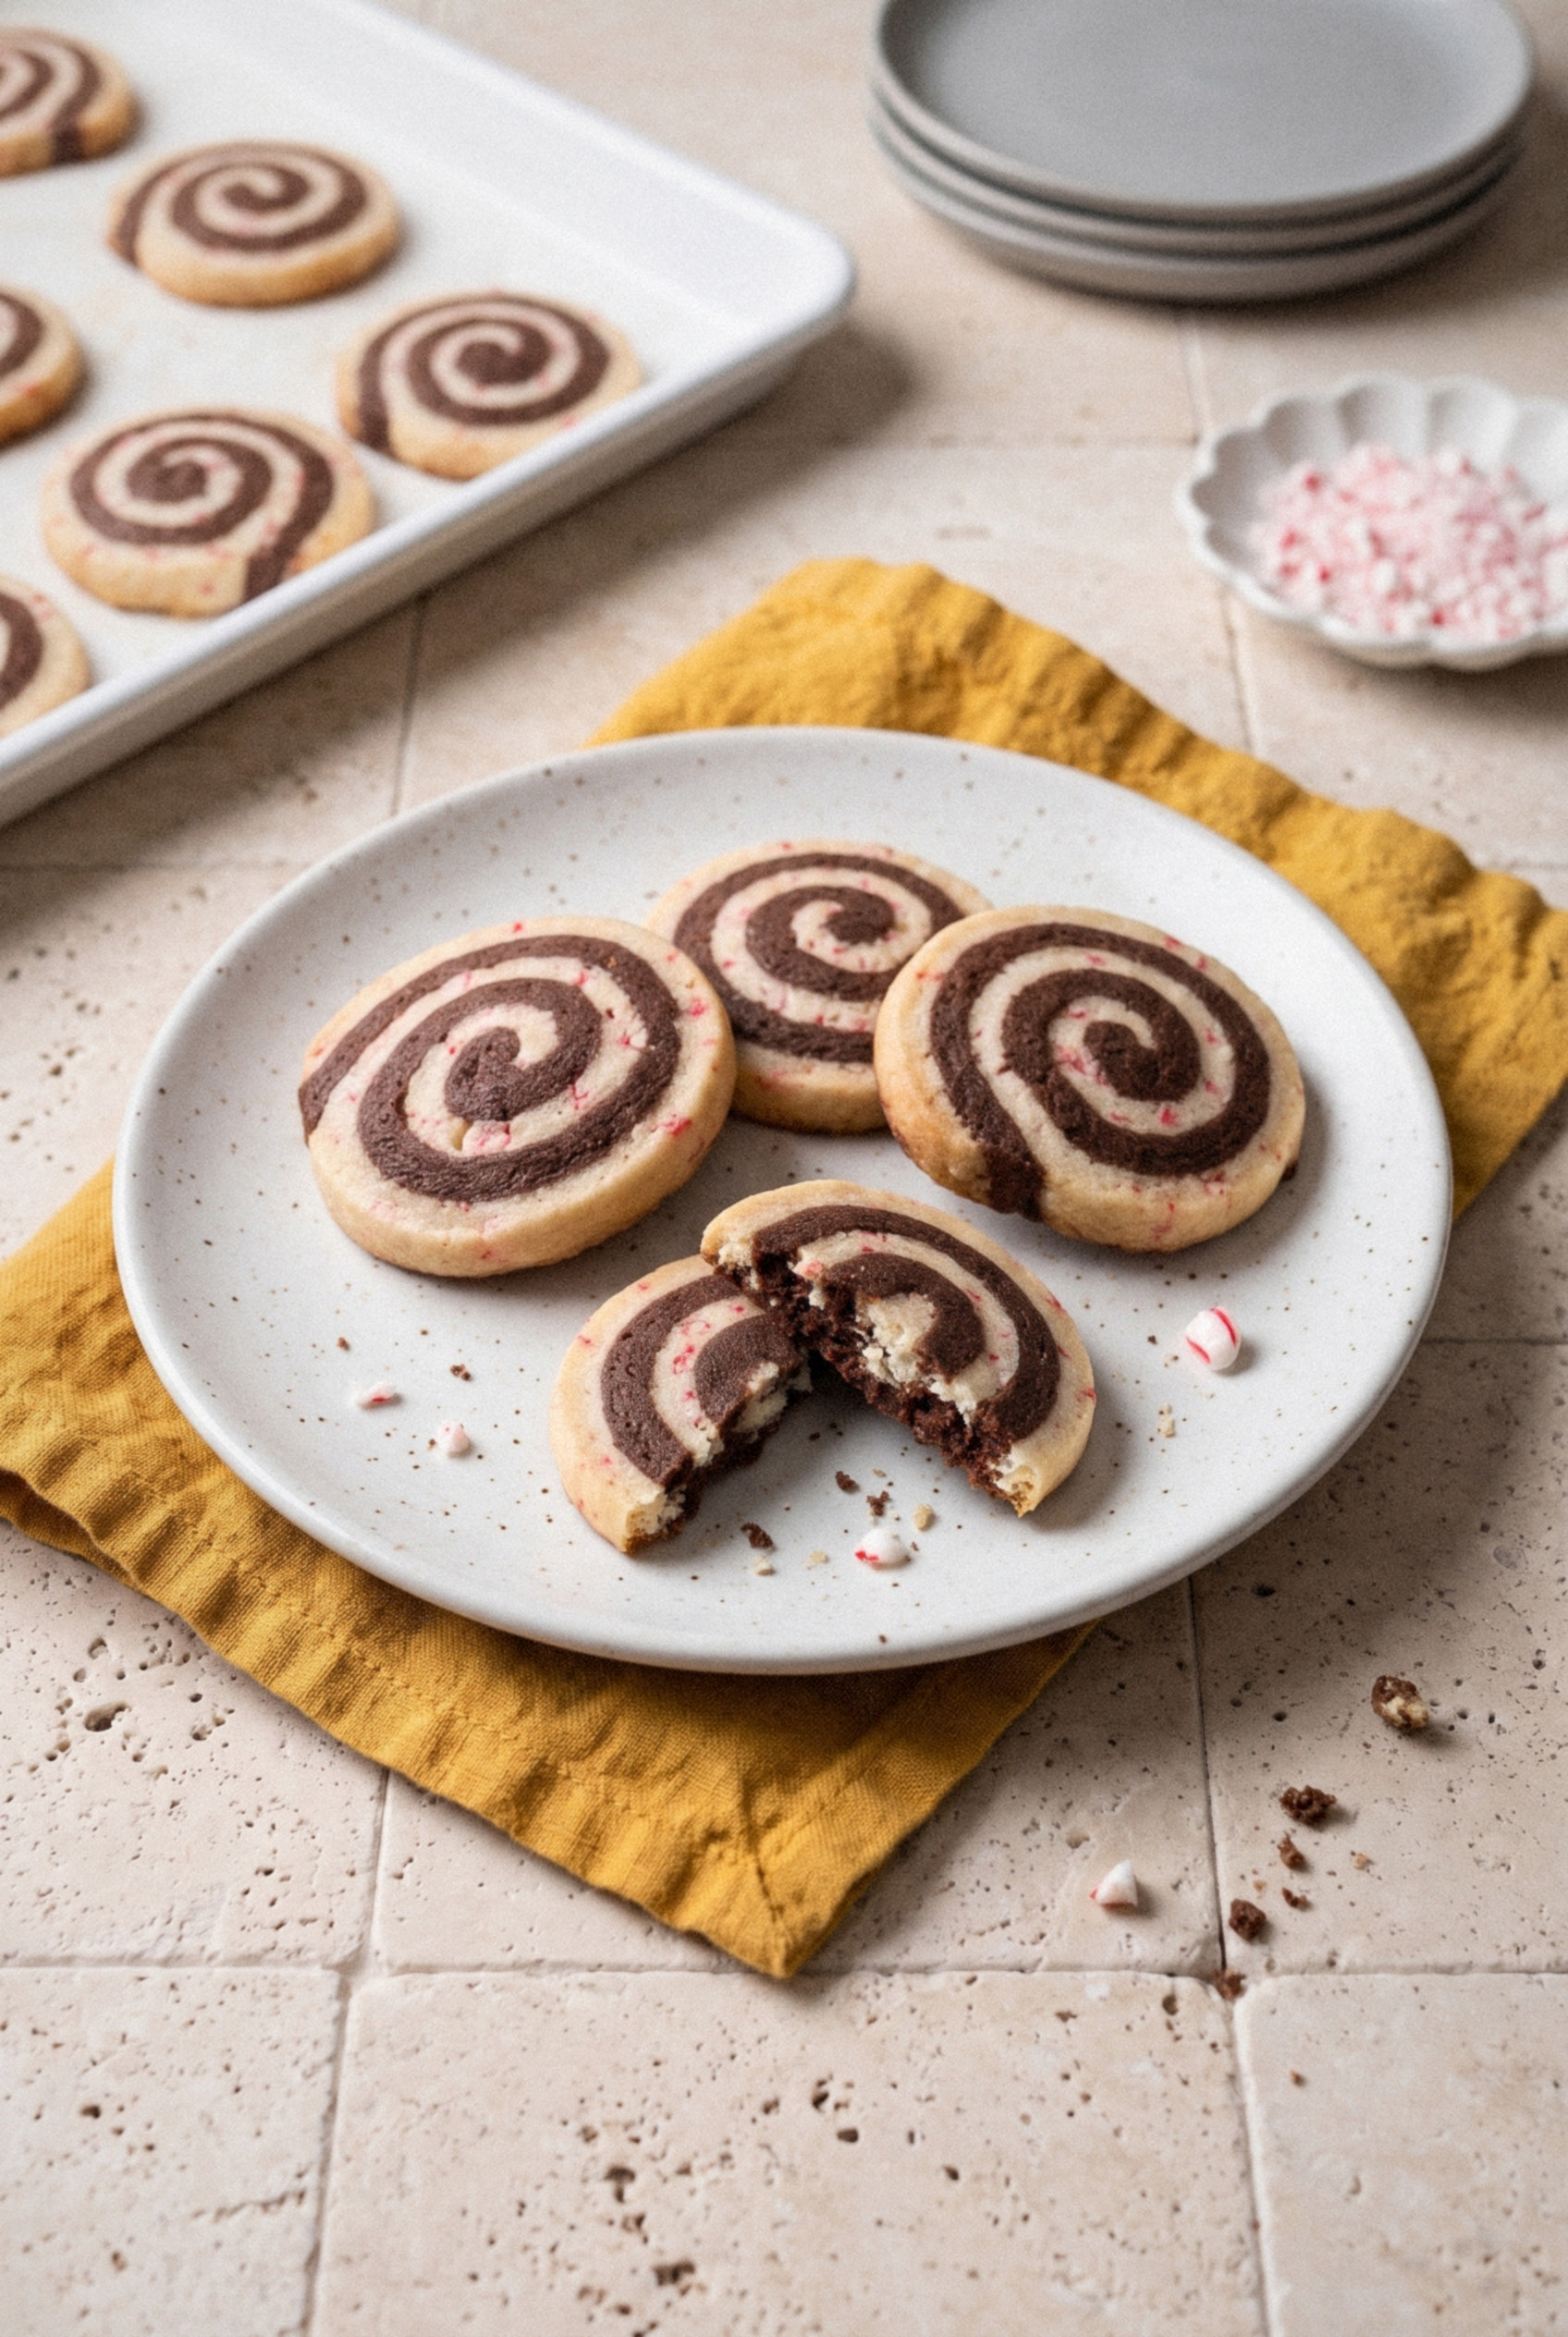
The chocolate side tastes deep and fudgy, while the peppermint side stays cool and crunchy with little pink flecks of candy.
Best of all, the log waits in the freezer for weeks, so you can slice and bake fresh cookies any night in December.
Make one batch and you'll be the person whose tin comes home empty!
Why You'll Love These Pinwheel Cookies
They look like hours of work and take about 40 minutes of hands-on time. The fridge does the rest.
- One dough, two flavors. You mix a single batch, split it, and flavor each half. No second shopping list, no second mixing bowl of creamed butter.
- Real chocolate flavor. Melted unsweetened chocolate gives the dark swirl a deep, almost brownie-like taste that cocoa alone can't match.
- Candy cane crunch. Finely crushed candy canes in the white half add tiny pink flecks and a cool, crackly bite.
- Slice-and-bake convenience. Make the log days or even weeks ahead, then bake a dozen whenever company shows up.
- A showstopper on the cookie tray. That spiral catches the eye on any holiday platter, and it's a crowd-pleaser with kids and grown-ups alike.
What's not to love about chocolate and peppermint in one bite?
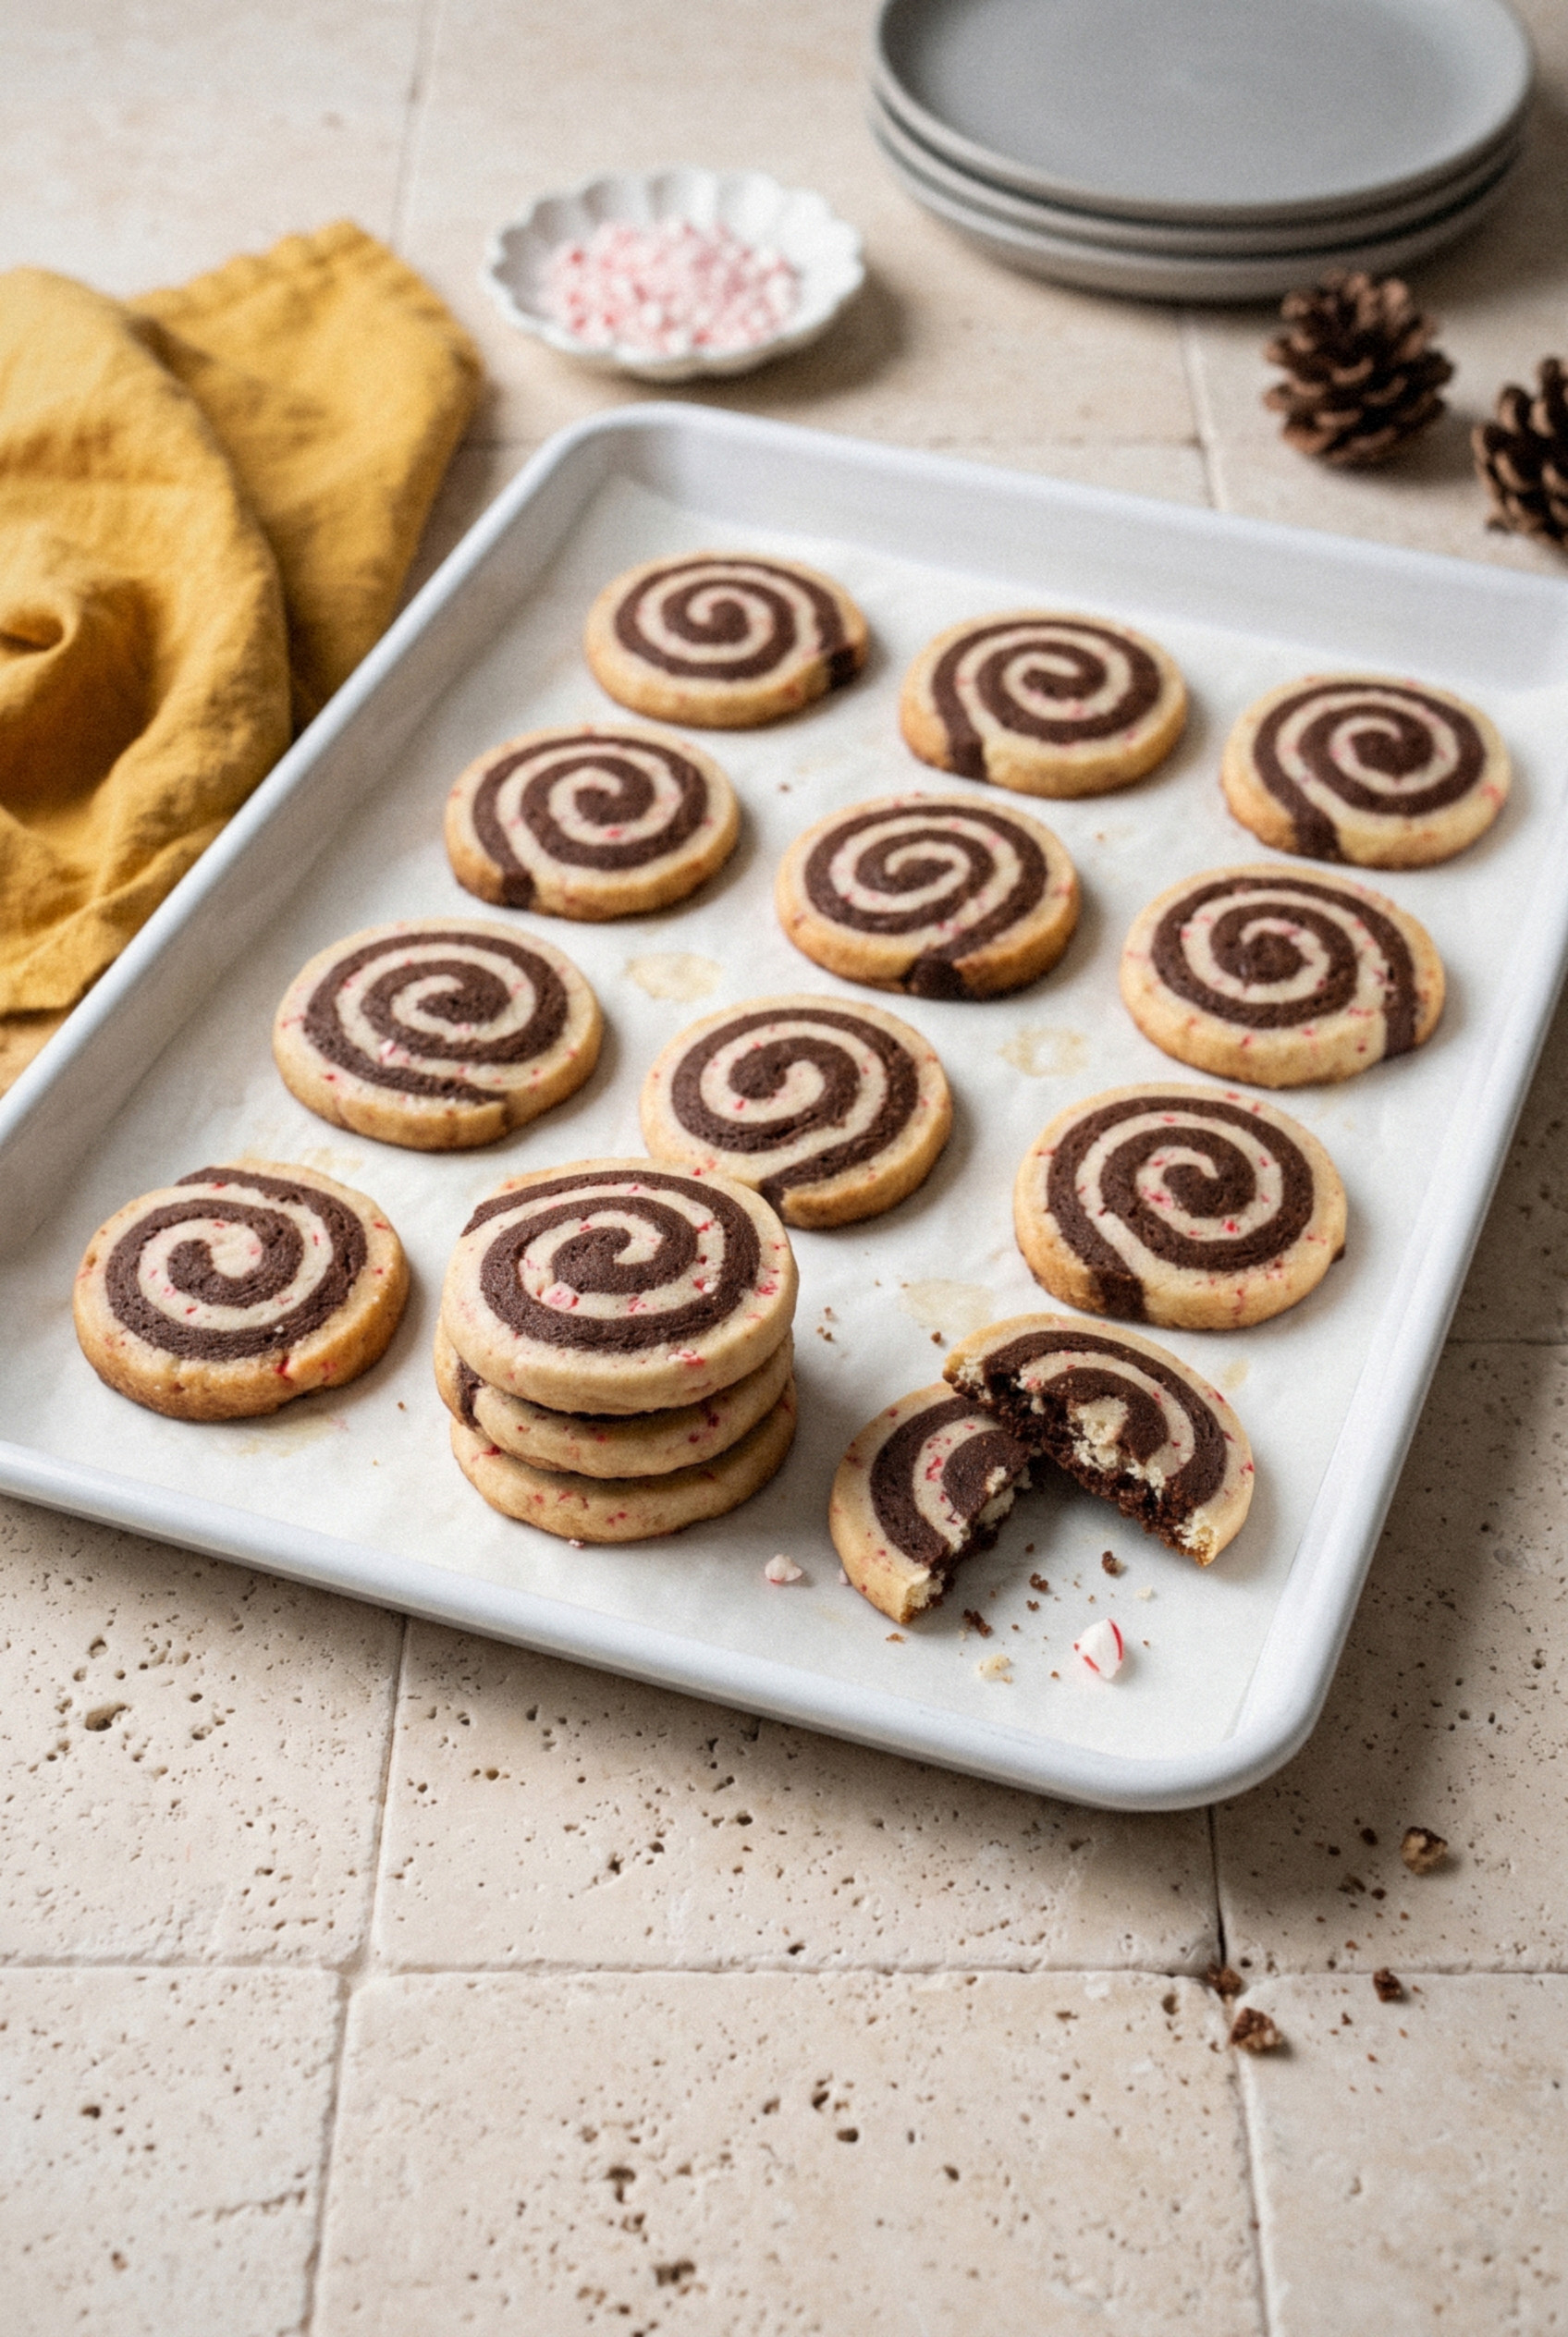
A Holiday Icebox Classic
Pinwheels belong to the old family of icebox cookies. Slice-and-bake doughs took off once home refrigerators became common, because you could keep a log chilled and bake fresh cookies on demand.
Two-tone pinwheels were the holiday showpiece of that style, and chocolate with peppermint became the December version most families know.
It still works for the same reason it did back then. You do the fussy part once, and the cookies wait for you.
Ingredients You'll Need
This is a simple butter cookie dough with two flavor add-ins. Here's what each ingredient does.
- All-purpose flour (2 ¾ cups). Spoon it into the cup and level it, or weigh 345 grams. Too much flour is the number one reason pinwheels bake up hard and dry.
- Baking powder (½ teaspoon). Just enough lift for a tender bite without blurring the spiral.
- Salt (¼ teaspoon). Sharpens the chocolate and balances the sugar.
- Unsalted butter (1 cup). At cool room temperature, soft enough to dent with a finger but not greasy. Warm butter makes the log slump.
- Granulated sugar (1 cup). Gives the cookies crisp edges and a soft center.
- Egg (1 large). Binds the dough so it rolls without tearing.
- Vanilla extract (1 teaspoon). Rounds out both halves.
- Peppermint extract (¾ teaspoon). Use pure peppermint, NOT mint extract, which tastes like toothpaste. It goes into the white half only.
- Unsweetened chocolate (2 ounces). Melted and cooled until just warm. Baker's style bars work great here.
- Milk (1 tablespoon). Stirred into the chocolate half. Melted chocolate firms up the dough, and the milk keeps both halves equally soft so they roll together.
- Crushed candy canes (⅓ cup). About 3 regular candy canes, crushed fine like coarse sand.
- Red gel food coloring (optional). A few drops turn the peppermint half soft pink for more contrast.
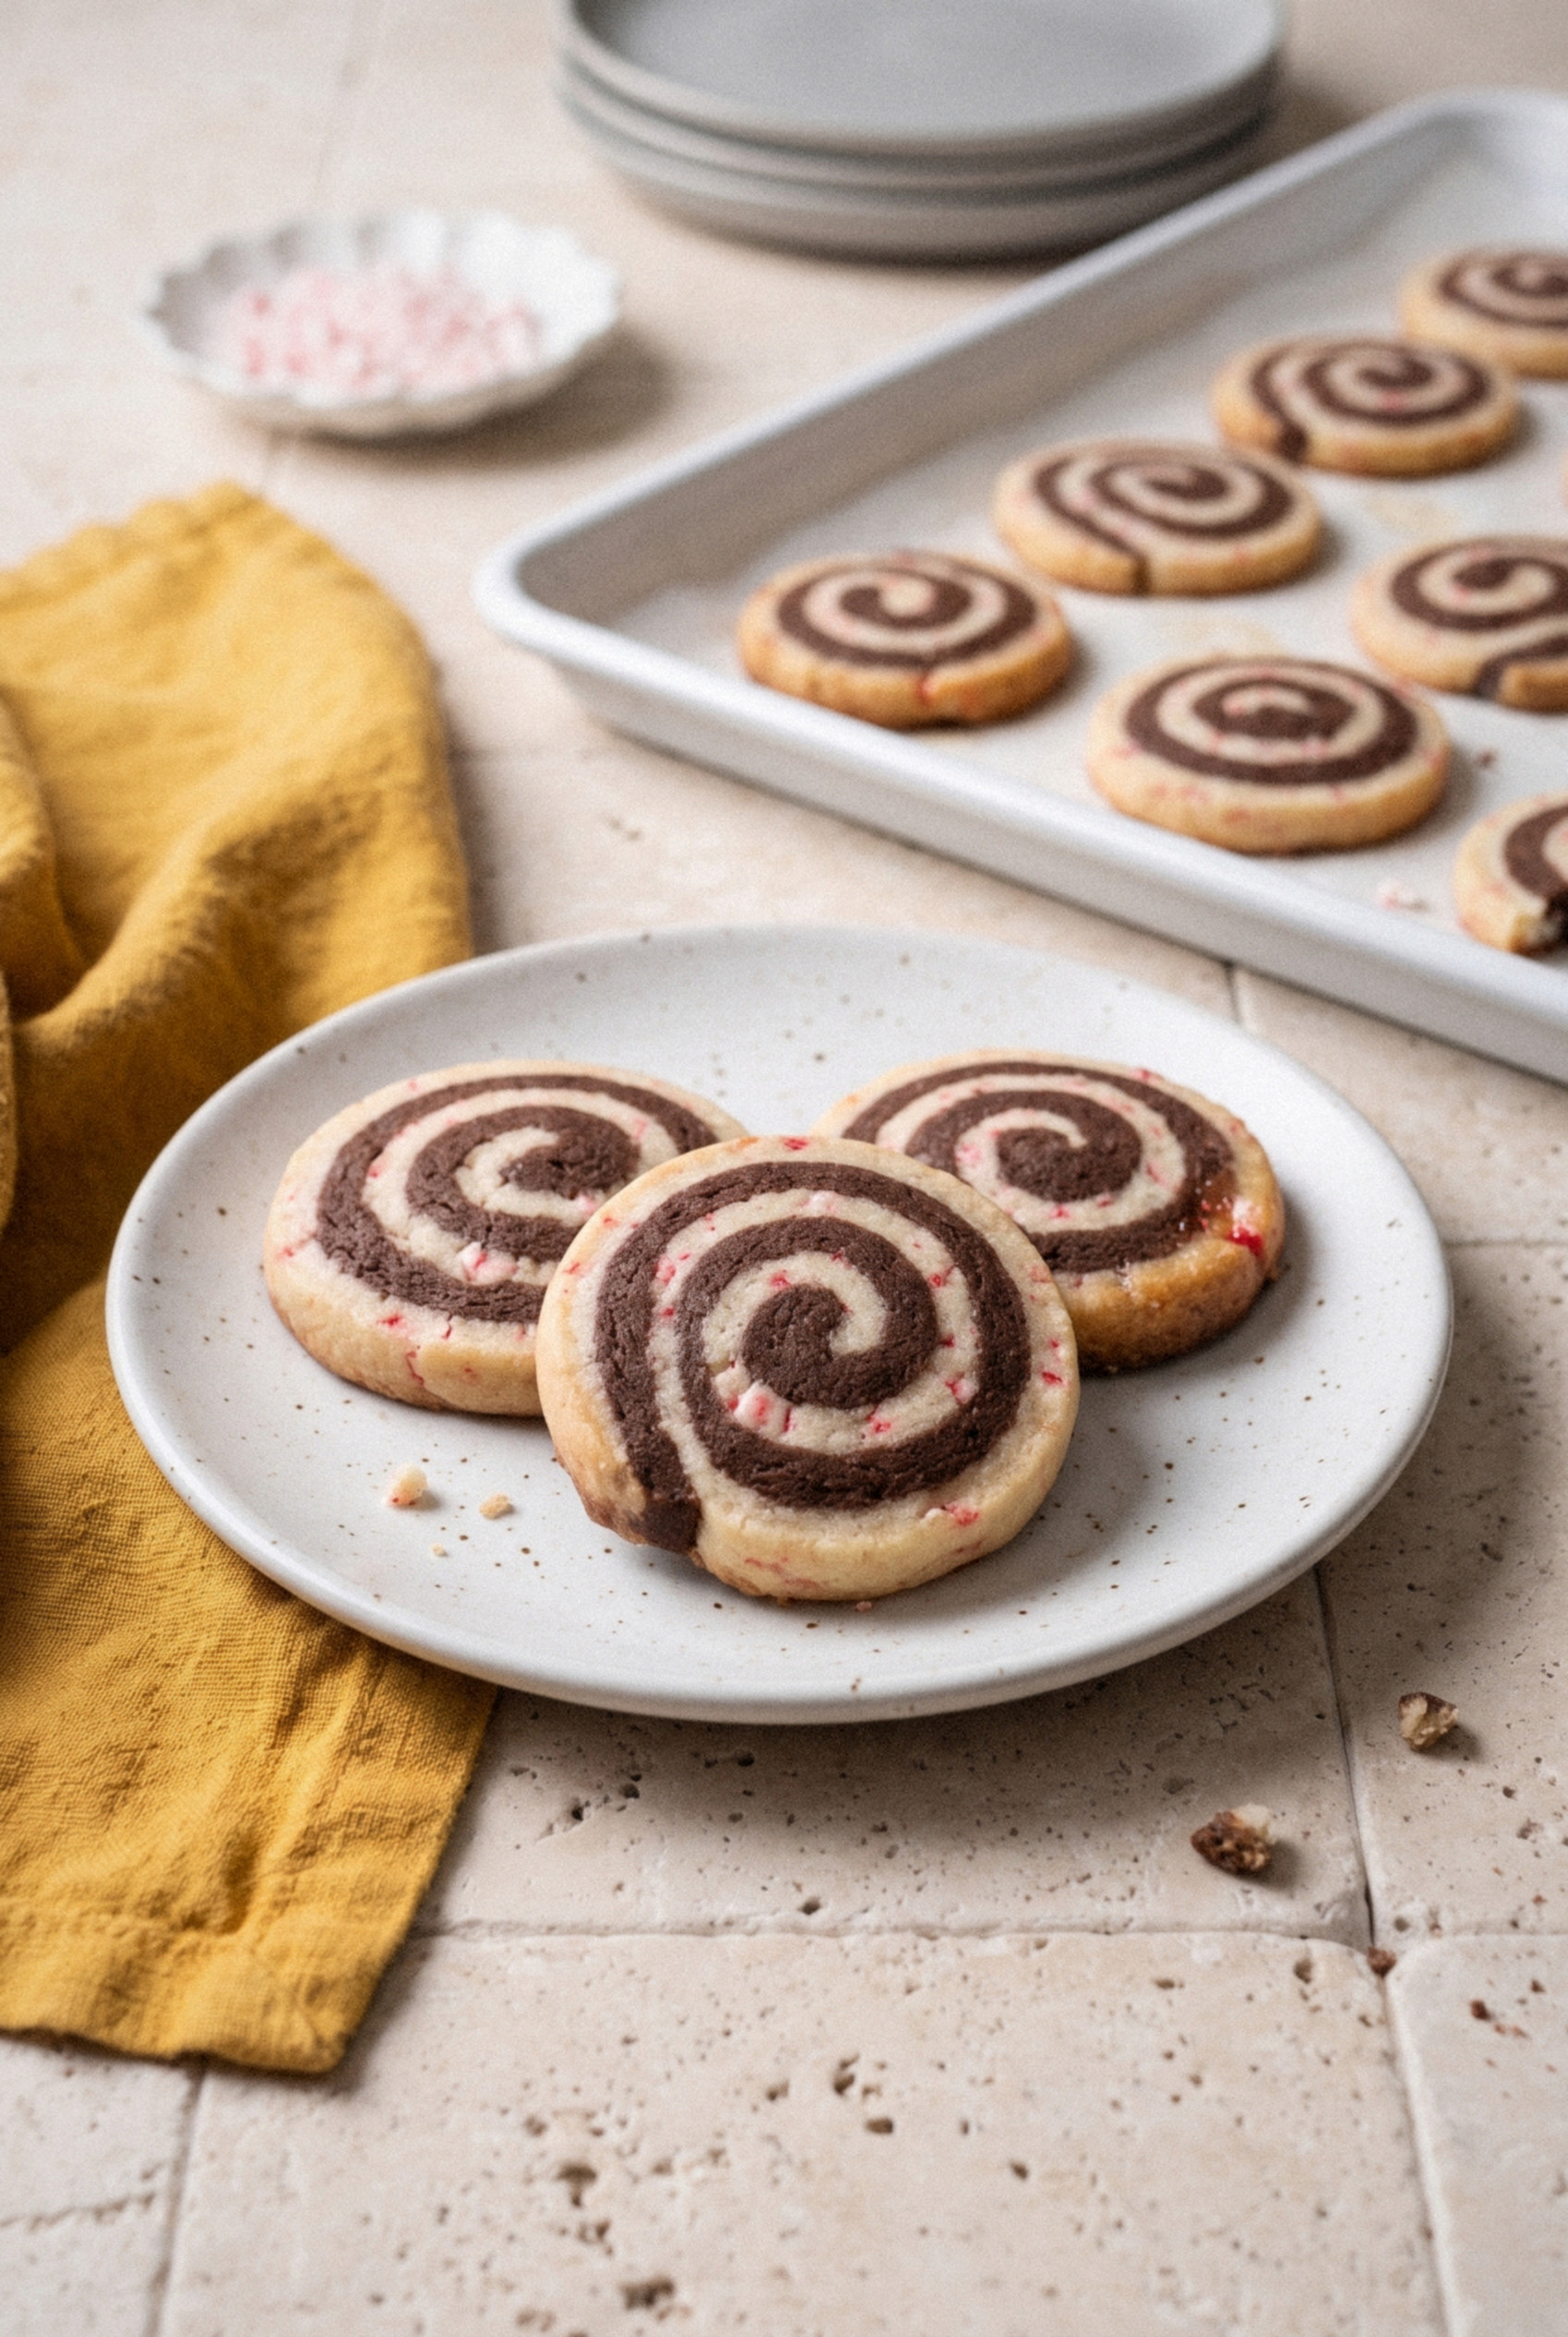
How to Make Chocolate Peppermint Pinwheel Cookies
The process has a few stages, but none of them are hard. Read through once, then follow along.
Step 1: Make the Base Dough
Whisk the flour, baking powder, and salt in a bowl and set it aside. In a large bowl, beat 1 cup of butter and 1 cup of sugar on medium speed for about 2 minutes, until light and creamy.
Beat in the egg and vanilla until smooth. Add the flour mixture on low speed in two additions, mixing just until no dry streaks remain.
Step 2: Split and Flavor the Two Halves
Divide the dough into two equal portions, weighing them if you can. Return one portion to the bowl and mix in the melted, cooled chocolate and 1 tablespoon of milk on low until the color is completely even.
Knead the ¾ teaspoon of peppermint extract, the crushed candy canes, and a few drops of red gel, if using, into the second portion by hand until evenly flecked.
Pro tip: Let the chocolate cool to barely warm before it goes in. Hot chocolate melts the butter and turns the dough greasy.
Step 3: Roll Each Half Into a Rectangle
Place the chocolate dough between two sheets of parchment and roll it into a 12 x 8-inch rectangle, about ¼ inch thick. Repeat with the peppermint dough between fresh sheets.
Slide both rectangles, still in their parchment, onto a tray and chill for 15-20 minutes. You want them firm but still bendy, and matching in firmness.
Step 4: Stack and Roll the Log
Peel the top parchment off both rectangles. Brush the chocolate layer lightly with milk, then flip the peppermint layer on top, line up the edges, and peel off its parchment. Press gently with your palms so there are no air pockets, and trim the edges straight.
Starting from a long side, use the bottom parchment to lift and roll the dough into a tight log. Keep the first turn snug, since a loose center leaves a hole in every slice. Pinch the seam closed.
Cracked a little? Press it back together. It always bakes up fine.
Step 5: Chill the Log
Wrap the log tightly in parchment or plastic and refrigerate for at least 2 hours, or until very firm. Give it a quarter roll on the counter every 30 minutes so it doesn't develop a flat side.
Step 6: Slice and Bake
Heat the oven to 350°F and line a baking sheet with parchment. Using a thin, sharp knife, cut the log into slices about ⅓ inch thick, turning the log a quarter turn every few cuts to keep it round.
Arrange the slices 2 inches apart and bake one sheet at a time for 9-11 minutes, until the edges are set and the white swirl has not browned. Cool on the sheet for 3 minutes, then move them to a rack.
The smell of chocolate and peppermint coming out of the oven is out of this world!
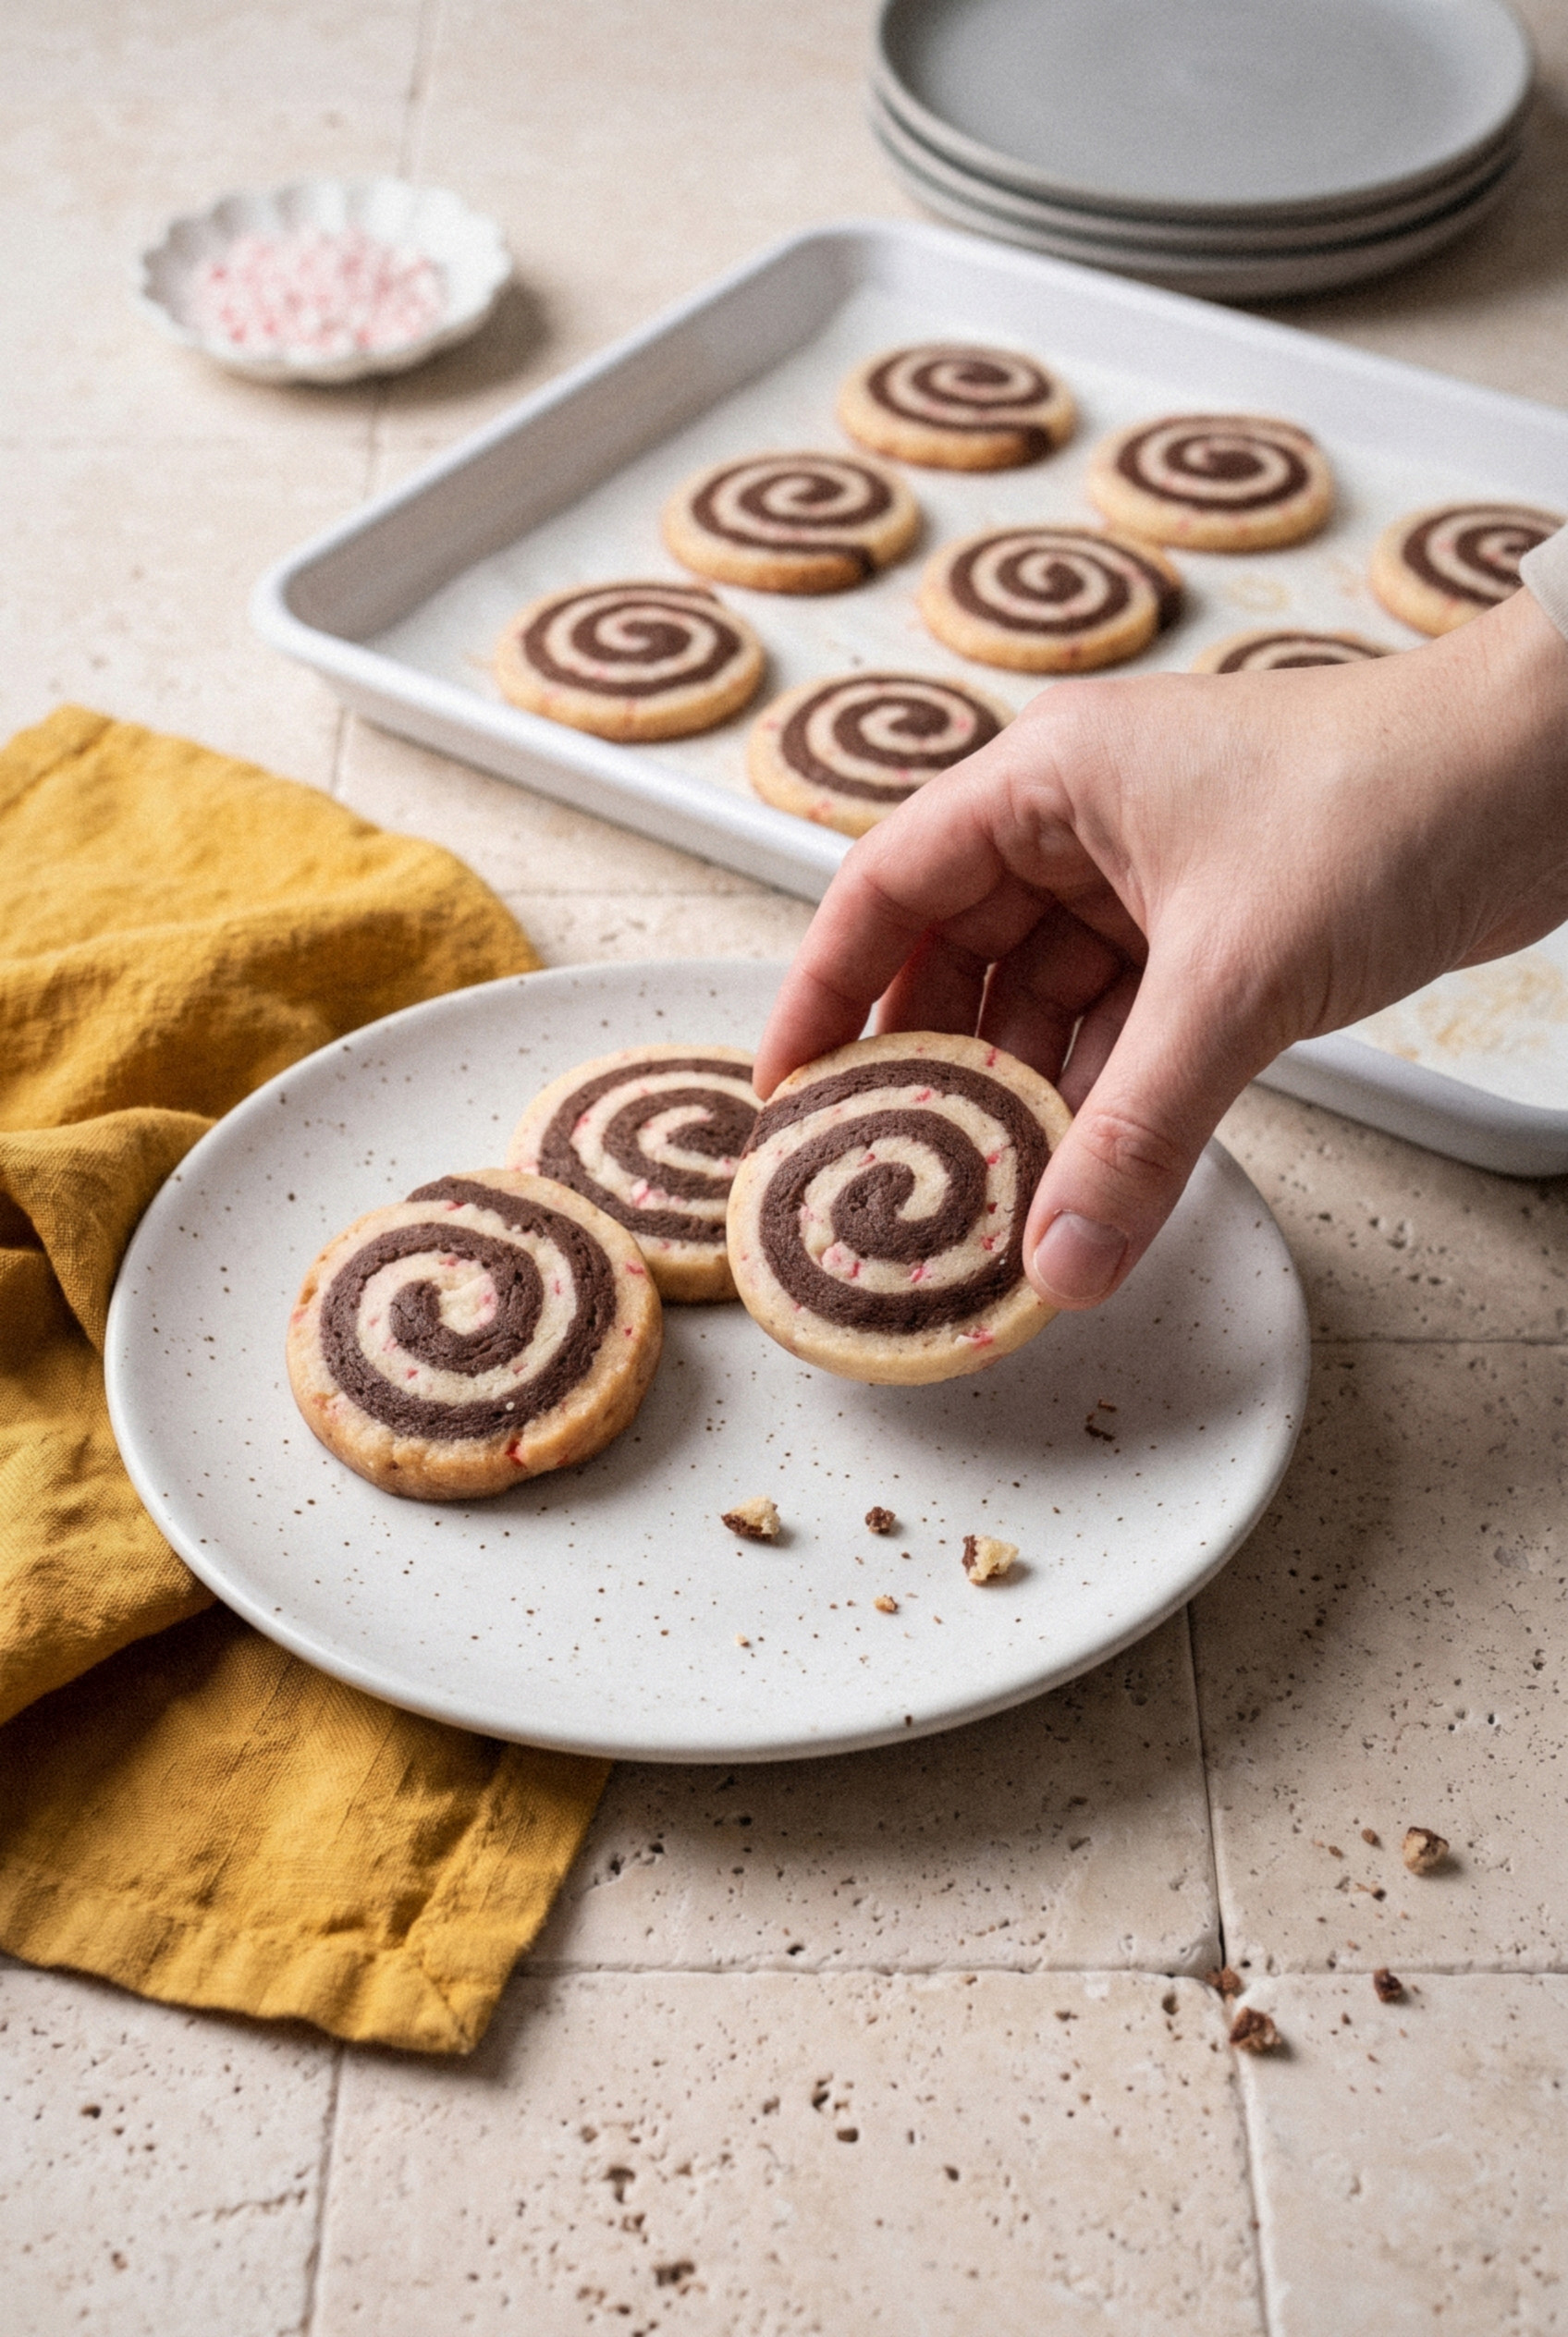
How to Get a Perfect Pinwheel Spiral
A tight, round spiral comes from a few small habits. These make the biggest difference for me.
- Match the rectangles. Roll both halves to the same size and thickness. A ruler helps, because ¼ inch is thinner than most people guess.
- Match the firmness. Chill both rectangles together for the same time so they bend at the same rate.
- Start tight. The first turn sets the whole spiral. Tuck the edge in firmly before you keep rolling.
- Use the parchment. Lift and push with the paper instead of your fingers. It keeps the roll even and the dough cold.
- Keep it round. Roll the log a quarter turn every half hour while it chills, or lay it in a paper towel tube cut open along one side.
- Turn as you slice. Rotate the log every few cuts so the knife doesn't press one side flat.
How to Avoid Hard, Dry Pinwheel Cookies
Dry pinwheels are almost always a flour or bake-time problem. Here's how to keep them tender in the middle with crisp edges.
- Measure flour carefully. Weigh it, or spoon and level. Scooping straight from the bag can add a quarter cup without you noticing.
- Use cool butter. Butter that's too soft spreads, and you end up adding flour to fix sticky dough.
- Don't skip the milk. That 1 tablespoon in the chocolate half makes it as soft as the peppermint half.
- Roll on parchment, not flour. Every dusting of flour on the counter ends up in the dough.
- Pull them early. Take them out when the edges are set, even if the centers look a touch soft. They firm up as they cool.
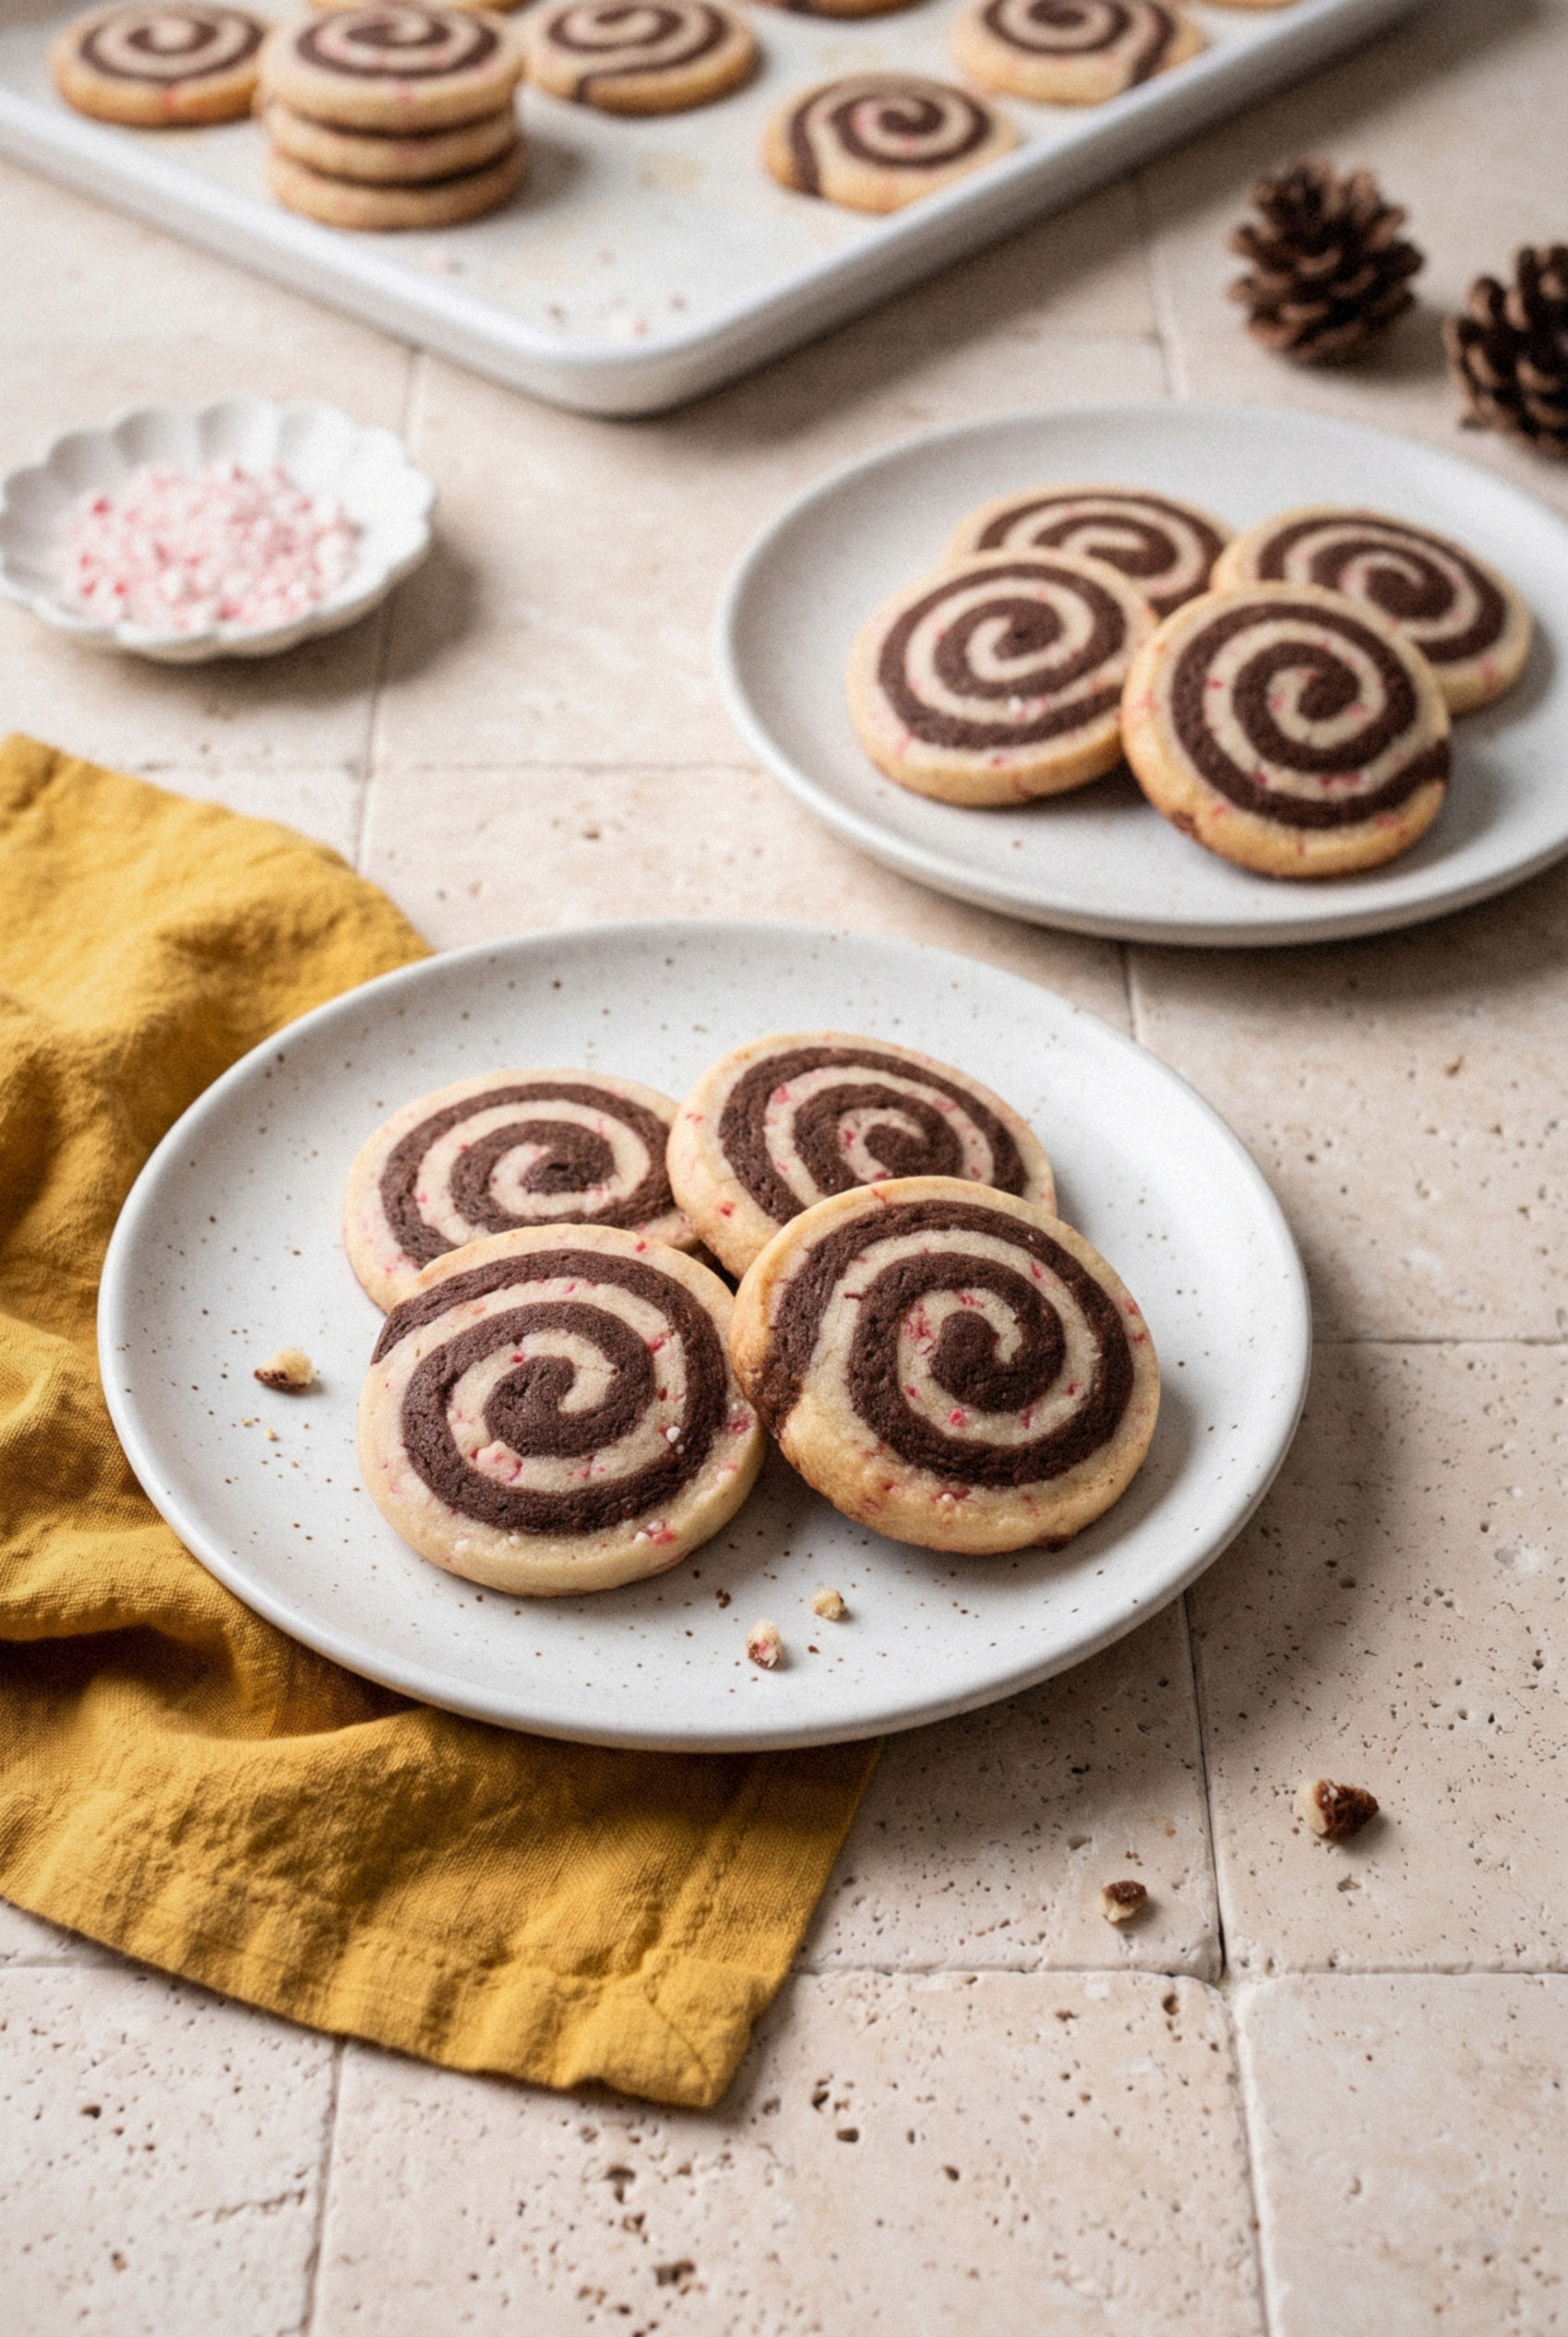
Cook's Notes and Tips
A few extra notes from my many December batches. These solve the questions I get most.
- Crush the candy fine. Big shards melt in the oven and leave sticky holes. Fine pieces give you pretty pink flecks and a light crunch.
- Bake one sheet at a time. The center rack gives the most even color.
- Use a cold log. If slices crack, let the log sit on the counter for 5-10 minutes and try again.
- Use a light-colored baking sheet. Dark pans brown the bottoms before the tops set.
- Measure the extract. Peppermint gets strong fast. Start at ¾ teaspoon and taste the dough before adding more.
Variations
Once you've made the classic, this dough is fun to play with. Here are my favorite twists.
- Double chocolate. Add 2 tablespoons of cocoa powder to the chocolate half along with the melted chocolate for an even darker swirl.
- Black cocoa. Swap the melted chocolate for 3 tablespoons of black cocoa plus 1 extra tablespoon of milk. The swirl turns nearly black, like a chocolate wafer.
- Cocoa only. No baking chocolate on hand? Use 3 tablespoons of unsweetened cocoa and 2 tablespoons of milk instead.
- Pink and chocolate. Add red gel to the peppermint half for a bold pink spiral.
- Sparkly edges. Brush the chilled log with milk and roll it in crushed candy canes or sanding sugar before slicing.
- Mint green. Tint the white half green for a chocolate mint look.
- Natural color. A teaspoon of beet powder gives the peppermint half a soft pink with no gel at all.
Can You Freeze Pinwheel Cookie Dough?
Yes, and it's the best part of this recipe. I keep a log in my freezer from Thanksgiving to New Year's.
- Refrigerated log. Wrapped tightly, it keeps for up to 3 days. Slice and bake straight from the fridge.
- Frozen log. Wrap it in plastic, then foil, and freeze for up to 3 months. Let it sit on the counter for 10 minutes before slicing so it doesn't crack.
- Frozen slices. Freeze cut slices on a tray, then bag them. Bake from frozen and add 1-2 minutes.
Worth keeping a log on hand all season? Absolutely.
How to Store Pinwheel Cookies
Baked pinwheels keep well, which makes them a great early bake. Store them like this:
- Room temperature. Airtight container with parchment between layers for up to 1 week.
- Freezer. Sealed tightly for up to 3 months. Thaw in the container so they don't sweat.
- Keep them separate. Peppermint flavor travels, so store these away from milder cookies like shortbread.
Serving and Gifting Ideas
These cookies were made for sharing. Their flat shape stacks neatly and travels well.
- Cookie swaps. Stack them in short rows in a parchment-lined tin, spiral side up, so everyone sees the swirl first.
- Gift boxes. Tuck stacks of four or five into cellophane bags tied with ribbon. They pair perfectly with sugar cookies and gingerbread.
- Shipping. Pack them snugly in a sturdy tin with crumpled parchment filling any gaps so nothing slides.
- Cozy nights. Serve with a mug of hot chocolate or a cold glass of milk for dunking. It hits the spot every time.
However you share them, I promise these will vanish fast. Give them a try!
Recipe
Chocolate Peppermint Pinwheel Cookies
Ingredients
For the Base Dough
- 2 ¾ cups all-purpose flour spooned and leveled, 345 g
- ½ teaspoon baking powder
- ¼ teaspoon salt
- 1 cup unsalted butter cool room temperature
- 1 cup granulated sugar
- 1 large egg
- 1 teaspoon vanilla extract
For the Chocolate Half
- 2 ounces unsweetened chocolate melted and cooled
- 1 tablespoon milk plus a little extra for brushing
For the Peppermint Half
- ¾ teaspoon peppermint extract
- ⅓ cup candy canes finely crushed, about 3 regular canes
- red gel food coloring optional, a few drops
Instructions
Make the Dough
- Whisk the flour, baking powder, and salt in a bowl.
- Beat the butter and sugar on medium speed for about 2 minutes until light and creamy. Beat in the egg and vanilla.
- Add the flour mixture on low speed in two additions, mixing just until no dry streaks remain.
Flavor the Two Halves
- Divide the dough into two equal portions. Mix the melted, cooled chocolate and 1 tablespoon milk into one portion until evenly colored.
- Knead the peppermint extract, crushed candy canes, and red gel coloring (if using) into the second portion.
Roll and Shape the Log
- Roll each portion between two sheets of parchment into a 12 x 8-inch rectangle about ¼ inch thick. Chill both on a tray for 15 to 20 minutes until firm but pliable.
- Remove the top parchment from both. Brush the chocolate layer lightly with milk, flip the peppermint layer on top, peel off its parchment, press gently, and trim the edges straight.
- Starting from a long side, use the bottom parchment to roll the dough into a tight log. Pinch the seam closed.
- Wrap tightly and refrigerate for at least 2 hours until very firm, giving the log a quarter roll every 30 minutes to keep it round.
Slice and Bake
- Heat the oven to 350°F and line a baking sheet with parchment paper.
- Cut the log into slices about ⅓ inch thick with a thin, sharp knife, rotating the log every few cuts.
- Place slices 2 inches apart and bake one sheet at a time for 9 to 11 minutes, until the edges are set and the white swirl has not browned.
- Cool on the baking sheet for 3 minutes, then transfer to a wire rack to cool completely.
Notes
- Chocolate temperature: Cool the melted chocolate until barely warm so it does not melt the butter in the dough.
- Candy canes: Crush them fine. Large shards melt into sticky holes during baking.
- Make ahead: Refrigerate the wrapped log up to 3 days or freeze up to 3 months. Let a frozen log rest 10 minutes before slicing.
- Frozen slices: Bake from frozen, adding 1 to 2 minutes.
- Storage: Keep baked cookies airtight at room temperature up to 1 week or freeze up to 3 months.