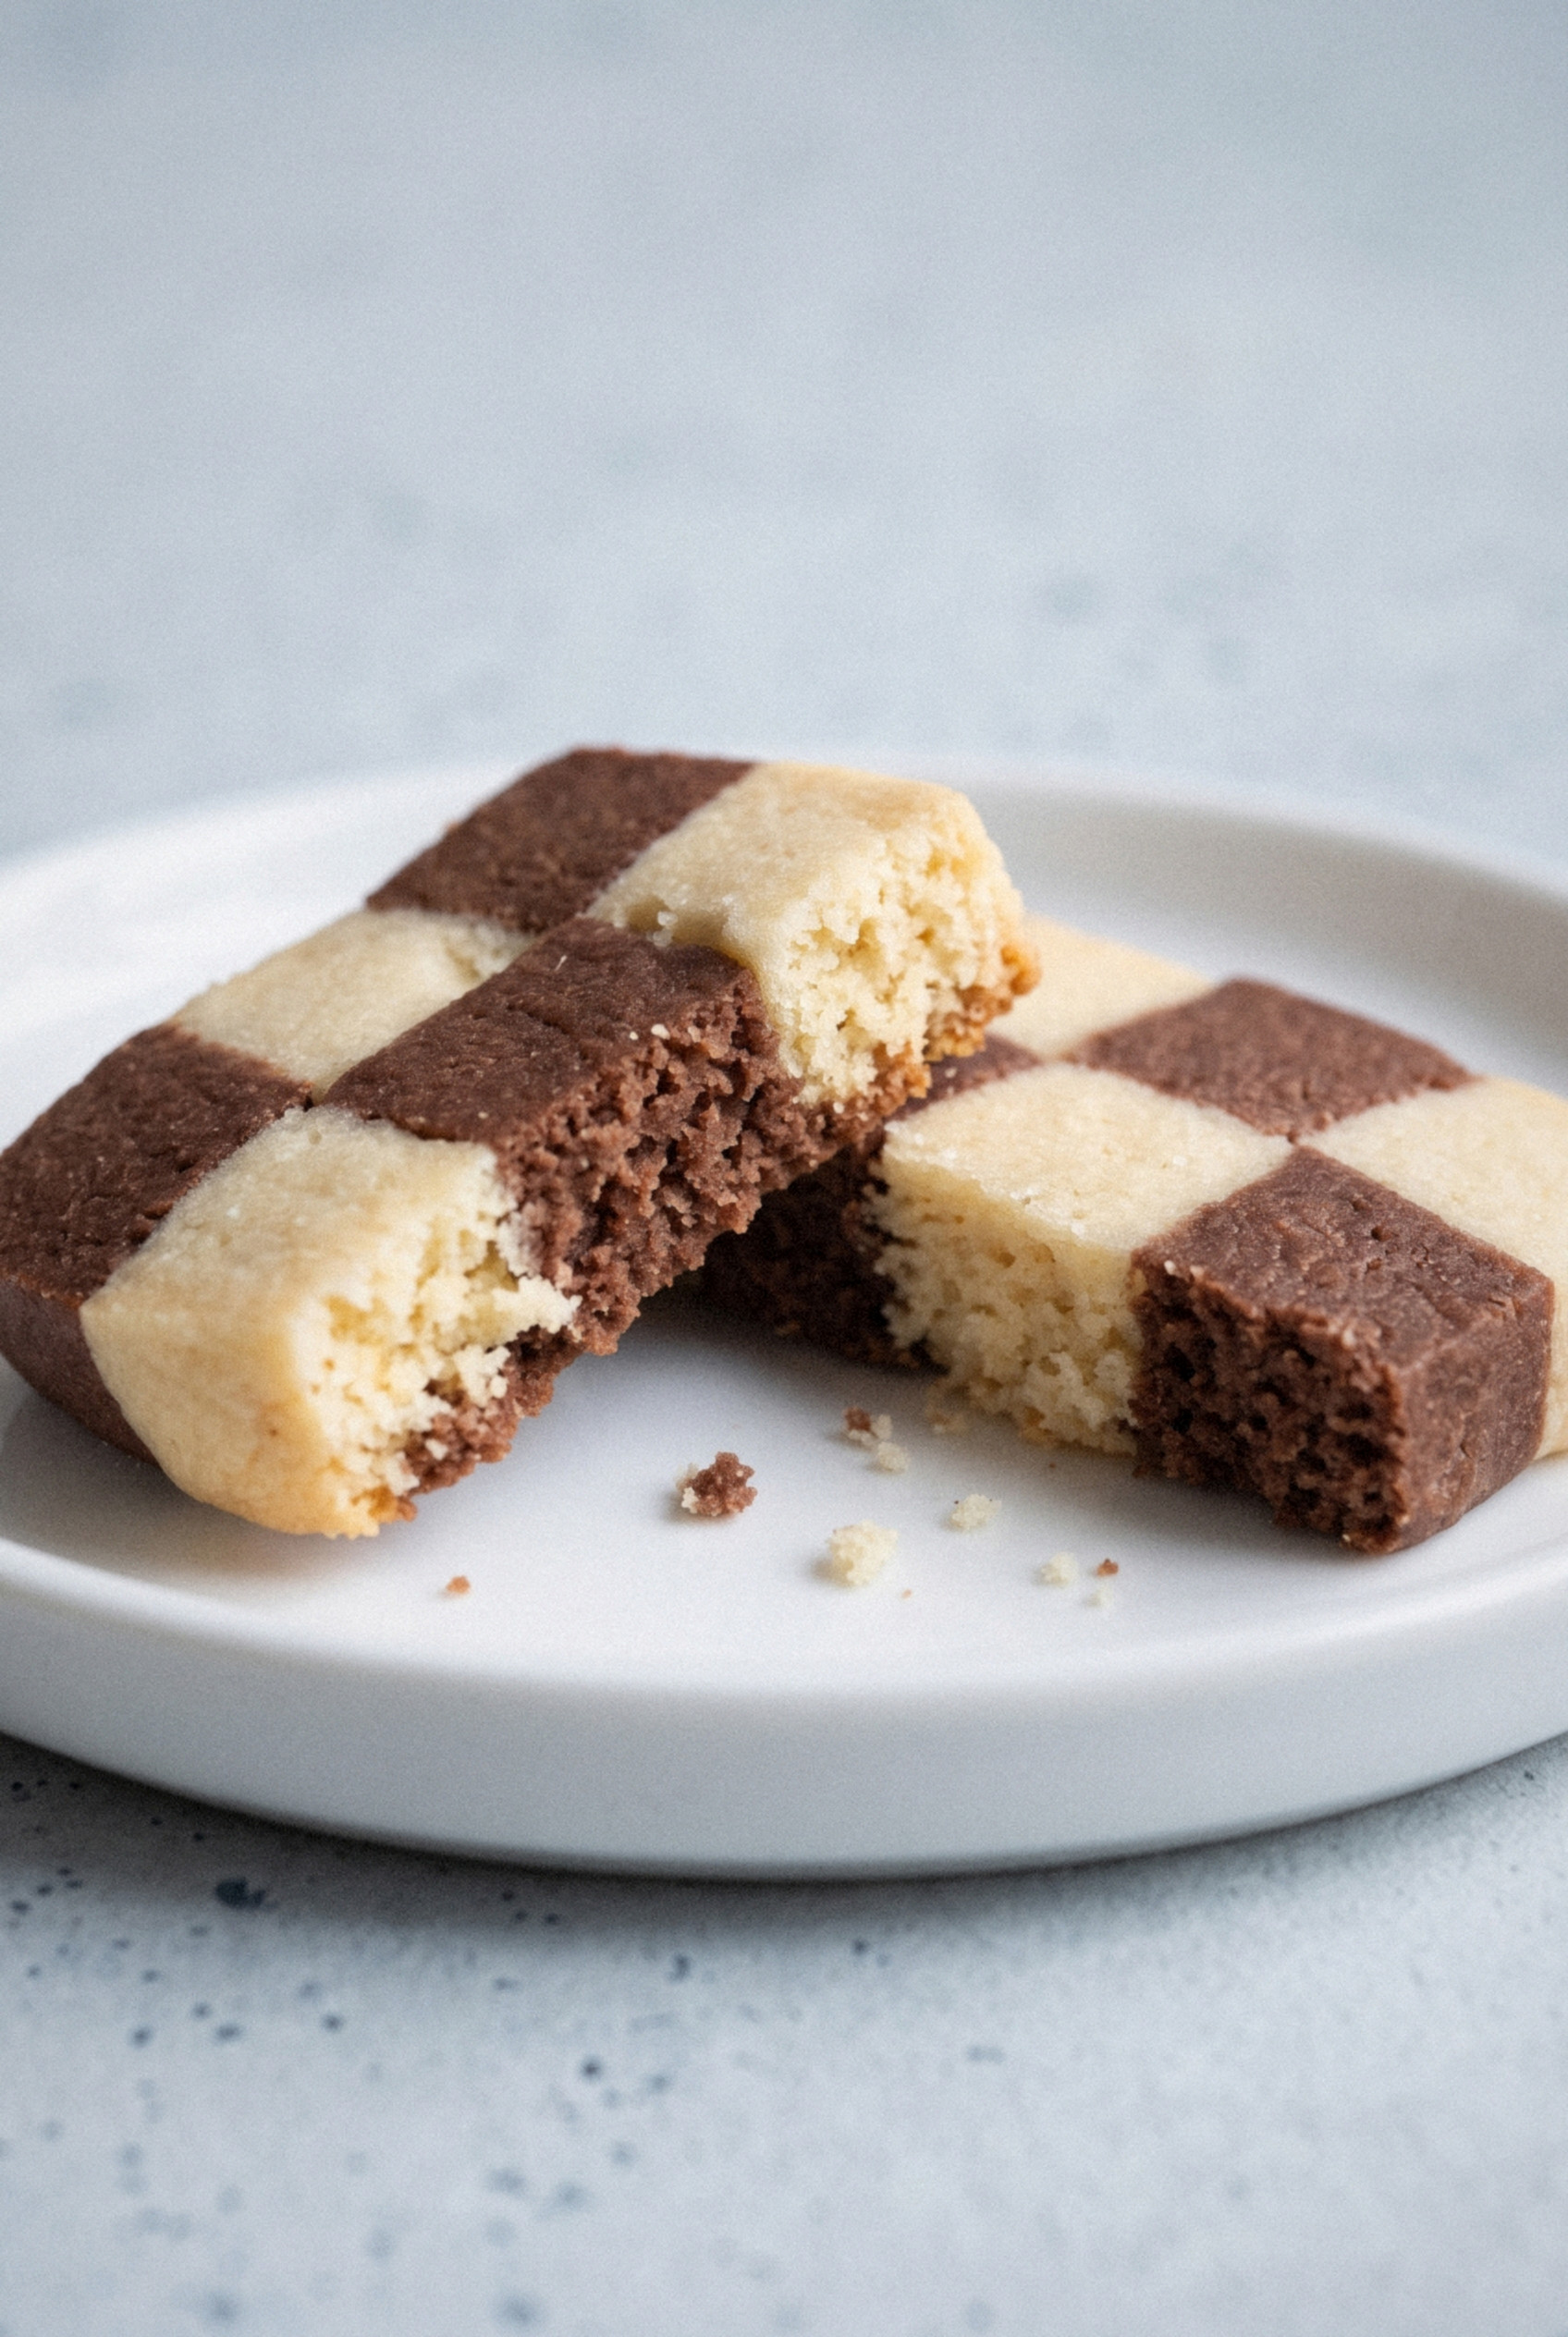
Every December somebody picks one of these off my cookie tray, turns it over, and asks which bakery I went to.
I always let the question hang for a second. It's the best part of my holiday baking.
Because the honest answer is a mixing bowl, a ruler, and two trips to the fridge.
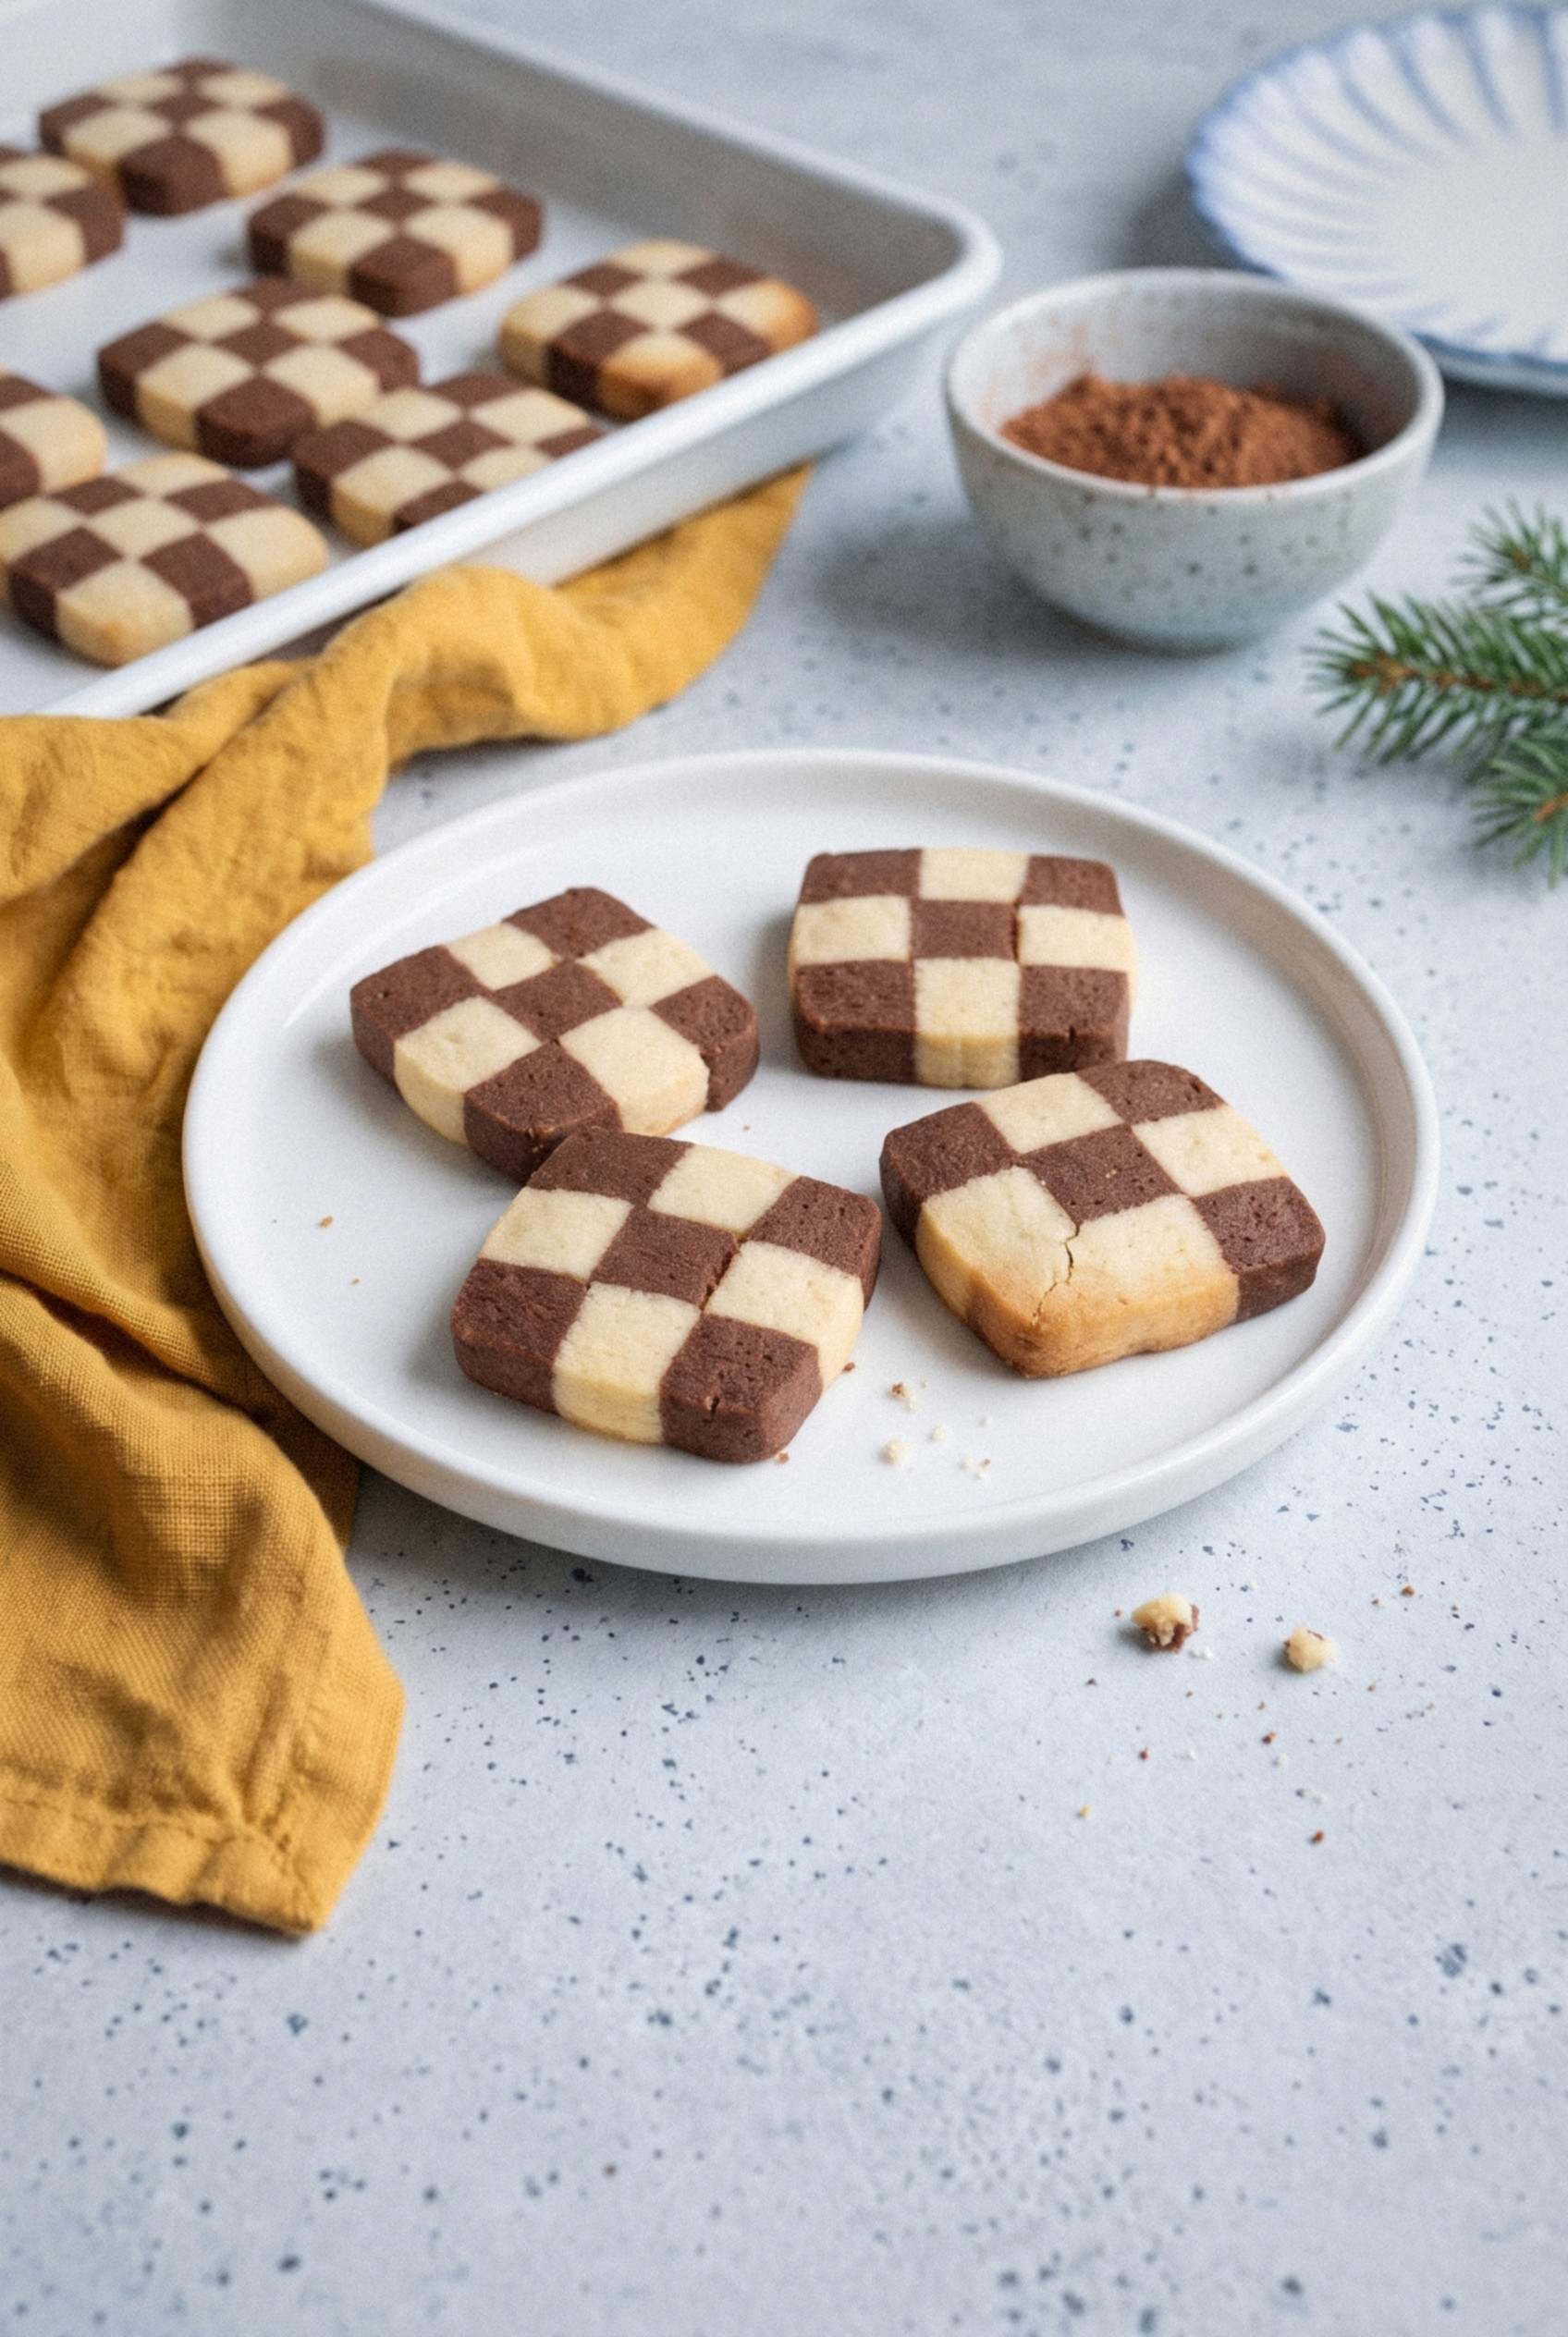
These Christmas checkerboard cookies look like they took a pastry chef and a free afternoon.
They didn't. It's one buttery dough split in half, with cocoa stirred into one side.
You roll each half into a slab, cut it into strips, and stack the strips like a tiny chessboard.
Then you chill the log, slice it, and every single round comes out with that sharp grid of vanilla and chocolate squares.
My wife calls them the "show-off cookies," and she's not wrong.
I've made them for cookie swaps, for the neighbors, and for the plate we leave out on Christmas Eve.
The dough log also freezes for months, so the hard part can happen in early December while the slicing happens whenever you want.
If you can measure with a ruler, you can make these. I promise.
Why These Belong on Your Holiday Cookie Tray
They look like the fanciest cookie on the tray, and they're really just a slice-and-bake. Here's why I keep making them.
- One dough, two flavors. You mix one batch and flavor half with cocoa, so there's only one bowl to wash.
- Chocolate and vanilla in every bite. Perfect for anyone who can never pick just one.
- Make-ahead friendly. The shaped log keeps for 3 days in the fridge or 3 months in the freezer.
- No decorating. The pattern IS the decoration. No icing, no sprinkles.
- Great for gifting. They stack neatly in tins and survive the trip to a cookie swap.
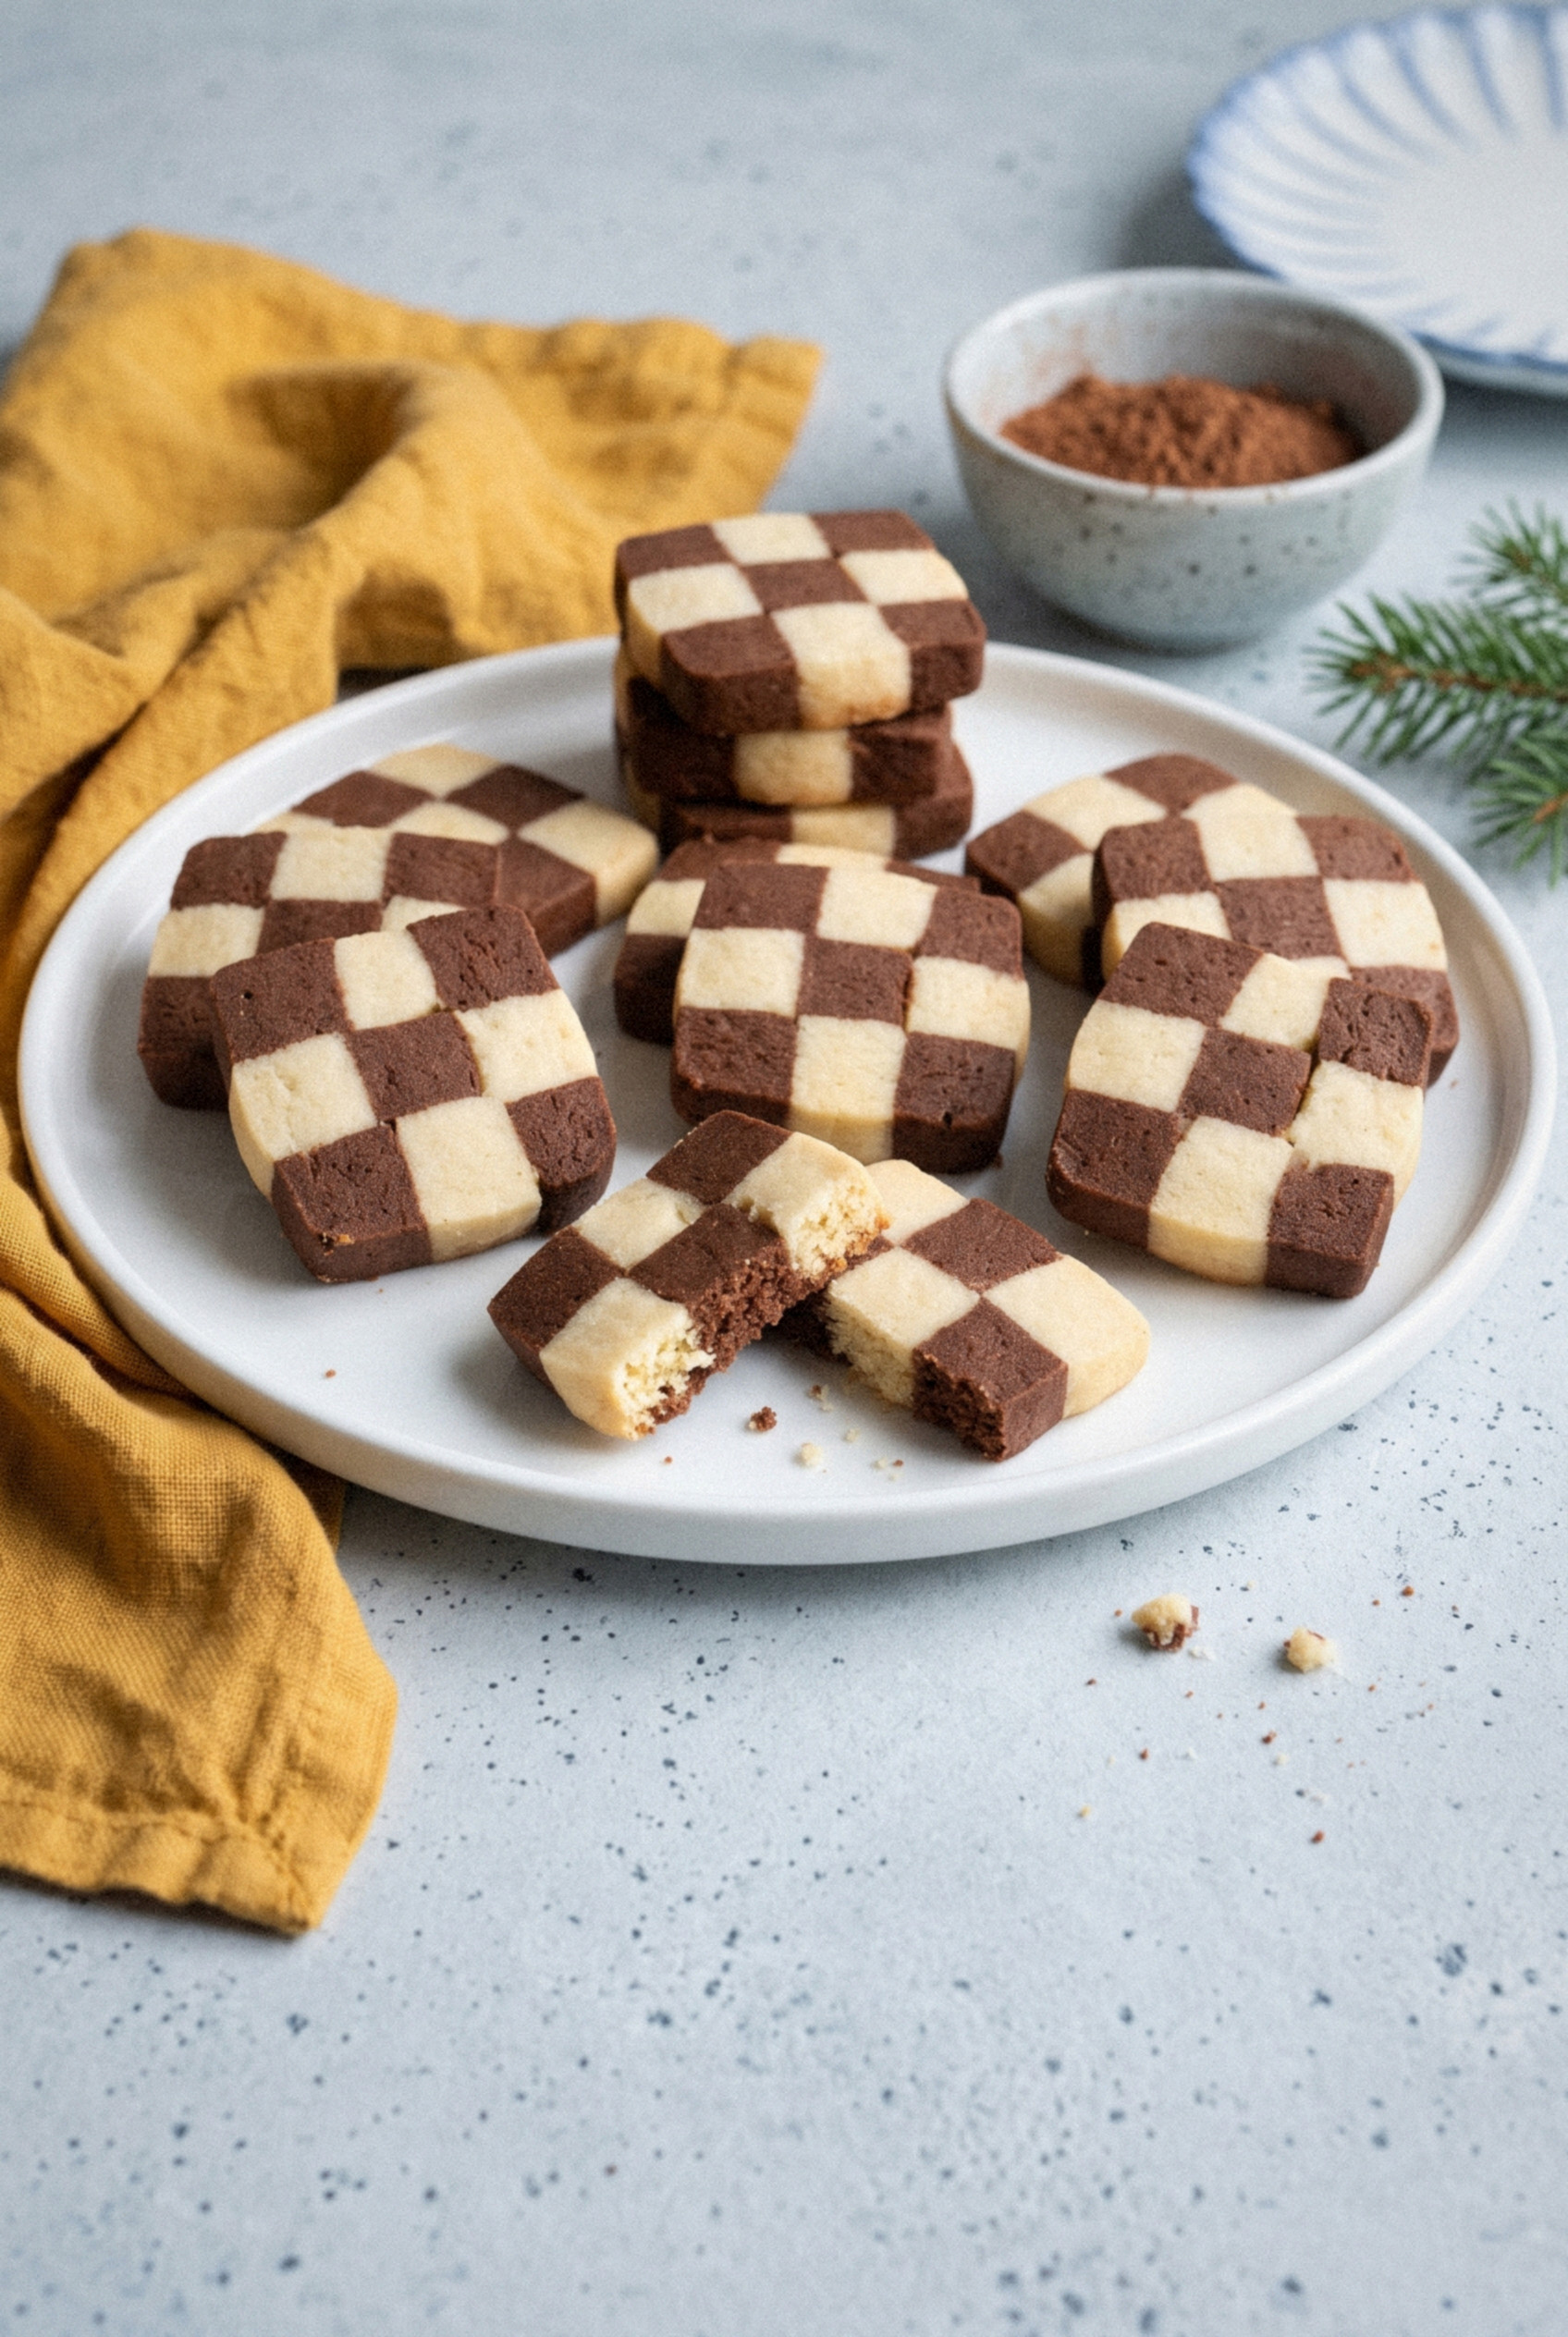
Ingredients
Everything here is a pantry staple. What matters is how you shape it, not what goes in it.
- Unsalted butter (1 cup). Softened to room temperature so it creams smoothly. It gives the cookies that rich, sandy, melt-in-your-mouth crumb.
- Granulated sugar (1 cup). Keeps the vanilla squares pale and the edges crisp.
- Egg plus egg yolk (1 each). The extra yolk adds richness. Save the leftover white, because it's the glue that holds the checkerboard together.
- Vanilla extract (1 ½ teaspoons). The main flavor of the light squares, so use the real stuff.
- All-purpose flour (2 ¾ cups). Spoon and level it. Too much flour makes a dough that cracks when you cut strips.
- Baking powder (½ teaspoon). Just a little. More would puff the cookies and blur the squares.
- Salt (½ teaspoon). Balances the sweetness and deepens the chocolate.
- Unsweetened cocoa powder (¼ cup). Dutch-process gives a darker square, natural cocoa gives a reddish-brown one. Both work.
- Milk (1 tablespoon). Goes into the cocoa half so it stays as soft as the vanilla half.
- Coarse sparkling sugar (optional). For a sparkly, crunchy border around each cookie.
One Dough, Two Colors
Splitting one dough is the secret to squares that line up. Two separate recipes almost never end up the same softness.
When both halves start from the same base, they chill at the same rate, cut the same way, and spread the same amount in the oven.
The cocoa does dry out its half a little, which is why the milk goes in. Skip it and the chocolate strips crack while the vanilla ones bend.
Pro tip: Weigh the dough before you split it. A kitchen scale gets you two halves within a few grams, and even halves mean even strips.
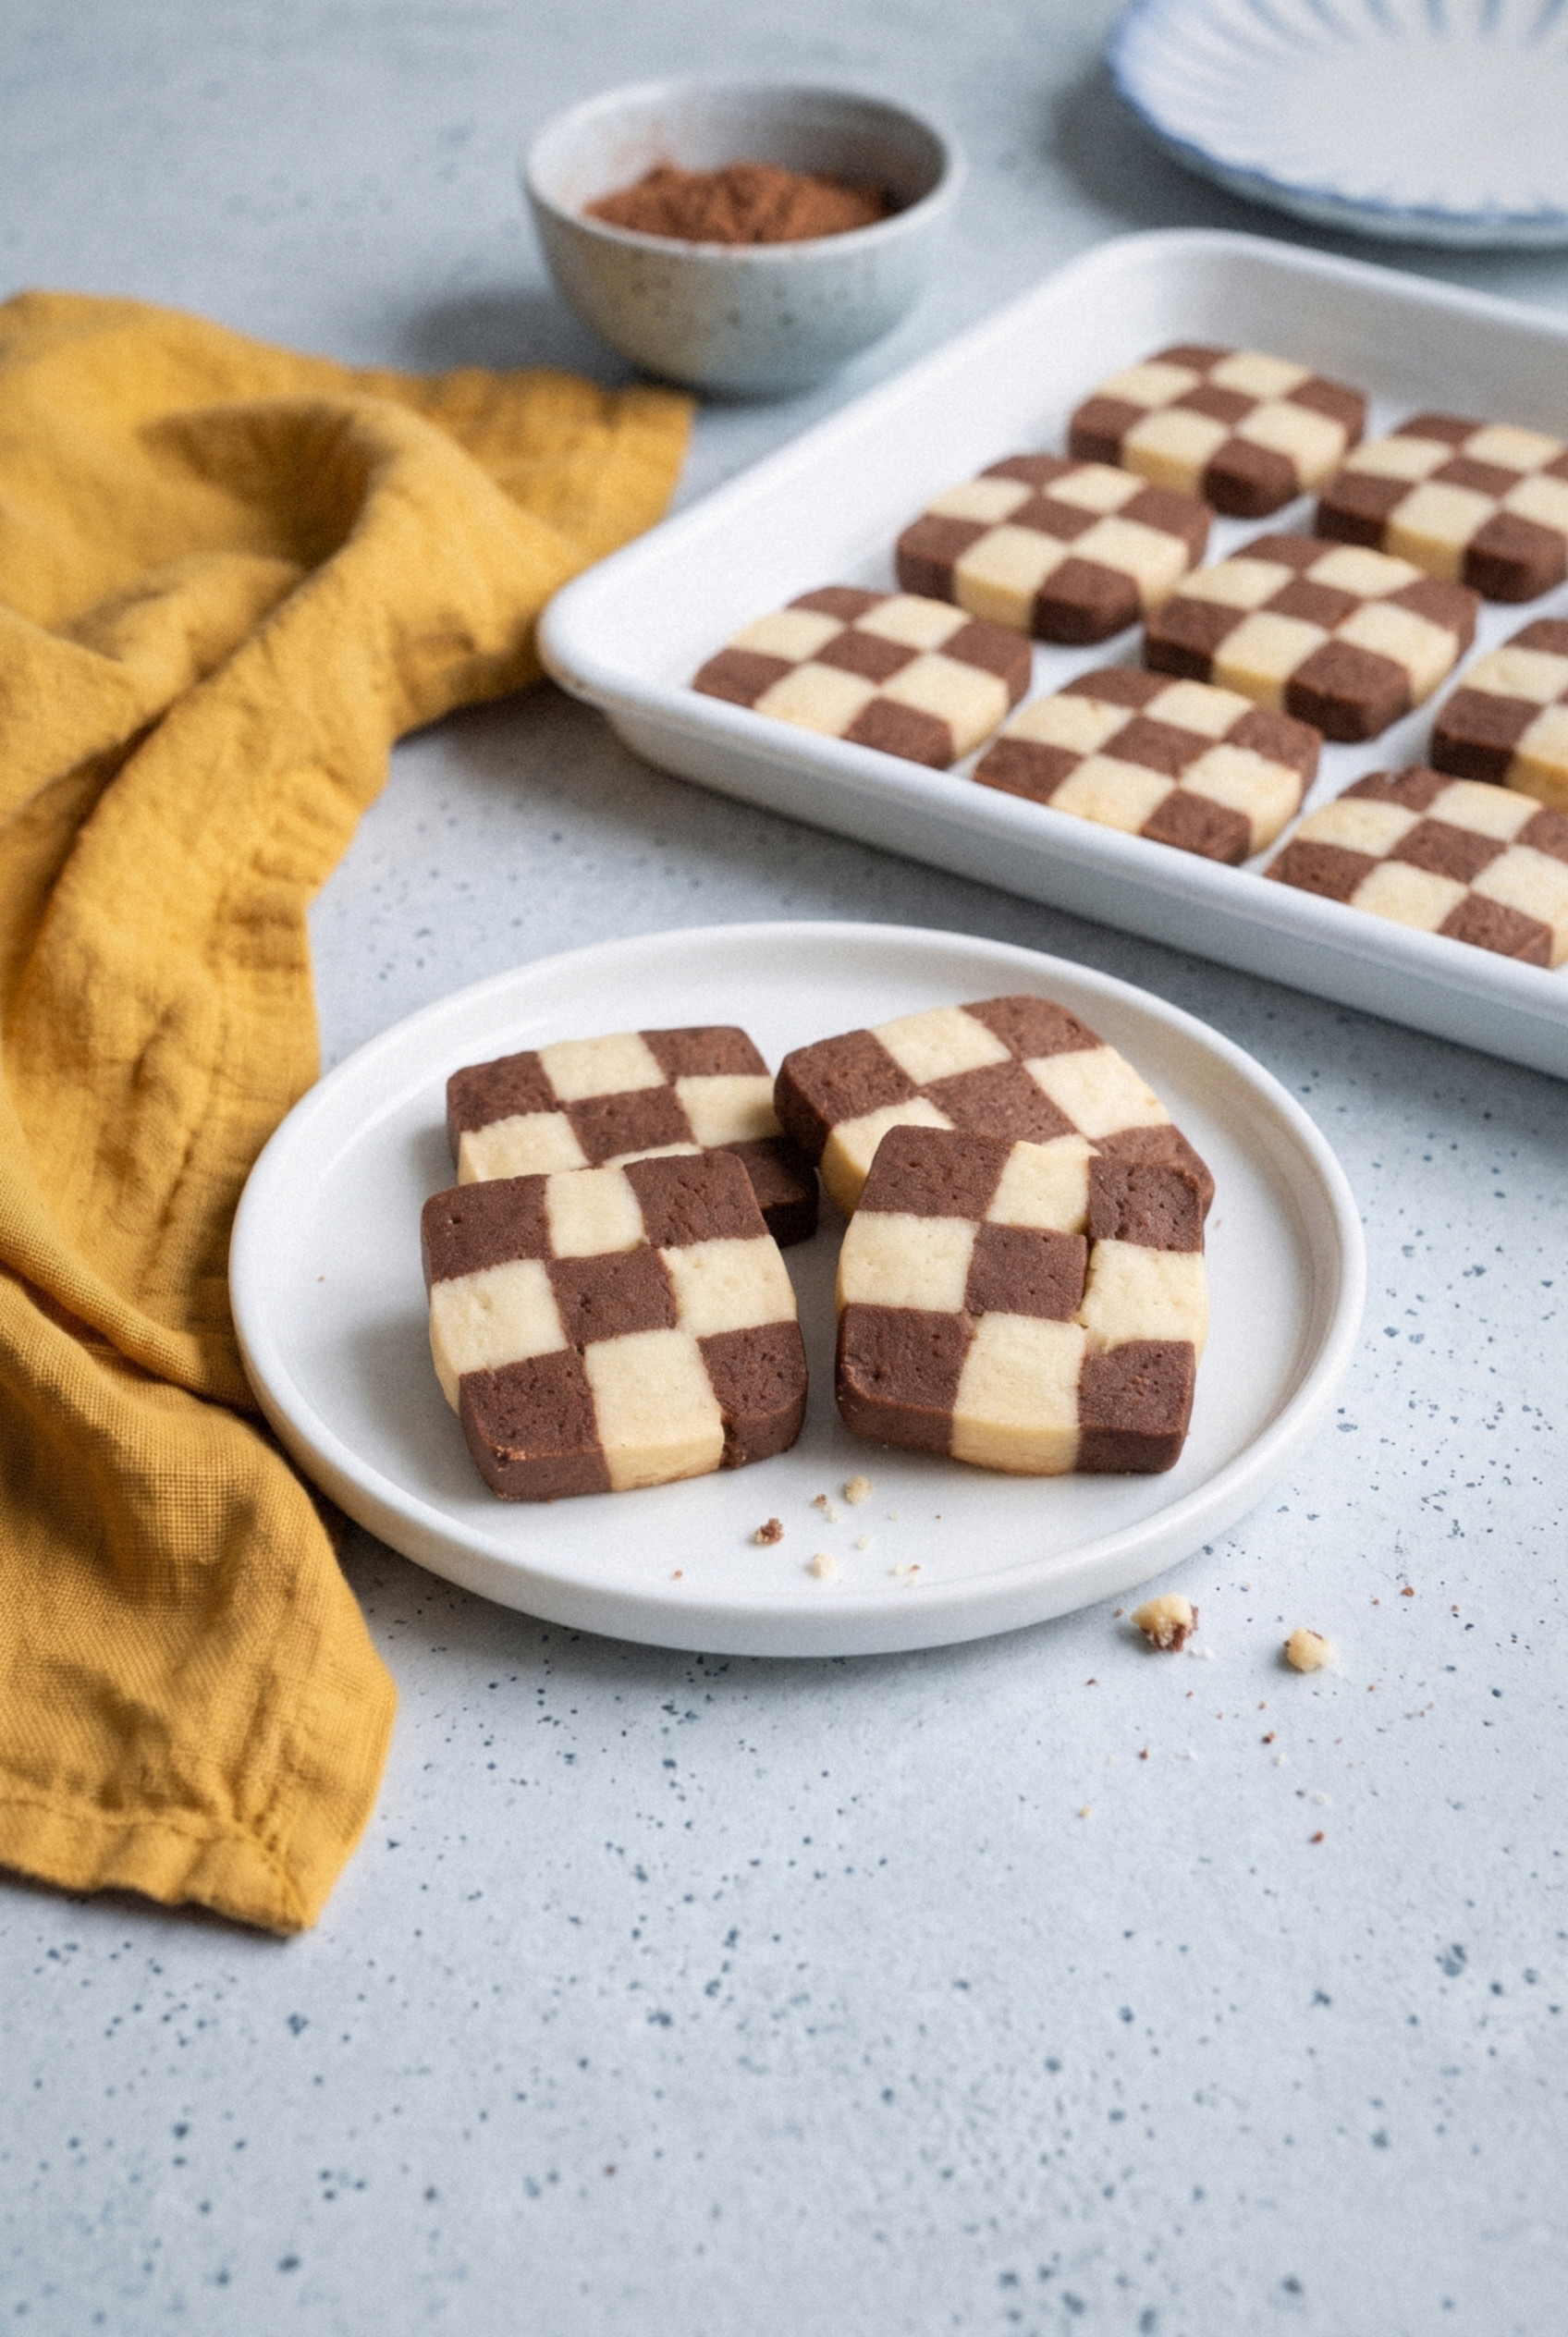
How to Make Christmas Checkerboard Cookies
It looks like a lot of steps, but each one is simple. Most of the time is the dough chilling while you do something else.
Step 1: Make and Divide the Dough
Beat the butter and sugar on medium speed for 2-3 minutes, until light and fluffy. Add the whole egg, the yolk, and the vanilla, and beat until smooth. Set the extra egg white aside in a small bowl.
Whisk the flour, baking powder, and salt together, then mix them in on low speed just until the dough comes together.
Divide the dough into two equal halves. Return one half to the mixer and beat in the cocoa powder and milk until the color is even, with no streaks.
Step 2: Roll and Chill the Slabs
Place each half between two sheets of parchment and roll or press it into a 10 x 4 inch rectangle, about ½ inch thick. Use a ruler and square off the sides with a bench scraper.
Slide both slabs onto a flat tray and chill for 1 hour, until firm but not rock hard.
Don't over-chill here. Dough that's too cold cracks when you cut the strips.
Step 3: Cut Strips and Build the Checkerboard
Trim the edges so each slab is exactly 4 inches wide. Cut each slab lengthwise into 8 strips, each ½ inch wide, so you have 8 vanilla and 8 chocolate.
Lay 4 strips side by side on parchment, alternating vanilla and chocolate, and brush the tops and sides with egg white. Add a second row on top, placing chocolate over vanilla and vanilla over chocolate.
Repeat until you have 4 rows, brushing with egg white between each one. You'll end up with a square log about 2 inches on each side. Press all four sides gently with your palms or a bench scraper to close any gaps.
Step 4: Chill, Slice and Bake
Wrap the log in parchment and chill for at least 1 hour, until firm enough to slice cleanly. Heat the oven to 350°F and line a baking sheet with parchment.
If you want a sparkly border, brush the outside of the log with egg white and roll it in coarse sugar. Slice into ¼ inch squares with a sharp knife and space them 1 inch apart.
Bake for 10-12 minutes, until the vanilla squares are set and the edges are just barely golden. Cool on the sheet for 5 minutes, then move to a wire rack.
Worried they look underdone? They aren't. They firm up as they cool.
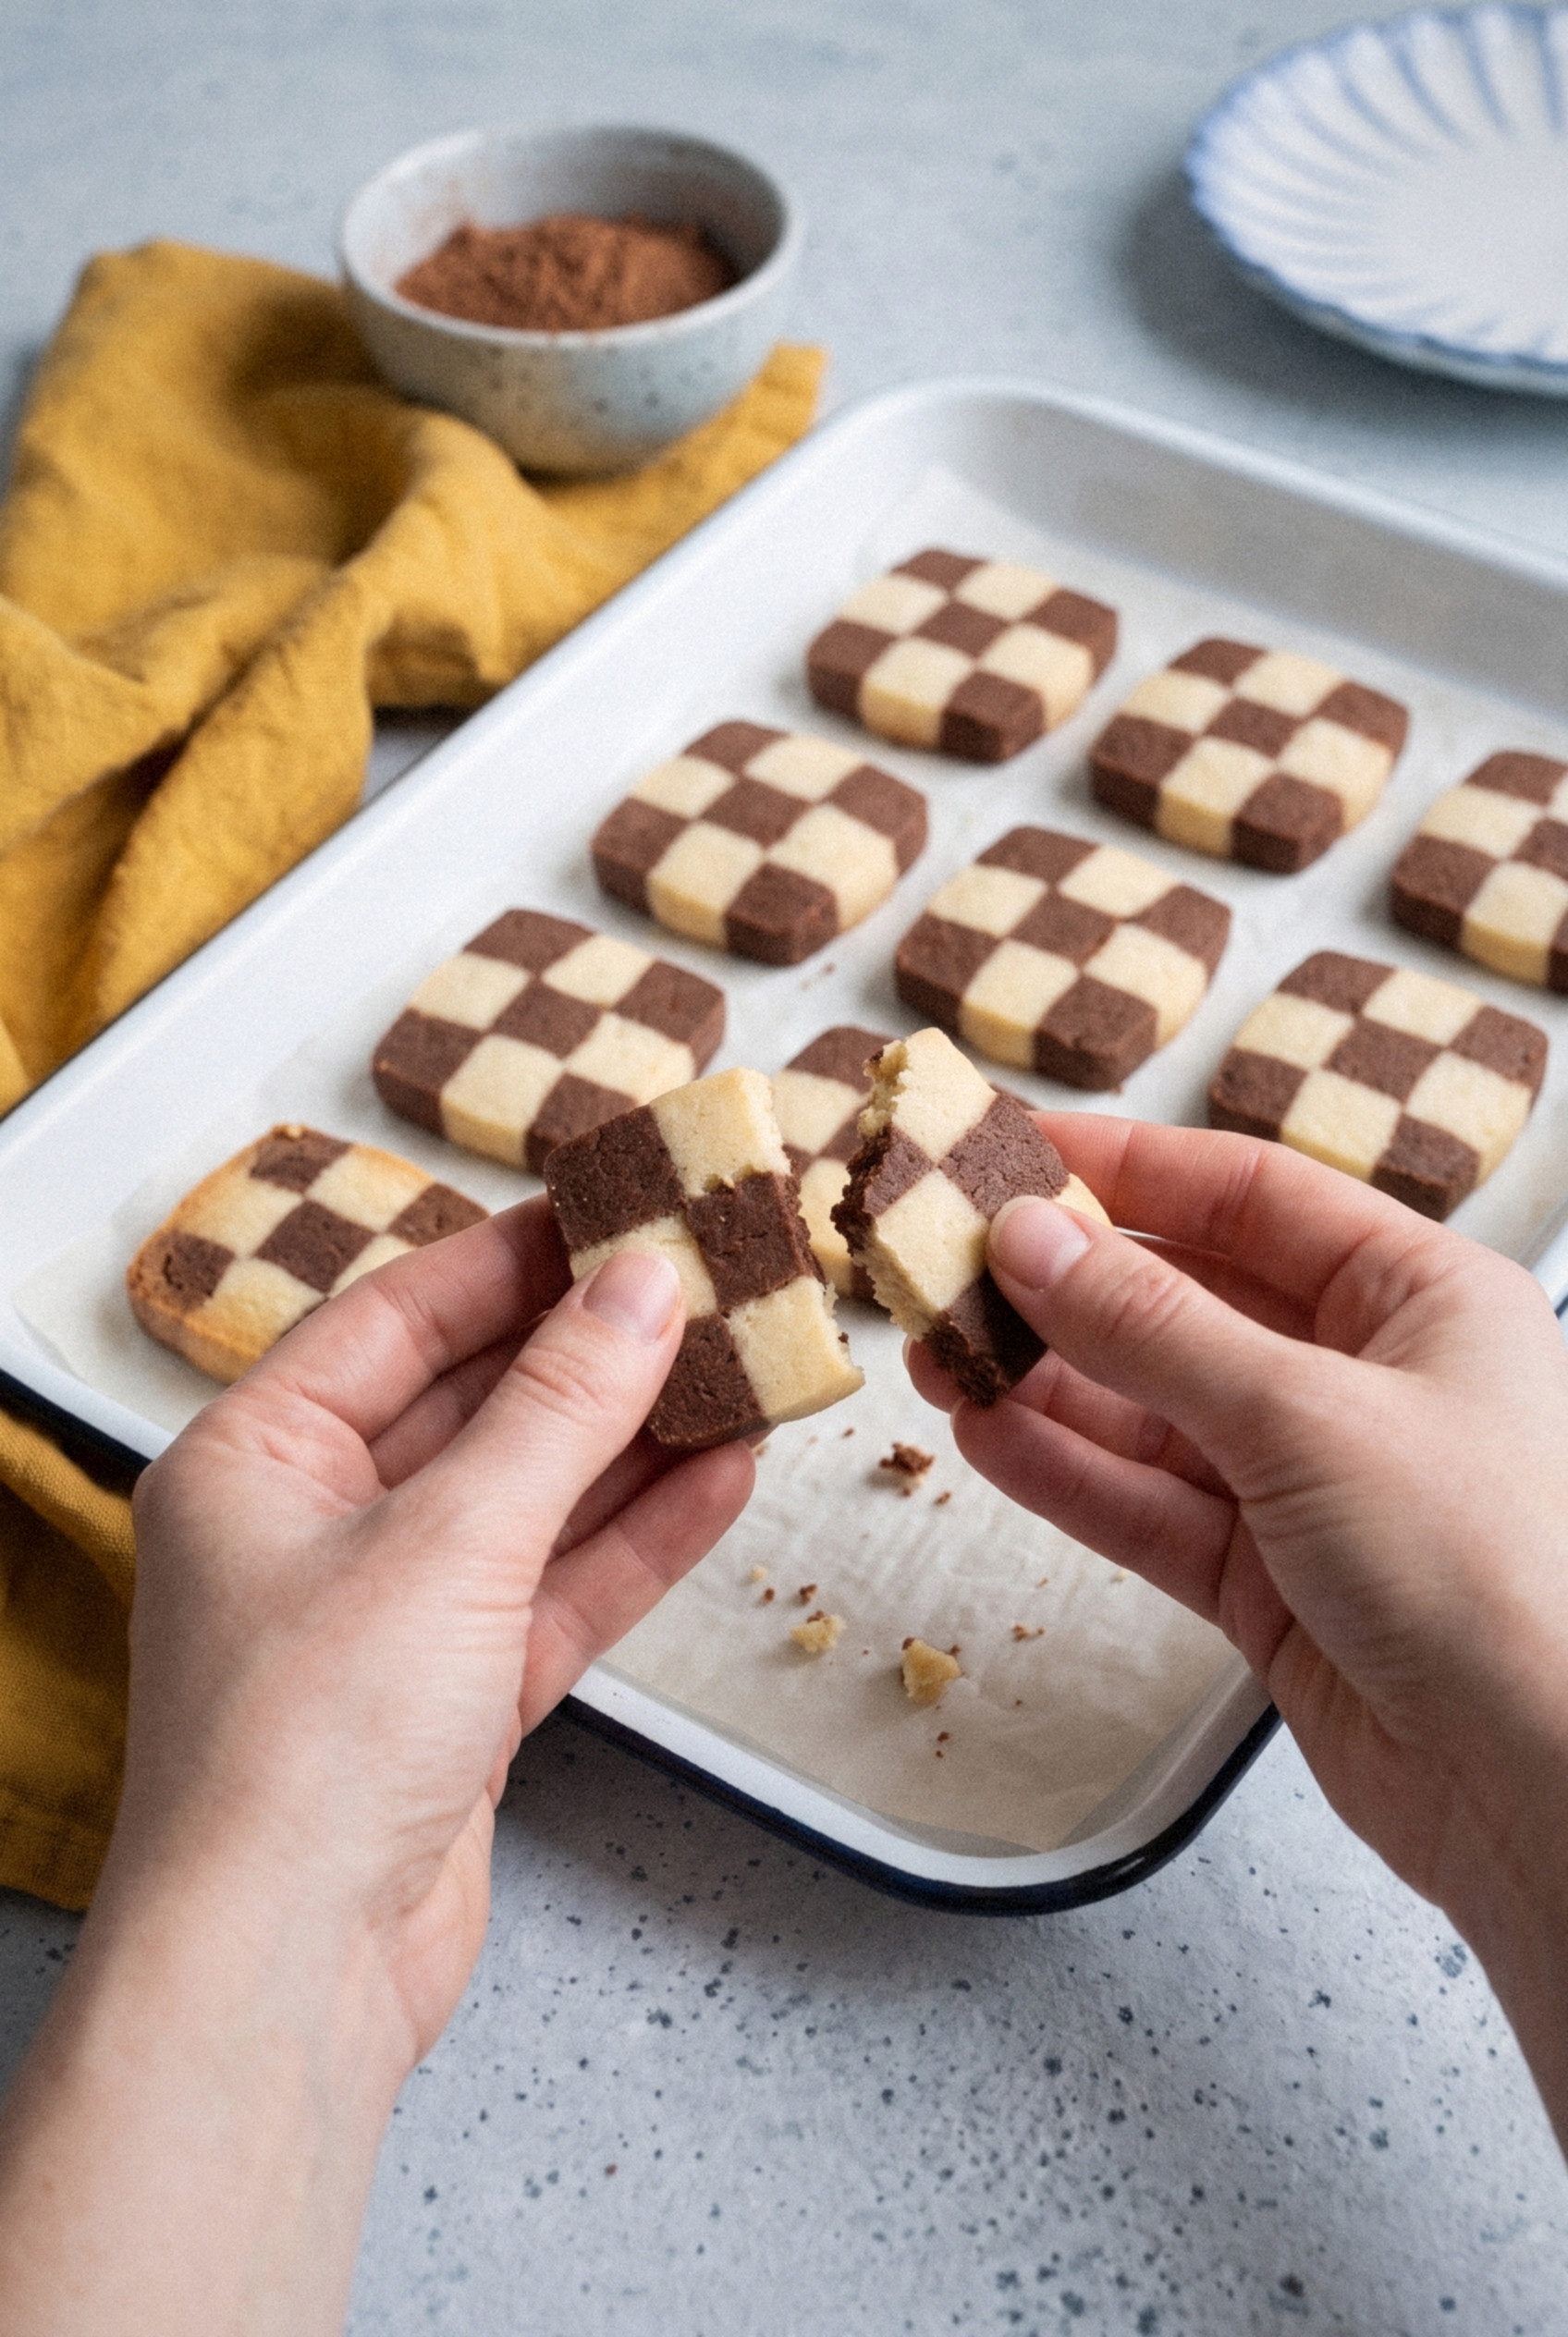
Tips for Sharp Squares
Neat squares come from even strips and cold dough. These are the things that made the biggest difference for me.
- Measure everything. A ruler is your best friend here. Even strips are what make the grid.
- Use the egg white. Brush every layer. Without it, the squares separate when you slice.
- Press firmly. Gaps inside the log turn into holes in the cookies.
- Wipe the knife. Clean it every few slices so cocoa doesn't smear onto the vanilla squares.
- Rotate the log. A quarter turn every few slices keeps the log square instead of squashed.
- Re-chill if needed. If the log softens while you're slicing, give it 10 minutes in the freezer.
- Imperfect is still delicious. A wobbly grid tastes exactly the same. Nobody has ever turned one down.
Variations
Once you've built one log, you can play with the colors and flavors. The method stays exactly the same.
- Red and green Christmas checkerboards. Skip the cocoa. Tint one half with red gel coloring and the other with green for a true Christmas look.
- Mint chocolate. Add 1 teaspoon peppermint extract to the vanilla half and a drop of green gel coloring.
- Espresso chocolate. Stir 1 teaspoon instant espresso powder into the cocoa half for a deeper chocolate flavor.
- Matcha and strawberry. Use matcha powder for one half and ground freeze-dried strawberries for the other.
- Pinwheels. Stack the two slabs, roll them up into a spiral log, and slice. Same dough, easier shaping.
- Eggless. I haven't tested an eggless version of this exact recipe. Egg-free shortbread doughs are the usual starting point if you need one.
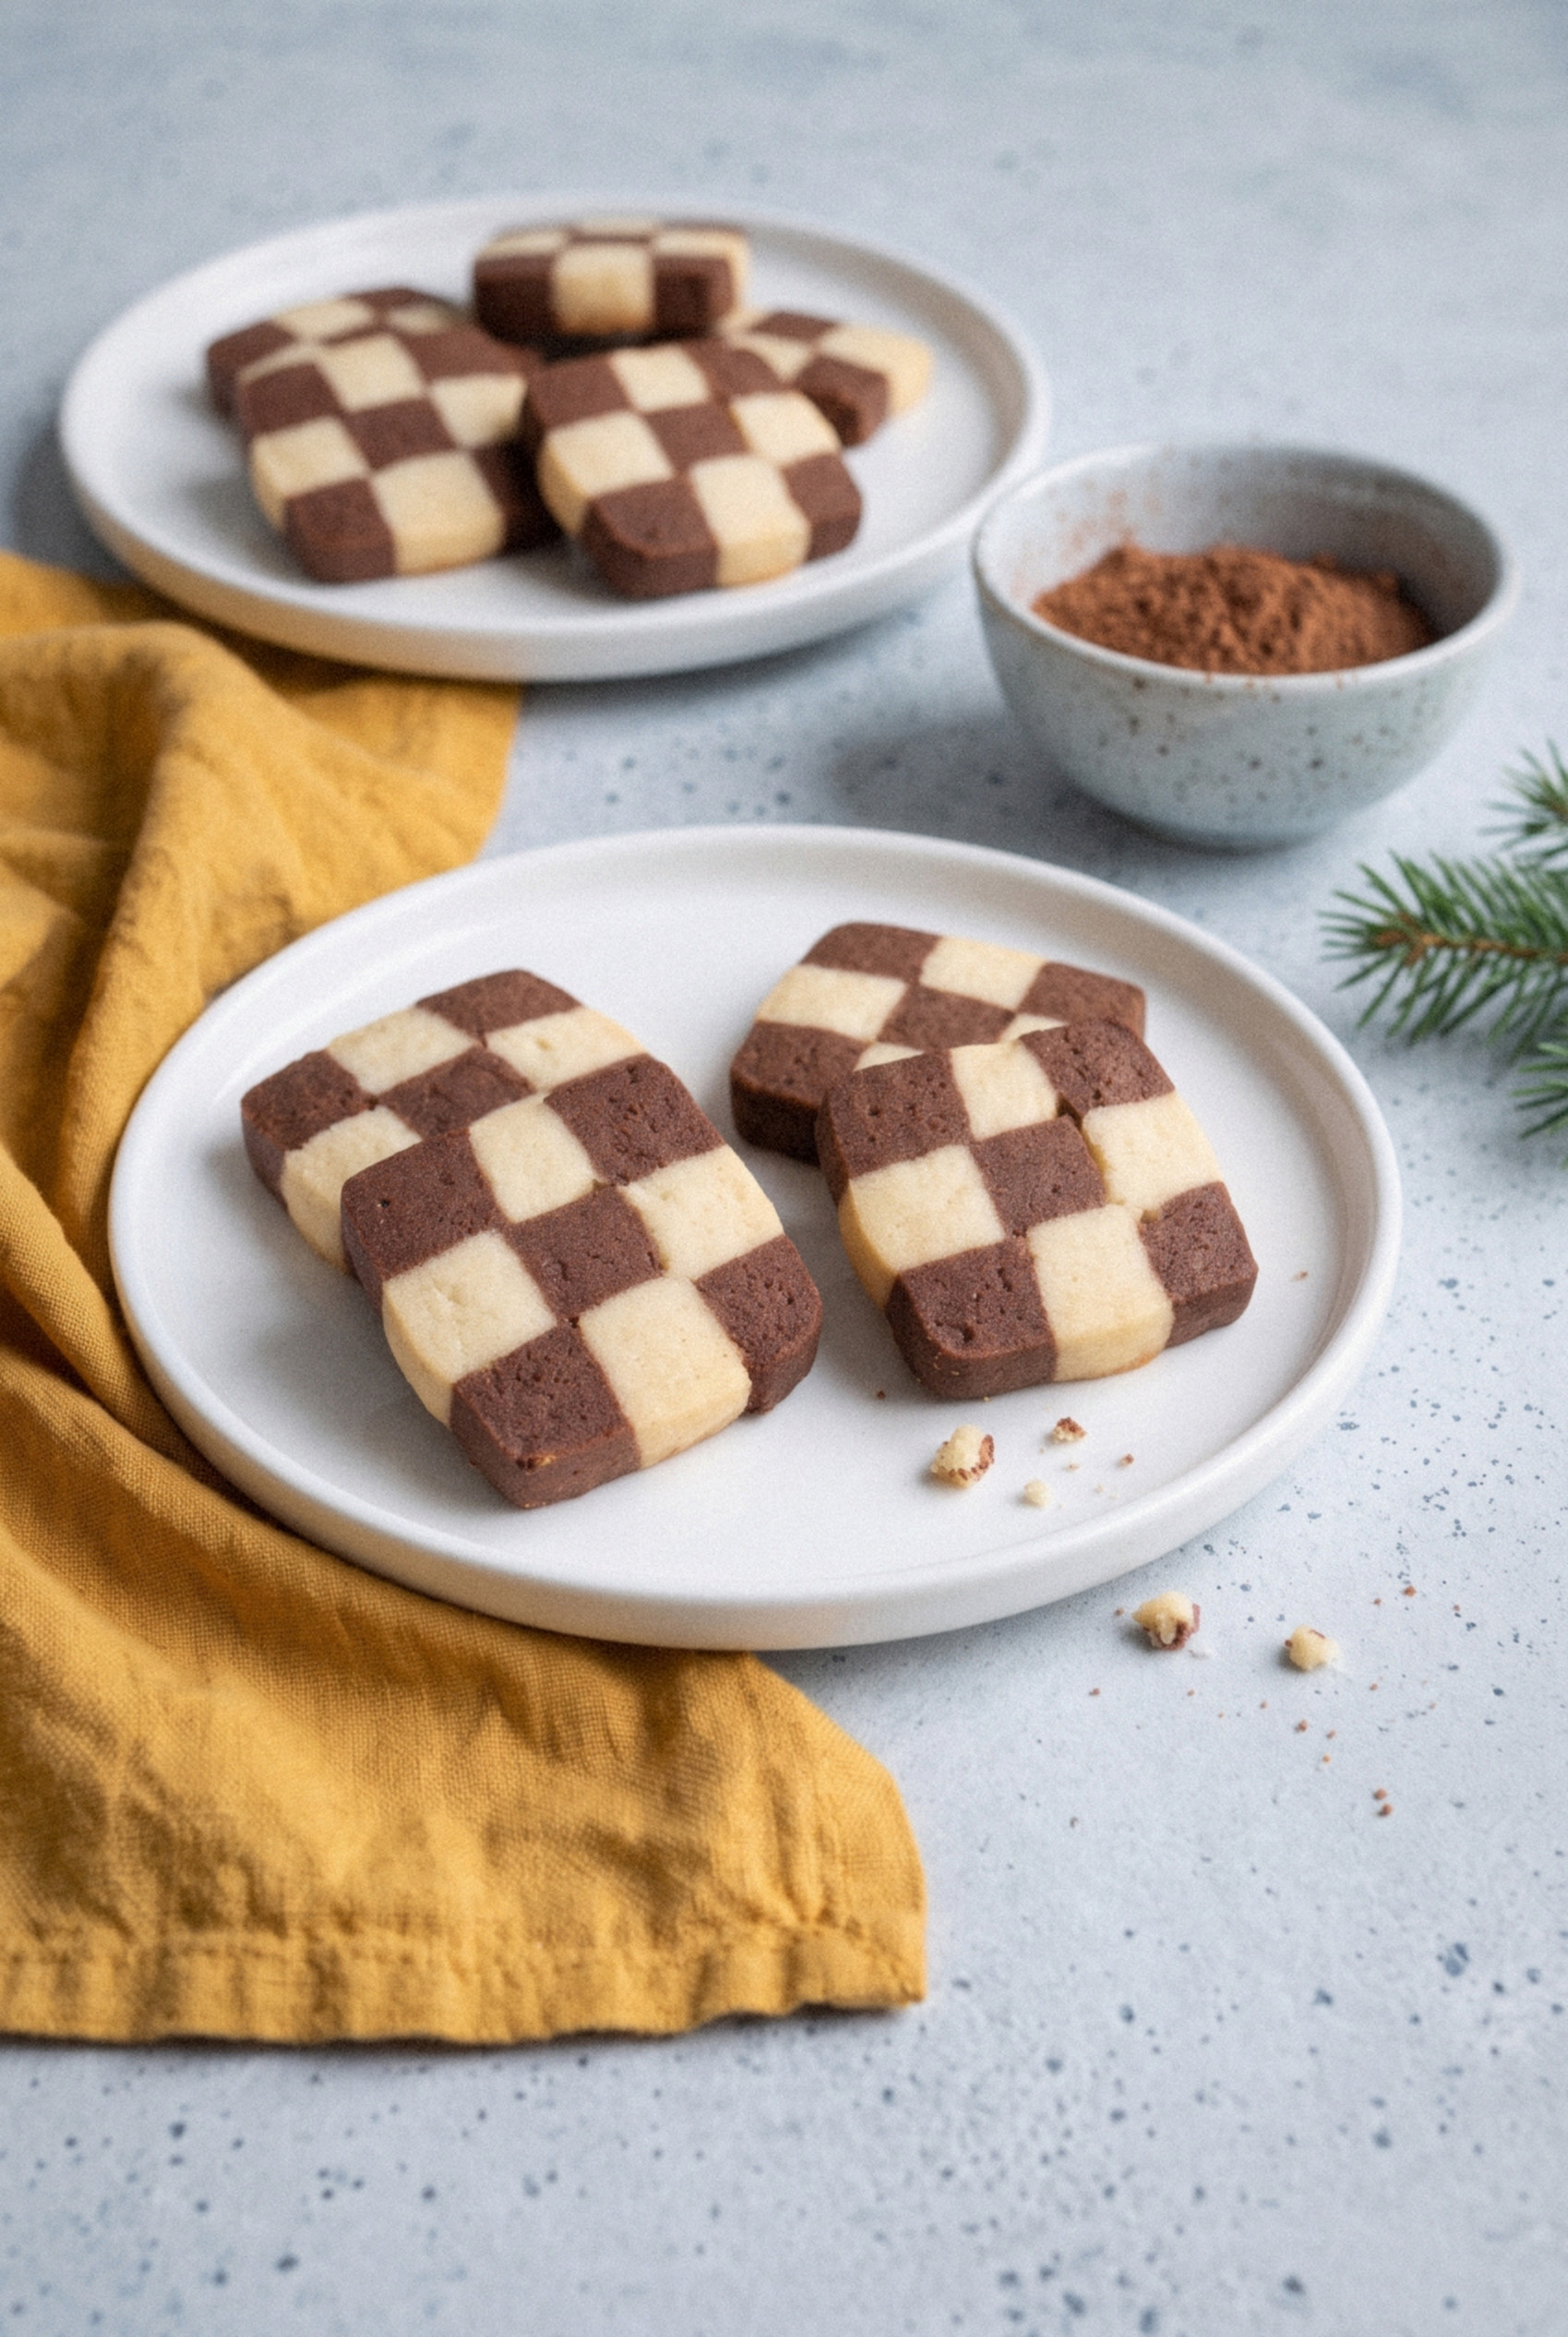
Troubleshooting
Most checkerboard problems come down to temperature. Here's how to fix the common ones.
- Squares smear when slicing. The log is too warm. Chill it longer and wipe the knife between cuts.
- The log splits apart. Not enough egg white or not enough pressure. Brush every layer and press the sides firmly.
- Chocolate strips crack. The cocoa half is too dry. Next time add the full tablespoon of milk, or a teaspoon more.
- Cookies puffed and lost the pattern. Too much baking powder or too-warm dough. Stick with ½ teaspoon and bake straight from the fridge.
Make Ahead and Storage
This is a great way to get ahead on holiday baking. Build the log one day and bake whenever it suits you.
- Unbaked log, refrigerated. Wrapped tightly, it keeps for up to 3 days.
- Unbaked log, frozen. Wrap in plastic and then foil for up to 3 months. Let it sit on the counter for 10-15 minutes before slicing.
- Baked cookies. Store airtight at room temperature for up to 1 week, with parchment between layers.
- Frozen baked cookies. Freeze for up to 3 months and thaw on the counter.
A Little Background
Checkerboard cookies have been on European Christmas plates for a long time. In Germany they're called Schwarz-Weiss Geback, which means "black and white pastry."
The French make a similar butter cookie called a sable, and you'll find checkerboard versions in Swedish and Japanese bakeries too.
What they all share is a simple butter dough and a little patience. Who doesn't love a cookie with that kind of history?
What to Serve With Them
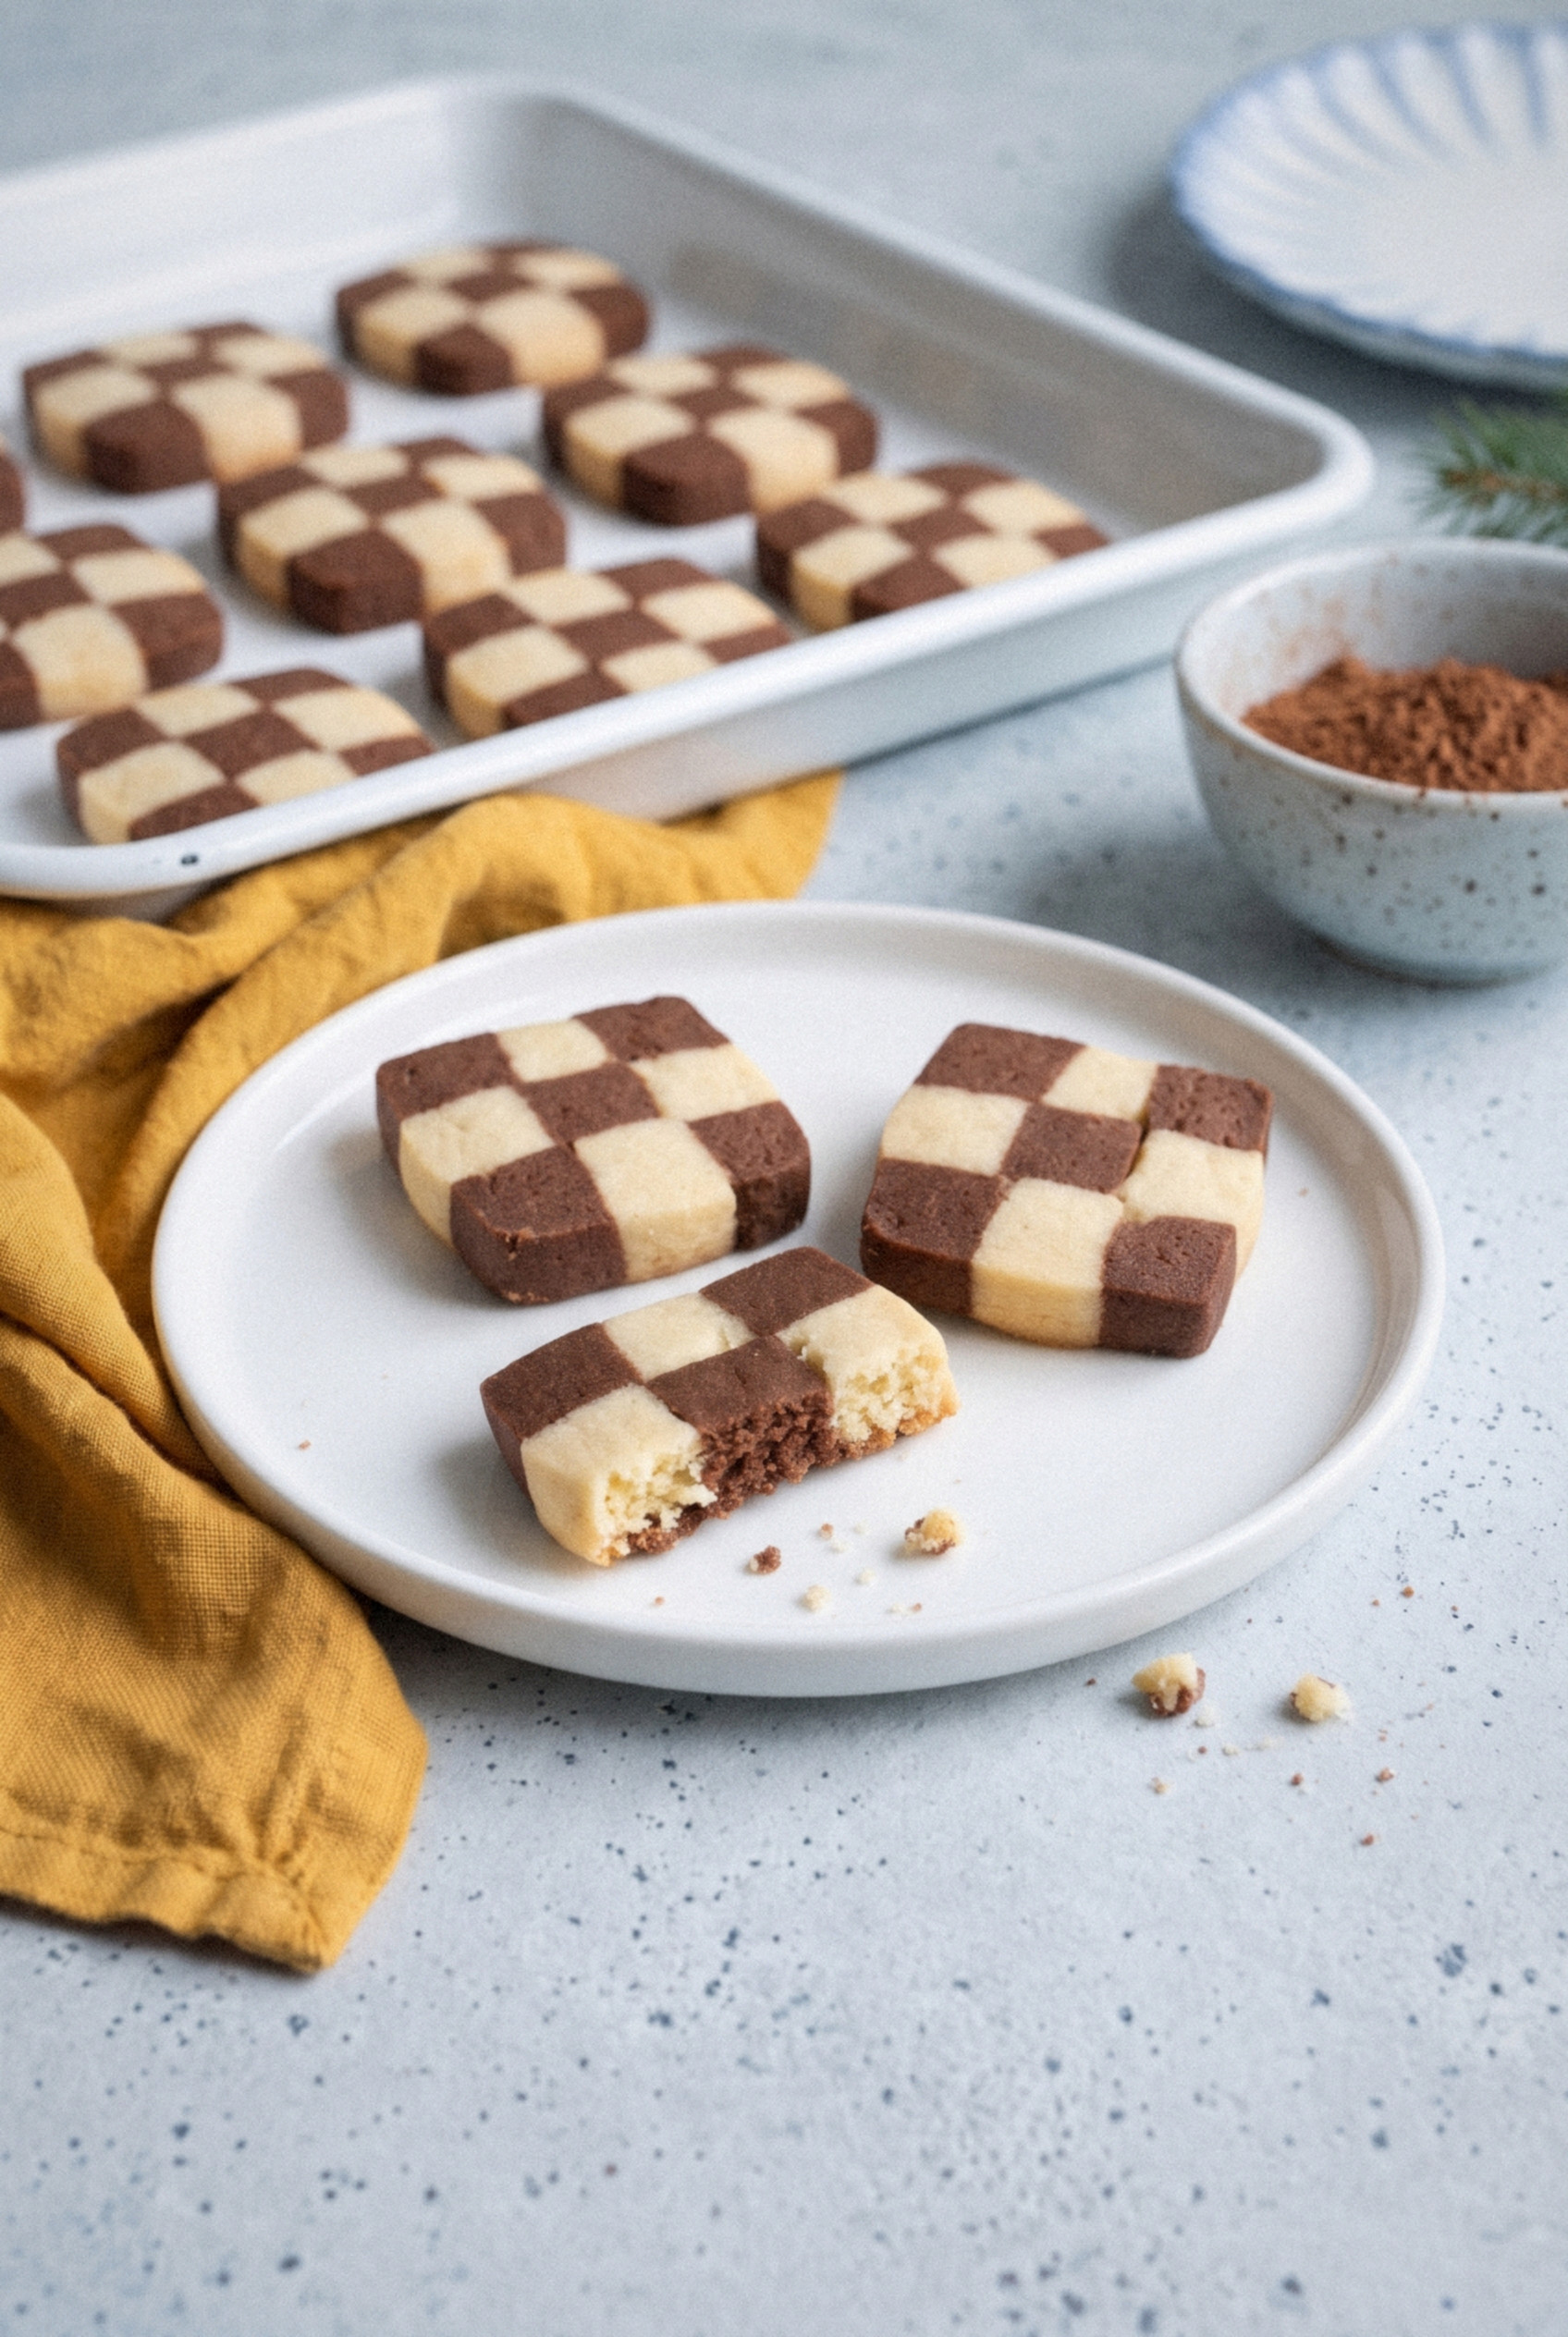
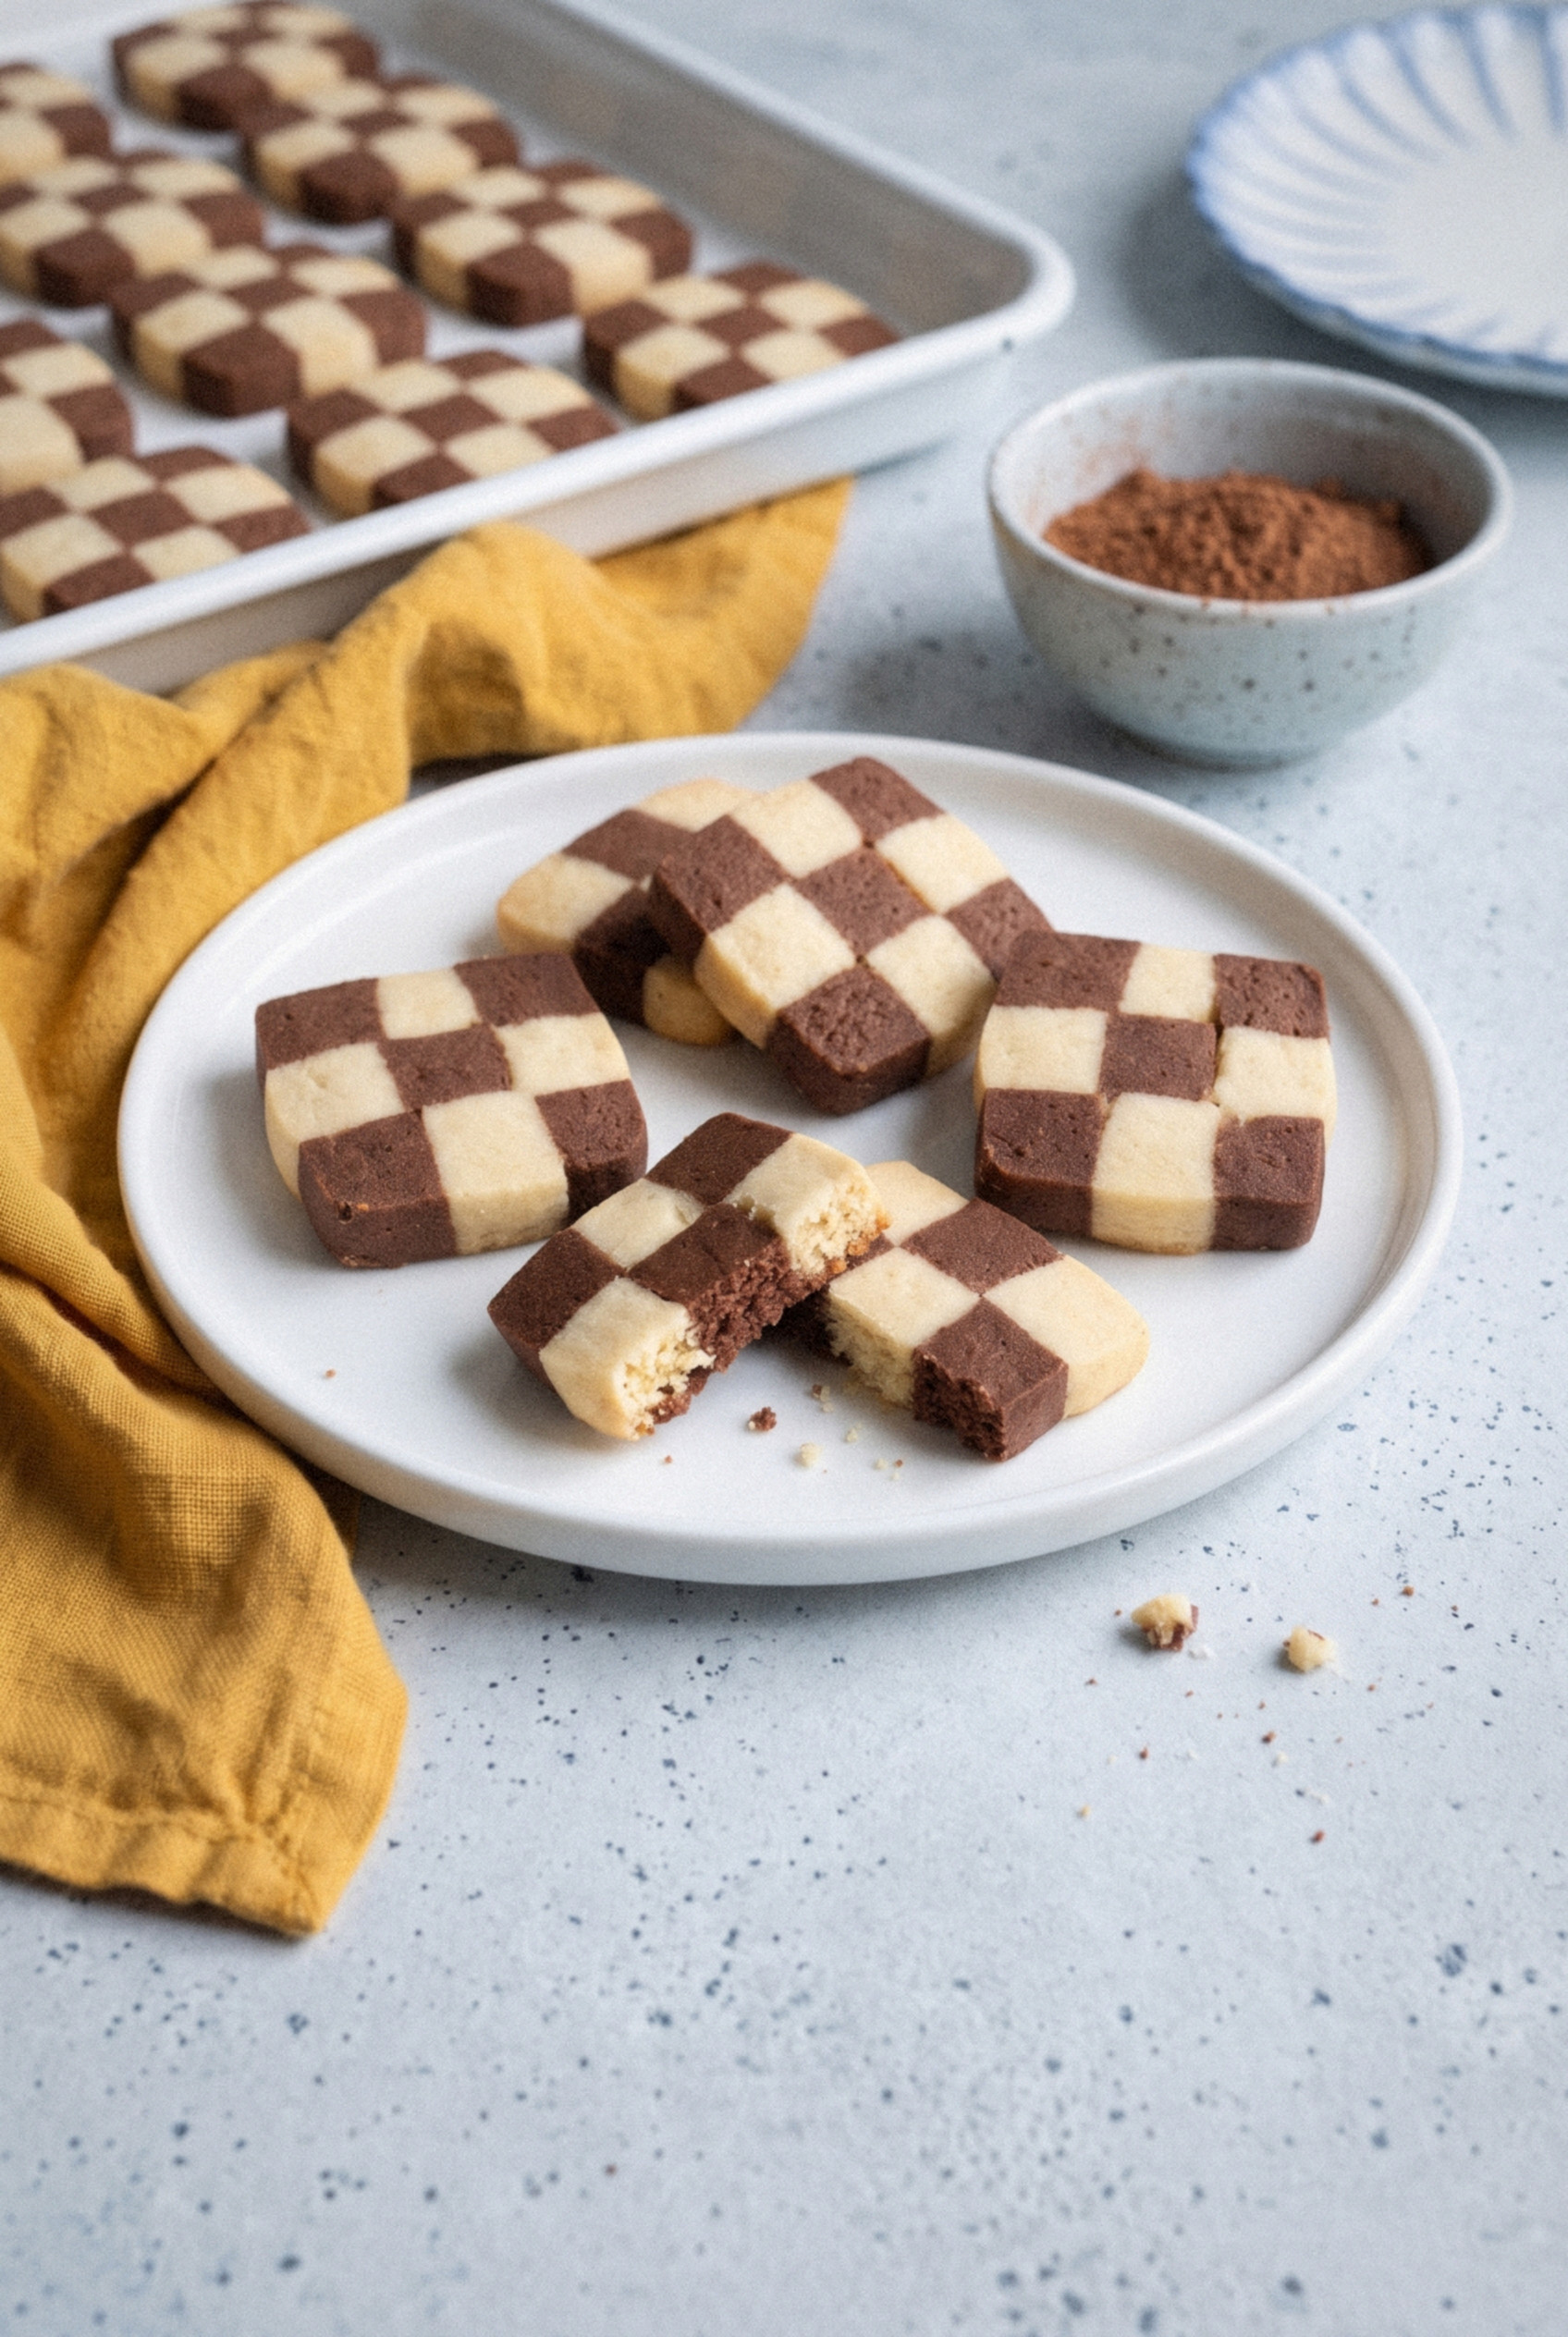
These are a crowd-pleaser on any holiday cookie tray. The crisp edges and buttery crumb pair perfectly with a warm drink.
- Hot cocoa or coffee. The chocolate squares and a mug of cocoa are a match made in heaven.
- Cold milk. Classic for a reason.
- A mixed cookie tray. Their sharp pattern looks great next to round cookies like snowballs and thumbprints.
Recipe
Christmas Checkerboard Cookies
Ingredients
For the Base Dough
- 1 cup unsalted butter softened (226 g)
- 1 cup granulated sugar (200 g)
- 1 large egg room temperature
- 1 large egg yolk save the white for assembling
- 1 ½ teaspoons vanilla extract
- 2 ¾ cups all-purpose flour spooned and leveled (345 g)
- ½ teaspoon baking powder
- ½ teaspoon salt
For the Chocolate Half
- ¼ cup unsweetened cocoa powder (21 g)
- 1 tablespoon milk
For Assembling
- 1 large egg white reserved from the yolk, lightly beaten
- ¼ cup coarse sparkling sugar optional
Instructions
Make and Divide the Dough
- Beat the butter and sugar on medium speed for 2 to 3 minutes until light and fluffy. Add the egg, egg yolk, and vanilla and beat until smooth. Reserve the extra egg white.
- Whisk the flour, baking powder, and salt together, then mix in on low speed just until the dough comes together.
- Divide the dough into two equal halves. Beat the cocoa powder and milk into one half until evenly colored.
Roll and Chill the Slabs
- Roll or press each half between parchment into a 10 x 4 inch rectangle about ½ inch thick, squaring the sides.
- Chill both slabs flat for 1 hour, until firm but not rock hard.
Build the Checkerboard
- Trim the slabs to exactly 4 inches wide and cut each lengthwise into 8 strips, ½ inch wide.
- Lay 4 strips side by side, alternating colors, and brush with egg white. Stack a second row on top with the colors reversed.
- Repeat to make 4 rows, brushing egg white between each, to form a log about 2 inches square. Press the sides firmly to close any gaps.
Chill, Slice and Bake
- Wrap the log in parchment and chill for at least 1 hour. Heat the oven to 350°F and line a baking sheet with parchment.
- If desired, brush the outside of the log with egg white and roll in coarse sugar. Slice ¼ inch thick and place 1 inch apart.
- Bake for 10 to 12 minutes, until the vanilla squares are set and the edges are just barely golden.
- Cool on the sheet for 5 minutes, then transfer to a wire rack to cool completely.
Notes
- Even halves: Weigh the dough before dividing for strips that line up.
- Egg white glue: Brush every layer so the squares stay together when sliced.
- Christmas colors: Skip the cocoa and milk and tint the halves red and green with gel coloring.
- Storage: Baked cookies keep airtight for 1 week. The unbaked log keeps 3 days refrigerated or 3 months frozen.