My kids have a tree-shaped cookie cutter they fight over every December, and last year it finally got a new job.
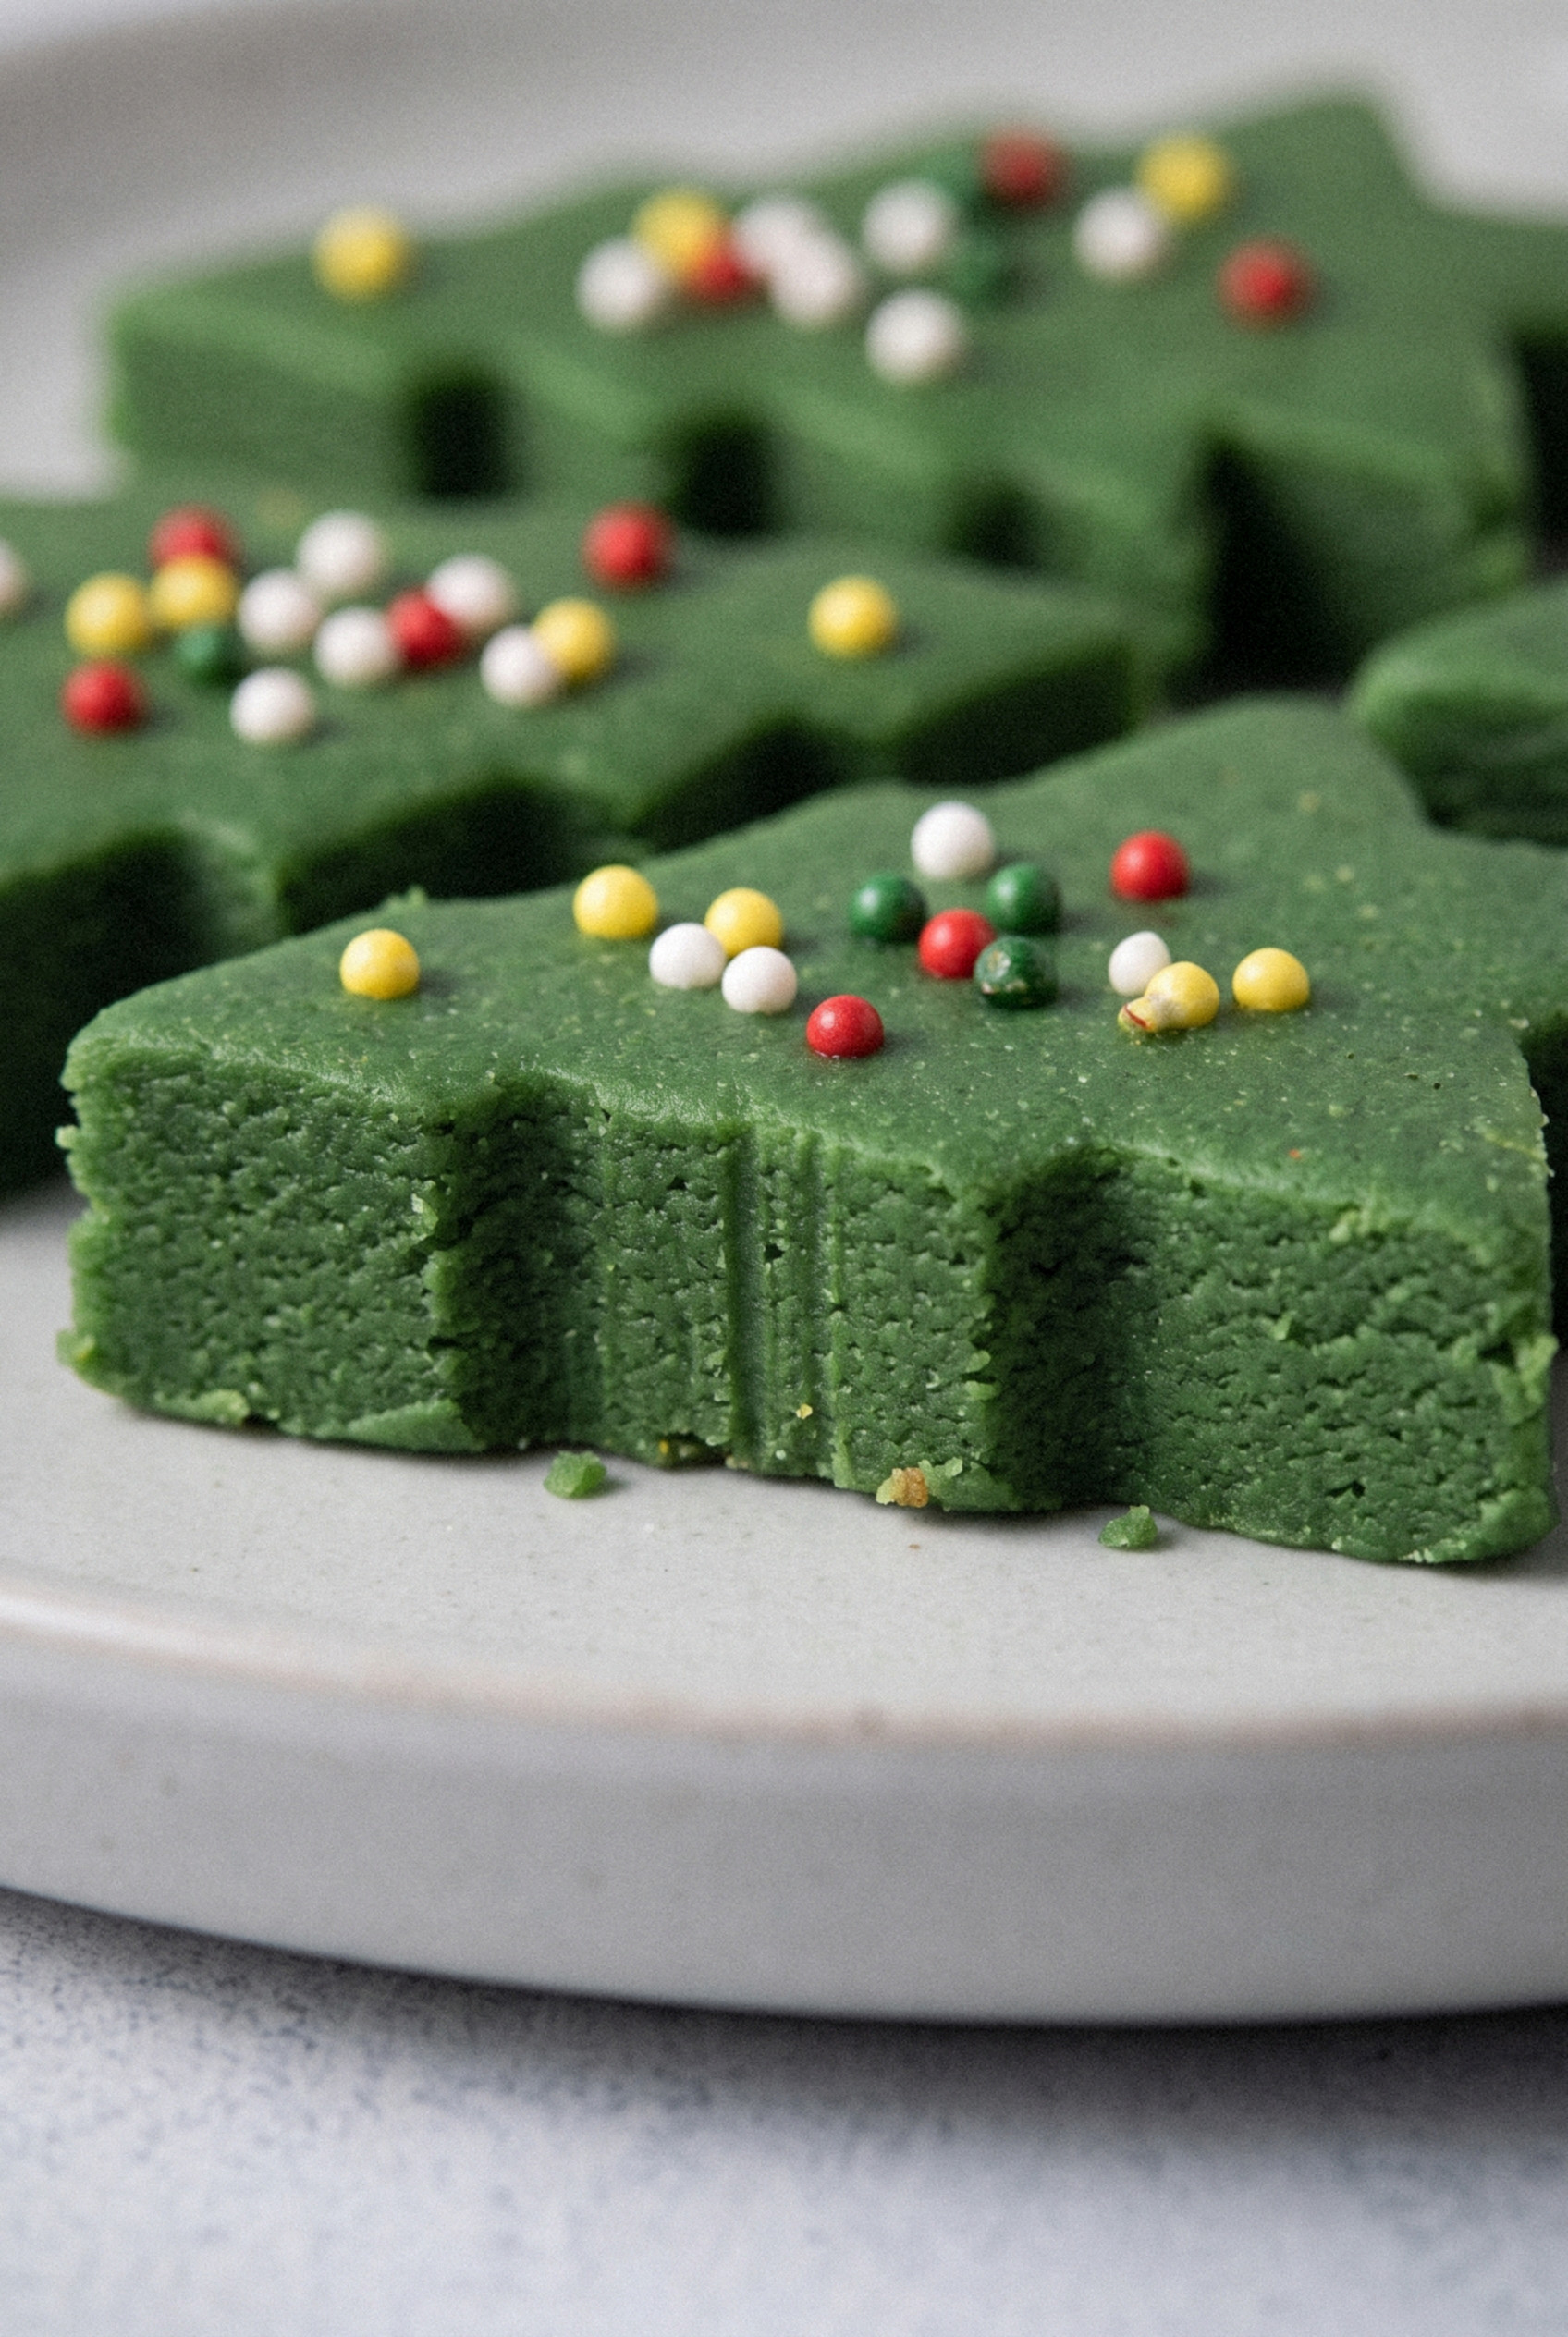
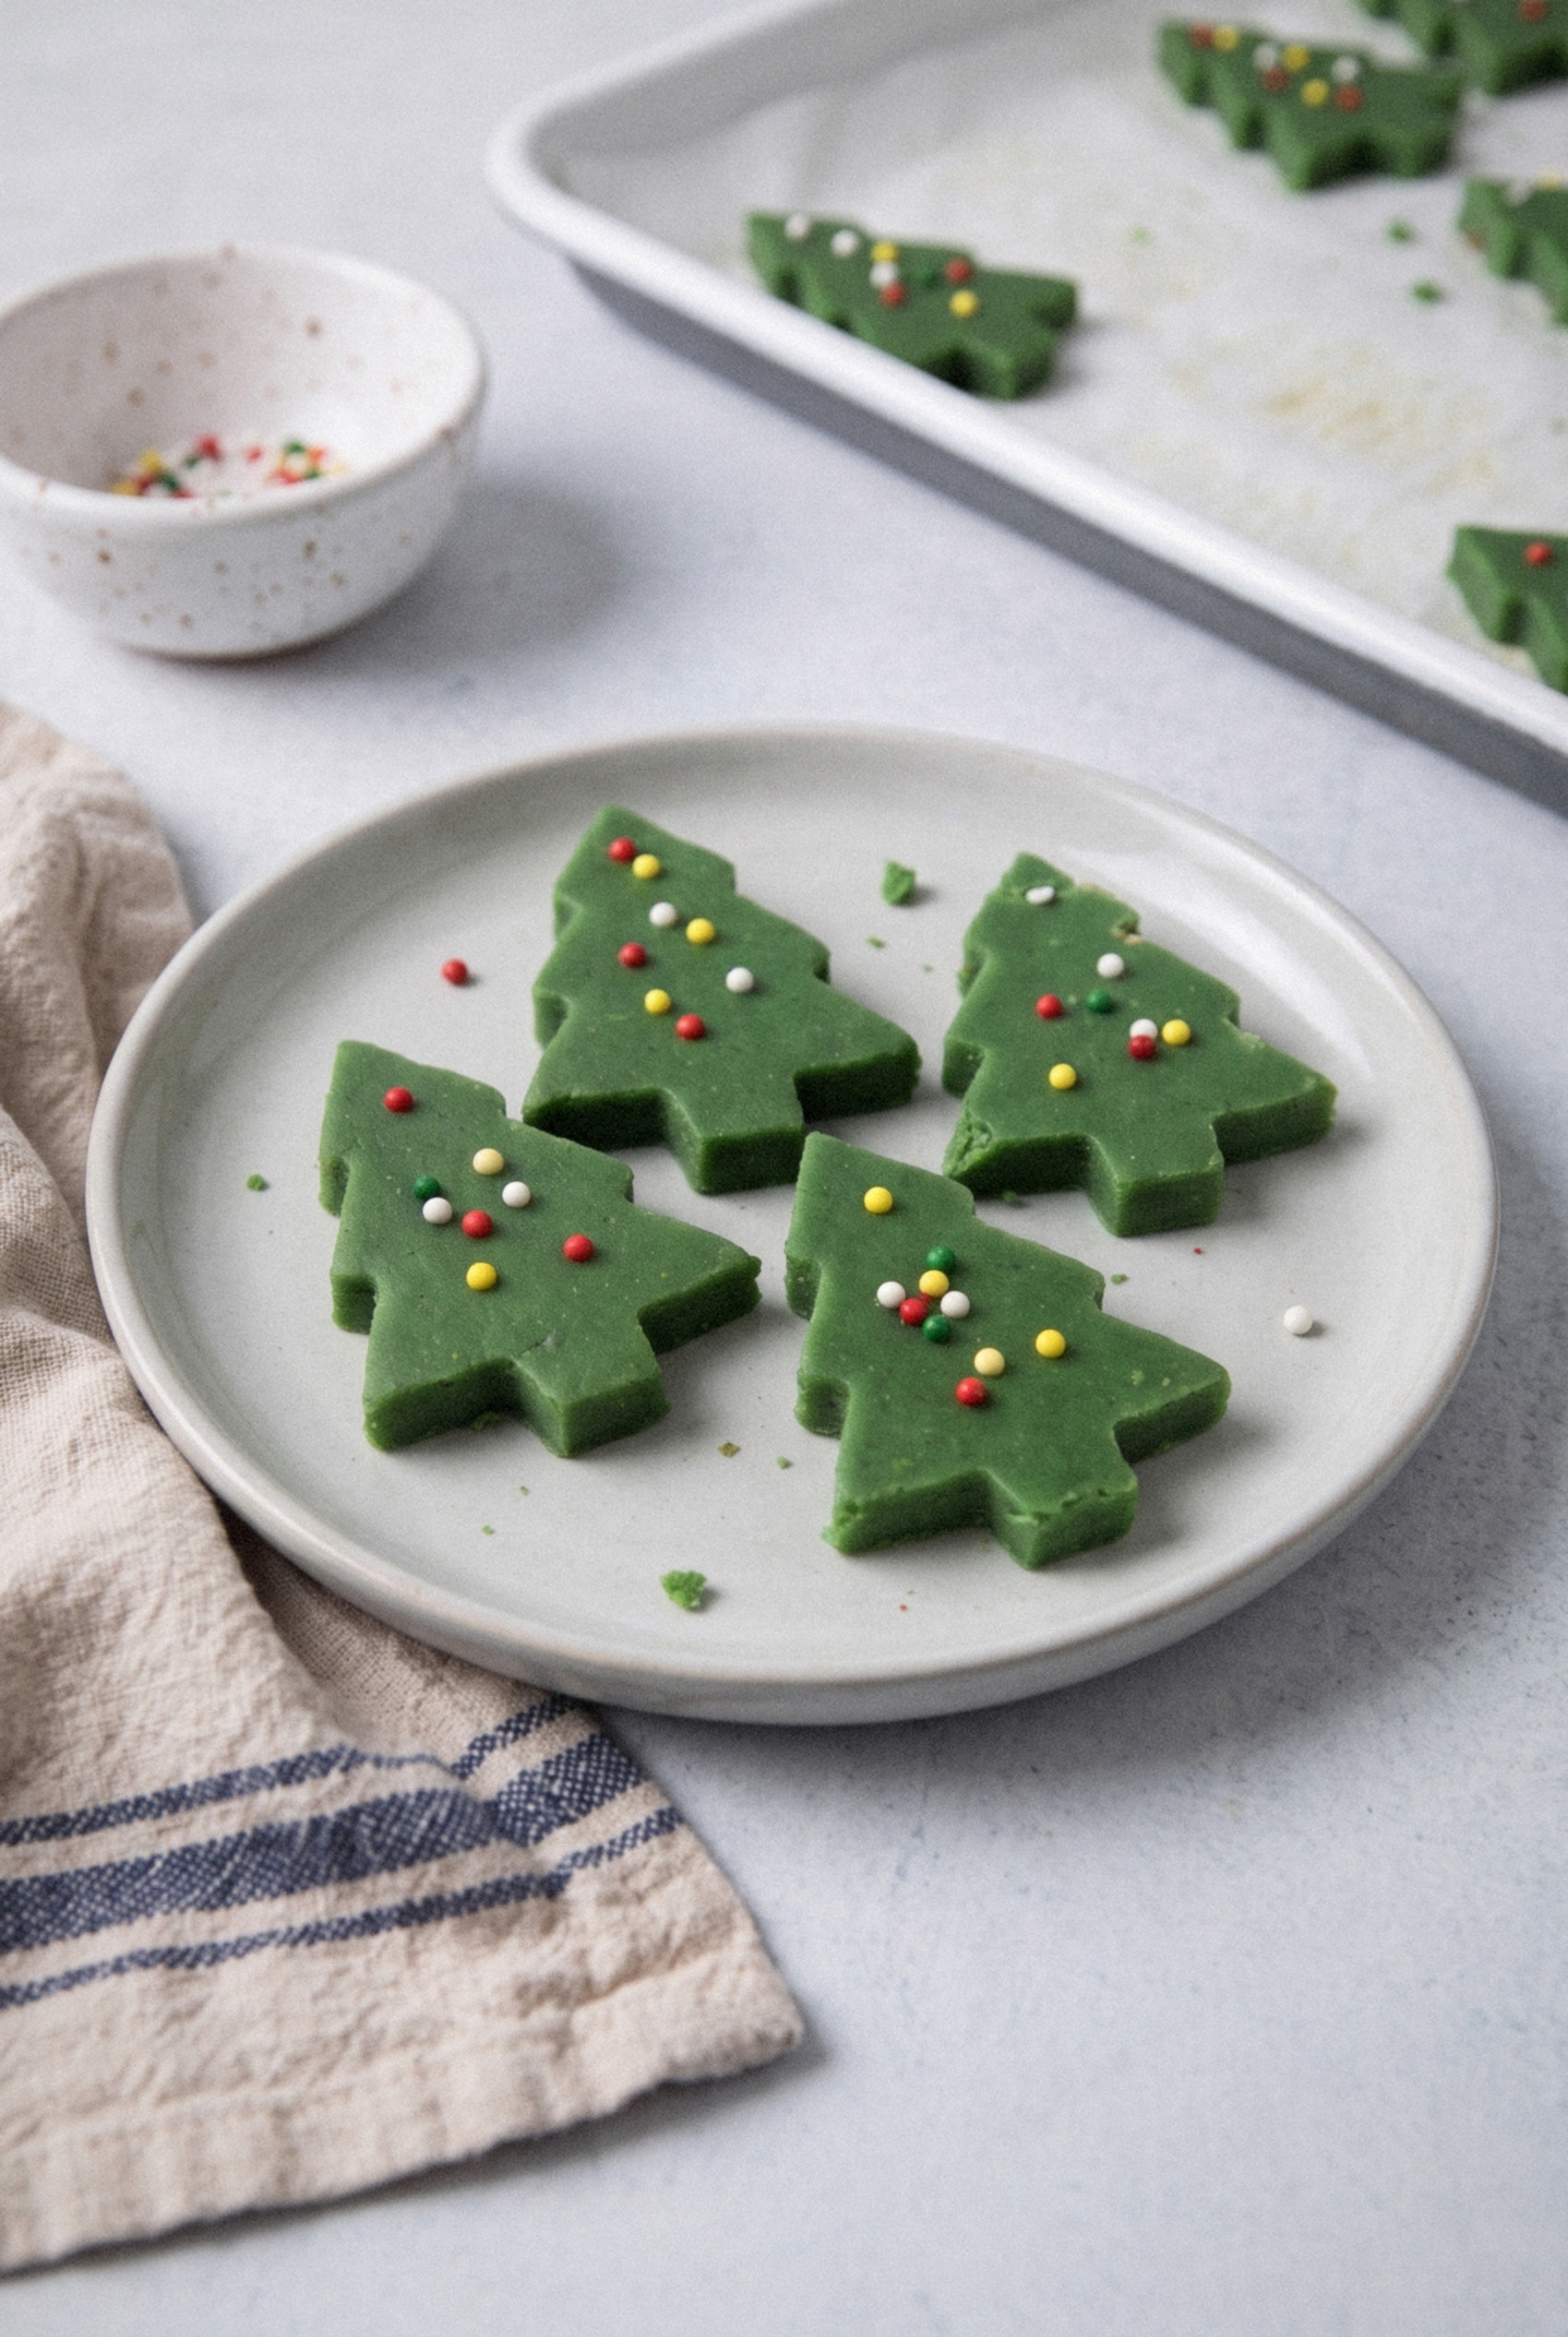
Instead of sugar cookie dough, they pressed it into a pan of bright green Christmas tree fudge.
I'd always assumed the cute fudge trees on holiday trays took a piping bag and a steady hand.
Some do.
Mine take a 9-inch pan, a bag of white chocolate chips, a can of sweetened condensed milk and a dab of green gel coloring.
There's no candy thermometer and no pot of boiling sugar to babysit.
You melt it, tint it, spread it, shake on a few sprinkles and walk away.
Two hours later the kids are lined up with that cutter, punching out little trees while I handle the cleanup.
Even the scraps get pressed back together for a second round, so nothing goes to waste.
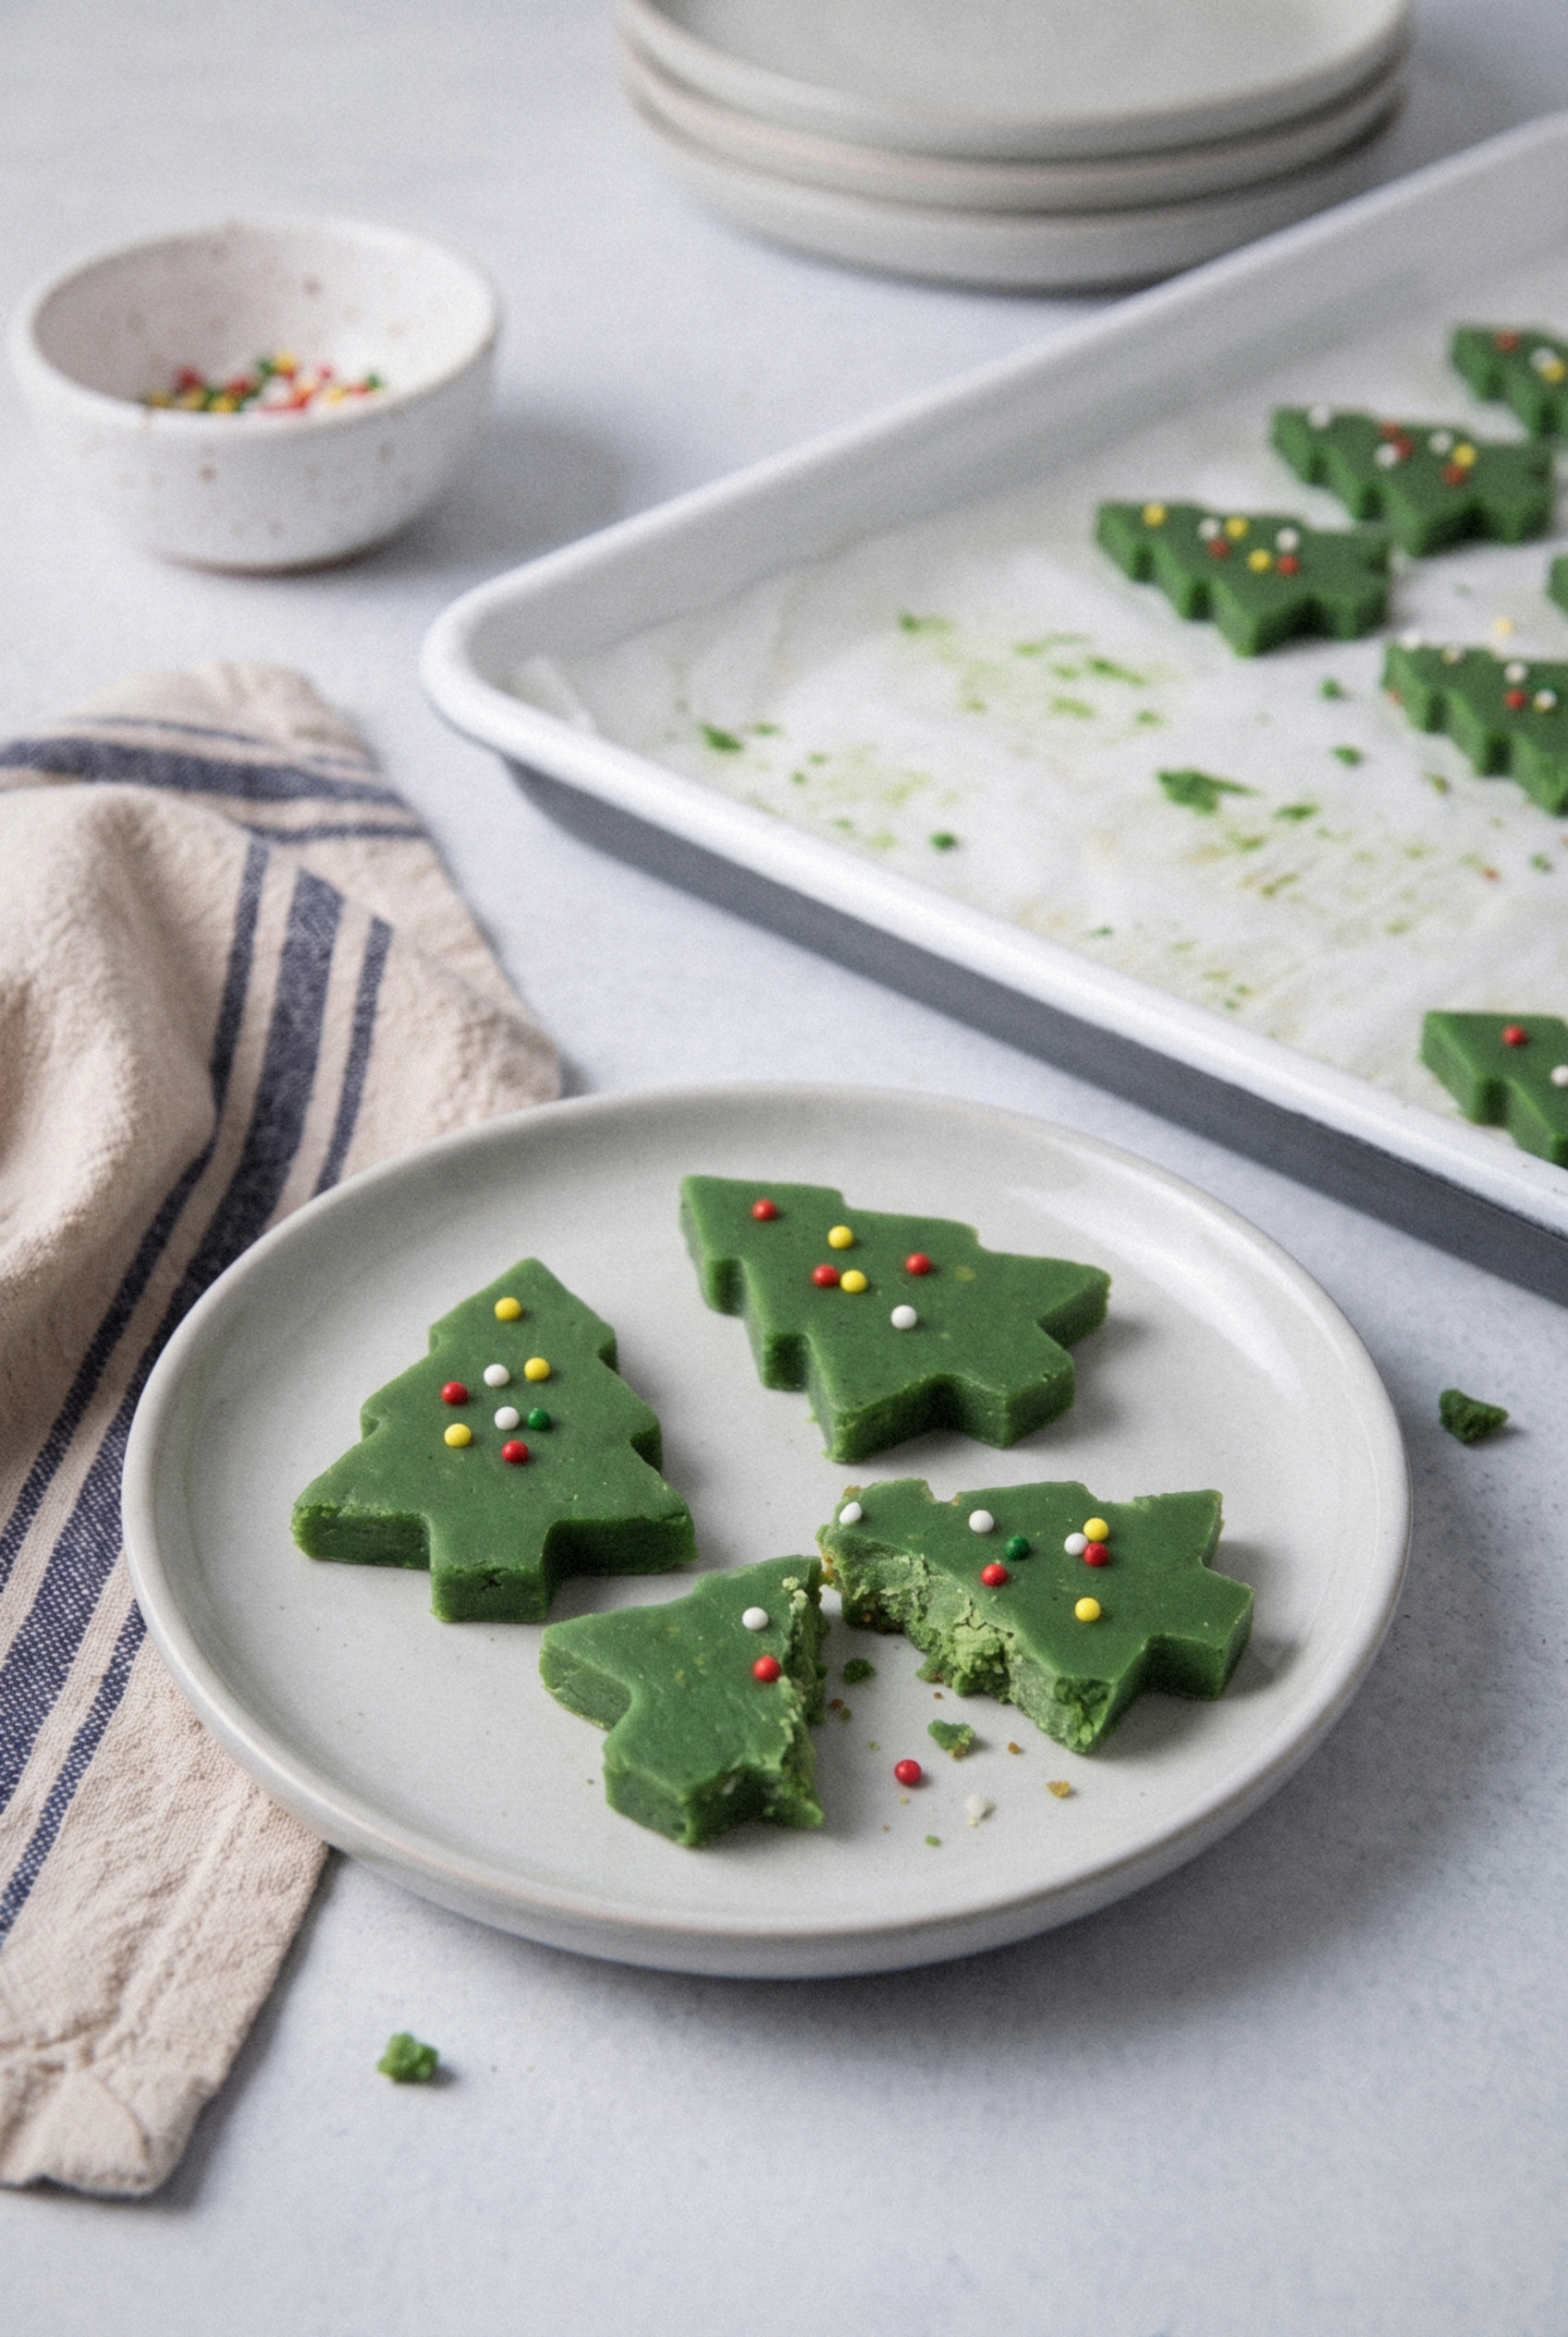
The fudge itself is smooth and creamy with a soft vanilla sweetness, and it's firm enough to hold a crisp tree outline.
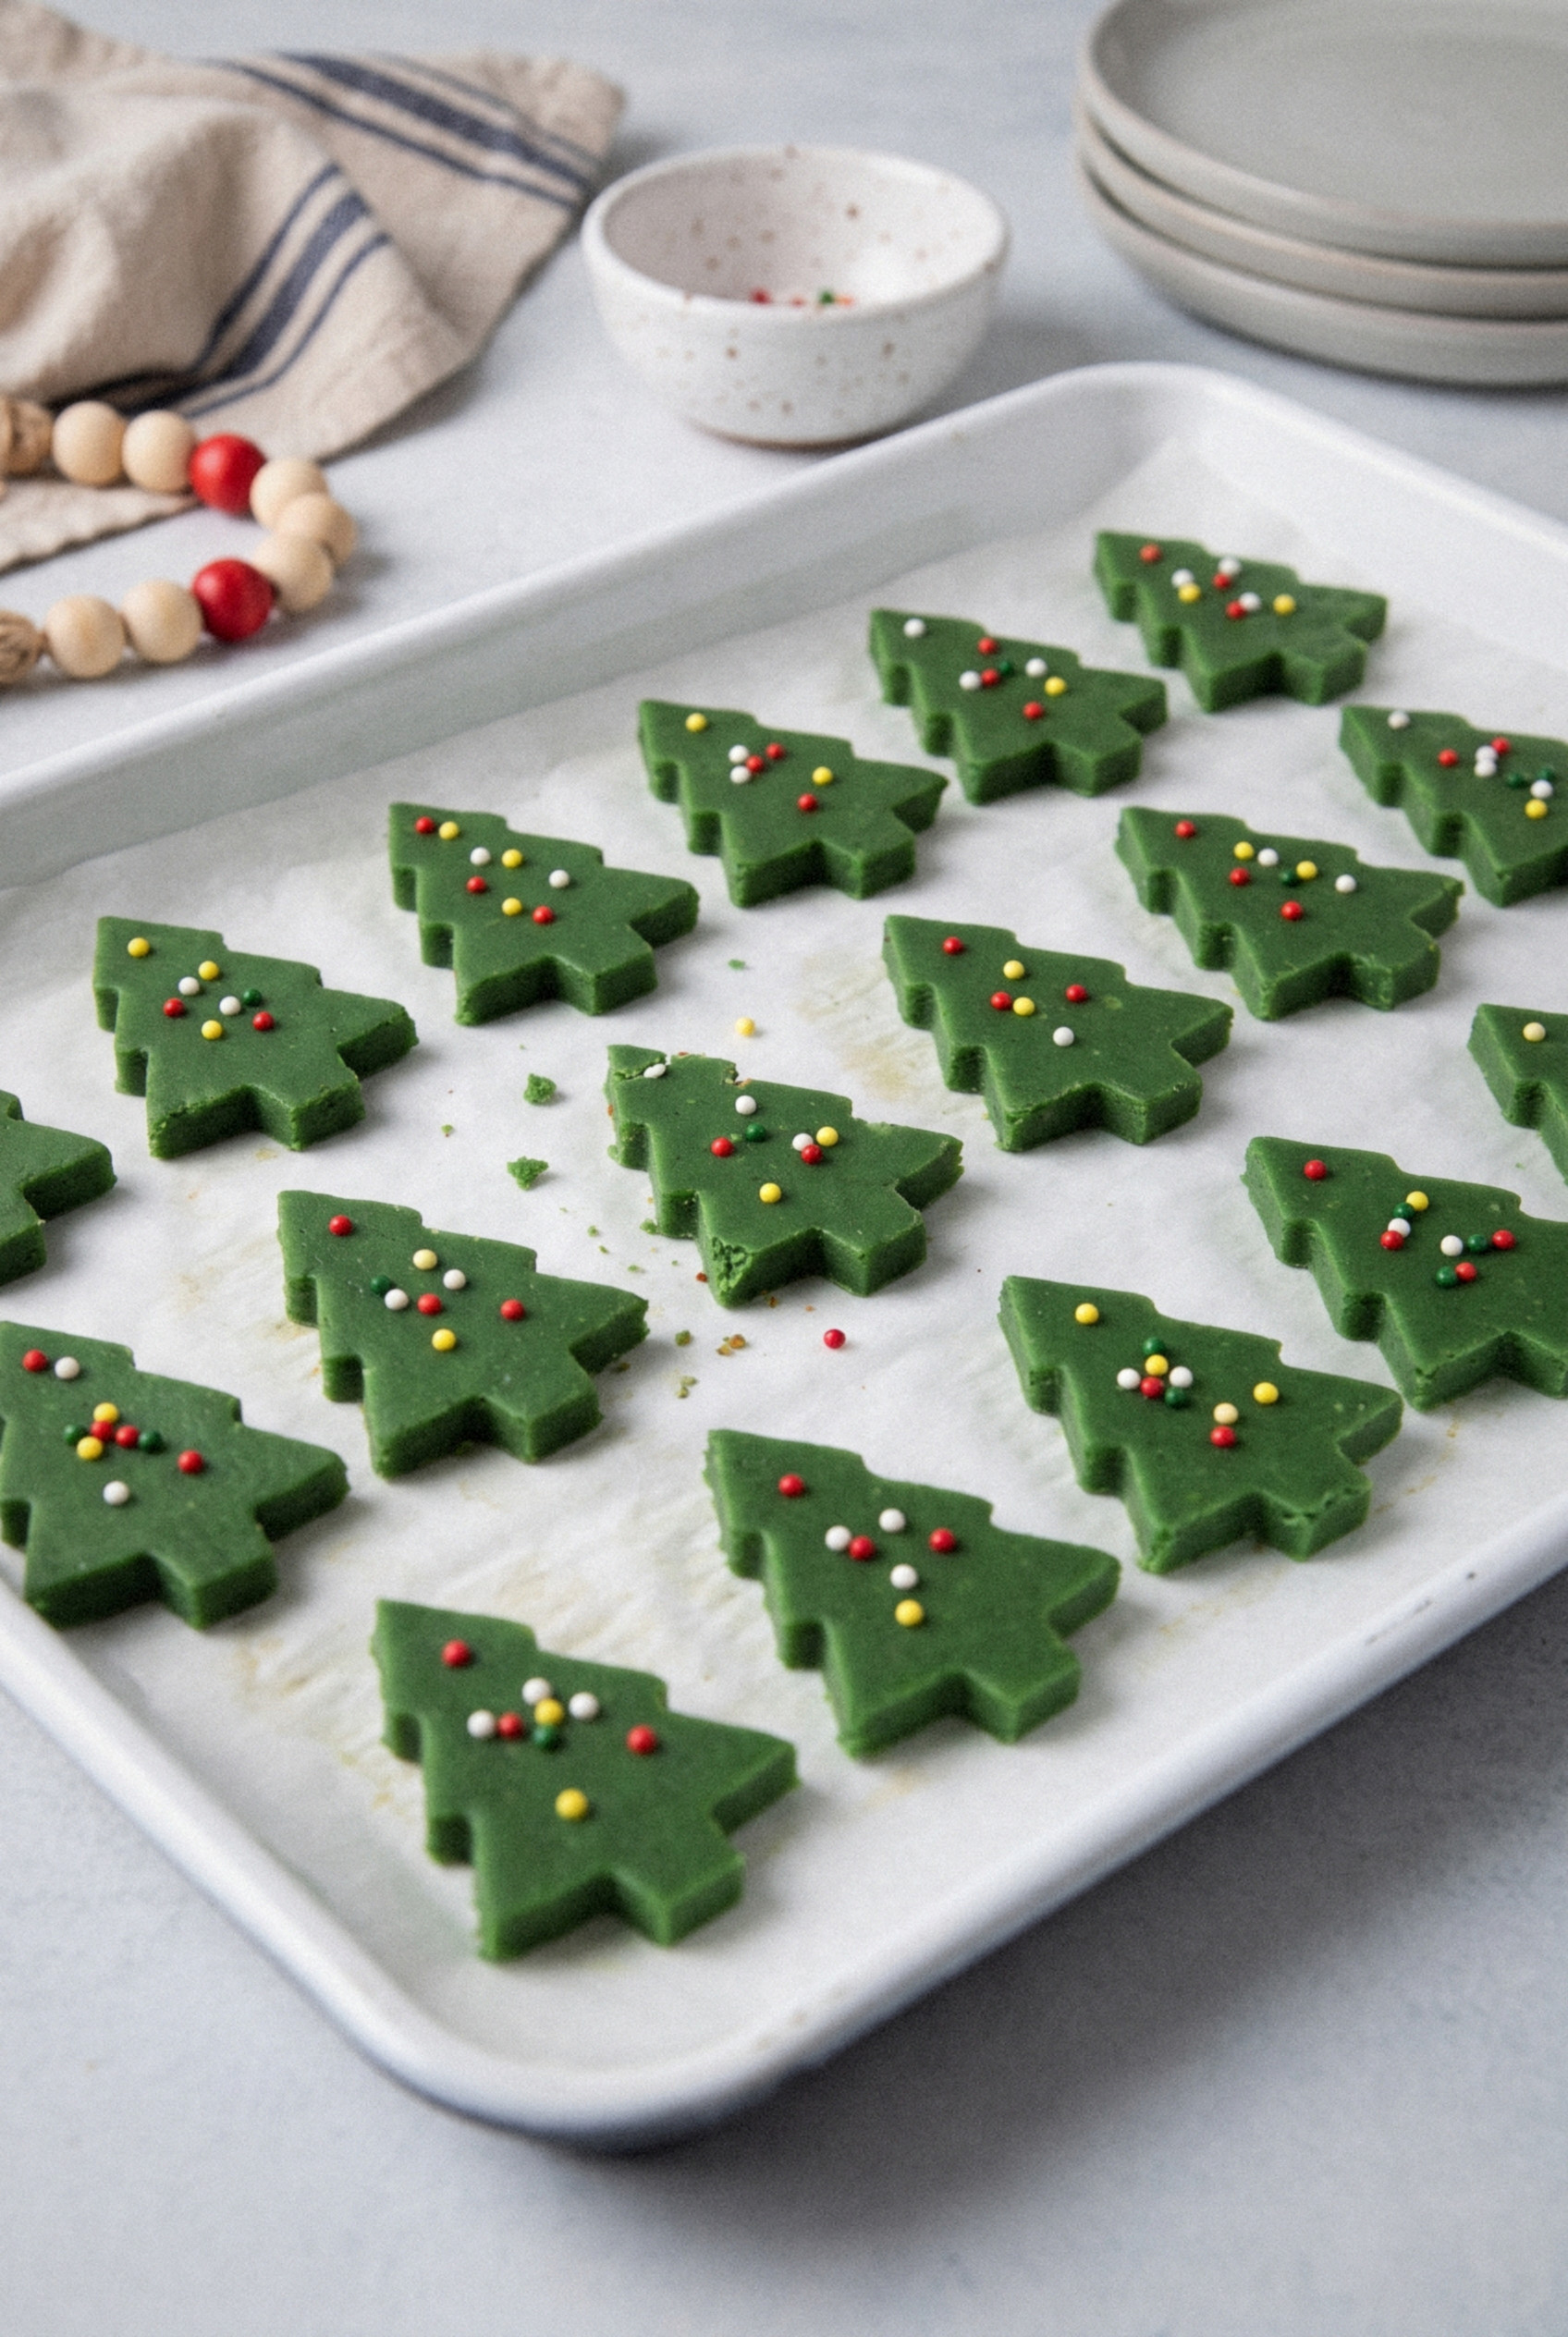
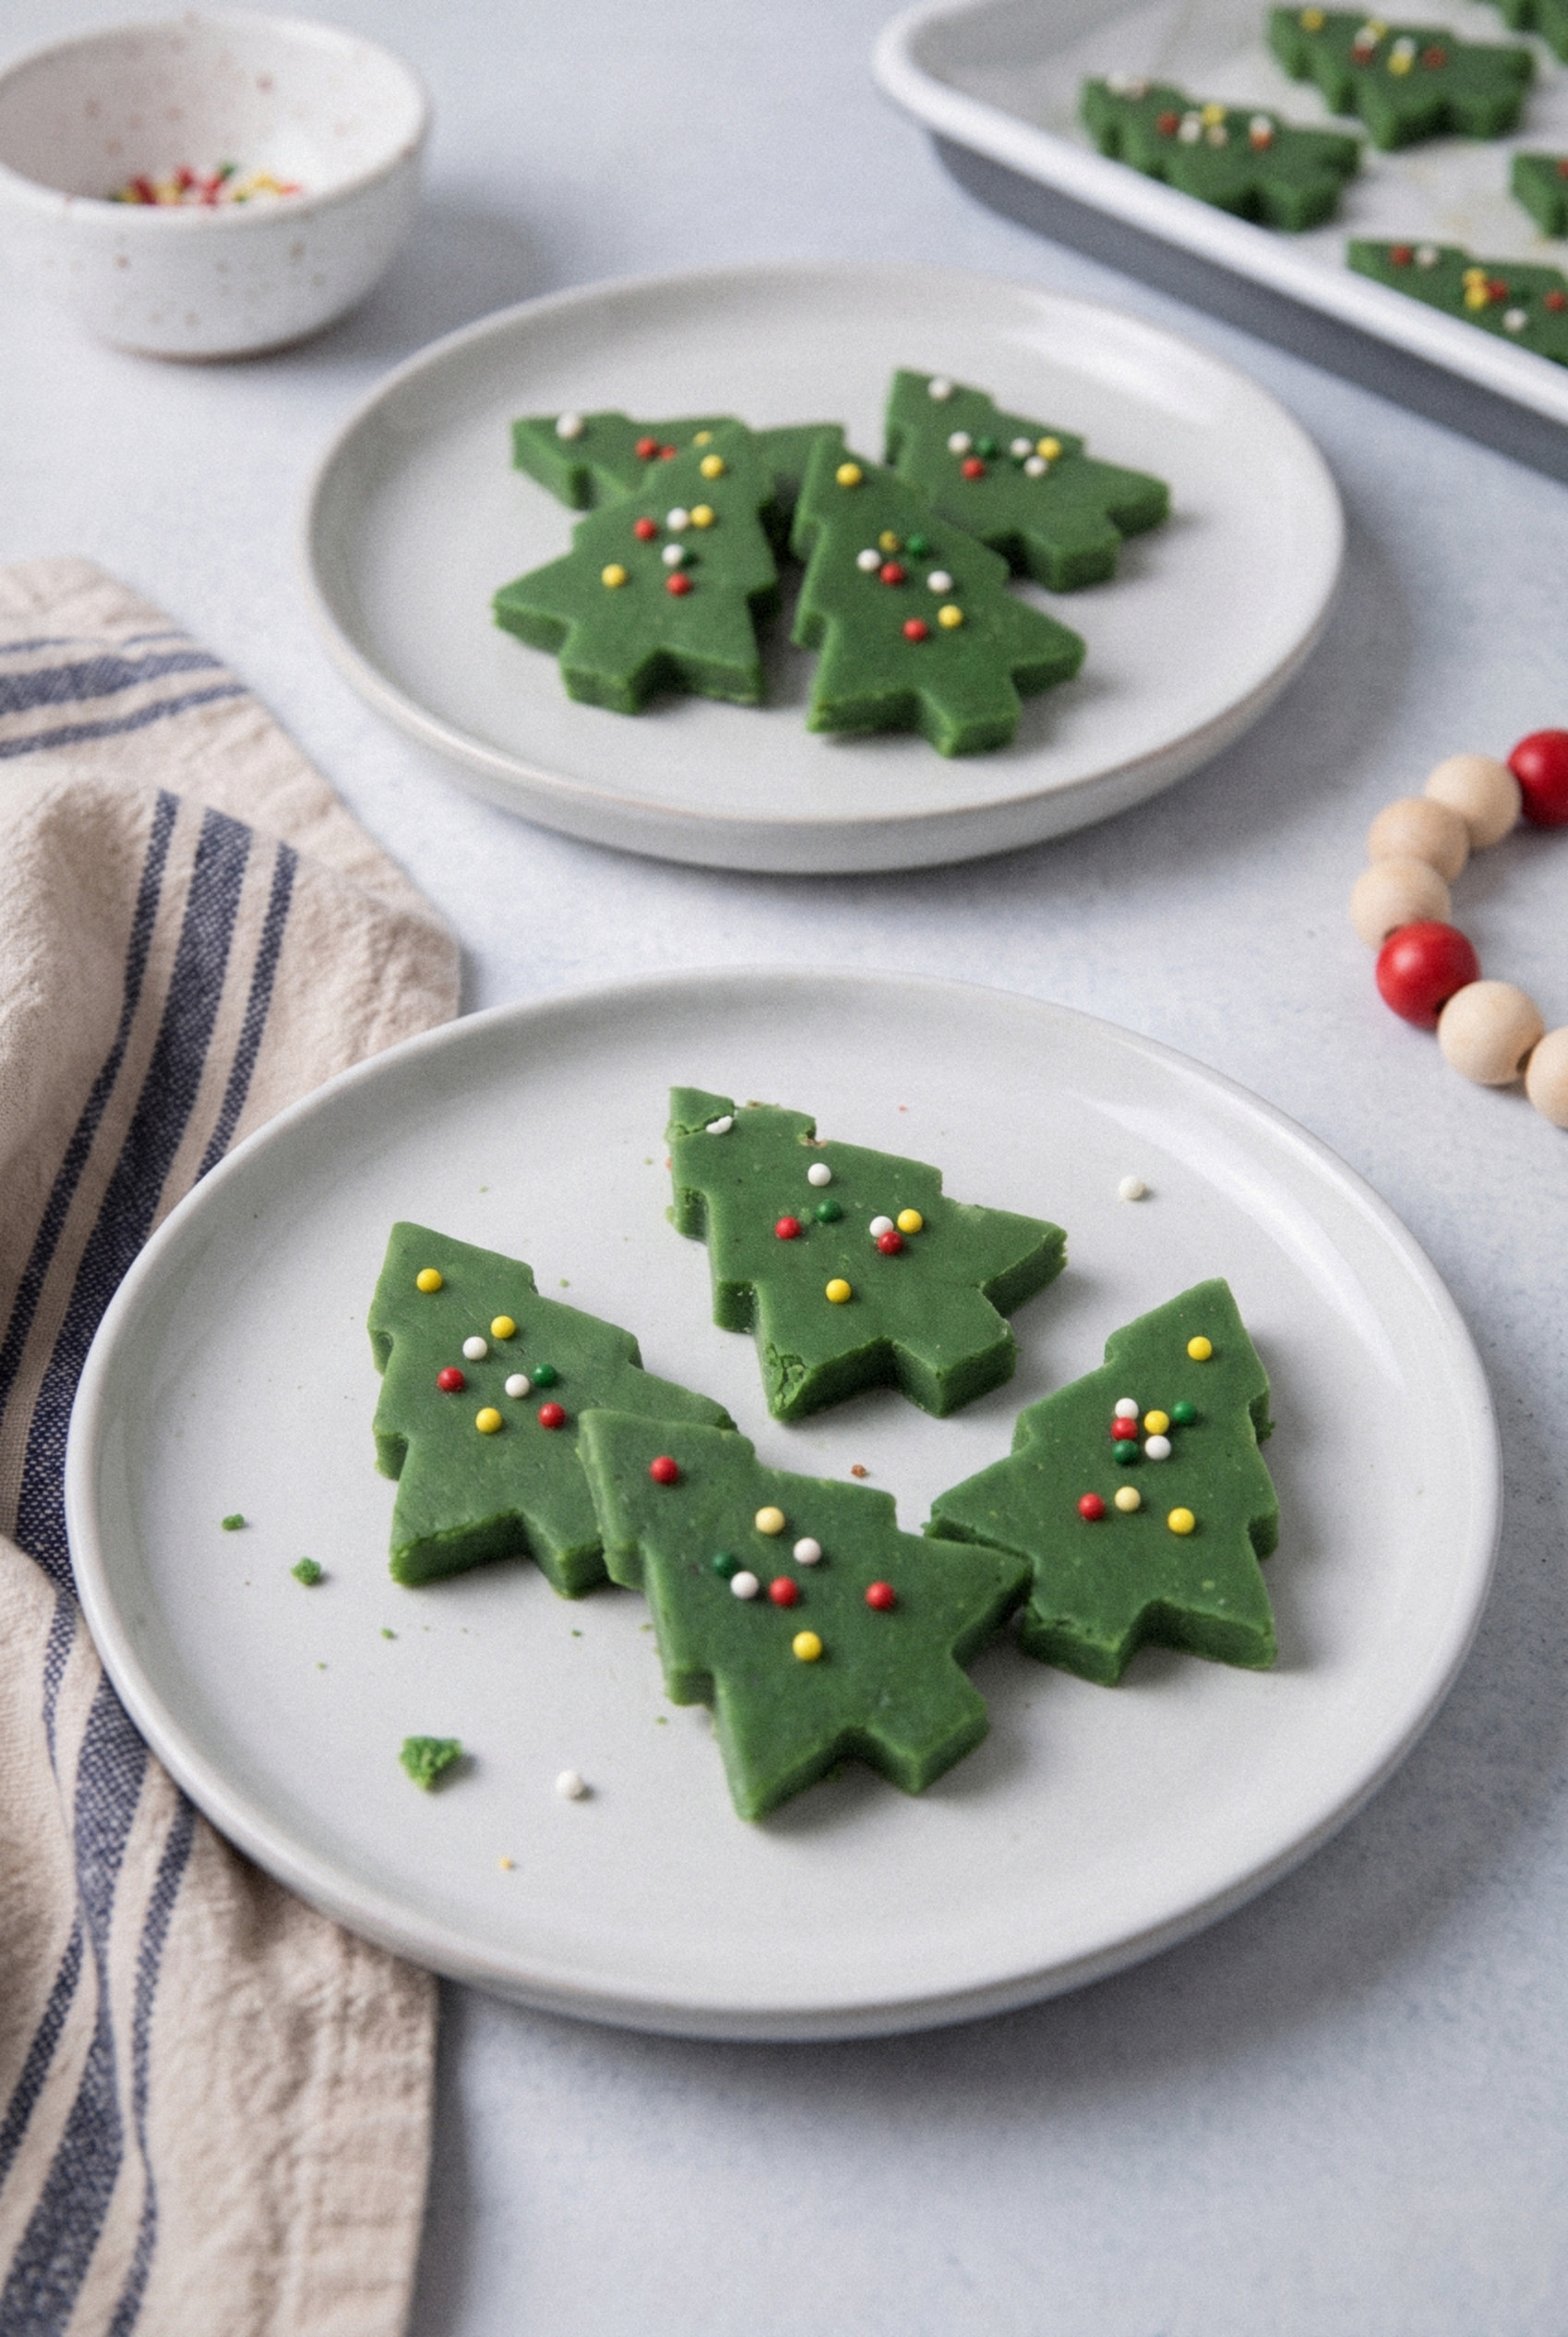
They look like they came from a candy shop, and they fit perfectly in a gift tin.
Make one batch and I promise it becomes your new favorite holiday project.
Why You'll Love These Fudge Trees
These are the easiest show-off treat on my Christmas cookie tray. They look fussy, and they're anything but.
- No candy thermometer. Sweetened condensed milk does the setting for you, so there's no soft-ball stage to hit.
- No piping bag. A regular metal tree cookie cutter makes every tree the same size and shape.
- Kid-friendly. Little hands can shake on sprinkles and cut out the trees once the fudge is cold.
- About 20 minutes of hands-on time. The fridge handles the rest.
- Gift-tin ready. Flat little trees stack neatly with wax paper between layers.
What's not to love about a candy you can make in one bowl? It's a crowd-pleaser with kids and grown-ups alike.
Ingredients and Supplies
You only need a handful of ingredients, and most are probably in your pantry right now. The one thing worth buying on purpose is gel food coloring.
- White chocolate chips (4 cups, 24 ounces). Two standard bags. Real white chocolate with cocoa butter needs this full amount to set firm enough for cutting.
- Sweetened condensed milk (one 14-ounce can). This is what makes the fudge soft, creamy and sliceable without any boiling.
- Butter (1 tablespoon). Just a little, for a smoother texture and a touch of shine.
- Vanilla extract (1 teaspoon). Or swap in ½ teaspoon peppermint extract for mint trees.
- Salt (a pinch). White chocolate is sweet, and salt keeps it from tasting flat.
- Green gel food coloring (½ to 1 teaspoon). Gel, NOT liquid. Liquid coloring adds water, and water makes melted chocolate seize.
- Tiny round sprinkles (1 to 2 tablespoons). Red, white and yellow nonpareils look like little ornaments and twinkle lights.
Supplies
- 9x9-inch pan. Lined with parchment, with an overhang for lifting.
- Metal tree cookie cutter, about 2 inches tall. Metal cuts cleaner than plastic, and simple shapes work best.
- Silicone spatula. The fudge gets thick fast, and a sturdy spatula makes spreading easier.
White Chocolate or Candy Melts?
Both work, but they don't taste the same. Plenty of fudge tree recipes start with green candy melts because the color is built in.
I tried that once. The trees looked great and tasted a bit like a birthday candle.
White chocolate chips give you a creamier, richer fudge with real vanilla flavor. You just add the color yourself.
- White chocolate chips. Better flavor, needs gel coloring, and you need the full 24 ounces to set firm.
- Green candy melts. Already colored and sets fast. Use about 20 ounces with one can of condensed milk.
- Vanilla almond bark. Melts smoothly and sets firm. Flavor sits between the two.
Pro tip: for a deep pine green instead of a pale mint, add a tiny dot of brown or black gel along with the green.
How to Make Christmas Tree Fudge
The method is melt, tint, spread, chill and cut. Get the pan ready before you start melting, because the fudge thickens fast once the color is in.
Step 1: Line the Pan
Line a 9x9-inch pan with parchment, leaving a couple of inches hanging over two sides. A light swipe of butter on the pan holds the paper in place. The overhang lets you lift the whole slab out in one piece later.
Step 2: Melt the Fudge
Add the white chocolate chips, condensed milk and butter to a medium saucepan over low heat. Stir constantly until about three-quarters of the chips have melted, about 3-4 minutes. Pull the pan off the heat and keep stirring, and the leftover heat will melt the rest into a thick, smooth fudge.
Fair warning: white chocolate scorches easily. If it starts to look oily or grainy, it got too hot, so keep the heat LOW the whole time.
Step 3: Tint It Green
Stir in the vanilla and salt. Add ½ teaspoon of green gel coloring and stir until there are no streaks. Add more, a little at a time, until you get the shade you want, keeping in mind the color deepens slightly as it sets.
Step 4: Spread and Sprinkle
Scrape the fudge into the lined pan and spread it into an even layer with the spatula. Right away, while the top is still tacky, scatter the sprinkles evenly over the surface. Give the pan a couple of firm taps on the counter so they settle in and stick.
Spread sprinkles over the whole slab, not just the middle. Every tree you cut should get its own few ornaments.
Step 5: Chill, Then Cut the Trees
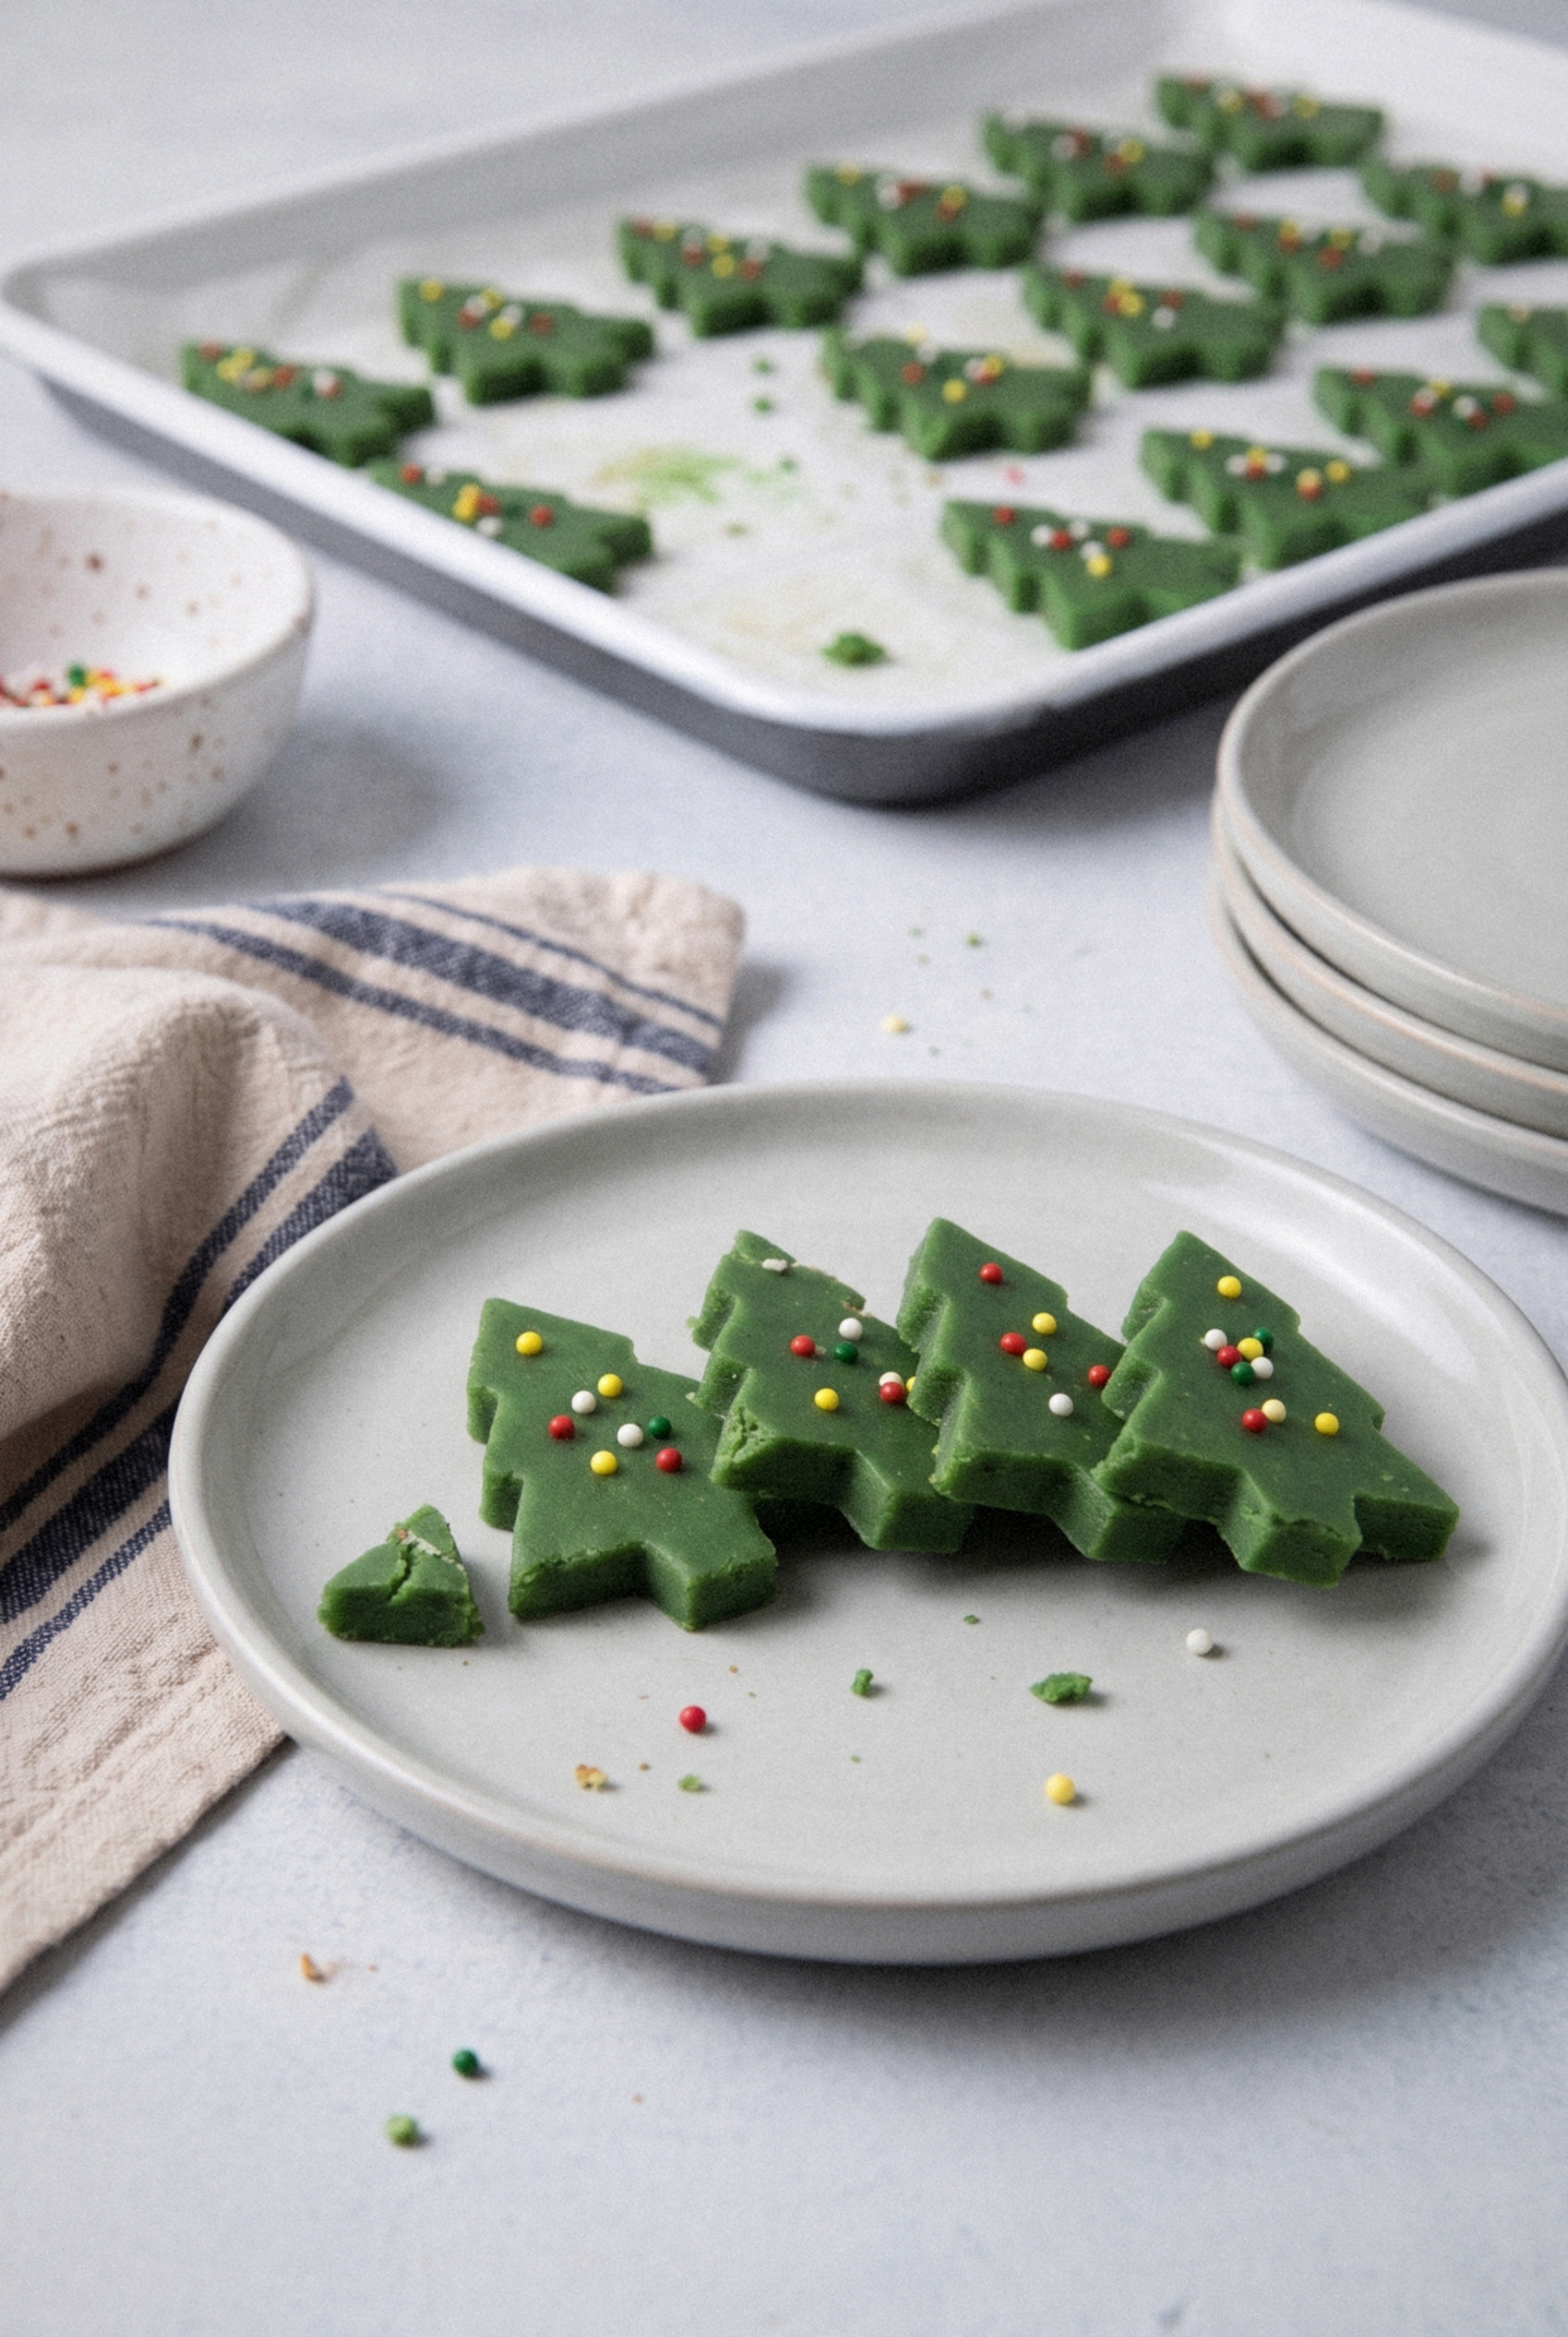
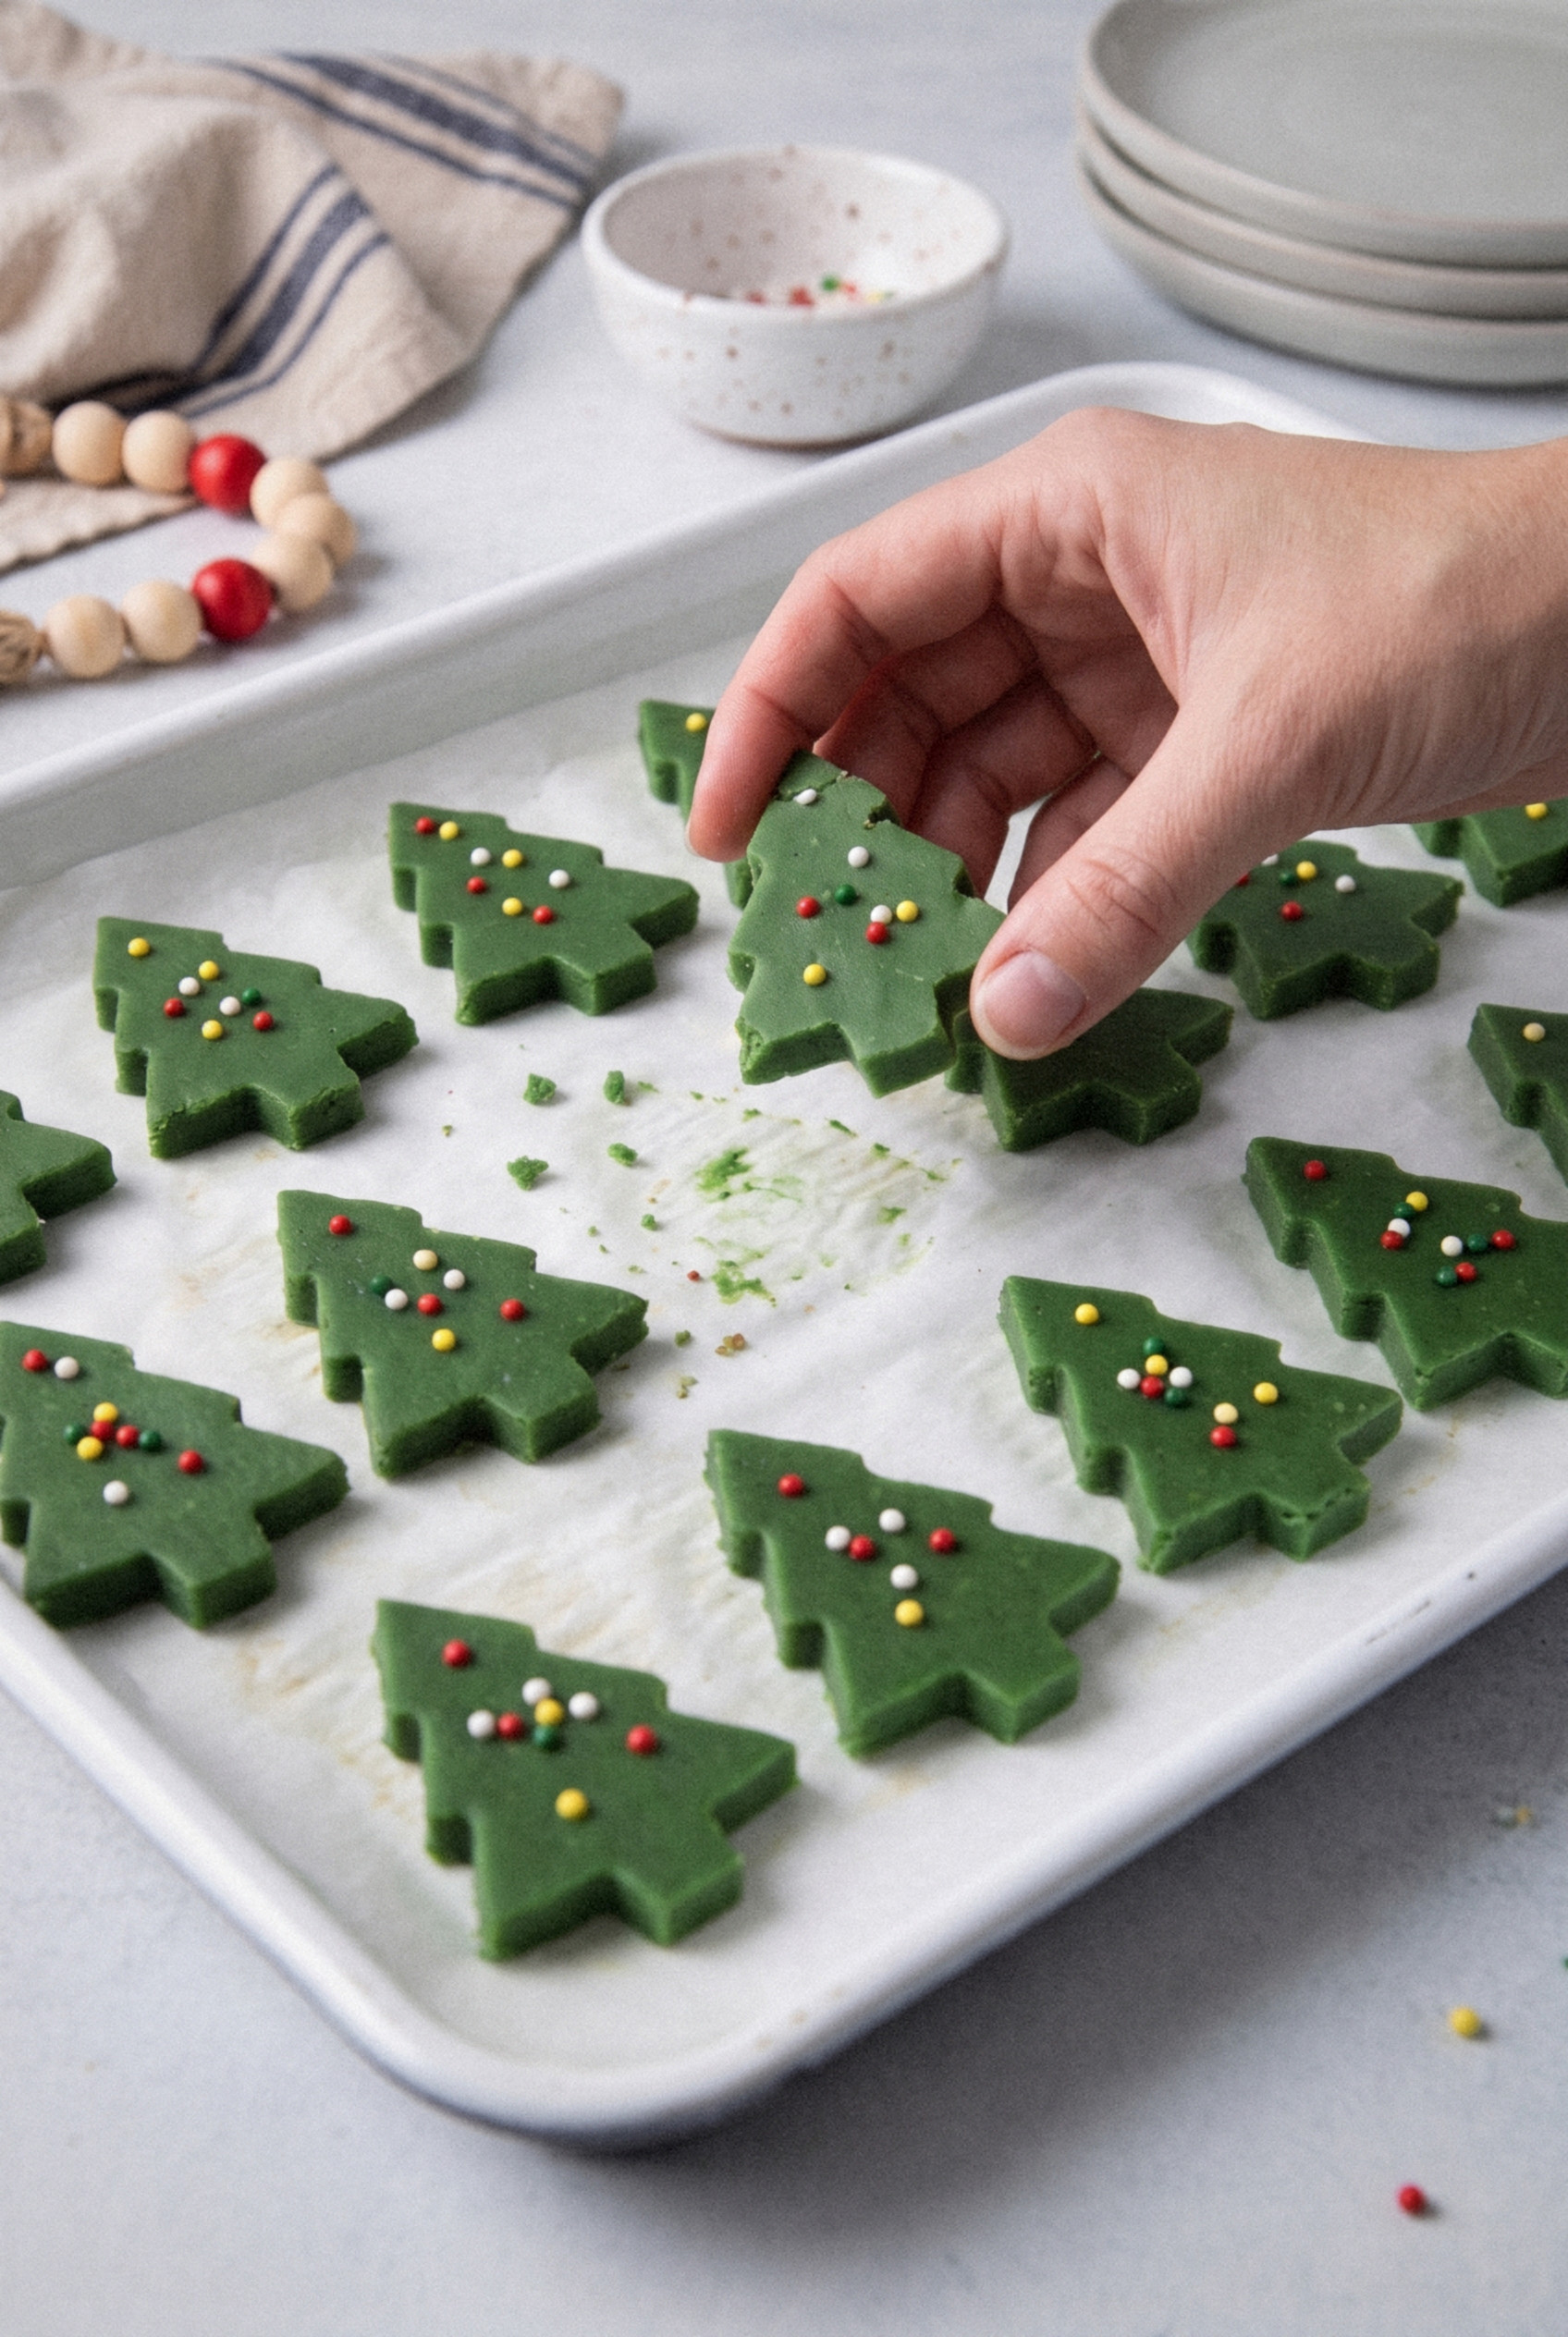
Chill the pan for at least 2 hours, until the fudge is completely firm. Lift it out by the parchment and let it sit for about 5 minutes. Press the cookie cutter straight down, wiggle it gently and lift the tree out, spacing the cuts as close together as you can.
Dip the cutter in hot water and dry it every few cuts. It keeps the edges sharp and clean instead of ragged.
Step 6: Re-Press the Scraps
Gather the scraps, knead them together for a few seconds until soft, and press them into a small parchment-lined container about ½ inch thick. Press a few more sprinkles on top and chill for 30 minutes, then cut a second round of trees.
Worth the extra step? Absolutely. You get almost a dozen more trees from what would have been leftovers.
Tips for Clean-Cut Fudge Trees
- Keep the heat low. Overheated white chocolate turns greasy and thick. Low heat and residual heat are the secret to good fudge.
- Gel coloring only. Liquid coloring can make the fudge seize into a stiff, grainy lump.
- Sprinkle fast. The top starts setting within minutes, and dry fudge won't hold sprinkles.
- Chill completely. Soft fudge sticks inside the cutter and smears the outline.
- Use a metal cutter. Plastic cutters are thick and blunt and tend to crack the edges.
- Return warm trees to the fridge. If the cut trees start to soften, chill them for 10 minutes before moving them.
- Use full-fat condensed milk. Lower-fat versions can leave the fudge soft.
Variations and Substitutions
Once you've made the basic green trees, it's easy to change them up. Here are my favorite twists.
- Mint fudge trees. Swap the vanilla for ½ teaspoon peppermint extract. Cool, sweet and perfect with hot cocoa.
- Almond trees. Use 1 teaspoon almond extract for a flavor that tastes like a Christmas sugar cookie.
- The 3-ingredient version. White chocolate chips, condensed milk and green gel. That's the easiest fudge recipe I know, and it still sets firm.
- Grinch fudge. Tint it bright lime green and press one small red candy heart onto each tree.
- Snowy trees. Skip the sprinkles and dust the cut trees with a little powdered sugar.
- Chocolate trees. Use semisweet chips instead of white and finish with green sanding sugar.
- Other shapes. Stars, bells and hearts all cut cleanly. Keep the shapes simple and chunky.
Serving and Gifting
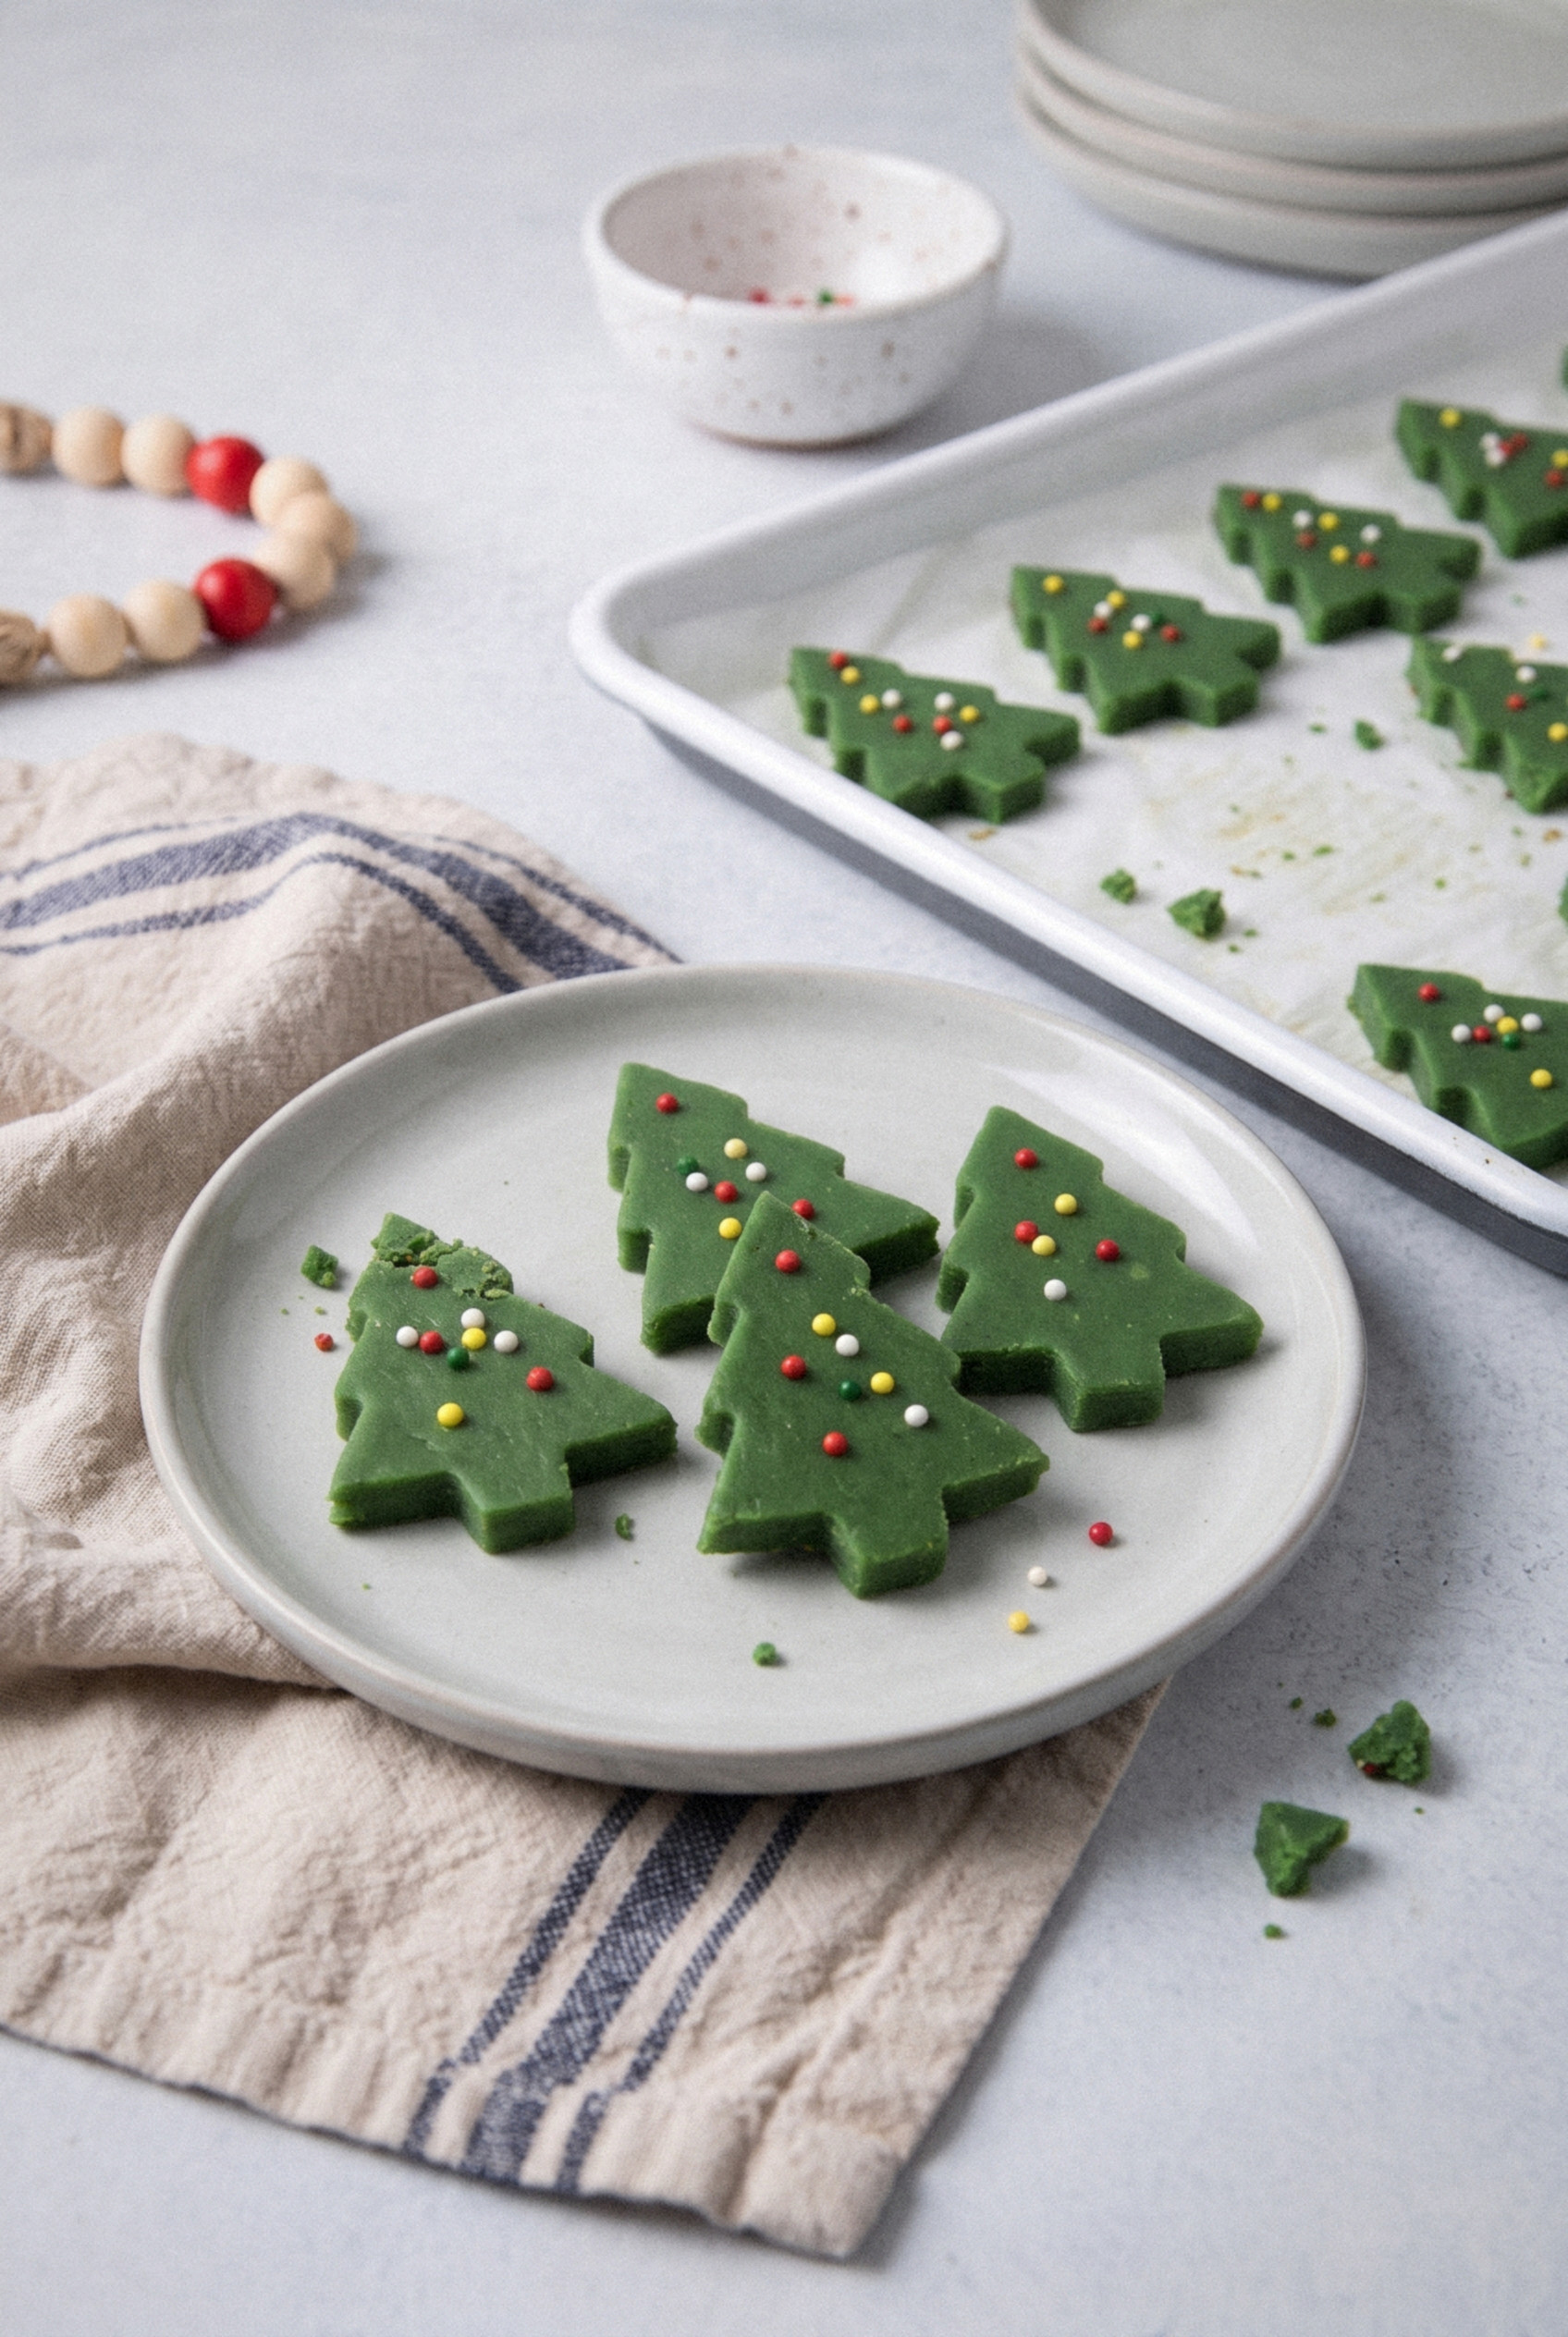
These little trees were made for holiday trays and gift tins. They're flat, sturdy and travel well.
- Cookie trays. Tuck them between sugar cookies and peppermint bark for a pop of green.
- Gift tins. Layer them flat with wax paper between each layer. About 8 trees fit in a small tin.
- Party favors. Two or three trees in a clear cellophane bag tied with ribbon make a sweet little take-home gift.
- Class treats. Kids love them, and they're easy to count out by the dozen.
Make-Ahead and Timing
This fudge is a great way to get ahead on holiday baking. It keeps its shape and color for weeks.
- Up to 3 months ahead. Cut the trees, wrap them, and freeze them.
- Up to 2 weeks ahead. Make and cut the trees, then store them airtight in the fridge.
- The day before. Make the fudge in the morning and cut it after dinner.
- Doubling. Double everything and spread it in a 9x13-inch pan. Chill time stays about the same.
How to Store Fudge Trees
- Room temperature. Up to 1 week in an airtight tin in a cool spot, with wax paper between layers.
- Refrigerator. Up to 2-3 weeks airtight. Let them sit out 10 minutes before serving for the creamiest texture.
- Freezer. Up to 3 months. Wrap the trees in wax paper, then foil, and seal in a freezer bag.
- Thawing. Thaw them still sealed for 2-3 hours on the counter, so condensation forms on the wrapping instead of the fudge and the sprinkles don't bleed.
Give them a try this year. Your kids will be fighting over the cookie cutter too!
Recipe
Easy Green Christmas Tree Fudge
Ingredients
For the Fudge
- 4 cups white chocolate chips 24 ounces
- 1 can sweetened condensed milk 14 ounces
- 1 tablespoon butter
- 1 teaspoon vanilla extract or ½ teaspoon peppermint extract
- 1 pinch salt
- ½ teaspoon green gel food coloring up to 1 teaspoon, gel not liquid
For the Topping
- 1 tablespoon tiny round sprinkles red, white and yellow nonpareils, up to 2 tablespoons
Instructions
Make the Fudge
- Lightly butter a 9x9-inch pan and line it with parchment paper, leaving an overhang on two sides.
- In a medium saucepan over low heat, stir the white chocolate chips, sweetened condensed milk and butter constantly until about three-quarters melted, 3 to 4 minutes. Remove from the heat and keep stirring until completely smooth.
- Stir in the vanilla and salt. Add the green gel coloring a little at a time, stirring until evenly tinted with no streaks.
- Spread the fudge evenly in the prepared pan. Immediately scatter the sprinkles over the top and tap the pan firmly on the counter so they stick.
Chill and Cut
- Refrigerate until completely firm, at least 2 hours.
- Lift the fudge out by the parchment and let it rest 5 minutes. Cut out trees with a 2-inch metal tree cookie cutter, dipping the cutter in hot water and drying it every few cuts.
- Knead the scraps together, press them ½ inch thick into a small lined container, top with a few more sprinkles, chill 30 minutes and cut more trees.
Notes
- Coloring: Use gel or oil-based food coloring only; liquid coloring can make the chocolate seize.
- Low heat: Overheated white chocolate turns greasy and grainy, so remove it from the heat before it is fully melted.
- Candy melts: About 20 ounces of green candy melts can replace the white chocolate chips and coloring.
- Storage: Airtight at room temperature up to 1 week, refrigerated up to 3 weeks, or frozen up to 3 months.
- Yield: About 28 small trees, depending on the cutter size.