Three Decembers ago, I had four dozen sugar cookies cooling on the counter and a piping bag that kept bursting at the seam.
The red icing bled into the white, the kids wandered off after ten minutes, and nothing had set by bedtime.
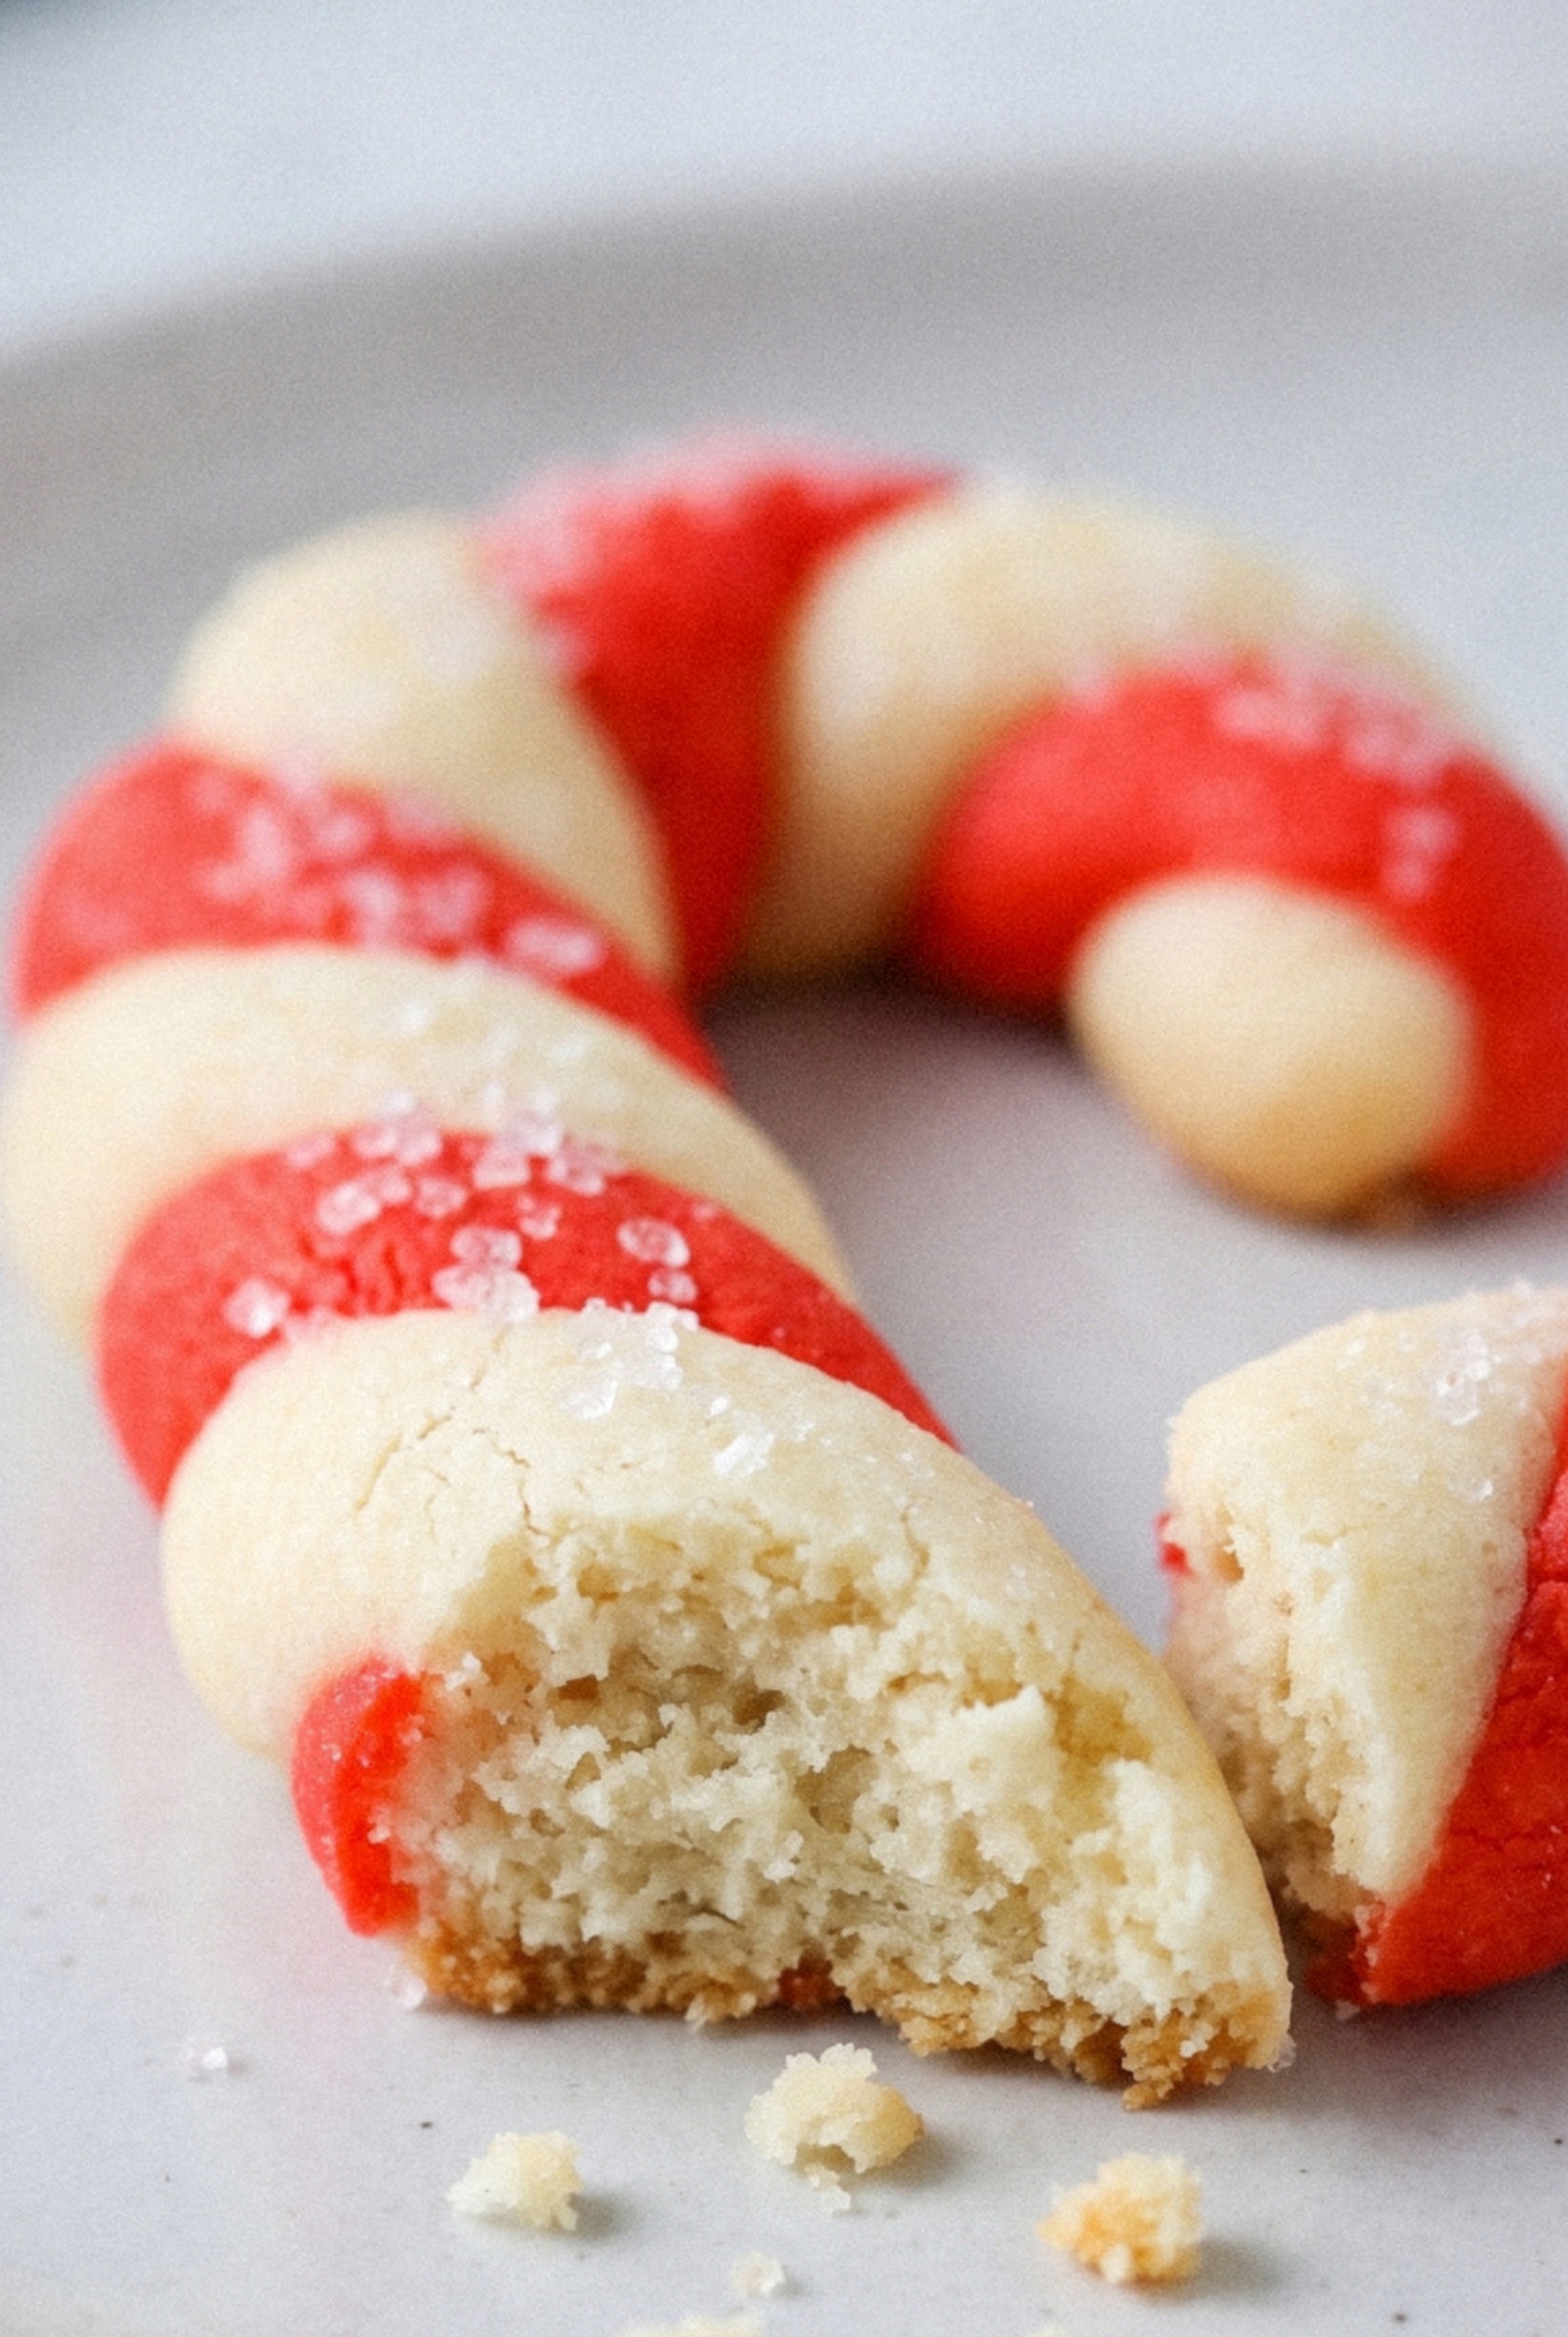
My wife looked at the tray and asked, very kindly, if we could just eat them plain.
That night I went back to an old idea from my grandmother's cookbook shelf: put the color in the dough itself.
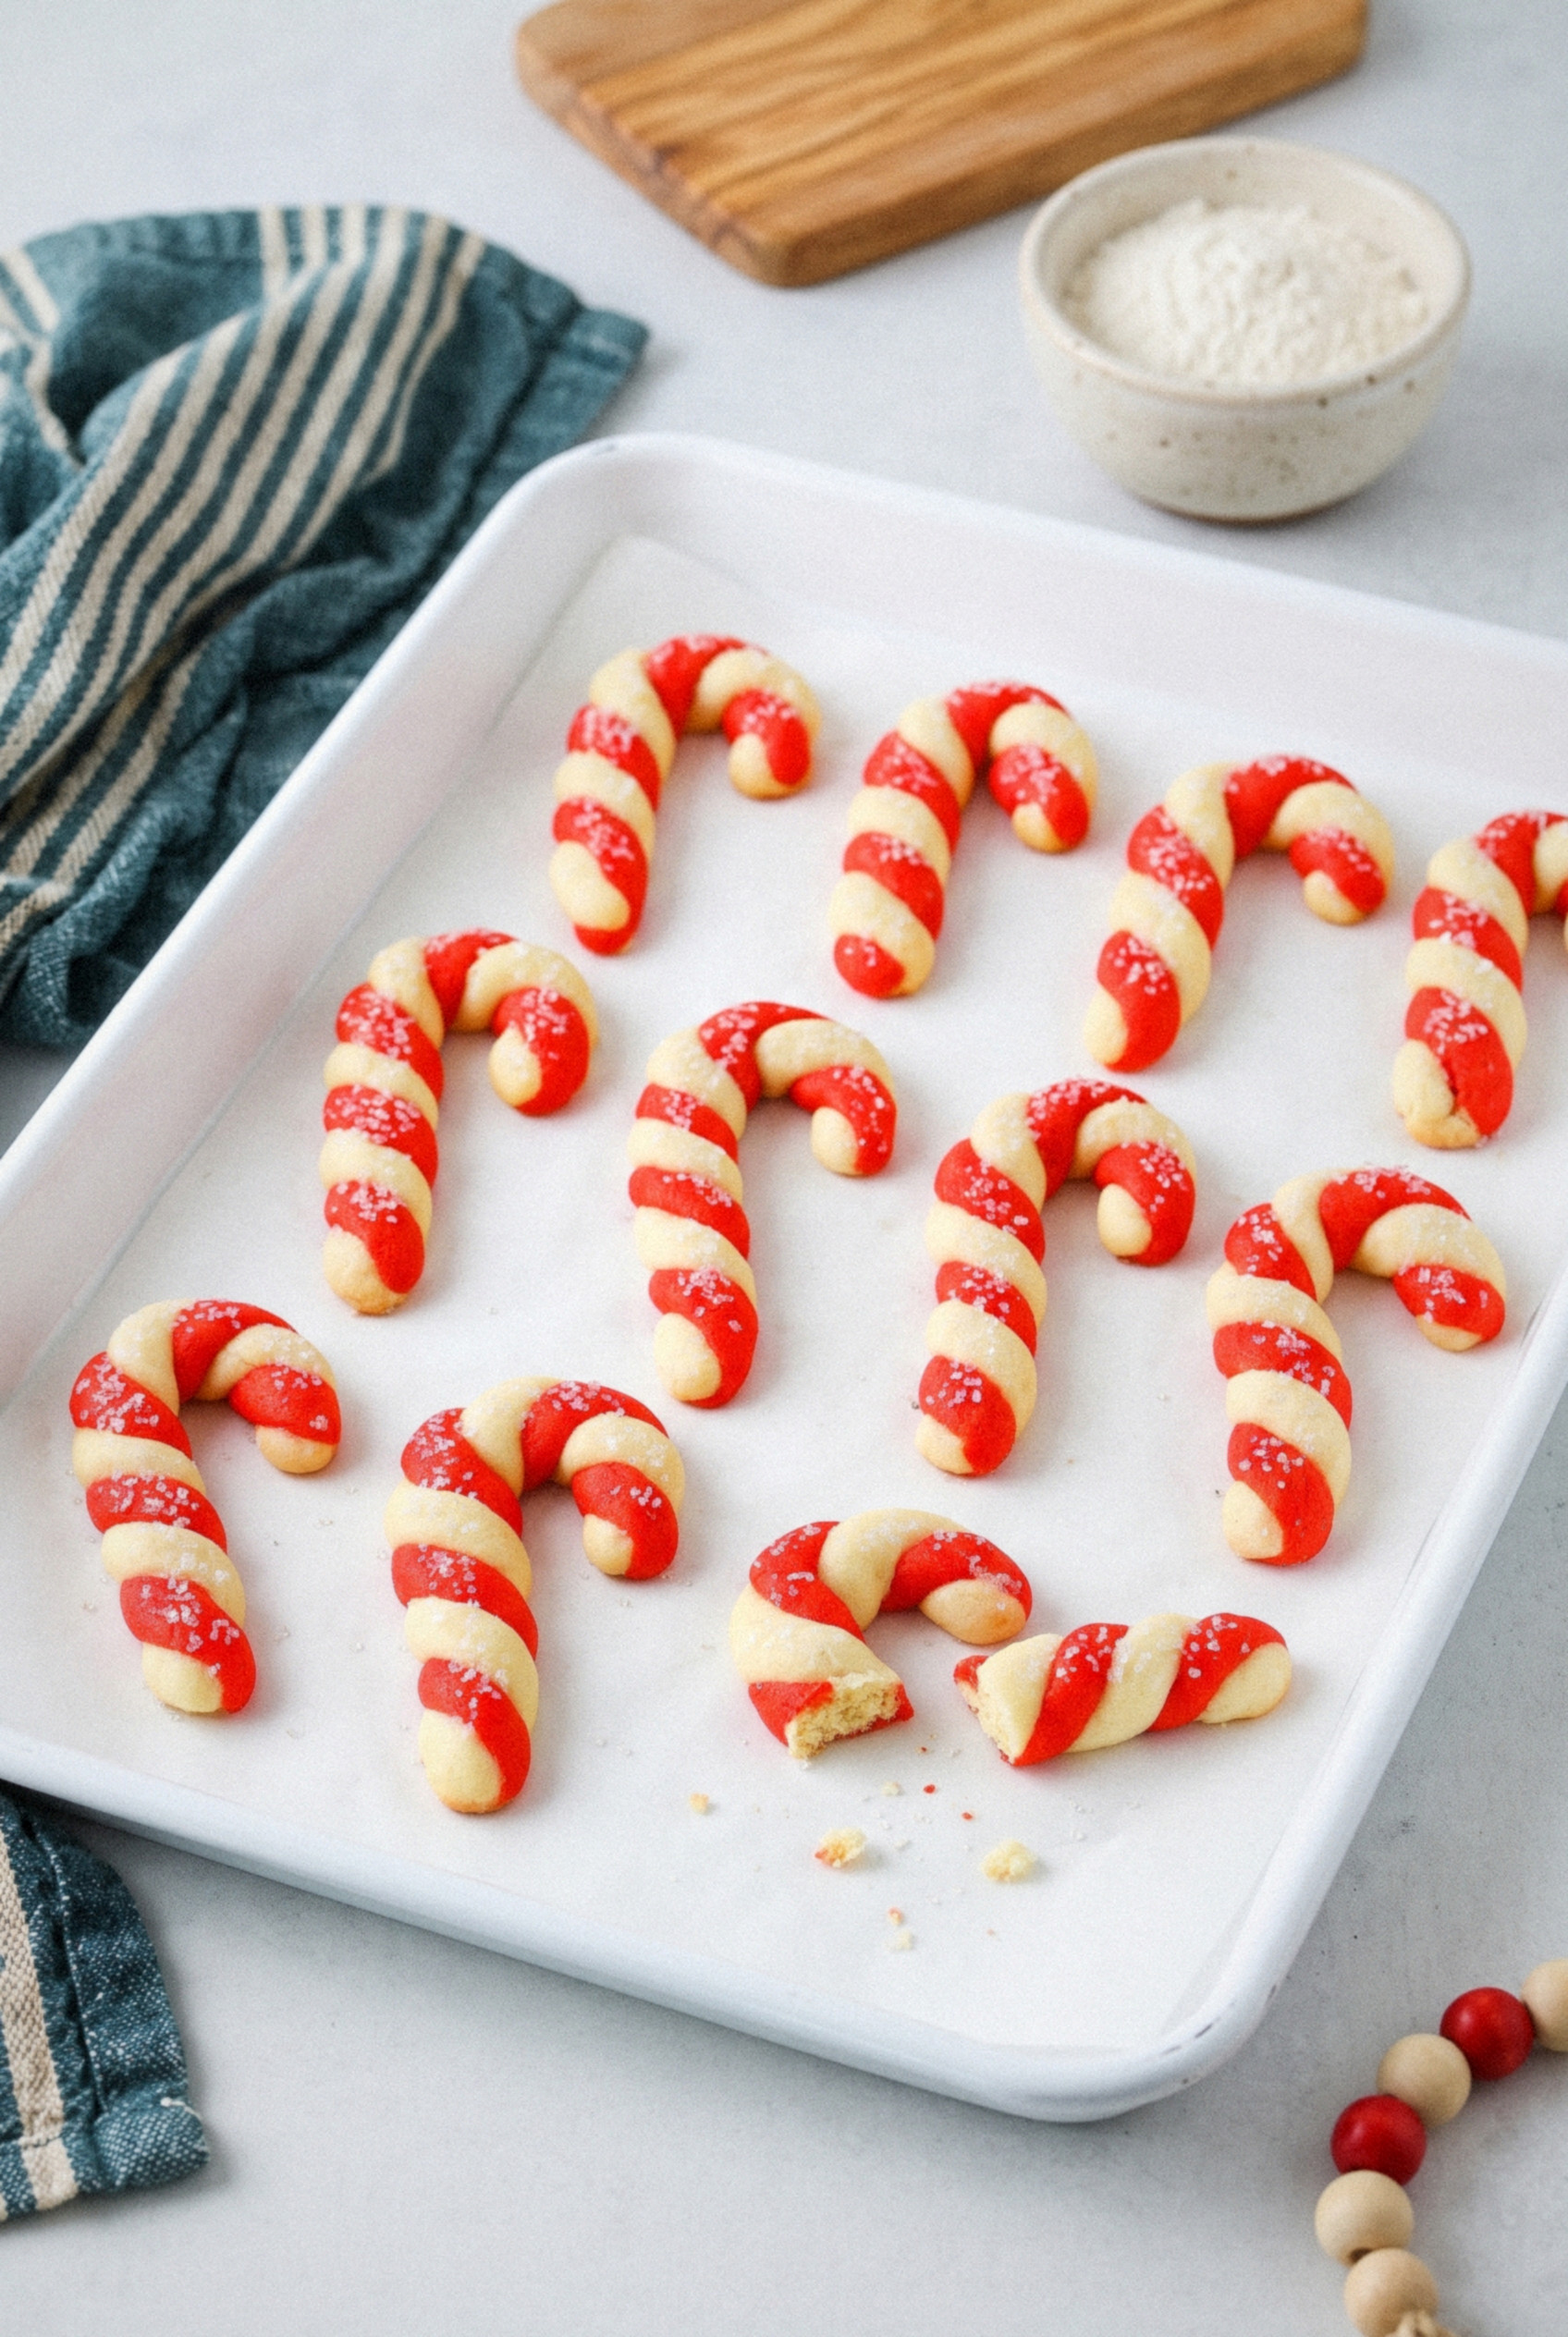
Roll one red rope, roll one white rope, twist them together, and bend the top into a hook.
No frosting, no drying time, and the stripes do all the decorating.
These Classic Candy Cane Twist Cookies have been on American holiday cookie trays since the old 1960s cookbook days, and I get why.
They look like you spent all afternoon on them, and honestly, the shaping is the fun part.
My version is a buttery peppermint dough with no baking soda or powder, so the twist stays sharp instead of puffing into a blur.
A little cornstarch keeps the bite tender, and a quick second chill keeps the hooks from slumping in the oven.
You'll get about two dozen canes, ready for gift tins, cookie swaps, or a plate next to the hot chocolate.
Make them once and you'll see why they never leave my Christmas lineup!
Why These Candy Cane Cookies Work
These cookies are decorated the second they come out of the oven. That alone puts them near the top of my holiday baking list.
- The decoration is baked in. Red and white dough twisted together means zero icing, zero piping bags, and zero waiting for anything to dry.
- No leavener, sharp stripes. Baking soda and powder make the ropes puff and soften the line between colors. Leaving them out keeps every twist crisp and defined.
- Tender, not tough. Powdered sugar and 2 tablespoons of cornstarch give the cookie a shortbread-like snap that still melts in your mouth.
- Pantry ingredients only. Butter, sugar, an egg, flour, extracts, and red gel coloring. That's the whole list.
- Kid-friendly shaping. Rolling ropes is basically edible play dough. My niece makes the wonkiest canes on the tray, and they always get eaten first.
Who doesn't love a cookie that does its own decorating?
A Little Candy Cane History
The candy cane started out much plainer than the one on your tree. Early versions were straight white sugar sticks, and the red stripes and peppermint flavor most of us picture came along later, around the early 1900s.
Cookie versions followed the candy. Twisted red and white dough canes became a fixture in mid-century American baking books, and Betty Crocker's Betty's Cooky Book printed one back in 1963.
Those older recipes often used shortening and almond extract. I switched to all butter and peppermint, because that's the flavor I want when a cookie looks like a candy cane.
Ingredients You'll Need
Everything here is a pantry staple, but a few choices make a real difference. Here's what goes in and why.
- Unsalted butter (1 cup). Softened to room temperature so it creams smoothly. Pale butter gives you a whiter white half, so I skip the deep yellow European kinds here.
- Granulated sugar (½ cup). Adds a little structure and that classic sugar cookie flavor.
- Powdered sugar (½ cup). Keeps the dough smooth and fine-textured, which matters when you're rolling thin ropes.
- Egg (1 large). Room temperature, so it blends right into the butter. Want an extra bright white half? See the variation below.
- Vanilla extract (1 teaspoon). Rounds out the mint so it tastes like a cookie, not toothpaste.
- Peppermint extract (1 teaspoon). Pure peppermint, NOT mint extract, which leans spearmint and tastes like gum.
- All-purpose flour (2 ¾ cups). Spoon it into the cup and level it off. Packed flour makes dry ropes that crack when you twist.
- Cornstarch (2 tablespoons). Softens the crumb and helps the shapes hold in the oven.
- Salt (½ teaspoon). Balances the sweetness.
- Red gel food coloring (½ teaspoon). Gel gives a deep red without adding water. Liquid coloring makes the red half sticky and soft, and you'll need a lot of it to get past pink.
- Crushed peppermint candy and sugar (optional). 2 tablespoons of each, mixed together and sprinkled on the warm cookies for that old-fashioned sparkle.
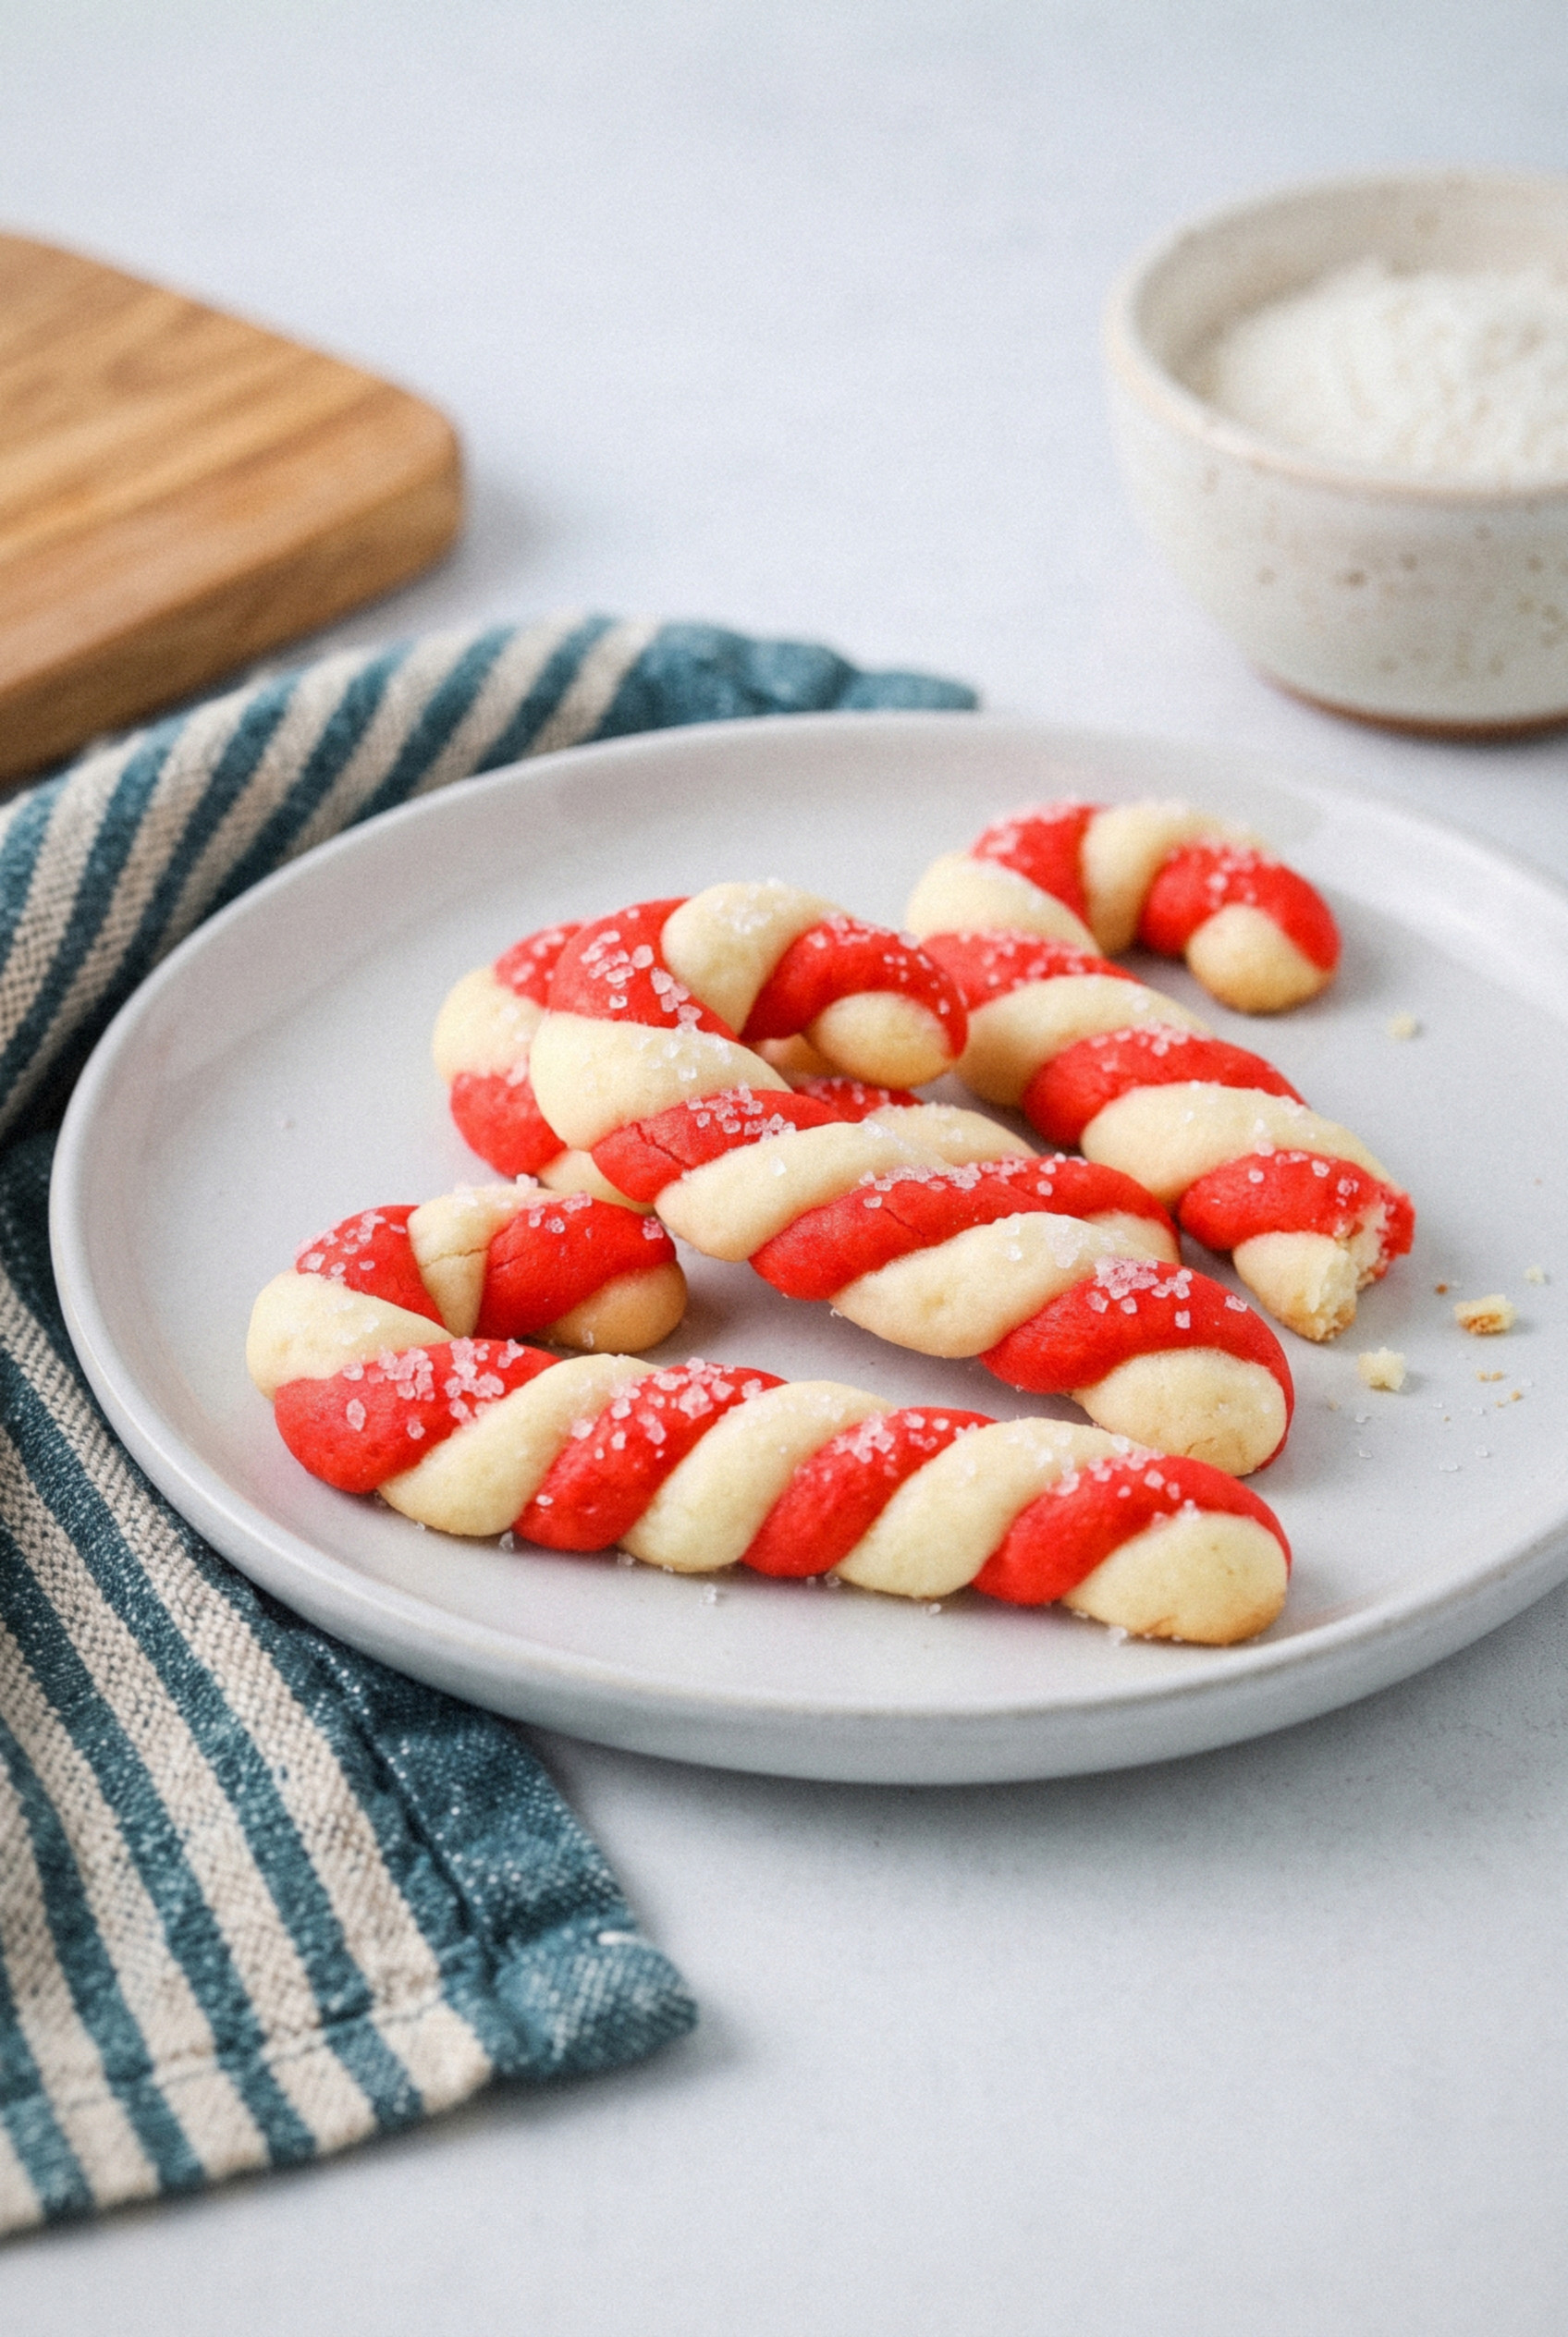
How to Make Candy Cane Twist Cookies
The dough takes ten minutes, and the shaping goes fast once you find your rhythm. Put on some Christmas music for this part.
Step 1: Make the Butter Dough
Beat 1 cup of softened butter with the granulated and powdered sugar on medium speed for 2-3 minutes, until pale and fluffy. Add the egg, vanilla, and peppermint extract, and beat until smooth.
In a separate bowl, whisk the flour, cornstarch, and salt. Add the dry mix to the butter in two additions and mix on low just until a soft dough forms, with no dry streaks left.
Step 2: Split and Color the Dough
Divide the dough into two equal halves. A kitchen scale makes this exact, and even halves mean you won't run out of red before white.
Return one half to the bowl, add ½ teaspoon of red gel coloring, and mix on low until the color is completely even. Add a few more drops if you want a deeper red. Wear gloves if you knead it by hand, unless pink fingers are your holiday look.
Step 3: Chill Both Doughs
Flatten each half into a disc about an inch thick, wrap it tightly, and refrigerate for 30-60 minutes. You want the dough firm enough to roll without sticking, but still bendy.
Pro tip: If it chills overnight, let it sit on the counter for 10-15 minutes before rolling, or the ropes will crack.
Step 4: Roll the Ropes
Heat the oven to 375°F and line a baking sheet with parchment. Scoop 1 level tablespoon of white dough and 1 level tablespoon of red dough.
Roll each one under your palms into a rope about 5 inches long and roughly as thick as a pencil. Use a clean, dry counter and only a whisper of flour if the dough grabs. Keep the rest of both doughs covered so they don't dry out.
Step 5: Twist and Shape the Canes
Lay the red and white ropes side by side and pinch them together at one end. Twist gently from the pinched end to the other, then roll the twisted rope lightly under your palm once to smooth the seams.
Move it to the baking sheet and bend the top inch down into a hook. Pinch both ends so they don't unravel, and space the cookies about 1 inch apart. Repeat, one complete cane at a time.
Look a little crooked? That's fine. Every batch I make has a few lopsided ones, and they taste exactly the same.
Step 6: Chill Again and Bake
Slide the whole sheet into the fridge for 15 minutes. This second chill is the reason the hooks keep their curve instead of relaxing flat.
Bake for 9-11 minutes, until the cookies are set and the bottoms are barely golden. Pull them before the white stripes start to brown. Let them cool on the sheet for 5 minutes, because warm canes snap easily.
Step 7: Add the Peppermint Finish (Optional)
Stir together 2 tablespoons of finely crushed peppermint candy and 2 tablespoons of sugar. Sprinkle it over the cookies the moment they come out of the oven so it sticks to the warm surface.
Once they've rested on the sheet, move them to a rack to cool completely. Then try very hard not to eat the broken ones over the sink. I never manage it!
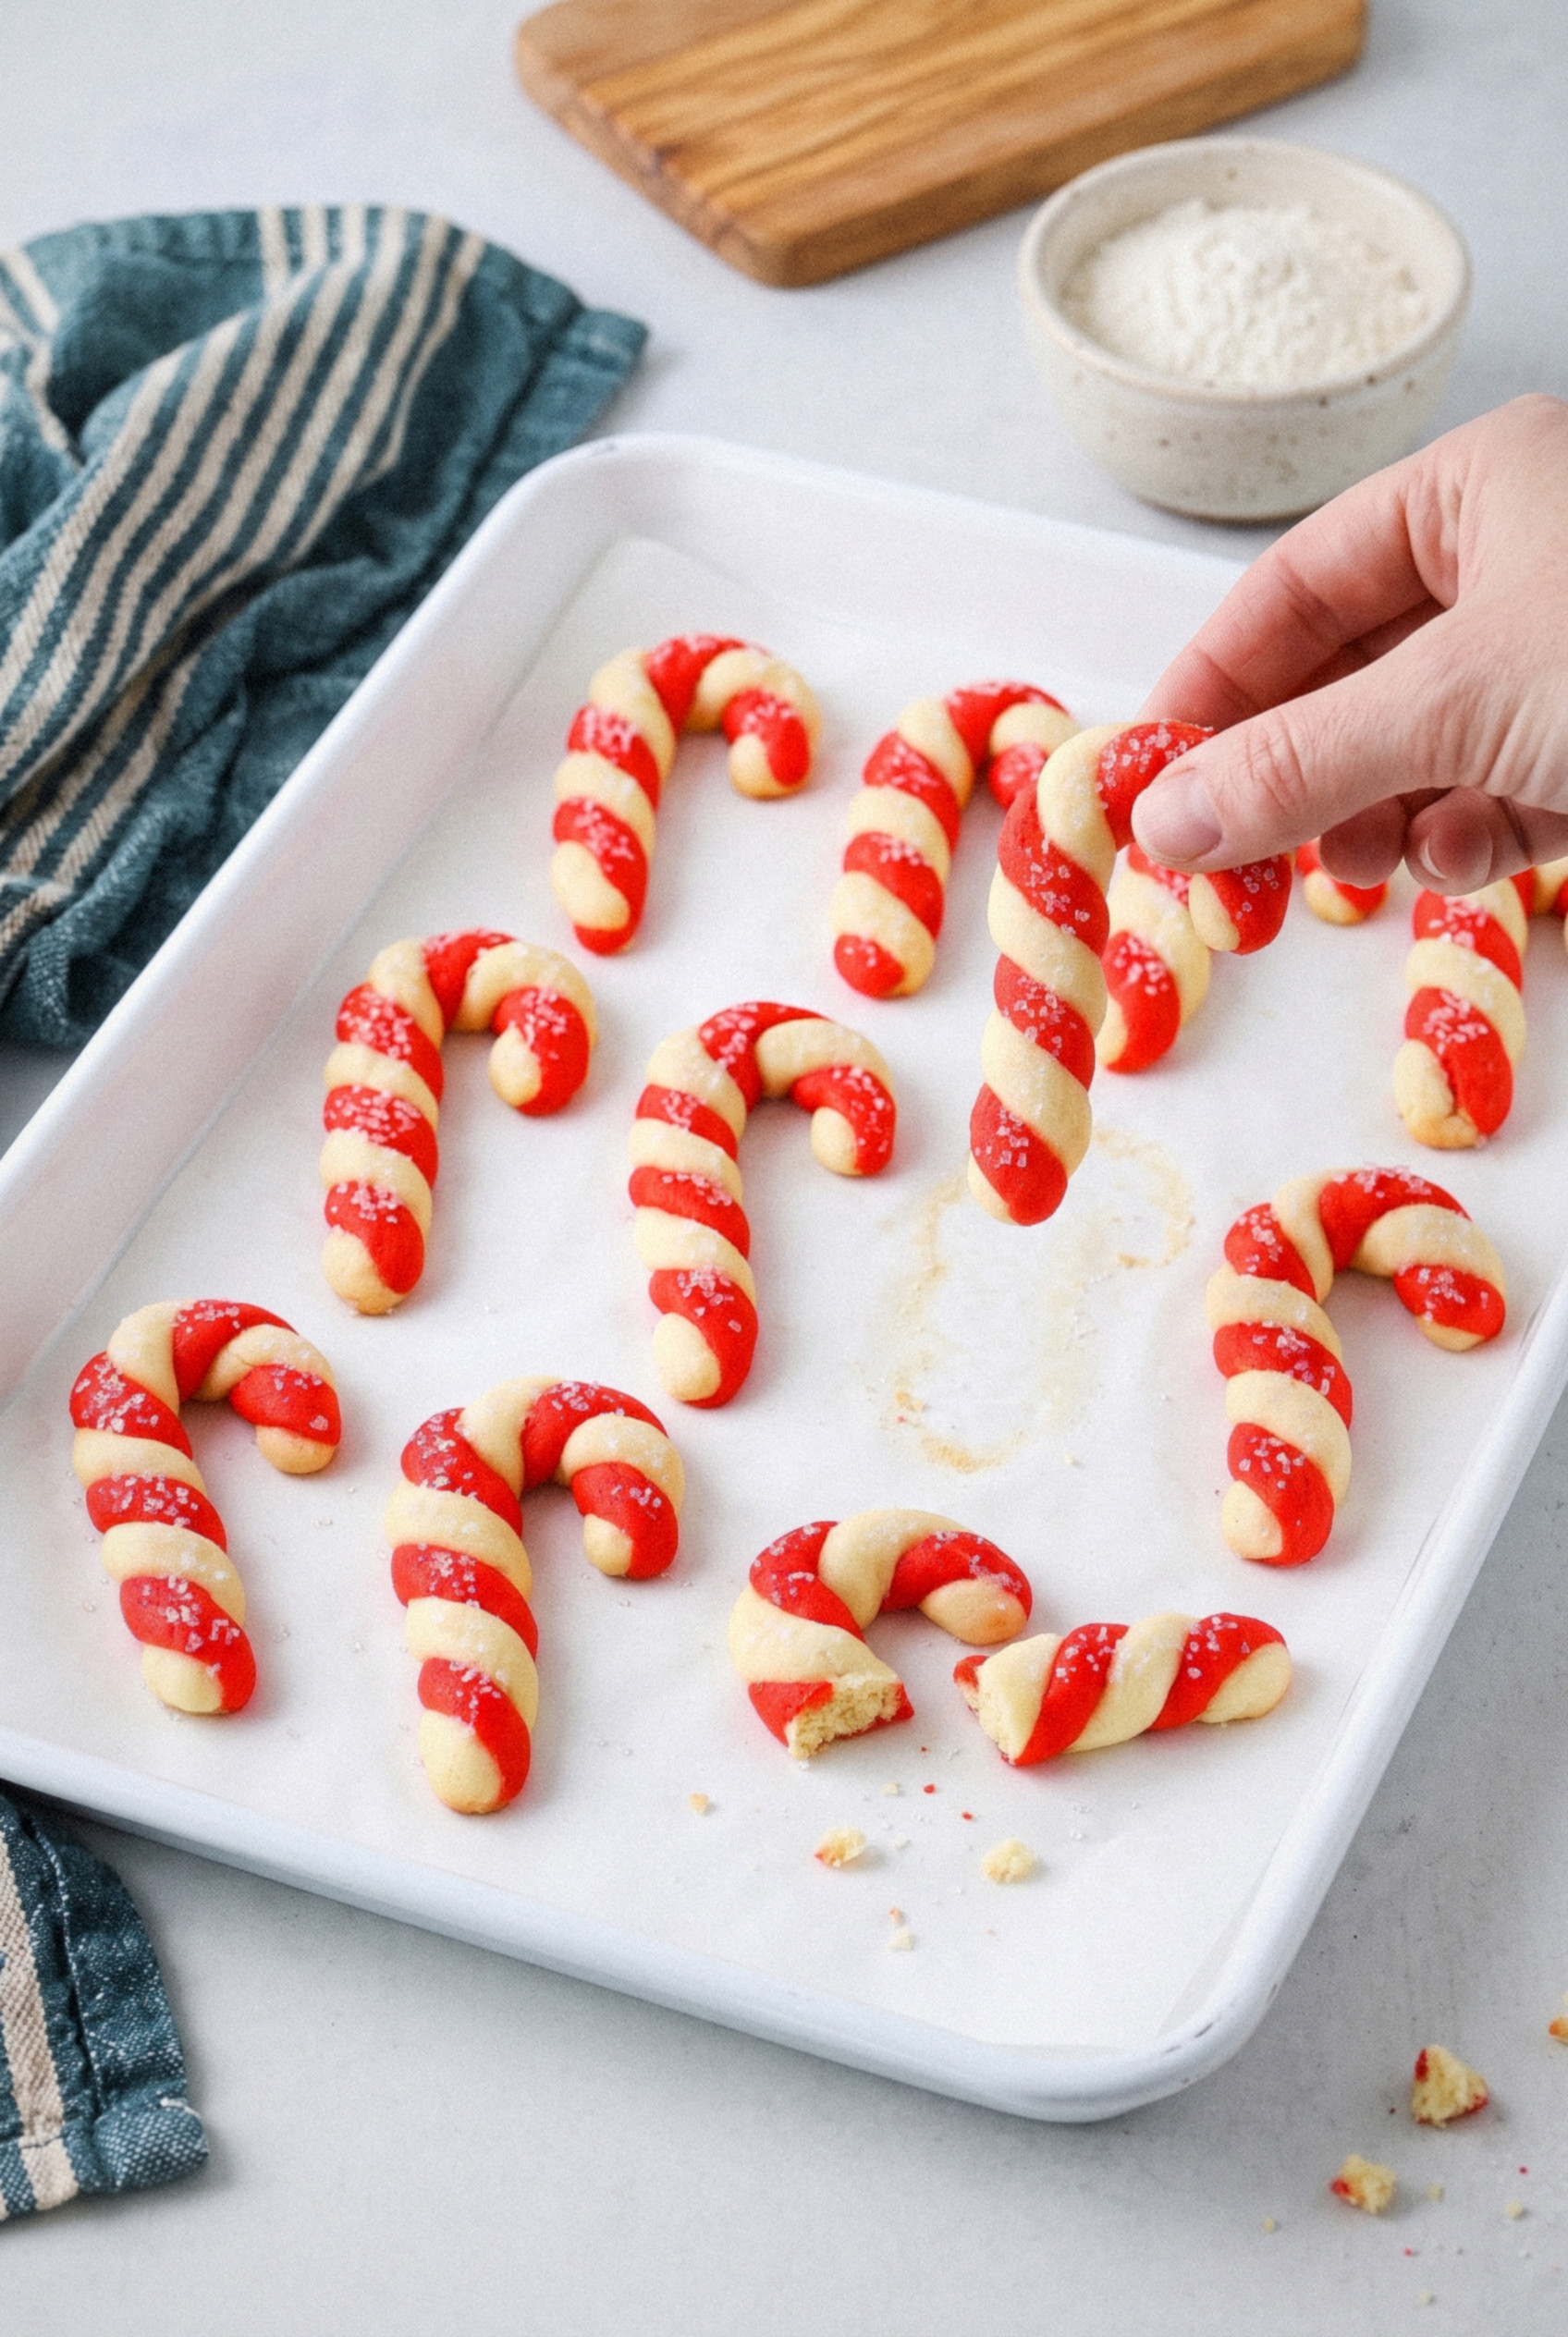
Tips for the Best Candy Cane Cookies
A few small habits separate neat canes from frustrating ones. These are the ones I lean on every December.
- Match the rope thickness. If one rope is thicker, the twist goes lopsided and the thin side browns first. Roll both to the same pencil width.
- Work with half the dough at a time. Keep the rest in the fridge. Warm dough gets sticky and smears the stripes.
- Keep two rolling spots. Roll white on one patch of counter and red on another so red crumbs don't streak your white ropes.
- Skip the water. Damp hands make the dough gummy. A light dusting of flour works better if things get tacky.
- Use a ruler once. Measure your first rope at 5 inches, then eyeball the rest against it. Matching sizes bake at the same rate.
- Bake one sheet at a time. Center rack, even heat, no pale tops on one tray and brown bottoms on the other.
- Fix cracked hooks warm. If a hook splits in the oven, press it back together gently with your fingertip while the cookie is still warm.
Troubleshooting Cracks, Streaks and Spreading
Most candy cane cookie problems come down to temperature or flour. Here's how I fix the usual ones.
- Ropes crack when twisting. The dough is too cold or too dry. Let it warm for a few minutes, and next time spoon and level your flour instead of scooping.
- Red dough feels softer than white. That's the extra coloring and handling. Chill the red half 10 minutes longer before rolling.
- Pink streaks on the white. Wipe your hands and counter between colors. Red dough leaves residue you can't always see.
- Cookies spread and lose the hook. Skipped the second chill, or the butter was too soft when you creamed it. Fridge the shaped canes for the full 15 minutes.
- White stripes turned golden. They baked a minute or two too long. Check at 9 minutes and look at the bottoms, not the tops.
- Ropes won't stick together. Too much flour on the counter. Brush it off and press the pinched ends firmly.
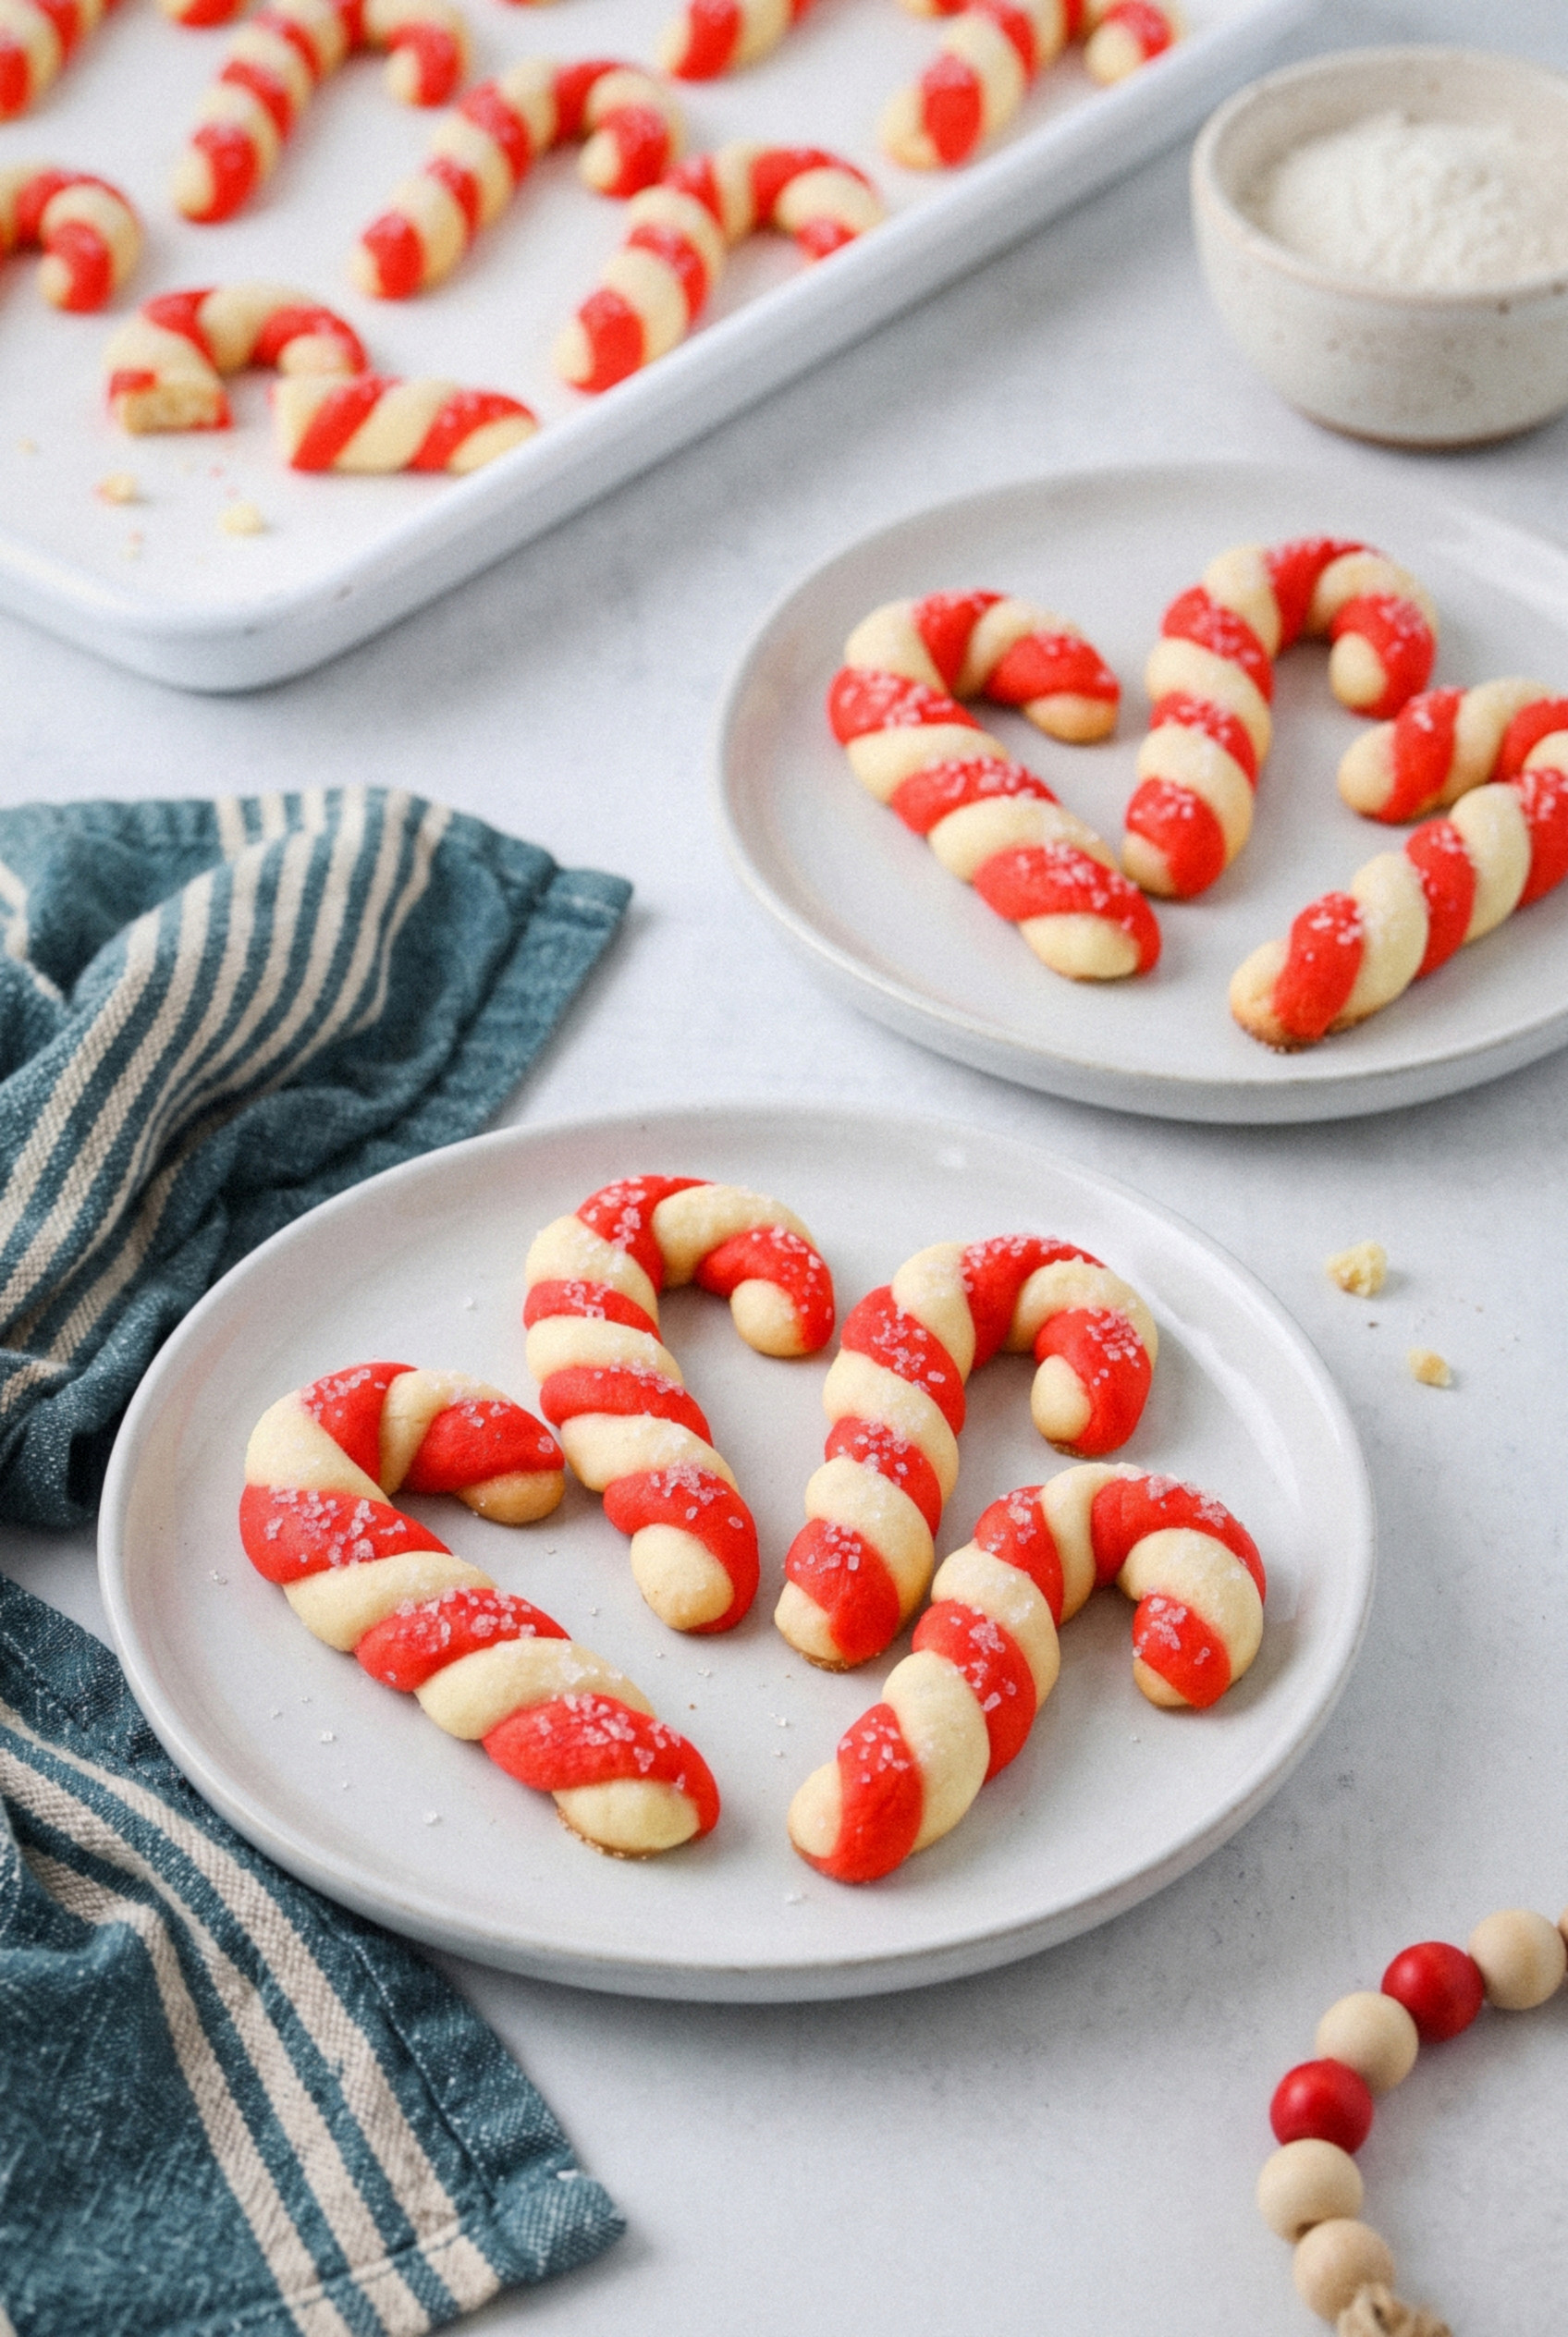
Mini, Standard or Large: A Size Guide
The same dough works for tiny tray fillers or big gift-tin canes. Only the portion and bake time change.
- Mini canes. 1 teaspoon of each color, 3-inch ropes. About 70 cookies. Bake 6-8 minutes.
- Standard canes. 1 tablespoon of each color, 5-inch ropes. About 24 cookies. Bake 9-11 minutes. This is the size in the recipe card.
- Large canes. 1 ½ tablespoons of each color, 6-inch ropes. About 16 cookies. Bake 12-14 minutes.
Mixing sizes? Bake each size on its own sheet so nothing overbakes.
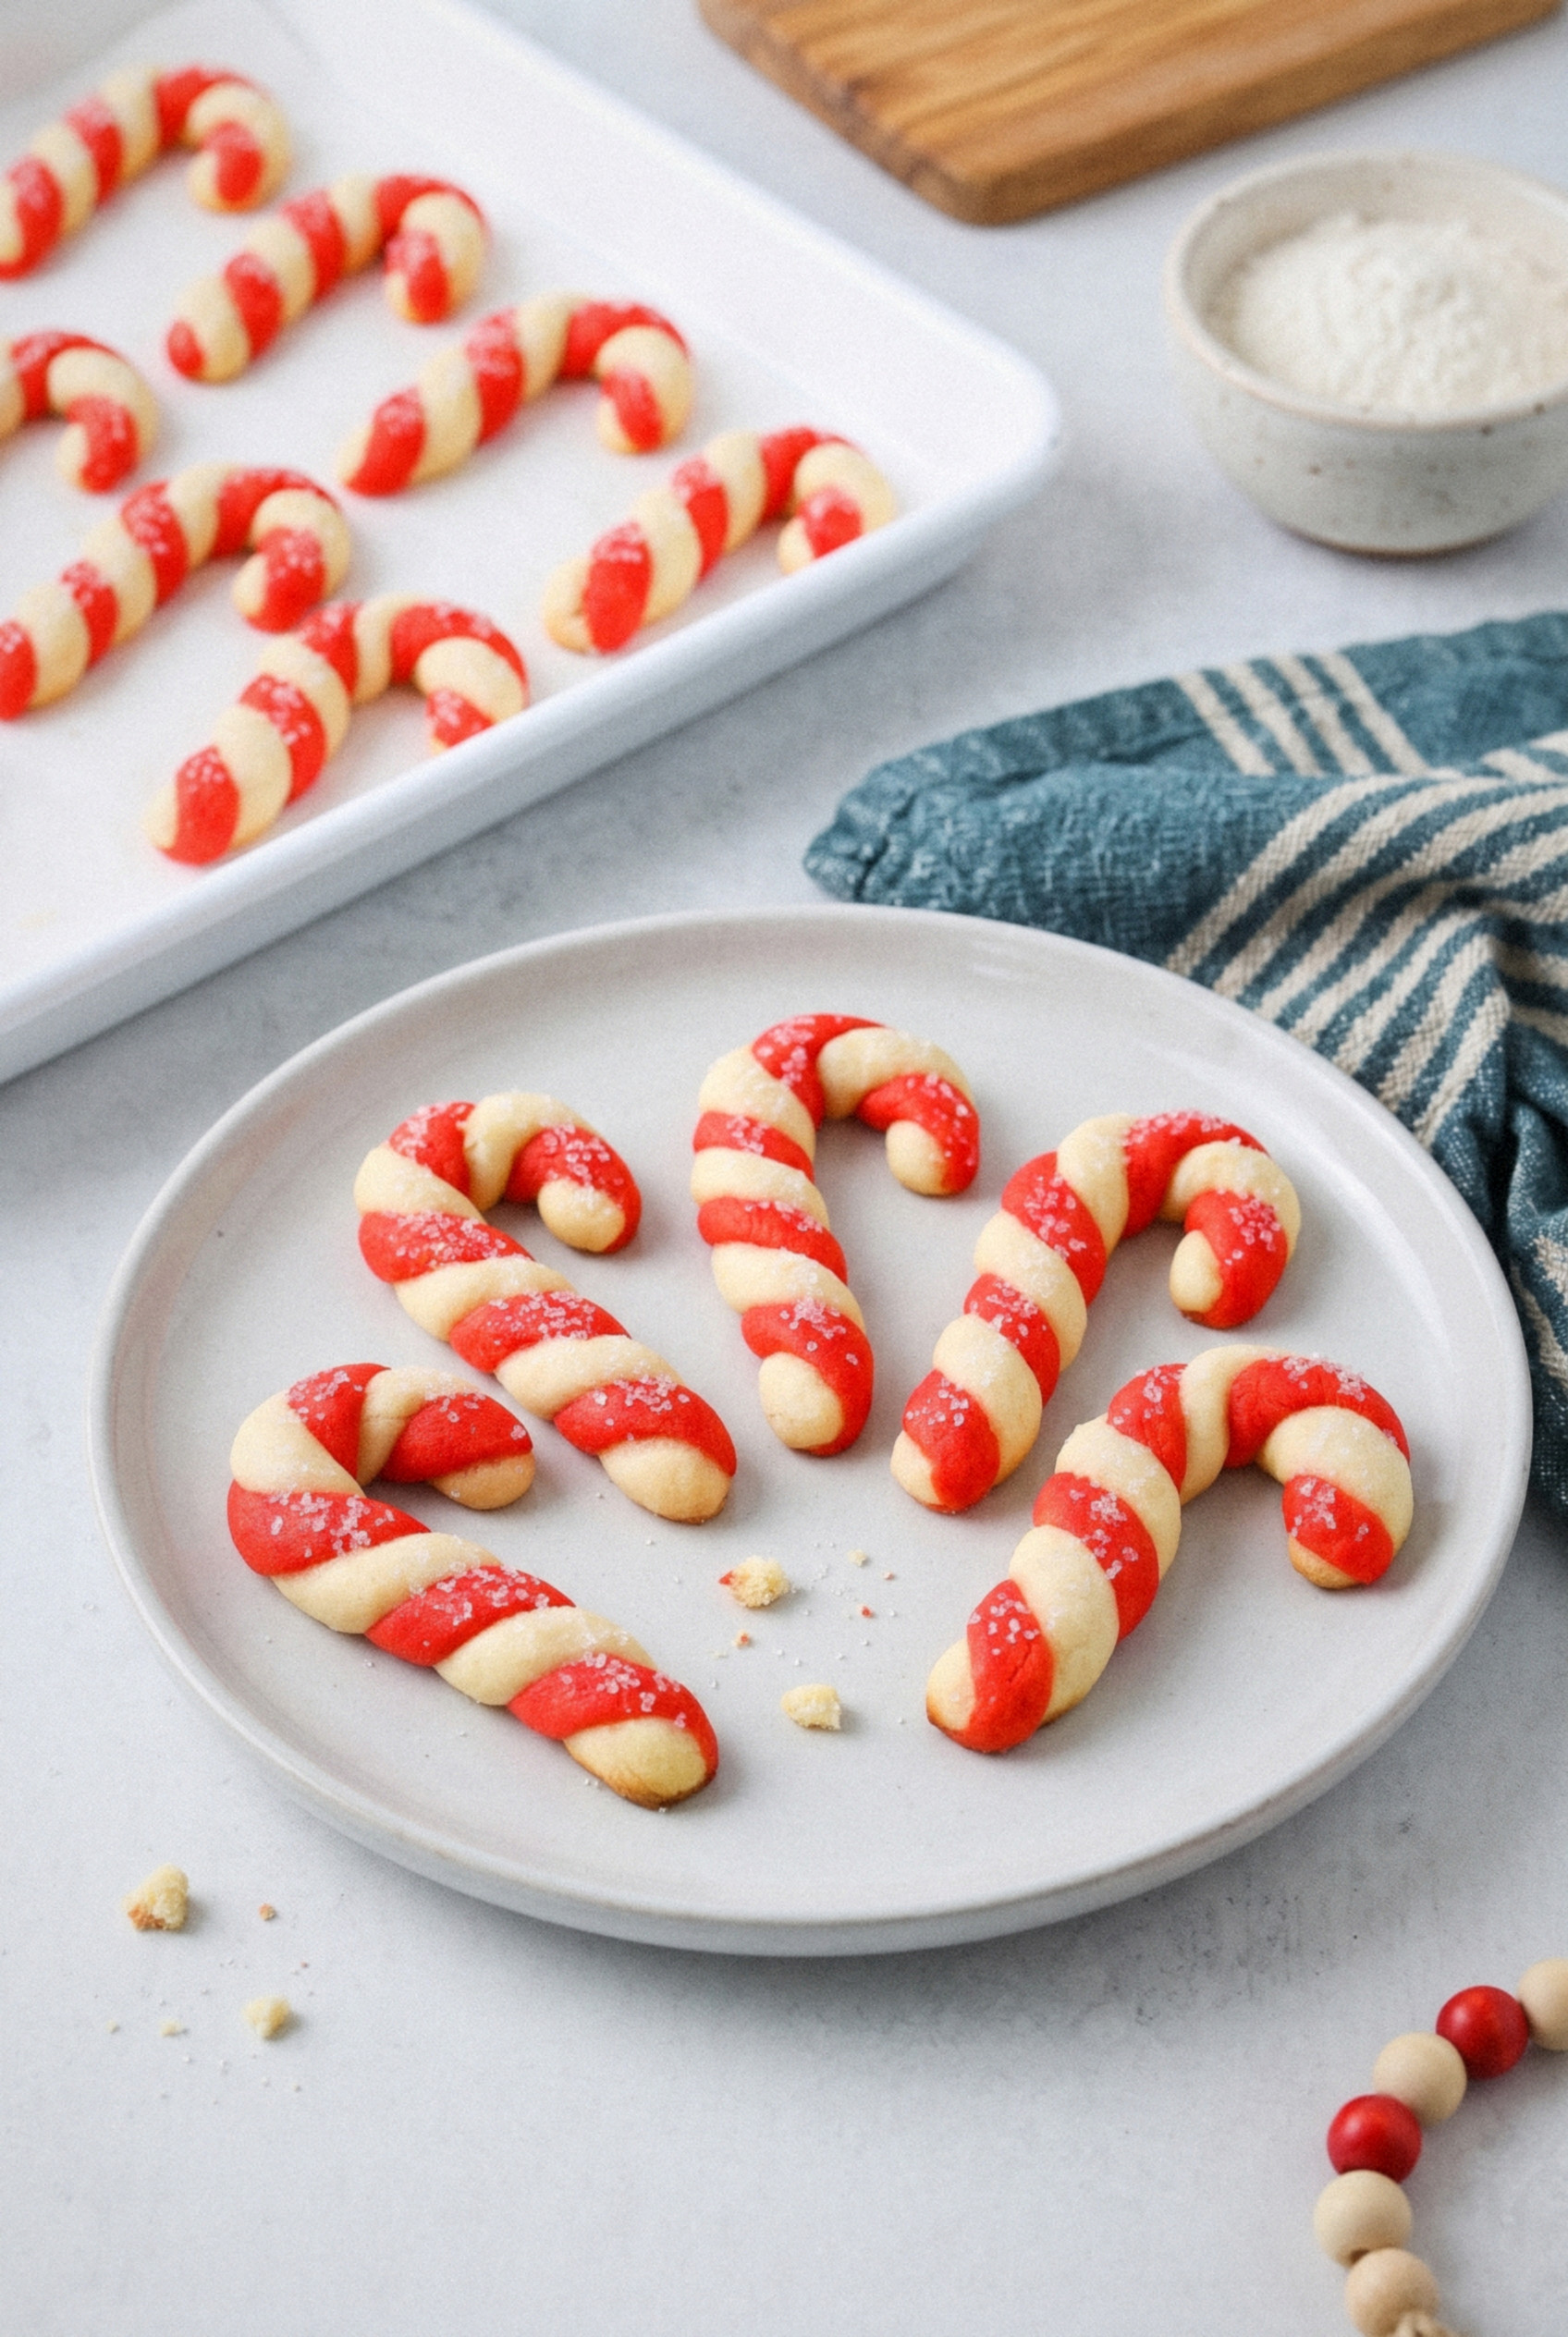
Substitutions and Variations
The classic is red, white, and peppermint, but this dough is easy to play with. A few of my favorite swaps:
- Old-school almond. Swap the peppermint for 1 ½ teaspoons of almond extract, the way many 1960s recipes did it. It tastes like a bakery butter cookie.
- No mint at all. Use 2 teaspoons of vanilla instead. Great for kids who think peppermint is spicy.
- Brighter white half. Mix the dough as two half batches, using only the egg white in the white batch and the yolk in the red one. The white stays snowy instead of creamy.
- Red, white and green. Color a quarter of the dough green and twist three thin ropes. It looks fantastic on a mixed holiday tray.
- Sparkling sugar. Roll the twisted rope lightly in coarse white sanding sugar before shaping the hook.
- Chocolate dipped. Dip the straight ends in melted white or dark chocolate once the cookies are completely cool.
- Peppermint emulsion. Use the same amount as extract for a rounder flavor that holds up better in the oven.
How to Store and Make Ahead
These are one of the best make-ahead Christmas cookies I know. No icing means nothing to smudge or crack in storage.
- Baked cookies, room temperature. Store in an airtight tin with parchment between layers for up to 1 week. Skip the fridge, which softens them.
- Baked cookies, frozen. Freeze in a single layer, then pack into a container for up to 3 months. Thaw at room temperature in the container.
- Dough. Wrap the colored discs tightly and refrigerate for up to 3 days, or freeze for up to 1 month.
- Shaped, unbaked canes. Freeze on the sheet until solid, then bag them. Bake straight from frozen and add 1-2 minutes to the bake time.
Fair warning: a tin of these on the counter disappears faster than you'd think.
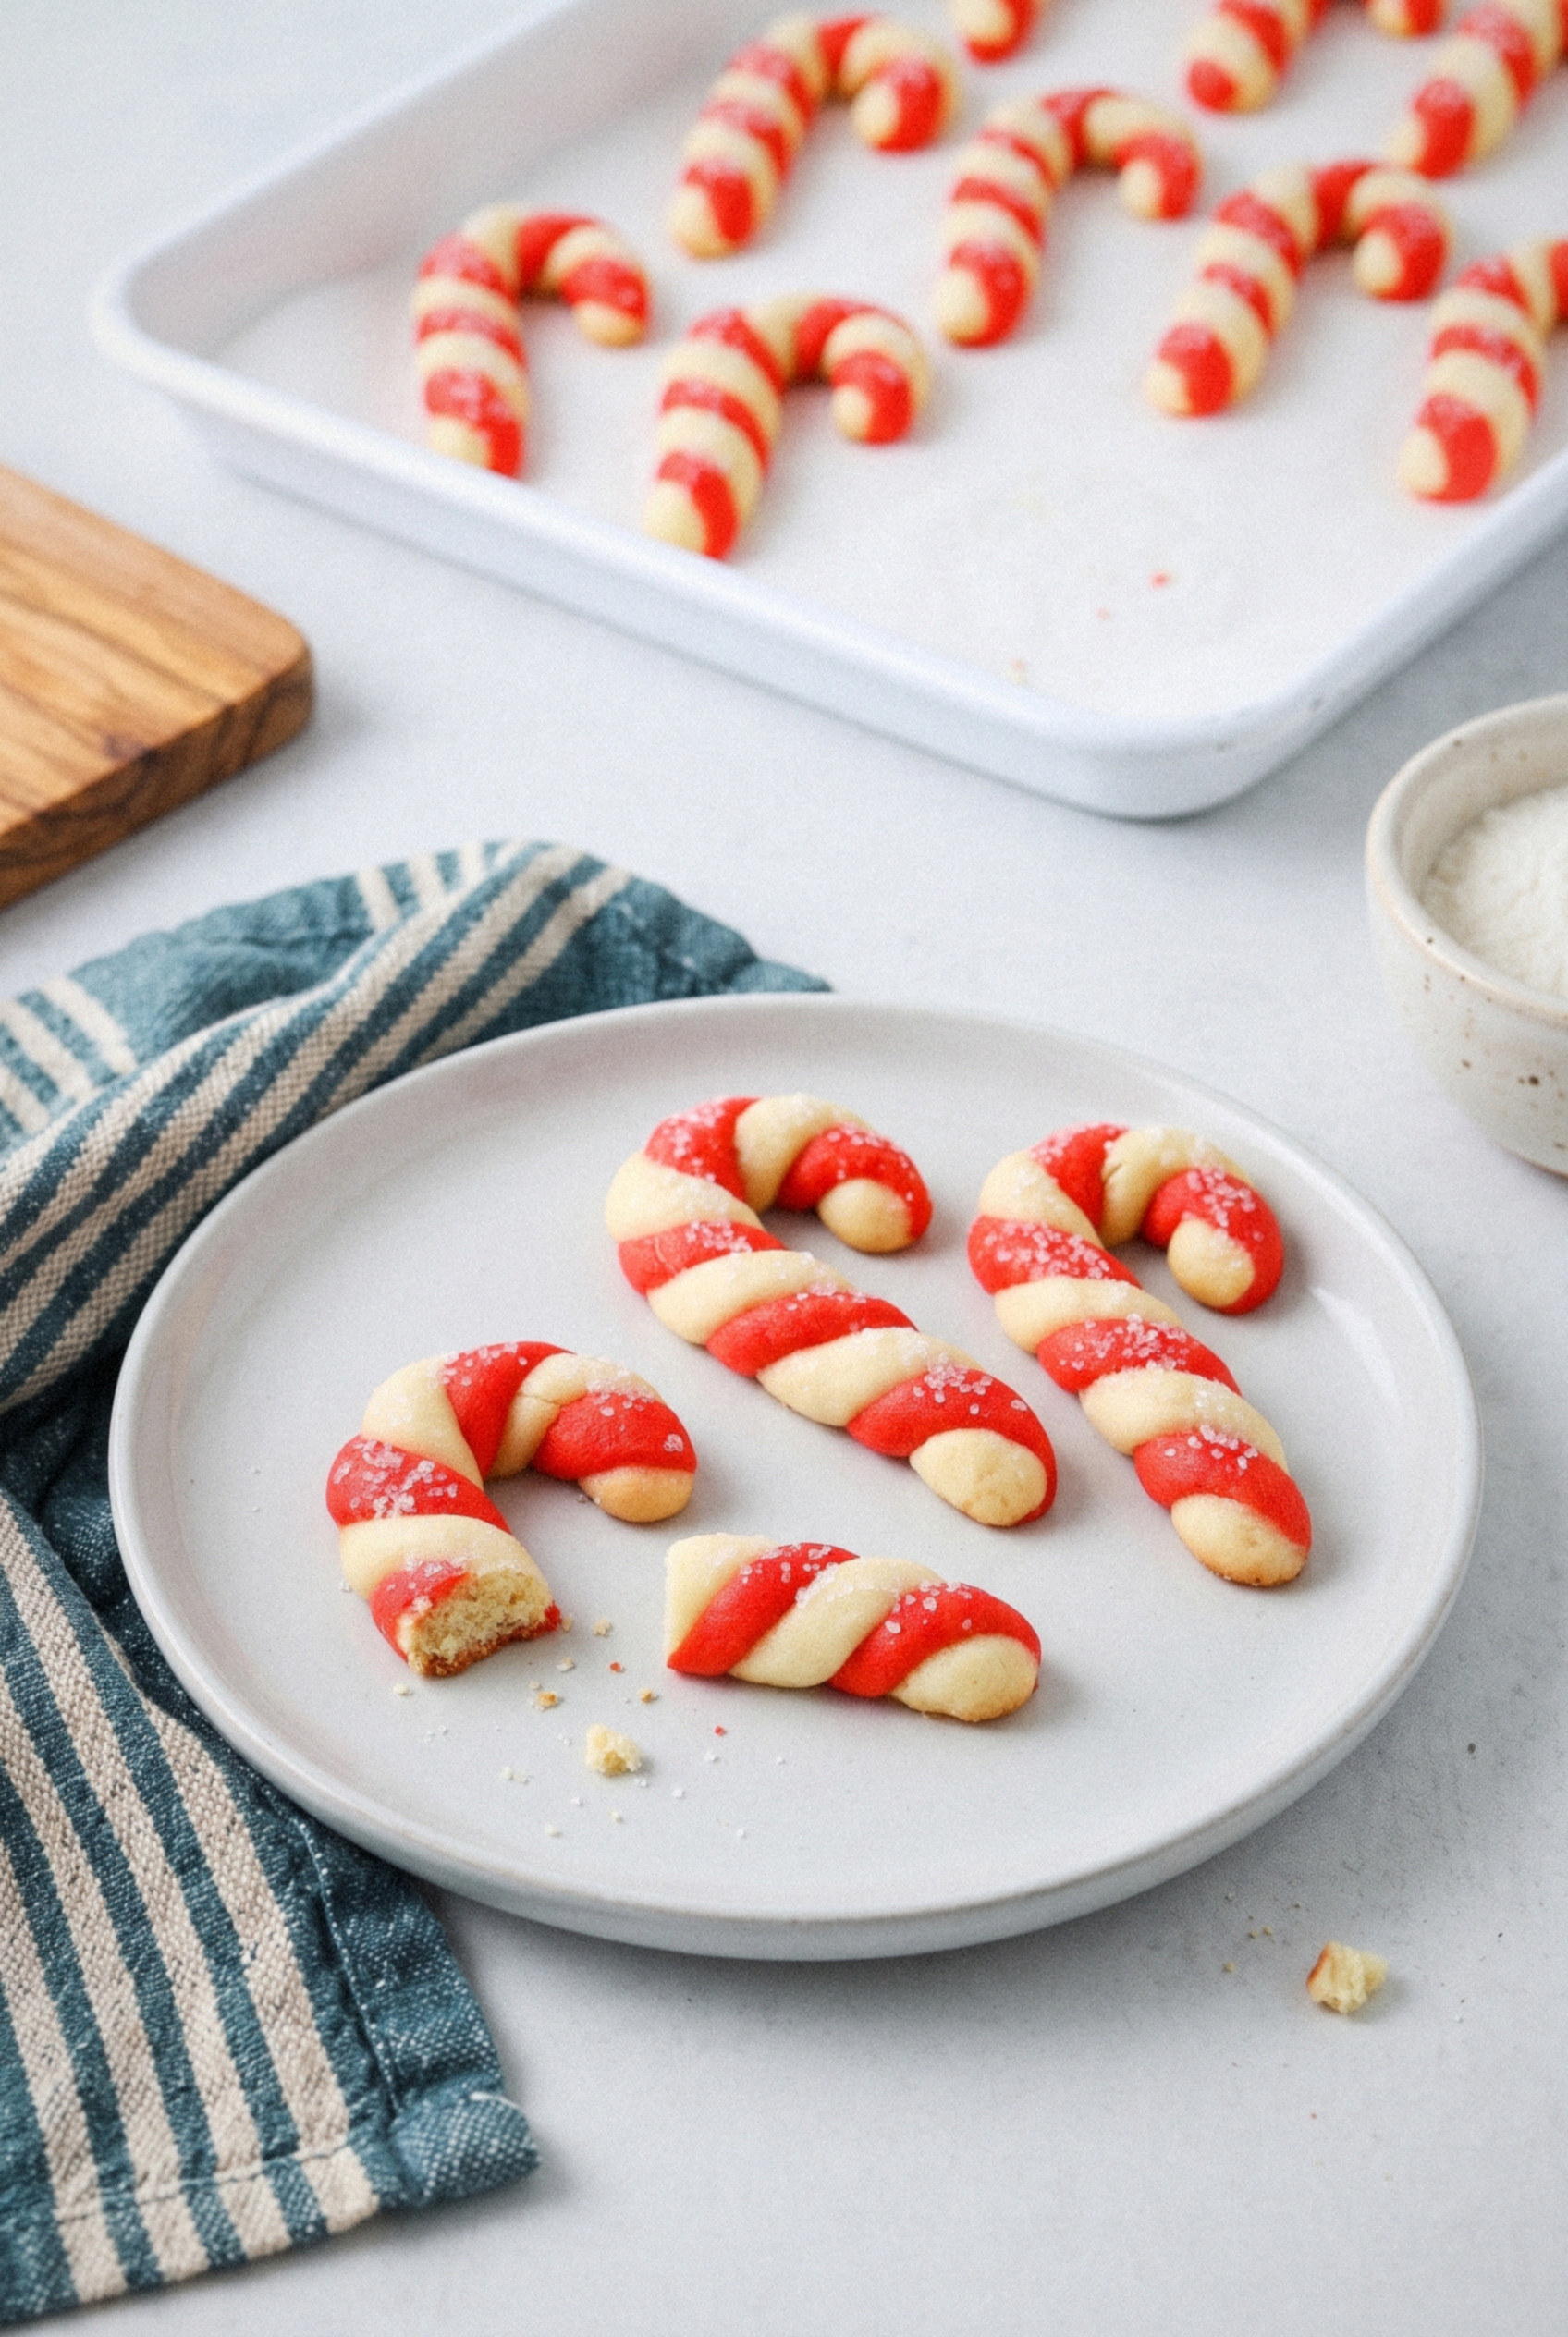
Serving and Gifting Ideas
These canes are built for sharing. Their flat shape stacks well, and the color shows off without any wrapping tricks.
- Cookie trays. Lay them in a row with the hooks all facing one way. They pair perfectly with chocolate crinkles, spritz, or jam thumbprints.
- Gift tins. Line the tin with parchment and stack the canes flat, three or four layers deep, with paper between each layer.
- Cookie swaps. The standard size travels well. Pack them snug so they can't slide and snap.
- Hot chocolate nights. Set a plate next to the mugs. The peppermint and chocolate combo hits the spot every single time.
However you serve them, they're a crowd-pleaser. Give them a try this Christmas!
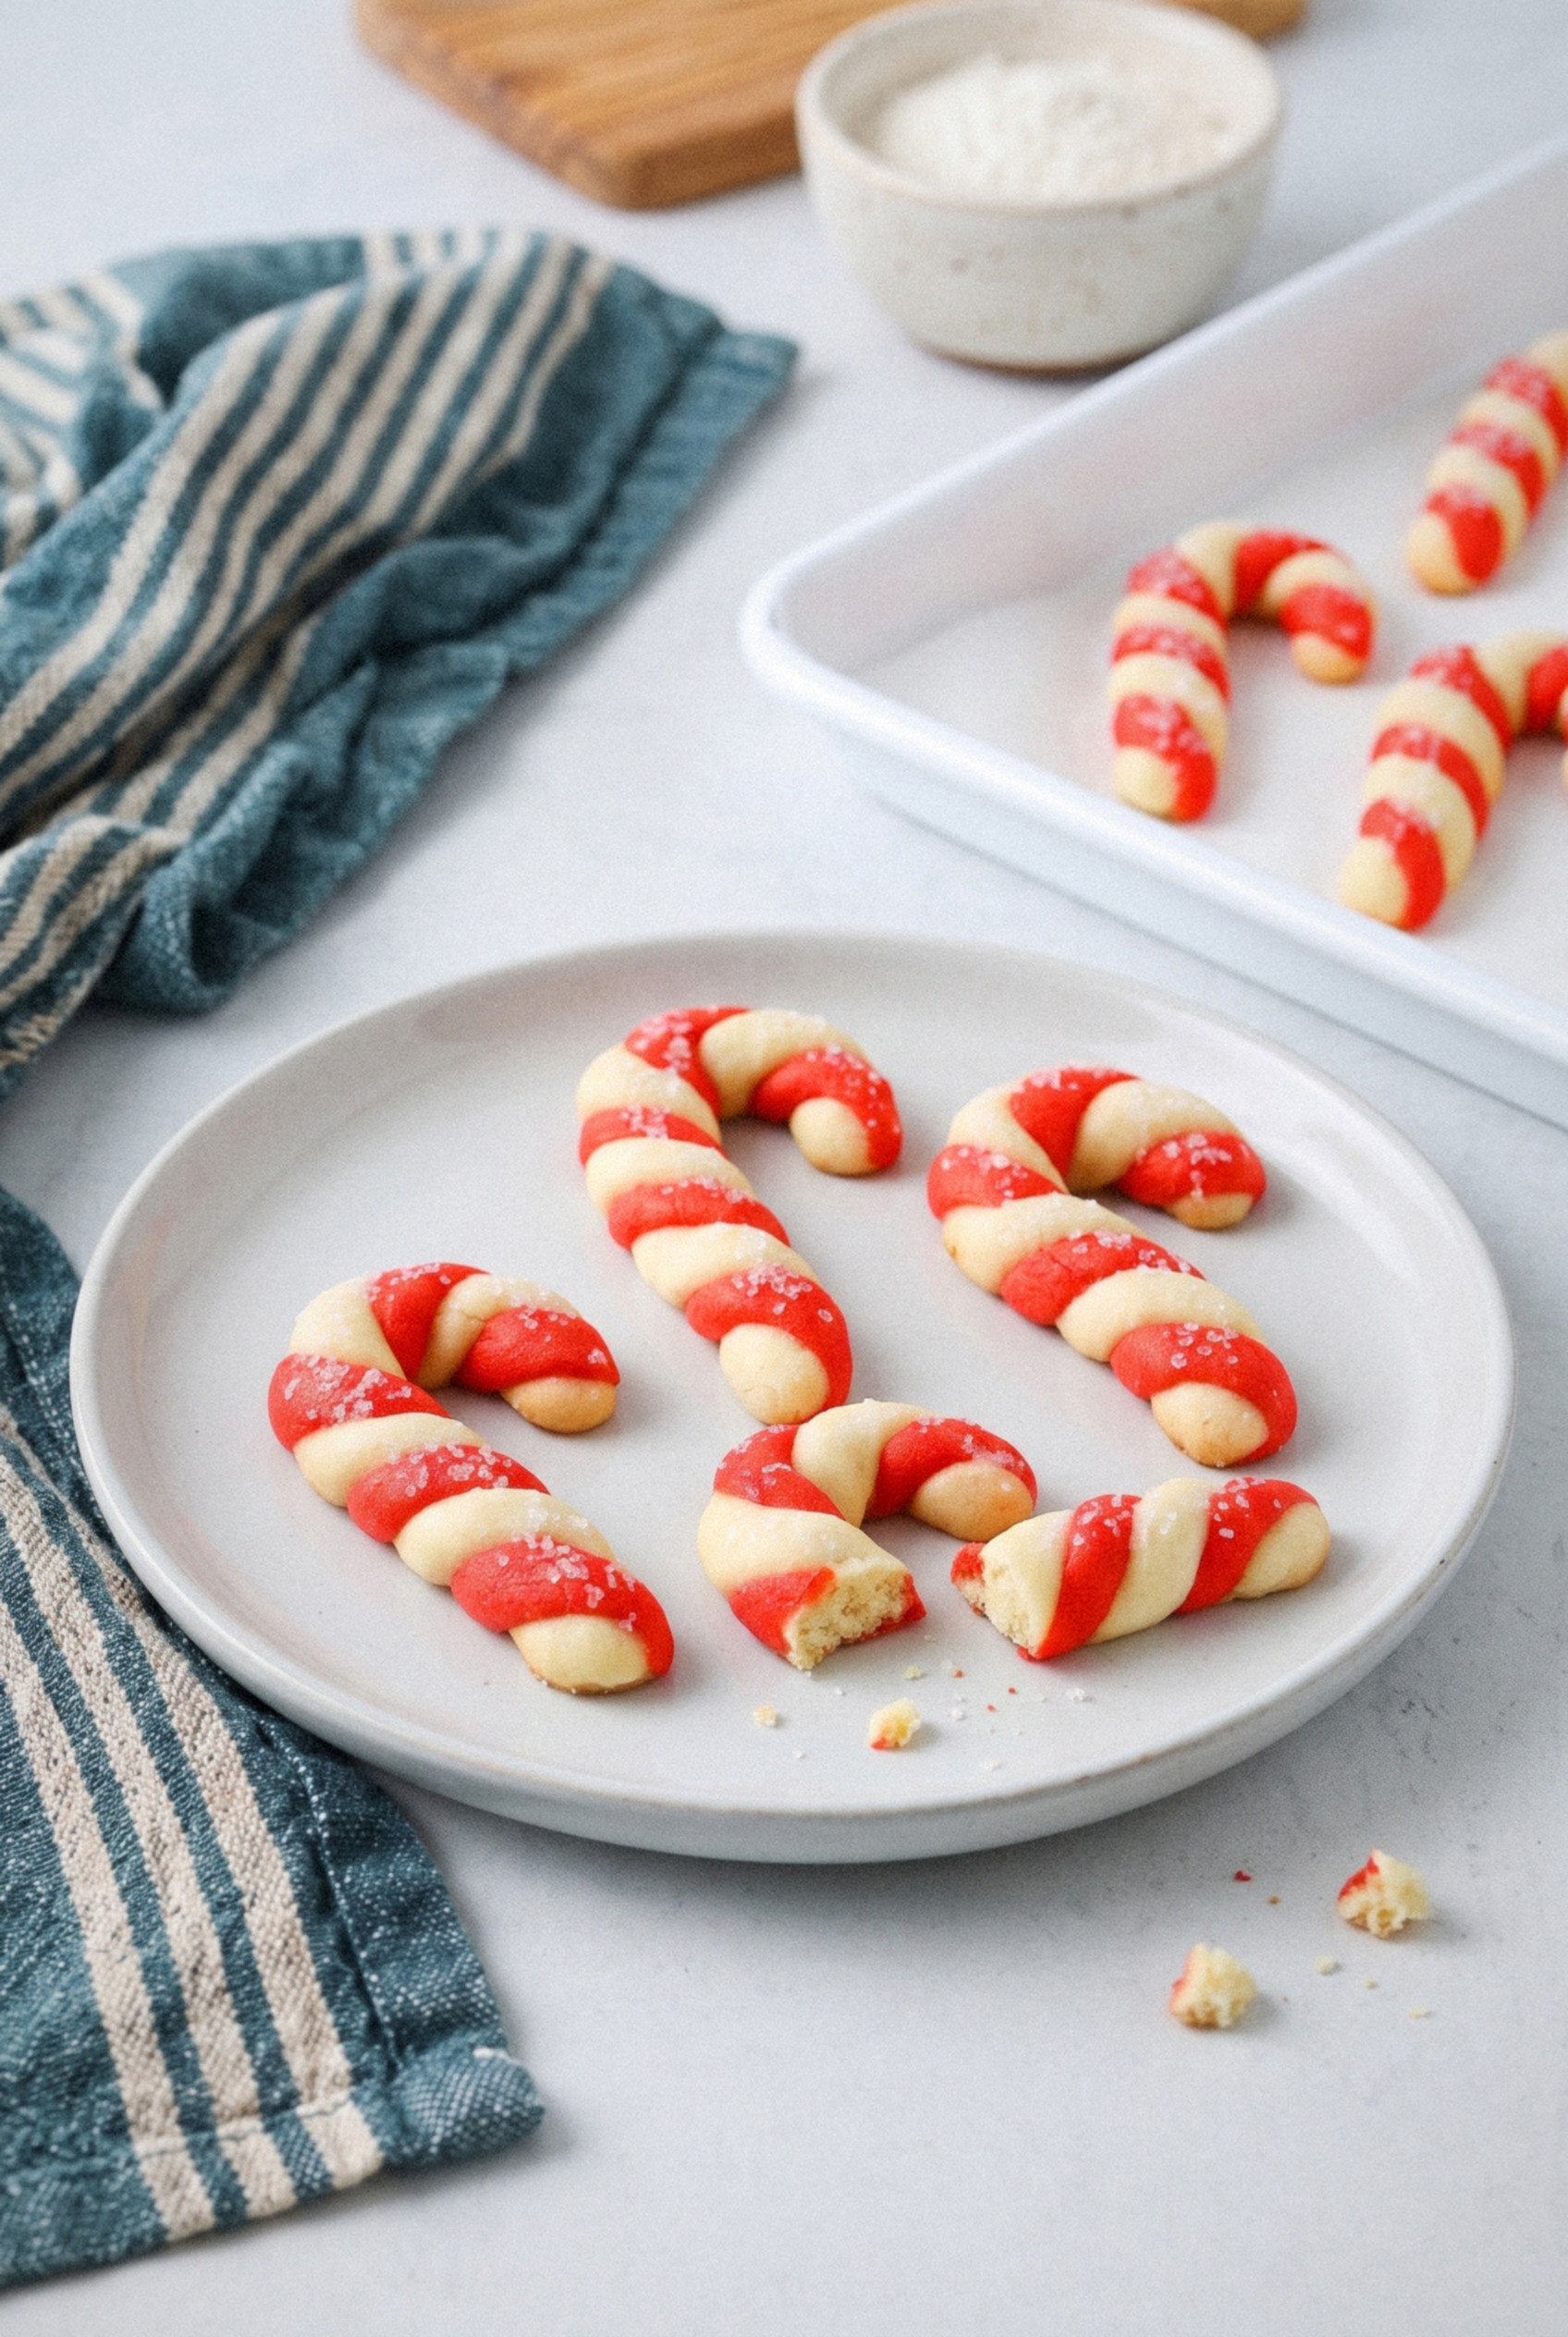
Recipe
Classic Candy Cane Twist Cookies
Ingredients
For the Cookie Dough
- 1 cup unsalted butter softened to room temperature
- ½ cup granulated sugar
- ½ cup powdered sugar
- 1 large egg room temperature
- 1 teaspoon vanilla extract
- 1 teaspoon peppermint extract pure peppermint, not mint
- 2 ¾ cups all-purpose flour spooned and leveled
- 2 tablespoons cornstarch
- ½ teaspoon salt
- ½ teaspoon red gel food coloring plus more for a deeper red
For the Peppermint Topping (optional)
- 2 tablespoons peppermint candy finely crushed
- 2 tablespoons granulated sugar
Instructions
Make the Dough
- Beat the softened butter, granulated sugar, and powdered sugar on medium speed for 2 to 3 minutes until pale and fluffy.
- Beat in the egg, vanilla extract, and peppermint extract until smooth.
- Whisk the flour, cornstarch, and salt in a separate bowl. Add to the butter mixture in two additions and mix on low just until a soft dough forms.
Color and Chill
- Divide the dough into two equal halves. Mix the red gel coloring into one half until evenly colored, adding more for a deeper red if desired.
- Flatten each half into a 1-inch disc, wrap tightly, and refrigerate for 30 to 60 minutes until firm but still pliable.
Shape the Canes
- Heat the oven to 375°F and line a baking sheet with parchment paper.
- Roll 1 level tablespoon of white dough and 1 level tablespoon of red dough into ropes about 5 inches long and pencil thick. Keep the remaining dough covered.
- Lay the ropes side by side, pinch one end, and twist gently. Roll once under your palm to smooth the seams.
- Place on the baking sheet, bend the top into a hook, and pinch both ends. Space cookies 1 inch apart. Repeat with the remaining dough.
Chill and Bake
- Refrigerate the shaped cookies on the baking sheet for 15 minutes.
- Bake one sheet at a time on the center rack for 9 to 11 minutes, until set and barely golden on the bottom, before the white stripes brown.
- If using the topping, mix the crushed peppermint candy and sugar and sprinkle over the cookies immediately after baking.
- Cool on the baking sheet for 5 minutes, then transfer to a rack to cool completely.
Notes
- Coloring: Use gel food coloring. Liquid coloring makes the red dough sticky and soft.
- Flour: Spoon and level the flour. Too much flour makes ropes that crack when twisted.
- Second chill: Chilling the shaped canes for 15 minutes keeps the hooks from spreading flat.
- Sizes: For mini canes, use 1 teaspoon of each color, 3-inch ropes, and bake 6 to 8 minutes. For large canes, use 1 ½ tablespoons of each color, 6-inch ropes, and bake 12 to 14 minutes.
- Storage: Keep airtight at room temperature up to 1 week or freeze up to 3 months. Shaped unbaked canes can be baked from frozen with 1 to 2 extra minutes.