Christmas Eve at my grandmother's house meant a long folding table in the basement covered edge to edge with cookie platters.
Twelve kinds, minimum.
My cousins and I would circle that table like sharks, and one platter always emptied first.
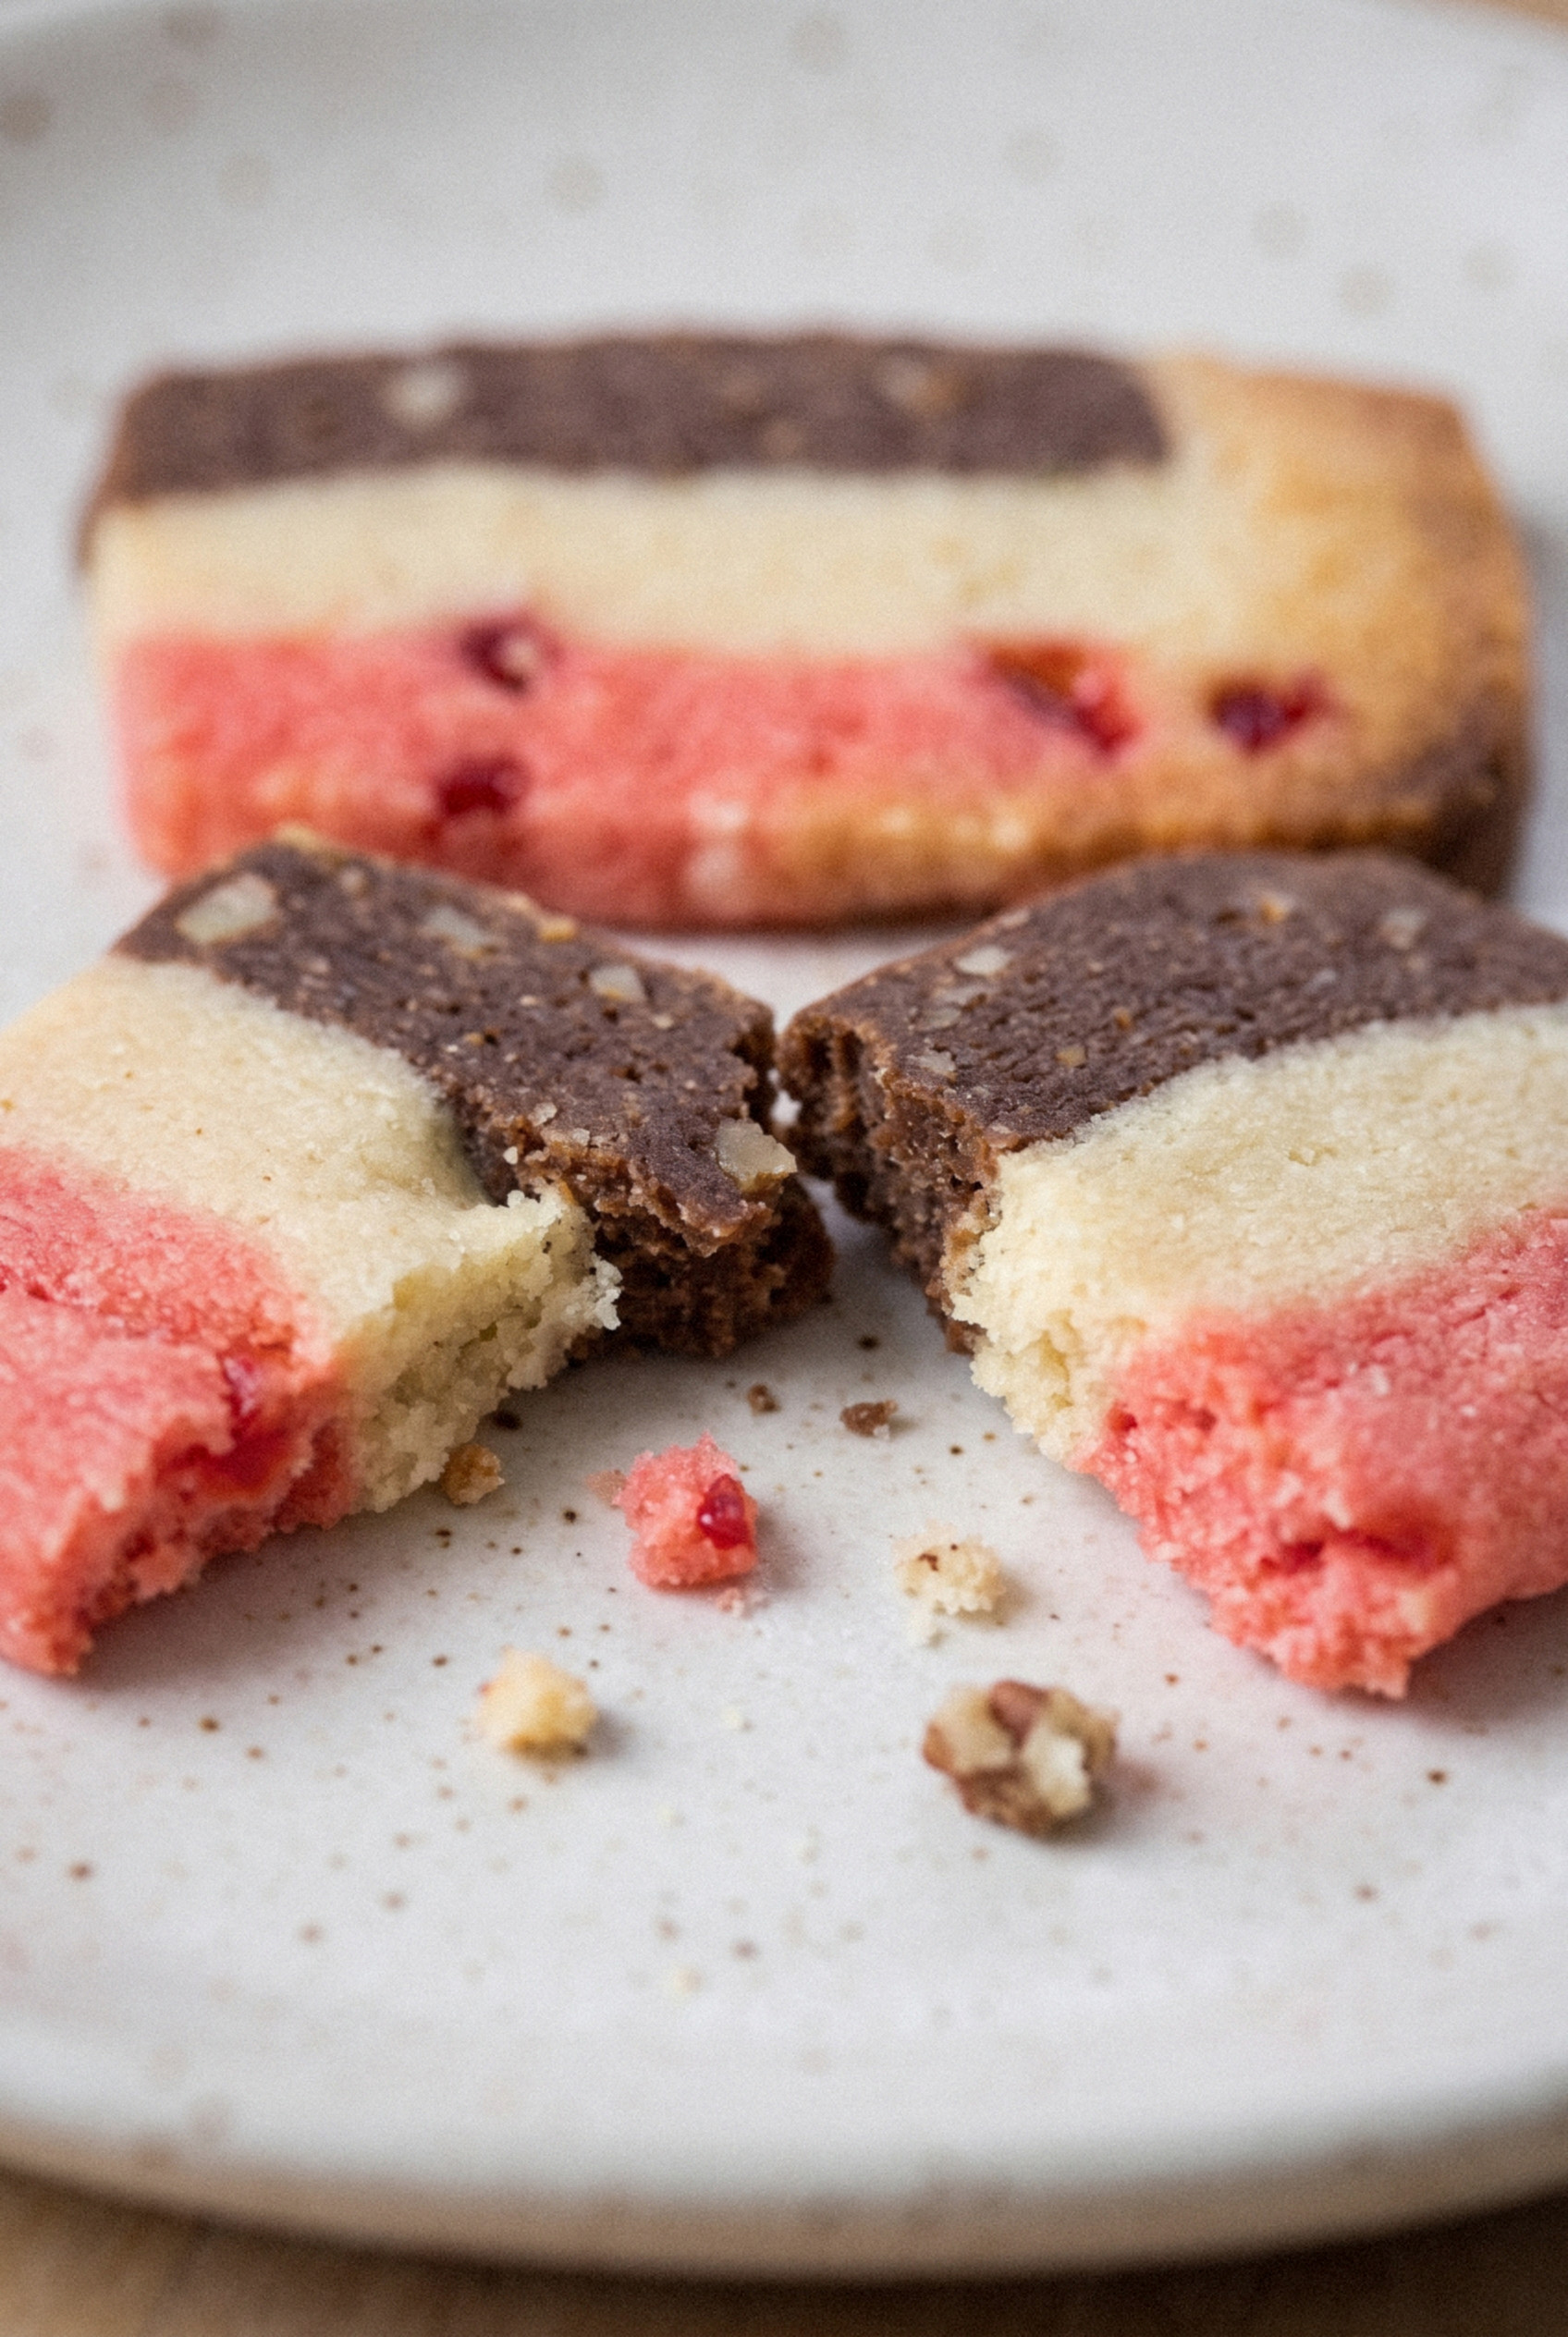
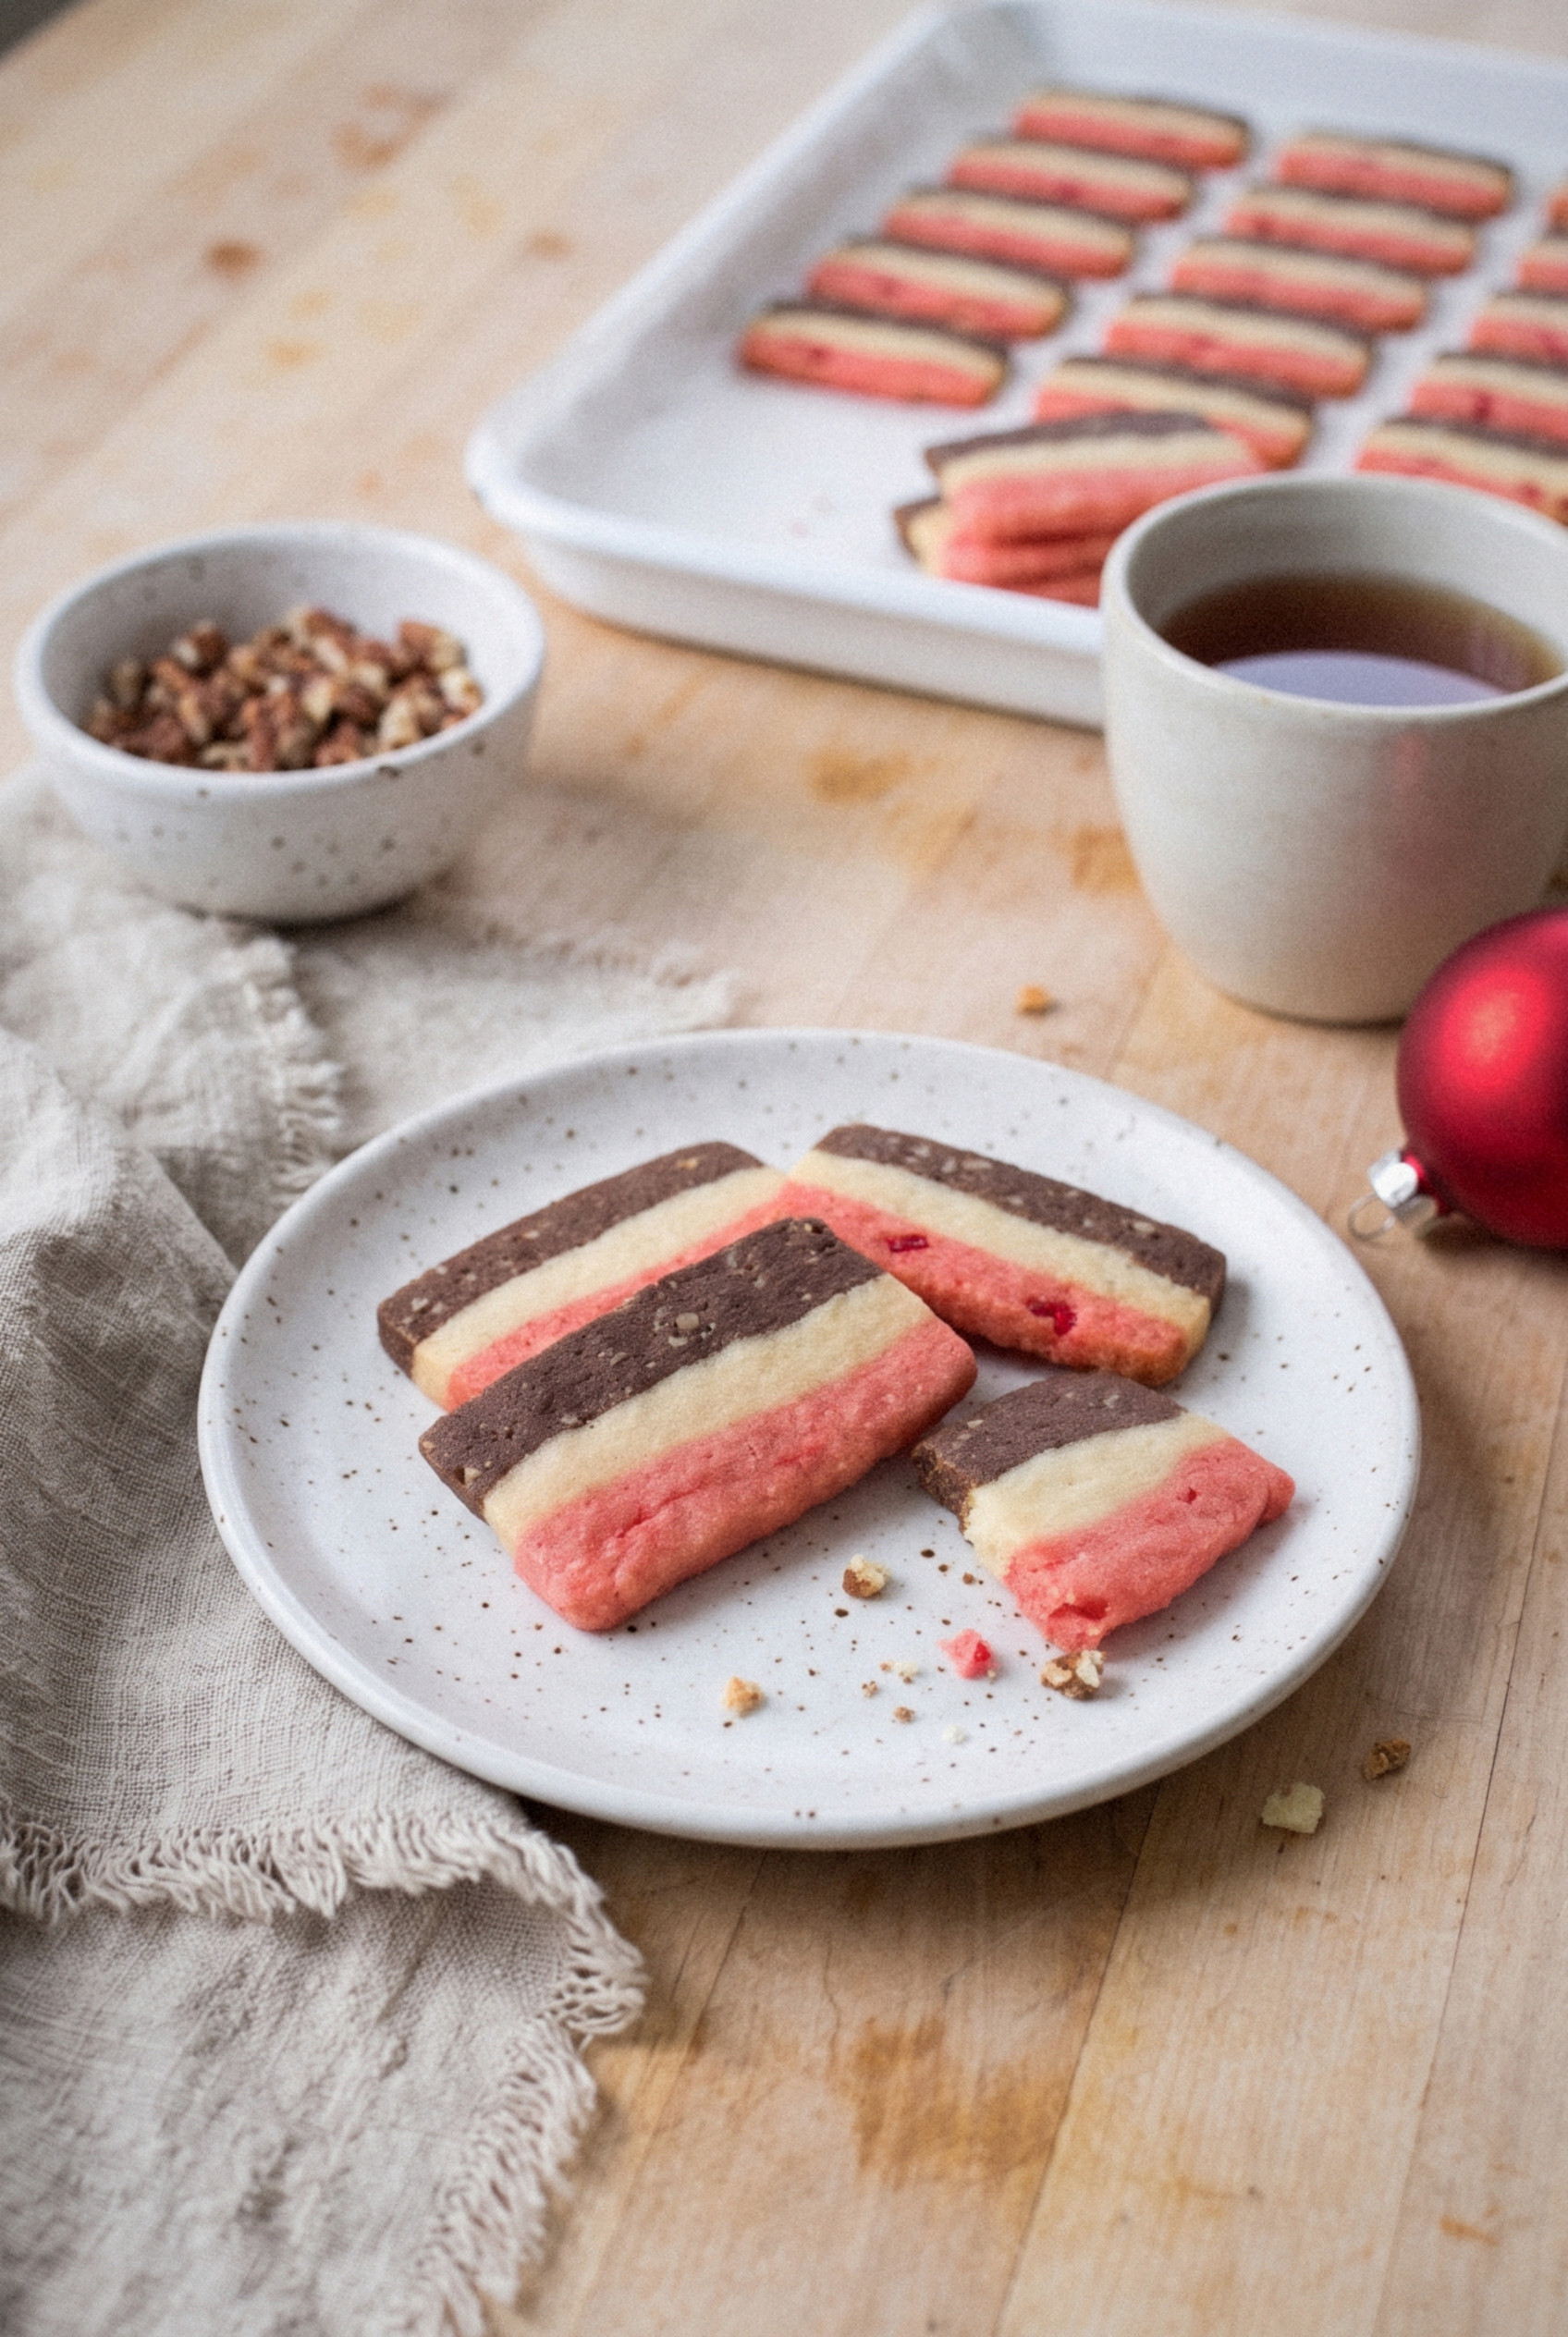
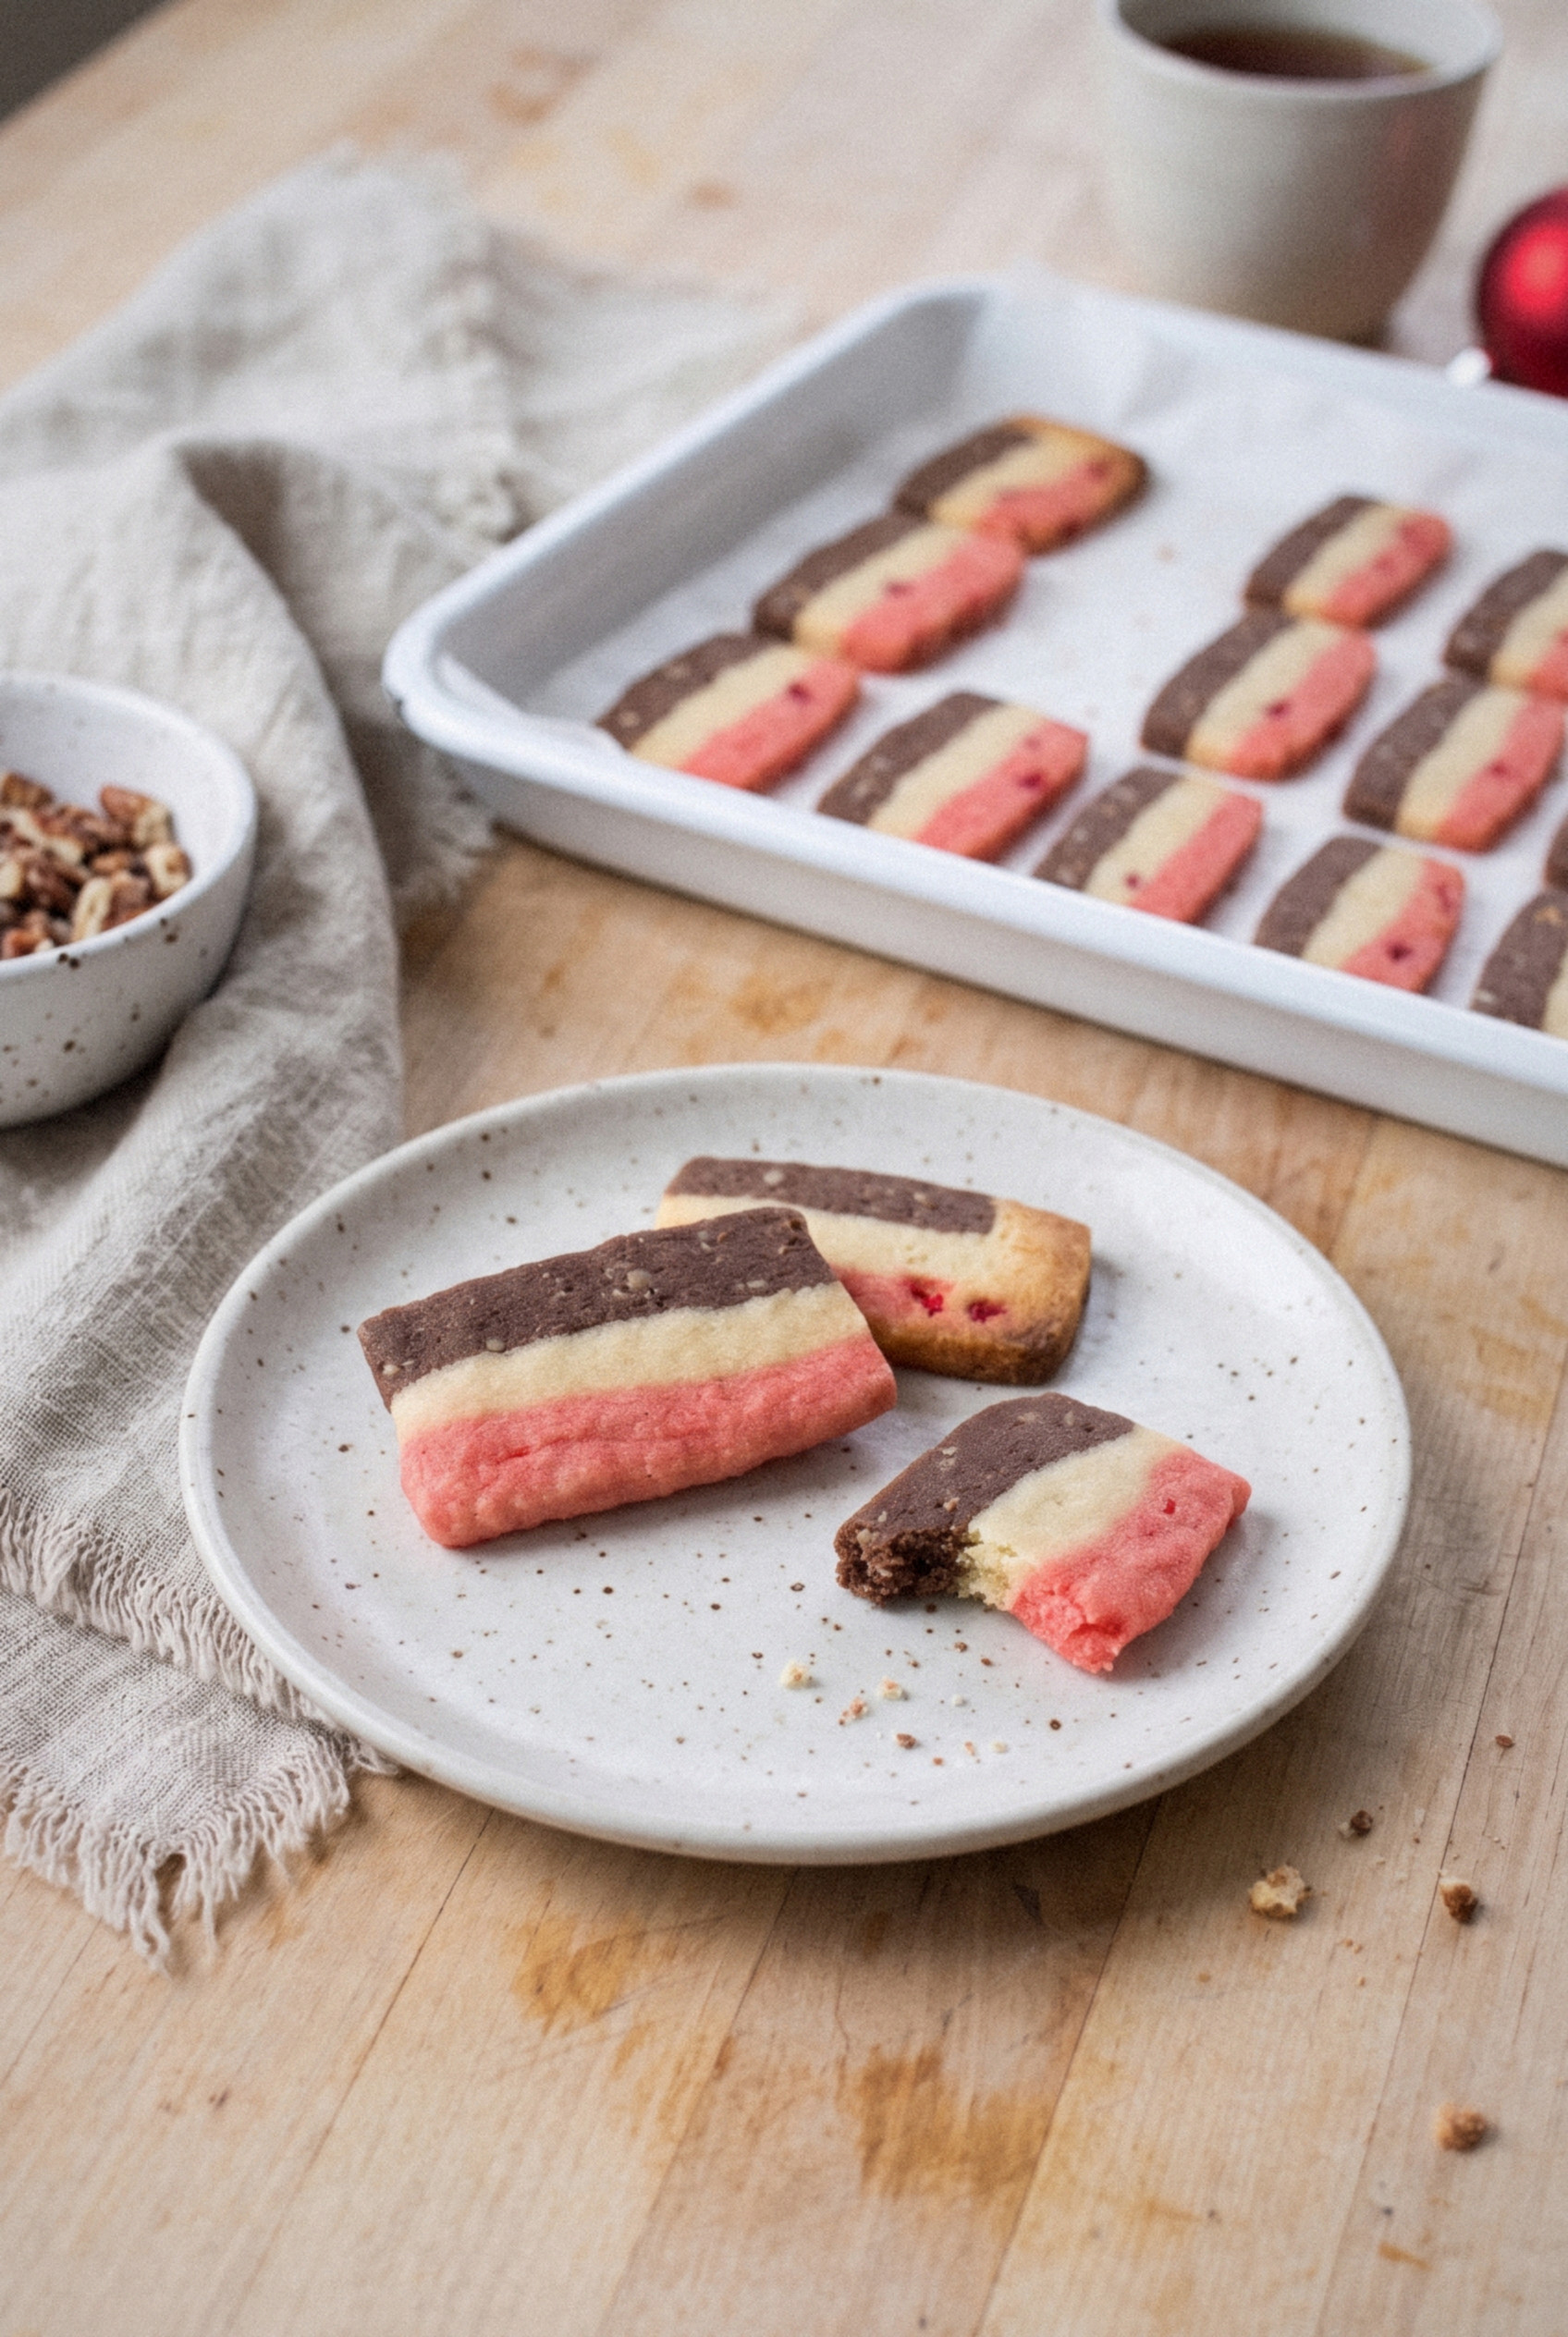
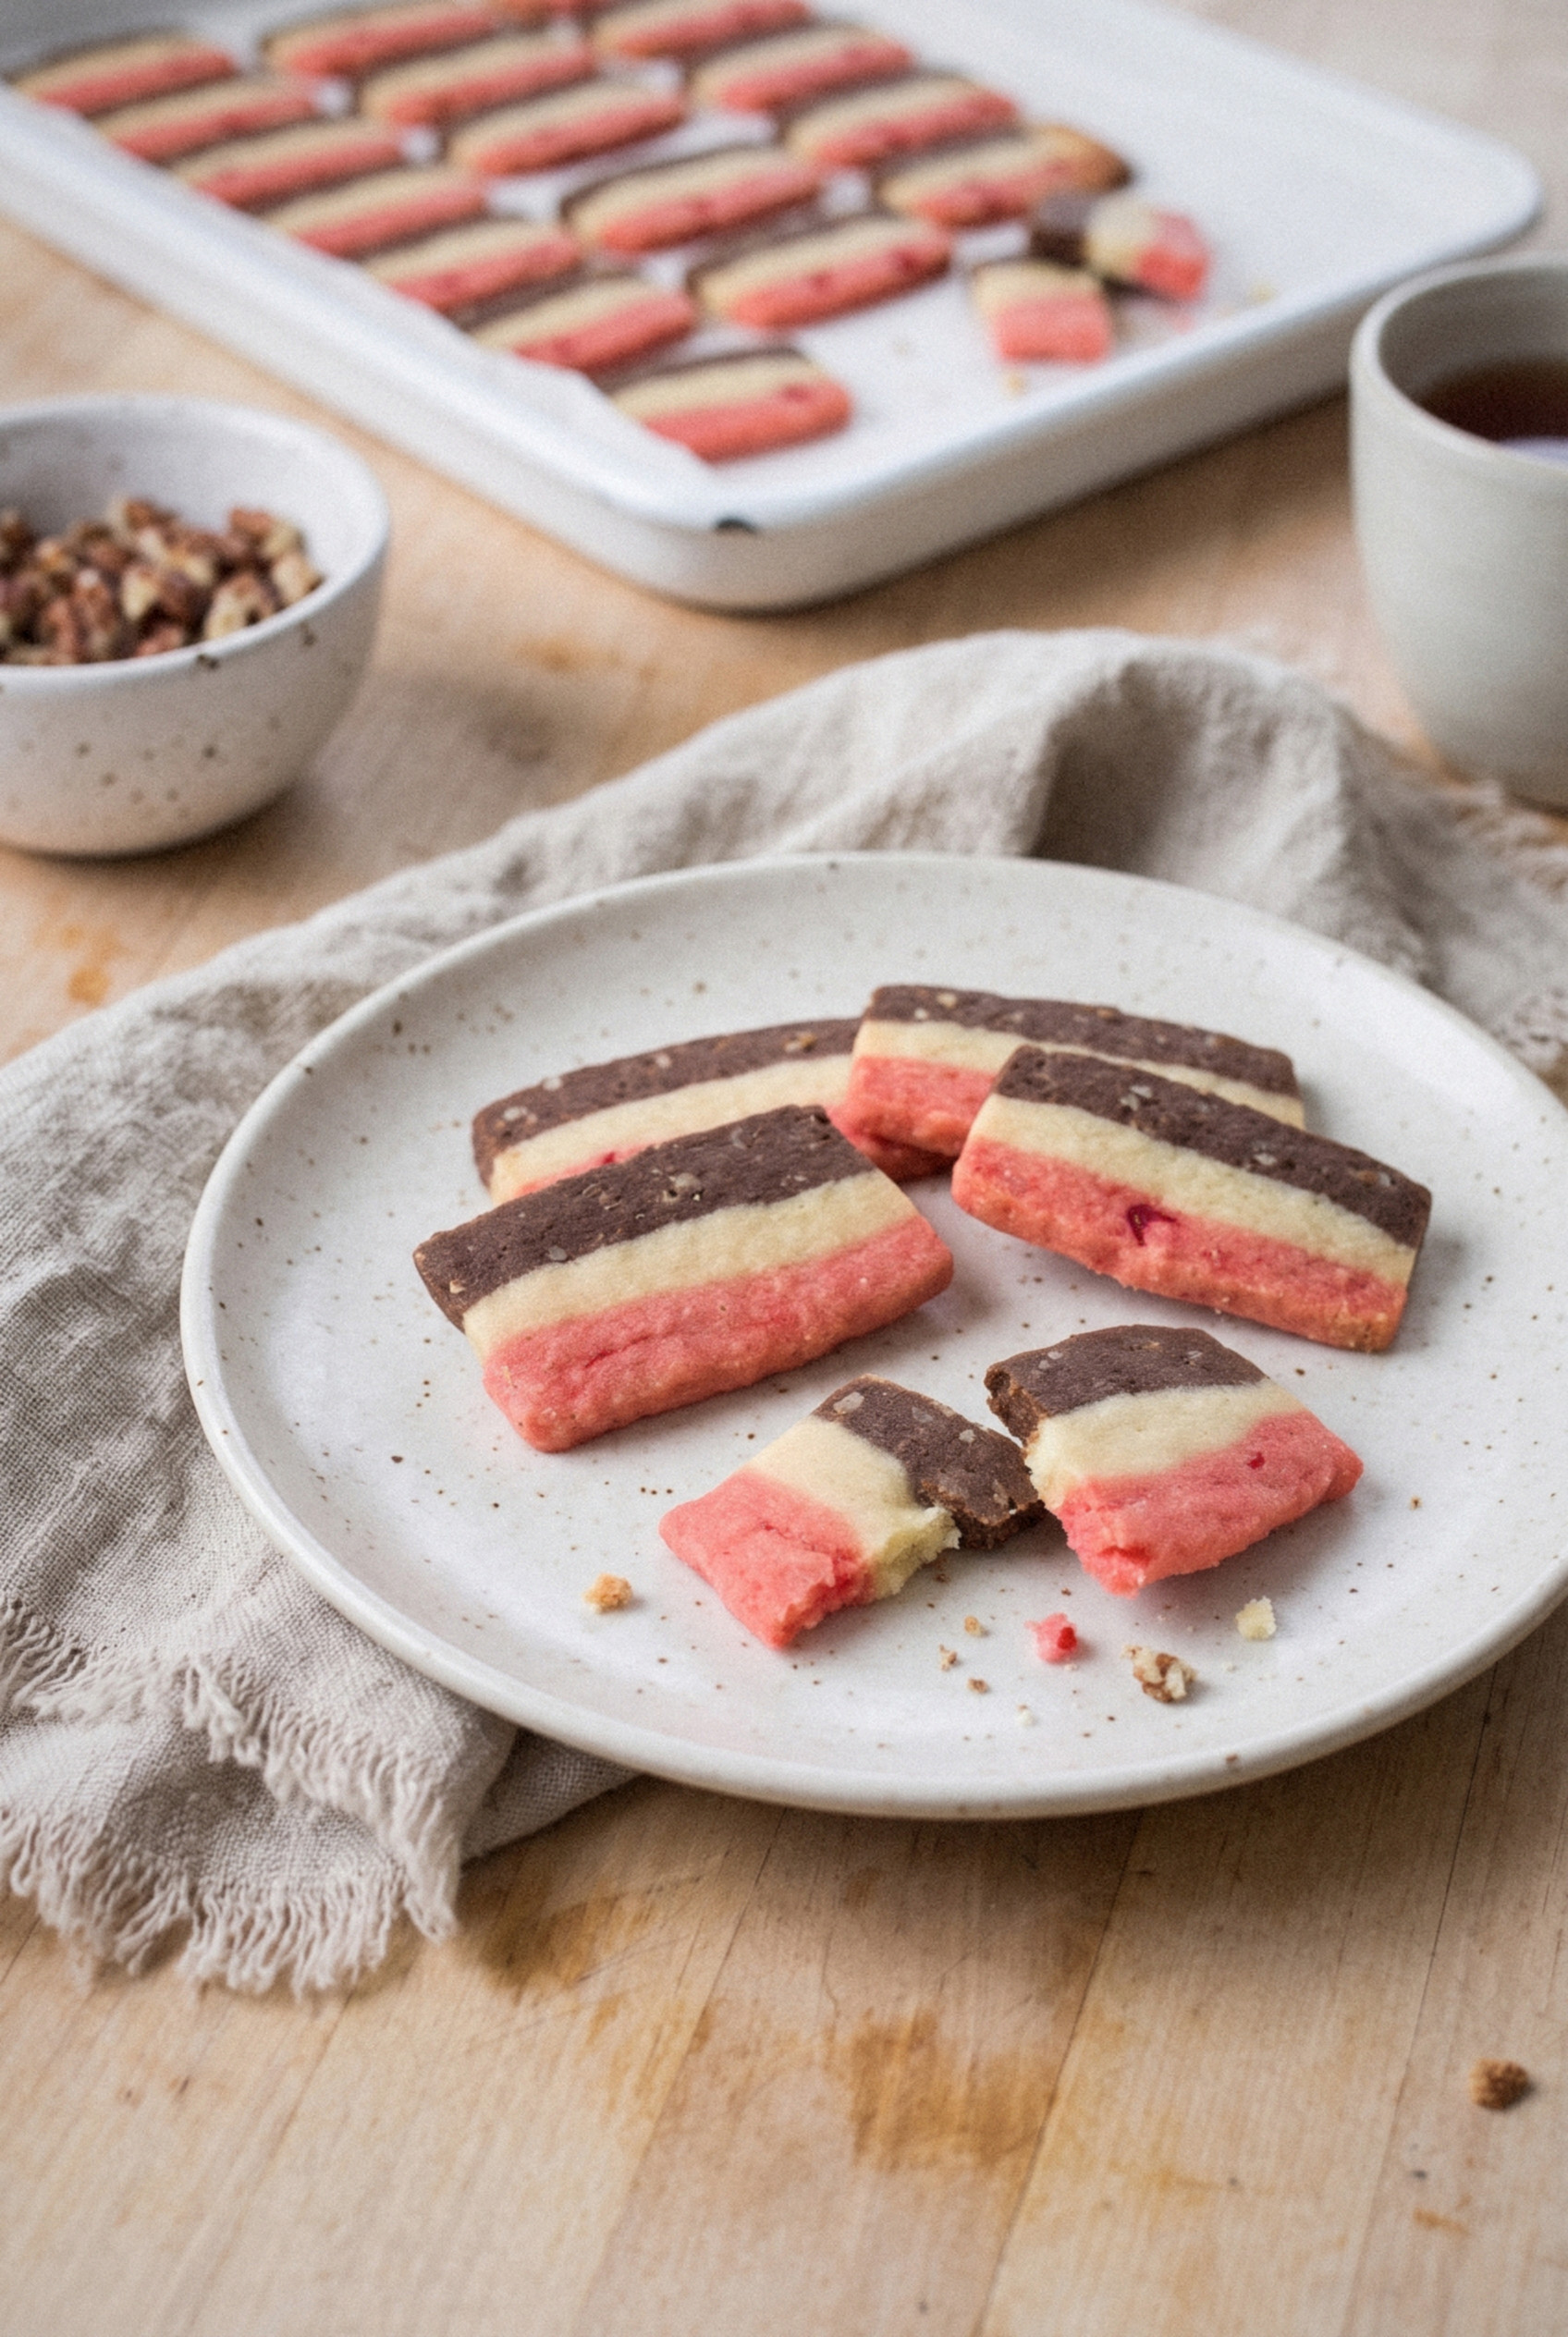
It held thin rectangles striped red, white, and brown, crisp as a cracker and buttery enough to melt on your tongue.
Every year somebody asked how she got the stripes so straight, and every year she just smiled and said "patience."
Years later I found out what she meant.
Christmas ribbon cookies are nothing more than one butter dough split three ways, flavored, and pressed in layers into a loaf pan.
You chill it overnight, slice it like bread, and bake.
No special pans, no piping bag, no fancy tools.
I make a double batch every December now, and my wife has started requesting a whole tin just for her desk at work.
The cherry layer is sweet and bright, the vanilla layer is pure butter, and the chocolate pecan layer gives each bite a toasty crunch.
Best of all, the dough waits in the fridge until you're ready, so you can bake a fresh tray in ten minutes whenever company shows up.
If you want an old-fashioned cookie that looks like you fussed for hours, this is the one.
What Are Christmas Ribbon Cookies?
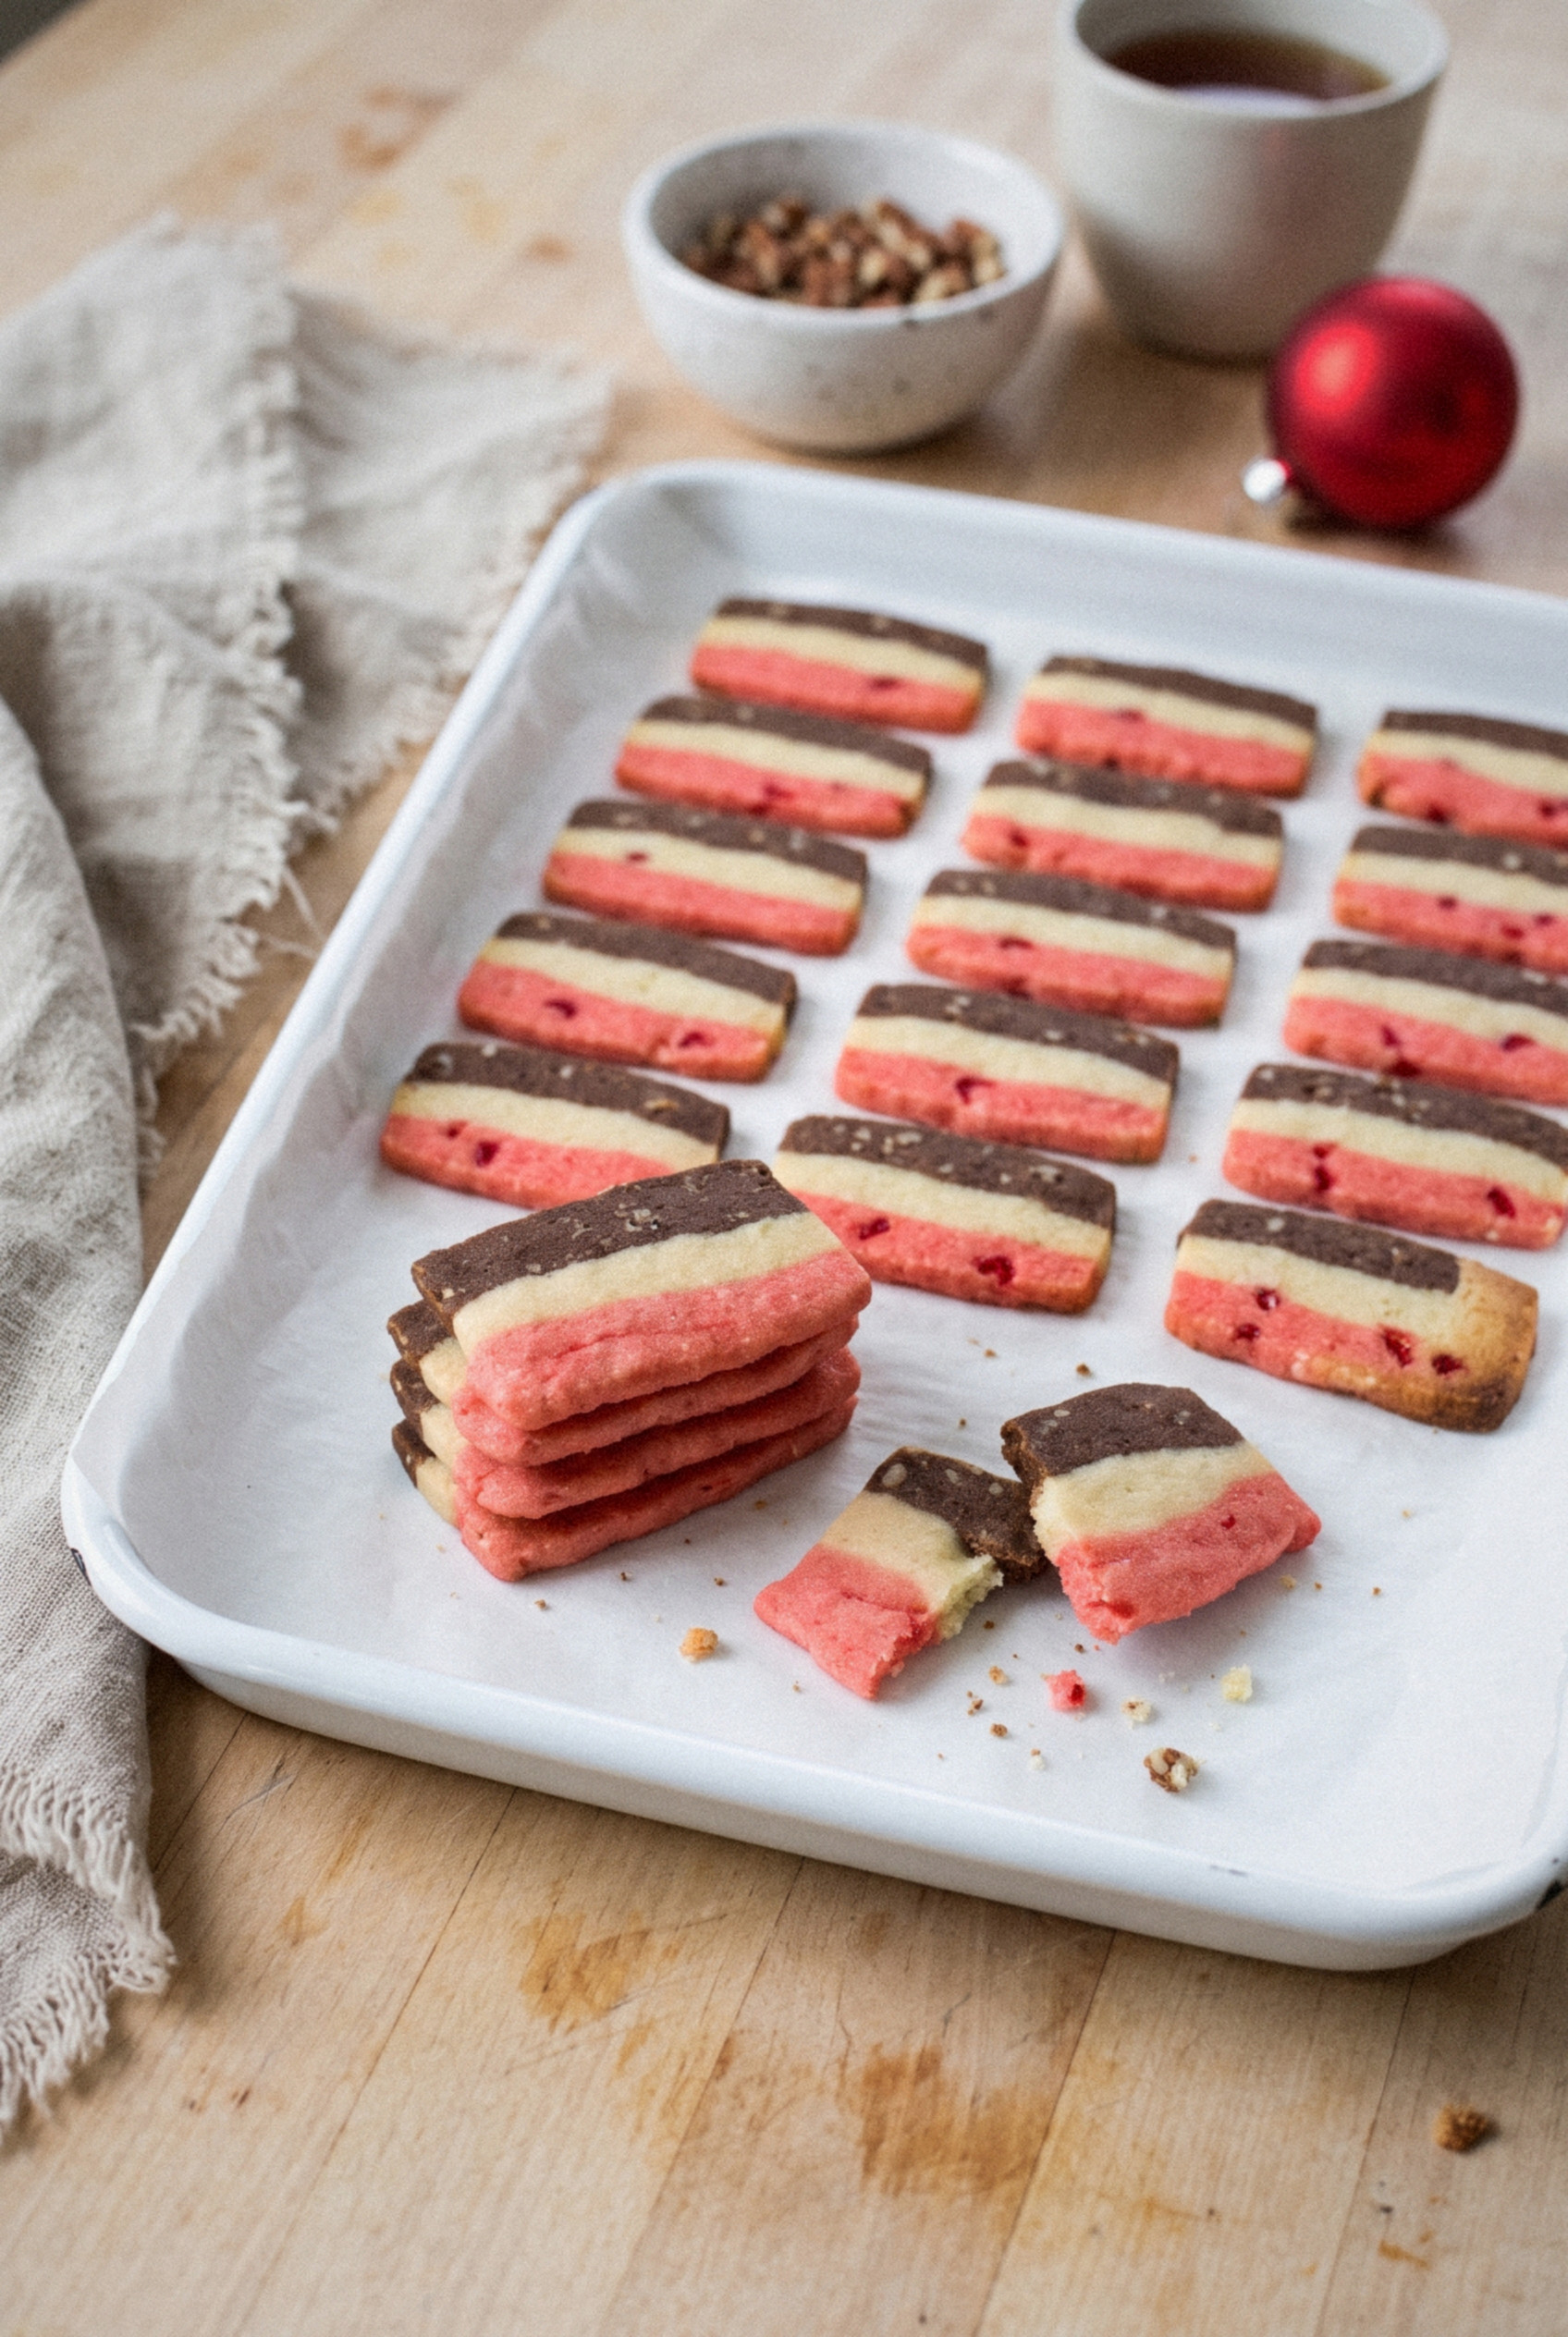
Ribbon cookies are a classic American icebox cookie with three colored stripes. They showed up on holiday cookie tins across the country in the mid-1900s, back when refrigerator cookies were the busy baker's best friend.
The dough is pressed into a loaf pan in layers, chilled until firm, and sliced into thin rectangles. Each cookie shows three clean bands of color.
Most old family recipes use the same lineup: a chocolate layer with pecans, a plain vanilla layer, and a red layer with candied cherries.
A quick note on the name: you'll also see "raspberry ribbon cookies" online. Those are a different cookie, made from dough logs with a stripe of jam baked down the middle. They're delicious, and I've included a short version in the variations below, but this article is about the striped, layered classic.
Ingredients
Everything starts with one simple butter dough. You'll split it three ways and flavor each part.
For the Butter Dough
- Unsalted butter (1 cup). Softened to room temperature. This is a butter cookie at heart, so use real butter.
- Granulated sugar (1 ¼ cups). The higher sugar is what makes these cookies thin and crisp once baked.
- Large egg (1). Room temperature so it blends smoothly.
- Vanilla extract (1 teaspoon). Flavors the whole dough, and shines in the plain middle layer.
- All-purpose flour (2 ½ cups). Spoon and level it. A touch more flour than some old recipes call for makes the loaf easier to slice.
- Baking powder (1 teaspoon). Just enough for a light, snappy texture.
- Salt (½ teaspoon). Unsalted butter needs the extra pinch.
For the Three Layers
- Unsweetened chocolate (1 ounce). Melted and cooled. It gives the bottom layer a deep chocolate color without making it too sweet. Cocoa works too, see the variations.
- Pecans (¼ cup). Chopped very fine. Big pieces tear the slices when you cut them.
- Candied red cherries (¼ cup). Finely chopped and patted dry. They add little jewel-like flecks and a classic fruitcake sweetness.
- Red gel food coloring (3 to 4 drops). Modern candied cherries don't tint dough much, so a little gel gives you a true Christmas red.
- The plain layer. Needs nothing at all. That clean white stripe is what makes the red and brown pop.
How to Make Christmas Ribbon Cookies
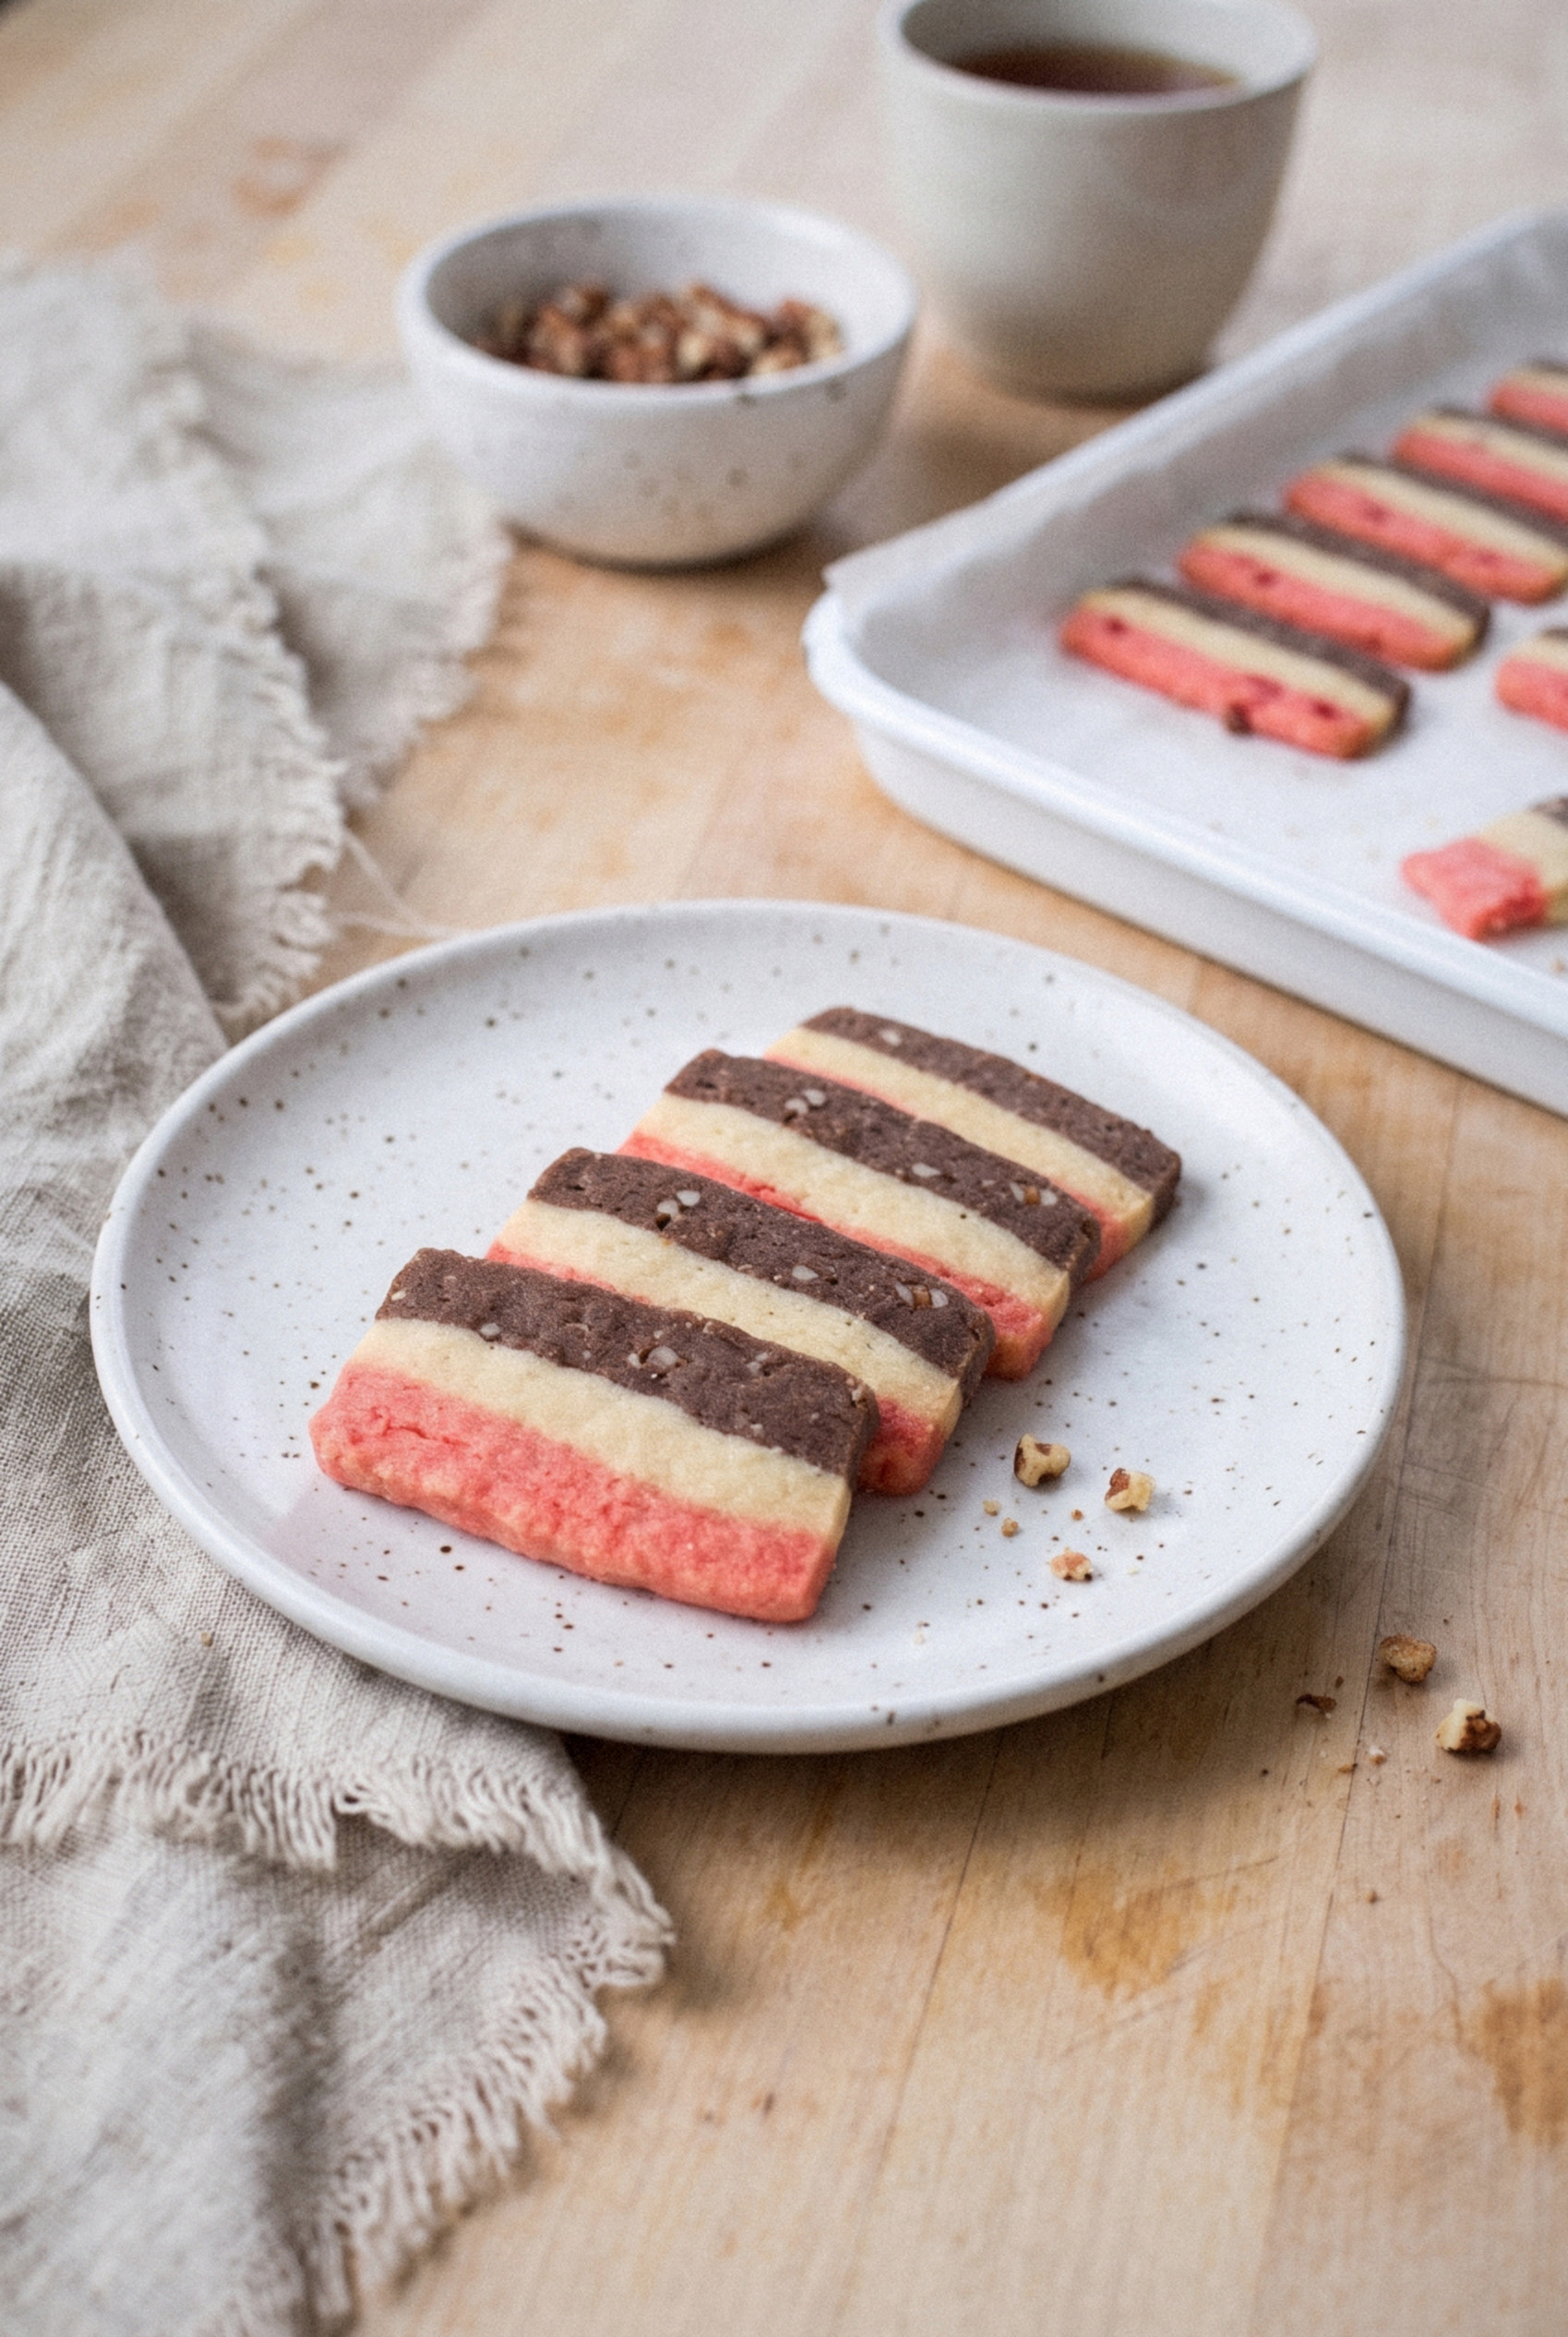
This is a two-day cookie, but almost none of that is work. Most of the time is the fridge doing its job.
Step 1: Make the Dough
Beat the butter and sugar on medium speed for 2 to 3 minutes until light and fluffy. Add the egg and vanilla and beat until smooth, scraping the bowl once.
Whisk the flour, baking powder, and salt in a separate bowl. Add it to the butter mixture on low speed and mix just until a soft dough comes together with no dry spots.
Step 2: Divide and Flavor the Three Layers
Weigh the dough and divide it into three equal portions, about 9 ounces each. Put each portion in its own bowl.
Stir the cooled melted chocolate and chopped pecans into the first portion until the color is even. Knead the chopped cherries and red gel coloring into the second portion until it's an even, deep red. Leave the third portion plain.
Pro tip: wear disposable gloves for the red layer. Gel coloring stains your hands for a day.
Step 3: Layer the Loaf Pan
Line a 9 x 5 inch loaf pan with parchment or plastic wrap, leaving plenty hanging over the long sides. Press the chocolate pecan dough into the bottom in an even layer, pushing it into the corners with your fingertips or the back of a measuring cup.
Pop the pan in the freezer for 10 minutes so the layer firms up. Press the plain vanilla dough over the top, freeze for another 10 minutes, then finish with the red cherry dough.
Fold the overhanging parchment over the top and press down firmly all over to seal the layers together.
Worth the extra freezer stops? Every time. They're what keep the stripes straight.
Step 4: Chill Overnight
Refrigerate the pan for at least 8 hours, or up to 5 days. The loaf needs to be completely firm all the way through before you slice it. Soft dough squishes and smears the stripes.
Step 5: Slice and Bake
Heat the oven to 350°F and line baking sheets with parchment. Lift the loaf out of the pan and cut it in half lengthwise, so you have two long bars about 2 ½ inches wide. Wrap one bar and return it to the fridge.
Slice the other bar crosswise into pieces a scant ¼ inch thick with a sharp knife. Lay them flat on the sheet about 1 inch apart, since they spread a little.
Bake for 9 to 11 minutes, until the edges just start to turn golden. Pull them before the white stripe browns. Cool on the sheet for 5 minutes, then move to a rack to cool completely. They crisp up as they cool!
Tips for Crisp Cookies and Clean Stripes
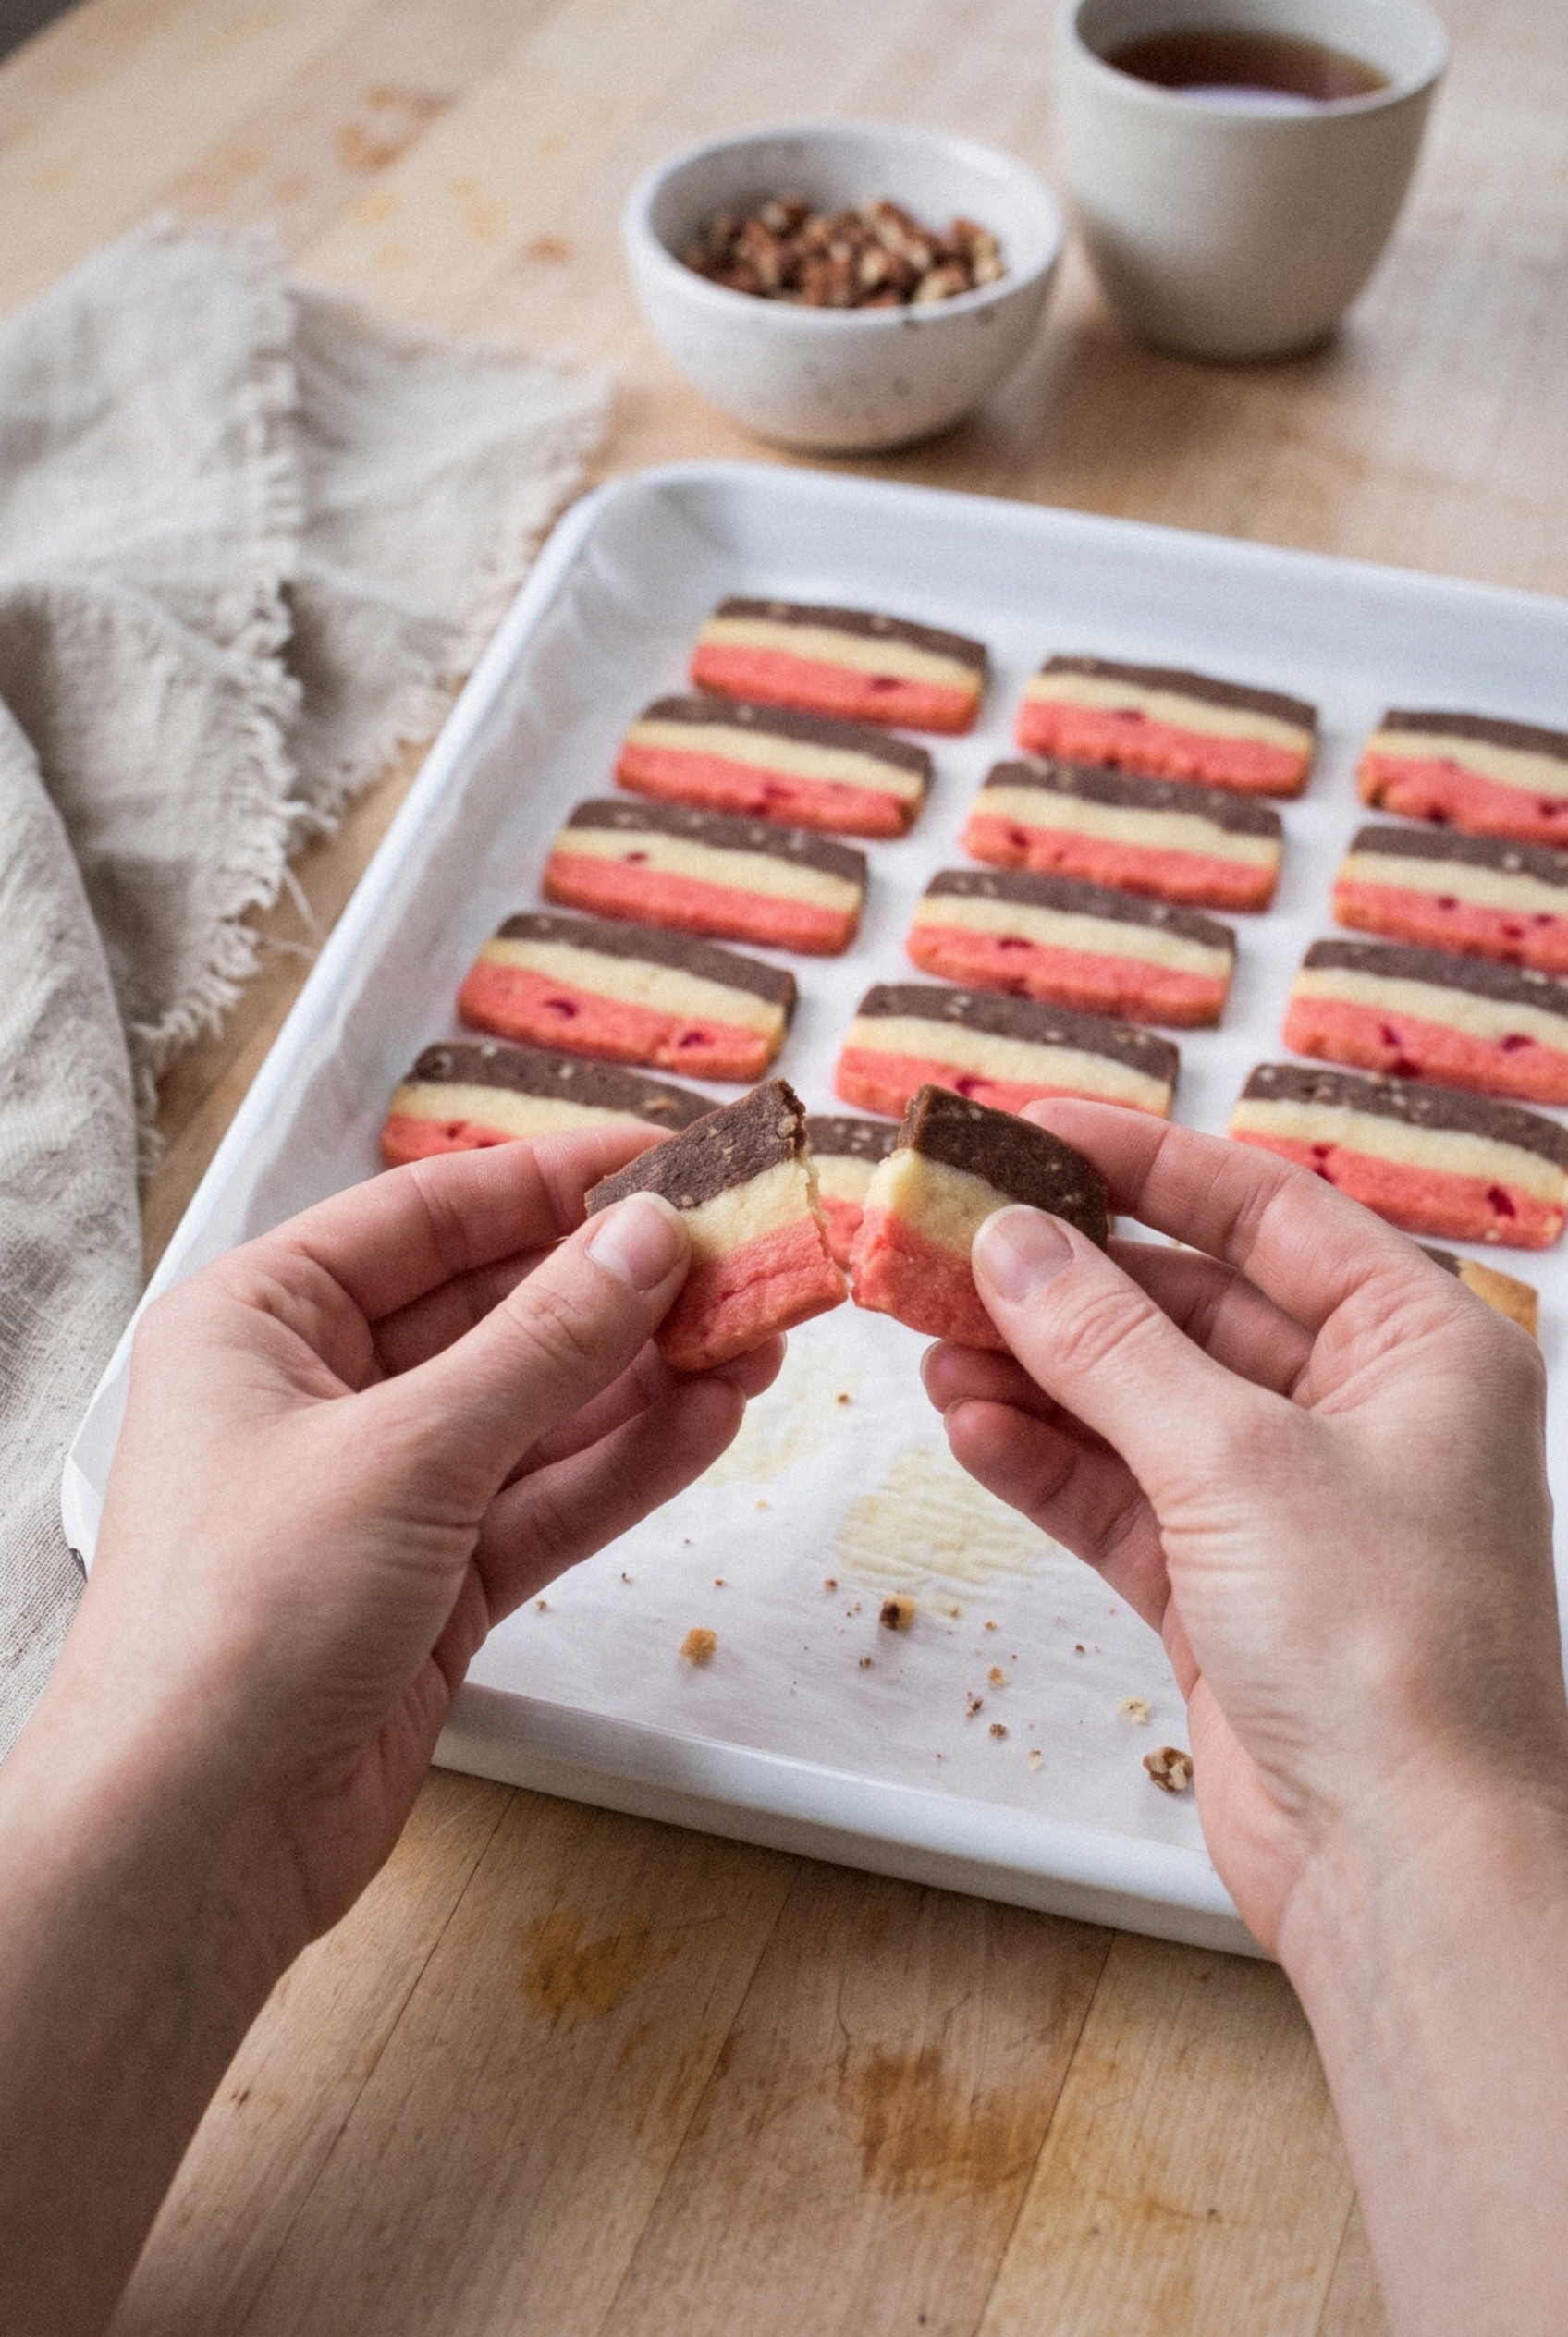
A few small habits make the difference between a soft blob and a crisp striped cookie. I learned most of these the hard way.
- Slice thin and even. Thick slices bake up soft and cakey. A scant ¼ inch gives you that snappy old-fashioned texture.
- Keep the dough COLD. Work with one bar at a time and keep the other in the fridge. Warm dough drags under the knife.
- Use a thin, sharp knife. Wipe it clean every few slices so the chocolate layer doesn't streak across the white.
- Press the layers hard. Air pockets between the stripes make cookies split apart in the oven.
- Don't overbake. Once the white layer goes tan, the colors look muddy. Golden edges mean done.
- Soft cookies after cooling? They were sliced too thick or pulled too early. Pop them back in the oven for 2 minutes.
- Pat the cherries dry. Syrupy cherries make the red layer sticky and hard to slice cleanly.
Variations
The three-layer method works with almost any flavor combination. These are the ones I keep coming back to.
- Cocoa instead of chocolate. Swap the melted chocolate for 3 tablespoons of cocoa powder mixed into the chocolate layer.
- Red, white, and green. Replace the chocolate layer with a green-tinted layer flavored with ¼ teaspoon of mint extract.
- Almond cherry. Add ½ teaspoon of almond extract to the cherry layer. It tastes like a cherry cordial.
- Poppy seed layer. An old Midwestern twist: stir 2 tablespoons of poppy seeds into the plain layer.
- Raspberry ribbon style. Shape plain dough into four 10-inch logs, press a groove down the center, bake 10 minutes, fill the groove with seedless raspberry jam, and bake 10 minutes more. Slice while warm and drizzle with a simple powdered sugar glaze.
- No candied cherries. Leave them out and add a little more red gel for a smooth red layer, or swap in finely chopped dried cranberries.
- Chocolate dipped. Dip one short end of each baked cookie in melted dark chocolate and let it set.
Storing and Freezing
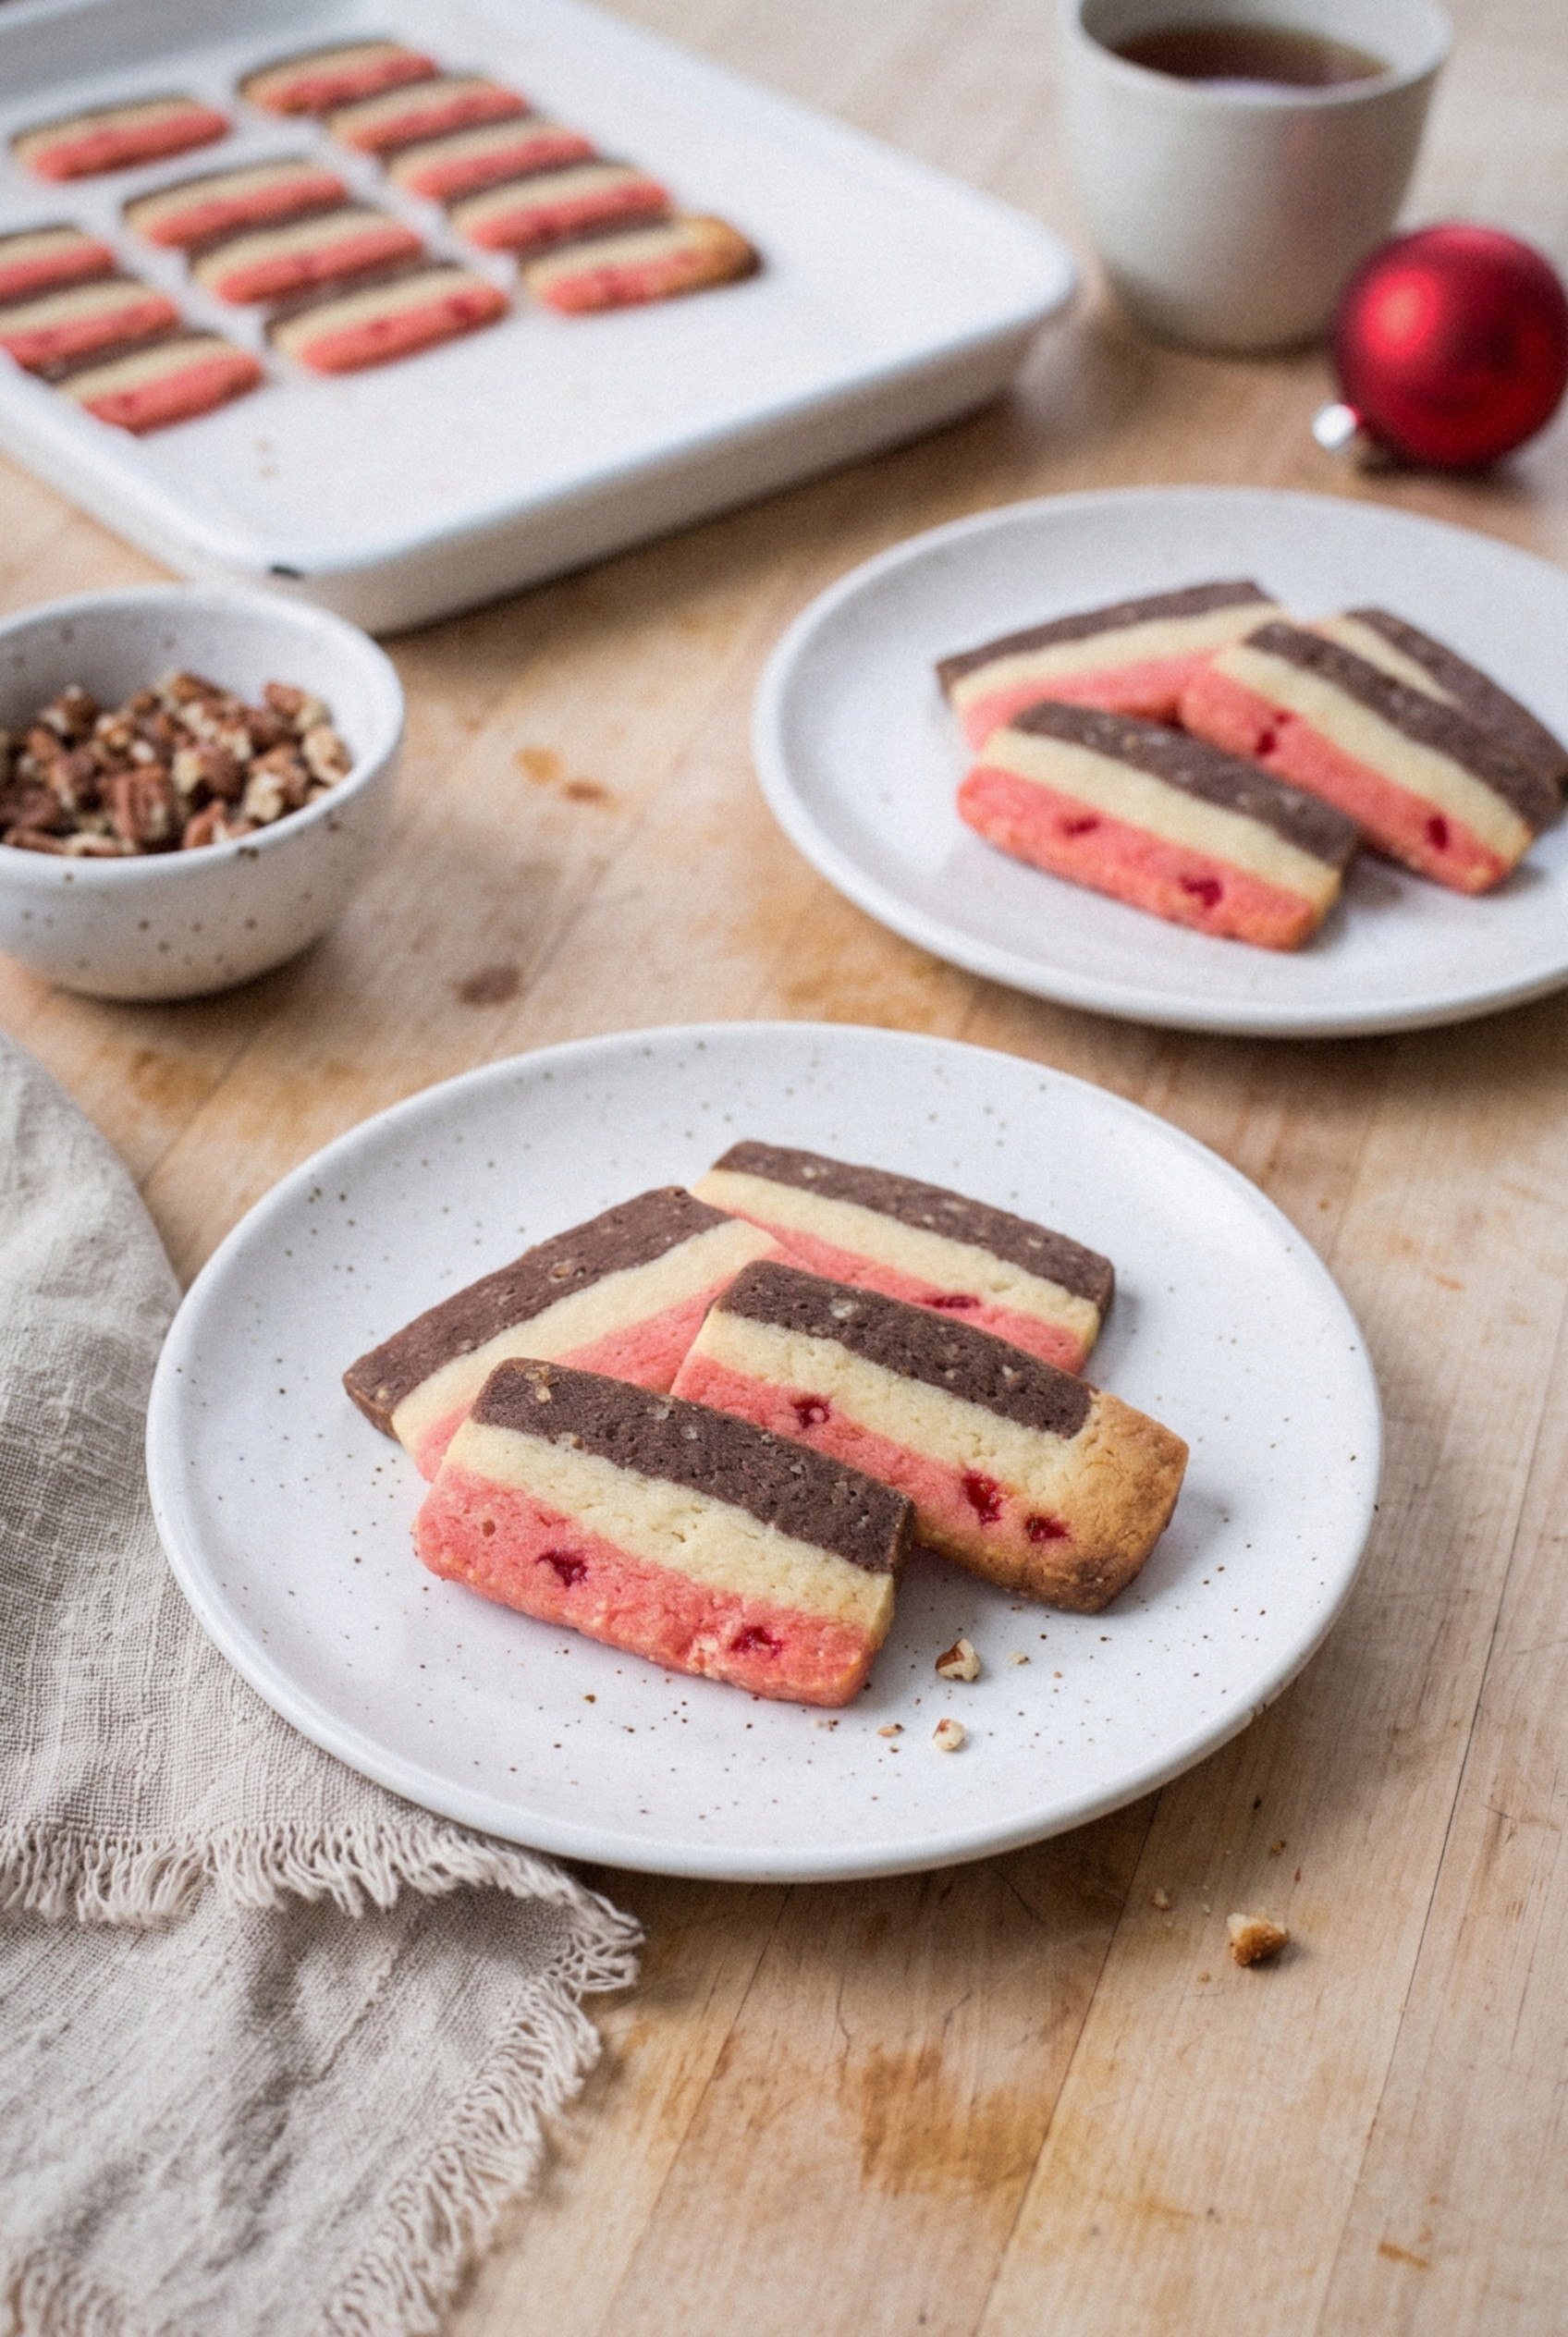
These are one of the best make-ahead cookies on my holiday list. Here's how to keep them at their best.
- Dough loaf in the fridge. Wrapped tightly, it keeps for up to 5 days. Slice and bake as many as you need.
- Dough loaf in the freezer. Wrap it twice and freeze for up to 3 months. Let it soften in the fridge for about an hour, just enough to slice without cracking.
- Baked cookies. Store airtight at room temperature for up to 2 weeks. Layer parchment between them so the stripes don't scuff.
- Freezing baked cookies. Freeze in a sealed container for up to 3 months. Thaw at room temperature in the container.
- Re-crisping. If they soften in a humid kitchen, warm them at 300°F for 3 to 4 minutes and cool again.
Make-Ahead Holiday Plan
Ribbon cookies fit around a busy December better than almost any other cookie. This is how I schedule them.
- Early December. Mix and layer the loaf, then freeze it.
- The day before a party. Move the loaf to the fridge to thaw slowly.
- Party day. Slice and bake a tray in about 20 minutes start to finish. Your kitchen smells like butter and chocolate when guests arrive.
- Cookie exchange. One loaf gives about 60 cookies, enough for five dozen-cookie bags.
What to Serve With Them
They pair perfectly with something warm to drink. A few favorites at my house.
- Coffee or espresso. Crisp butter cookies were made for dunking.
- Hot cocoa. The chocolate layer loves it.
- Eggnog. The old-fashioned pairing for an old-fashioned cookie.
- A mixed cookie tray. The straight stripes look great next to round, powdered sugar snowballs and soft gingerbread.
Recipe
Christmas Ribbon Cookies
Ingredients
For the Butter Dough
- 1 cup unsalted butter softened, 226g
- 1 ¼ cups granulated sugar 250g
- 1 large egg room temperature
- 1 teaspoon vanilla extract
- 2 ½ cups all-purpose flour spooned and leveled, 313g
- 1 teaspoon baking powder
- ½ teaspoon salt
For the Layers
- 1 ounce unsweetened chocolate melted and cooled
- ¼ cup pecans very finely chopped
- ¼ cup candied red cherries finely chopped and patted dry
- 3 to 4 drops red gel food coloring
Instructions
Make the Dough
- Beat the butter and sugar on medium speed for 2 to 3 minutes until light and fluffy. Beat in the egg and vanilla.
- Whisk the flour, baking powder, and salt. Mix into the butter mixture on low just until a soft dough forms.
- Divide the dough into three equal portions. Mix the melted chocolate and pecans into one, the cherries and red gel coloring into another, and leave the third plain.
Layer and Chill
- Line a 9 x 5 inch loaf pan with parchment, leaving an overhang. Press the chocolate pecan dough evenly into the bottom and freeze 10 minutes.
- Press the plain dough over the chocolate layer and freeze 10 minutes. Press the cherry dough on top.
- Fold the parchment over, press firmly to seal the layers, and refrigerate at least 8 hours or up to 5 days.
Slice and Bake
- Heat the oven to 350F and line baking sheets with parchment.
- Lift the loaf out and cut it in half lengthwise into two bars. Keep one bar chilled while slicing the other crosswise into scant ¼-inch slices.
- Place slices 1 inch apart and bake 9 to 11 minutes, until the edges are just golden. Cool 5 minutes on the sheet, then cool completely on a rack. Repeat with the remaining bar.
Notes
- Slice thin: A scant ¼ inch gives crisp cookies. Thicker slices bake up soft.
- Freeze between layers: Ten minutes in the freezer after each layer keeps the stripes straight.
- Make ahead: The dough loaf keeps 5 days refrigerated or 3 months frozen.
- Storage: Baked cookies keep airtight at room temperature for 2 weeks.