Every December a carton of eggnog shows up in my fridge, and every January I pour half of it down the drain.
Somebody buys it for a party. Everybody has one small glass.
Then it sits behind the milk for three weeks, quietly judging me.
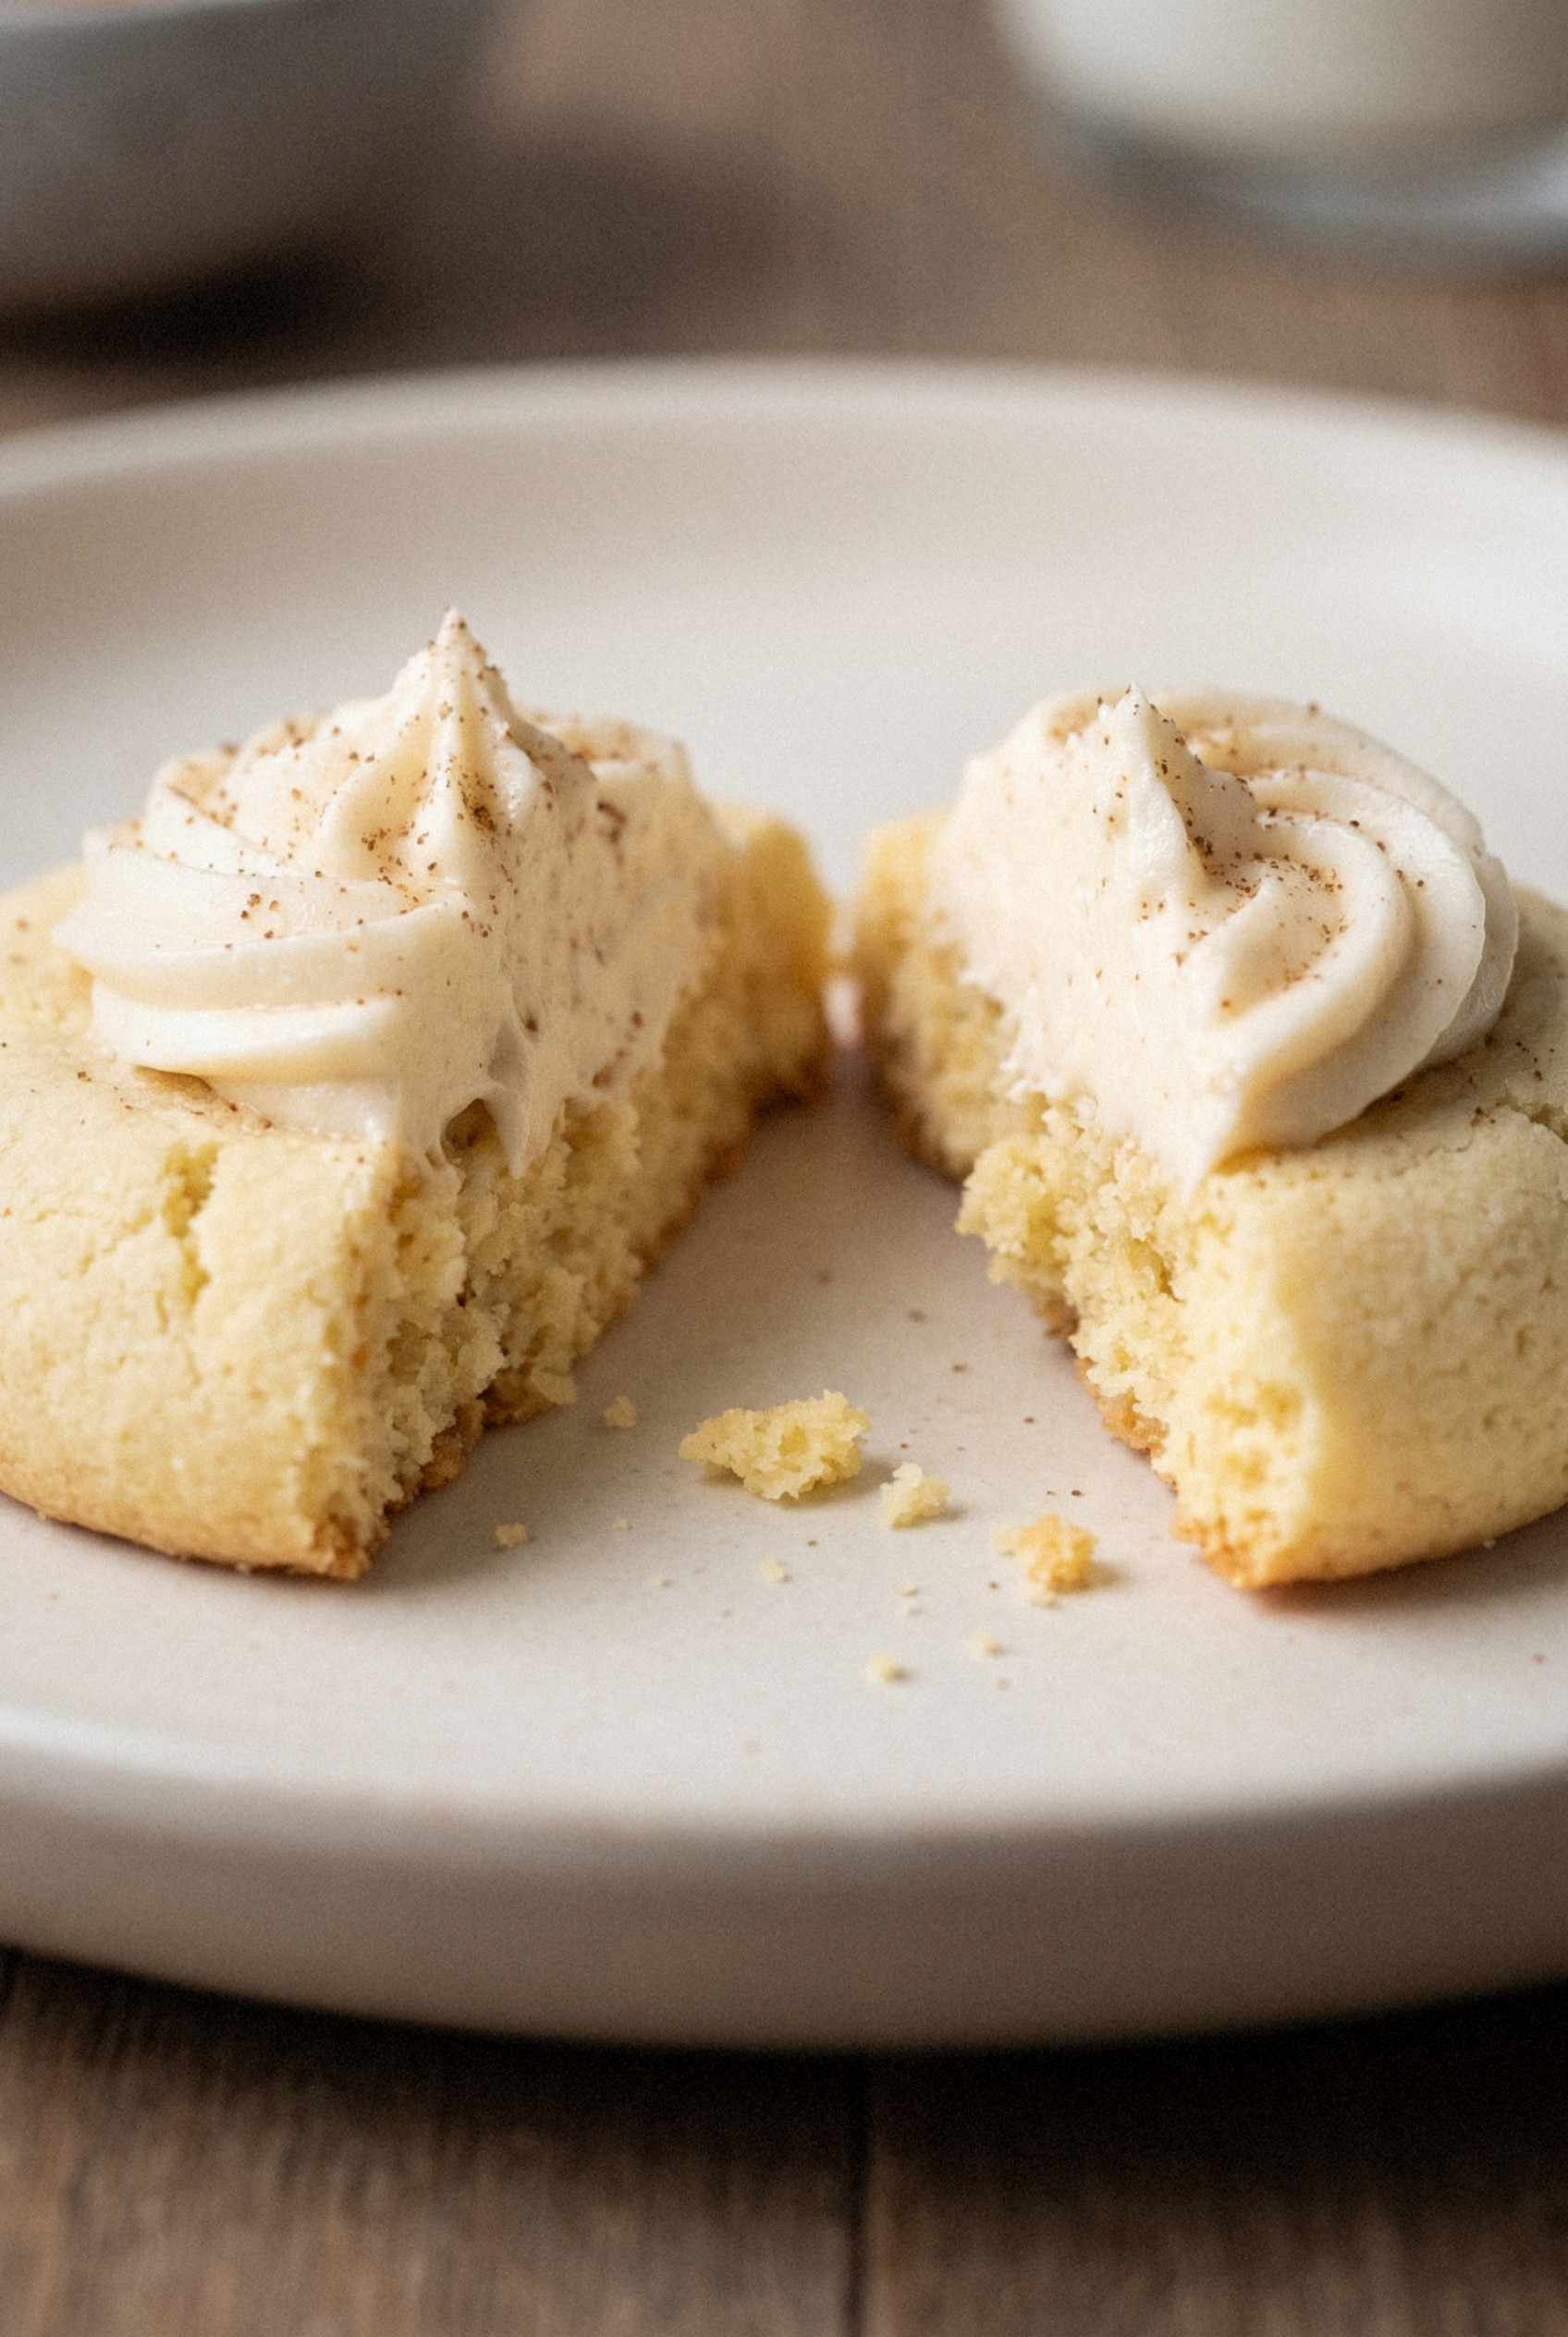
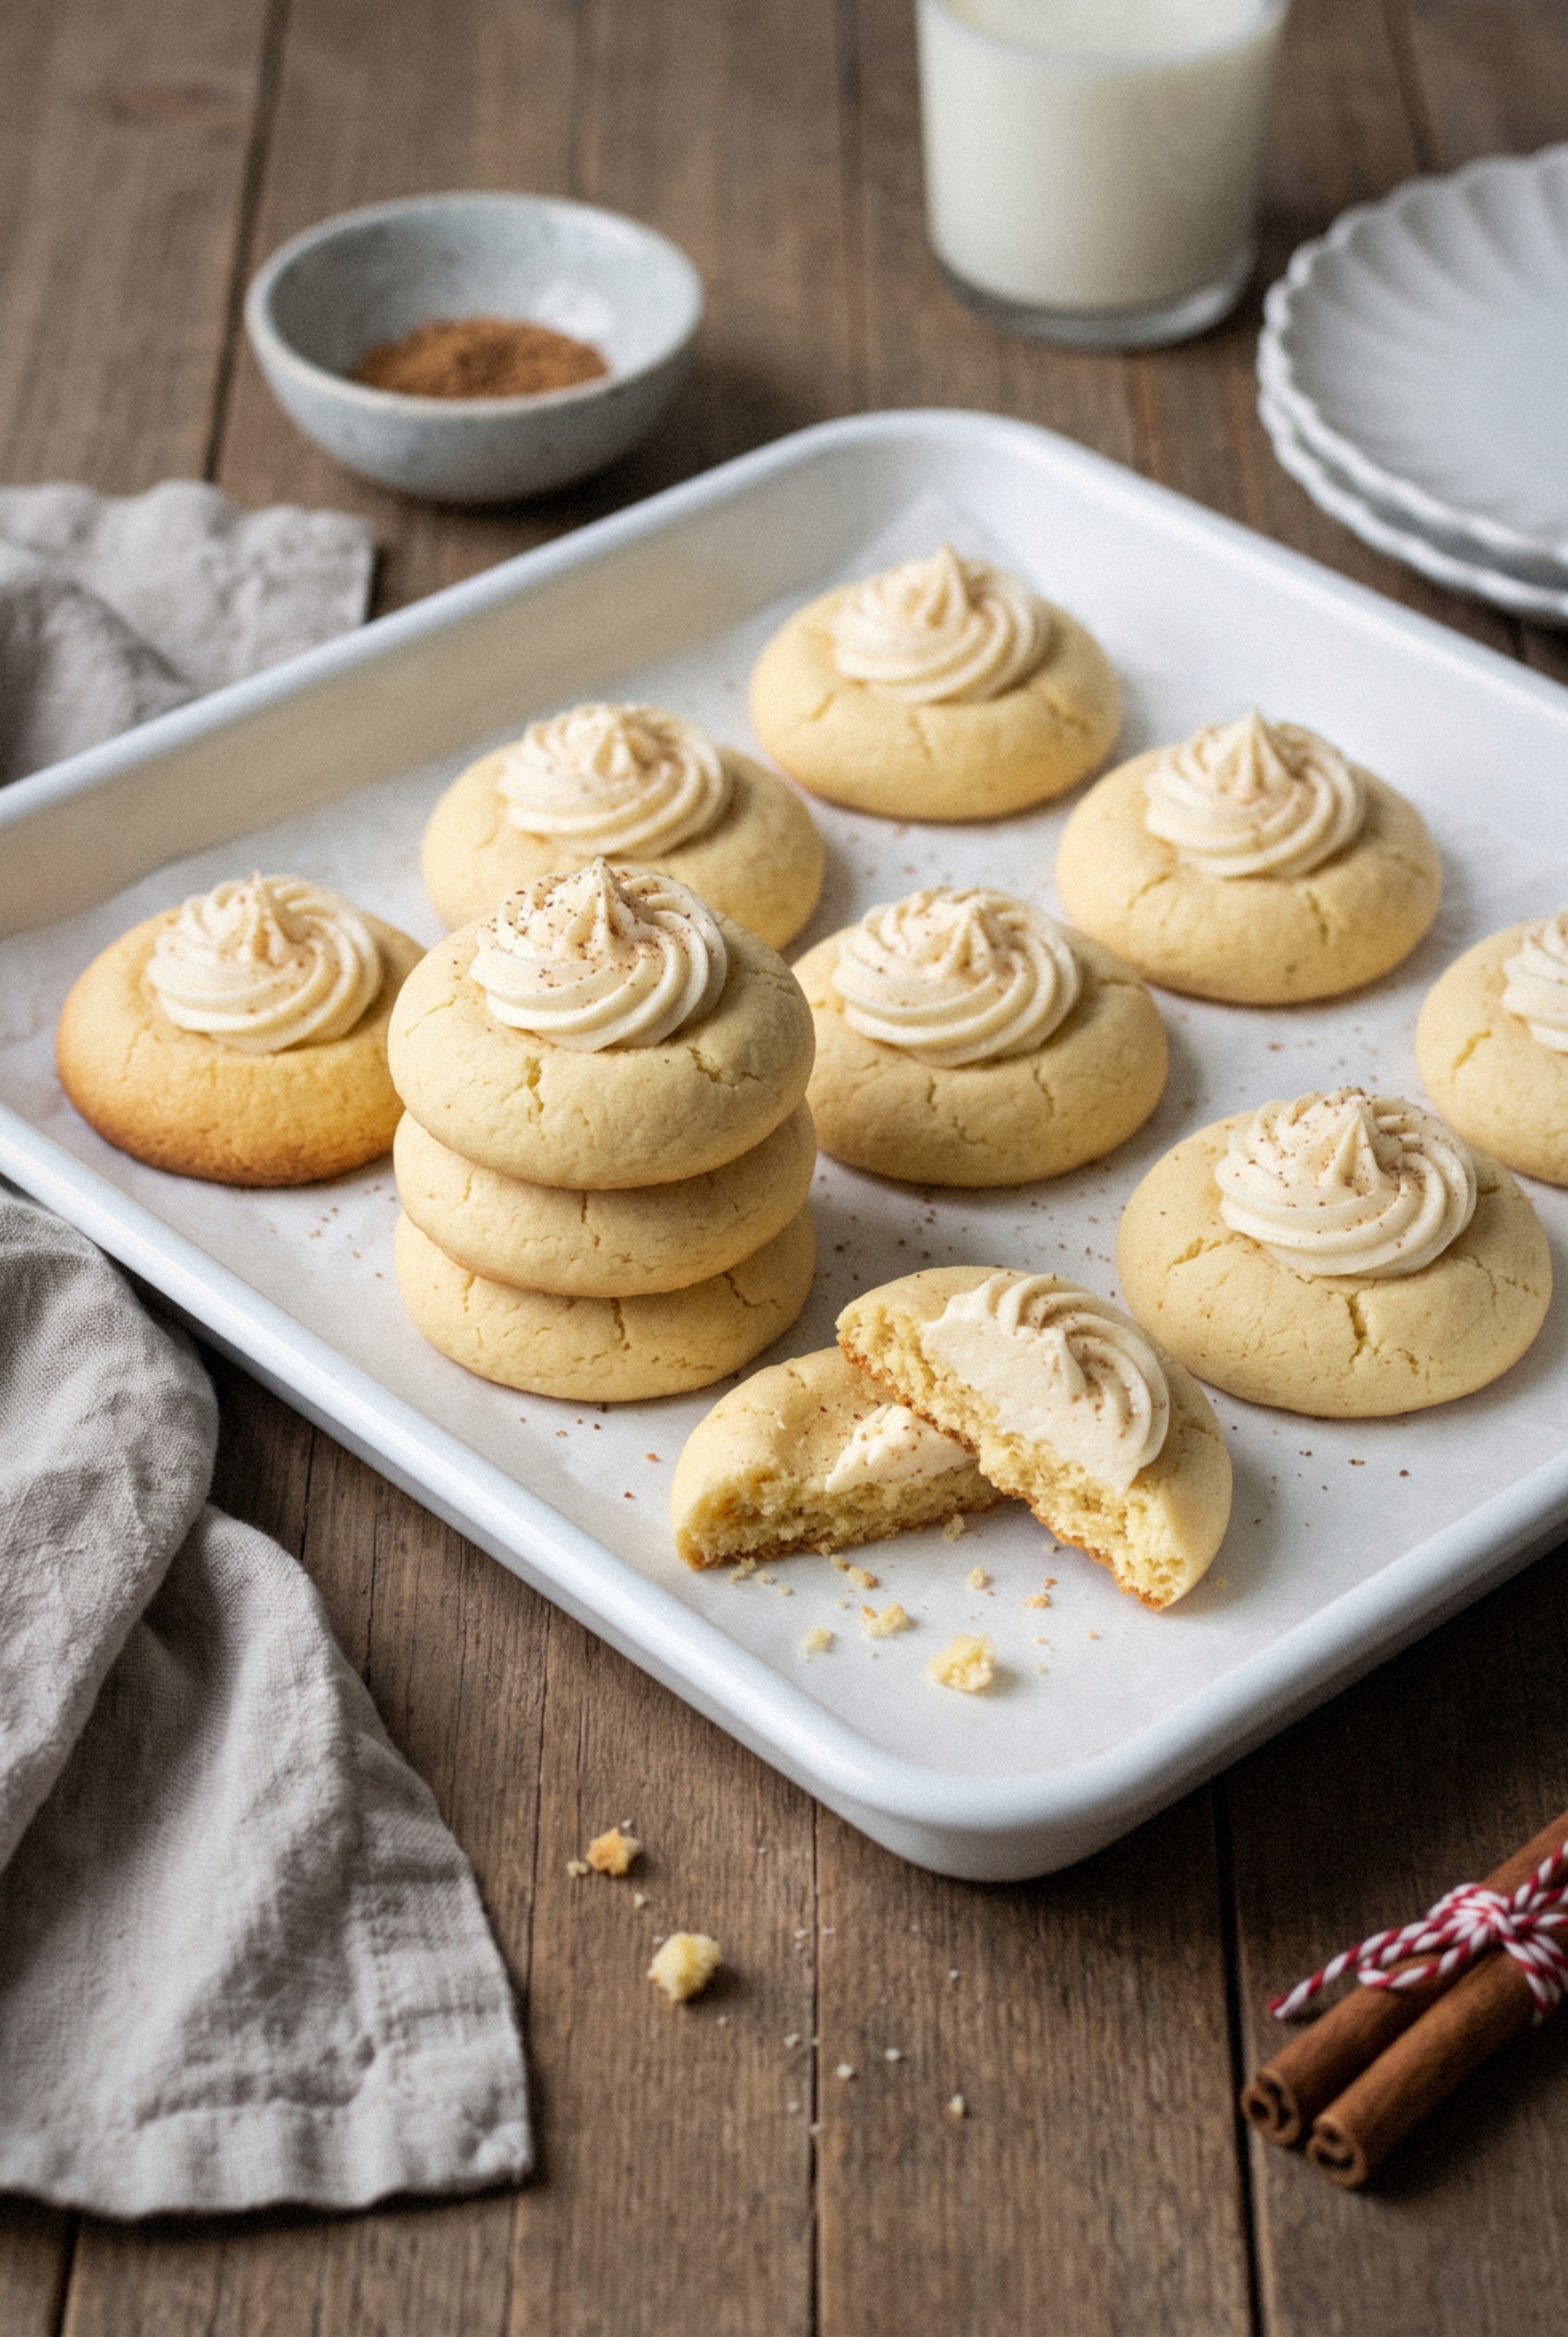
A few years ago I finally gave that carton a job, and these Eggnog Thumbprint Cookies were the result.
Most eggnog cookies I tried only tasted like eggnog because of a pinch of nutmeg and a splash of rum.
I wanted the real thing in there.
So a couple of tablespoons go into the buttery dough, and a couple more get beaten into a soft buttercream that fills each little well.
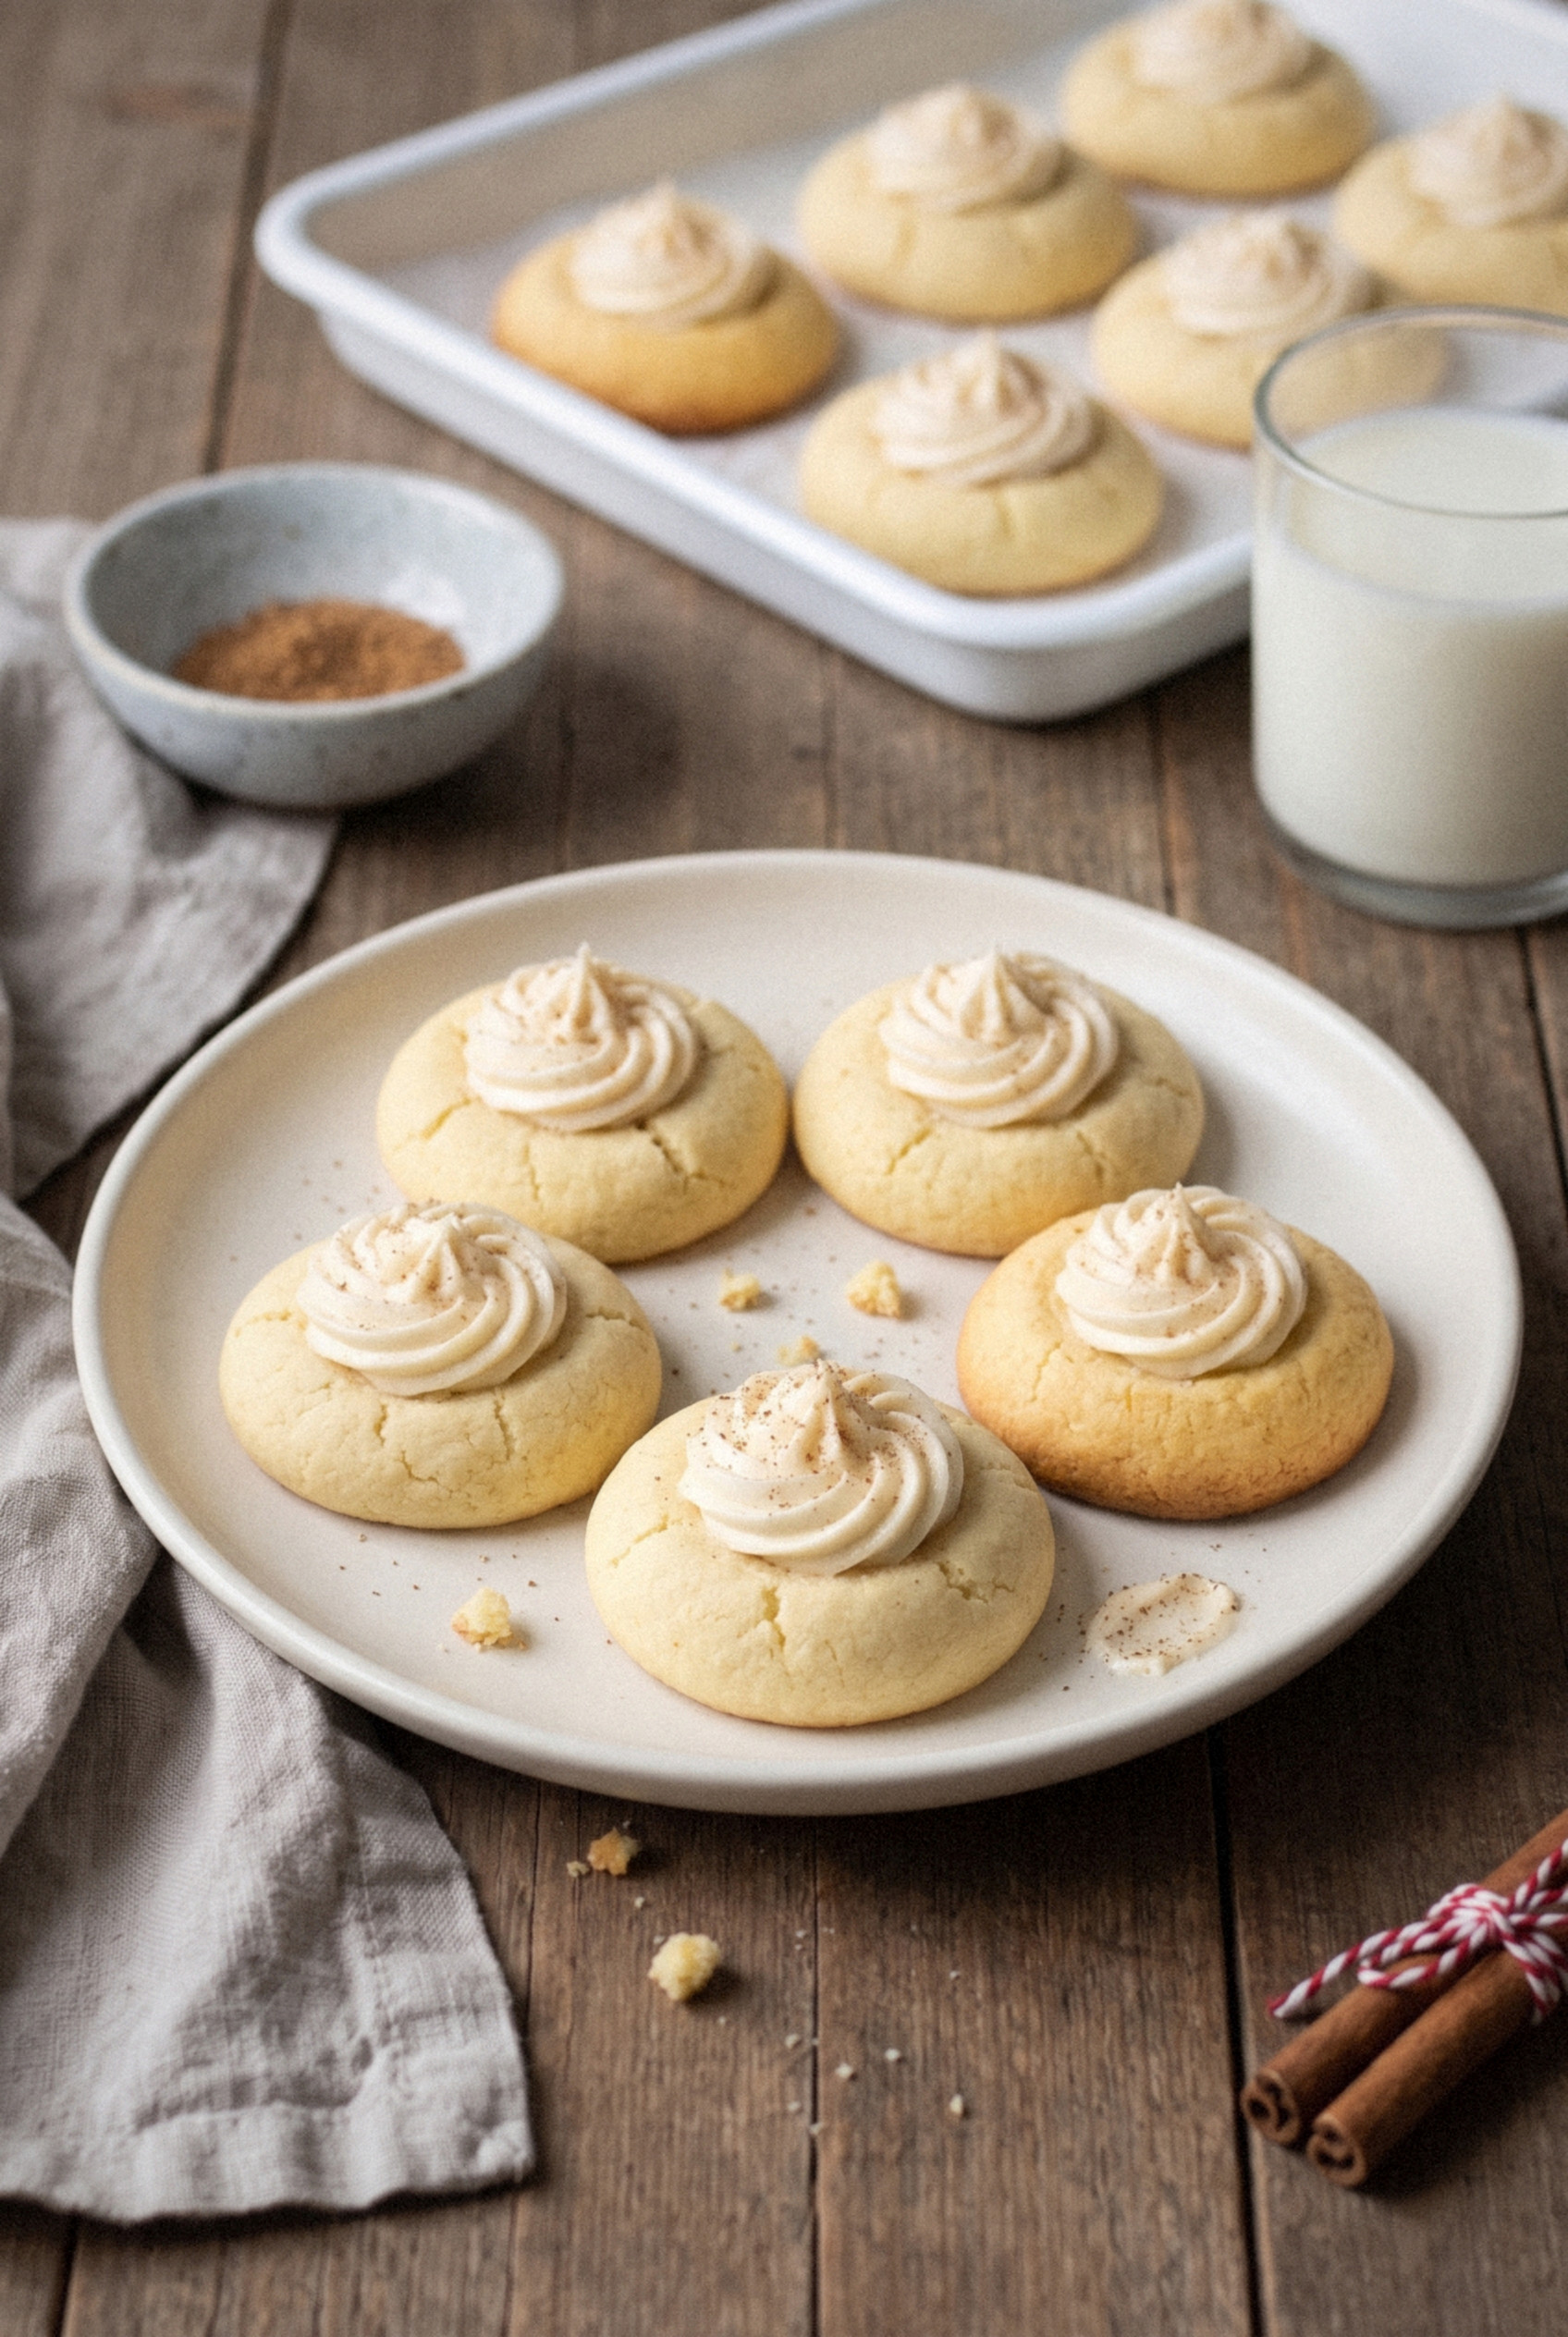
A dusting of nutmeg on top, and they taste exactly like that first holiday glass.
My wife now buys the eggnog specifically for these, which tells you everything.
They're super easy, too. The dough needs no chilling, and it holds its shape in the oven so the wells stay round.
The rum is optional, so the kids can grab one off the Christmas cookie tray without a second thought.
Bake a batch and watch which plate empties first at your next holiday party. I promise it's this one.
Why You'll Love These Eggnog Thumbprints
These are the cookies I bake when I want the whole tray to taste like Christmas. Here's why they've earned a permanent spot in my December baking.
- No chilling required. The dough rolls straight from the bowl and keeps its shape, so you can go from mixing to baking in about 15 minutes.
- Real eggnog, twice. Eggnog goes into both the dough and the filling, so the flavor is creamy and warmly spiced, not just a hint of nutmeg.
- Rum is your call. A teaspoon of rum gives the filling a gentle grown-up warmth. Rum extract or nothing at all works just as well.
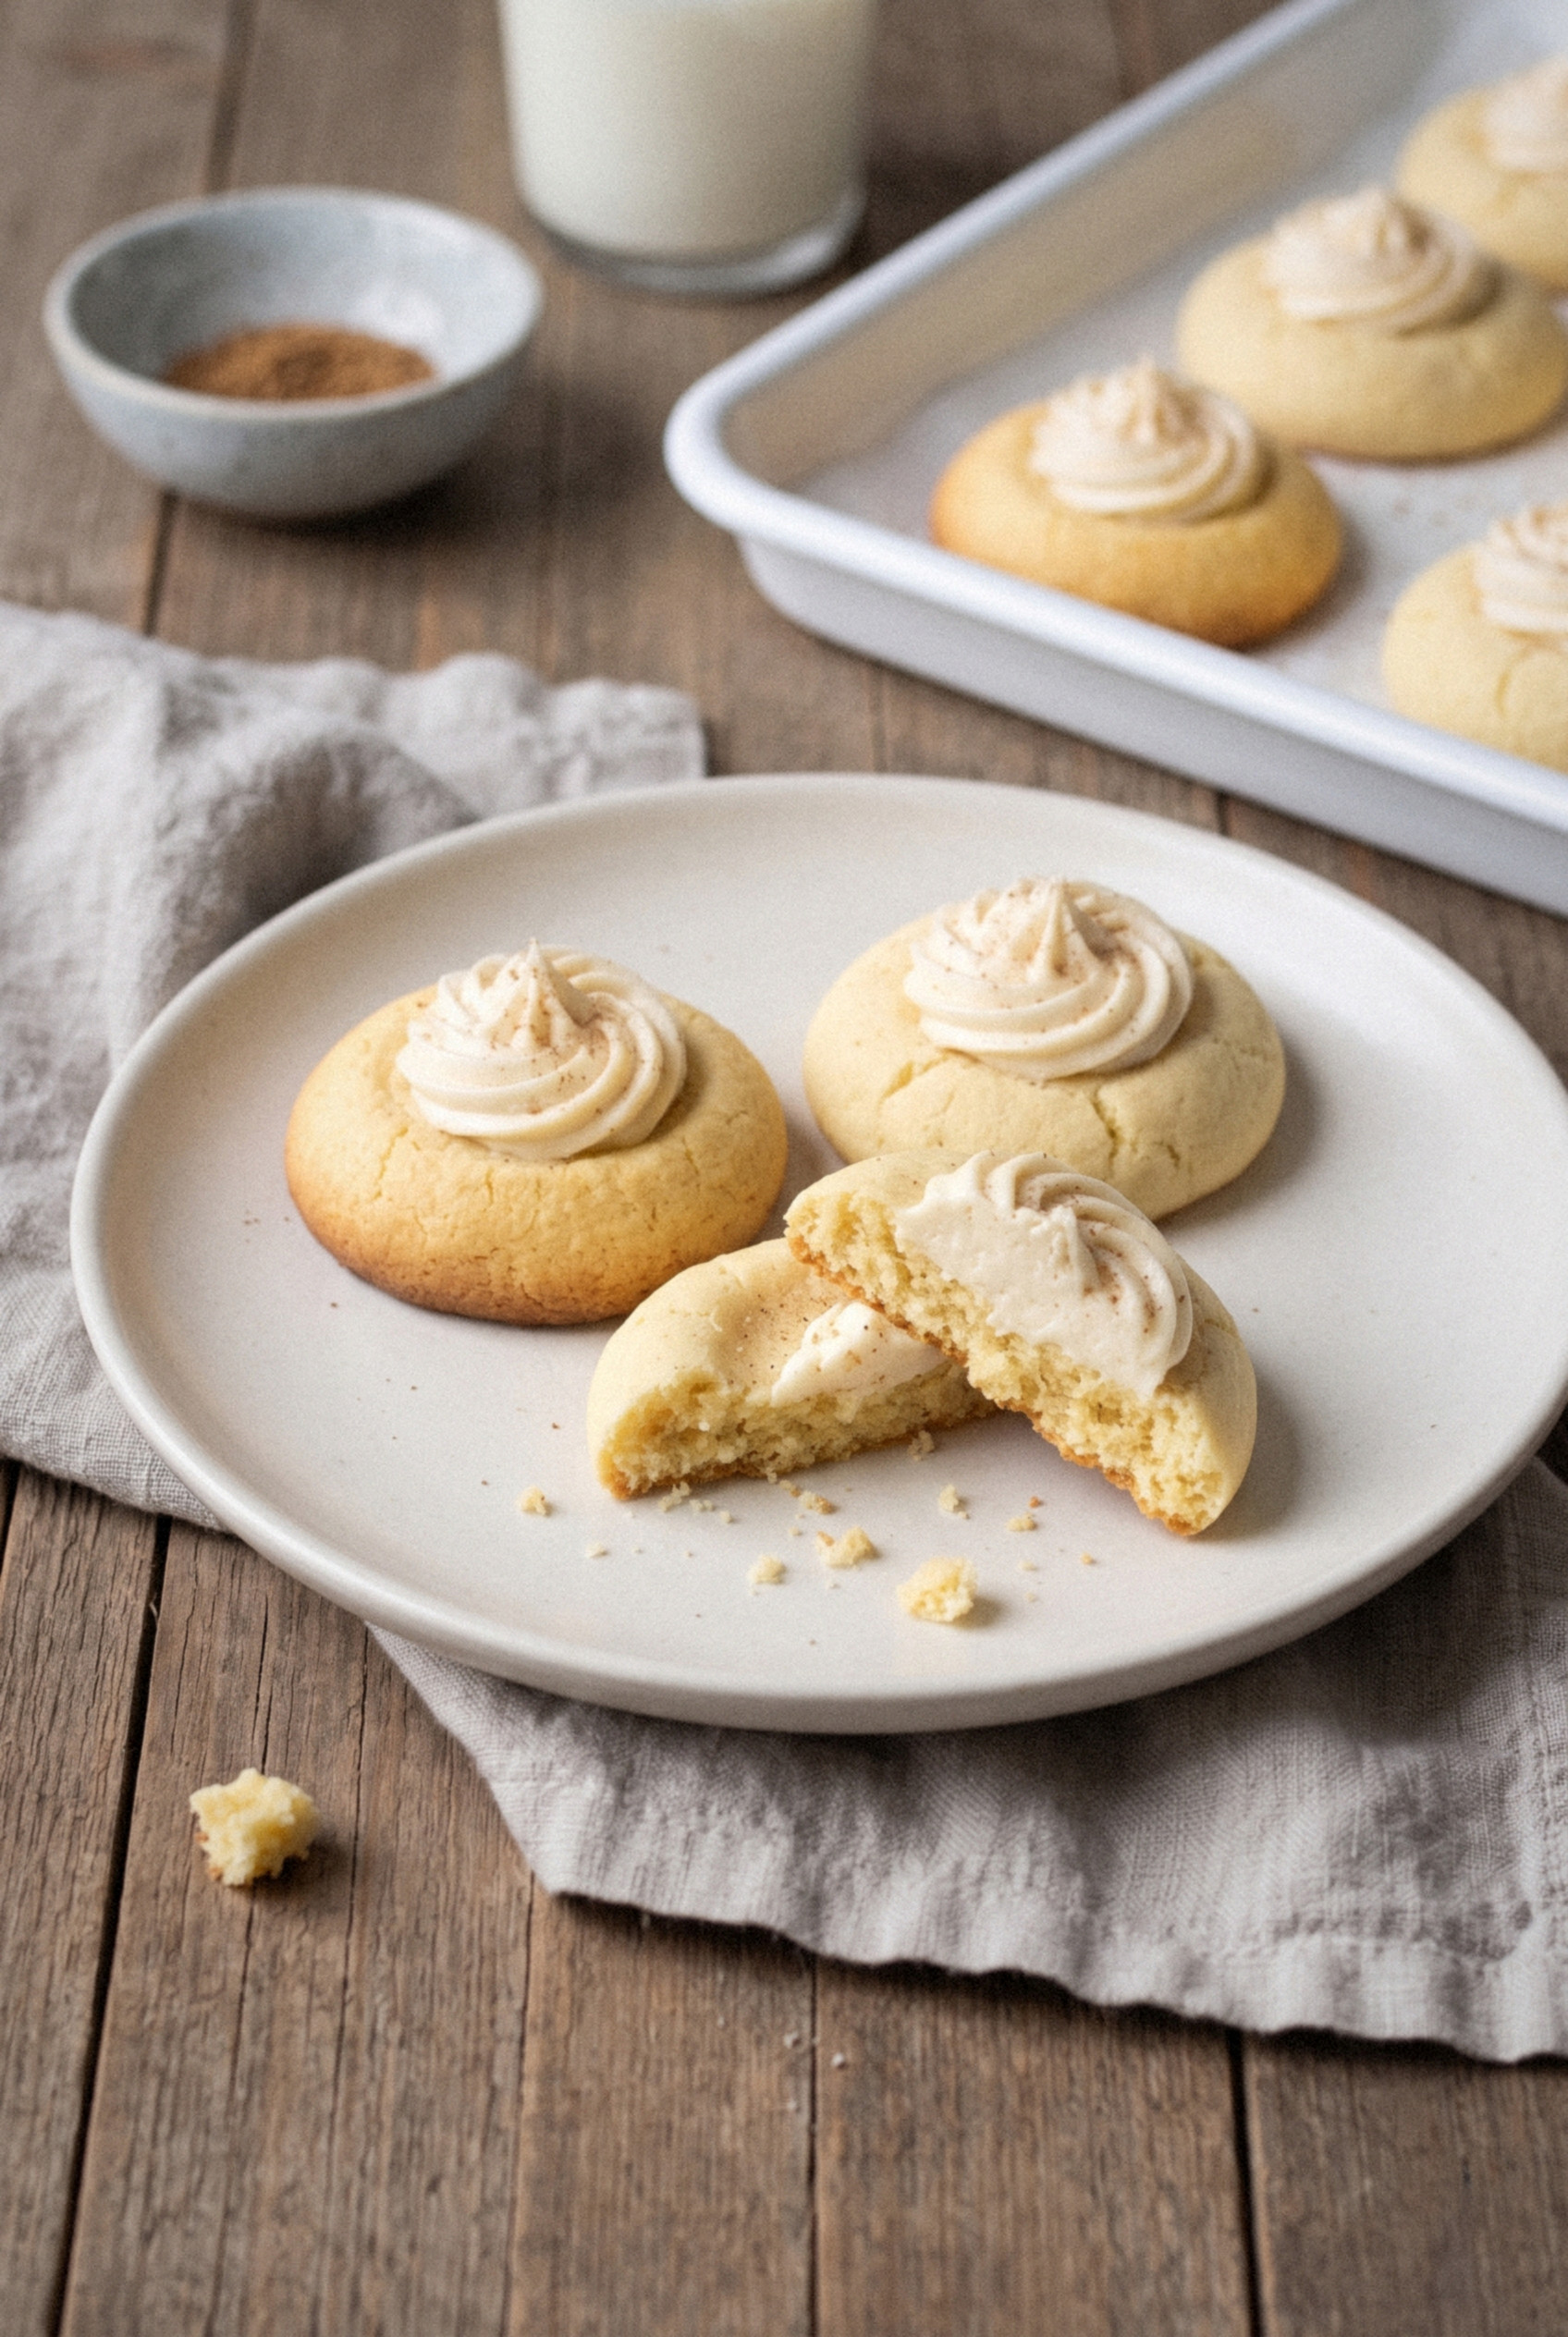
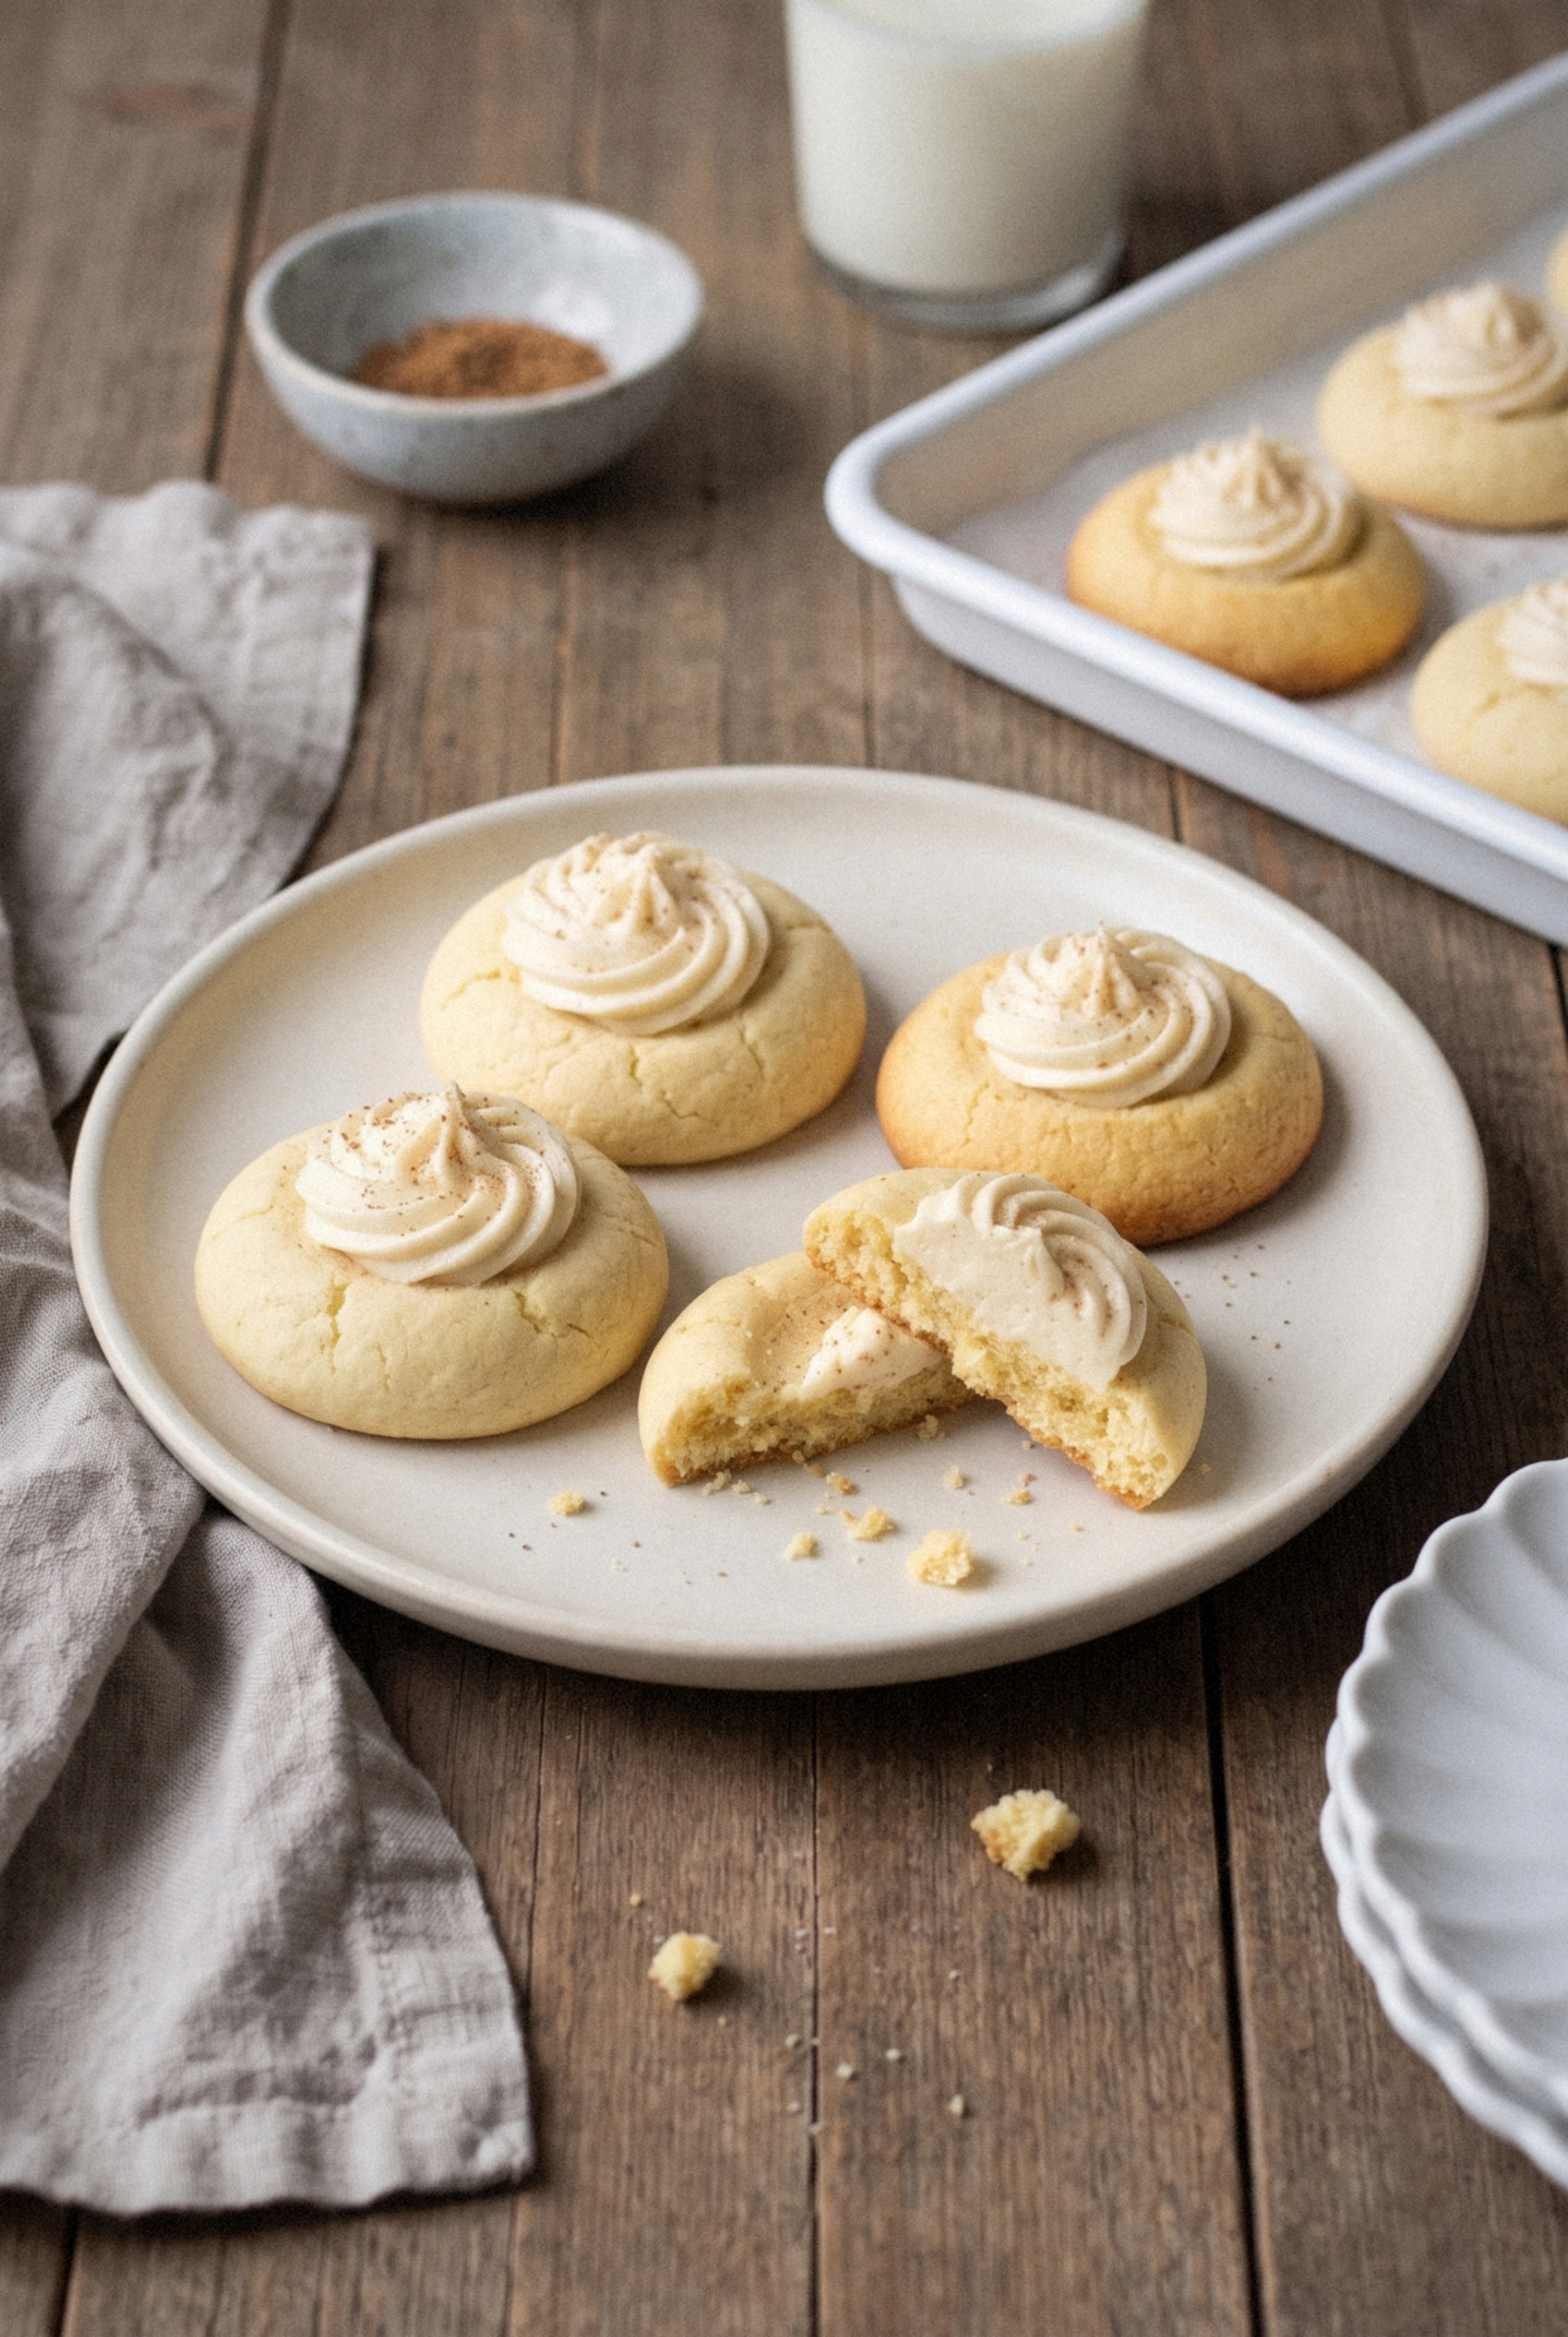
- Melt-in-your-mouth texture. The cookie is tender and shortbread-like, and the buttercream is soft and silky against it.
- Cookie box friendly. Once the filling sets, they pack neatly for gifts, swaps, and the office party.
Who doesn't love a cookie that tastes like the holidays in a single bite?
Ingredient Notes
You probably have almost everything for these already. The eggnog is the only special trip, and if you're like me, it's already sitting in the fridge.
For the Cookies
- Unsalted butter (¾ cup), softened. Soft enough to dent with a finger but still cool. Butter that's too warm makes the cookies spread and lose their wells.
- Granulated sugar (½ cup). Gives the cookies their light, crisp edges.
- Light brown sugar (¼ cup, packed). Adds a hint of caramel and keeps the centers soft.
- Egg yolk (1 large). Just the yolk. It adds richness, like the eggs in eggnog, without making the dough sticky. Save the white for an omelet.
- Eggnog (2 tablespoons). Any full-fat store-bought eggnog works. Homemade is great too if it's thick.
- Pure vanilla extract (1 teaspoon). Rounds out the creamy flavor.
- All-purpose flour (2 cups). Spoon and level it. Too much flour is the number one cause of dry, crumbly thumbprints.
- Ground nutmeg (½ teaspoon). The signature eggnog spice. Freshly grated is even better if you have a whole nutmeg and a microplane.
- Salt (½ teaspoon). Keeps the cookie from tasting flat and sweet.
For the Eggnog Filling
- Unsalted butter (¼ cup), softened. The base of the buttercream.
- Powdered sugar (1 ½ cups). Sift it if it's lumpy so the filling pipes smoothly.
- Eggnog (2 tablespoons). Add it slowly. A little more makes the filling softer, a little less keeps it firm. If you're using a thin homemade eggnog, start with 1 tablespoon so the filling stays pipeable.
- Rum (1 teaspoon) or rum extract (¼ teaspoon). Spiced rum, dark rum, or even bourbon all work. Leave it out for a fully alcohol-free cookie.
- Ground nutmeg (⅛ teaspoon), plus more for dusting. A light dusting on top is non-negotiable. It's what makes people say "eggnog" before they even take a bite.
Making them alcohol-free: Skip the rum completely, or use ¼ teaspoon of rum extract. The extract gives you the same warm flavor with zero alcohol.
How to Make Eggnog Thumbprint Cookies
From start to finish, these take about an hour, and most of that is cooling time. No chilling, no fancy tools.
Step 1: Make the Dough
Preheat the oven to 350°F and line two baking sheets with parchment paper. In a large bowl, beat the softened butter, granulated sugar, and brown sugar on medium speed for about 2 minutes, until it looks pale and fluffy.
Beat in the egg yolk, eggnog, and vanilla until smooth, scraping down the bowl once. In a separate bowl, whisk the flour, nutmeg, and salt together.
Add the dry ingredients to the butter mixture on low speed and mix just until a soft dough comes together. If it looks crumbly, finish mixing with a wooden spoon or your hands. It should feel like soft play dough, not sticky.
Step 2: Shape the Thumbprints
Scoop the dough into 1-tablespoon portions and roll each one into a smooth ball. Set them about 2 inches apart on the lined sheets.
Press the back of a rounded ½ teaspoon measuring spoon into the center of each ball, about halfway down. A measuring spoon gives you neater, rounder wells than a thumb, which tends to squash small balls.
If the edges crack, pinch them back together. A little crackle is fine and actually looks homemade.
Step 3: Bake and Re-Press
Bake one sheet at a time for 11-13 minutes, until the bottoms are lightly golden and the tops look set but still pale. Don't wait for the tops to brown, or the cookies turn dry.
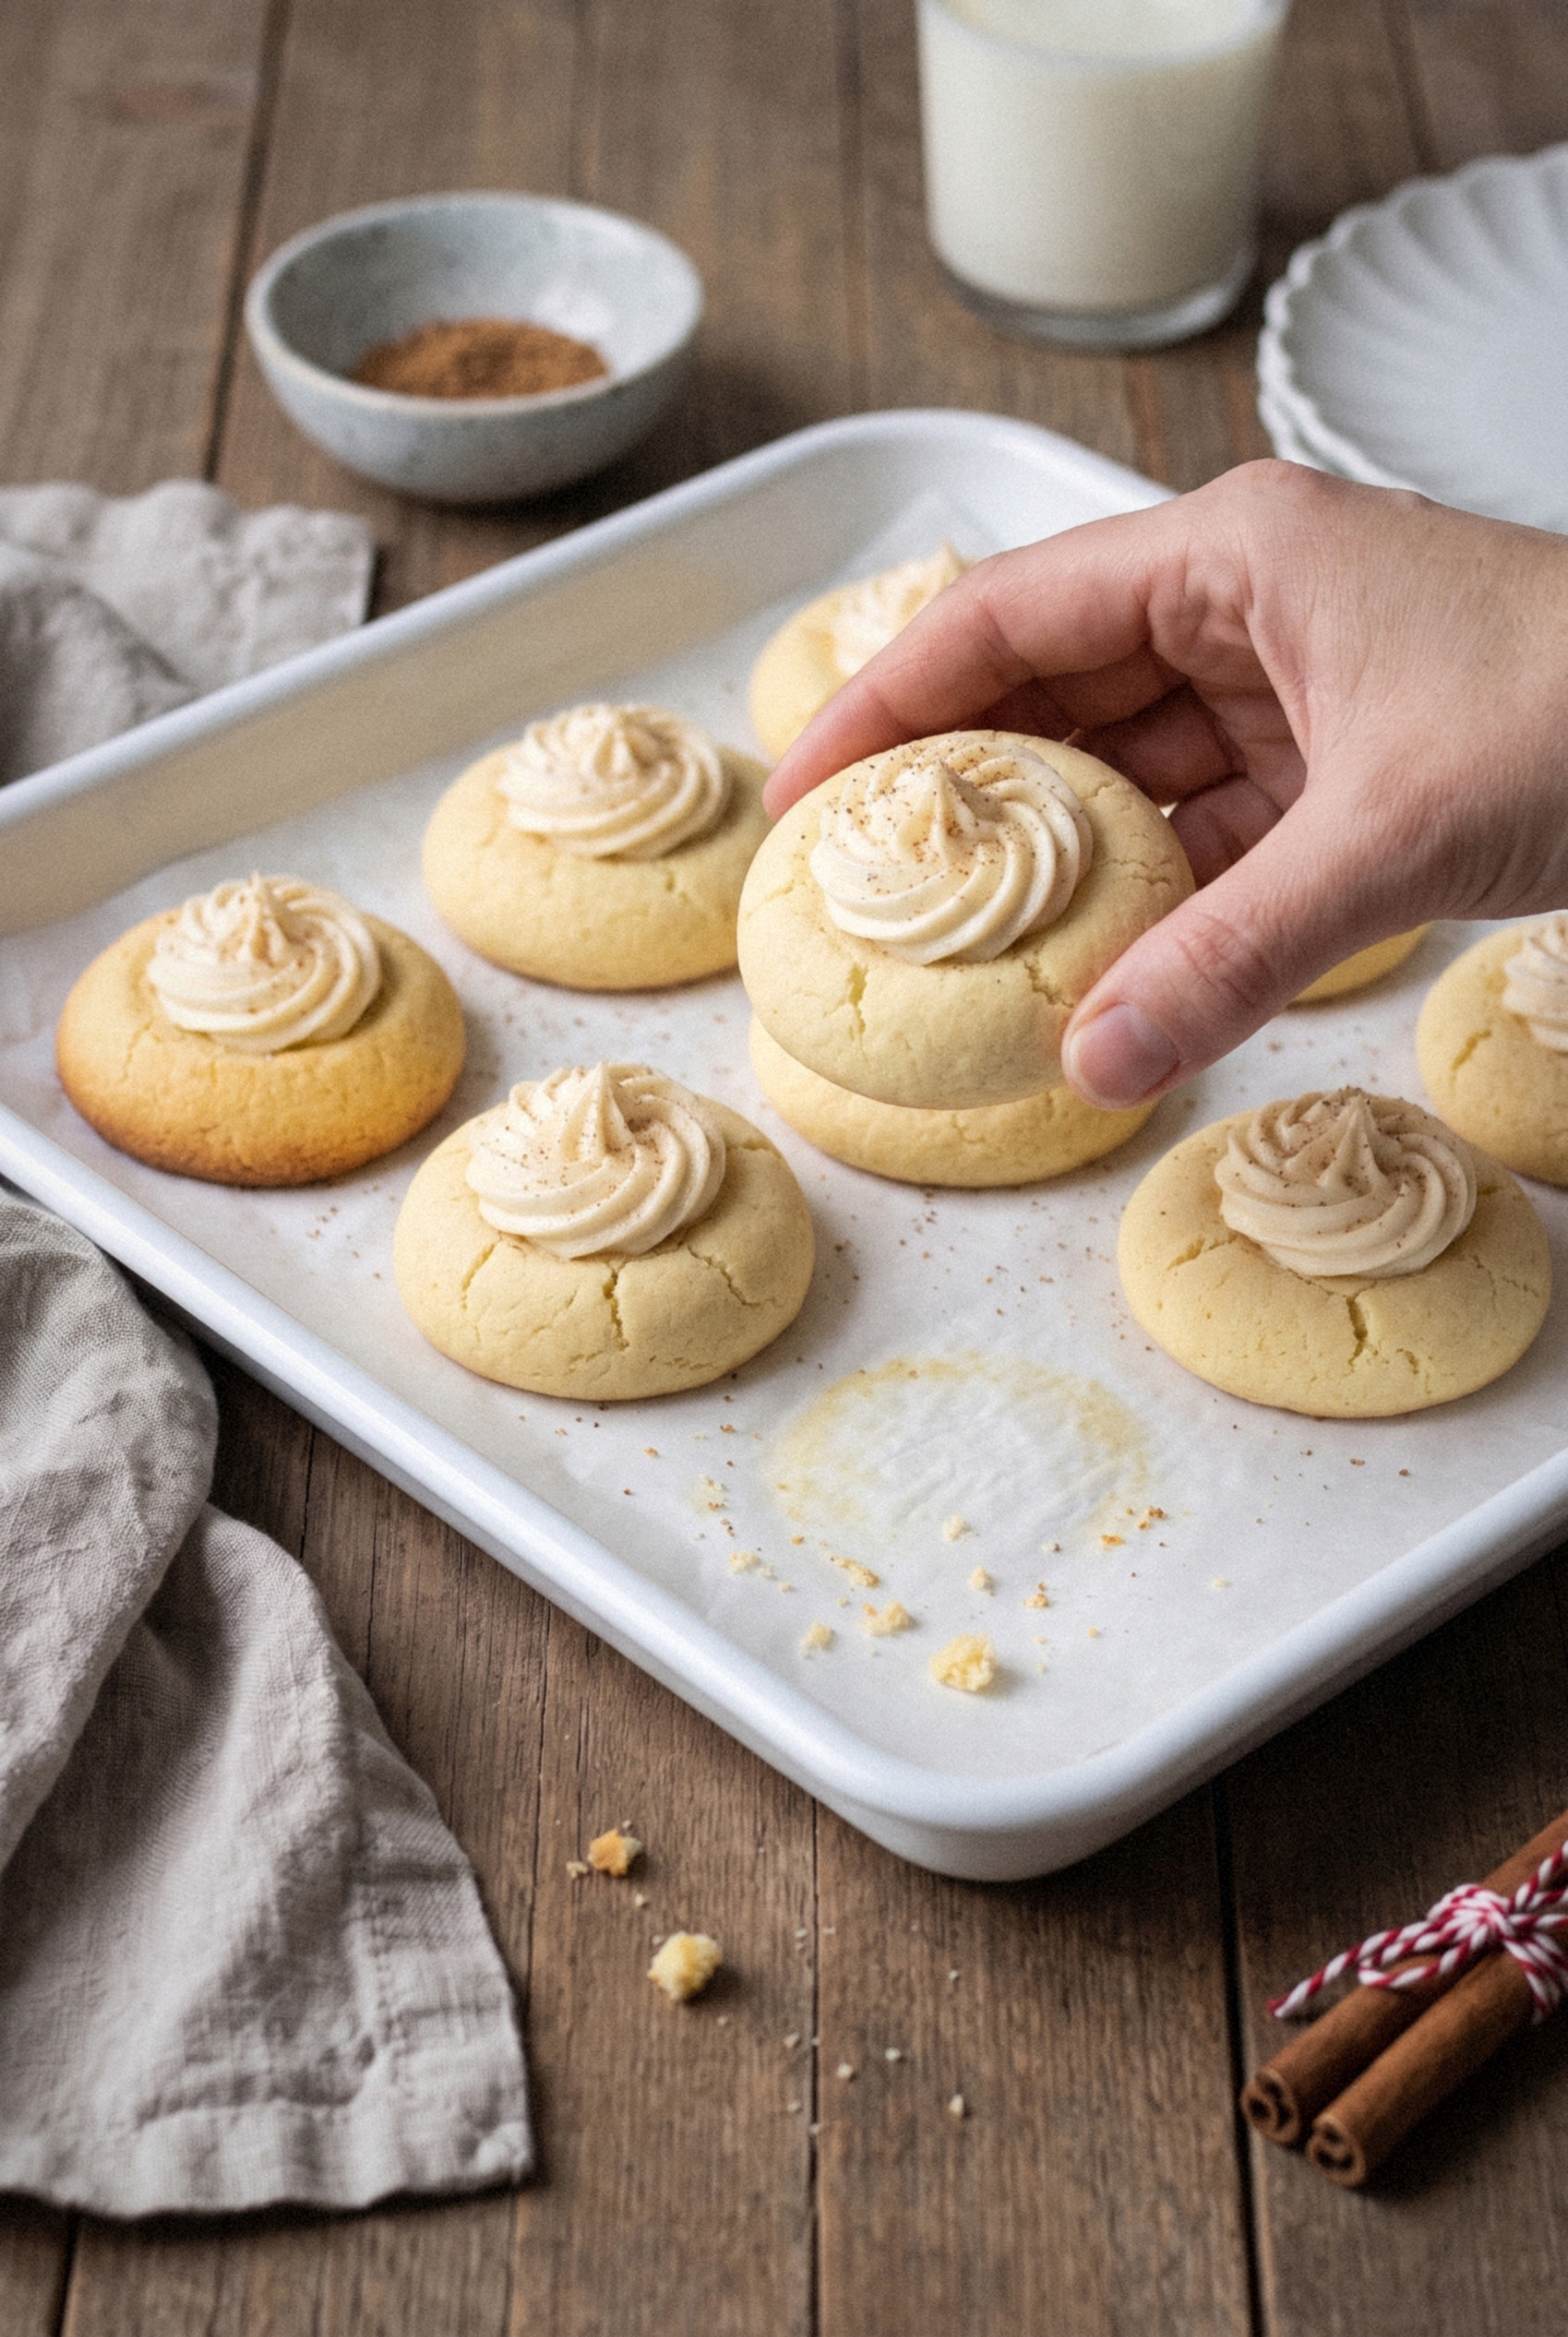
As soon as the tray comes out, press the measuring spoon gently back into each well to reopen it. Let the cookies rest on the sheet for 3 minutes, then move them to a wire rack to cool completely, about 30 minutes.
Pro tip: The cookies must be completely cool before you fill them. Warm cookies melt the buttercream right into the crumb.
Step 4: Make the Eggnog Filling
Beat the softened butter on medium speed for 30 seconds until creamy. Add the powdered sugar a little at a time, then the eggnog, rum or rum extract, and nutmeg.
Beat for 1-2 minutes until light, smooth, and pipeable. If it's too stiff, add eggnog a teaspoon at a time. If it's too soft, add a spoonful more powdered sugar.
Step 5: Fill and Finish
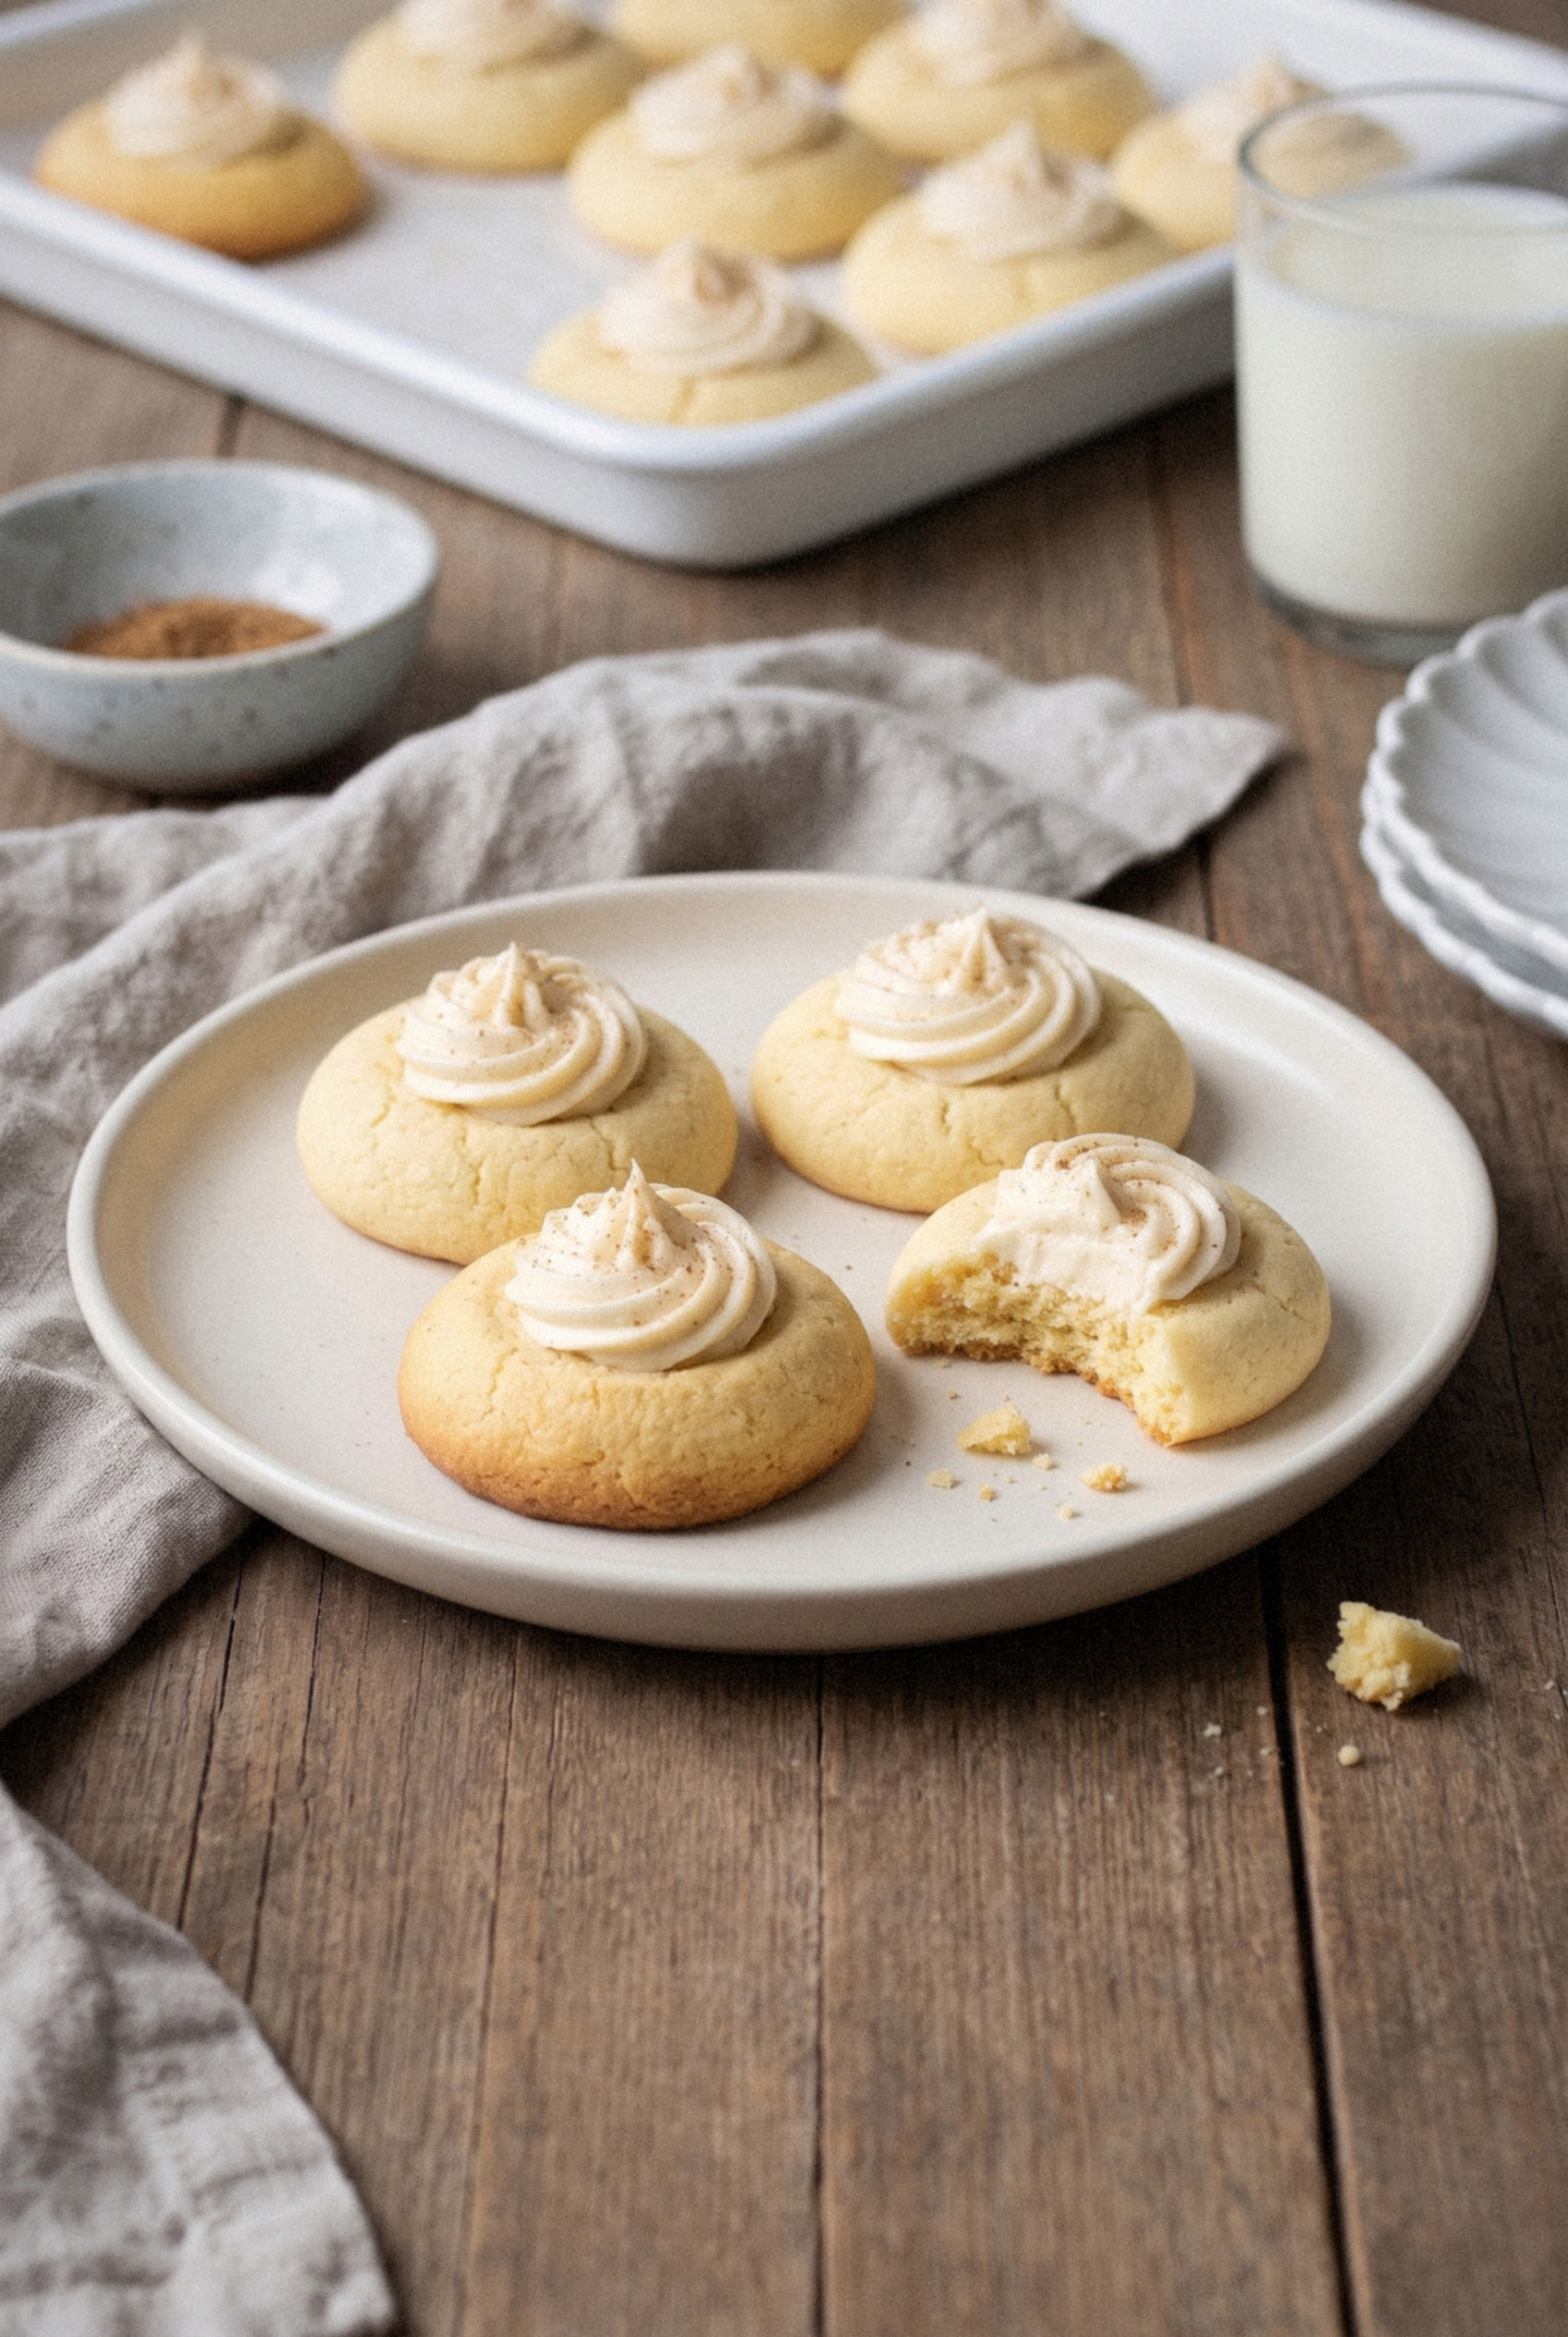
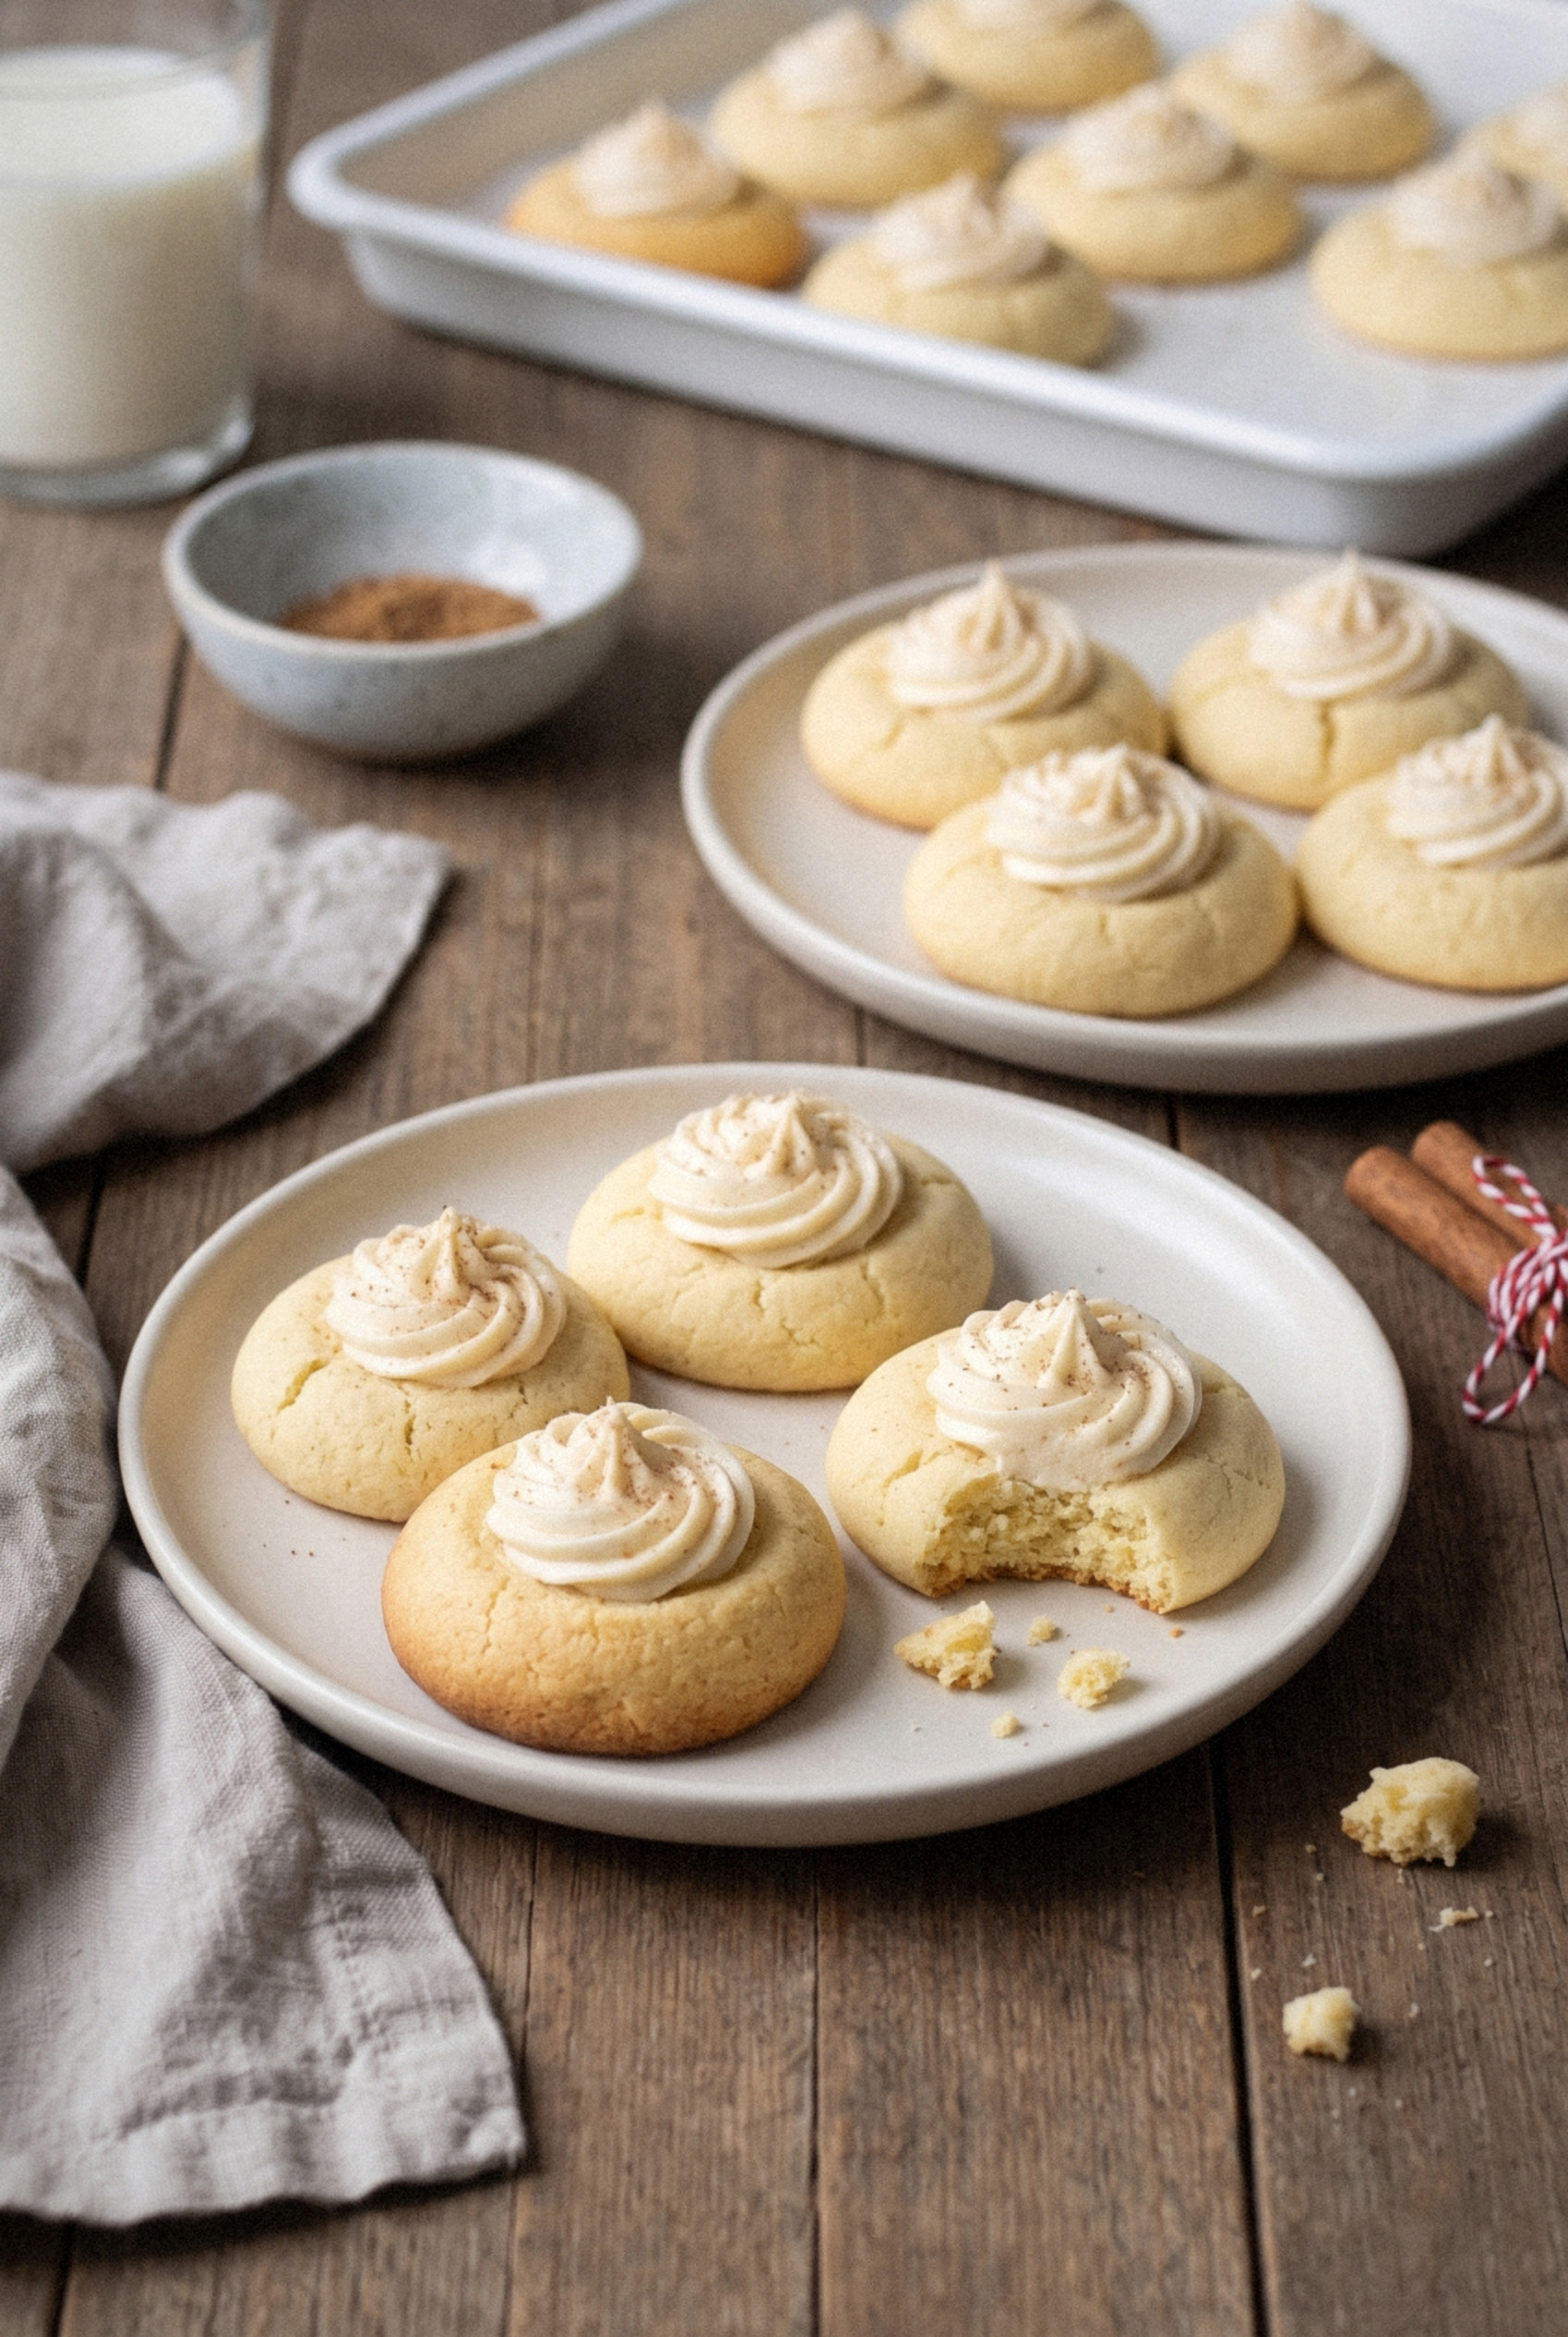
Spoon the filling into a piping bag fitted with a small round or star tip, or into a zip-top bag with the corner snipped off. Pipe about 1 teaspoon into each cooled well, mounding it slightly above the rim.
Dust the tops lightly with nutmeg. Let the cookies sit for 1 hour at room temperature, or 20 minutes in the fridge, so the filling firms up before you stack or store them.
Worth piping instead of spooning? Absolutely. Spooned filling tends to look lumpy, while piped filling looks bakery-neat.
Tips for the Best Eggnog Thumbprint Cookies
These small details are the difference between a good batch and a great one.
- Keep the butter cool-soft. Butter that's melty or shiny makes the cookies spread and fill in the wells. It should hold a finger dent without feeling greasy.
- Measure the flour carefully. Spoon it into the cup and level it off. Packed flour gives you dry, crumbly dough that cracks everywhere.
- Fix dry dough. If the dough won't hold together, add another 1-2 teaspoons of eggnog and mix again.
- Use a measuring spoon for the wells. It makes every well the same size, so every cookie gets the same amount of filling.
- Pull them while they're pale. These are meant to be soft and buttery, not crunchy. Lightly golden bottoms are your cue.
- Grate nutmeg fresh for the top. Freshly grated nutmeg smells warm and almost floral, and it makes the finished cookie taste far more like eggnog.
Filling Variations
The base cookie works with a lot of fillings, so feel free to mix up your holiday tray.
- Eggnog white chocolate ganache. Melt 4 ounces of chopped white chocolate with 2 tablespoons of eggnog in 15-second bursts, stirring each time. Cool until thick, then spoon into the wells.
- Snickerdoodle style. Roll the dough balls in cinnamon sugar before pressing the wells. You get a crackly, cinnamon-sugar outside with the eggnog center.
- Spiced dough. Add ½ teaspoon cinnamon and a pinch of ground ginger to the dough for a cookie that leans toward gingerbread.
- Jam centers. Skip the buttercream and fill the unbaked wells with raspberry or apricot jam. Jam can bake right in the cookie.
- Nutty coating. Dip each ball in beaten egg white, then roll it in finely chopped walnuts or pecans before shaping the well. It's an old-fashioned twist that adds crunch.
Make Ahead
December is busy, so I like to split this recipe across a few days.
- Dough. Wrap it tightly and refrigerate for up to 3 days. Let it sit at room temperature for 15 minutes before rolling so it doesn't crack.
- Dough balls. Roll the balls, freeze them on a tray until firm, then bag them for up to 3 months. Press the wells after they soften for 10 minutes, then bake, adding a minute if needed.
- Filling. Make the buttercream up to 1 week ahead and keep it in the fridge. Bring it to room temperature and beat it again before piping.
- Unfilled cookies. Bake them up to 2 days ahead and store them airtight. Fill them the day you serve them.
Storage, Freezing, and Shipping
Because the filling contains eggnog and butter, these keep best somewhere cool.
- At room temperature. Keep filled cookies in an airtight container in a cool spot for up to 2 days, with parchment between the layers.
- In the fridge. Store them airtight for up to 1 week. Let them sit out for 15 minutes before serving so the filling softens.
- Freezing. Freeze the baked, unfilled cookies for up to 3 months. Thaw at room temperature, then pipe in fresh filling. Filled cookies can be frozen in a single layer, but the nutmeg dusting dulls a bit.
- Shipping. Thumbprints ship well if the filling has set. Pack them in a single layer in a tin, with parchment between layers, and send them early in the week so they don't sit in a warm truck over the weekend.
I know what you're thinking: will they really last a week? In my house they never have to.
Recipe
Eggnog Thumbprint Cookies
Ingredients
For the Cookies
- ¾ cup unsalted butter softened
- ½ cup granulated sugar
- ¼ cup light brown sugar packed
- 1 large egg yolk
- 2 tablespoons eggnog full-fat
- 1 teaspoon pure vanilla extract
- 2 cups all-purpose flour spooned and leveled
- ½ teaspoon ground nutmeg
- ½ teaspoon salt
For the Eggnog Filling
- ¼ cup unsalted butter softened
- 1 ½ cups powdered sugar sifted
- 2 tablespoons eggnog
- 1 teaspoon rum or ¼ teaspoon rum extract, optional
- ⅛ teaspoon ground nutmeg plus more for dusting
Instructions
Make the Dough
- Preheat the oven to 350°F and line two baking sheets with parchment paper.
- Beat the butter, granulated sugar, and brown sugar on medium speed for 2 minutes until pale and fluffy.
- Beat in the egg yolk, 2 tablespoons eggnog, and vanilla until smooth.
- Whisk the flour, nutmeg, and salt together, then mix into the butter mixture on low speed just until a soft dough forms.
Shape and Bake
- Roll the dough into 1-tablespoon balls and place 2 inches apart on the baking sheets.
- Press a well into the center of each ball with the back of a rounded ½ teaspoon measuring spoon, pinching any cracks closed.
- Bake one sheet at a time for 11-13 minutes, until the bottoms are lightly golden and the tops are set but pale.
- Immediately re-press each well. Cool on the sheet for 3 minutes, then transfer to a wire rack to cool completely, about 30 minutes.
Make the Filling and Finish
- Beat the softened butter for 30 seconds until creamy. Gradually beat in the powdered sugar, then the eggnog, rum or rum extract, and nutmeg.
- Beat for 1-2 minutes until smooth and pipeable, adjusting with a little more eggnog or powdered sugar as needed.
- Pipe about 1 teaspoon of filling into each cooled cookie and dust lightly with nutmeg.
- Let the cookies sit for 1 hour at room temperature, or 20 minutes in the fridge, until the filling sets.
Notes
- Alcohol-Free: Omit the rum or use ¼ teaspoon rum extract.
- Fill Cool Cookies: Warm cookies melt the buttercream, so let them cool completely before filling.
- Make Ahead: Refrigerate the dough up to 3 days or freeze dough balls up to 3 months.
- Storage: Keep filled cookies airtight in a cool spot for 2 days or in the fridge for up to 1 week.
- Freezing: Freeze baked unfilled cookies up to 3 months and fill after thawing.