Cookie tray day at our house lands on the second Saturday of December, and my wife runs it like an air traffic controller.
Every counter gets a job. Cooling racks go by the window, tins stack by the door, and the good platter comes down from the top shelf.
She arranges the tray in rings, and there's always one empty spot in the middle that she saves for last.
That spot belongs to the jam cookies.
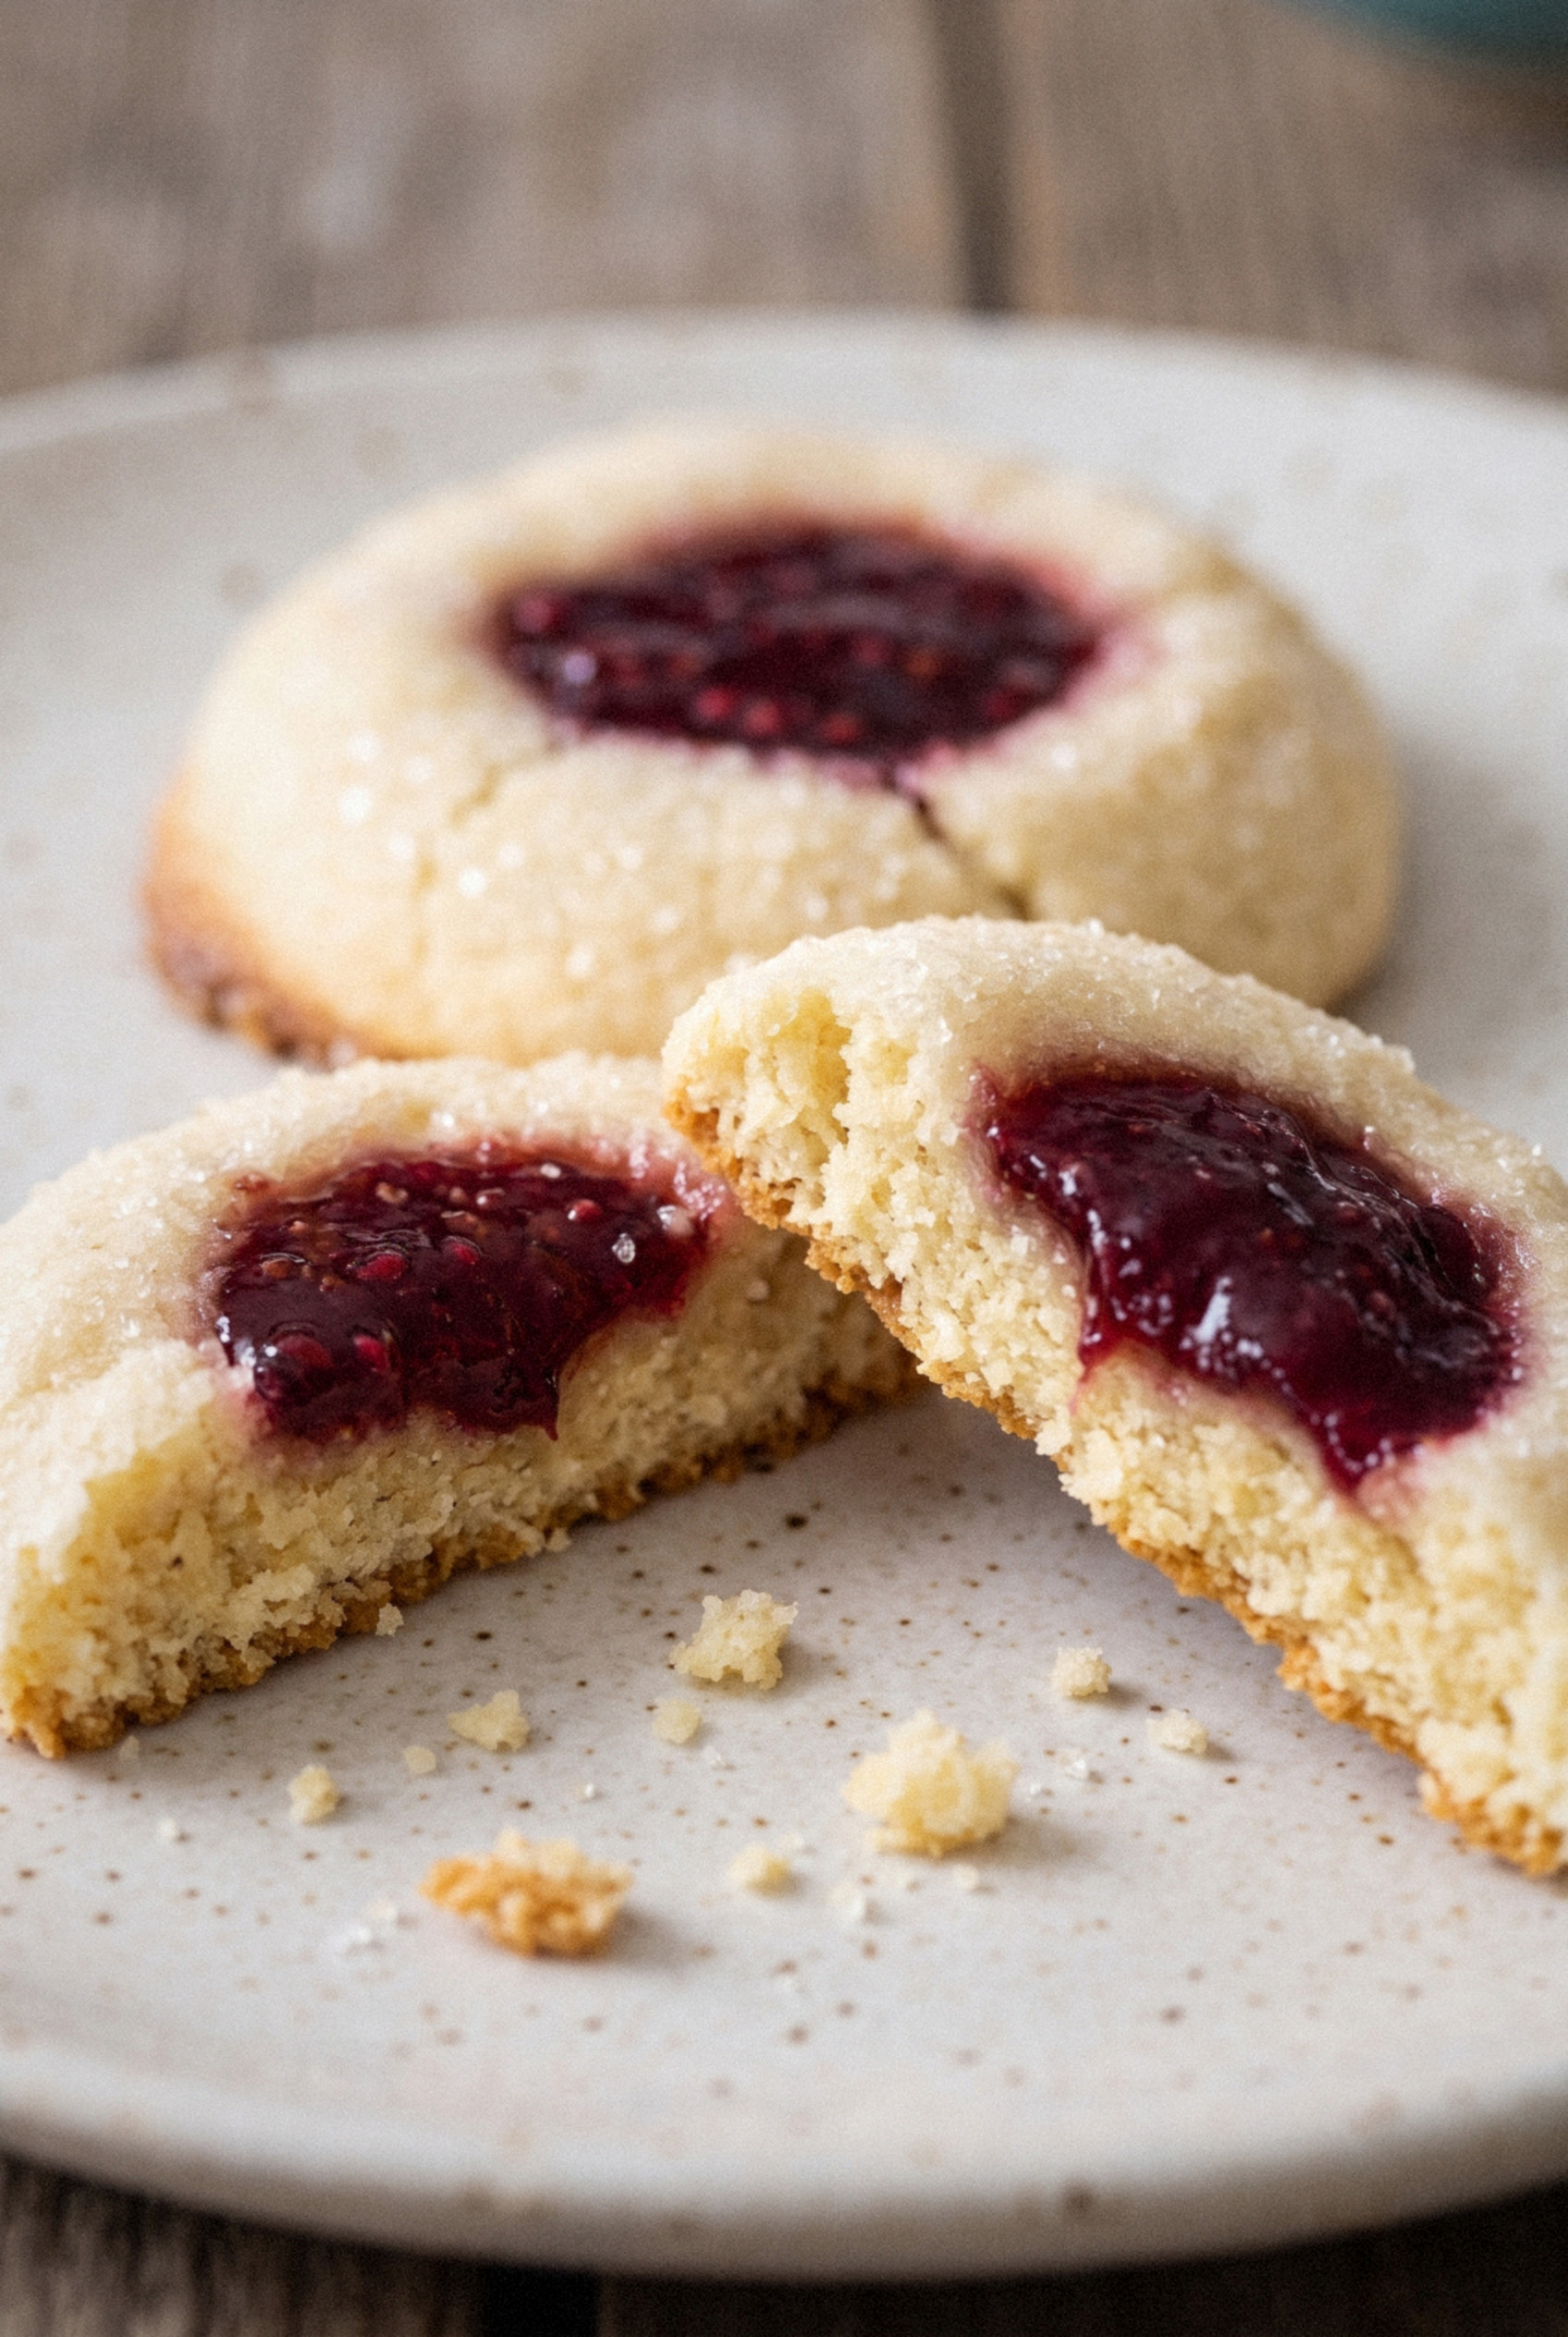
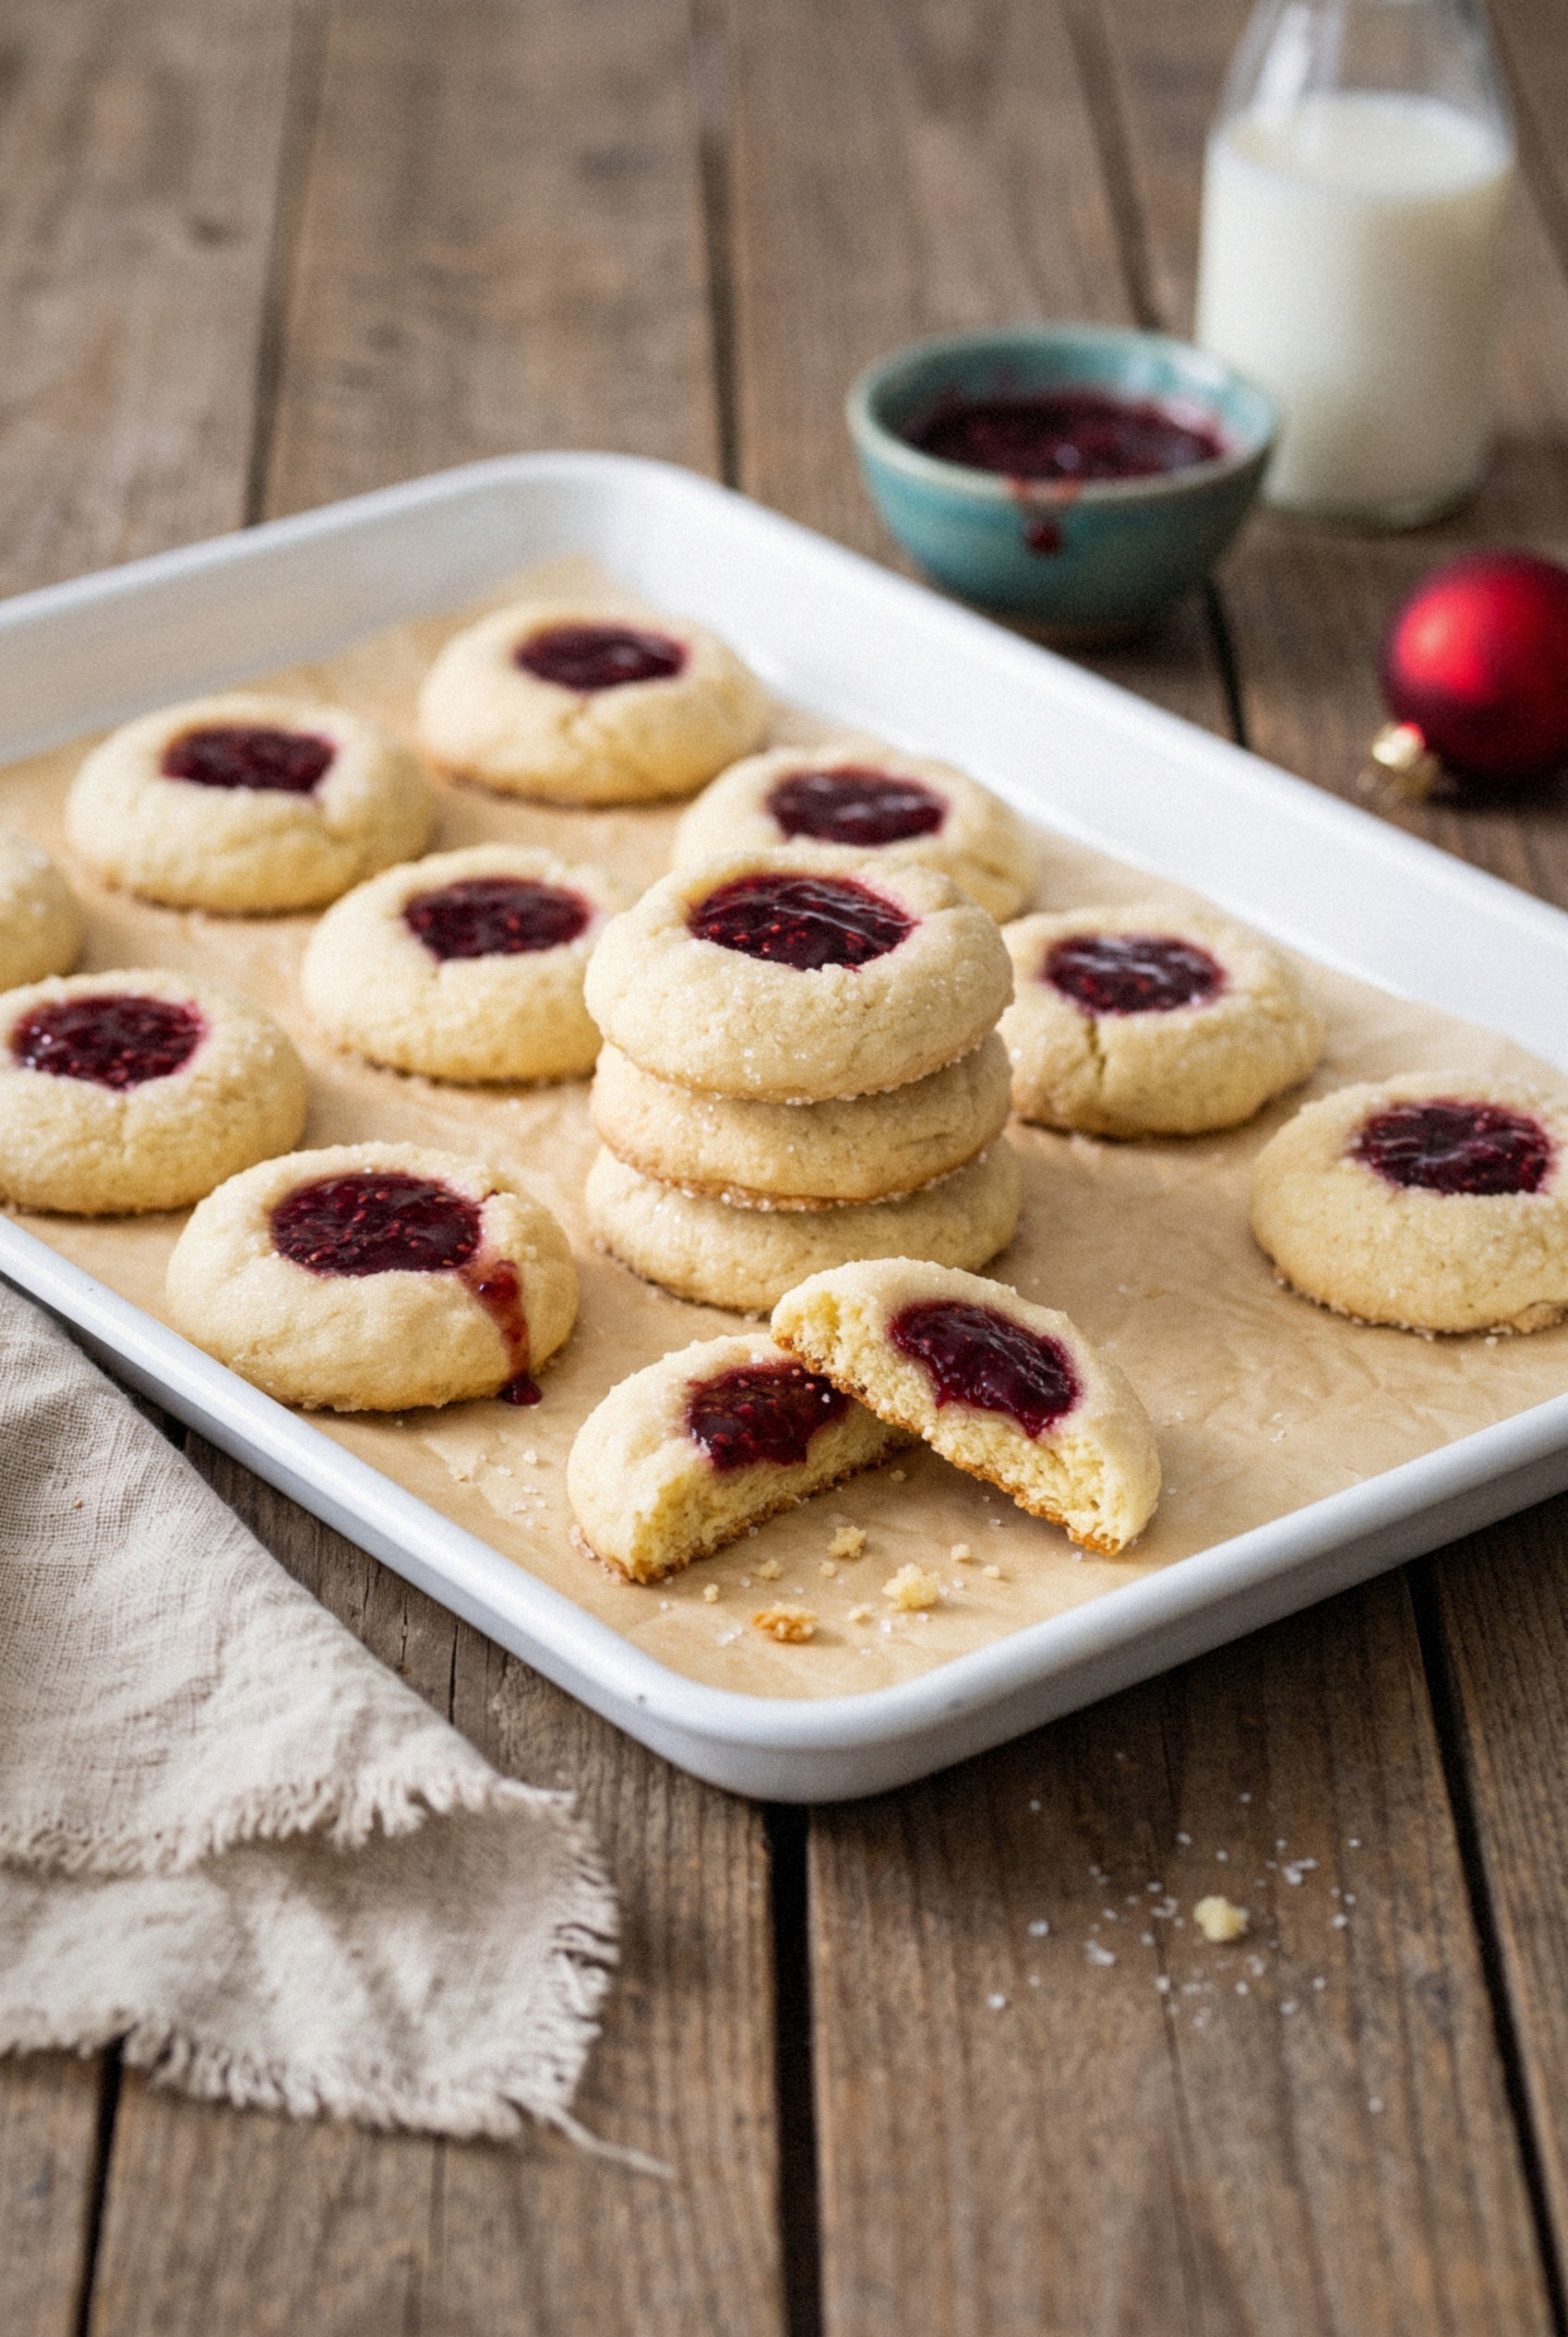
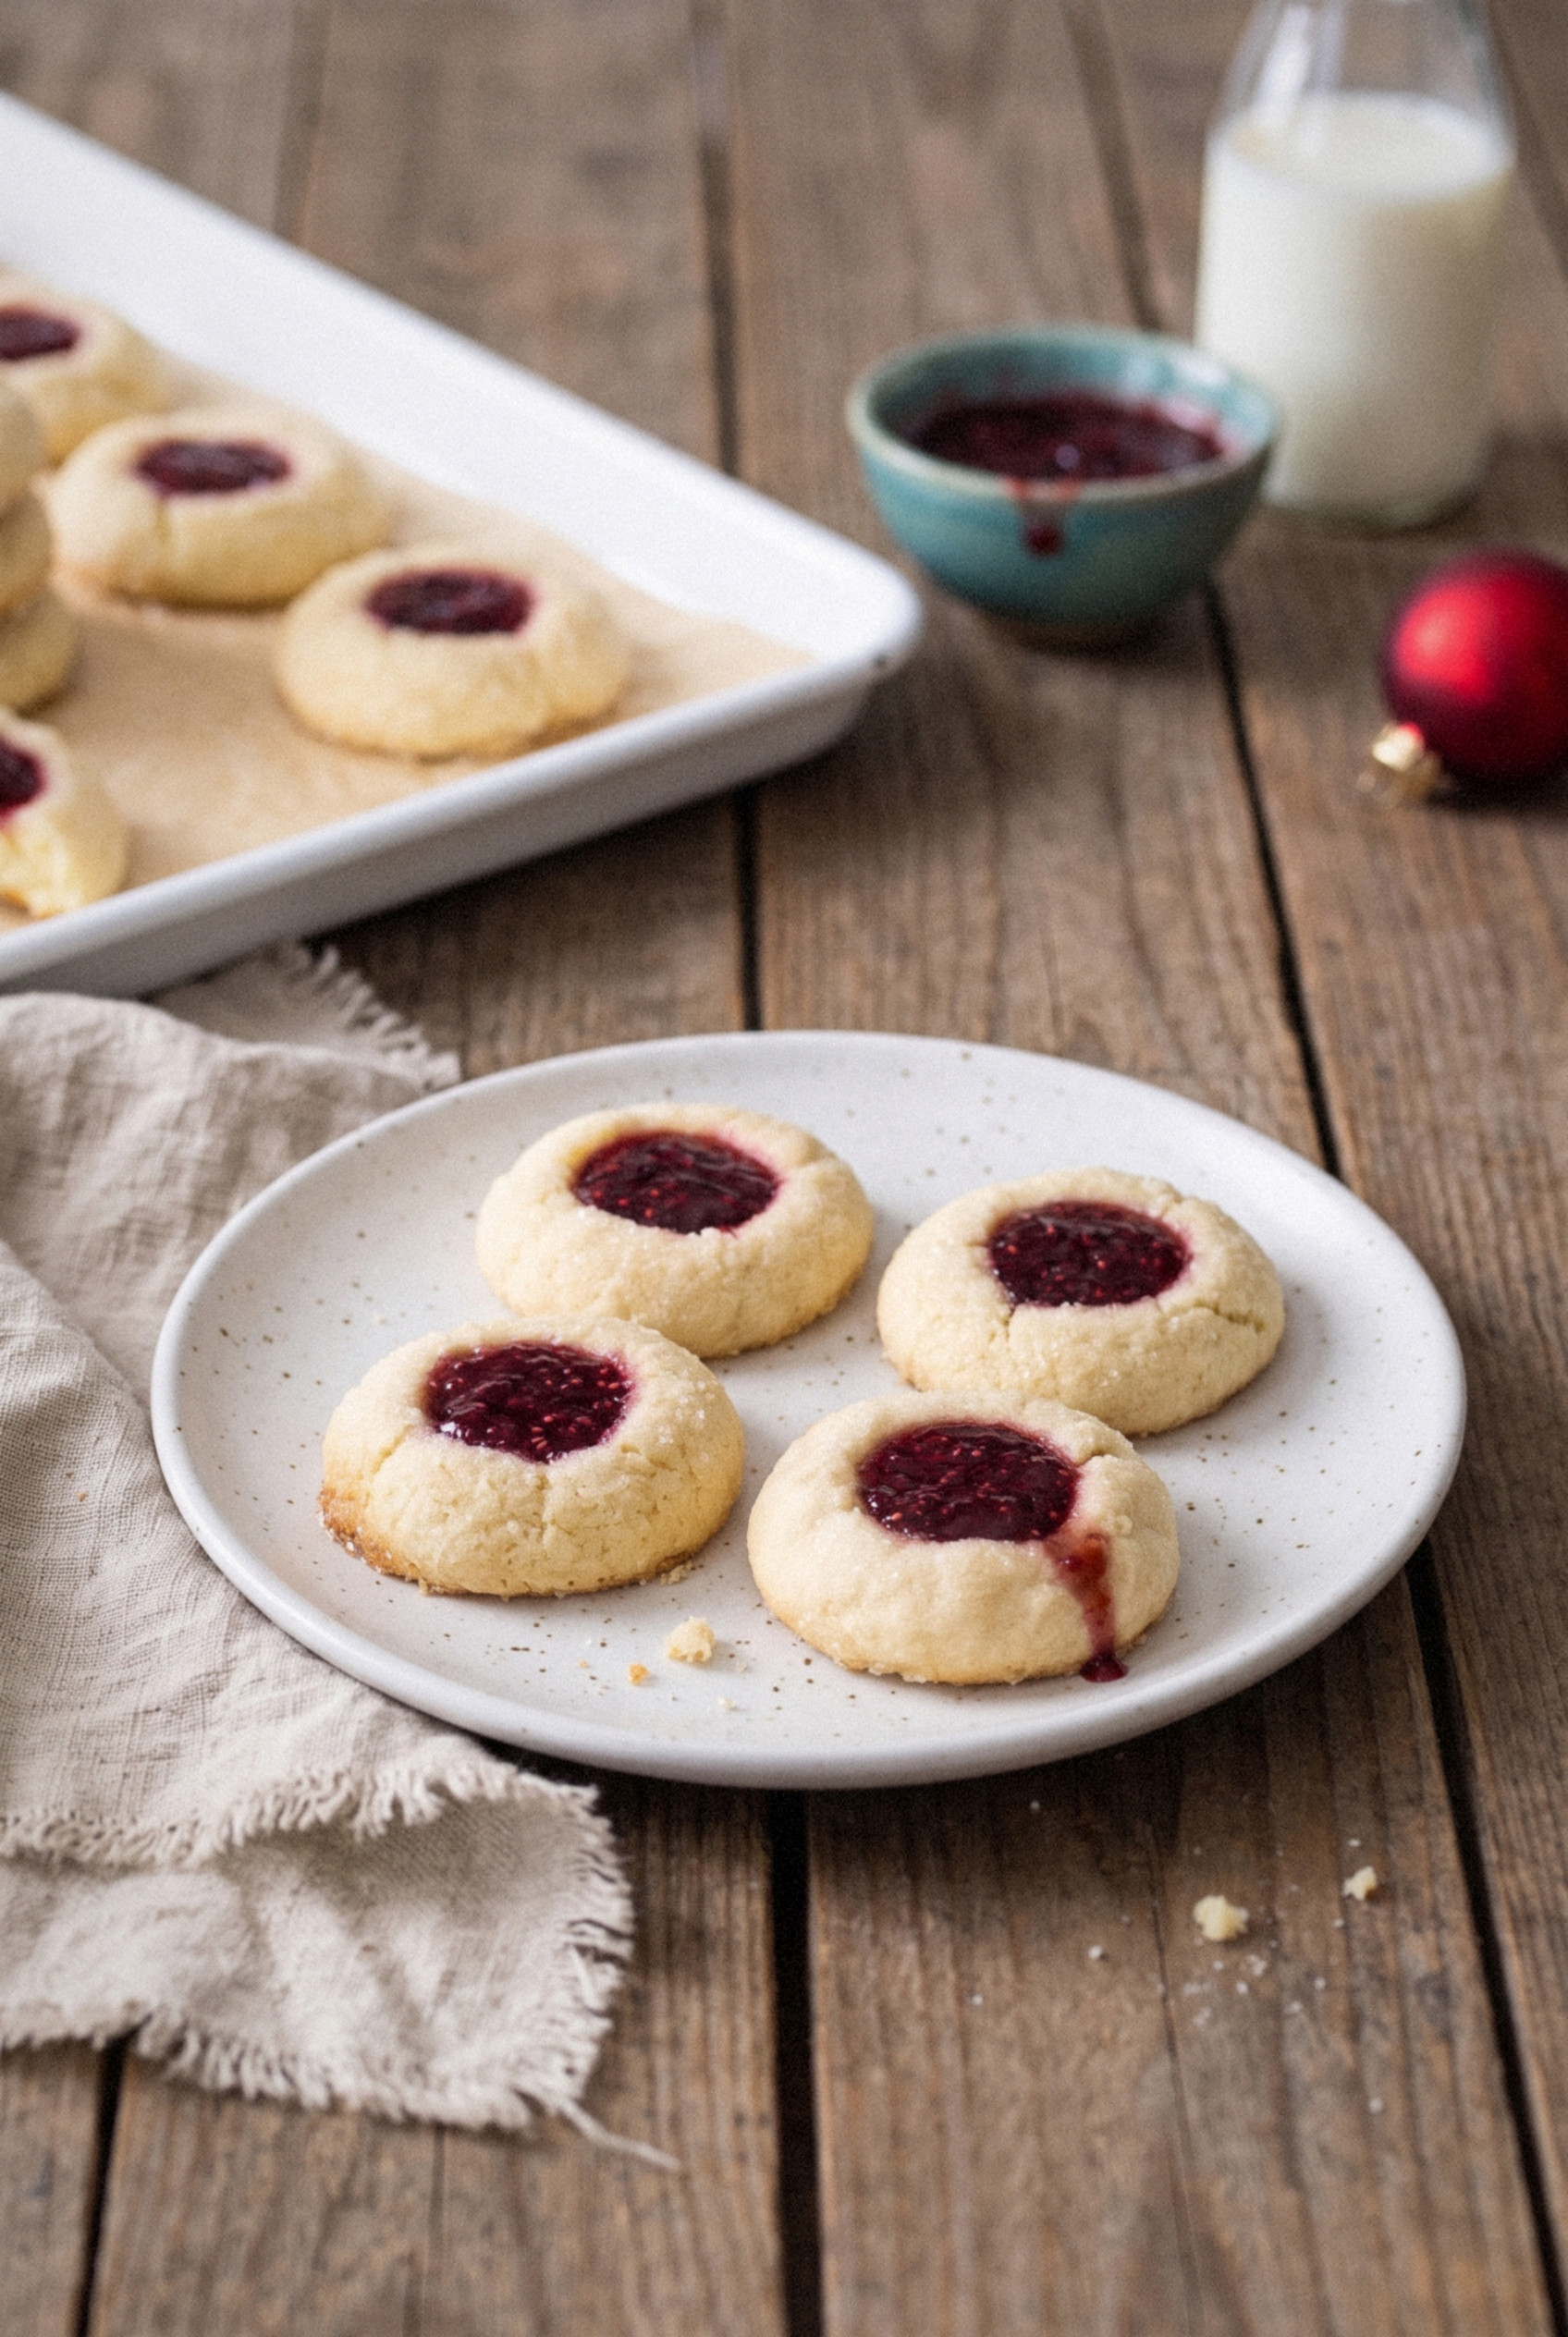
These Classic Christmas Thumbprint Cookies are the ones I bake for that center ring, and they're also the first ones to disappear from it.
Something about those little red centers makes people reach past the fudge and the gingerbread every single time.
I baked a lot of sad thumbprints before I landed on this version. Some cracked like dry riverbeds, and others spread so flat the jam slid right off the edge.
This dough fixes both problems. A mix of brown and white sugar keeps it tender, a spoonful of cornstarch gives it that melt-in-your-mouth bite, and a short freeze before baking means every well holds its shape.
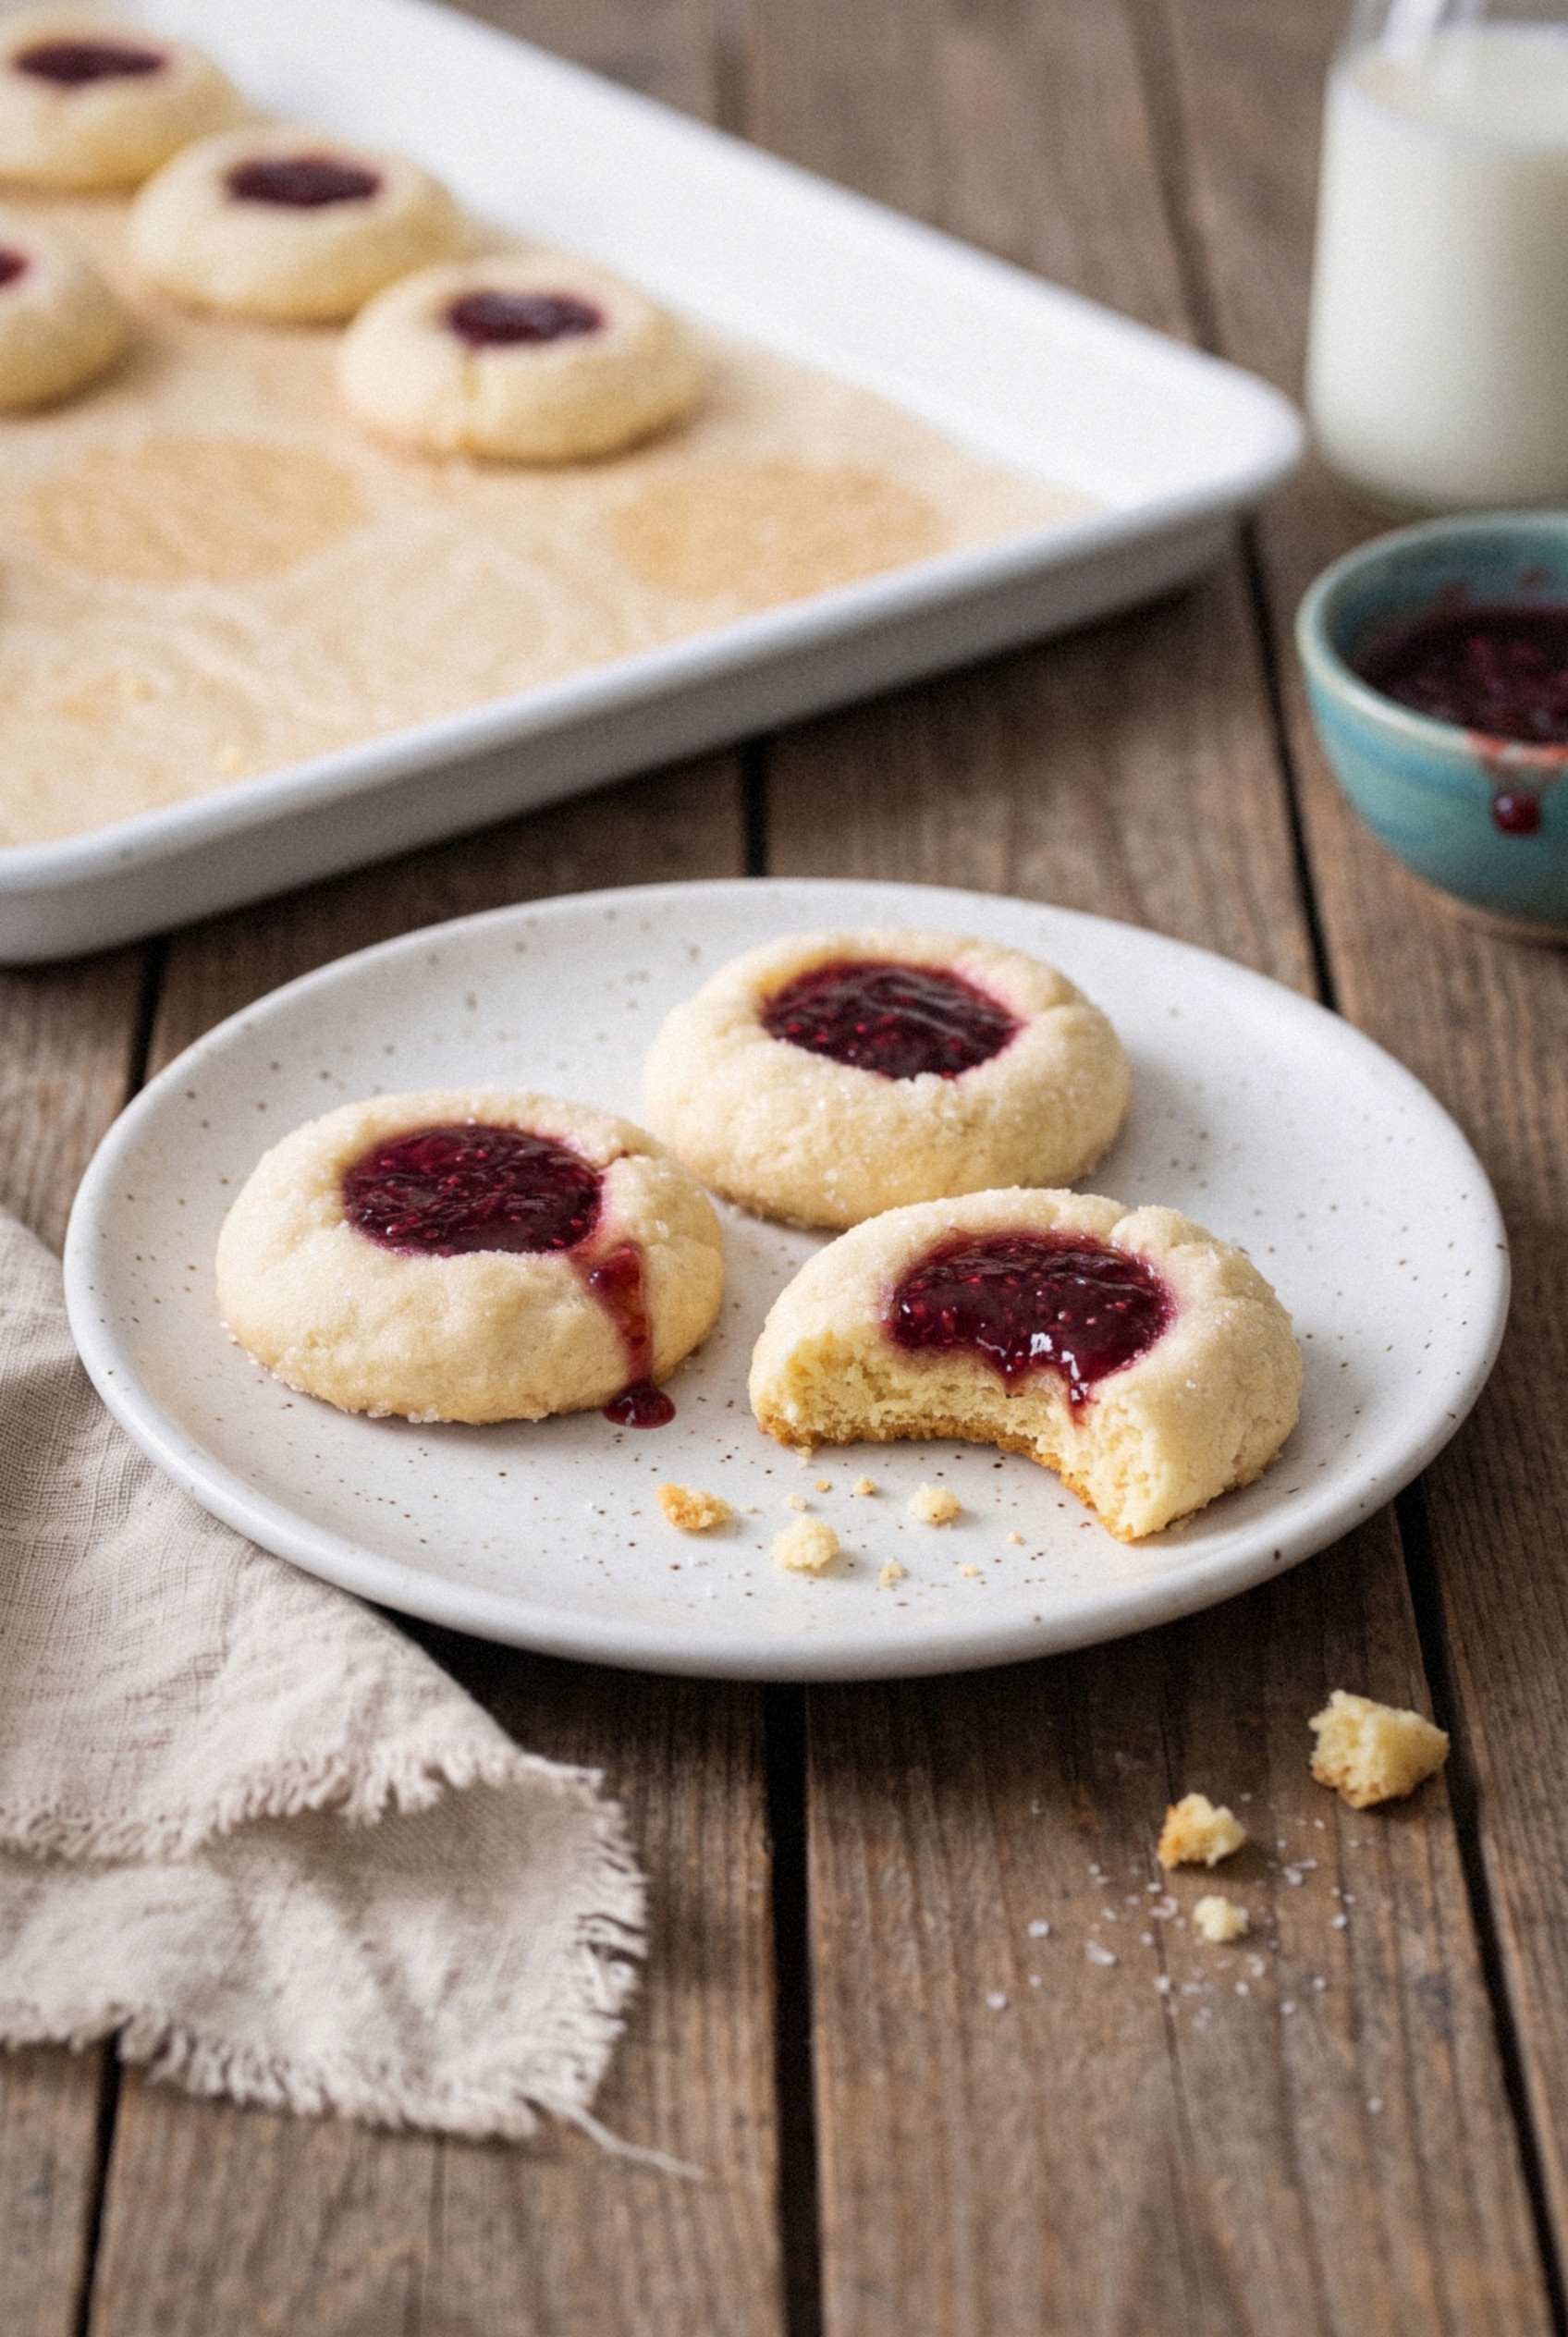
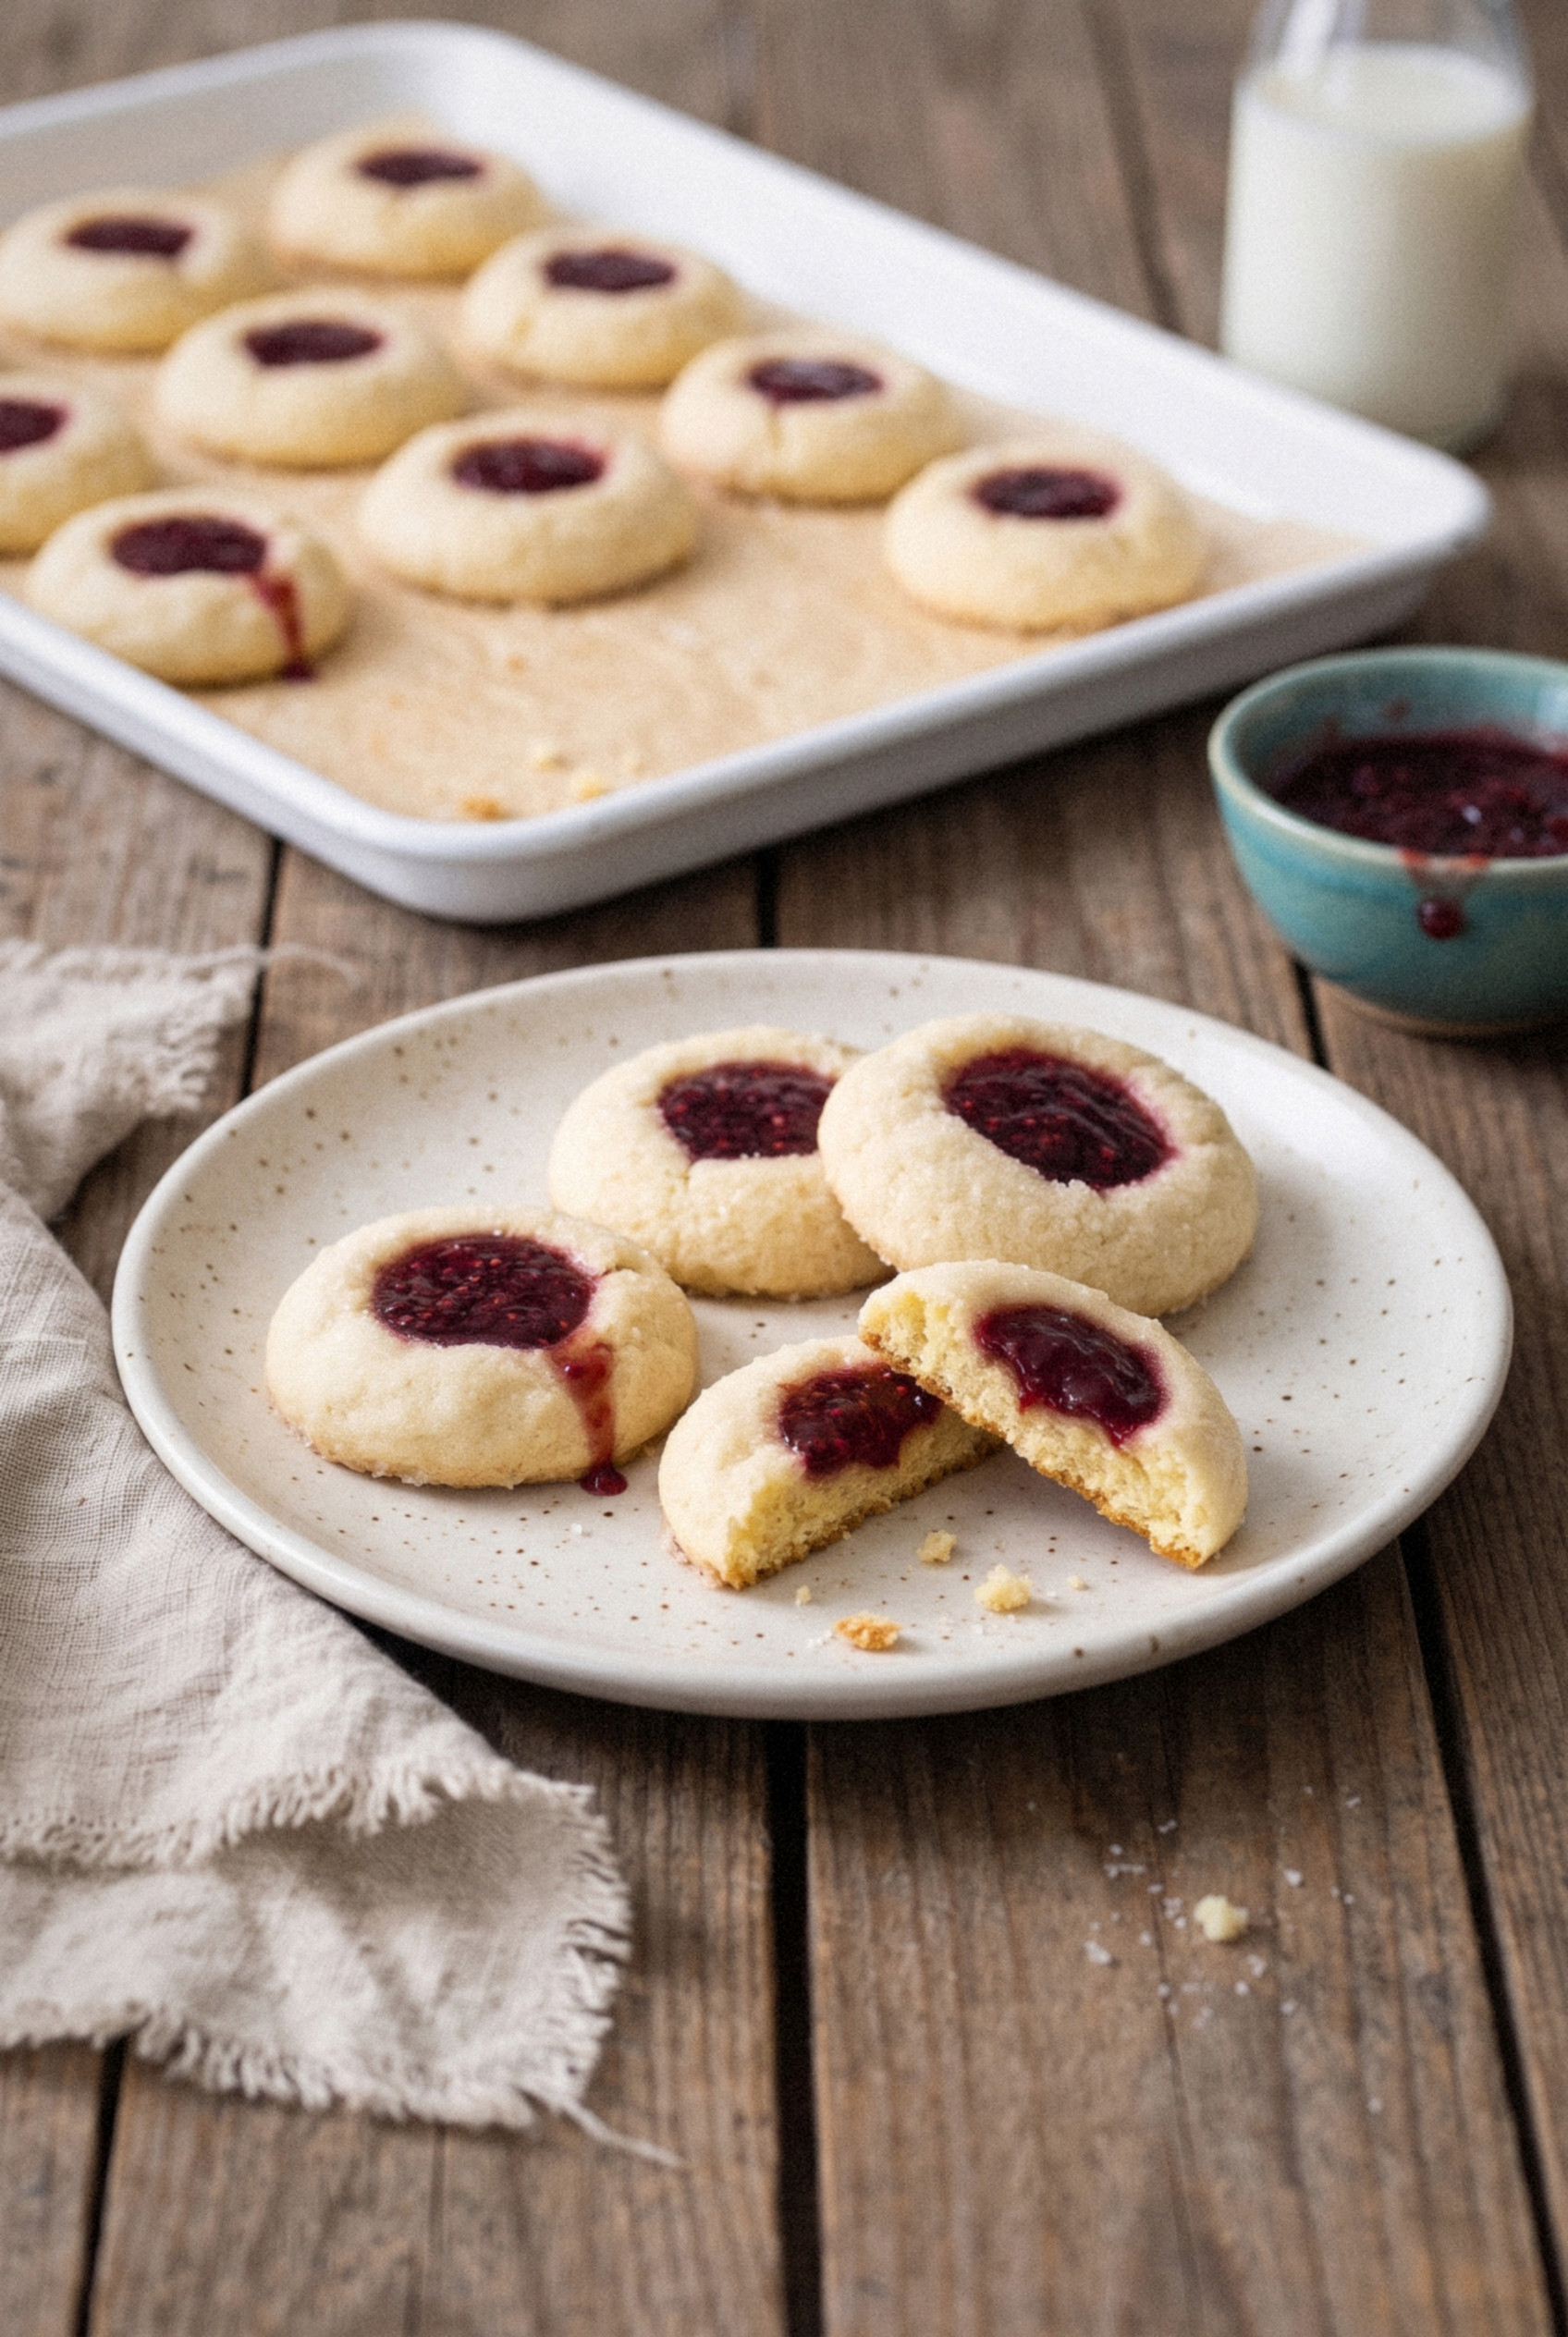
The jam goes in before the oven, so it bakes into a glossy, jewel-like center that sets firm enough to stack in a tin.
Make one batch for your own Christmas cookie tray and you'll see why mine never has leftovers!
Why These Thumbprints Belong on Your Christmas Cookie Tray
These are the cookies that make a holiday tray look finished. The red centers sit like little ornaments between all the brown and white cookies.
- Shortbread-style texture. There's no baking powder or soda, so the cookie stays tender and short instead of puffy, and the well stays where you pressed it.
- No cracked edges. Rolling the dough balls smooth and seam-free is the whole secret, and I'll walk you through it below.
- Jam that stays put. Filling before baking lets the jam set into the cookie, so it won't smear across your other cookies in the tin.
- Make-ahead friendly. The shaped dough balls freeze for up to 3 months, which is a lifesaver during cookie exchange season.
- One bowl, no fancy tools. You need a mixer, a baking sheet, and your thumb. That's about it.
Who doesn't love a cookie that looks this festive with almost no decorating?
Thumbprints go by a lot of names, too. Older cookbooks call them jam jewels or butter balls, and Swedish bakers make a nearly identical cookie called hallongrotta, which means "raspberry cave." I think that name is perfect.
Ingredients You'll Need
Everything here is a pantry staple, so you can bake these on a whim. The exact amounts are in the recipe card at the bottom.
- Unsalted butter (1 cup). Softened to room temperature, so it dents when you press it but isn't greasy or melting. COLD butter won't cream properly, and melted butter gives you flat cookies.
- Granulated sugar (⅓ cup). Gives the edges a little crispness.
- Light brown sugar (⅓ cup). Packed tight. It adds a faint caramel flavor and keeps the center soft.
- Egg yolk (1 large). Just the yolk. It adds richness without the extra moisture that makes cookies spread.
- Vanilla extract (1 teaspoon). Use real vanilla here, since the dough is so simple.
- Almond extract (¼ teaspoon). Optional, but it gives the cookies that bakery-case flavor that tastes like Christmas to me. A little goes a long way.
- All-purpose flour (2 ¼ cups). Spoon it into the cup and level it, or weigh out 280 grams. Too much flour is the number one cause of crumbly, cracked thumbprints.
- Cornstarch (2 teaspoons). My secret for a tender, almost sandy crumb.
- Salt (½ teaspoon). Balances the sweet jam.
- Sugar for rolling (⅓ cup). Plain granulated works, but coarse sparkling sugar gives a frosty crunch that looks great on a holiday tray.
- Seedless raspberry jam (⅓ cup). The classic red center. More on choosing your jam below.
Choosing the Jam
Thick jam or preserves work best. Thin, runny jam bubbles over in the oven and leaves sticky puddles on the sheet.
- Seedless raspberry. My first pick for Christmas. It's bright red, a little tart, and the smooth texture fills the well neatly.
- Strawberry. Sweeter and a touch lighter in color. Kids tend to love this one.
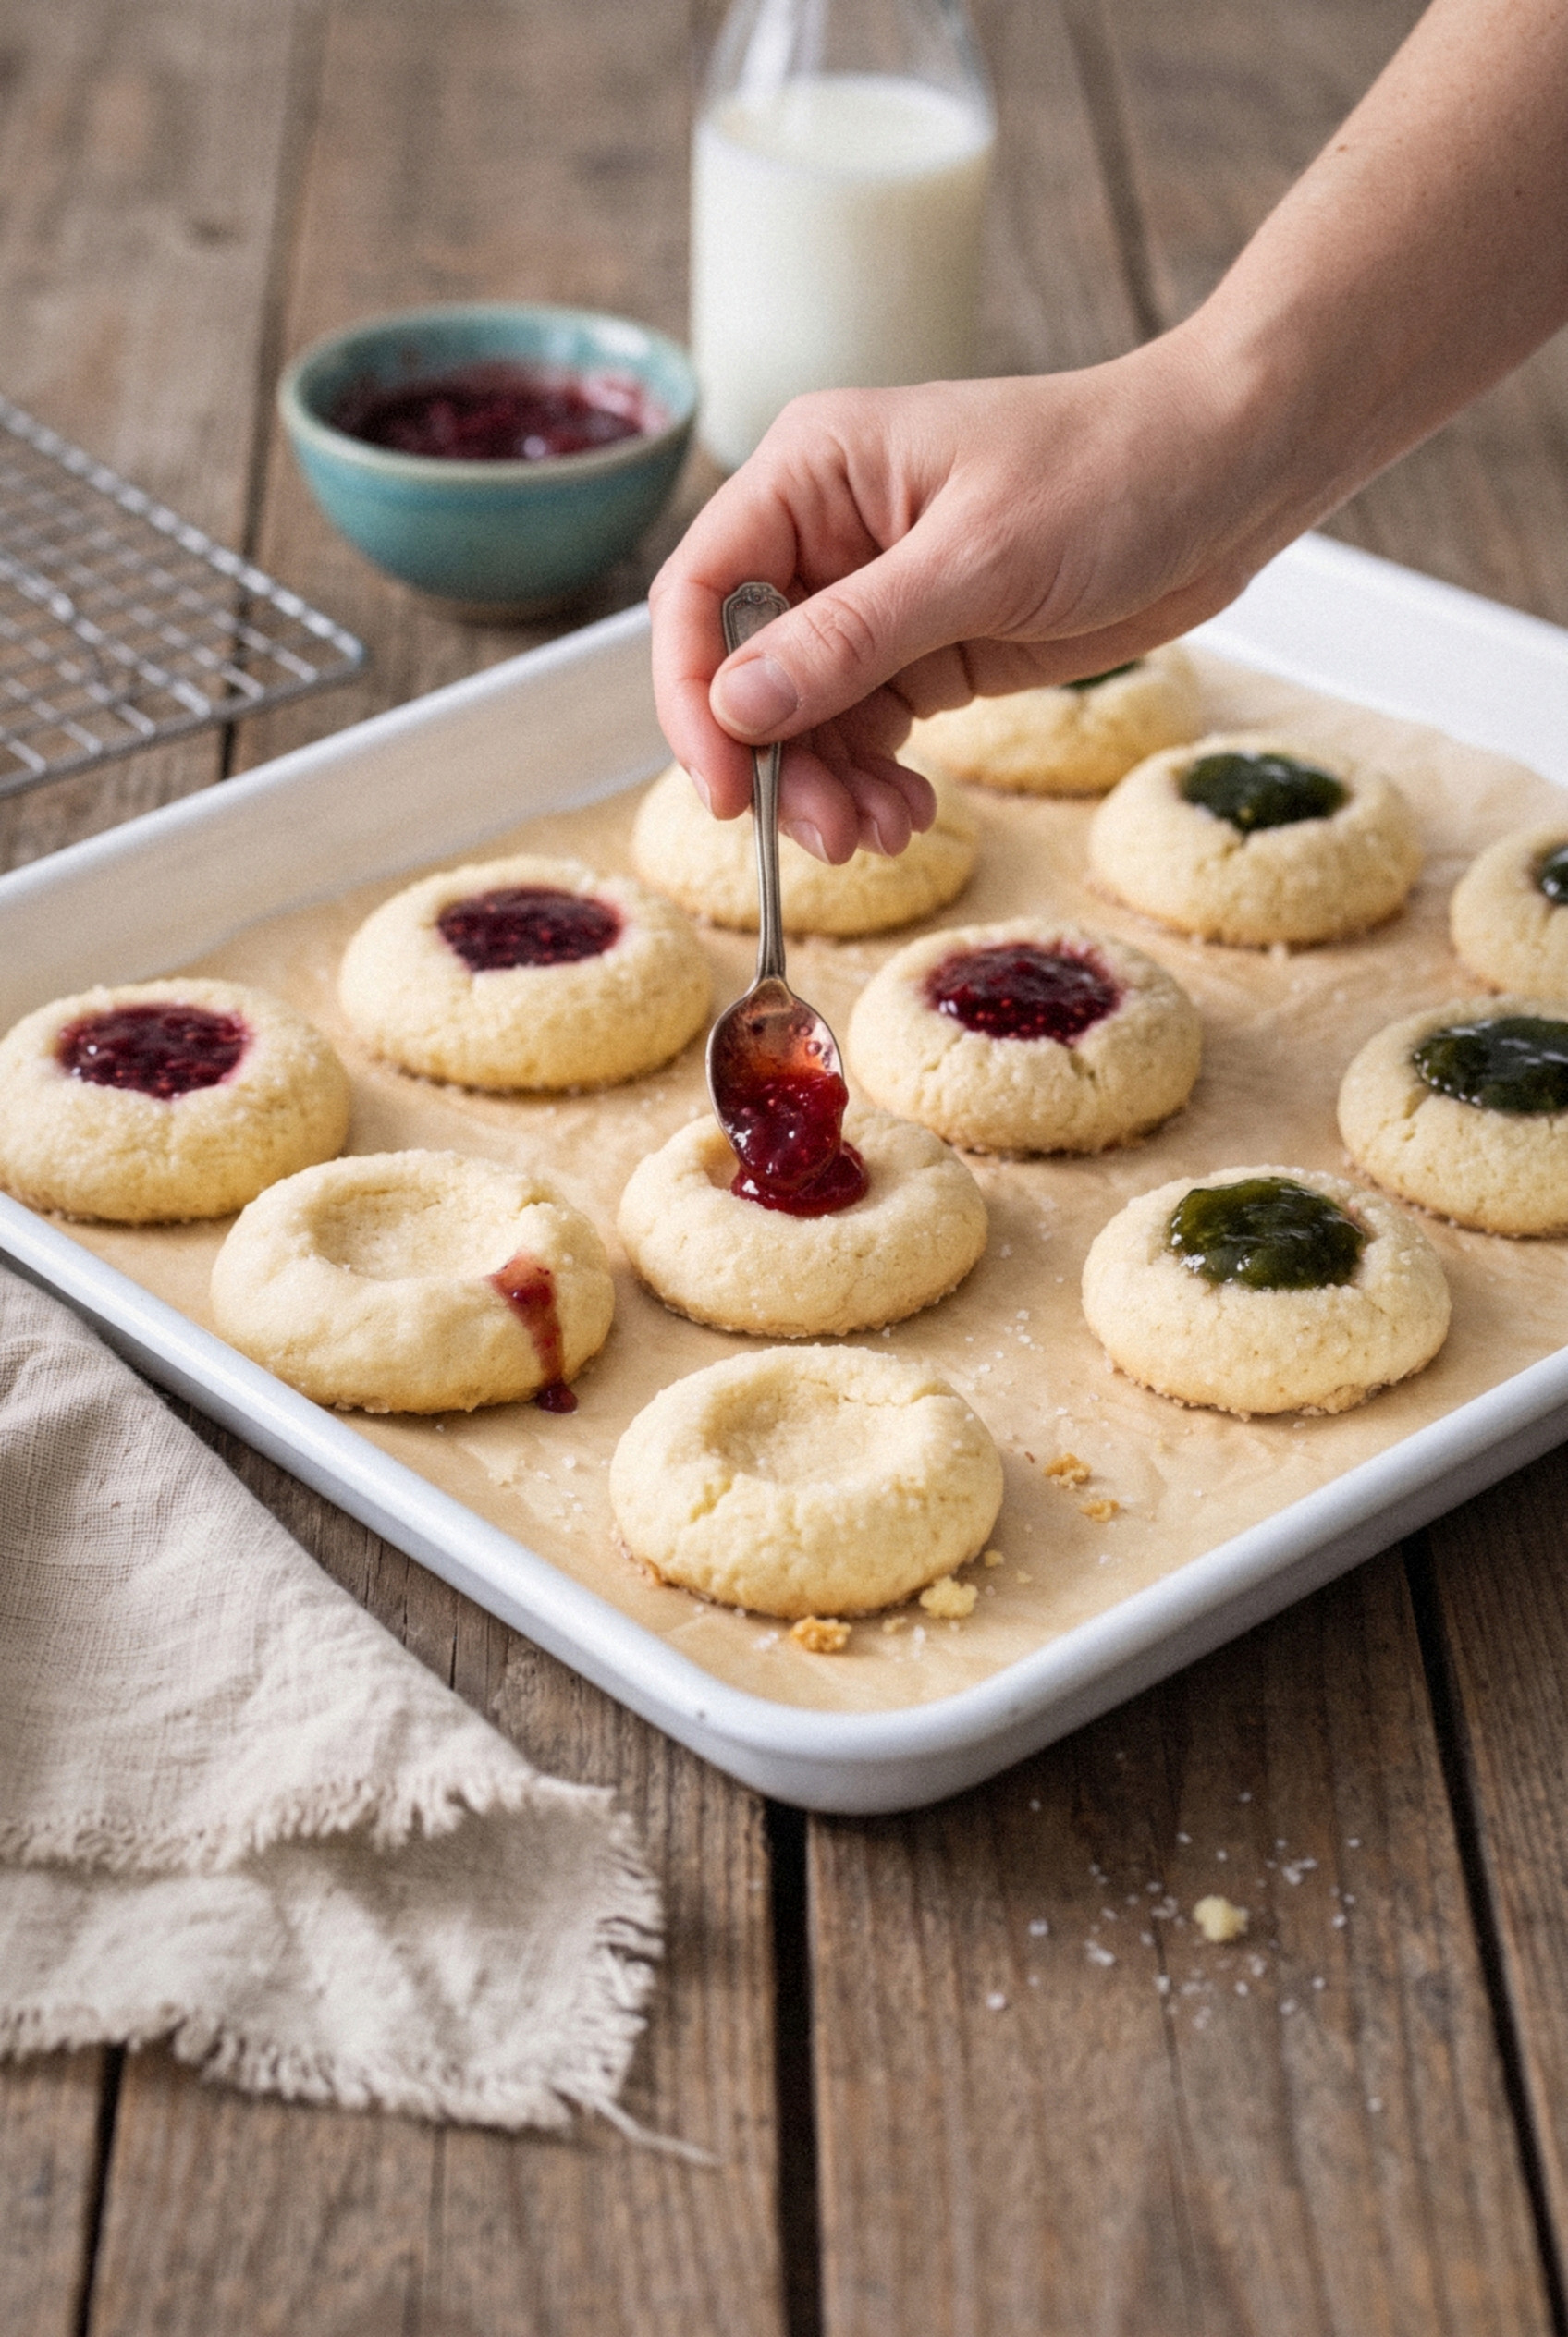
- Apricot. A golden center that looks lovely next to the red ones. I like a half-and-half tray.
- Cherry or red currant. Deep ruby red and very festive.
Pro tip: If your jam is stiff straight from the jar, microwave it for 5-10 seconds and stir. You want it spoonable, not hot.
How to Make Classic Christmas Thumbprint Cookies
The whole process takes about an hour, and most of that is the freezer doing its job. Line a baking sheet with parchment before you start.
Step 1: Make the Dough
Beat the softened butter in a large bowl for about 30 seconds until creamy. Add the granulated sugar and brown sugar and beat on medium-high for 1 minute, until the mixture looks light and fluffy.
Add the egg yolk, vanilla, and almond extract, then beat until smooth. In a separate bowl, whisk the flour, cornstarch, and salt together.
Add the dry ingredients to the butter mixture in two or three additions on low speed. The dough will look dry and crumbly at first, then pull together into a soft dough. If a few dry bits hang on at the bottom, finish mixing by hand.
Don't panic at the crumbly stage. It comes together, I promise.
Step 2: Roll, Coat, and Press
Scoop the dough into 1 tablespoon portions and roll each one between your palms until it's completely smooth. Any seams or cracks on the ball will open up in the oven, so take an extra second here.
Roll each ball in the sugar until it's evenly coated. Set them on the lined baking sheet about 2 inches apart.
Press your thumb, or the rounded back of a ½ teaspoon measure, into the center of each ball to make a well about halfway down. If the edges crack a little, pinch them back together with your fingers.
Step 3: Chill, Fill, and Bake
Freeze the whole tray of shaped cookies for 30 minutes. Meanwhile, heat the oven to 375°F with a rack in the center.
Spoon about ½ teaspoon of jam into each well, filling it level with the rim. A small piping bag or a zip-top bag with the corner snipped makes this fast and tidy.
Bake for 11-13 minutes, just until the edges start to turn a light golden color. The centers will still look pale, and that's exactly right.
Fair warning: Overfilling is tempting, but jam piled above the rim boils over and runs down the sides.
Step 4: Cool on the Sheet
Let the cookies cool completely on the baking sheet, about 30 minutes. They're fragile while hot, and moving them too soon can break them in half.
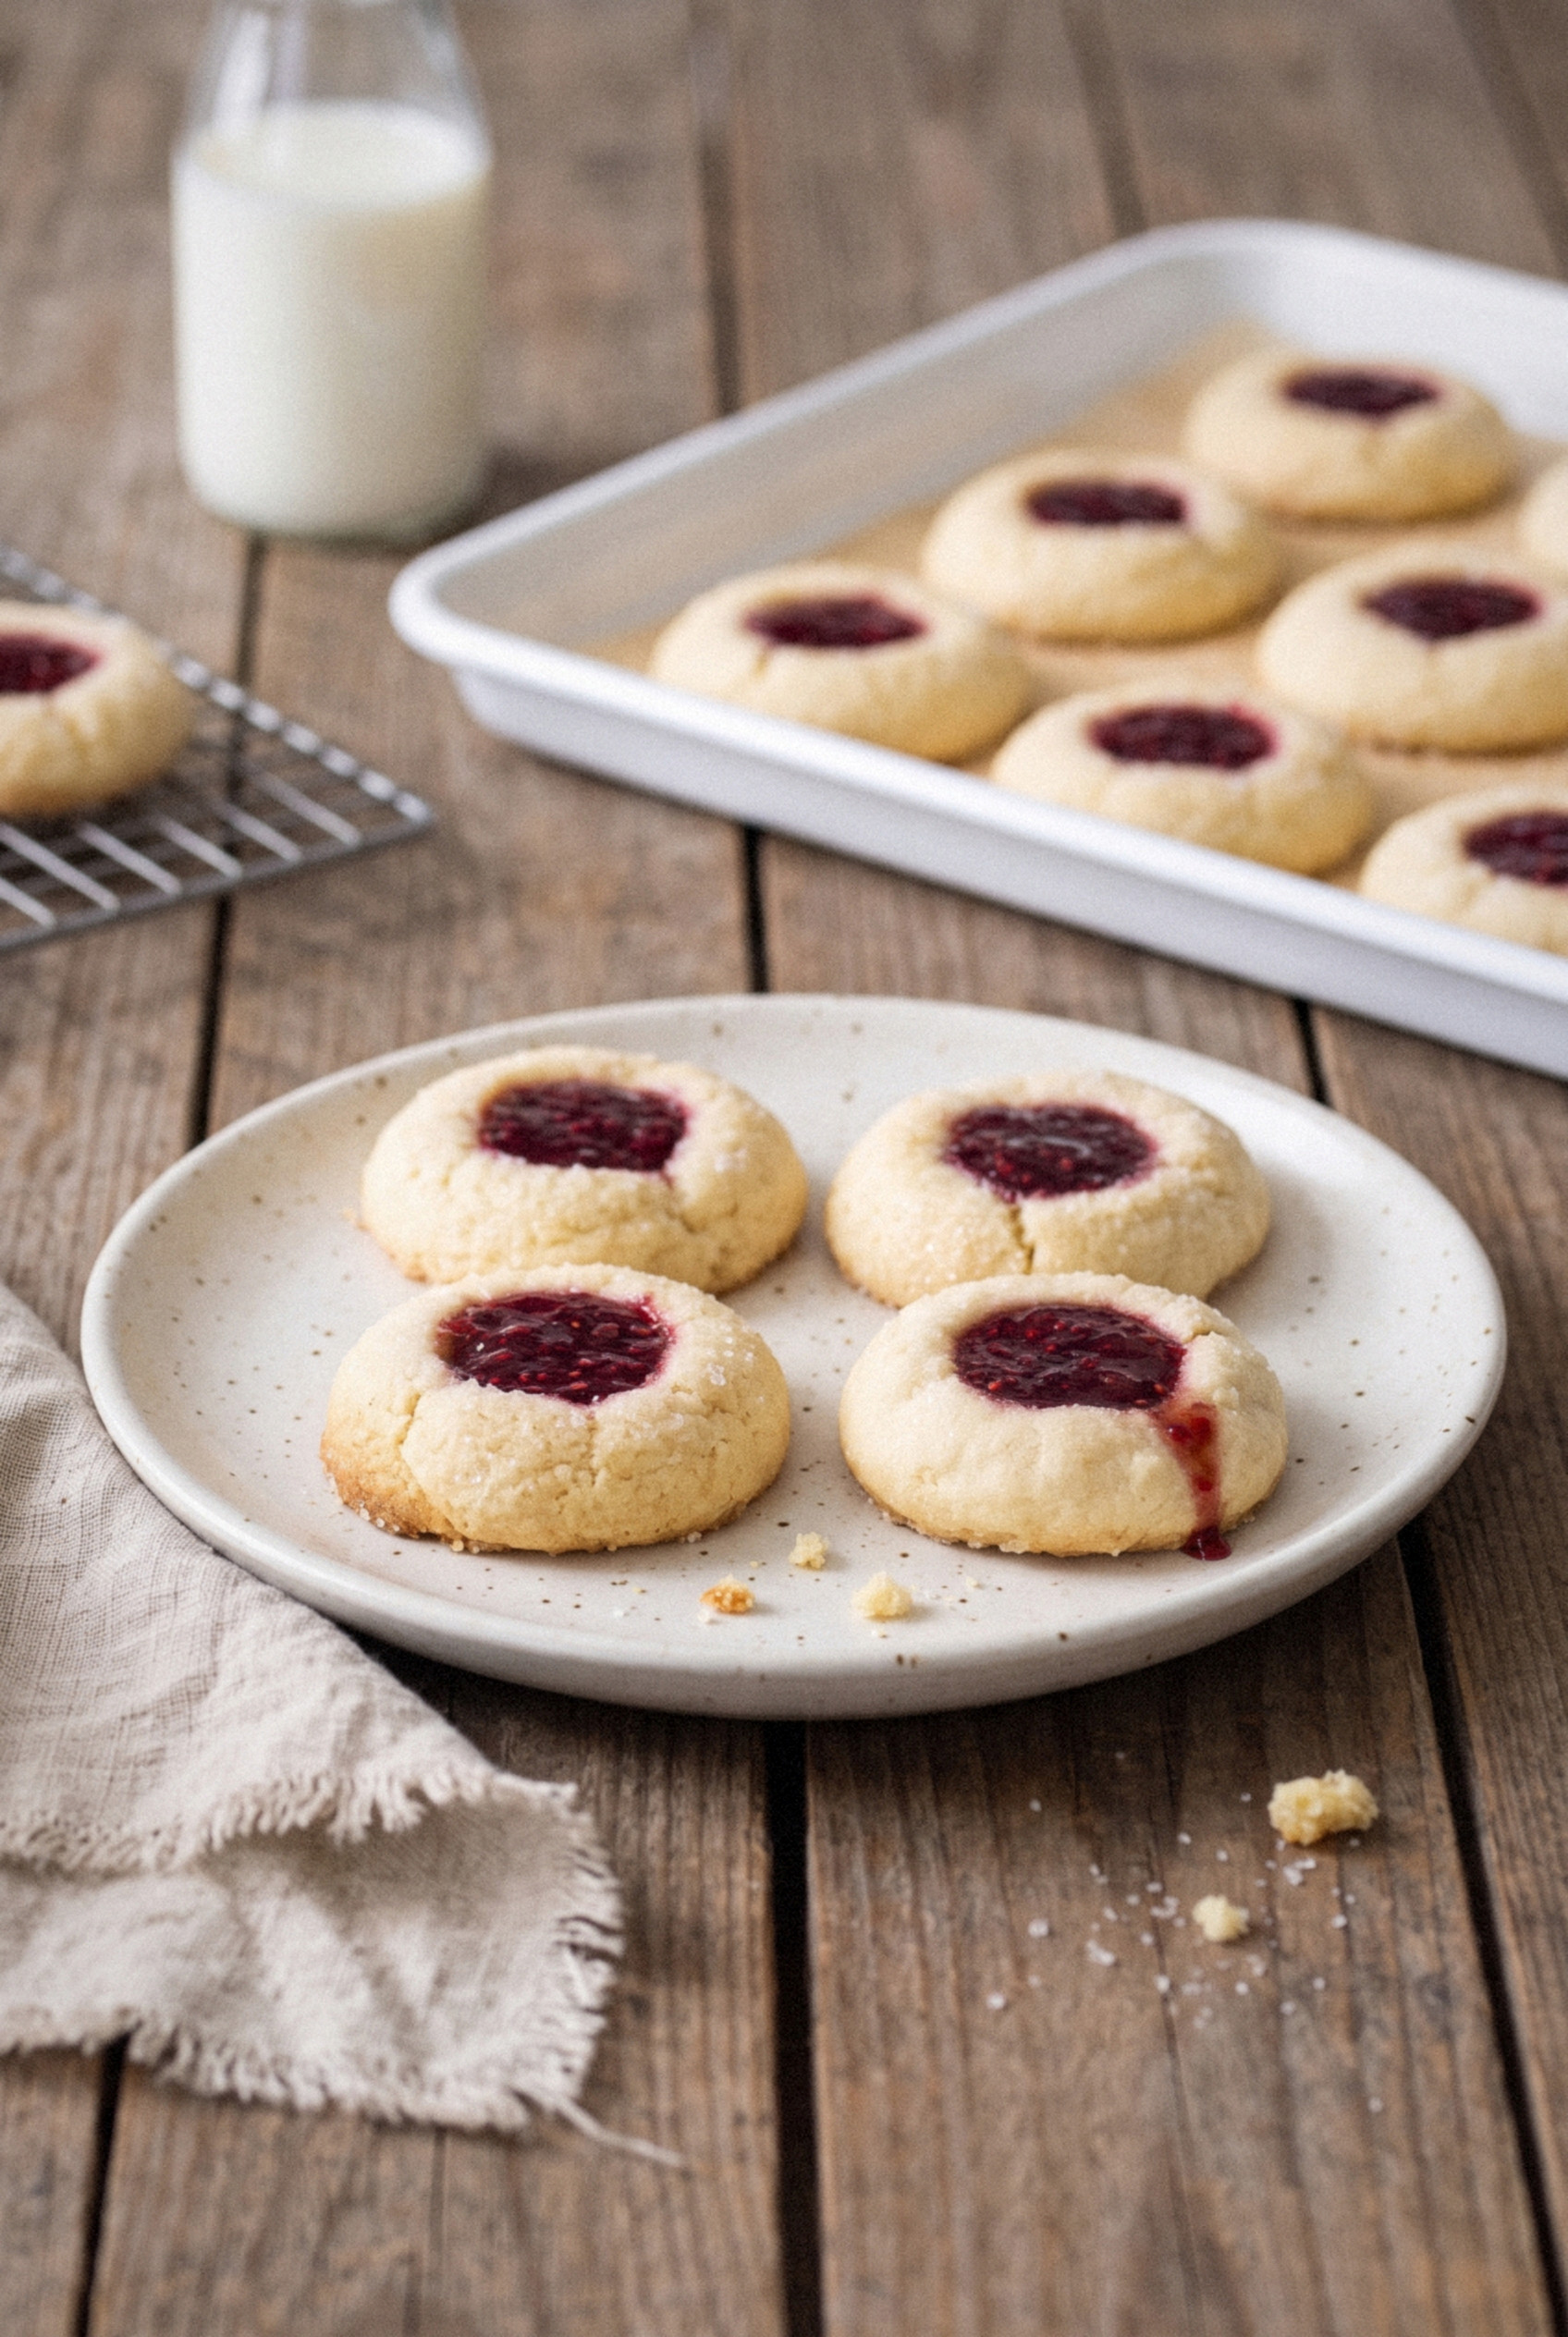
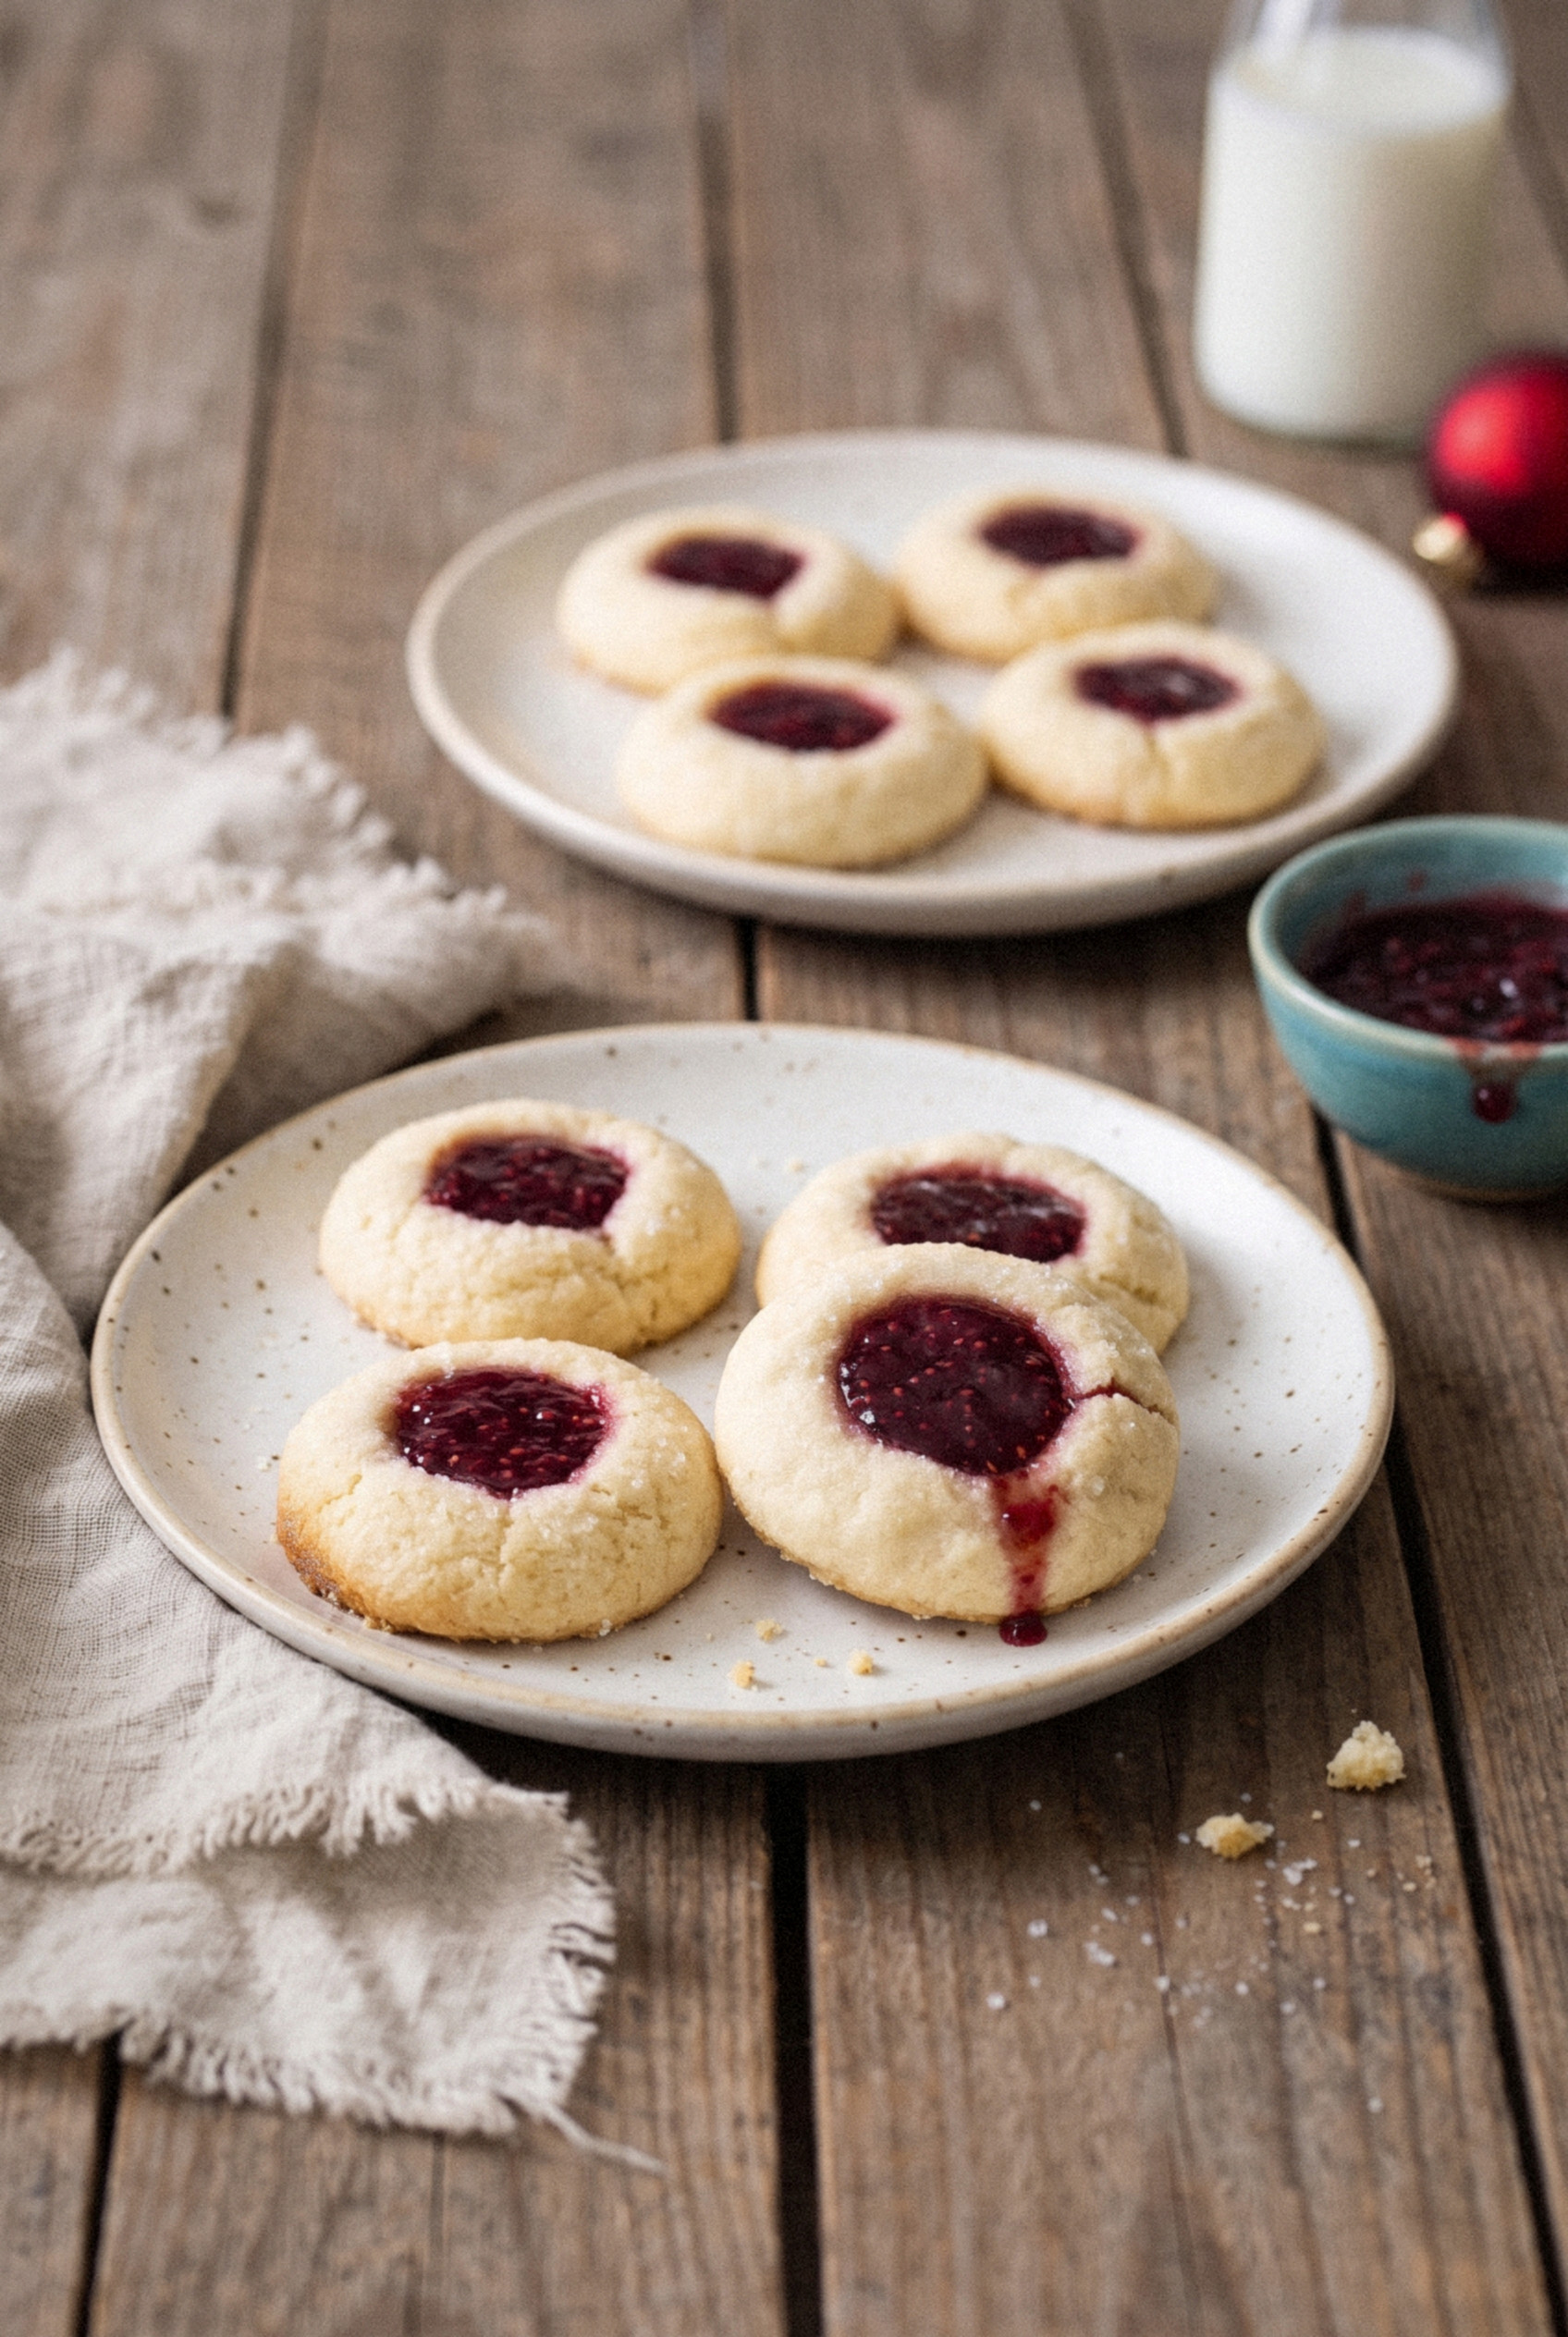
As they cool, the jam thickens into a glossy, slightly tacky center and the cookie firms up into that buttery, short texture. Worth the wait? Every time.
Tips for Perfect Thumbprint Cookies
Almost every thumbprint problem comes down to dough temperature or flour. These fixes cover nearly every batch that goes sideways.
- Cracks around the edges. The dough is too dry or too cold. Roll the balls smoother, and if the dough feels crumbly, knead it with your warm hands for a few seconds before shaping.
- Cookies spreading flat. Usually too-soft butter, a warm baking sheet, or skipping the freeze. Always load cookies onto a cool sheet, and rotate two sheets if you're baking multiple batches.
- Jam bubbling over. Fill level with the rim, never mounded. Thick preserves hold up better than thin jelly.
- Wells puffing closed. Press them a little deeper than you think you need to. If they puff up anyway, gently press the centers again with the back of a measuring spoon right when the tray comes out.
- Dry, sandy cookies. Too much flour. Weigh it if you can, or spoon and level instead of scooping straight from the bag.
- Browned bottoms. Dark baking sheets run hot. Use a light-colored sheet with parchment, or drop the oven to 350°F and add a minute.
Before or After Baking: When to Add the Jam
Recipes argue about this a lot, so I tested all three ways. Before baking came out ahead for a cookie tray.
- Before baking (my pick). The jam bakes into the cookie, sets glossy, and stays put when stacked. Freezing the dough first keeps the well from slumping.
- Partway through baking. Many old recipes bake for a few minutes, pull the tray, re-press, fill, and bake again. It works, but it's fussy, and I never saw a real difference.
- After baking. You press the wells again while the cookies are hot, then fill them. The jam stays bright and soft, but it never fully sets, so these smudge in a tin.
For a cookie tray or a cookie exchange, before baking wins every time.
Fun Holiday Variations
Once you have the base dough down, the fillings and coatings are a great way to fill out a whole tray.
- Nut-coated thumbprints. Whisk one egg white until foamy, dip each dough ball, then roll in ¾ cup finely chopped pecans, walnuts, or almonds instead of sugar. It's the old-fashioned way, and the toasted nuts are fantastic.
- Icing-filled thumbprints. Bake the cookies unfilled, re-press the wells while warm, then fill with a thick powdered sugar icing tinted red or green once they cool.
- White glaze drizzle. Whisk ½ cup powdered sugar with 2-3 teaspoons milk and drizzle over the cooled jam cookies for a snowy look.
- Lemon curd centers. Fill the cooled cookies with thick lemon curd for a bright, tangy version.
- Chocolate centers. A spoonful of chocolate hazelnut spread or melted chocolate in each well is a must-try for chocolate lovers.
- Red and gold tray. Fill half the batch with raspberry and half with apricot. It's my wife's favorite way to plate them.
Substitutions and Dietary Notes
This dough is forgiving, but a few swaps change the result more than you'd expect.
- Salted butter. Works fine. Just cut the added salt down to ¼ teaspoon.
- All white sugar. Use ⅔ cup granulated sugar total. The cookies come out a little crisper and paler.
- No almond extract. Leave it out or add an extra ½ teaspoon vanilla. Skip it entirely for anyone with a nut allergy.
- Gluten-free. A good cup-for-cup gluten-free flour blend with xanthan gum works. The dough is a little more fragile, so handle it gently.
- Butter swap. I don't recommend shortening or margarine here. Butter is the flavor, and it's what makes the texture so short and tender.
Make-Ahead, Storage, and Freezing
These are one of the best Christmas cookies for planning ahead. I spread the work out over December like this.
- Dough balls. Shape, roll in sugar, and press the wells, then freeze on the tray until firm. Move them to a freezer bag for up to 3 months. Fill and bake straight from frozen, adding 1-2 minutes to the bake time.
- Room temperature. Store baked cookies in an airtight container for up to 5 days. They don't need the fridge.
- Stacking. Once the jam has set, you can stack them between sheets of parchment or wax paper.
- Freezing baked cookies. Freeze the filled, fully cooled cookies in a single layer, then pack into a container with parchment between layers for up to 2 months. Thaw at room temperature in the container so they don't get sweaty.
- Cookie exchange packing. Pack them in a single layer or in mini cupcake liners so the jam centers don't get crushed by heavier cookies.
My own timeline is simple: shape and freeze the dough the first week of December, then bake fresh batches the day before every party.
Recipe
Classic Christmas Thumbprint Cookies
Ingredients
For the Cookies
- 1 cup unsalted butter softened to room temperature (226 g)
- ⅓ cup granulated sugar 67 g
- ⅓ cup light brown sugar packed (70 g)
- 1 large egg yolk
- 1 teaspoon vanilla extract
- ¼ teaspoon almond extract optional
- 2 ¼ cups all-purpose flour spooned and leveled (280 g)
- 2 teaspoons cornstarch
- ½ teaspoon salt
For Rolling and Filling
- ⅓ cup granulated or sparkling sugar for rolling
- ⅓ cup seedless raspberry jam or other thick preserves (105 g)
Instructions
Make the Dough
- Line a baking sheet with parchment paper.
- Beat the softened butter in a large bowl for about 30 seconds until creamy. Add the granulated sugar and brown sugar and beat on medium-high for 1 minute until light and fluffy.
- Add the egg yolk, vanilla extract, and almond extract and beat until smooth.
- In a separate bowl, whisk together the flour, cornstarch, and salt. Add to the butter mixture in two or three additions on low speed, mixing until a soft dough forms. Finish by hand if needed.
Shape the Cookies
- Scoop the dough into 1 tablespoon portions and roll each between your palms until completely smooth with no cracks.
- Roll each ball in the sugar and place 2 inches apart on the prepared baking sheet.
- Press your thumb or the rounded back of a ½ teaspoon measure into the center of each ball to make a well about halfway down. Pinch any cracks closed.
- Freeze the shaped cookies on the baking sheet for 30 minutes. Meanwhile, preheat the oven to 375°F (190°C).
Fill and Bake
- If the jam is stiff, microwave it for 5 to 10 seconds and stir until spoonable. Fill each well with about ½ teaspoon of jam, level with the rim.
- Bake for 11 to 13 minutes, until the edges just begin to turn light golden.
- Cool completely on the baking sheet, about 30 minutes, until the jam sets.
Notes
- Measure the flour carefully: Spoon and level or weigh 280 g. Too much flour causes cracks and dry cookies.
- Do not overfill: Jam mounded above the rim will bubble over during baking.
- Make ahead: Freeze shaped, unfilled dough balls up to 3 months. Fill and bake from frozen, adding 1 to 2 minutes.
- Storage: Keep in an airtight container at room temperature up to 5 days, or freeze baked cookies up to 2 months.
- Nut coating: Dip dough balls in foamy egg white and roll in ¾ cup finely chopped pecans, walnuts, or almonds instead of sugar.