My grandmother's kitchen had one window over the sink, and in December she lined the sill with cookies.
Not on a plate. Right up against the glass.
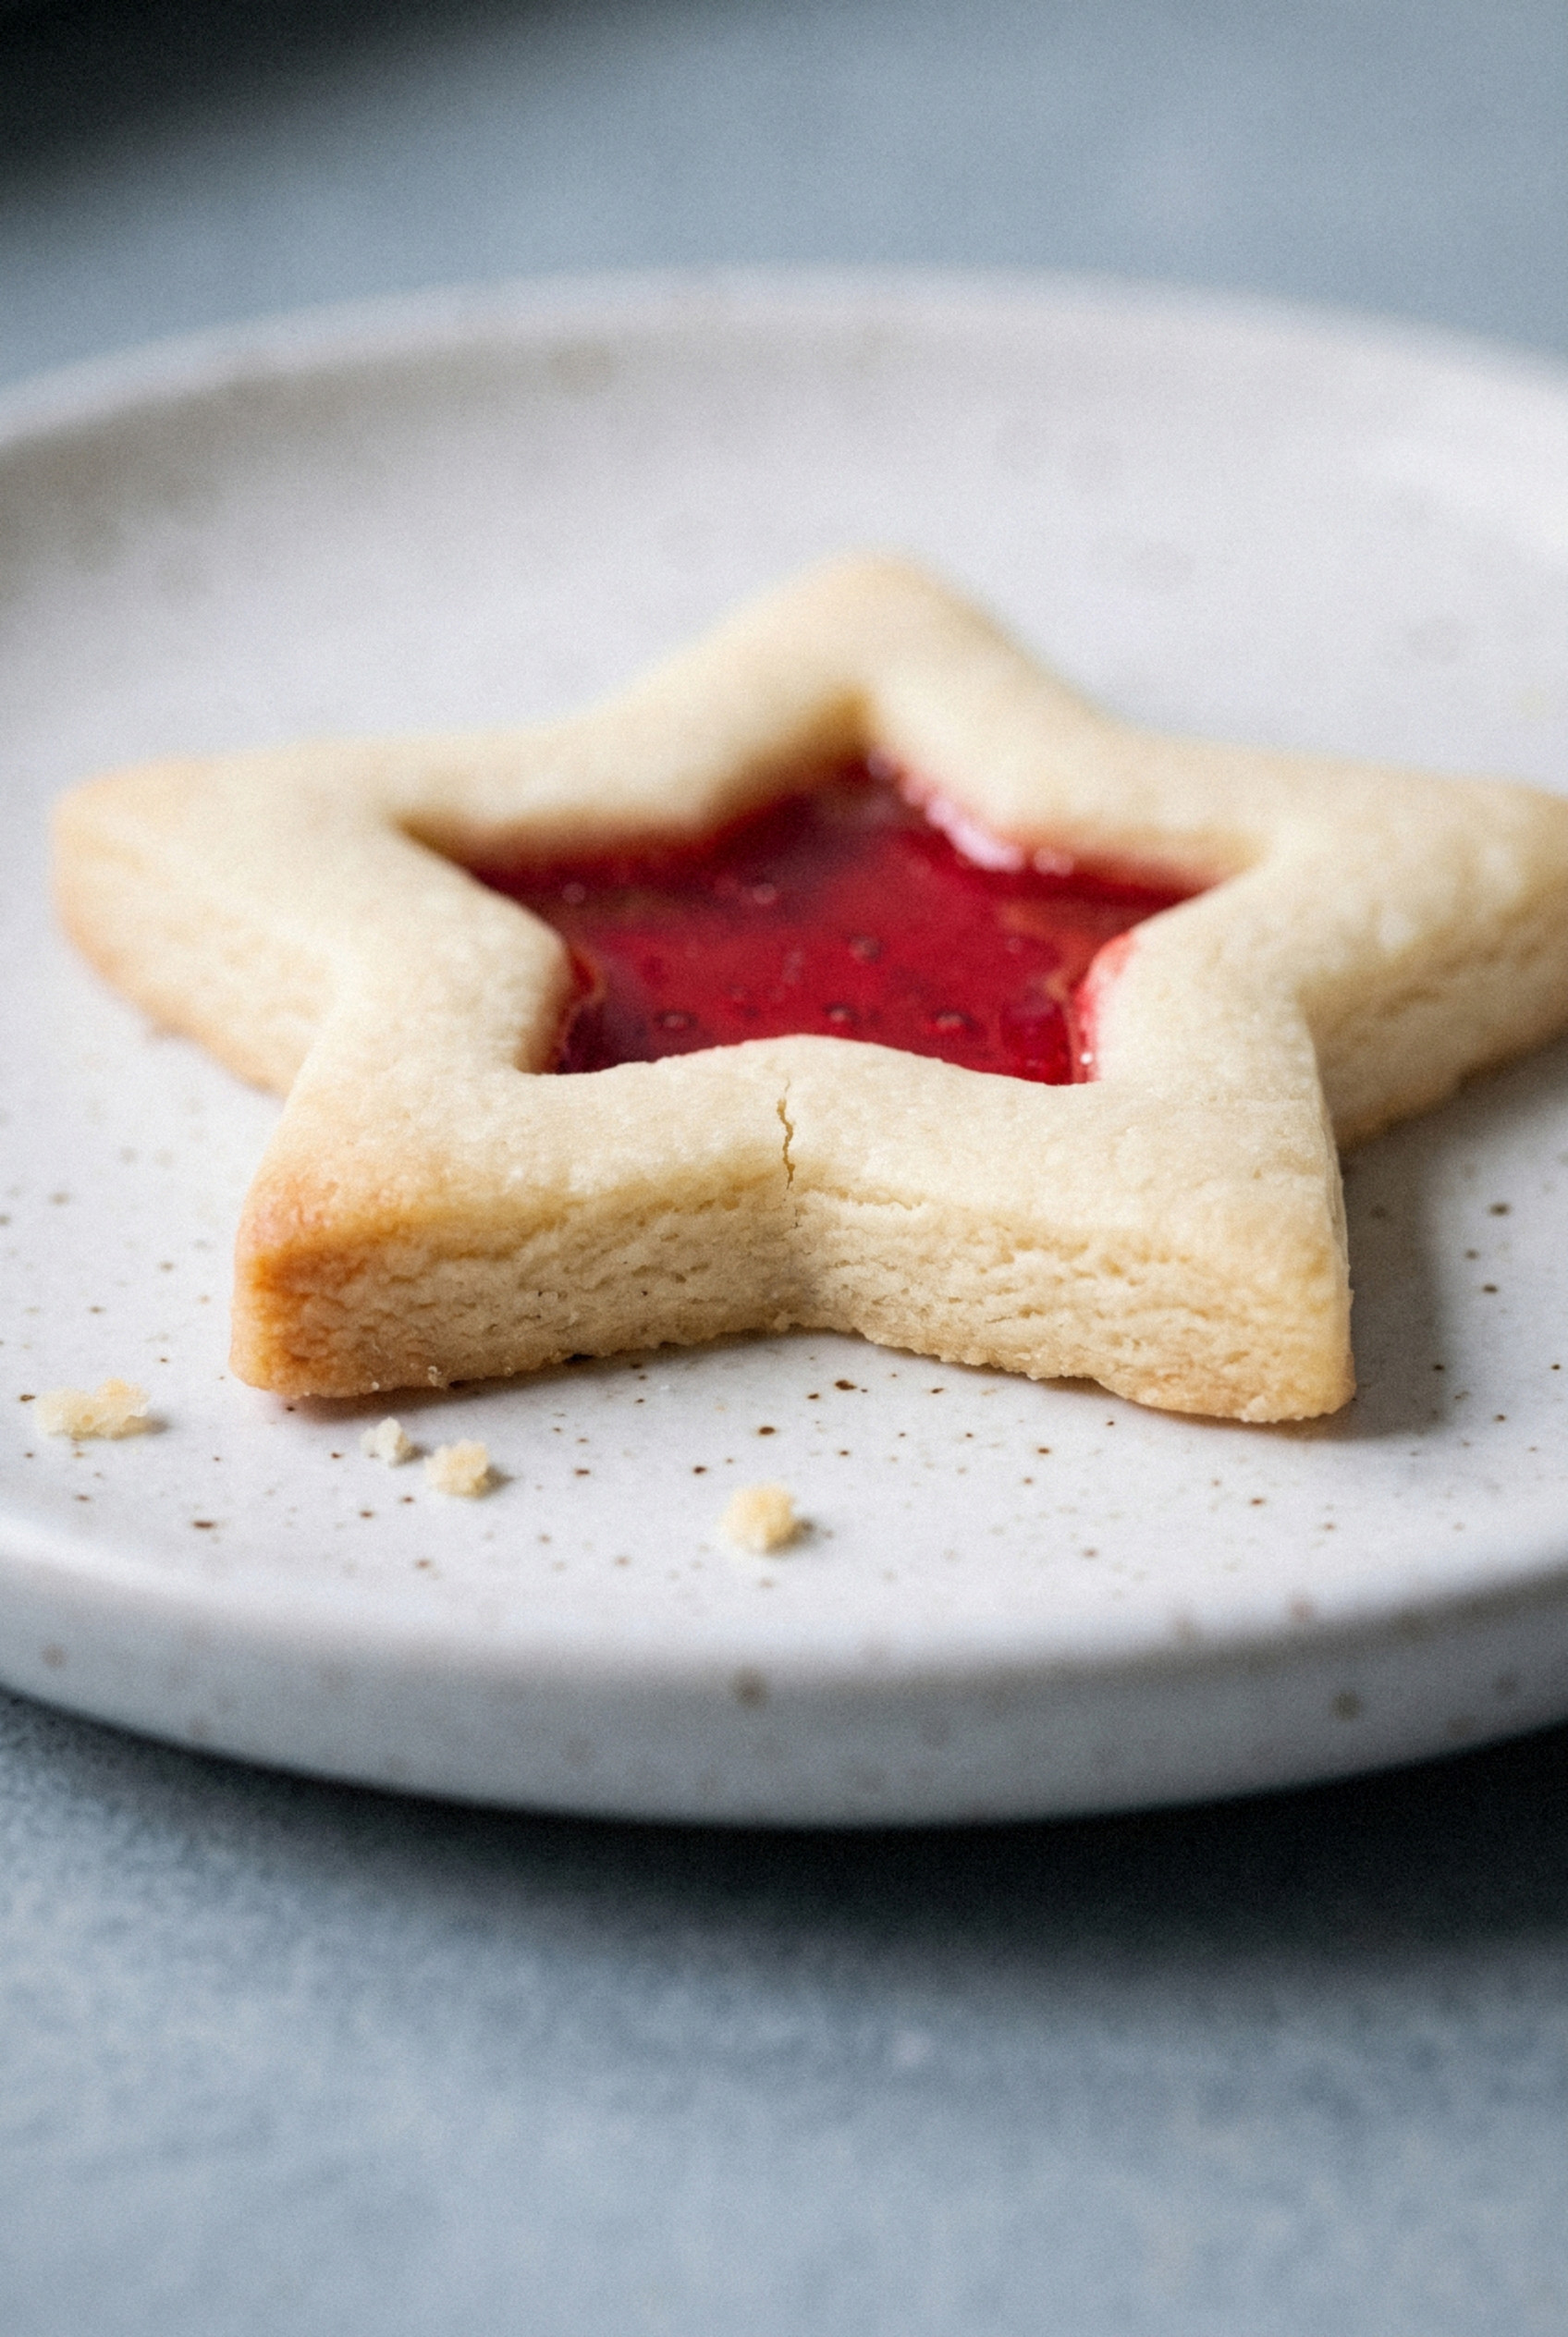
The afternoon sun came through little red and green candy centers and threw colored spots across her counter.
I was maybe seven, and I was convinced she had made actual glass in her oven.
Those were stained glass window cookies, and I've been making them every Christmas since I figured out how.
Quick heads-up if you grew up with the chocolate and marshmallow logs that some families call church window cookies.
Those are delicious, but this is the other stained glass cookie.
Here, a buttery cut-out sugar cookie gets a shape punched from its center, the hole gets filled with crushed hard candy, and the oven melts it into a clear, shiny pane.
My wife calls them the cookies that decorate themselves, and she's right.
There's no icing, no piping bag, and no steady hand required.
One batch gives you about two dozen, which is the perfect amount for a Christmas cookie tray and a couple of gift tins to boot.
Make them once and you'll understand why I still hold one up to the window before I eat it!
What Are Stained Glass Window Cookies?
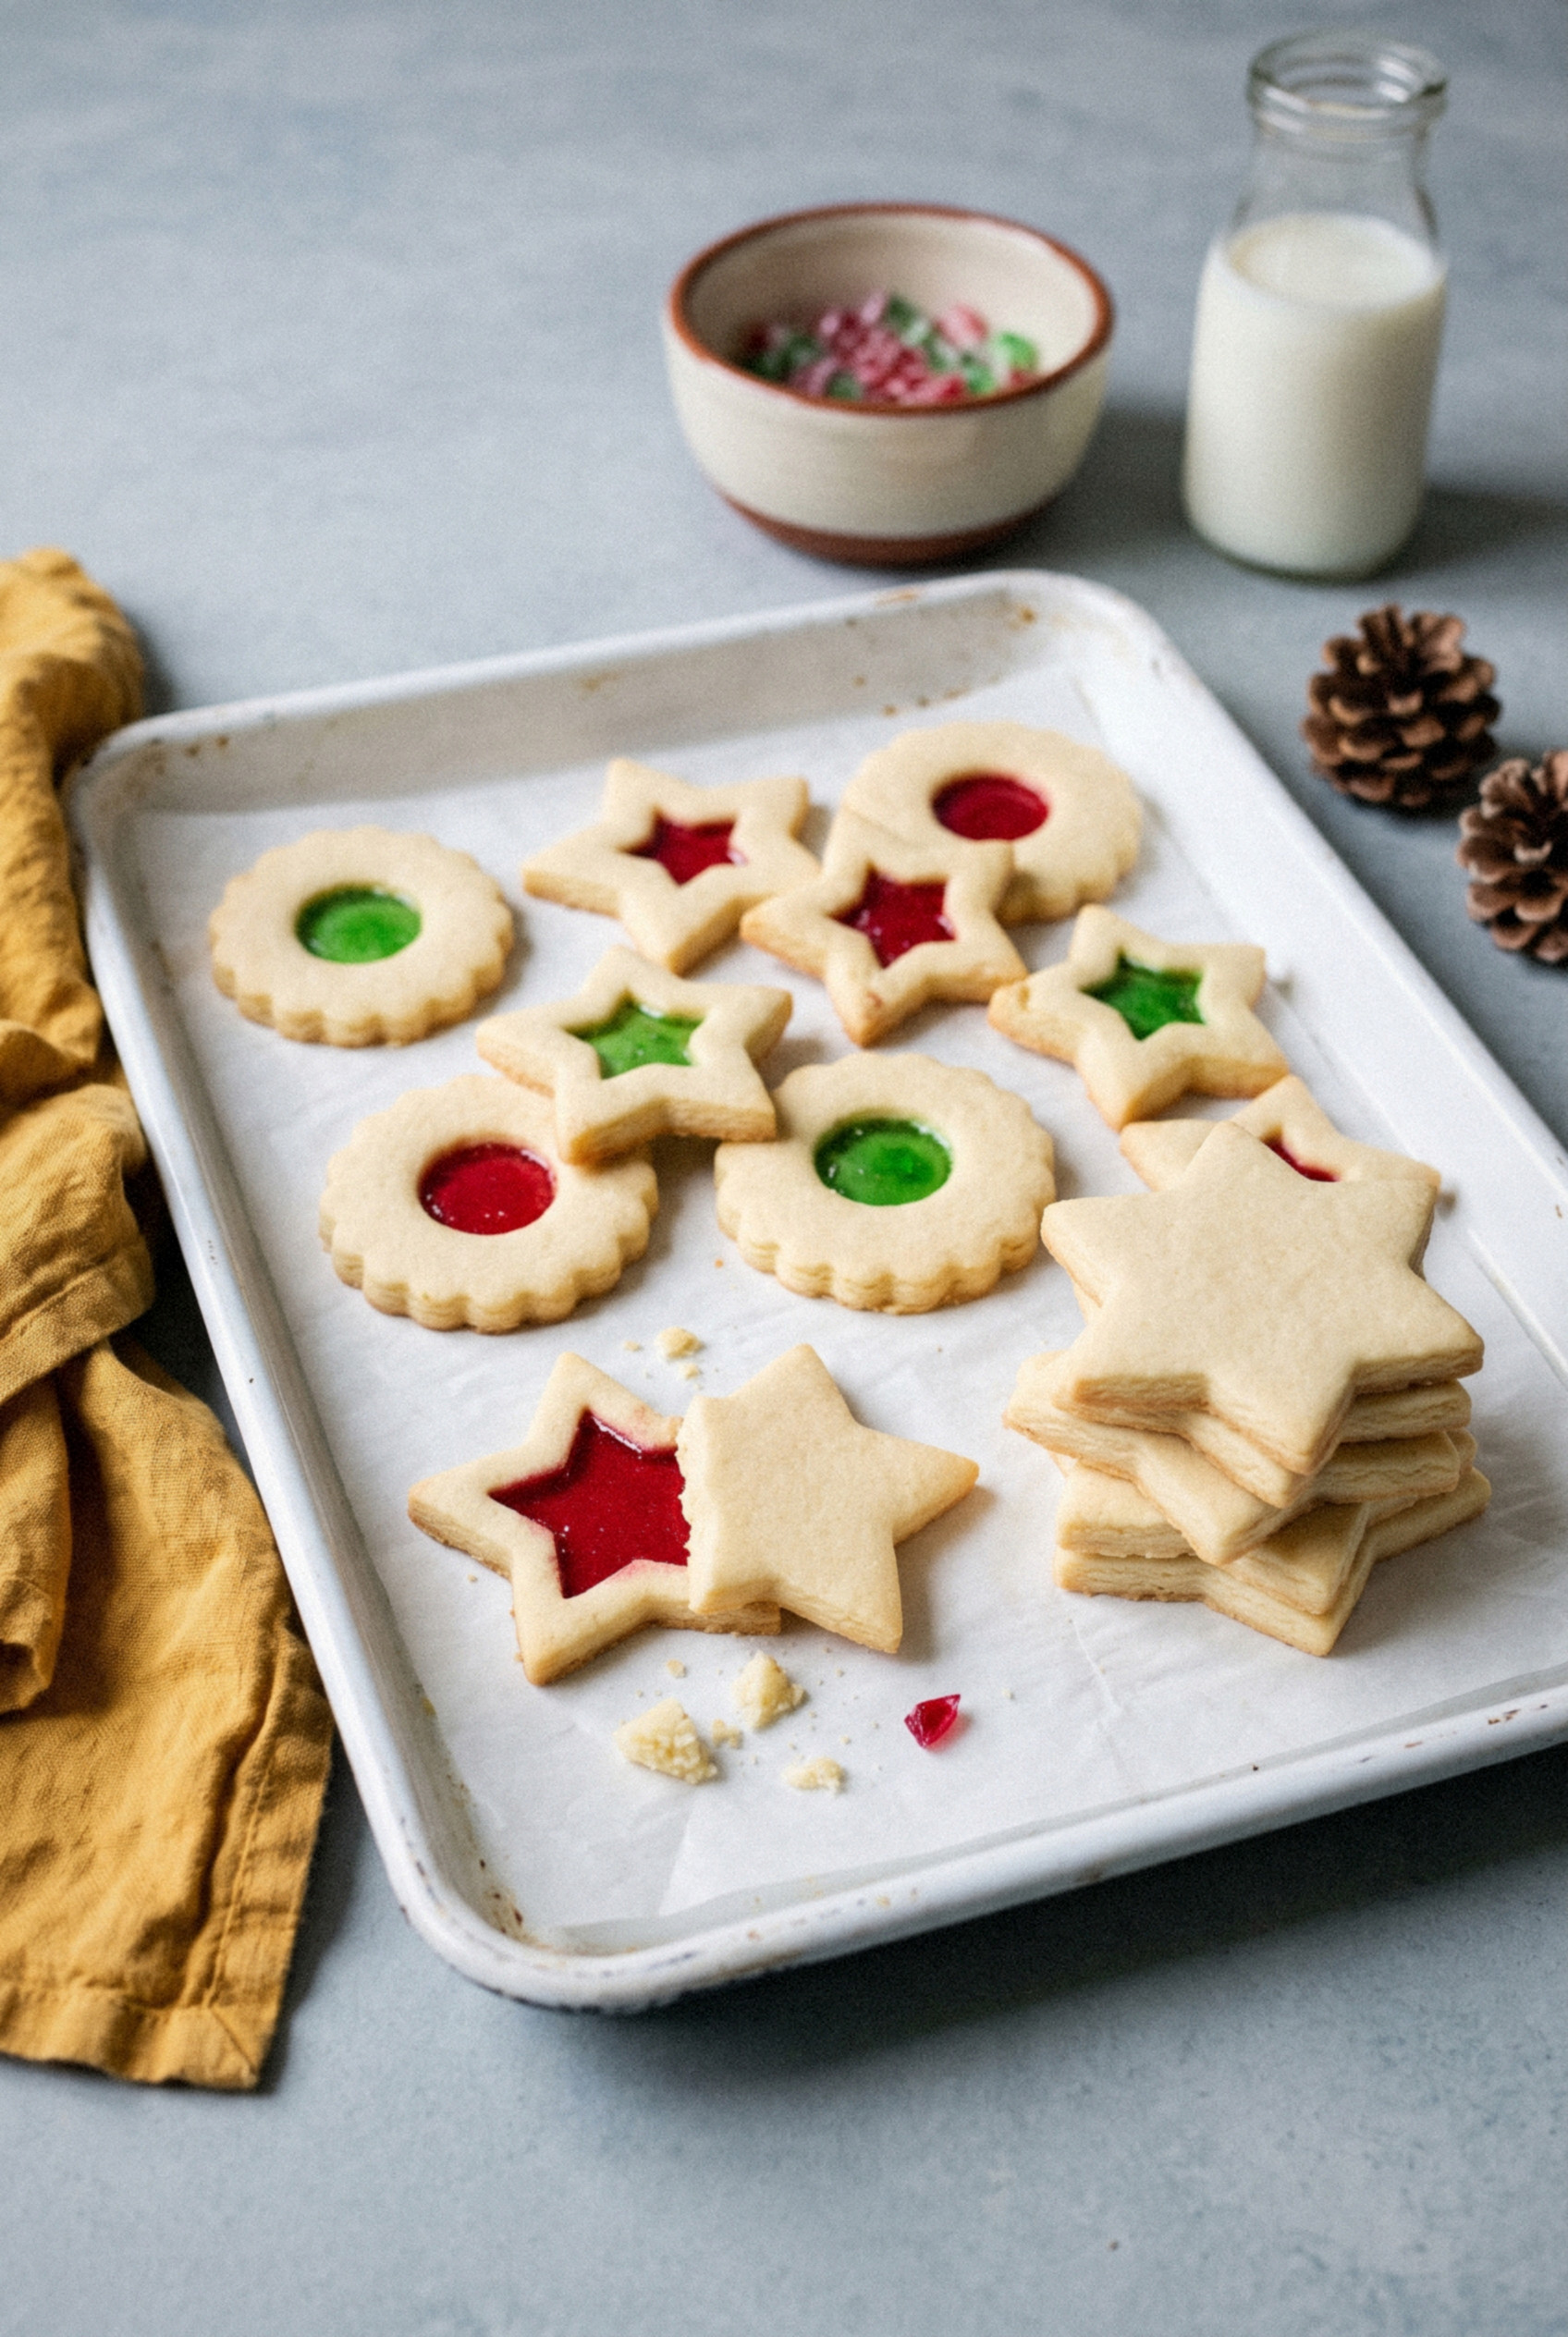
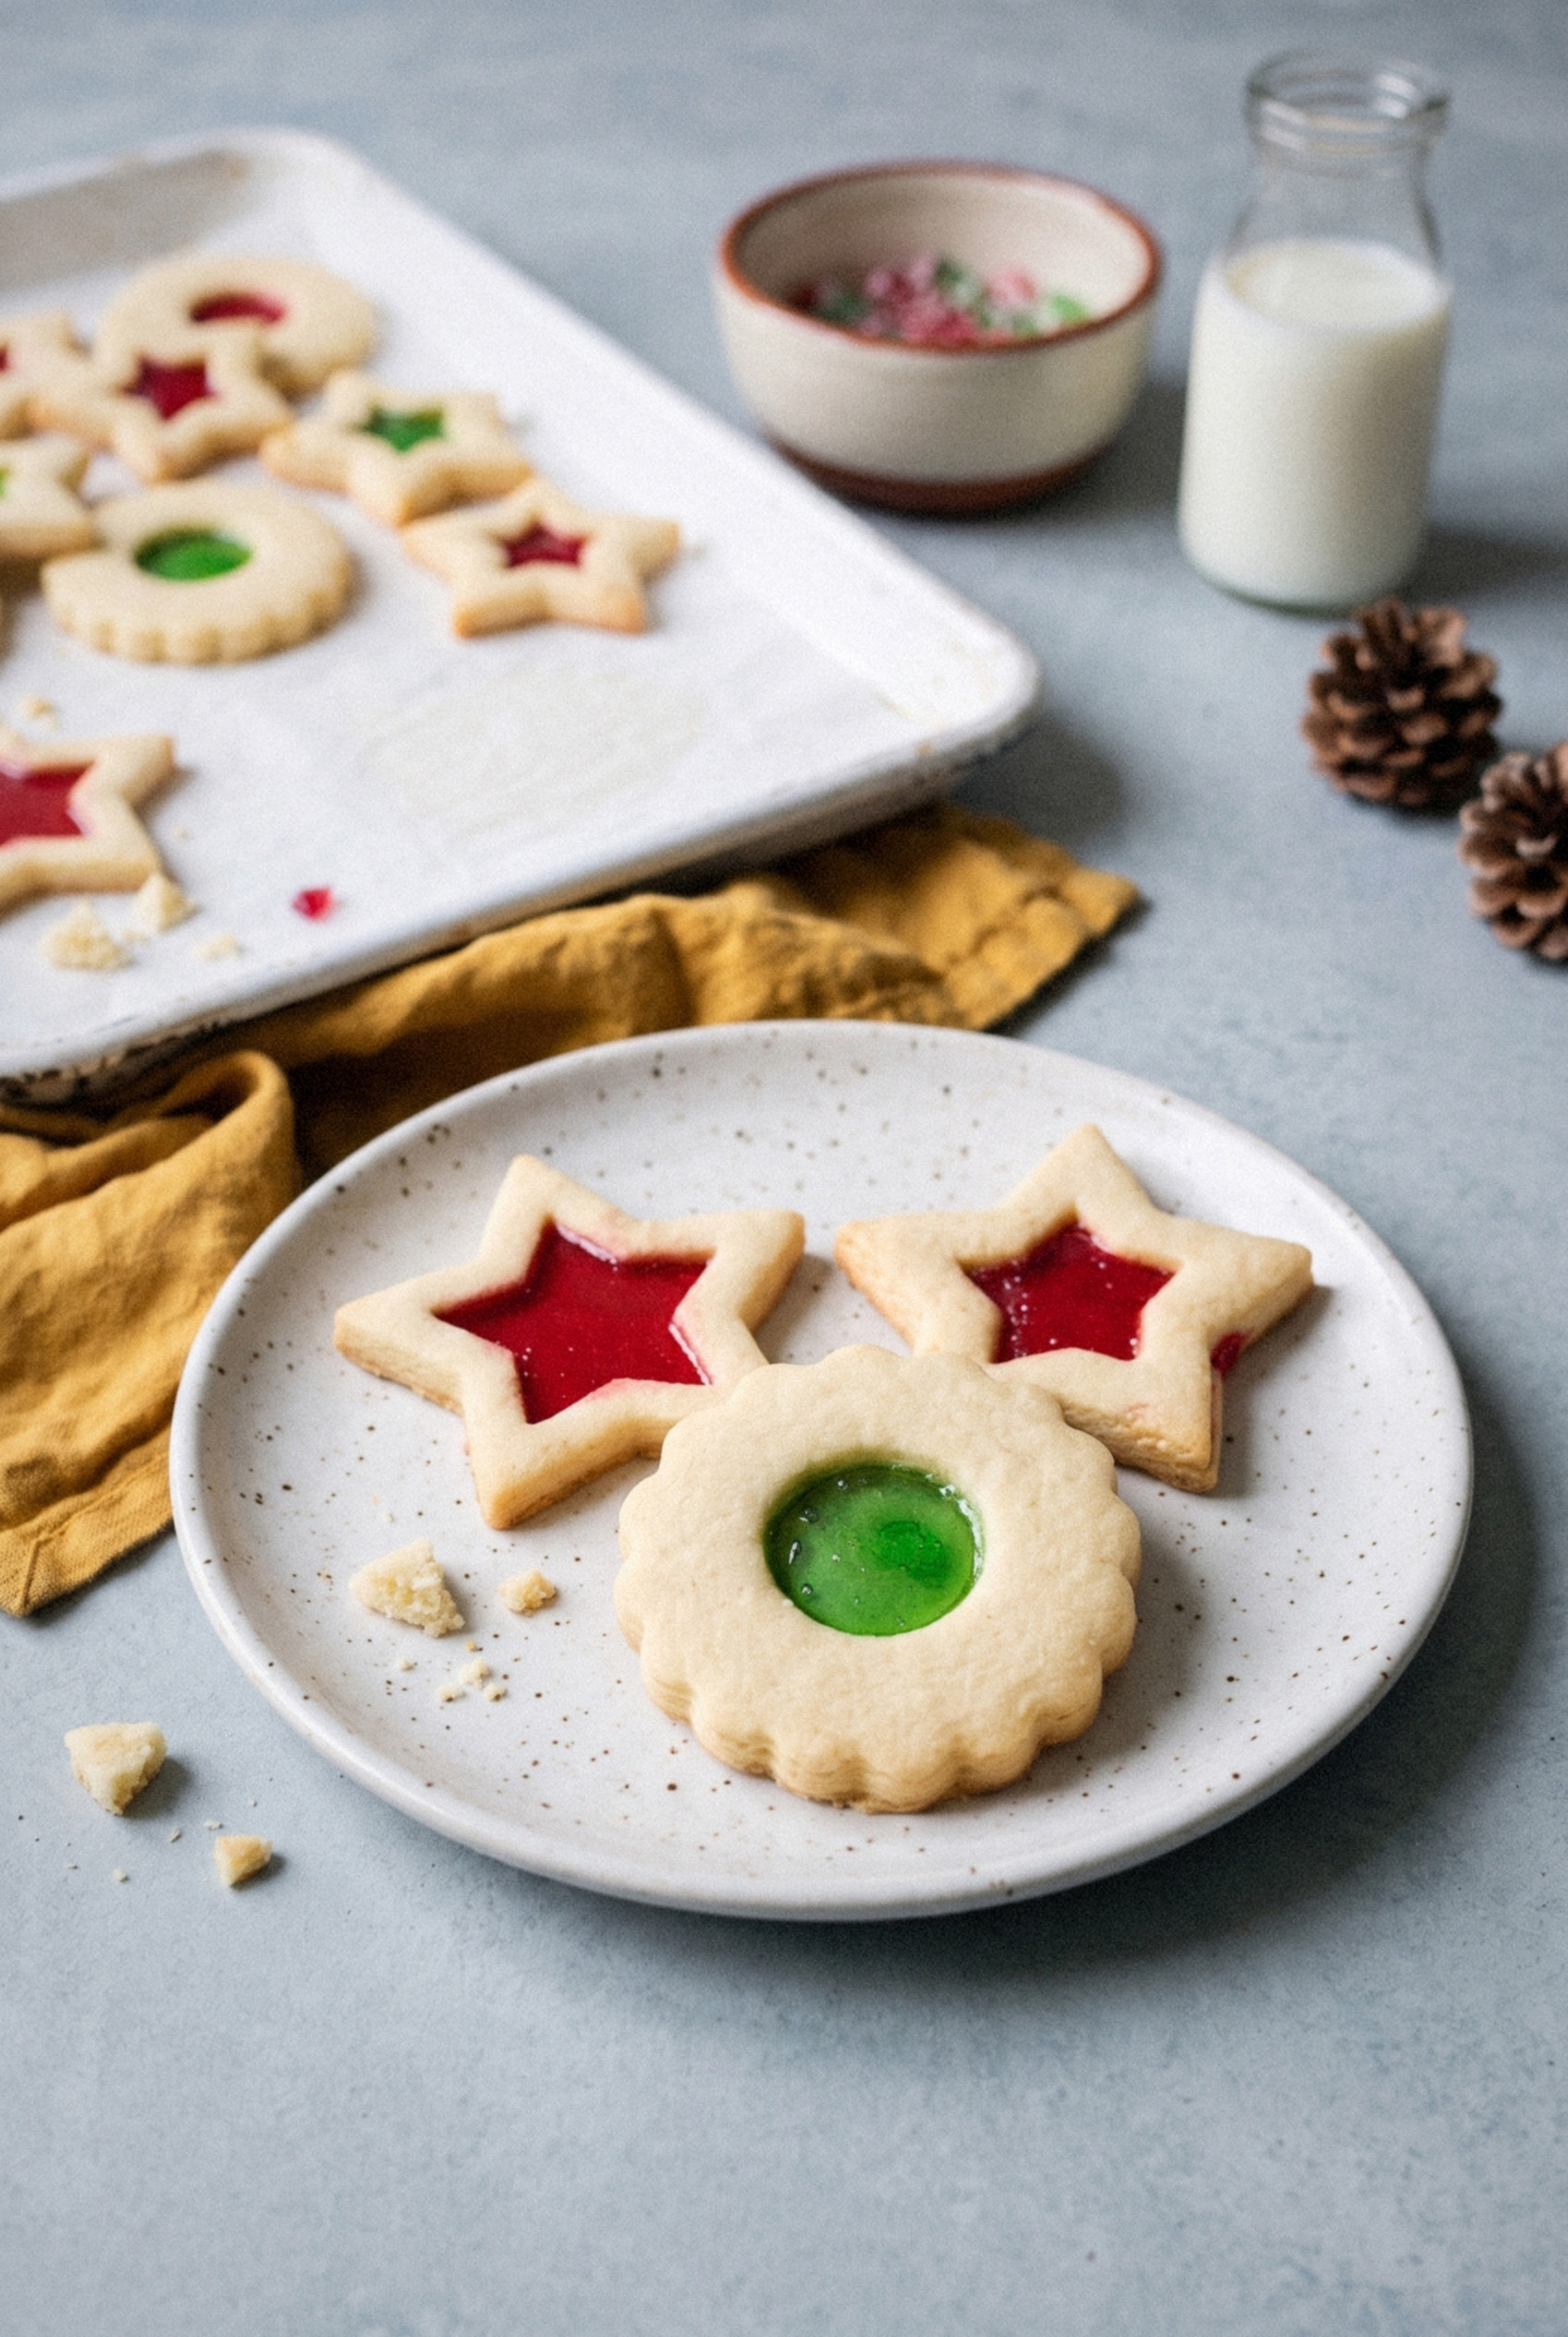
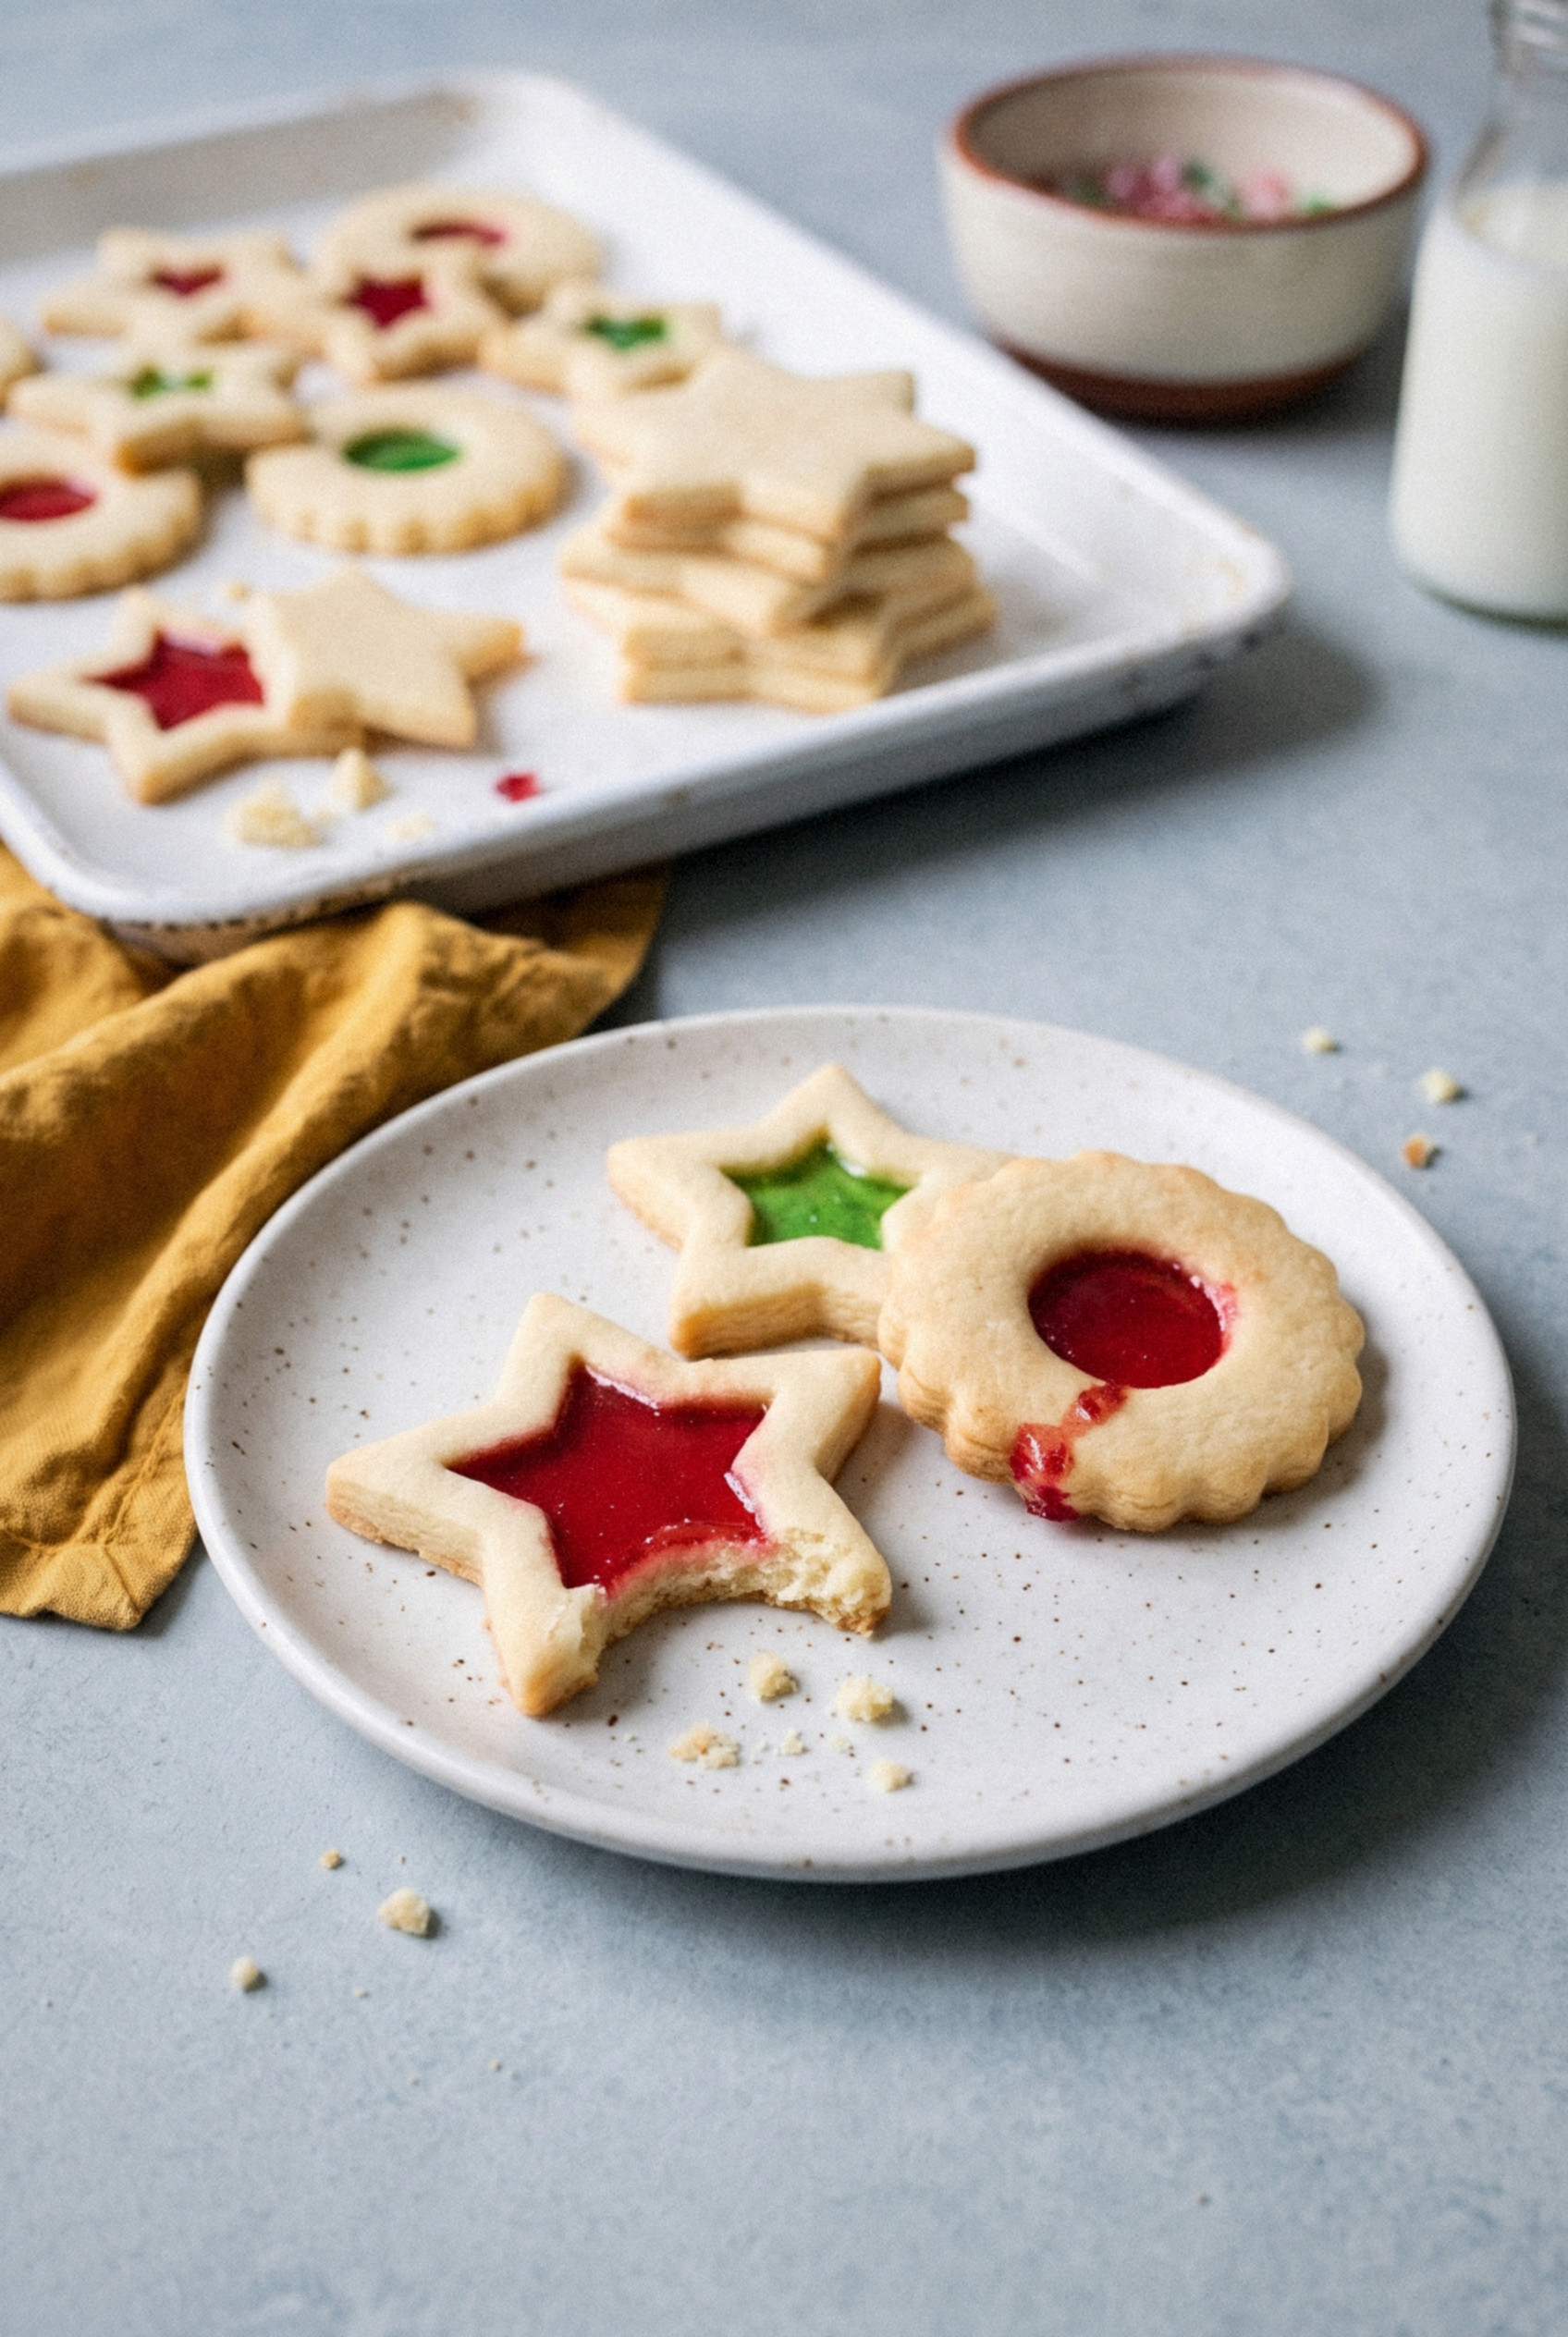
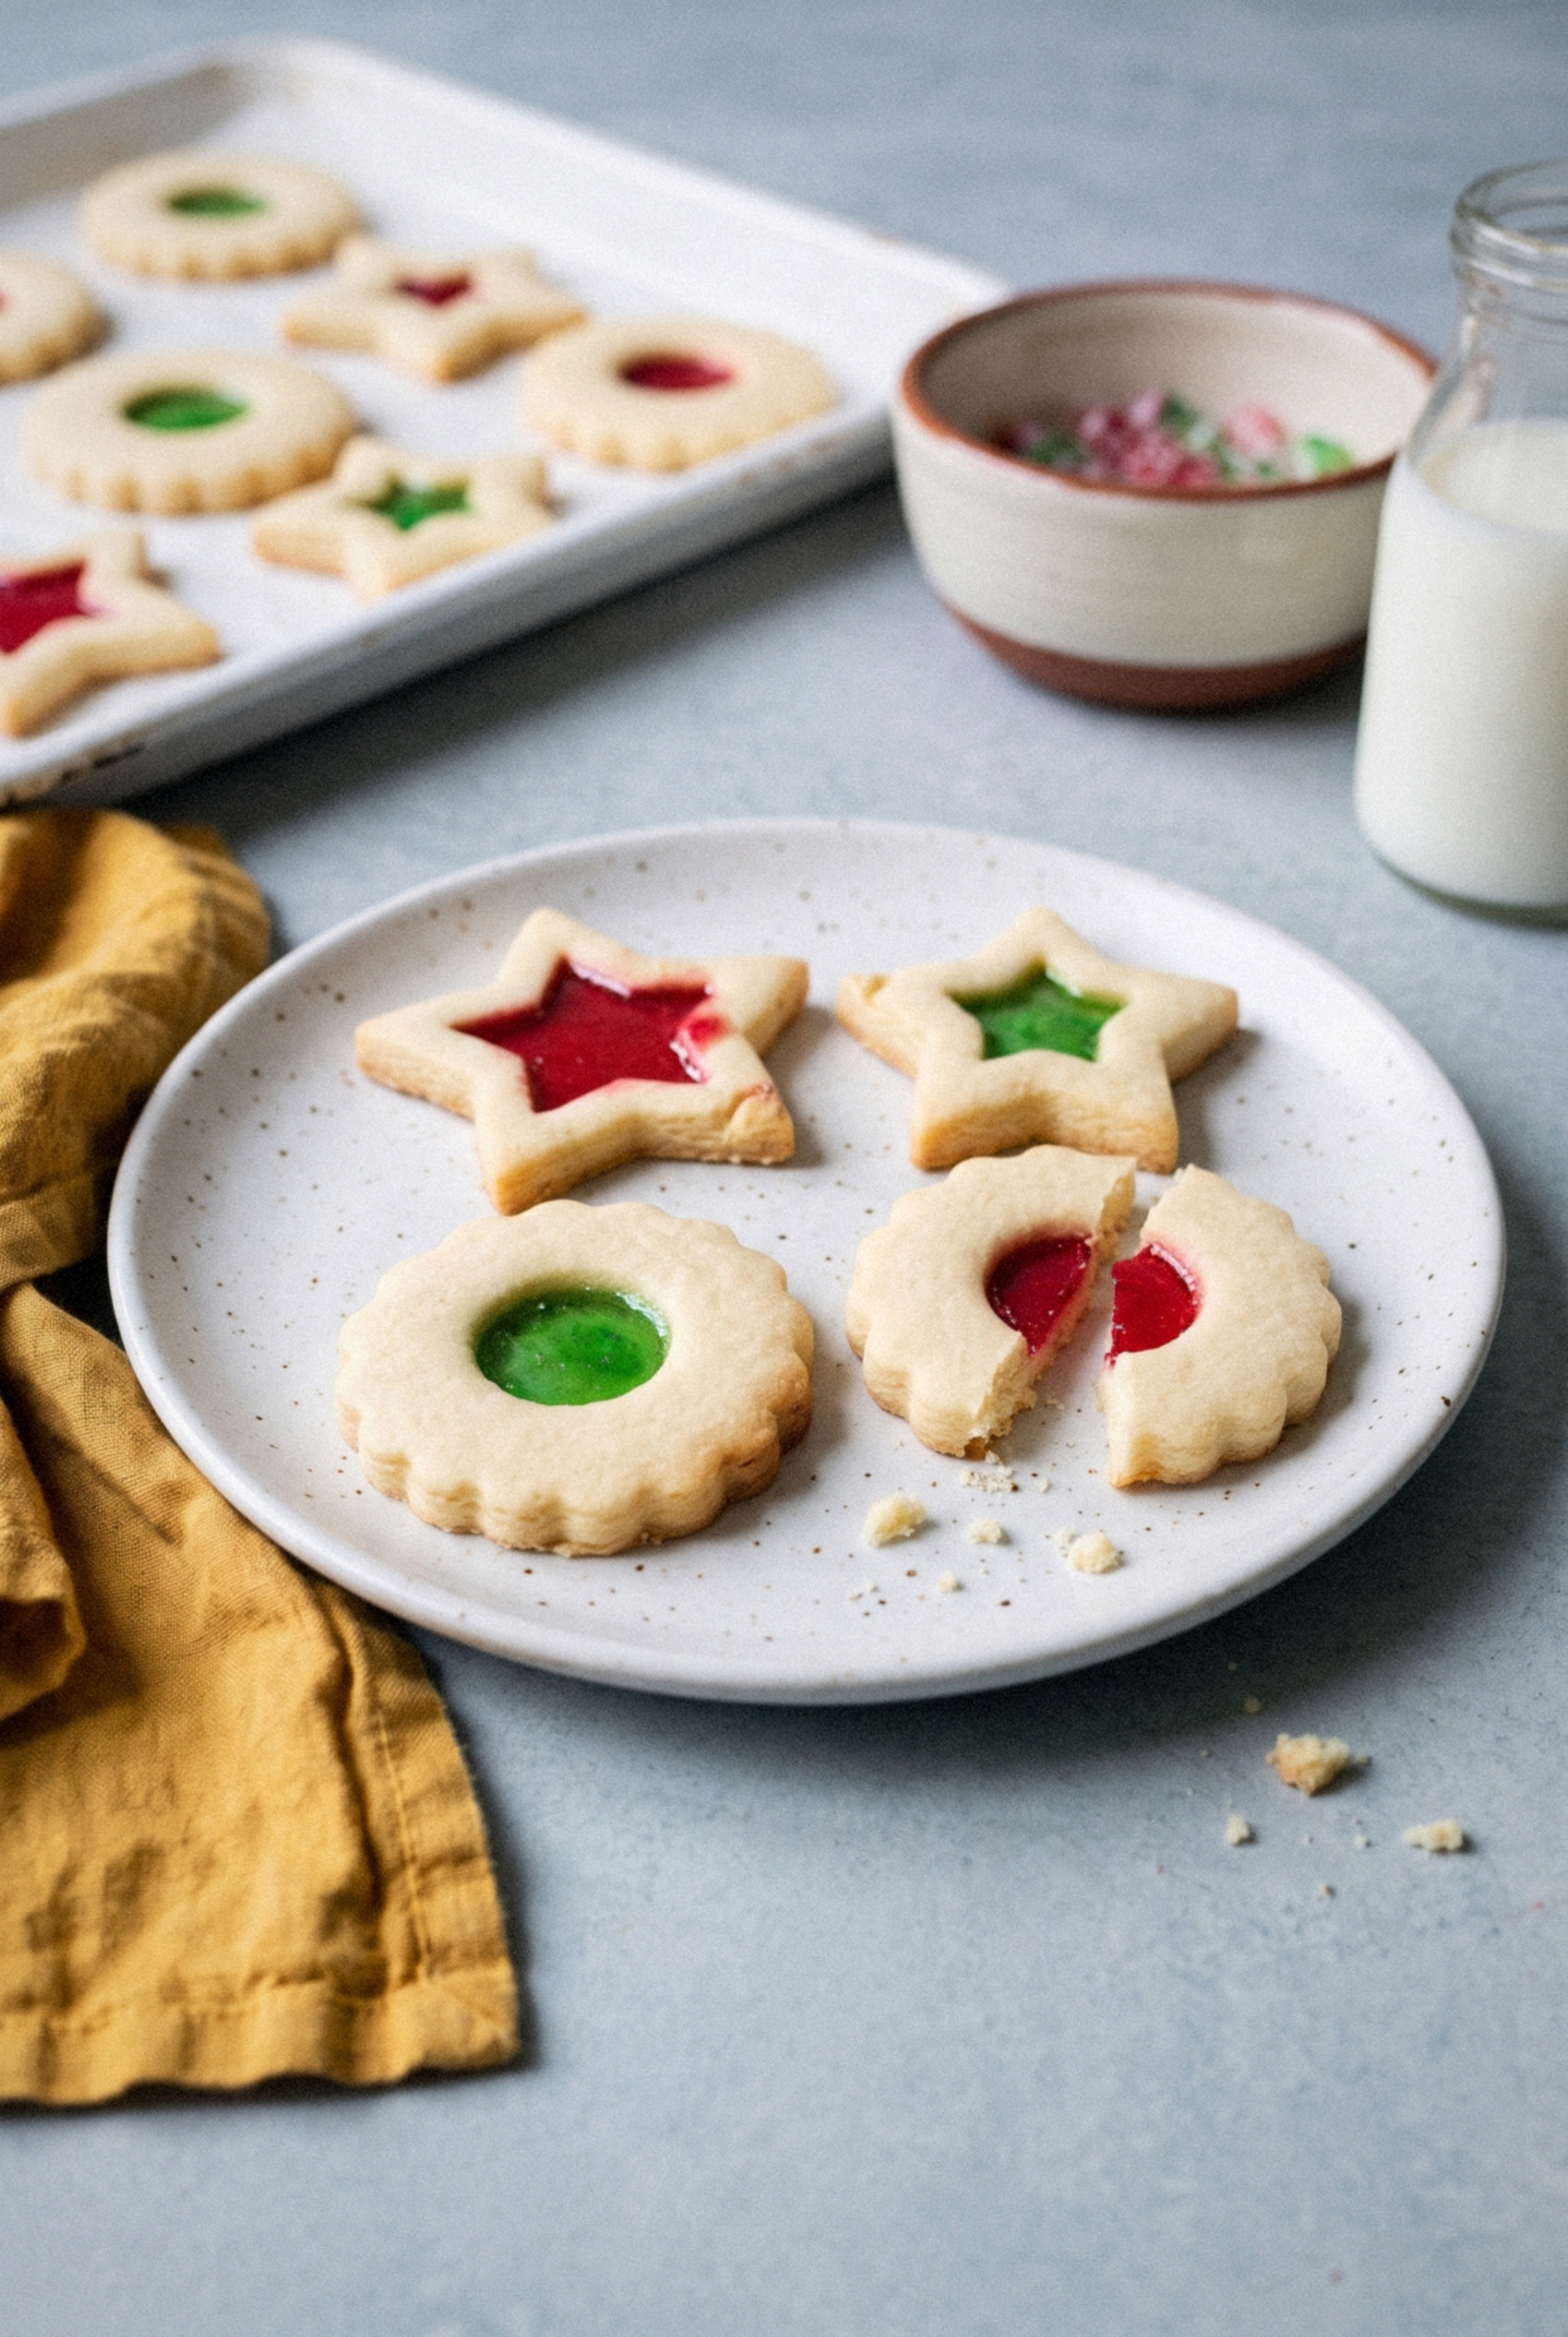
Stained glass window cookies are cut-out sugar cookies with a candy window baked right into the middle. You cut a large shape, cut a smaller shape out of its center, and fill that hole with crushed hard candy.
In the oven the candy melts and spreads to the edges of the hole.
As it cools, it hardens into a thin, see-through pane that catches the light like a church window.
You'll also see them called windowpane cookies.
The no-bake chocolate marshmallow logs share the name in a lot of family cookbooks, but they're a totally different treat. This recipe is the baked, cut-out version.
Ingredients You'll Need
This is a sturdy, no-fuss sugar cookie dough built to hold a sharp shape. Nothing fancy, and most of it is already in your pantry.
- All-purpose flour (2 ½ cups). Spoon it into the cup and level it. Too much flour makes the dough crack around the windows.
- Baking powder (½ teaspoon). Just a little for a tender bite. Any more and the cookie puffs into the window.
- Salt (¼ teaspoon). Balances all that sugar.
- Unsalted butter (¾ cup). Softened to room temperature so it creams smoothly.
- Granulated sugar (¾ cup). Gives the cookie its crisp edges.
- Egg (1 large). One is plenty. Two eggs make a softer, puffier dough that blurs the window shape.
- Vanilla extract (2 teaspoons). A classic sugar cookie flavor that plays nicely with fruity candy.
- Jolly Ranchers (about 20). Unwrapped and sorted by color. Red, green and a clear-ish watermelon or cherry make the most festive mix.
- Coarse sparkling sugar (2 tablespoons, optional). Sprinkled on the cookie frames for a little glitter.
The Best Candy for Stained Glass Cookies
Clear, fruit-flavored hard candy gives you the brightest windows. I've tested plenty, and here's how they compare.
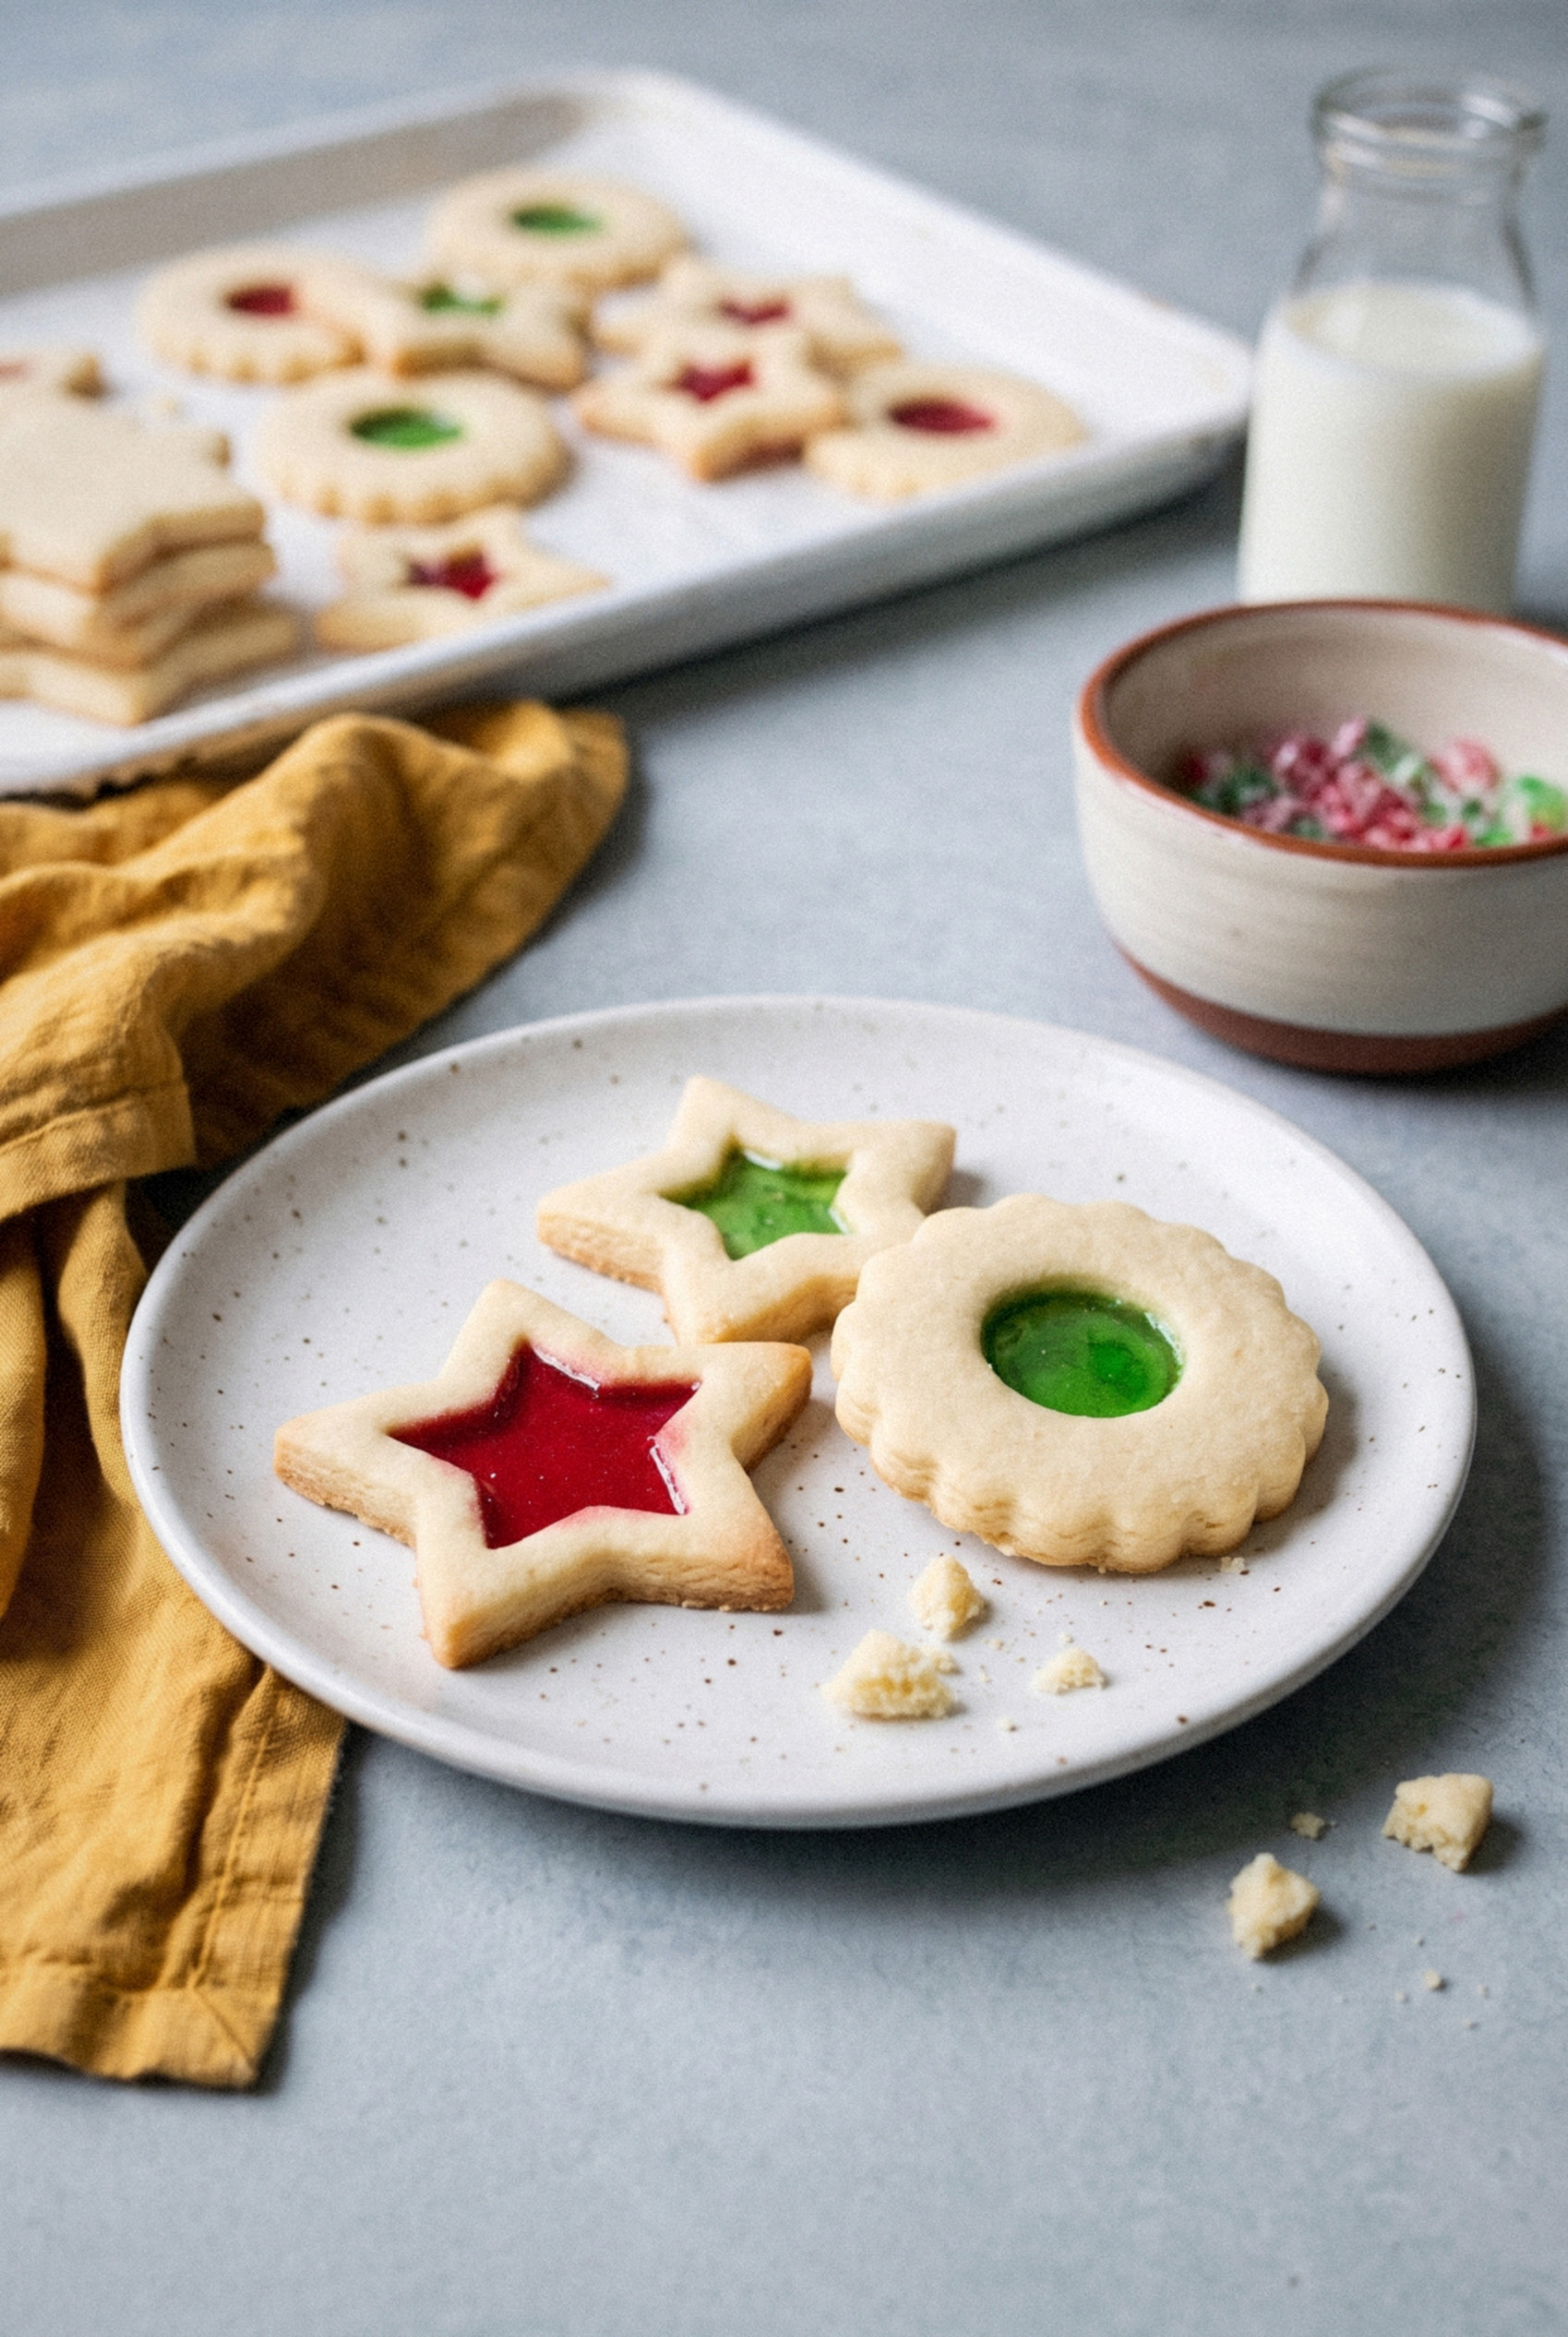
- Jolly Ranchers. My top pick. They melt smooth and stay the clearest, brightest colors.
- Life Savers. They work well, but the windows come out a little cloudier and can darken faster.
- Clear lollipops. Great if you break them off the stick first. Same idea, same result.
- Homemade hard candy. A fun project if you already make candy for the holidays.
- Candy canes. They melt, but turn milky and opaque instead of see-through.
- Butterscotch discs. Pretty amber windows, just not that classic stained glass look.
Are these hard to eat? Not really.
The candy pane is thin, so it snaps and crunches more like a crisp sugar shard than a whole hard candy. I eat the cookie edge first and save the window for last, every time.
How to Make Stained Glass Window Cookies
The order of the steps matters more than any single step. Roll, chill, cut, fill, bake, and you're golden.
Step 1: Make the Dough
Whisk the flour, baking powder and salt in a bowl and set it aside. In a large bowl, beat the softened butter and sugar on high speed for about 3 minutes until smooth and creamy.
Add the egg and vanilla and beat for 1 minute, scraping down the bowl. Switch to low speed, add the dry ingredients, and mix just until a soft dough forms. If it feels very sticky, mix in 1 tablespoon more flour.
Step 2: Roll First, Then Chill
Divide the dough in half. Roll each half between two sheets of parchment to about ¼ inch thick, then stack both sheets on a tray and refrigerate for 1 to 2 hours.
Rolling soft dough is easy. Rolling a cold brick of dough is a workout that ends in cracks. This way the hard part is done before the dough ever goes in the fridge.
Step 3: Crush the Candy by Color
Put each color of candy in its own zip-top bag, then wrap the bag in a kitchen towel. Tap with a rolling pin or meat mallet until the pieces look like small pebbles.
Pro tip: Stop before it turns to powder. Candy dust browns in the oven and leaves you with cloudy, amber-tinted windows.
Step 4: Cut the Shapes and Windows
Heat the oven to 350°F and line two baking sheets with silicone baking mats or parchment. Cut the chilled dough with a 3 to 3 ½-inch cutter and place the shapes about 2 inches apart on the sheets.
Use a 1 ¼ to 1 ½-inch cutter to punch a window from the center of each cookie. Reroll the scraps between parchment, then pop the filled trays back in the fridge for 15 minutes so the edges stay sharp.
Step 5: Fill the Windows
Spoon the crushed candy into each window until it's about ¾ full and level, one color per cookie. Brush any stray candy bits off the dough with a dry pastry brush, since they'll melt into colored spots on the cookie.
Using sparkling sugar? Brush the cookie frames lightly with water and sprinkle it on now.
Step 6: Bake and Cool on the Sheet
Bake for 9 to 12 minutes, until the candy is completely melted and smooth and the cookie edges are just barely golden. Rotate the sheet halfway through if your oven has hot spots.
Leave the cookies on the sheet for about 15 minutes, until the candy panes harden. Then move them to a rack to finish cooling.
Oh my, the first time you see light through those windows, you'll be hooked!
Shapes, Colors and Hanging Ornaments
Almost any cutter works as long as the frame stays sturdy. Pair a large outer cutter with a smaller inner one.
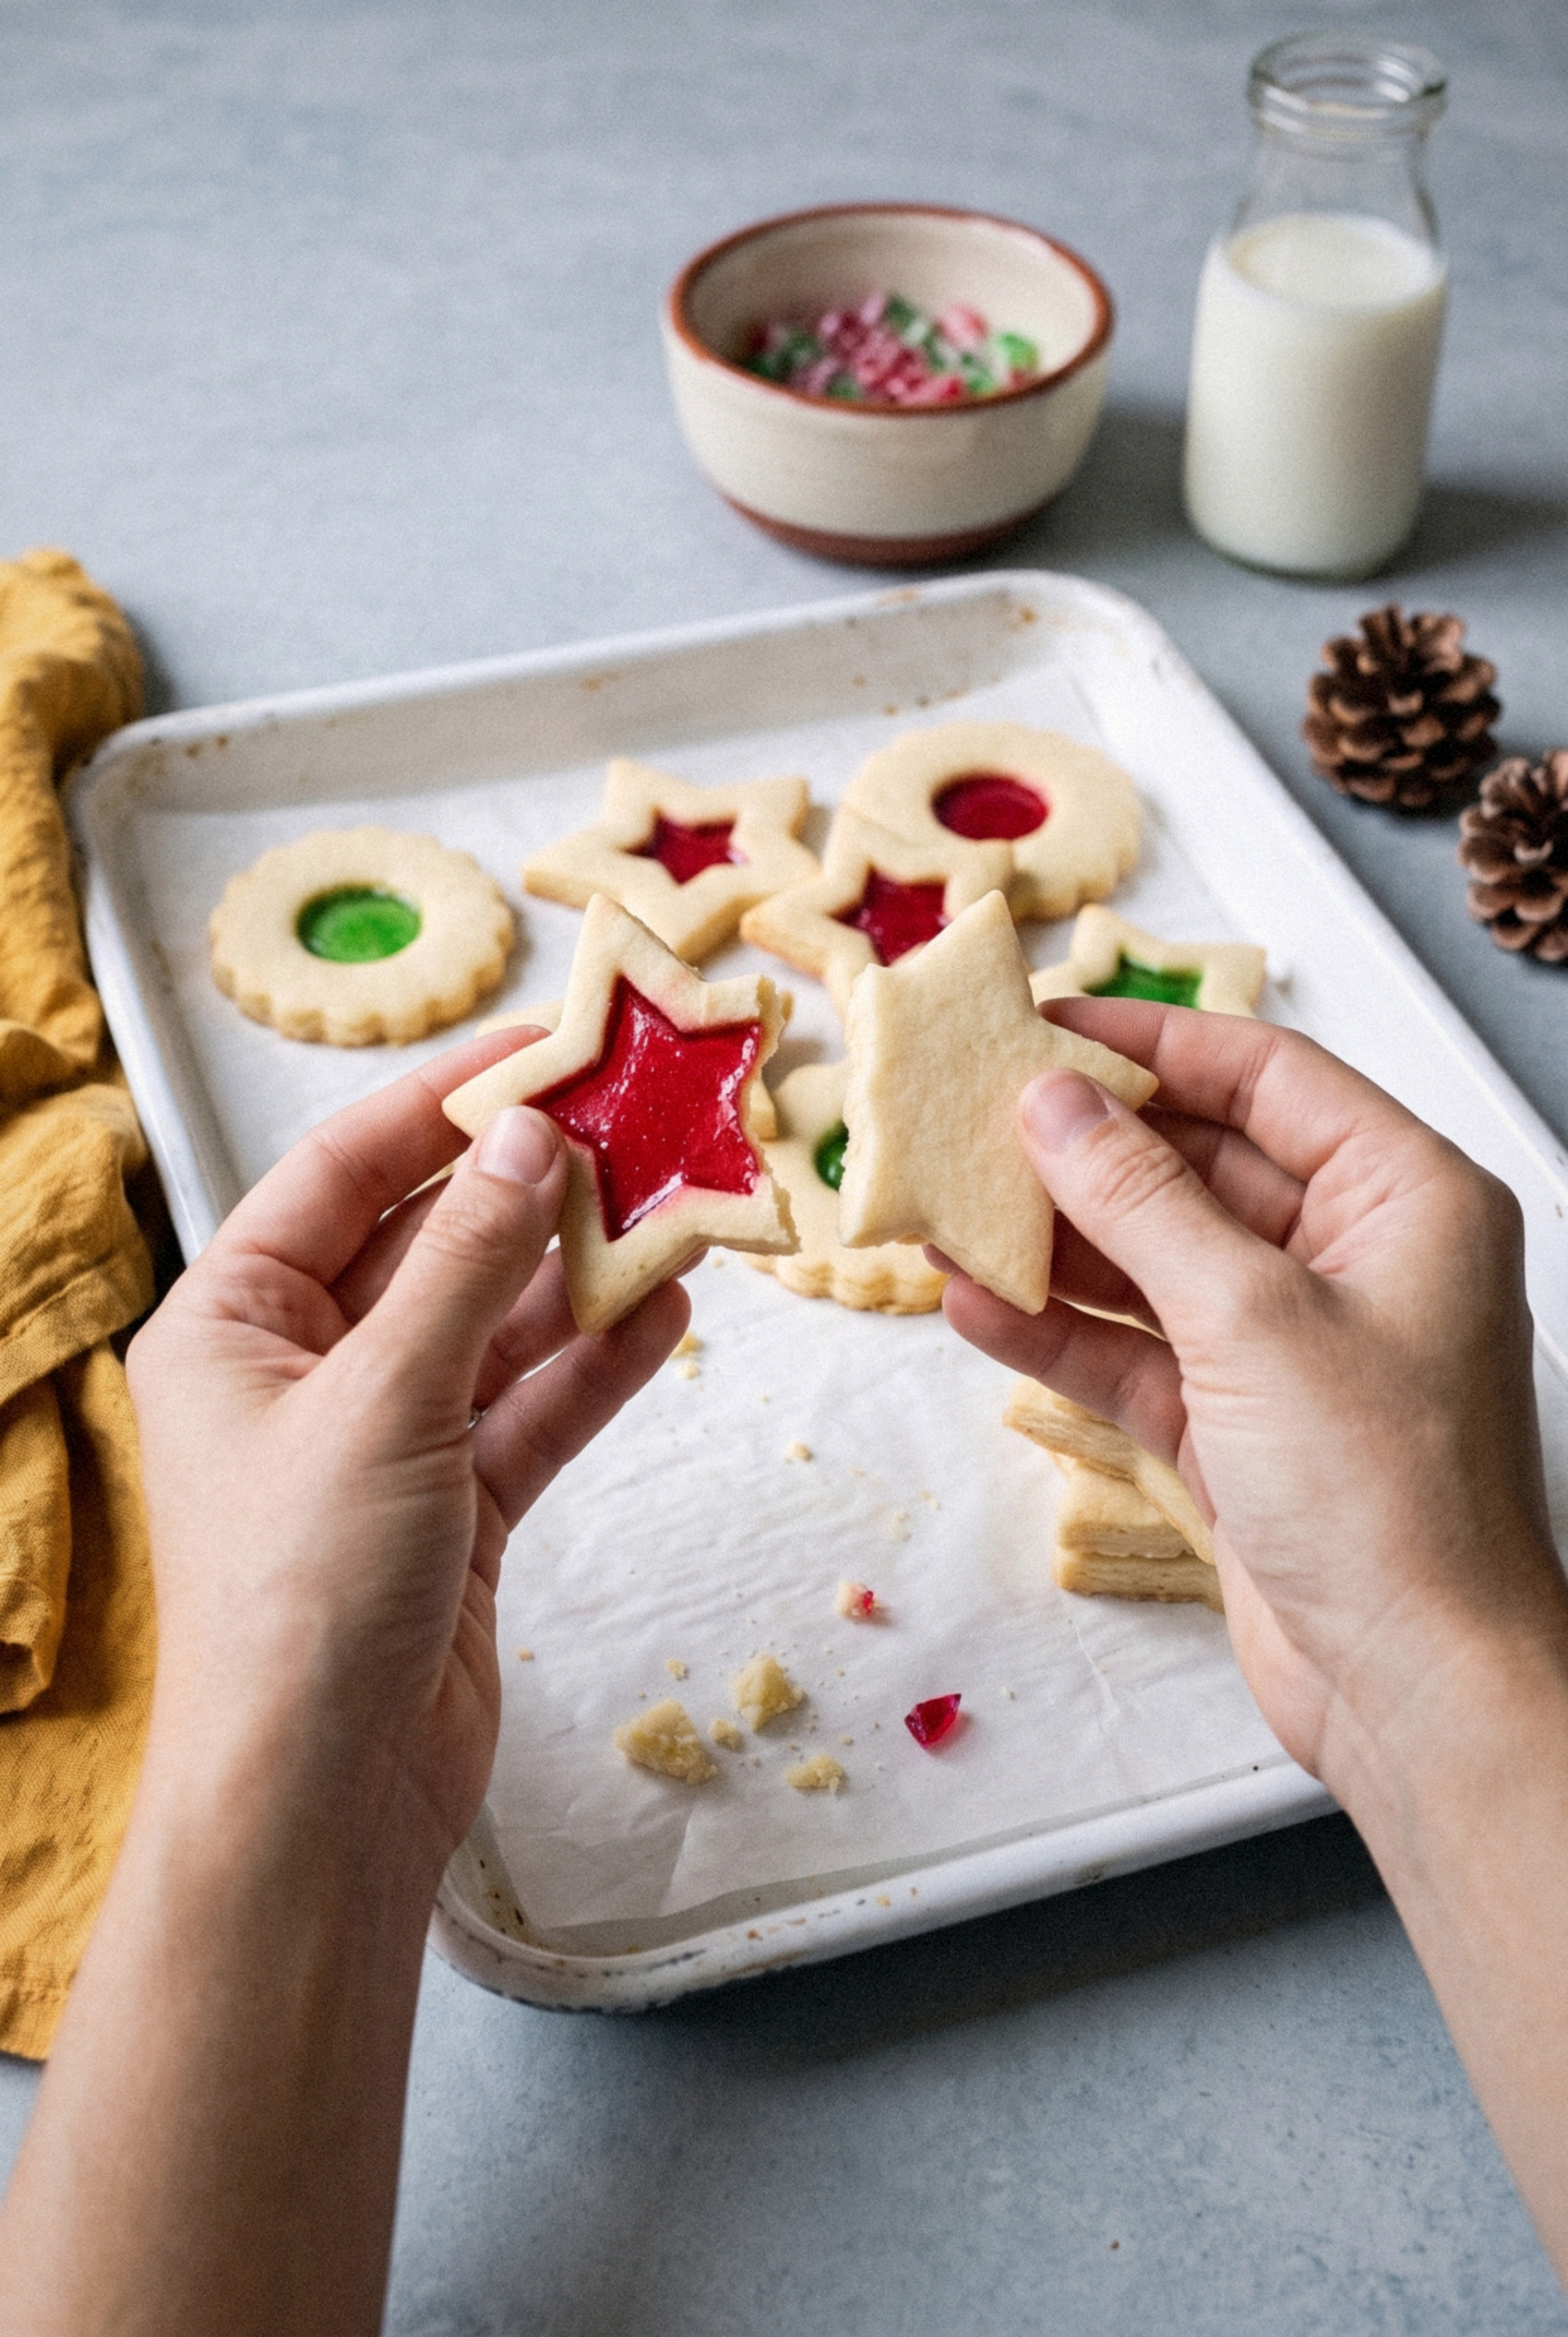
- Stars and trees. The most Christmassy choice. A big star with a small star or round window looks fantastic.
- Rounds and squares. Simple and classic, and a great way to use plain cutters you already own.
- Keep the frame wide. Leave at least ½ inch of dough around the window, or the cookie can snap.
- Color plan. Red and green for a classic Christmas tray, with a few clear or pale panes to make the colors pop.
- Hanging holes. Poke a hole near the top with a plastic straw before baking, then thread ribbon through once they're cool. They make the sweetest tree ornaments.
Tips for Clear, Bright Windows
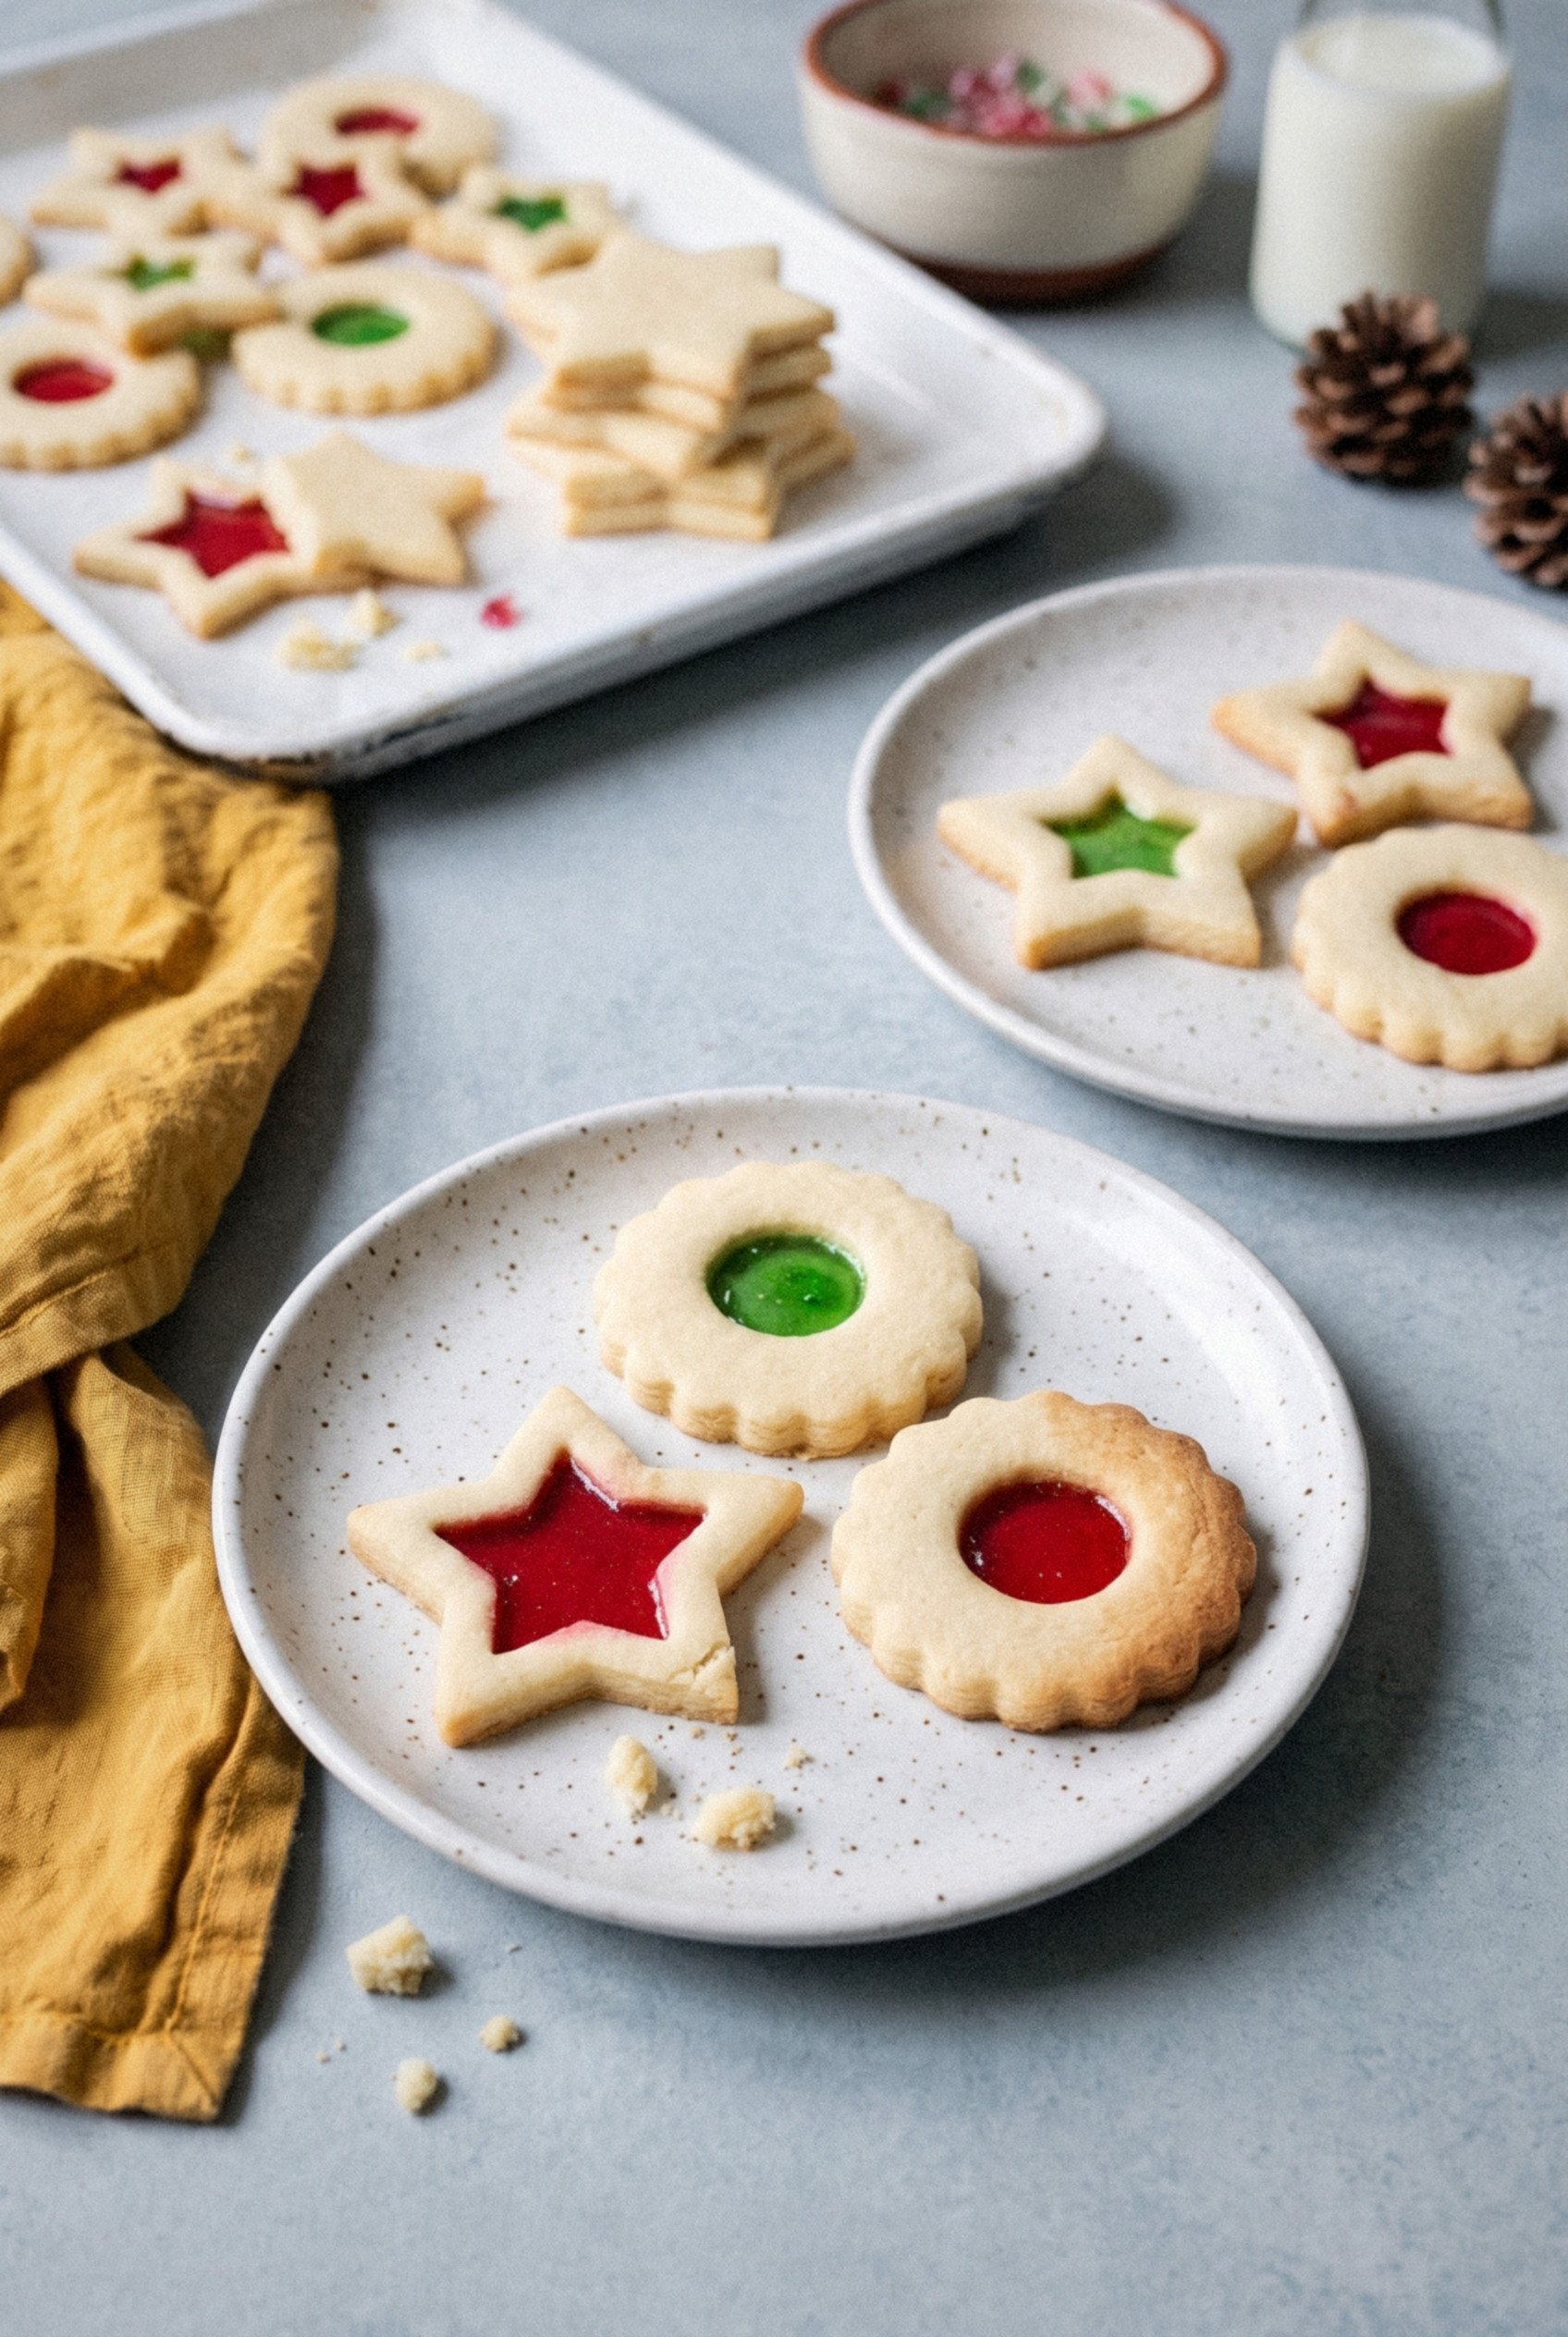
Most stained glass cookie problems come down to the candy, not the dough. These fixes cover nearly all of them.
- Never use a bare pan. Melted candy welds itself to metal. A silicone mat releases best, and parchment works well too.
- Pebbles, not powder. Coarse pieces melt clear. Fine dust scorches.
- Don't overfill. An overfull window bubbles up and spills onto the cookie.
- Clean the tops. Any candy left on the dough turns into a sticky colored spot.
- Pull them while pale. Once the candy is smooth, they're done. Brown edges mean brown windows.
- Let them set COMPLETELY. Moving warm cookies cracks the soft candy pane.
- Watch the humidity. Candy windows turn tacky on rainy days, so bake on a dry day if you can.
Variations
Once you've made the classic, it's easy to change things up. These are my favorite riffs.
- Chocolate sugar cookie. Swap ⅓ cup of the flour for cocoa powder. Red candy windows look stunning against dark dough.
- Gingerbread frames. Use a sturdy gingerbread cut-out dough with the same candy method.
- Flavored dough. Add ½ teaspoon almond extract or a teaspoon of orange zest.
- Sparkling edges. Coarse sugar on the frames gives the whole tray a frosty glitter.
- Icing outline. Pipe a thin white line around each window once the cookies are fully cool.
Make Ahead, Storage and Gifting
These are a fantastic make-ahead Christmas cookie. The candy keeps them fresh for days.
- Room temperature. Store in an airtight container in single layers separated by parchment for up to 1 week.
- Skip the fridge. Cold, damp air makes the candy windows sticky.
- Dough. Keep the rolled, wrapped sheets in the fridge for up to 2 days or freeze for up to 3 months.
- Baked cookies. Freeze between sheets of parchment for up to 2 months and thaw in the container so condensation stays off the windows.
- Gift tins. Stack them flat with parchment between each layer, or tuck a few into clear cellophane bags so the windows show.
Who doesn't love a cookie that looks this pretty with zero decorating?
Give them a try this Christmas!
Recipe
Stained Glass Window Cookies
Ingredients
For the Cookie Dough
- 2 ½ cups all-purpose flour spooned and leveled, plus more as needed (313g)
- ½ teaspoon baking powder
- ¼ teaspoon salt
- ¾ cup unsalted butter softened (170g)
- ¾ cup granulated sugar 150g
- 1 large egg room temperature
- 2 teaspoons vanilla extract
For the Windows
- 20 Jolly Rancher hard candies unwrapped and sorted by color
- 2 tablespoons coarse sparkling sugar optional
Instructions
Make and Chill the Dough
- Whisk the flour, baking powder and salt in a bowl.
- Beat the butter and sugar on high speed for about 3 minutes until smooth and creamy. Beat in the egg and vanilla for 1 minute, scraping down the bowl.
- Mix in the dry ingredients on low speed just until a soft dough forms. Add 1 tablespoon more flour if very sticky.
- Divide the dough in half. Roll each half between two sheets of parchment to ¼ inch thick. Stack on a tray and refrigerate for 1 to 2 hours.
Crush the Candy
- Place each color of candy in a separate zip-top bag. Crush with a rolling pin or meat mallet into small pebble-sized pieces, not powder.
Cut, Fill and Bake
- Heat the oven to 350°F. Line two baking sheets with silicone baking mats or parchment.
- Cut the chilled dough with a 3 to 3 ½-inch cutter and arrange about 2 inches apart on the sheets. Cut a 1 ¼ to 1 ½-inch window from the center of each cookie. Reroll scraps between parchment.
- Chill the cut cookies on the sheets for 15 minutes.
- Fill each window about ¾ full with crushed candy, one color per cookie. Brush stray candy off the dough. If using sparkling sugar, brush the frames lightly with water and sprinkle.
- Bake 9 to 12 minutes, until the candy is fully melted and the edges are barely golden.
- Cool on the baking sheet about 15 minutes until the candy hardens, then transfer to a rack to cool completely.
Notes
- Candy size: Crush to small pebbles. Fine powder can brown and cloud the windows.
- Pan liner: Always bake on a silicone mat or parchment. Melted candy sticks to a bare pan.
- Hanging: Poke a hole near the top with a plastic straw before baking to thread ribbon later.
- Storage: Keep airtight at room temperature in single layers with parchment for up to 1 week. Avoid the refrigerator, which makes the candy sticky.
- Freezing: Freeze baked cookies up to 2 months; freeze rolled dough up to 3 months.