Mrs. Halvorsen's caramels never lasted past the first hour of our church's December bake sale.
She wrapped every single one in a little twist of wax paper and packed them in a shoebox lined with red tissue.
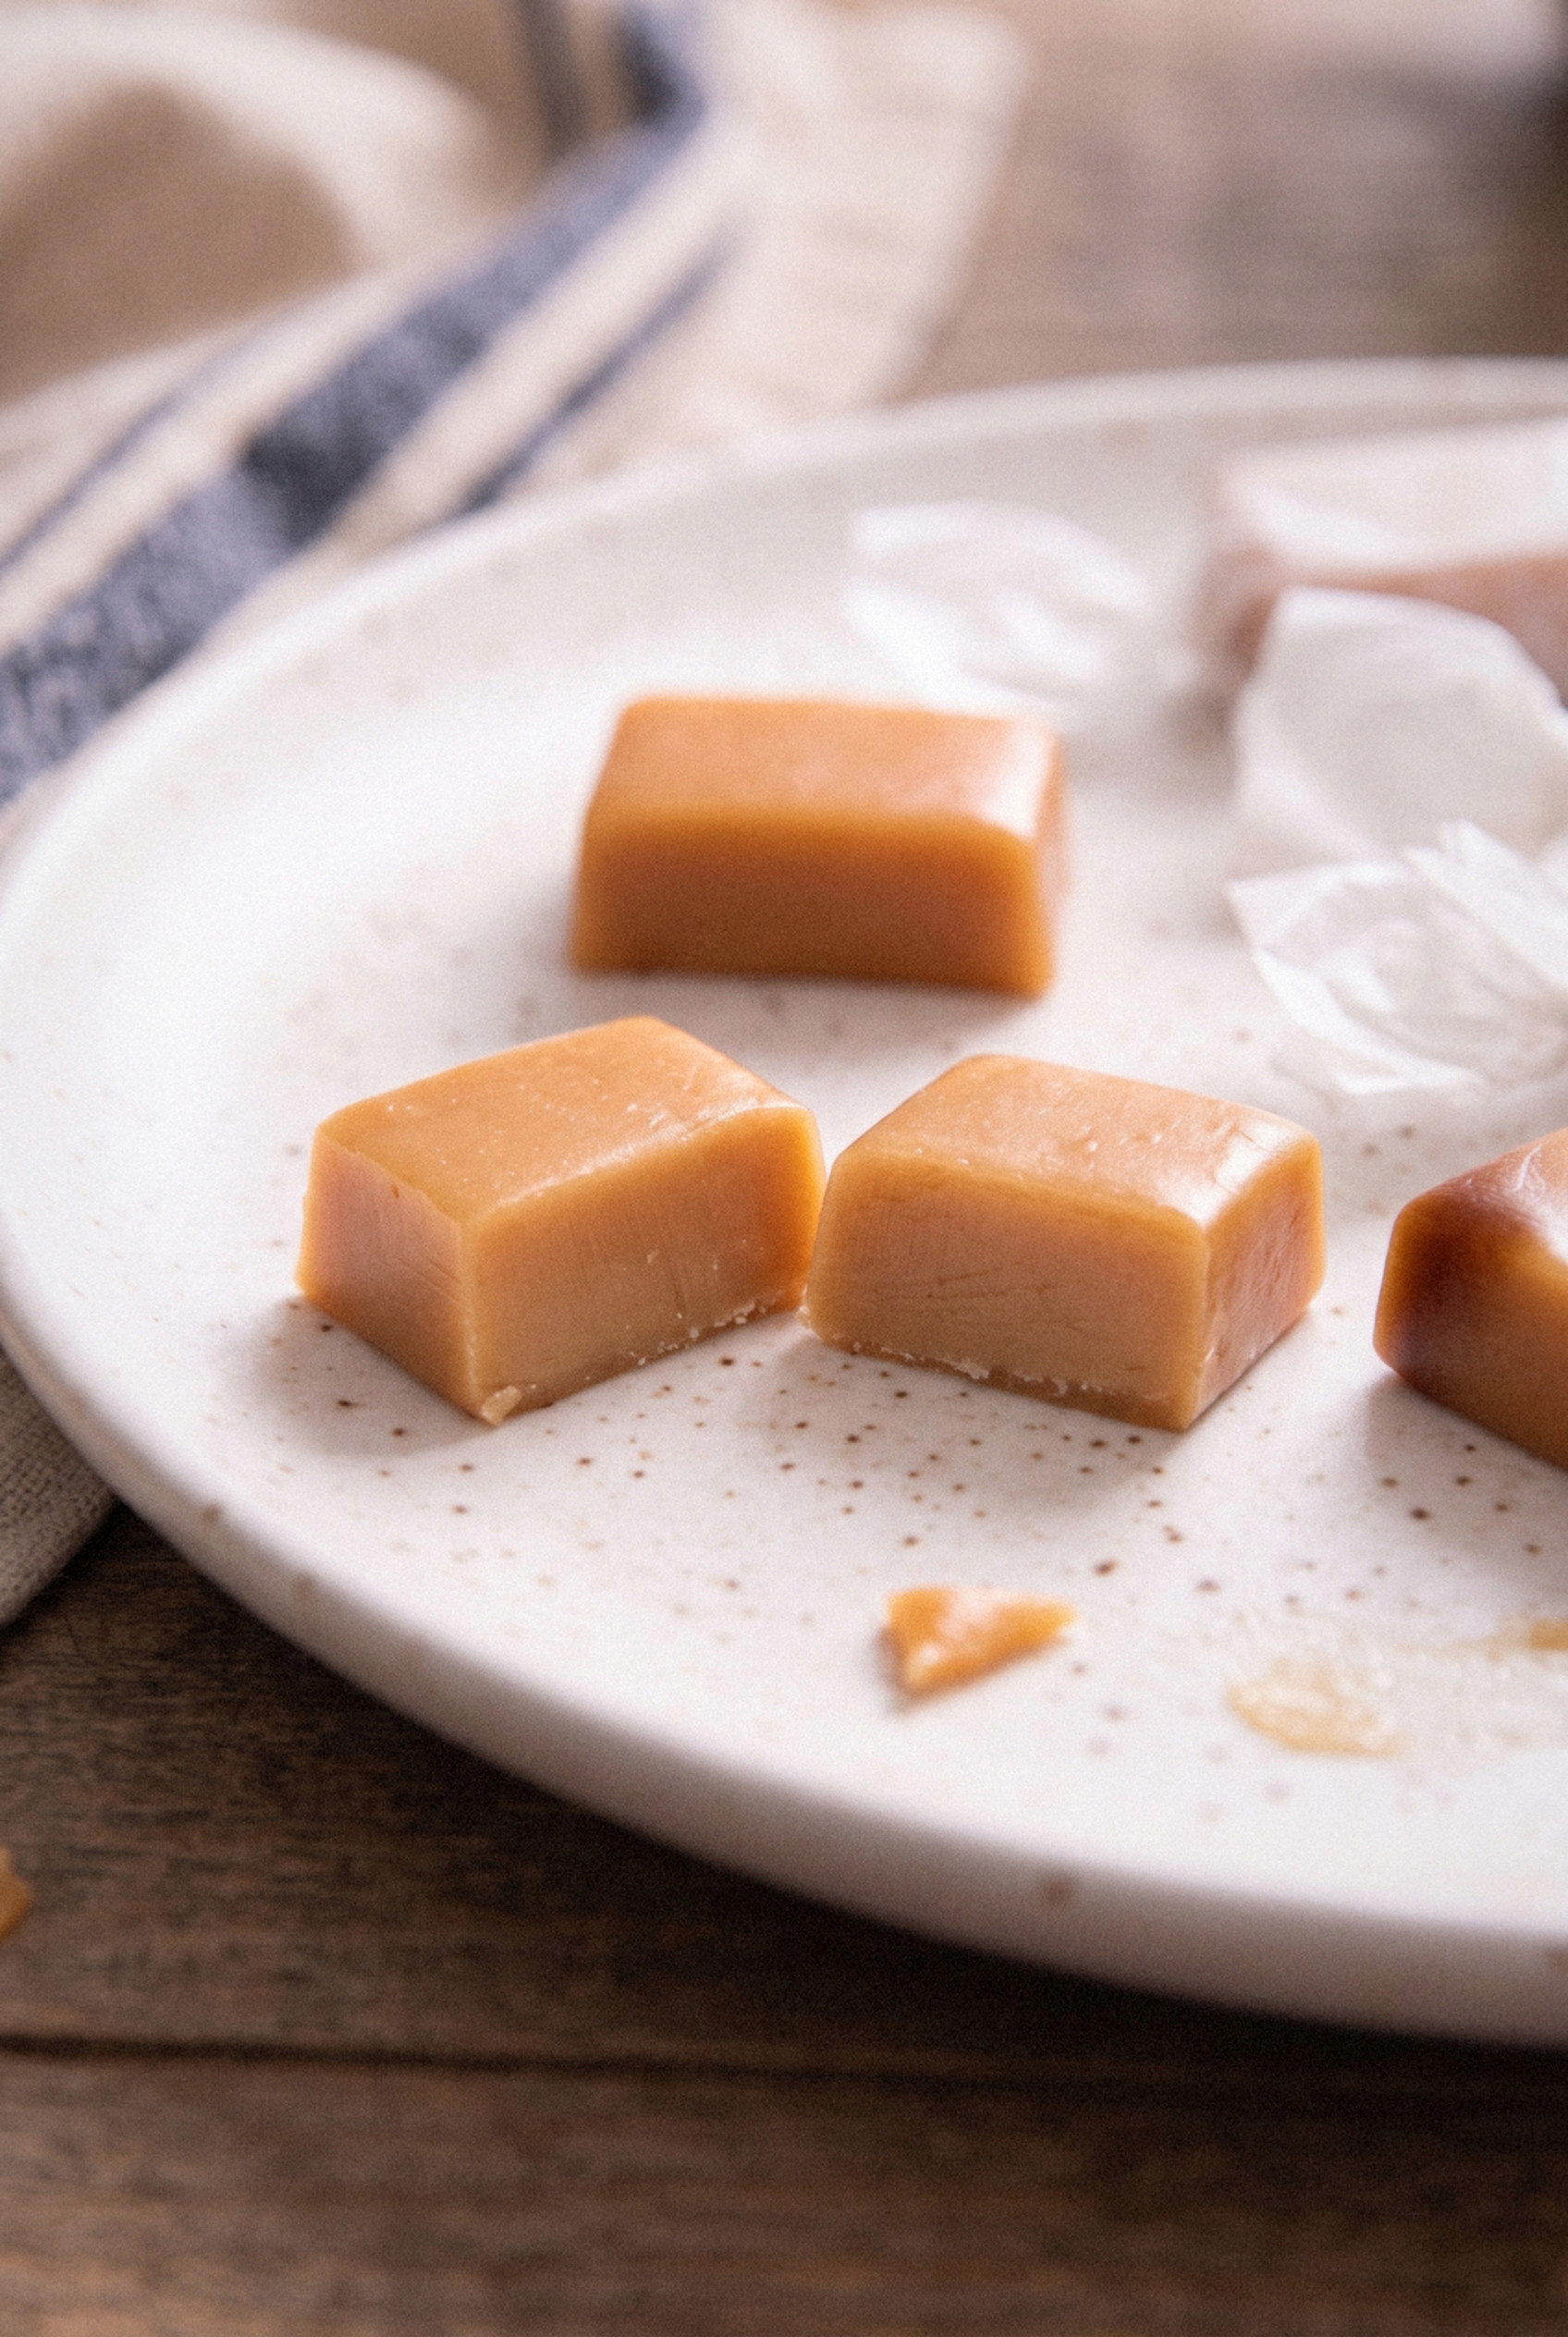
People bought them by the handful, and I'd watch that box empty while the fudge sat there untouched.
Everybody in town knew who made the good caramels.
When I finally tried making my own, years later, I was honestly a little scared of the pot.
Boiling sugar has a reputation, and my first batch set up hard enough to pull out a filling.
What fixed it was a cheap candy thermometer and a bit of patience.
These Homemade Christmas Caramels are the result of that stubborn streak.
Heavy cream, butter, two kinds of sugar and corn syrup cook together in one pot until they reach 245°F.
At that temperature you get a caramel that holds a clean square on the cookie tray but still chews soft and buttery.
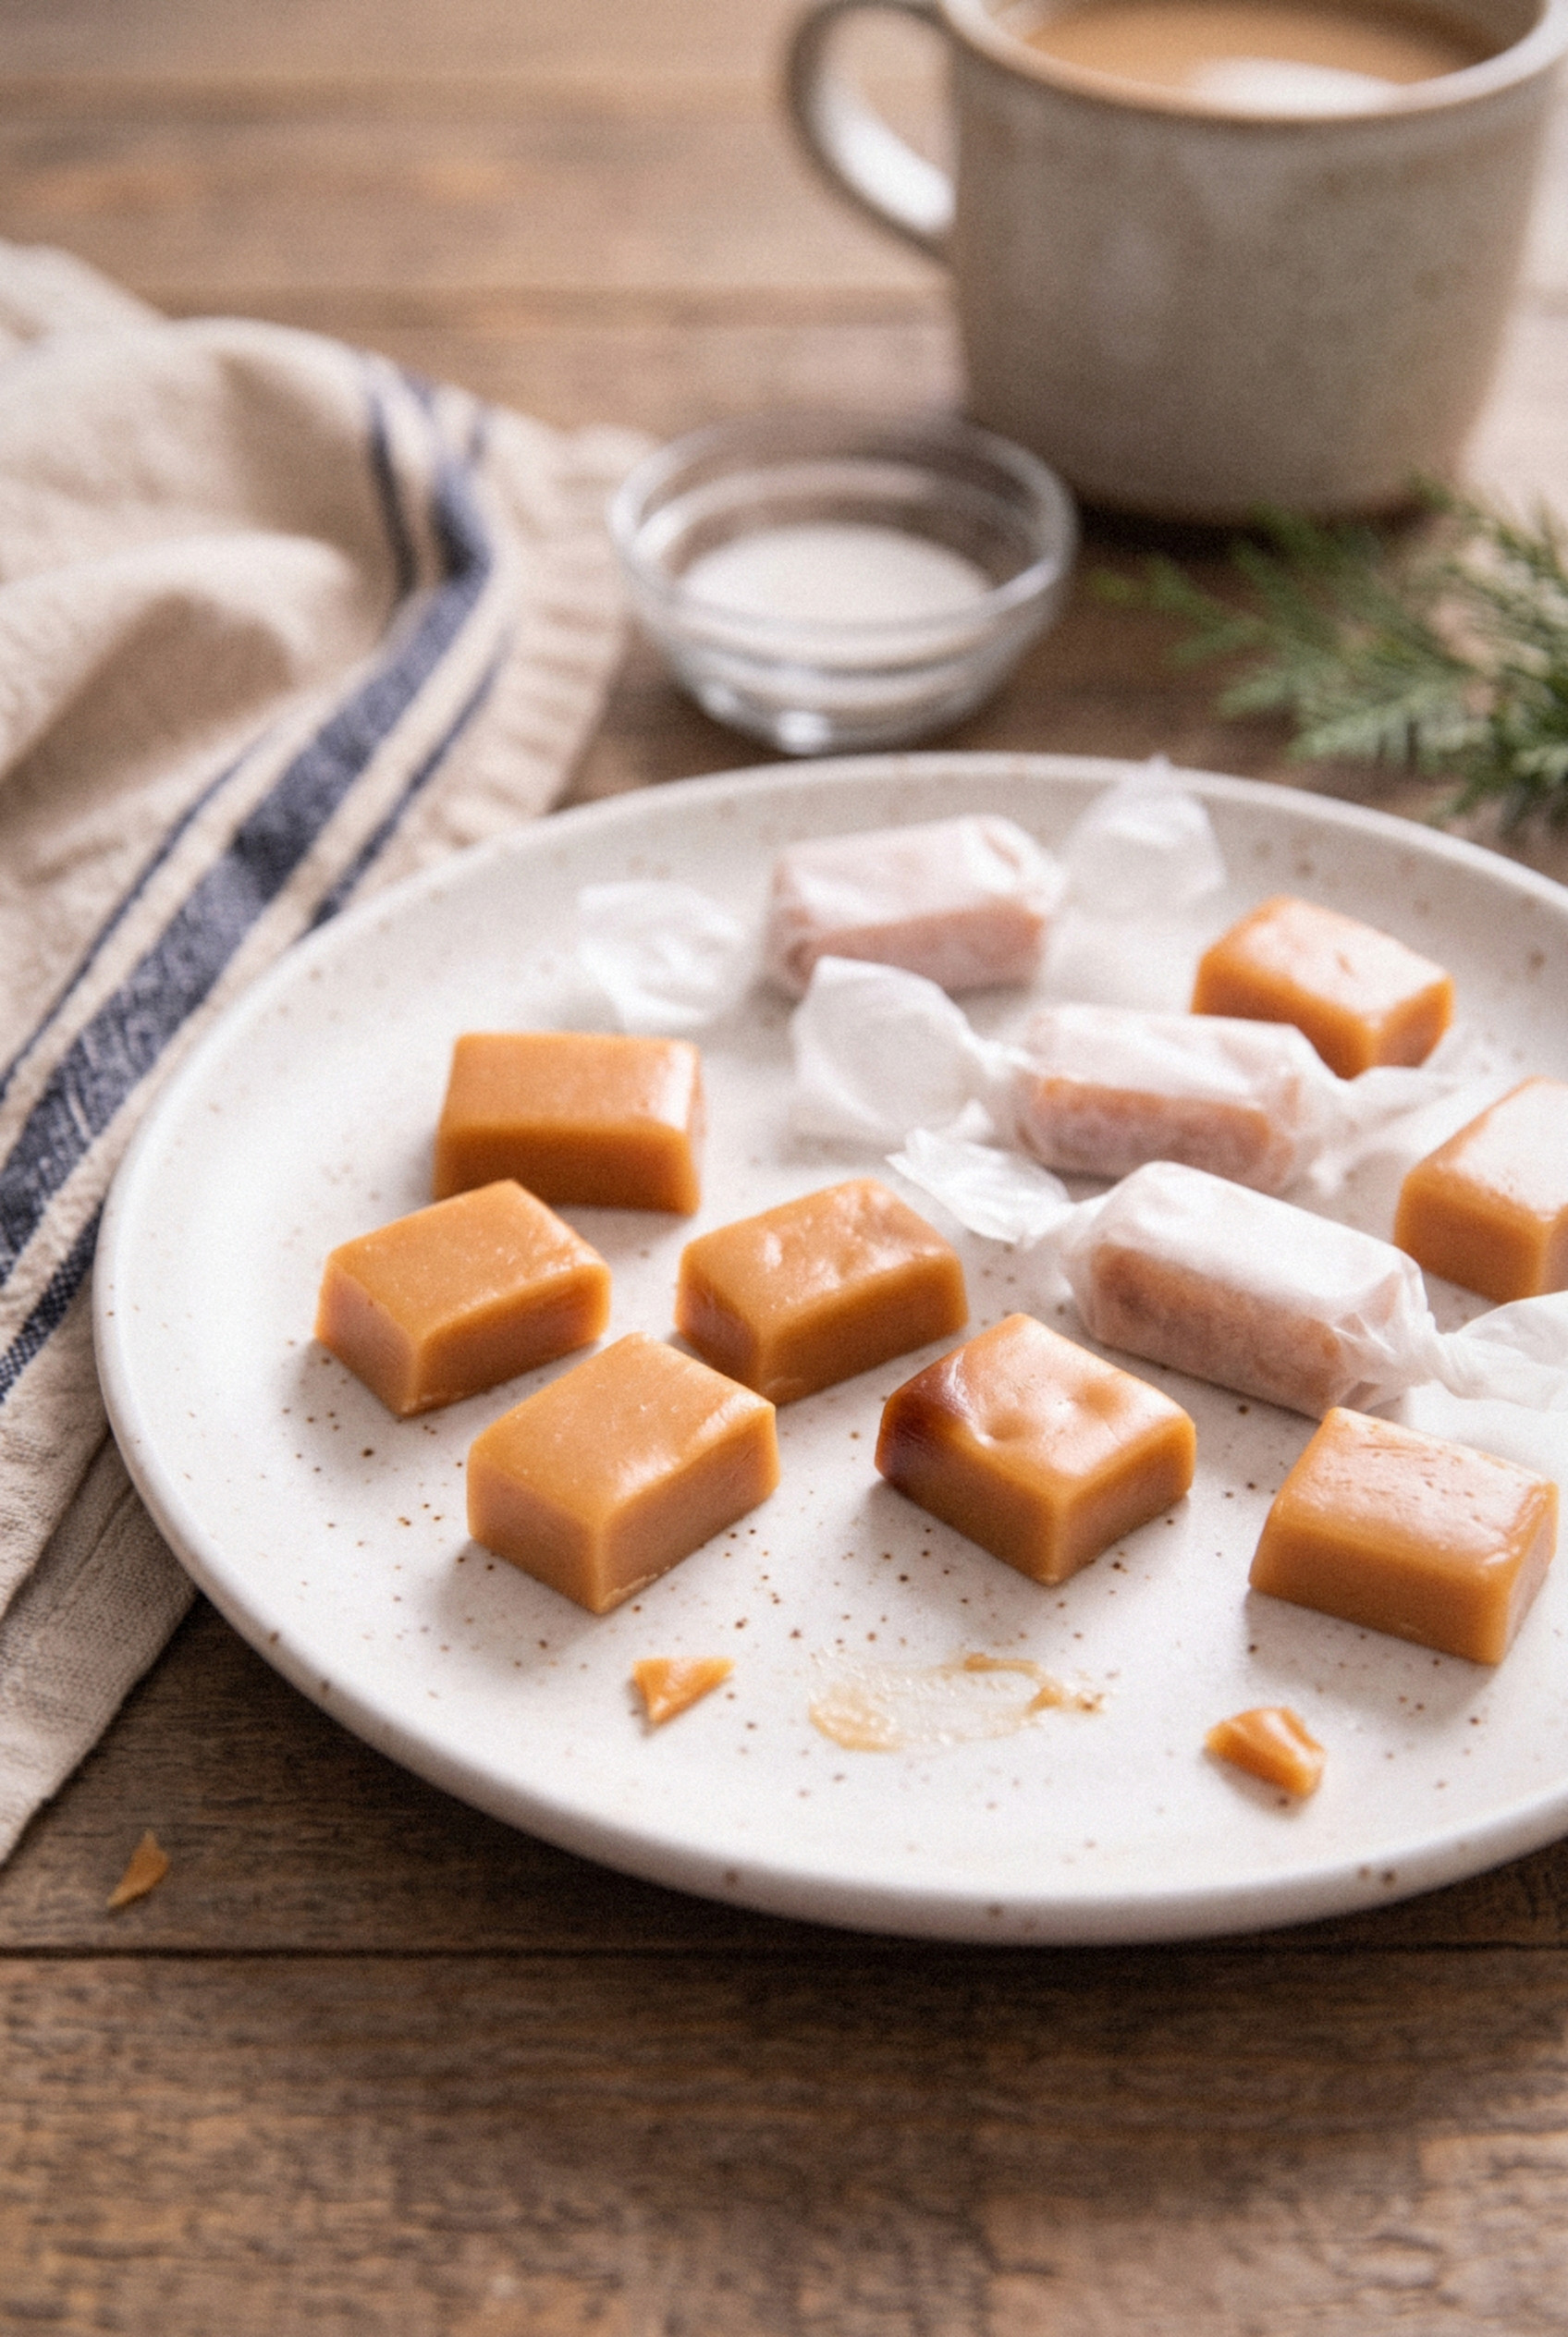
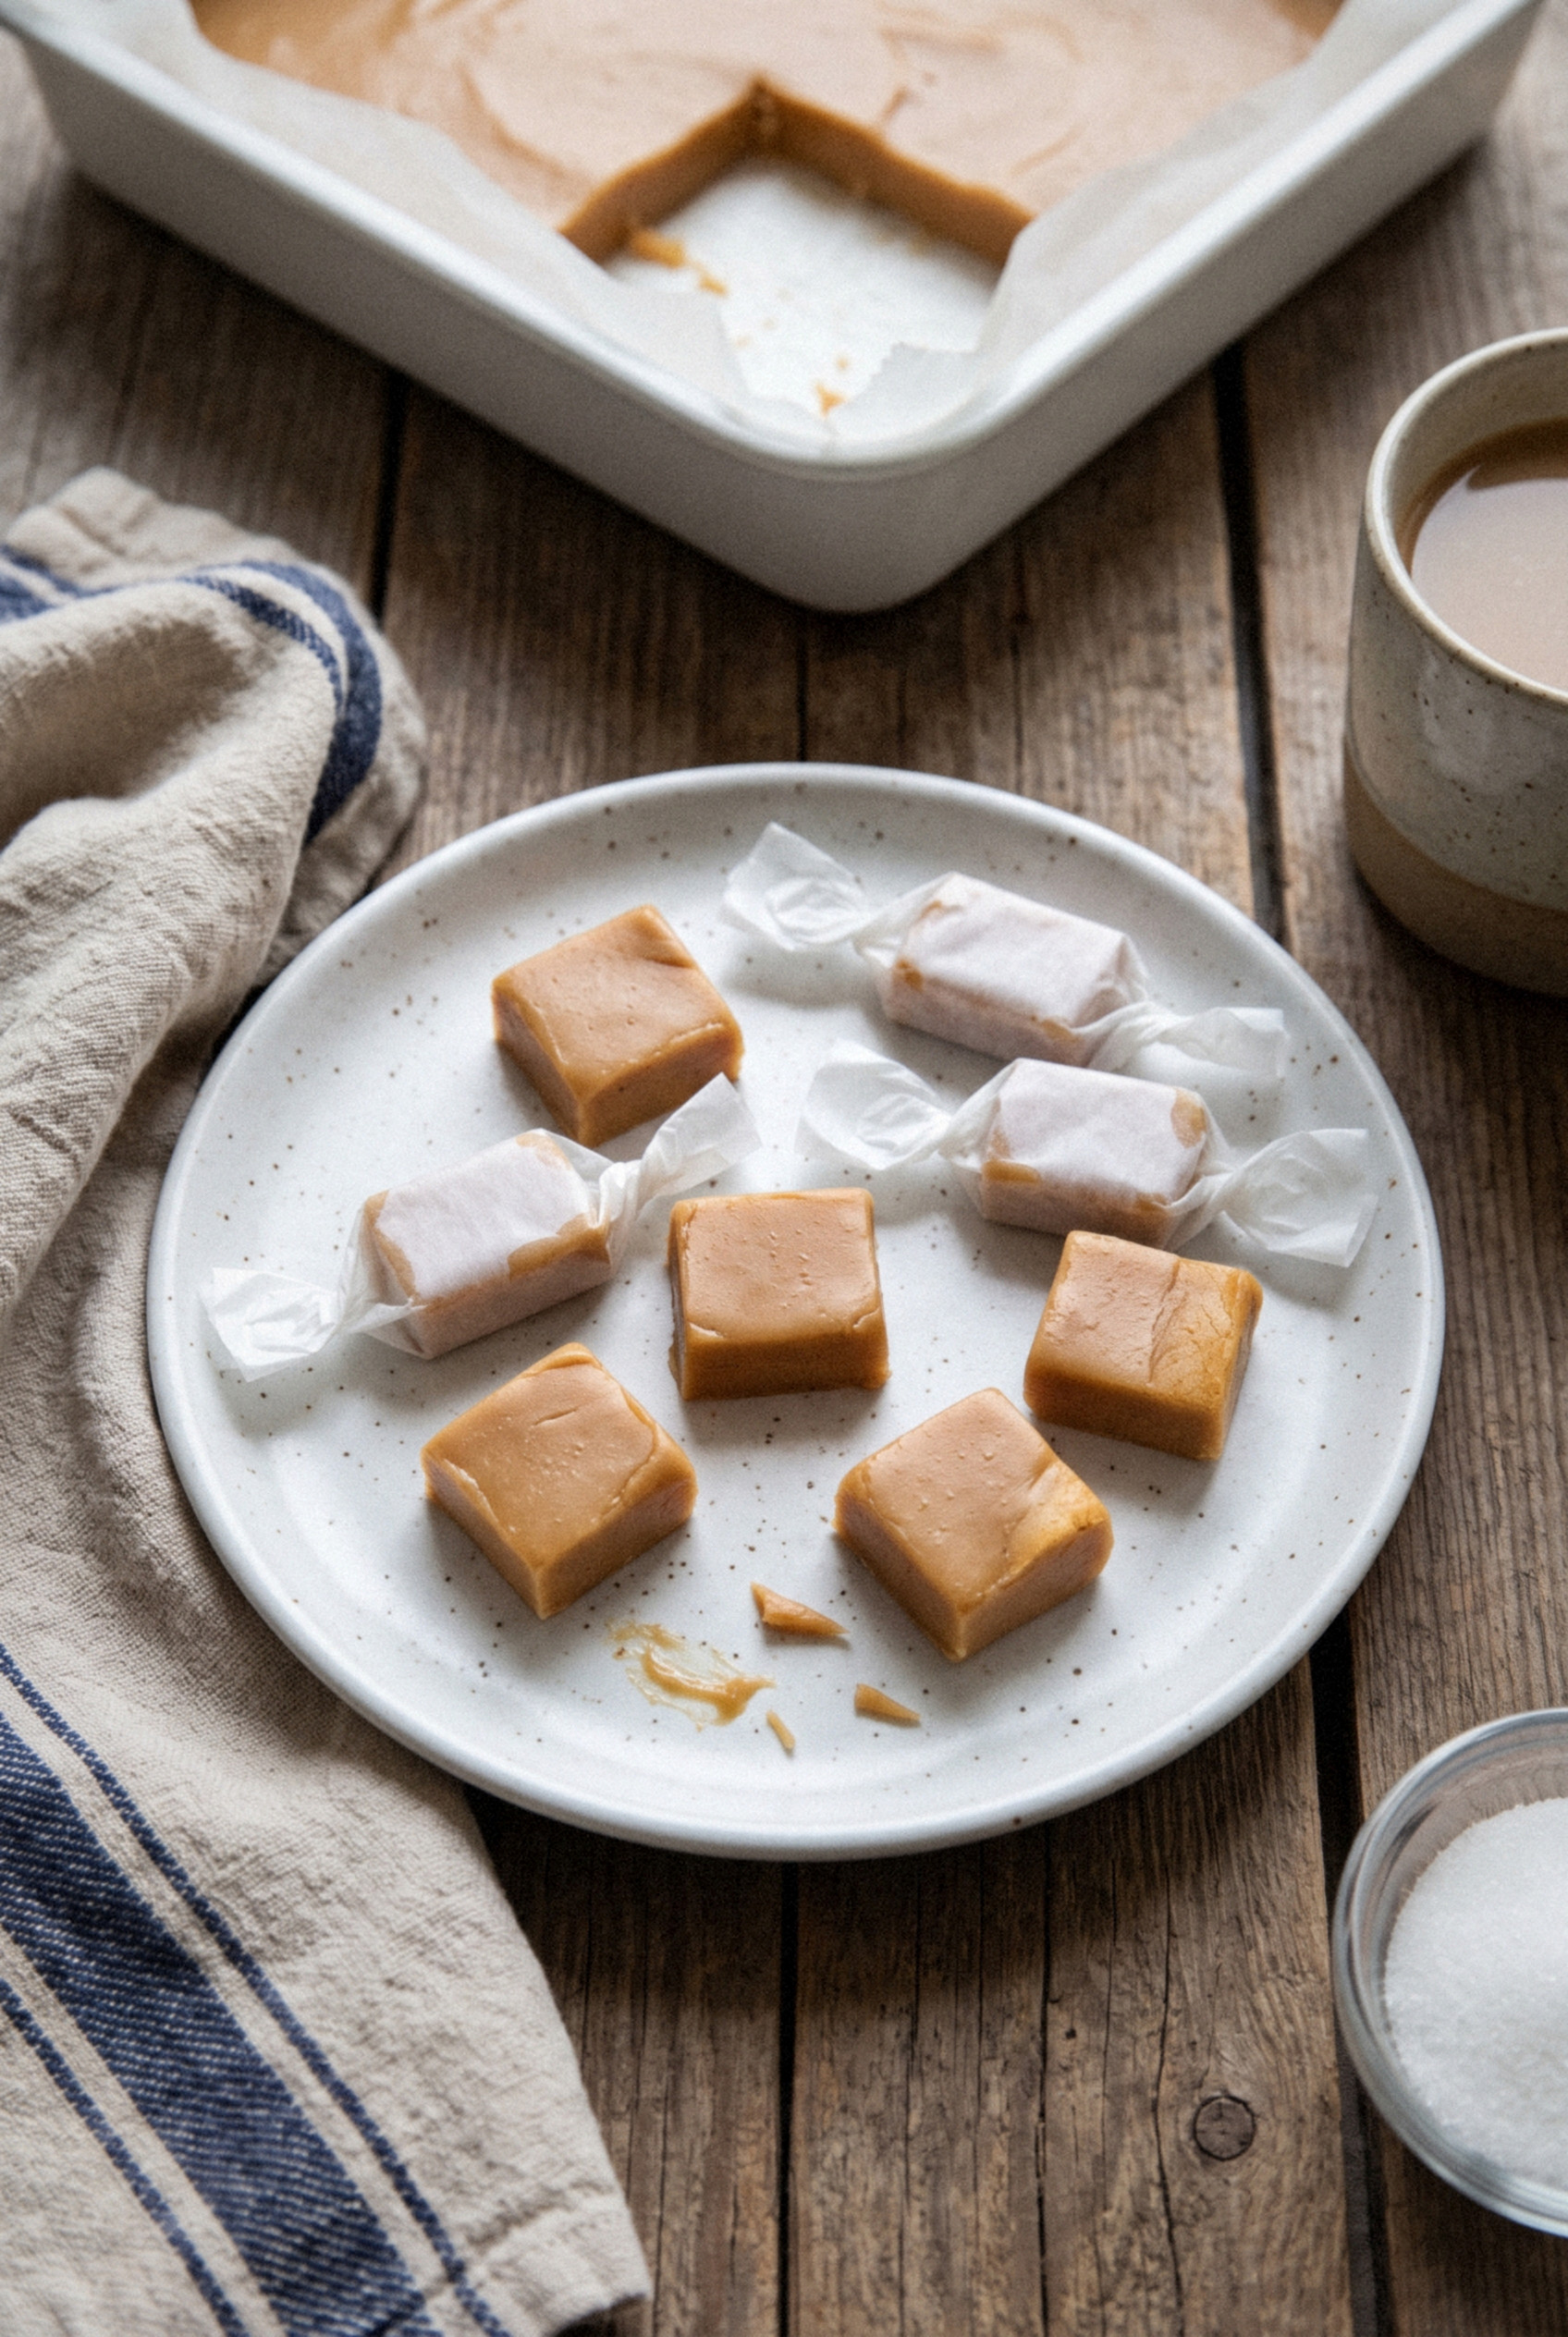
I cut them into one-inch pieces, twist them in wax paper and tuck them into gift tins for the neighbors, my wife's coworkers and our mail carrier.
No guessing involved. Make one batch and you'll see why they always vanish first.
Why These Caramels Earn a Spot in the Christmas Tin
These are the caramels people ask about by name. They're soft, buttery and slow to melt, with a deep toasty flavor you just don't get from the bagged kind.
- Soft, but they hold their shape. Cooked to 245°F, they stay square at room temperature and cut clean, yet they never get tooth-breaking hard.
- Pantry ingredients only. Cream, butter, white sugar, brown sugar and corn syrup, plus vanilla and salt. That's the whole list.
- One pot, no slow additions. Everything goes in together, so you aren't drizzling in milk a can at a time for half an hour.
- A big holiday yield. One 9x13-inch pan gives you about 80 caramels, enough for six or seven small gift bags.
- They keep for weeks. Make them in the first week of December and they're still perfect for the cookie exchange.
Homemade caramel candy has been a Christmas gift in American kitchens for well over a century, long before anyone sold it in cellophane bags.
Who doesn't love getting a tin of these? Nobody I know.
Ingredients You'll Need
Every ingredient here has a job, so don't skip any of them. Caramel is a short list, which means each one shows up in the final flavor.
- Heavy cream (2 cups). This is what makes the caramel rich and silky. I pick cream over evaporated milk because it all goes in at once and never curdles on me. Use real heavy cream, not half-and-half.
- Granulated sugar (2 cups). The backbone of the candy. It gives structure and that clean, sweet chew.
- Light brown sugar (½ cup, packed). My little holiday twist. The molasses in it adds a warm, almost toffee-like depth that tastes like Christmas.
- Light corn syrup (1 ¼ cups). Please don't leave this out. It keeps the sugar from forming crystals, which is the number one cause of grainy caramels.
- Unsalted butter (½ cup). One stick, cut into pieces so it melts evenly. Salted butter works too, just cut the added salt to ¼ teaspoon.
- Kosher salt (¾ teaspoon). Salt sharpens the caramel flavor and keeps all that sugar from tasting flat.
- Vanilla extract (2 teaspoons). Stirred in at the very end, off the heat, so the flavor stays bright.
- Flaky sea salt (optional). A pinch on top turns these into salted caramels. More on that below.
Substitutions: Evaporated milk can replace the cream, but add it slowly to an already boiling pot so it doesn't curdle. Dark corn syrup works in place of light and gives a slightly darker, more molasses-forward caramel.
How to Make Homemade Christmas Caramels
The whole process takes about an hour of hands-on time, and most of it is stirring. Get everything measured before you turn on the stove, because caramel waits for nobody once it's close.
Step 1: Prep the Pan
Line a 9x13-inch pan with parchment, leaving a few inches hanging over the two long sides. Those flaps become handles later. Rub the parchment with a thin coat of butter so the caramel releases cleanly.
Set the pan on a heatproof spot near the stove. You'll be pouring hot sugar, and you don't want to carry it across the kitchen.
Step 2: Cook the Sugar and Cream
Choose a heavy-bottomed pot that holds at least 4 quarts. The mixture bubbles up to roughly twice its starting volume, so a small saucepan will boil over. Add the cream, granulated sugar, brown sugar, corn syrup, butter and salt all at once.
Cook over medium heat, stirring with a heatproof spatula, until the butter melts and the sugar fully dissolves, about 5-7 minutes. Rub a little of the liquid between your fingers carefully once it's warm, not hot. If it feels gritty, keep stirring.
Pro tip: Dip a pastry brush in water and wipe down the inside walls of the pot once it starts to simmer. Any stray sugar crystals left up there can drop back in and make the whole batch grainy.
Step 3: Watch the Thermometer
Clip a candy thermometer to the side of the pot so the tip sits in the caramel but doesn't touch the bottom. Let the mixture come to a steady boil, then keep stirring slowly and constantly, scraping the bottom and corners where cream likes to scorch.
For the first 15 minutes, the temperature climbs fast and the caramel looks pale and foamy. After about 230°F, it slows way down, the bubbles get bigger and glossier, and the color deepens to a light peanut-butter tan. Total cooking time is usually 35-45 minutes.
Pull the pot off the heat the moment it hits 245°F. A degree or two past that is fine. Five degrees past it gives you a firmer chew.
Step 4: Finish, Pour, and Set
Stir in the vanilla off the heat. It will sputter and hiss for a few seconds, so keep your face back. Pour the caramel into the prepared pan right away and tilt the pan gently to level it.
Do NOT scrape the bottom of the pot into the pan. That last layer is the hottest, most likely to have crystals or scorched bits, and it can ruin the texture of the batch.
Let the caramel cool at room temperature for at least 4 hours, or overnight. If you want salted caramels, sprinkle the flaky salt on after about 20 minutes, once the surface has started to firm up.
Step 5: Cut and Wrap
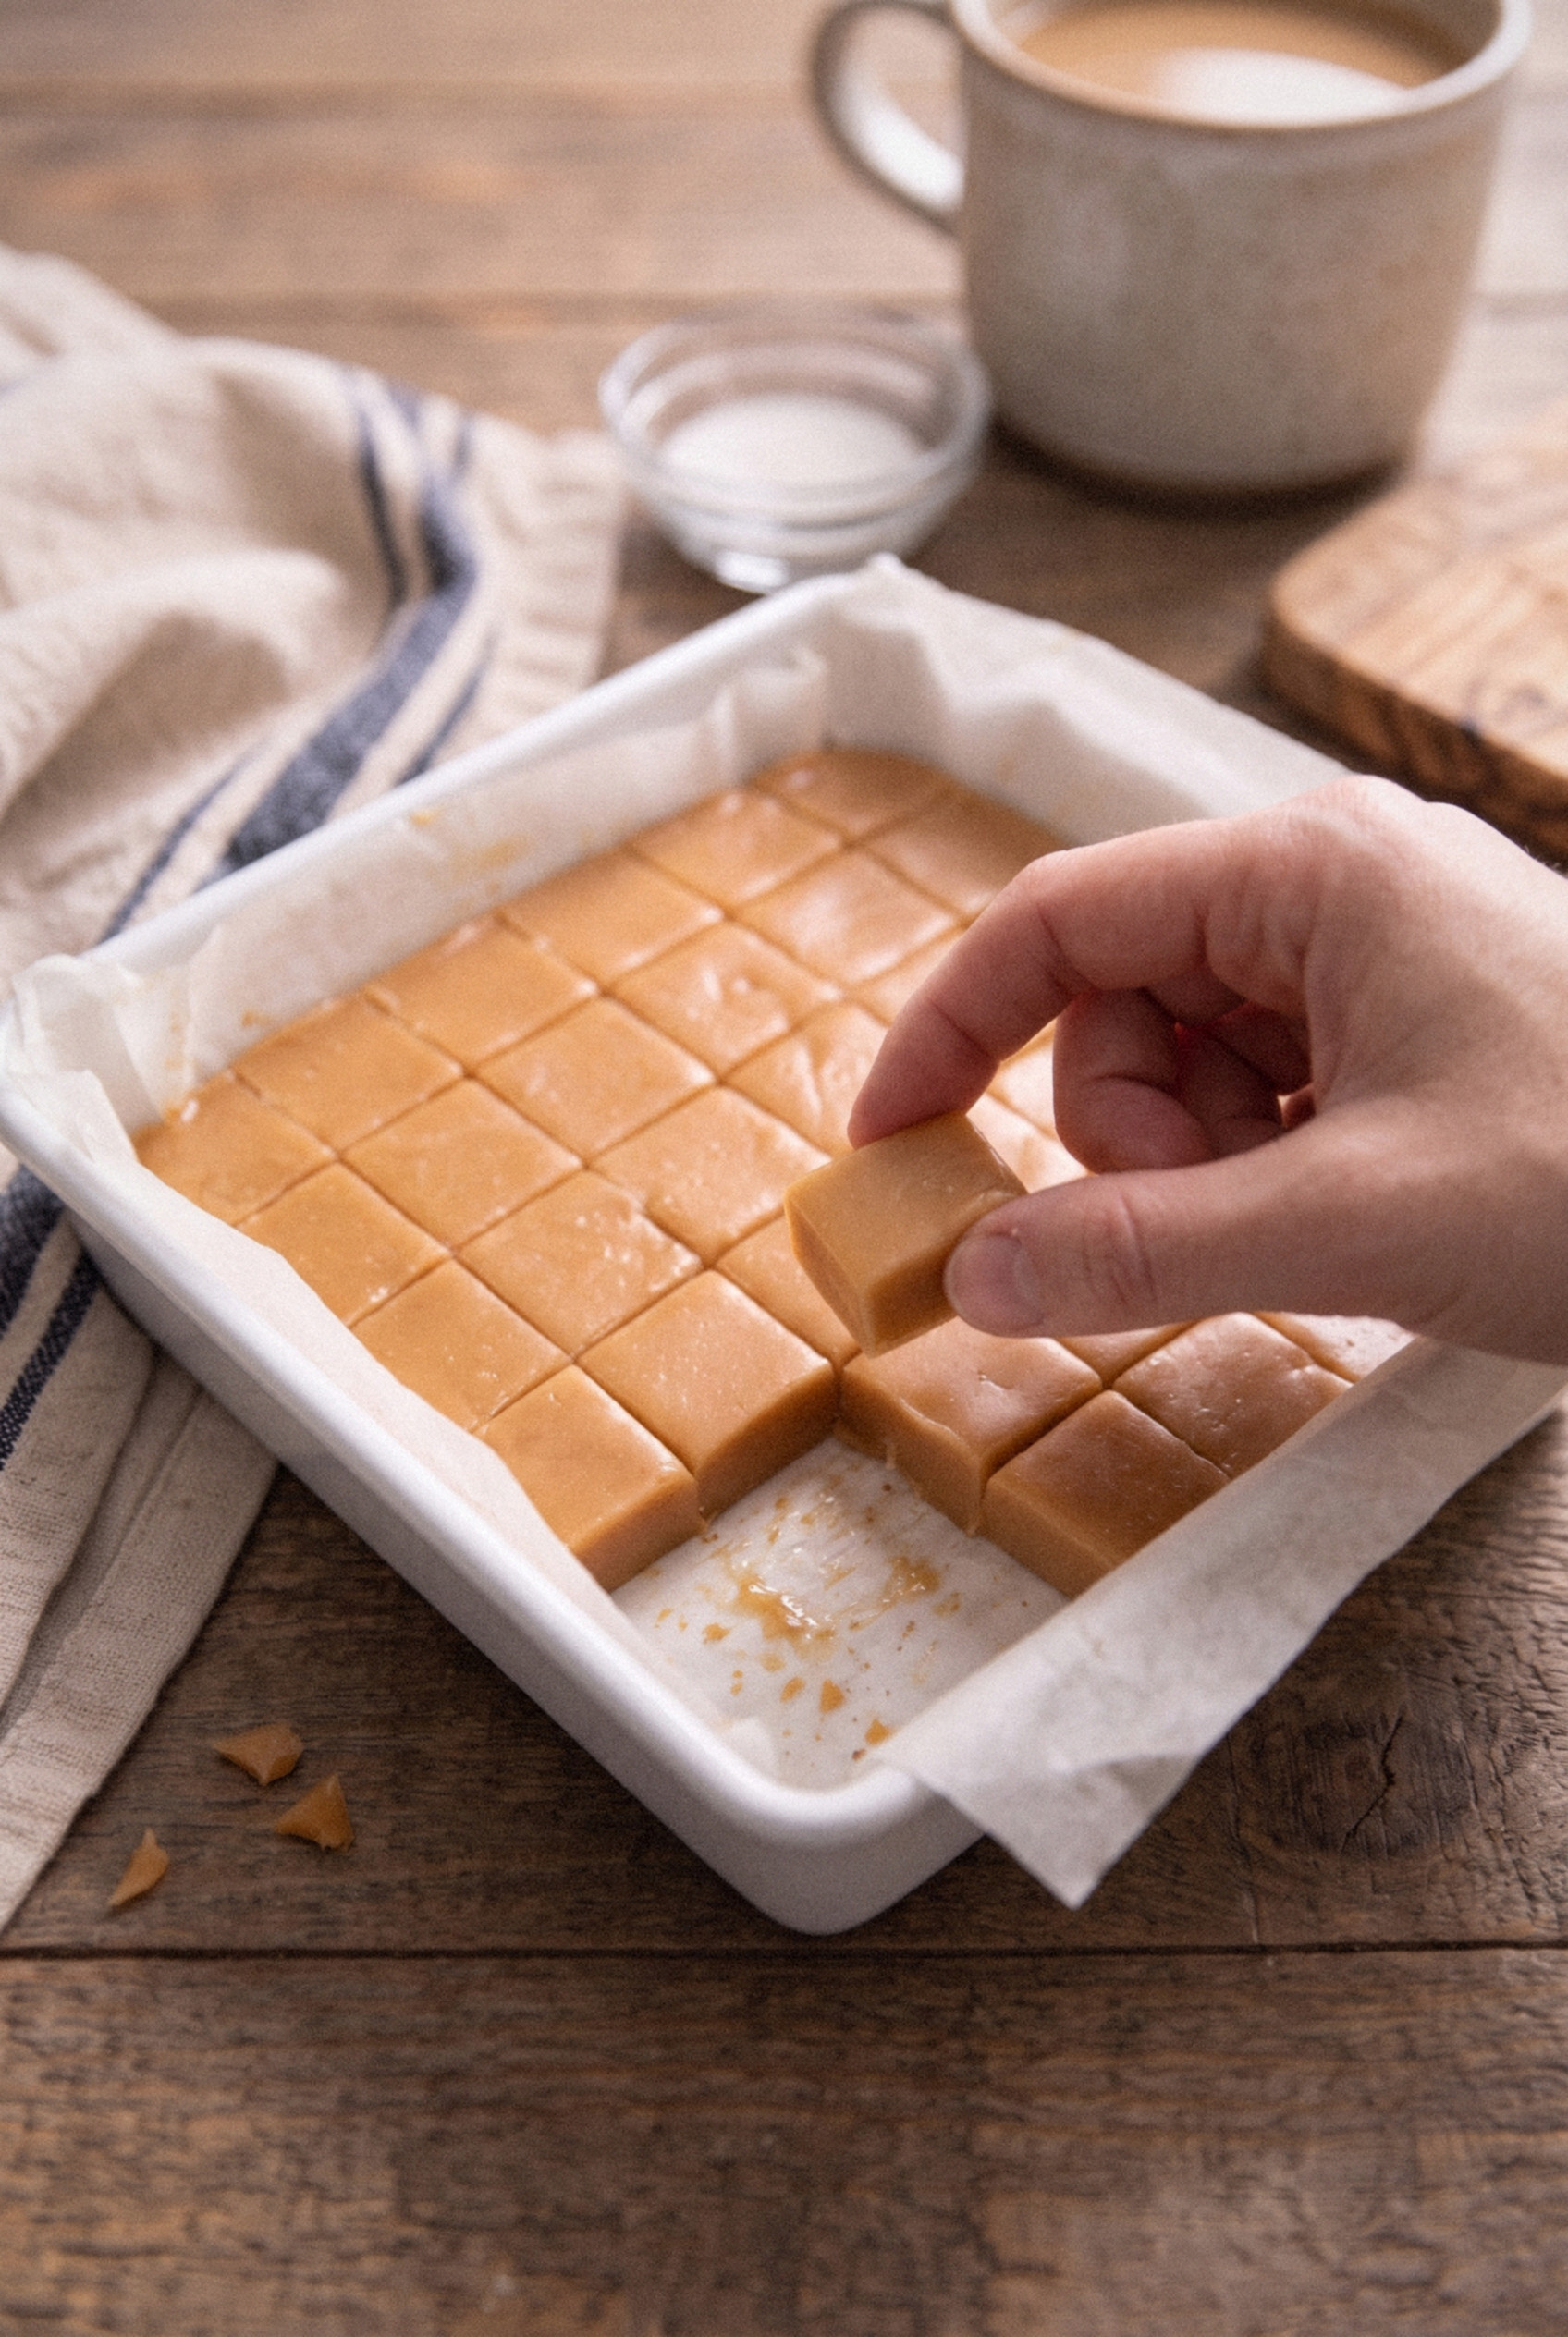
Lift the whole slab out by the parchment handles and set it on a cutting board. Rub a long, sharp knife with butter and cut the slab into strips, then cut the strips into roughly 1-inch pieces. Re-butter the knife every few cuts.
If the slab feels too soft to cut cleanly, pop it in the freezer for 15-20 minutes. Cold caramel cuts like a dream!
Wrap each piece in a small square of wax paper and twist both ends. Yes, it takes a while. Put on a Christmas movie and recruit some helpers!
Caramel Temperature Guide
A few degrees decide everything with caramel. This is the part nobody explains well, and it's why one recipe swears by 238°F while another says 248°F.
- 238-240°F. Very soft. Almost spreadable at room temperature and best kept in the fridge. Lovely, but they slump in a gift tin.
- 245°F. My sweet spot. Soft and chewy, holds a sharp square, and wraps without sticking.
- 248-250°F. Firm and chewy, closer to a classic candy-store caramel. Great if your house runs warm.
- 255°F and up. Getting hard. These will stick to your teeth and fight back.
Calibrate your thermometer first. Clip it into a pot of boiling water for a few minutes. At sea level it should read 212°F. If it reads 208°F, it runs 4 degrees low, so cook your caramel to 241°F on that thermometer.
Live at altitude? Water boils at a lower temperature up high, so drop your target by about 2 degrees for every 1,000 feet above sea level.
No thermometer? Use the cold water test. Drop a little caramel into a glass of ice water and press it into a ball. It's ready when it forms a firm ball that still squishes between your fingers.
Is a thermometer worth it, though? For caramel, absolutely!
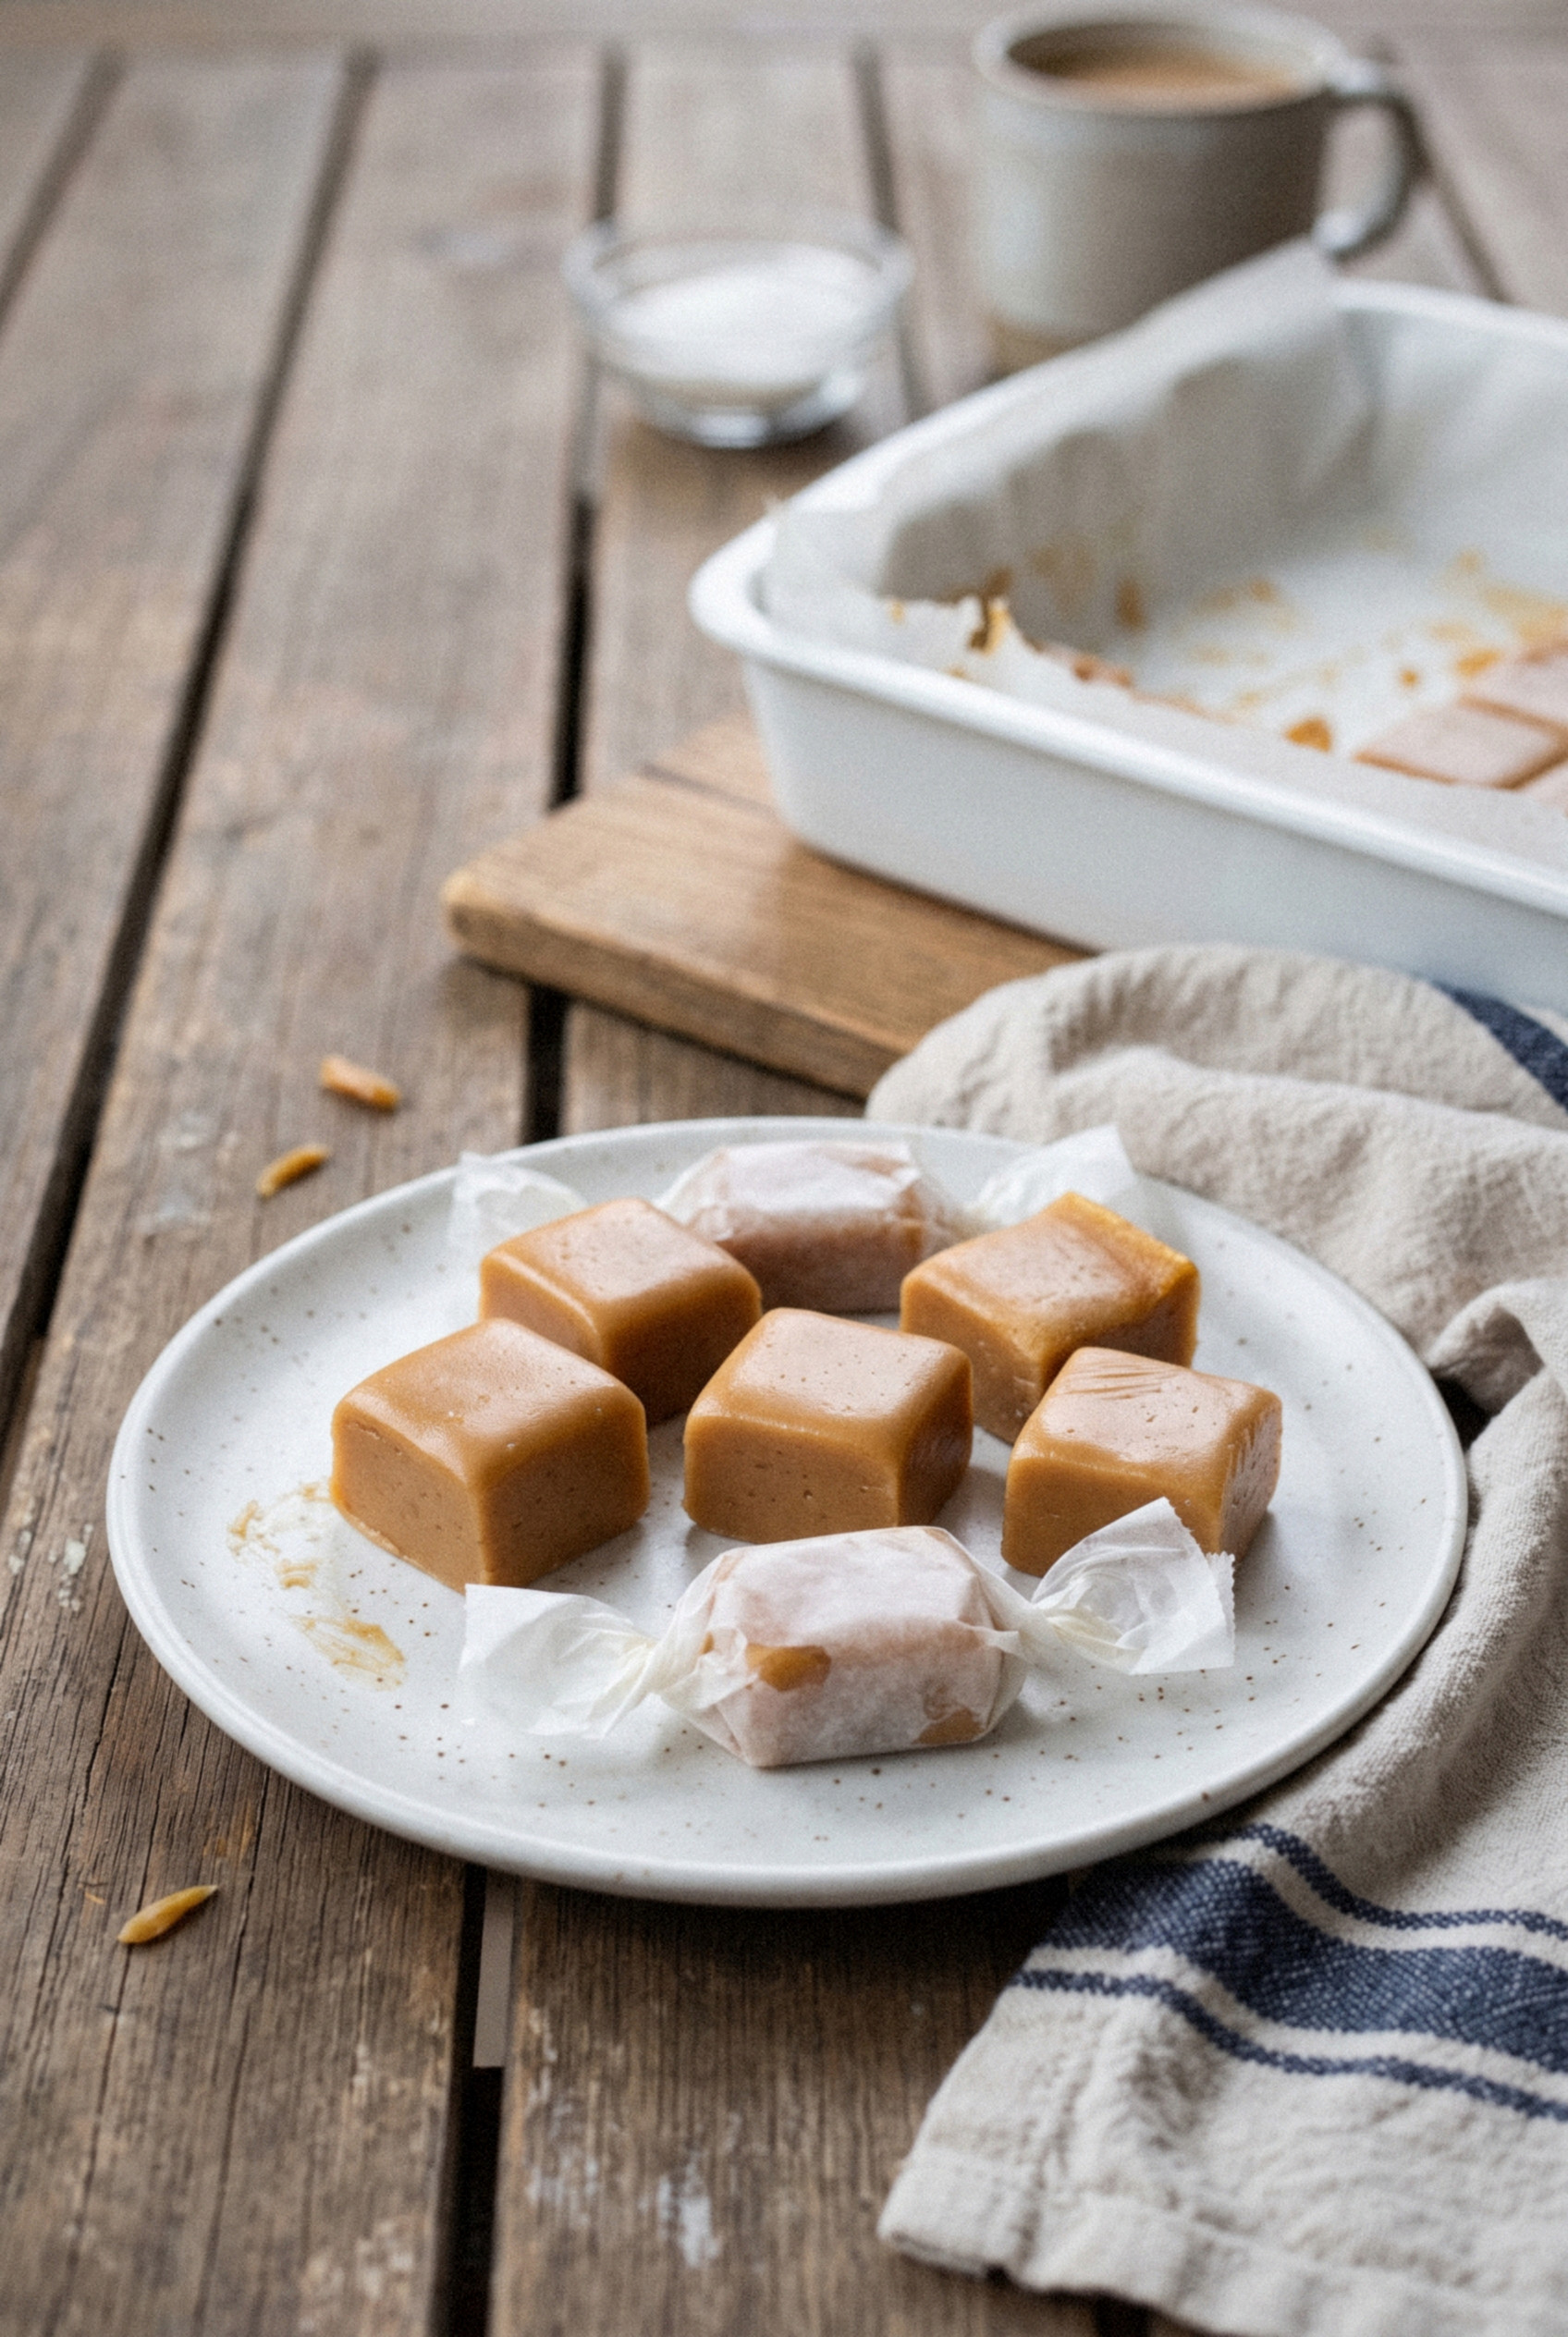
Tips for Perfect Caramels Every Time
Most caramel failures come down to the same handful of mistakes. Here's how I avoid them.
- Keep the heat at medium. Cranking it to high saves ten minutes and scorches the cream on the bottom. Burnt flavor spreads through the whole pot.
- Stir slowly and steadily. You're keeping the bottom moving, not whipping air in. A flat-edged heatproof spatula reaches the corners best.
- Don't scrape the pot when pouring. Let what pours out freely go in the pan. The stuck layer stays in the pot.
- Wait to cut. Warm caramel smears and loses its shape. Give it the full four hours.
- Fixing grainy caramel. If it turns sandy while cooking, add ¼ cup of water, stir gently until the crystals melt, then cook back up to temperature.
- Fixing caramels that are too soft. Scrape the set caramel back into the pot with 2 tablespoons of cream, melt it over low heat and cook to 247°F. It works, I promise.
- Too hard? That one's tougher to rescue. Chop the caramel and melt it into ice cream topping instead. Nobody complains!
- Doubling the batch. Use a 6- to 8-quart pot and expect the cook time to stretch to about an hour. Pour into two 9x13 pans.
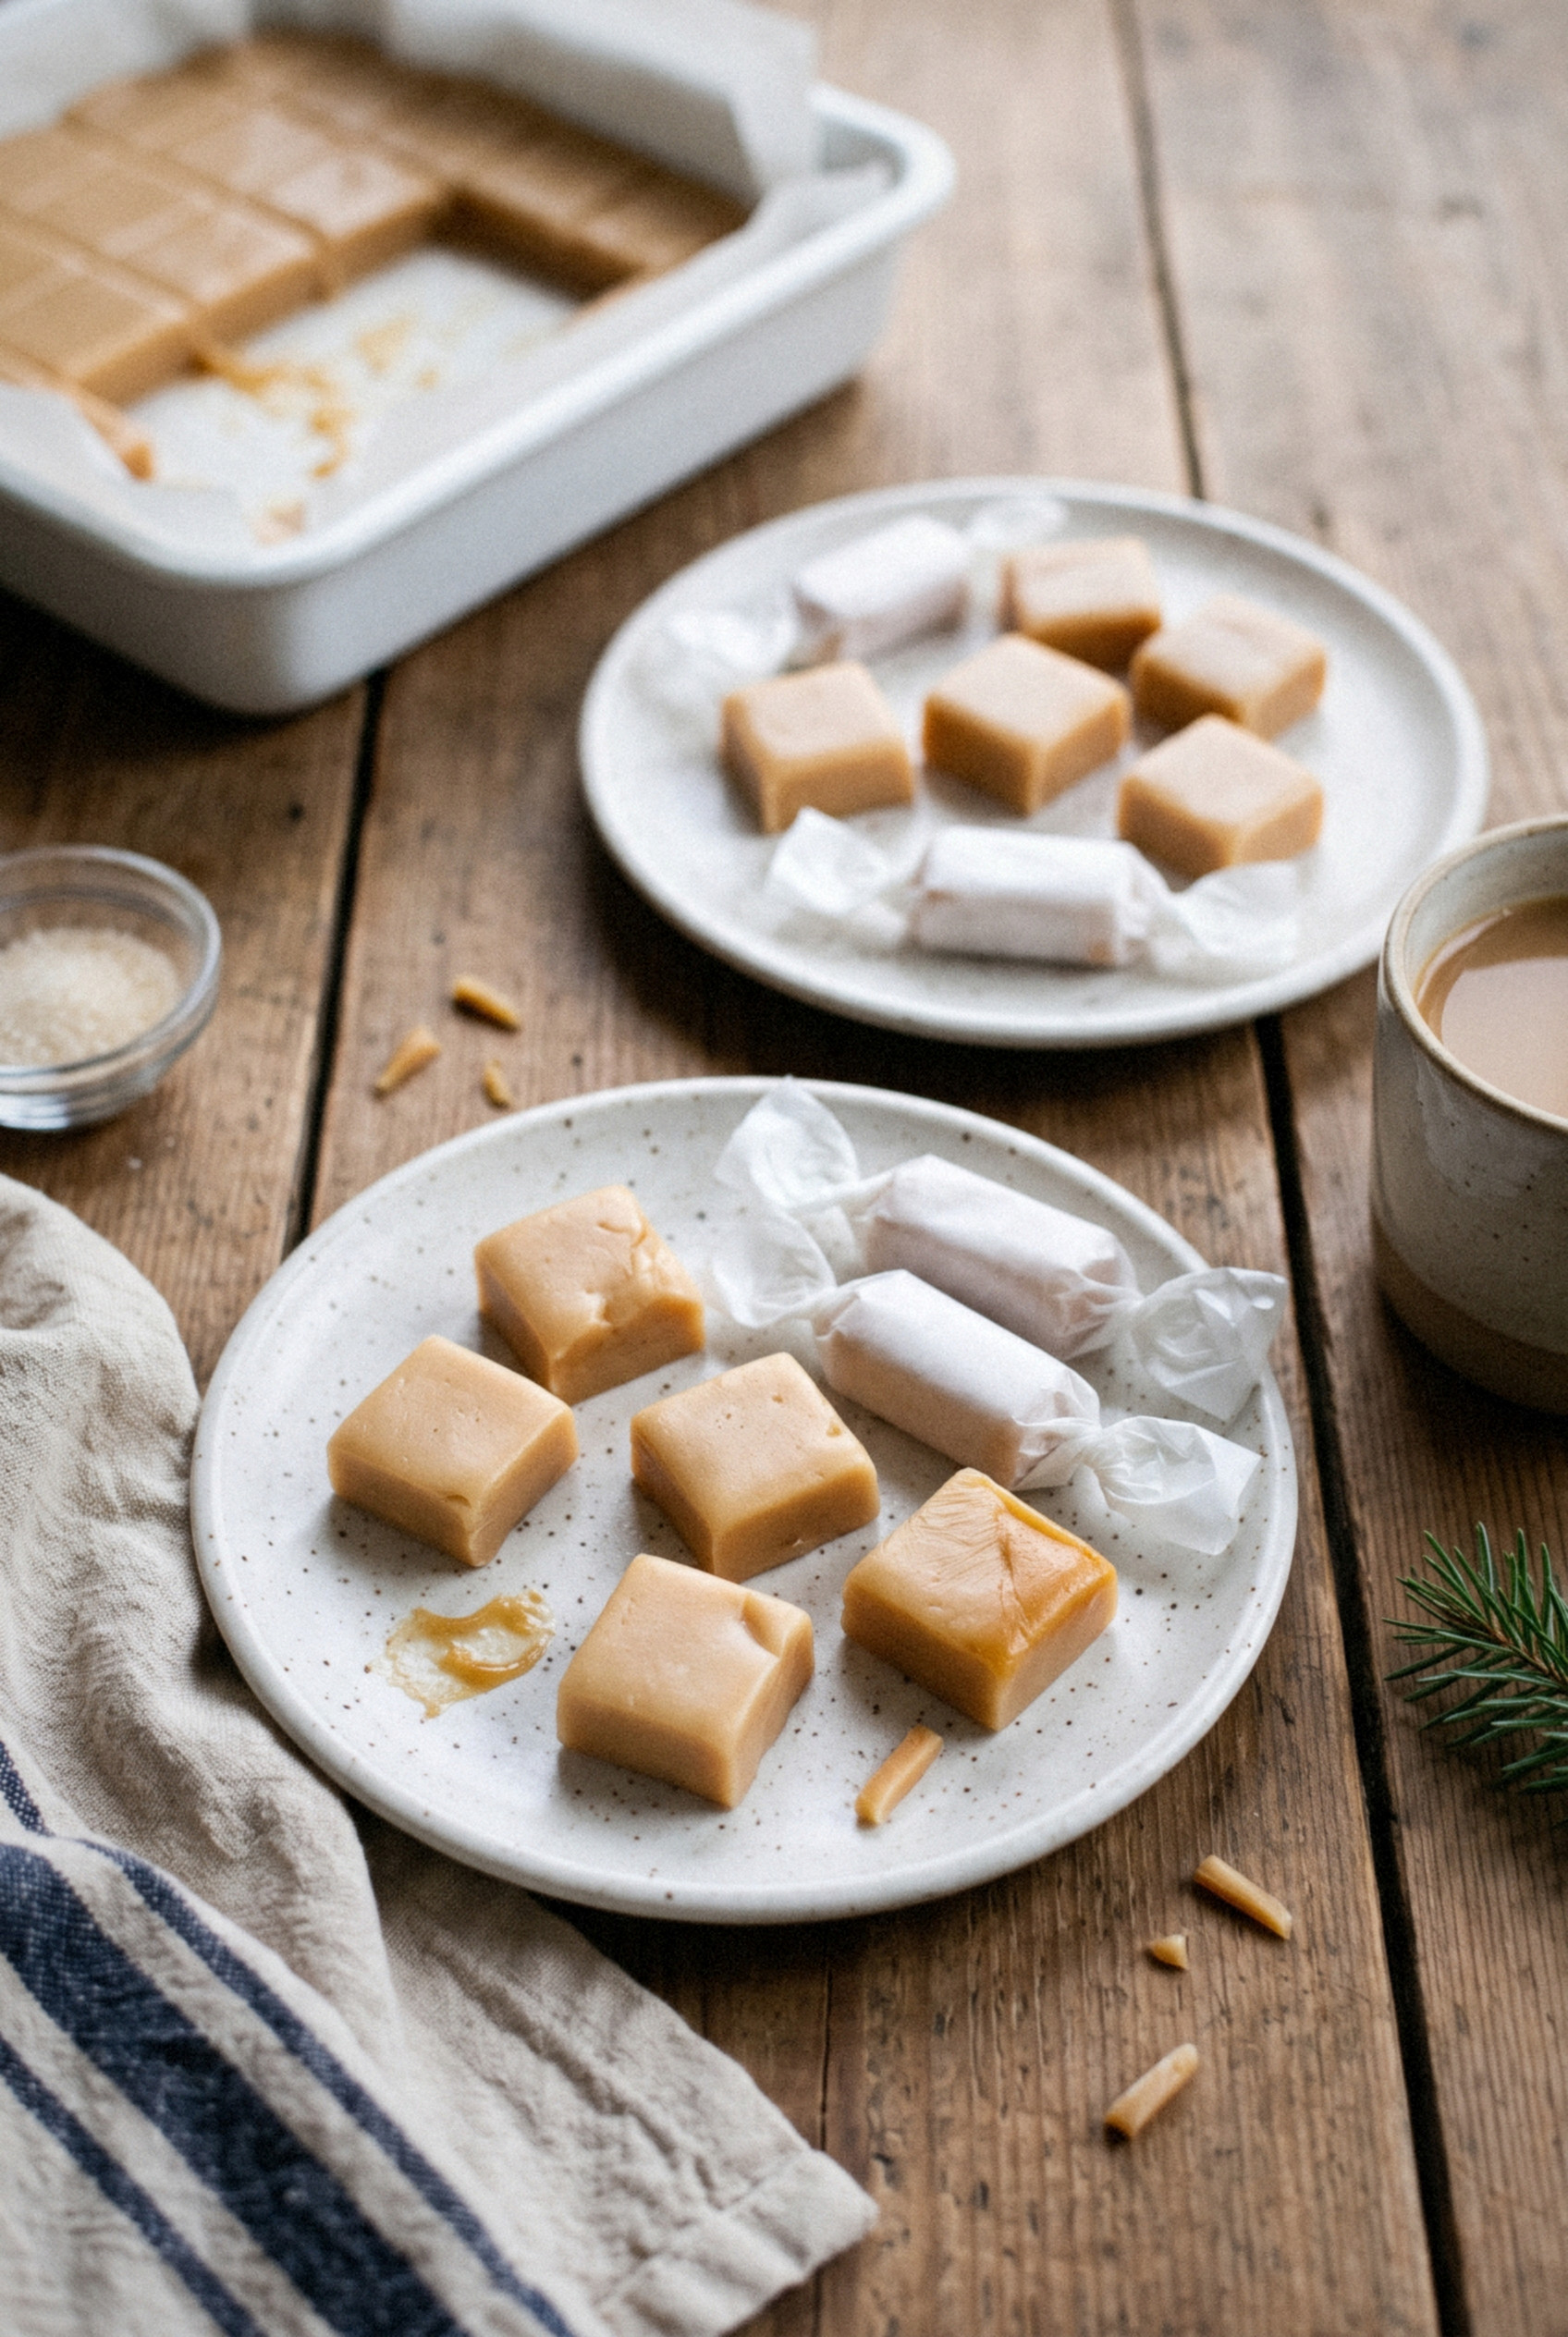
Christmas Variations
Once you've nailed the basic caramel, it's a breeze to dress it up for the holidays. These are the versions that show up in my gift tins most often.
- Salted caramels. Sprinkle about 1 teaspoon of flaky sea salt over the top after 20 minutes of cooling. The sweet and salty contrast is out of this world.
- Turtle caramels. Scatter 1 cup of toasted chopped pecans over the hot caramel, let it set, then drizzle with melted semi-sweet chocolate before cutting.
- Cinnamon caramels. Stir 1 teaspoon of ground cinnamon in with the vanilla. Smells like Christmas morning!
- Orange caramels. Swap the vanilla for 1 teaspoon of orange extract and add a little fresh zest.
- Peppermint caramels. Use ½ teaspoon of peppermint extract in place of half the vanilla. Go easy, peppermint is strong.
- Vanilla bean caramels. Scrape the seeds from one vanilla bean into the pot with the sugar for little black flecks throughout.
How to Wrap and Gift Caramels
Wrapping is half the charm of homemade caramels. A little wax paper twist makes them look like they came from an old-fashioned candy counter.
- Cut your wrappers first. Squares about 4x4 inches fit a one-inch caramel perfectly. Pre-cut candy wrappers save a lot of time if you make several batches.
- Roll and twist. Set the caramel near one edge, roll it up, then twist both ends in opposite directions like a little bow tie.
- Wrap them cold. Chilled caramels hold their square edges and don't stick to the paper.
- Pack by count. I put about 12 caramels in a small cellophane bag for a teacher or neighbor and 20-24 in a tin for a family.
- Add a label. A little tag with the date and "store at room temperature" helps people know they're good for weeks.
Fair warning: once you hand these out, people will expect them every single year!
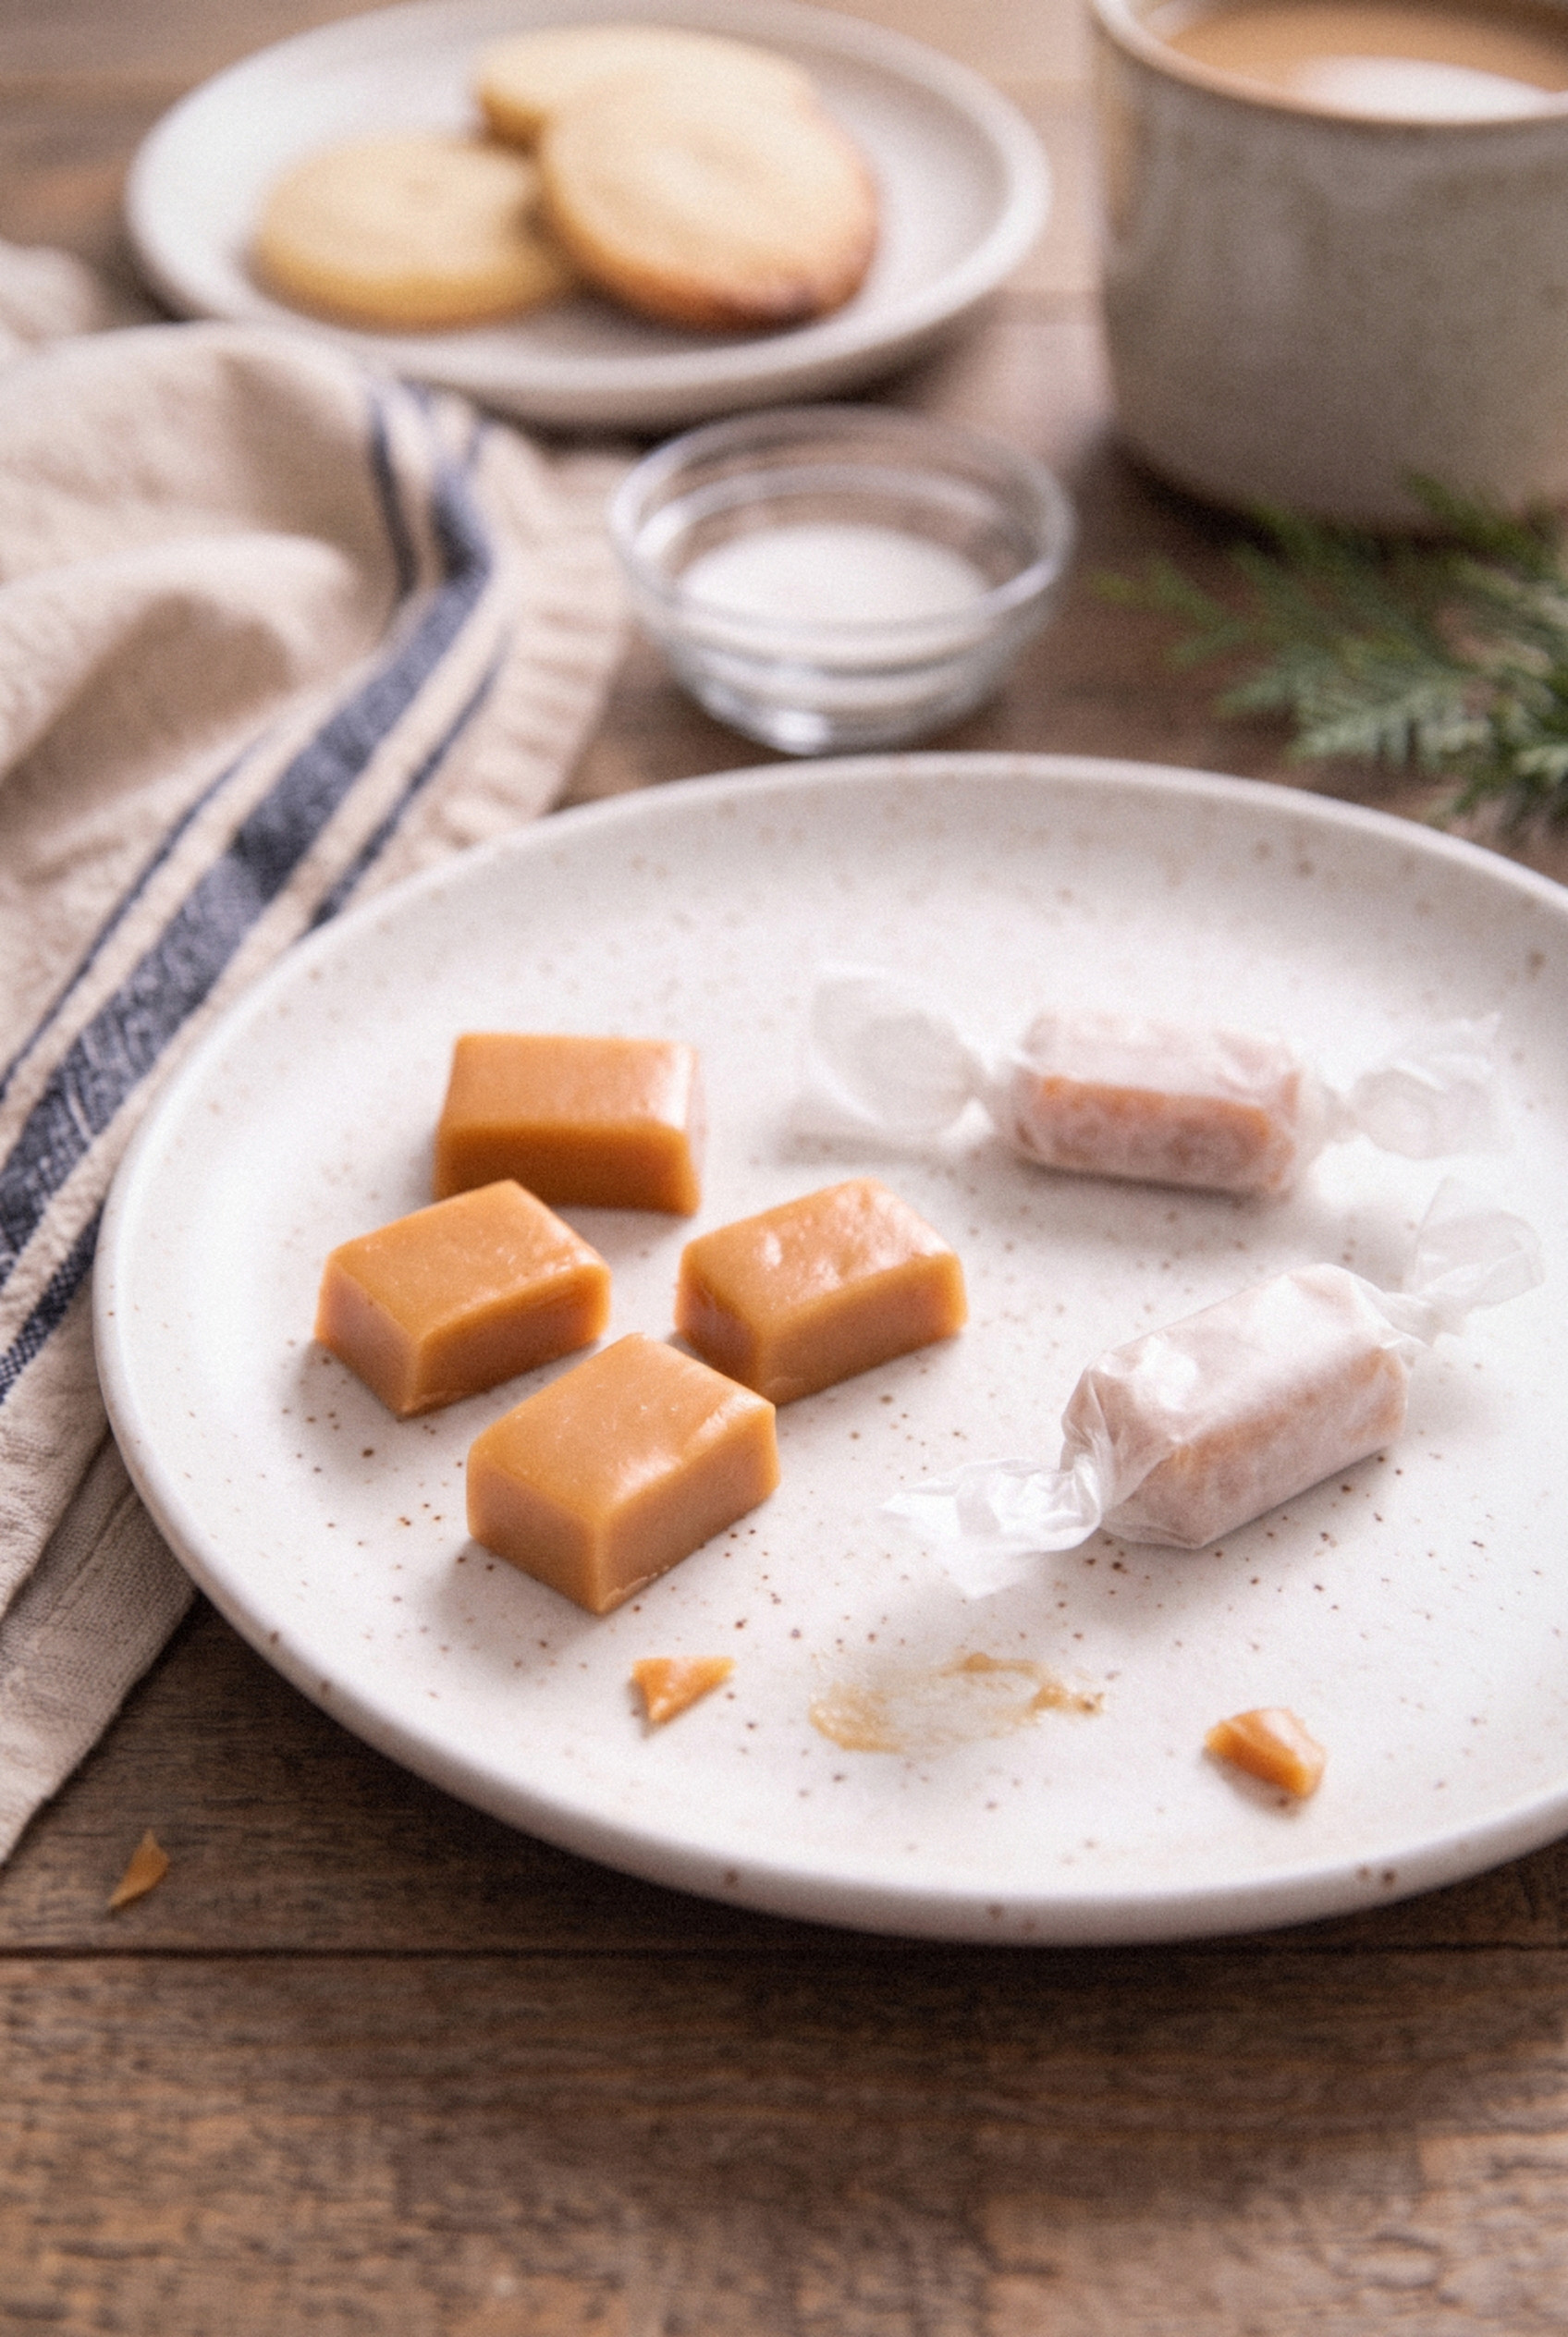
Storage and Make Ahead
Caramels are one of the best make-ahead Christmas candies there is. Wrapped individually, they hold their texture for a long time.
- Room temperature. Keep wrapped caramels in an airtight tin for up to 2 weeks. Away from the stove and sunny windows.
- Refrigerator. Up to 1 month. They firm up in the cold, so let them sit out 20-30 minutes before eating.
- Freezer. Wrapped caramels freeze well for up to 3 months in a zip-top freezer bag. Thaw them in the bag at room temperature so condensation doesn't make the wrappers soggy.
- December timeline. I make my first batch around December 1, freeze half, and pull it out the week before Christmas for gift tins.
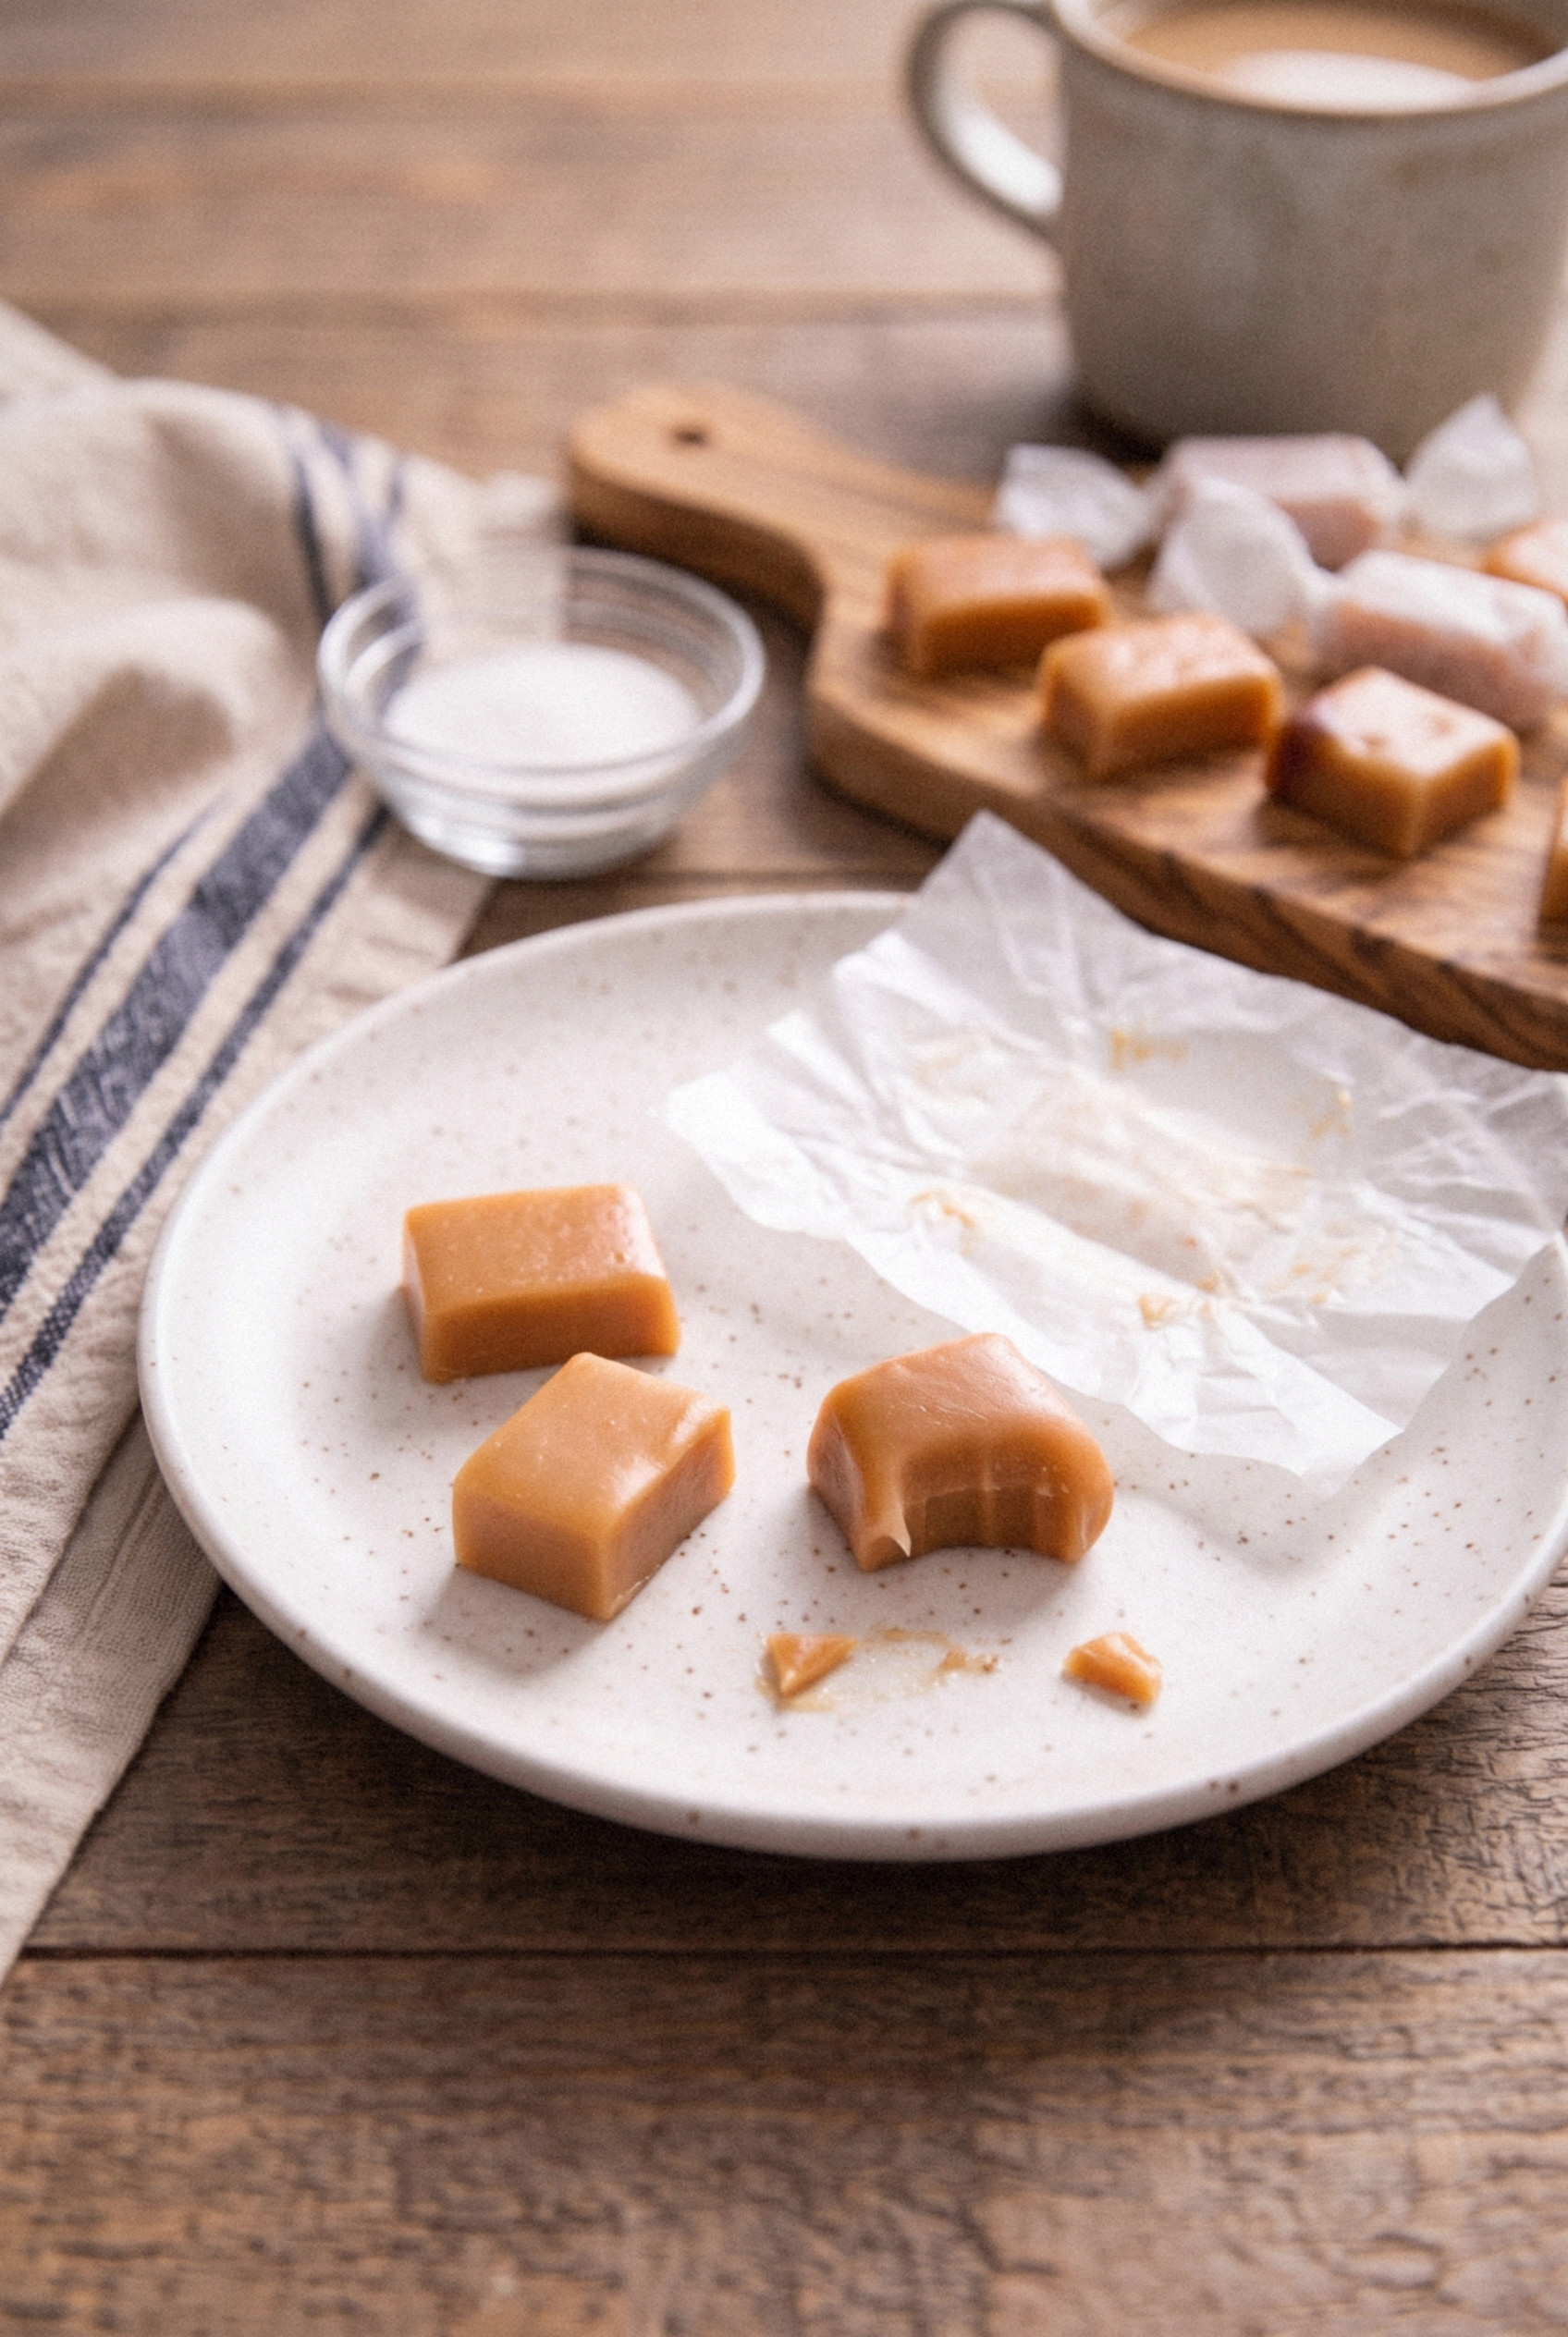
What to Serve With Homemade Caramels
A few caramels round out a holiday cookie tray beautifully. Their chewy texture is a nice change from all the crisp cookies.
- Christmas cookies. Set them next to sugar cookies, gingerbread or shortbread for a mix of chewy and crisp.
- Other candies. Fudge, peanut brittle and chocolate bark make a classic Christmas candy box.
- Hot drinks. A caramel with a mug of coffee or hot cocoa after dinner hits the spot.
- Apple slices. Chop a few caramels and melt them for a quick dip with crisp apples.
Give these a try this December. Mrs. Halvorsen would be proud, and your neighbors will be in for a treat!
Recipe
Homemade Christmas Caramels
Ingredients
For the Caramels
- 2 cups heavy cream
- 2 cups granulated sugar
- ½ cup light brown sugar packed
- 1 ¼ cups light corn syrup
- ½ cup unsalted butter 1 stick, cut into pieces, plus more for the pan
- ¾ teaspoon kosher salt
- 2 teaspoons vanilla extract
- 1 teaspoon flaky sea salt optional, for topping
Instructions
Prep the Pan
- Line a 9x13-inch pan with parchment paper, leaving an overhang on the two long sides. Lightly butter the parchment and set the pan on a heatproof surface near the stove.
Cook the Caramel
- In a heavy-bottomed pot of at least 4 quarts, combine the heavy cream, granulated sugar, brown sugar, corn syrup, butter and kosher salt.
- Cook over medium heat, stirring with a heatproof spatula, until the butter melts and the sugar dissolves completely, 5 to 7 minutes. Wipe down the sides of the pot with a wet pastry brush to remove any sugar crystals.
- Clip a candy thermometer to the pot, making sure the tip does not touch the bottom. Bring to a steady boil and cook, stirring slowly and constantly, until the caramel reaches 245°F, 35 to 45 minutes.
Pour and Set
- Remove the pot from the heat and stir in the vanilla extract. Pour the caramel into the prepared pan without scraping the bottom of the pot.
- For salted caramels, sprinkle flaky sea salt over the top after about 20 minutes. Let the caramel cool at room temperature for at least 4 hours or overnight until firm.
Cut and Wrap
- Lift the caramel out of the pan using the parchment overhang. Cut into 1-inch pieces with a buttered sharp knife, buttering the knife again as needed. Chill the slab for 15 to 20 minutes first if it is too soft to cut cleanly.
- Wrap each caramel in a 4-inch square of wax paper and twist the ends to seal.
Notes
- Setting time: Allow at least 4 hours for the caramel to set before cutting, or leave it overnight.
- Thermometer check: Test your thermometer in boiling water first. It should read 212°F at sea level. Adjust your target by the difference.
- Altitude: Lower the target temperature by about 2°F for every 1,000 feet above sea level.
- Texture guide: 240°F gives very soft caramels, 245°F soft and chewy, 248 to 250°F firm and chewy.
- Storage: Keep wrapped caramels airtight at room temperature up to 2 weeks, refrigerated up to 1 month or frozen up to 3 months.