Two Christmases ago, my contribution to the office cookie exchange looked great for about forty minutes.
Then the heat from the conference room coffee urn got to it.
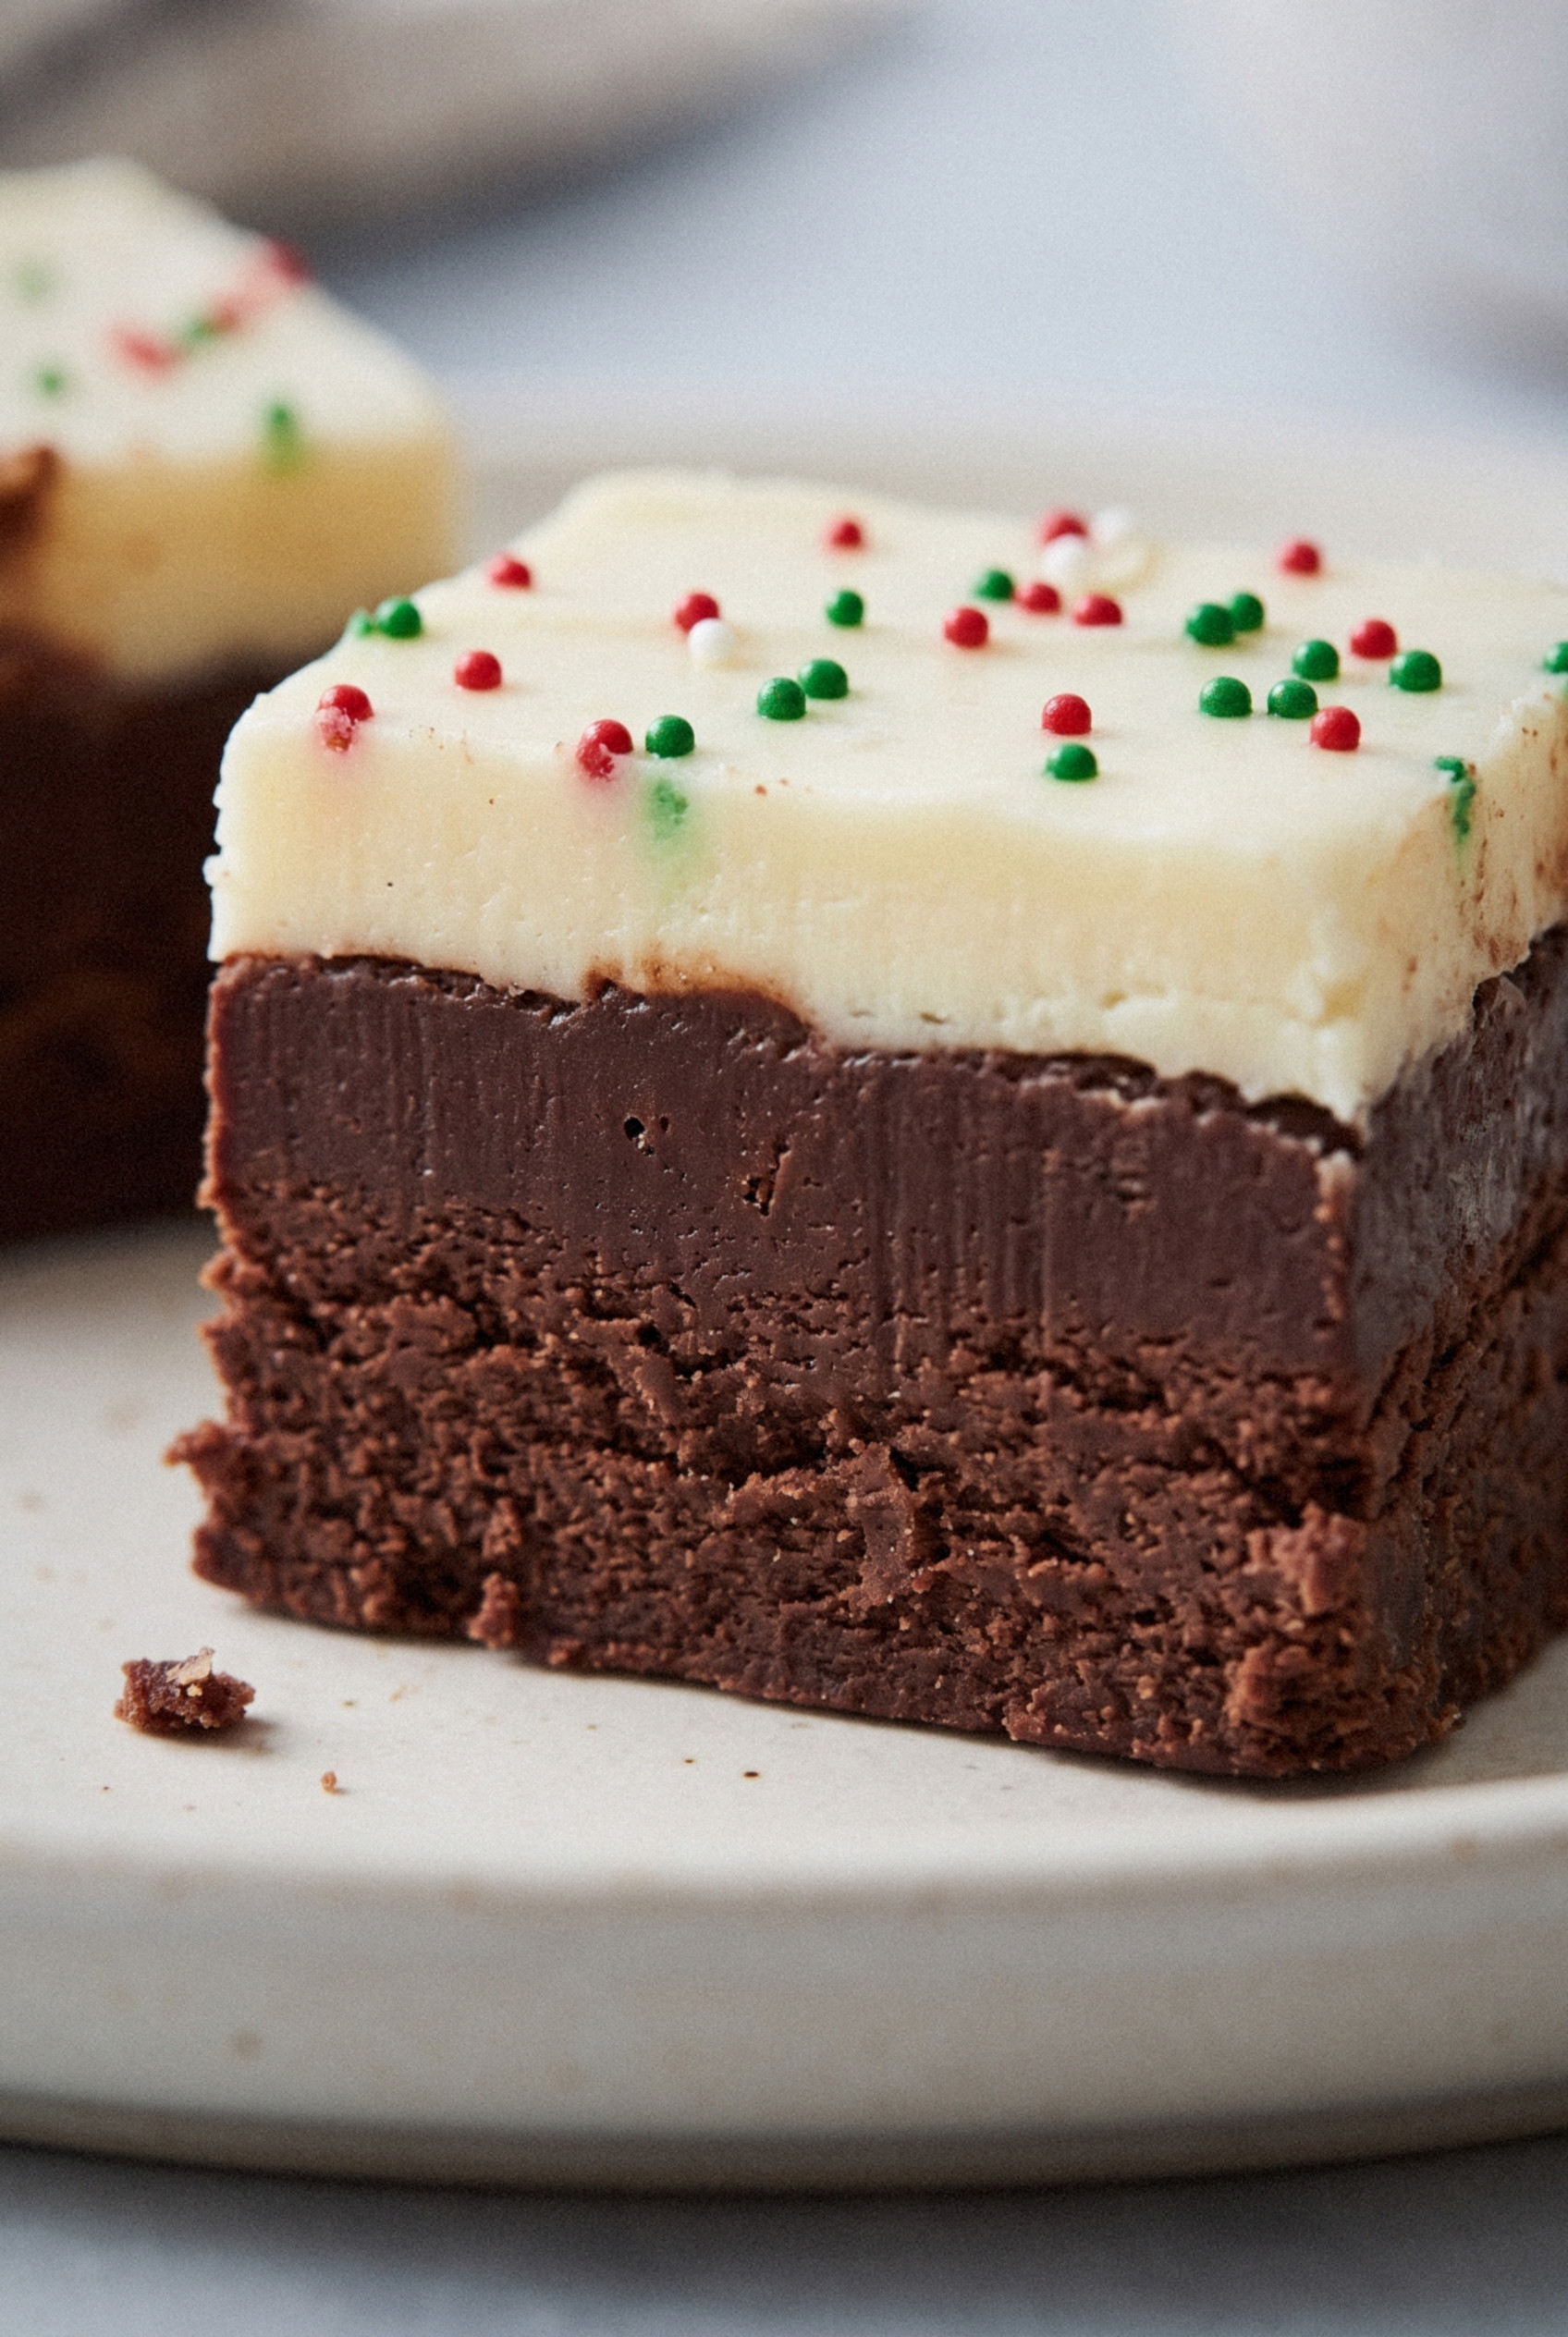
The white top had sunk into the chocolate in muddy swirls, and the squares slowly slumped into each other like tired snowmen.
Somebody still ate six of them, so it wasn't a total loss.
But I went home determined to make a layered Christmas fudge that actually held its shape on a holiday tray.
The fix turned out to be two small changes.
More chocolate per layer, so each one sets firm. And a short rest for the bottom layer, just until it feels set when you touch it, before the white layer goes on.
No candy thermometer, no stirring a pot of sugar for twenty minutes.
My wife now asks for a pan of this before I've even pulled out the cookie cutters.
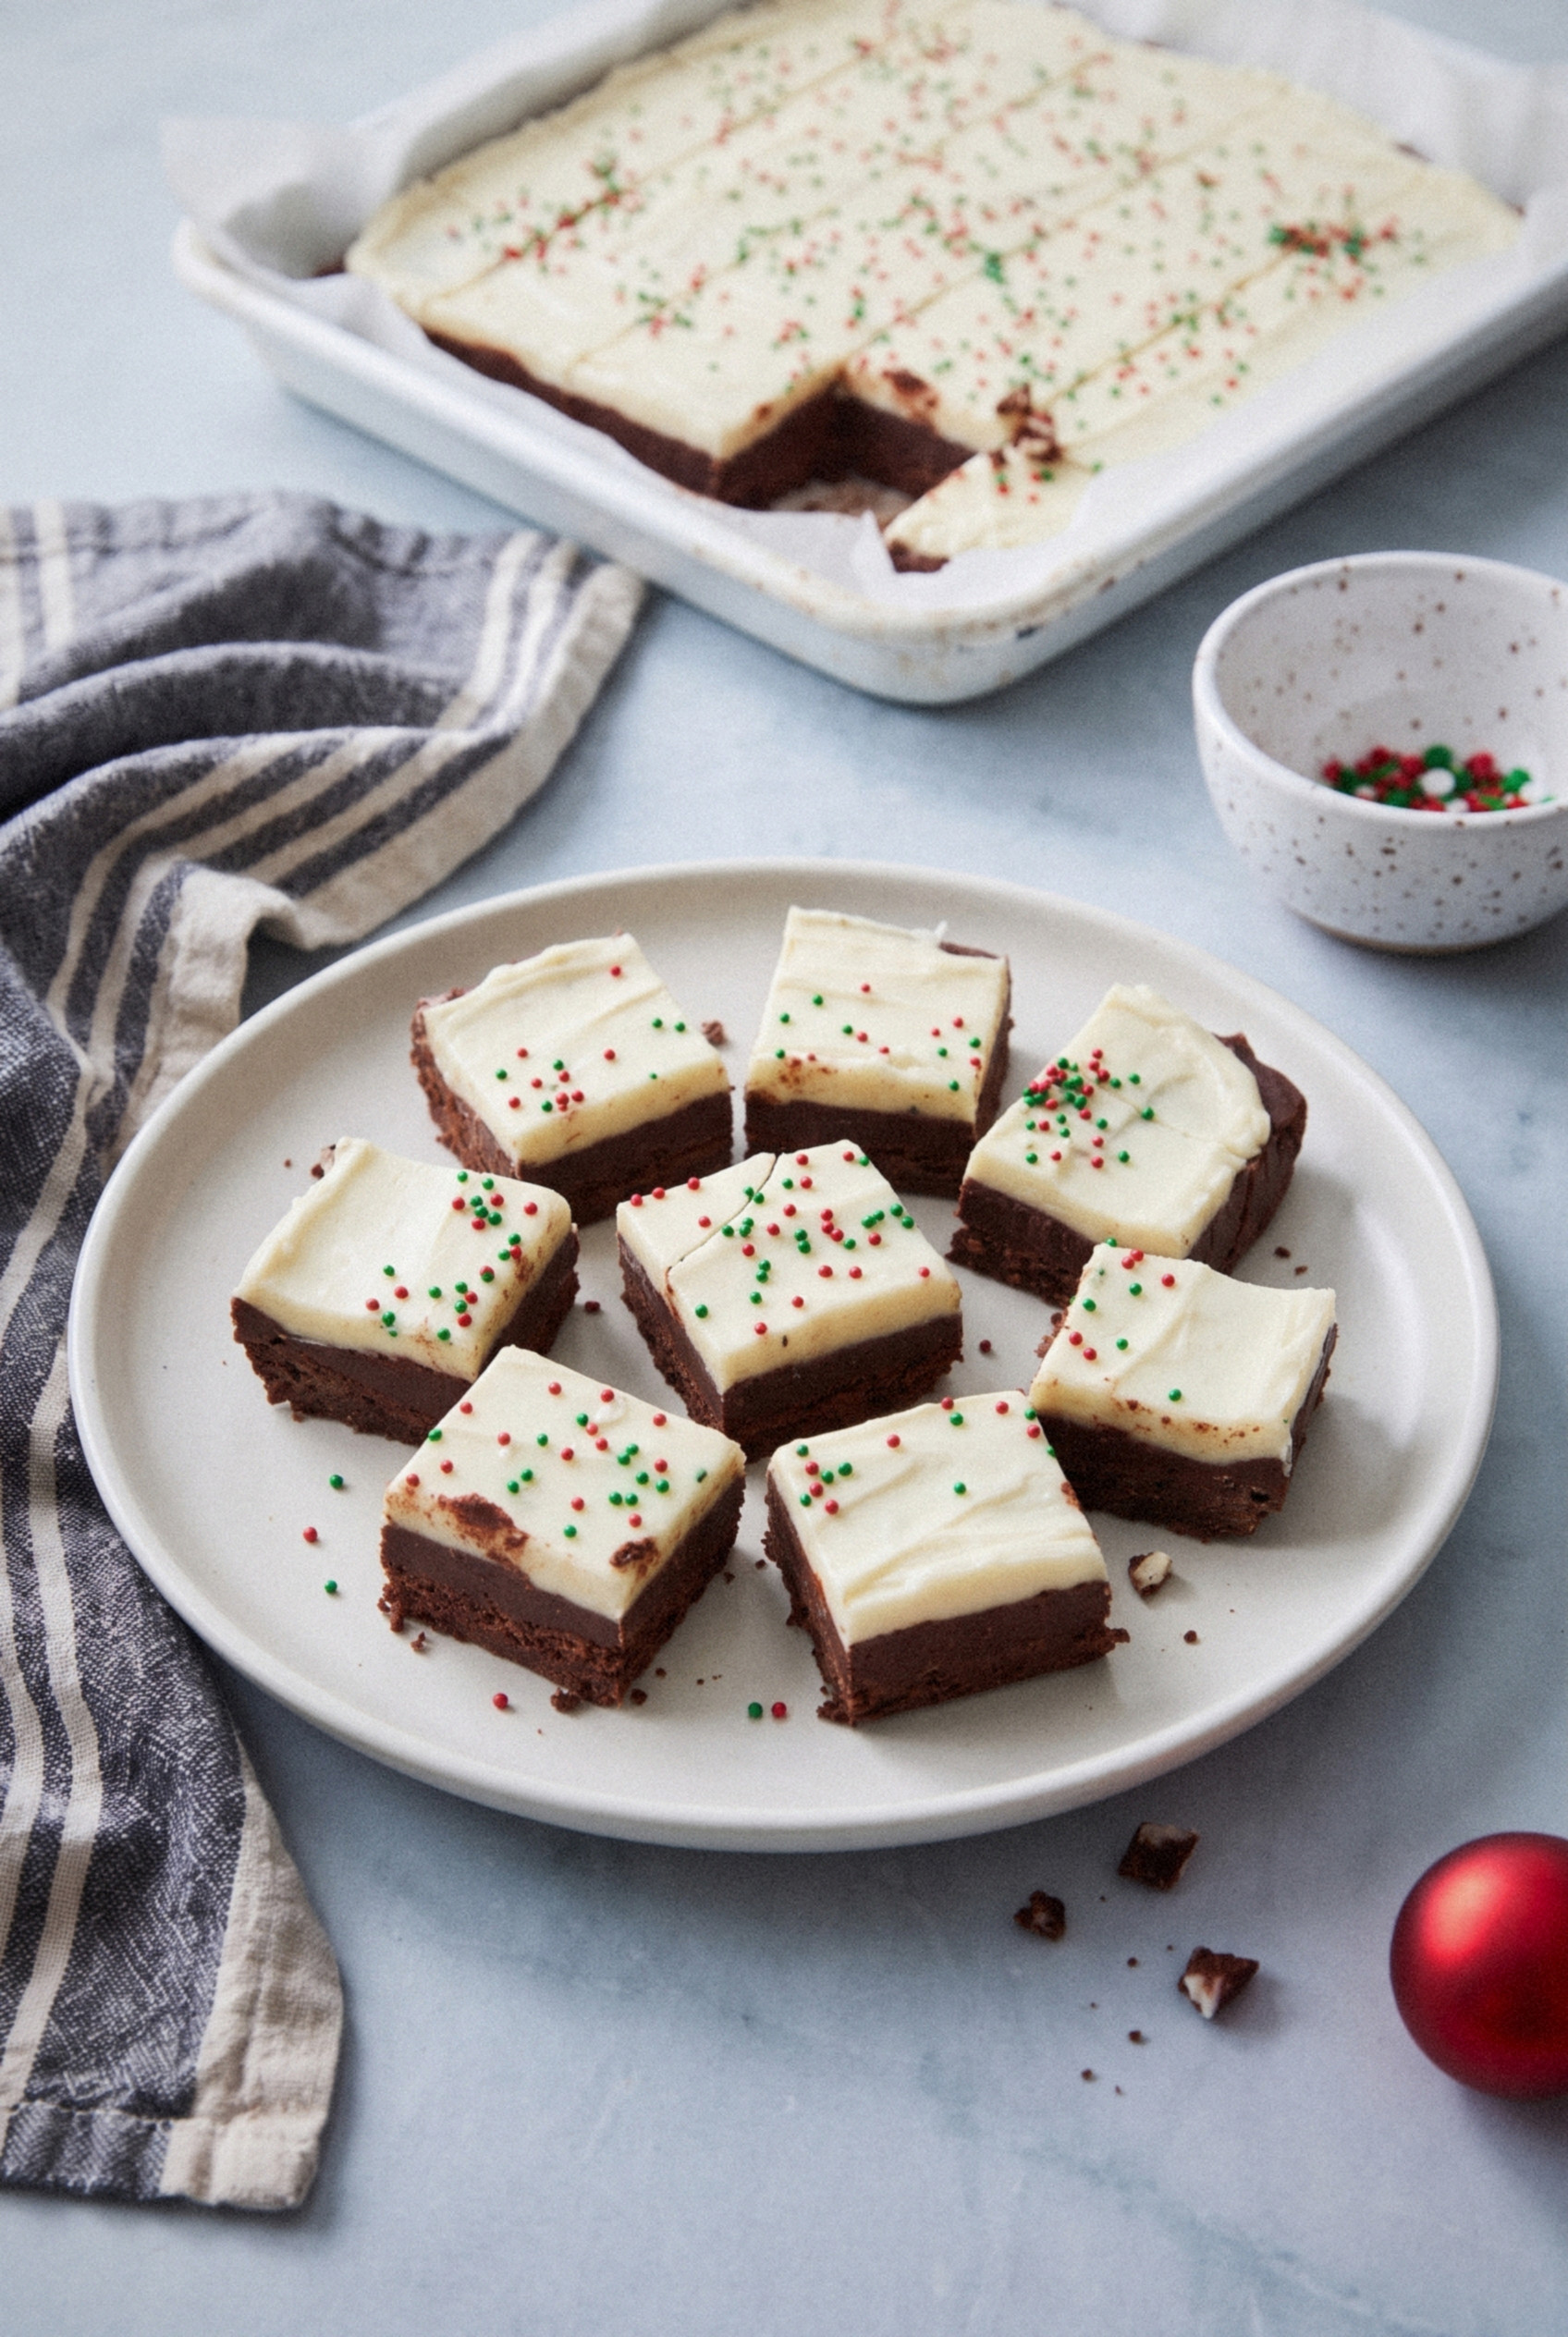
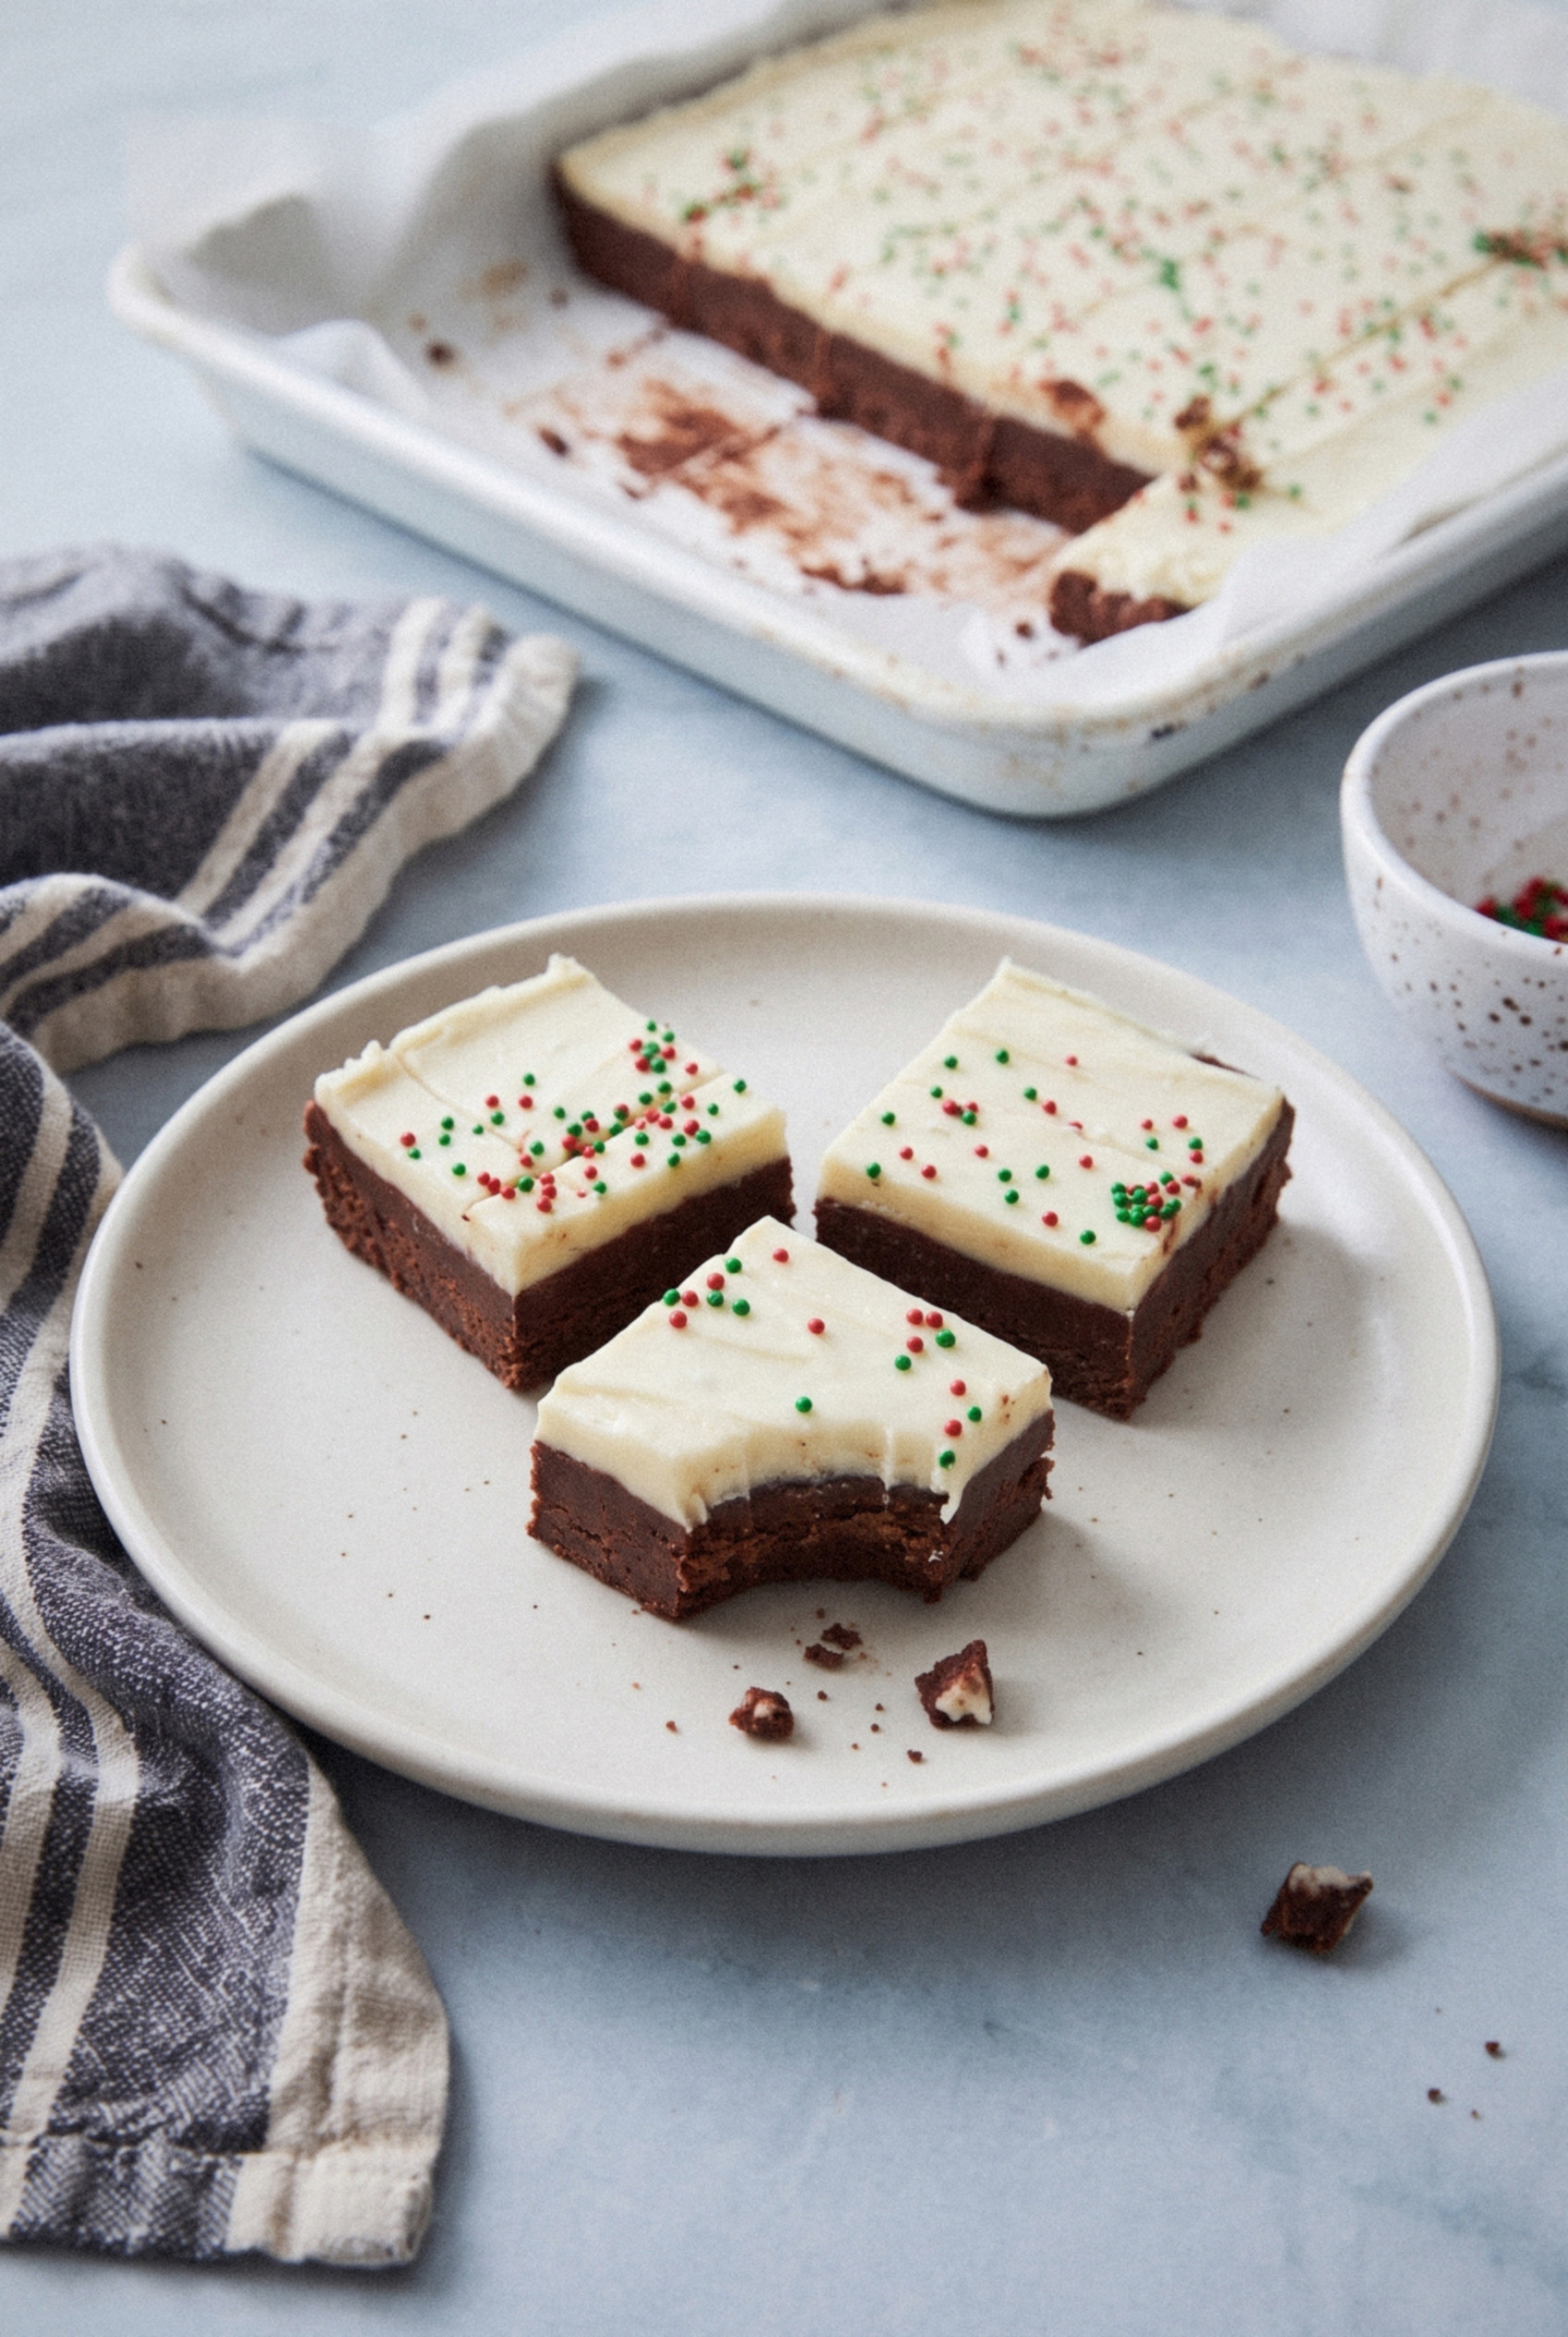
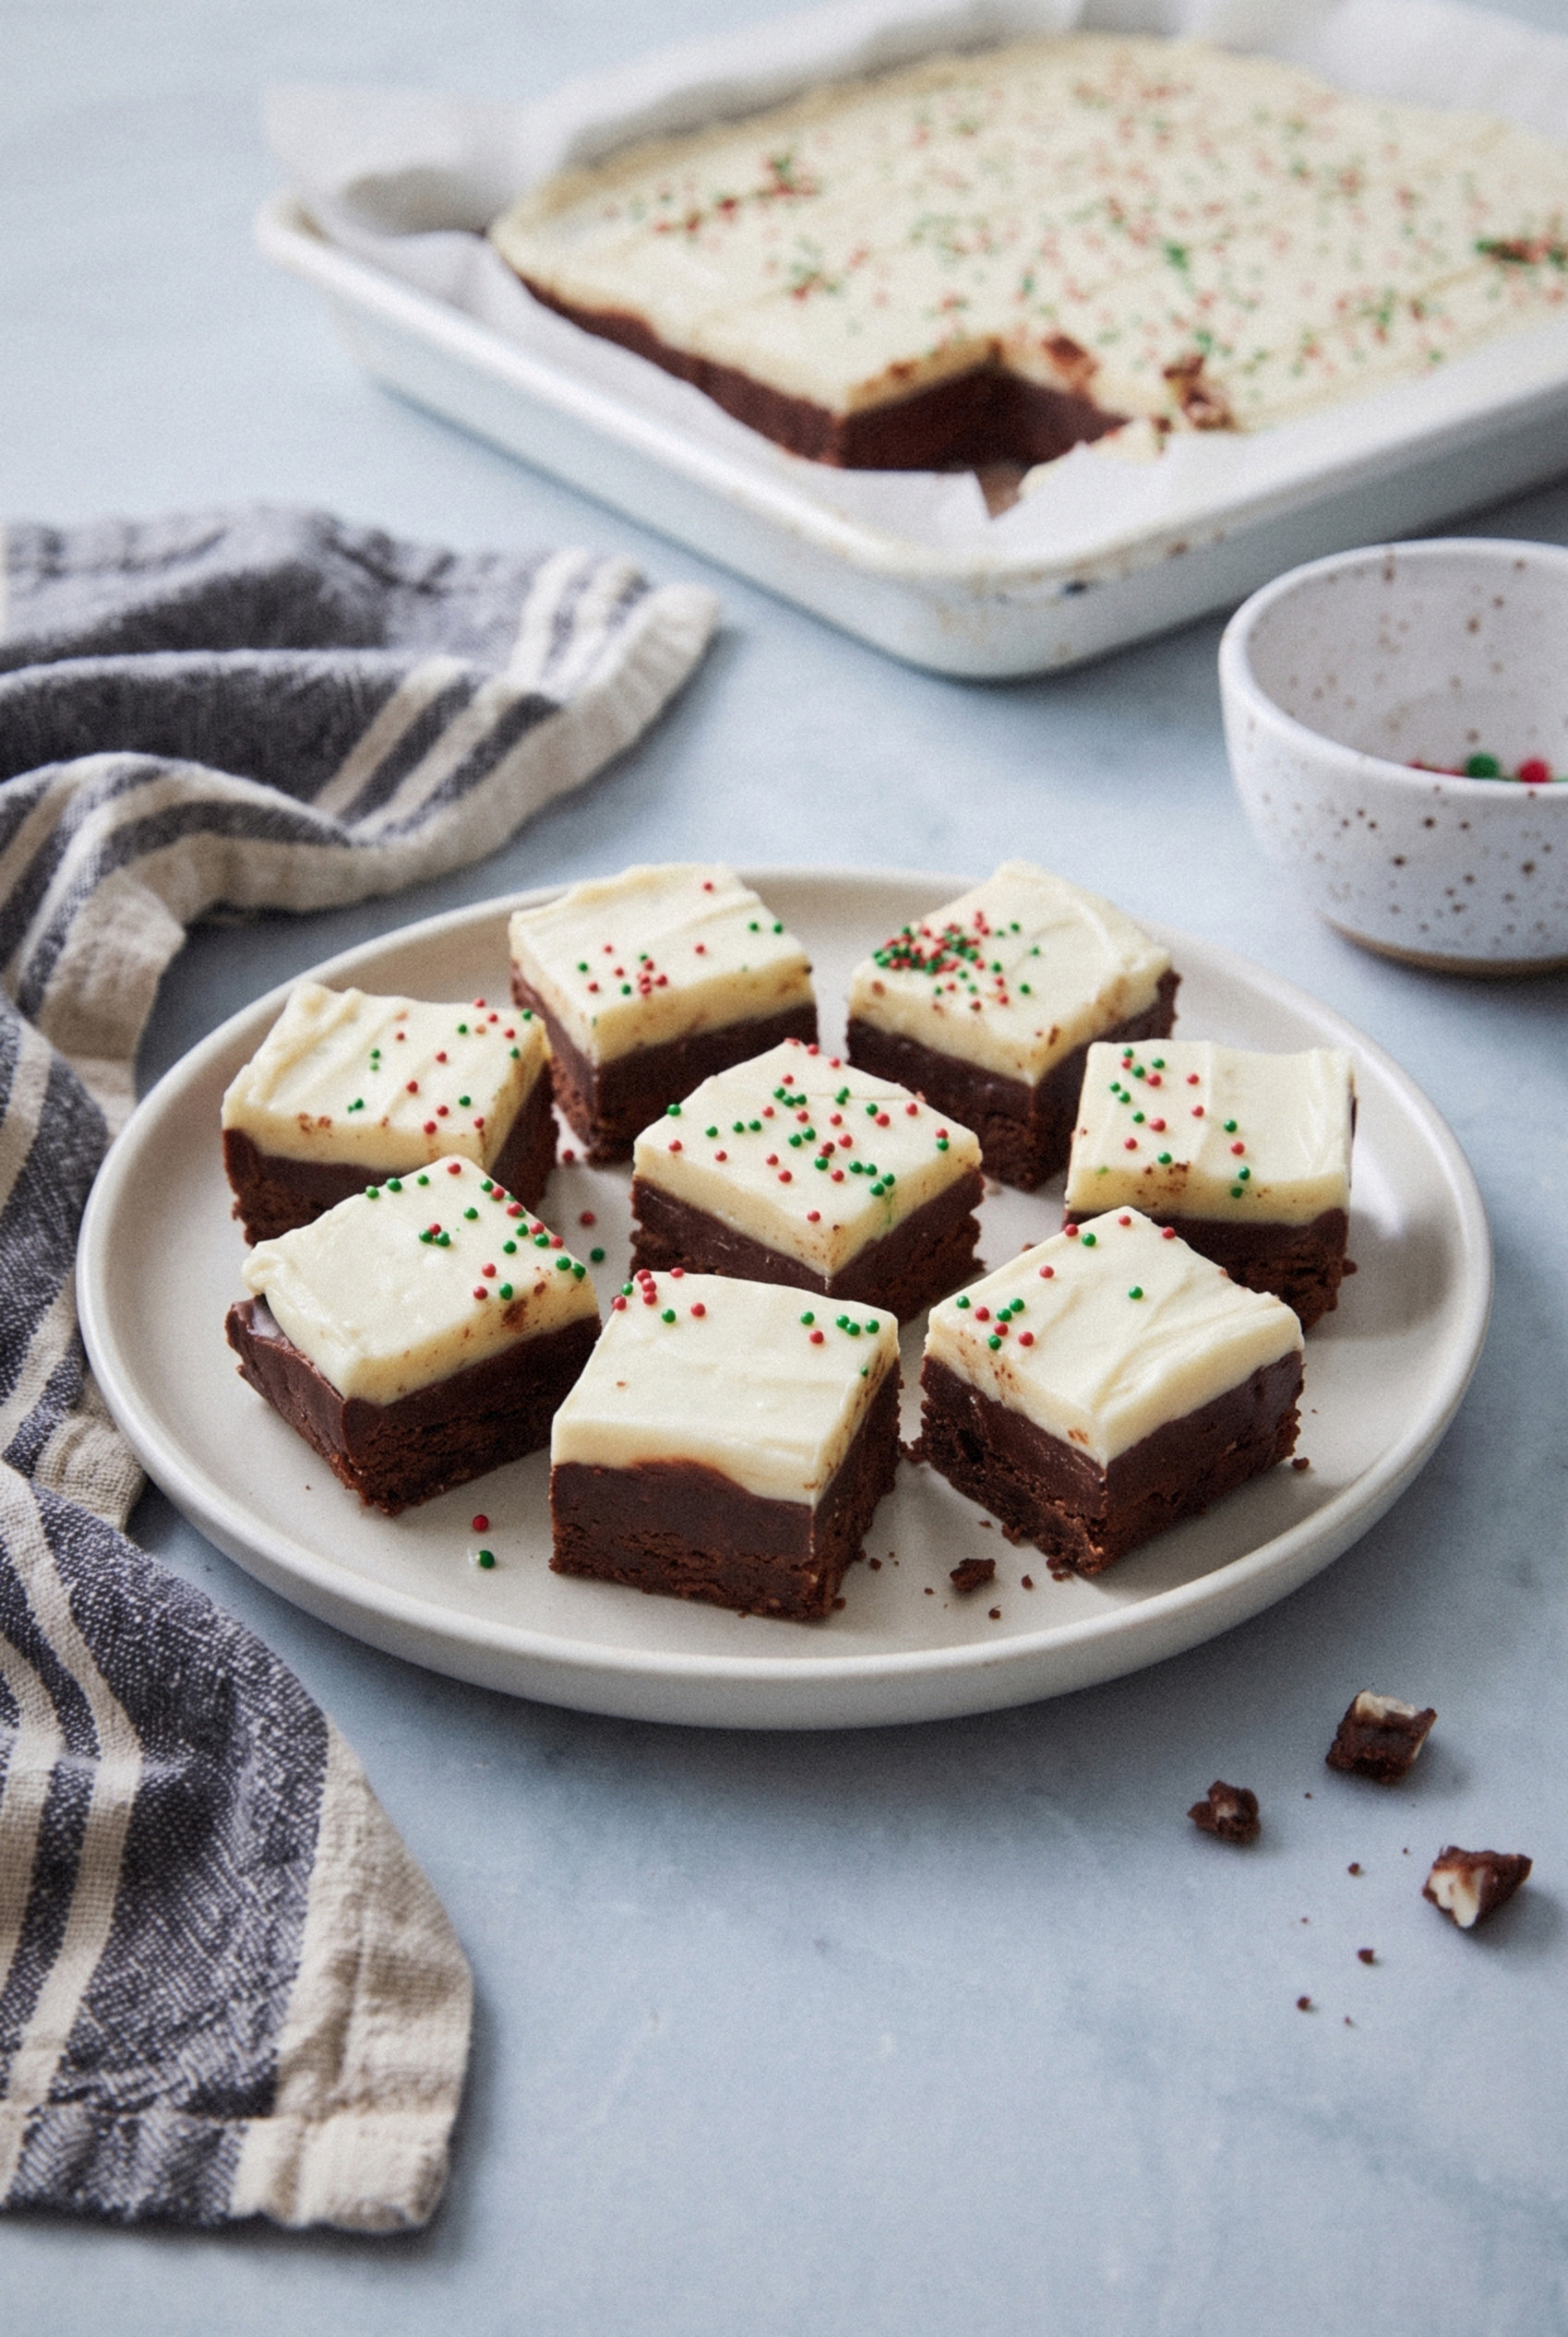
You get a deep chocolate bottom, a creamy white top, a scatter of red and green sprinkles, and two clean stripes on every cut side.
It slides right into gift tins, it holds up on a cookie tray, and it takes about twenty minutes of actual work. I promise it's the easiest pretty thing you'll make all December.
Why This Layered Fudge Works
This version fixes the two things that go wrong with most layered fudge. The layers stay separate and the squares stay firm.
- A firmer ratio. Each layer uses 1 ½ cups of chips to half a can of condensed milk. That extra chocolate is what keeps the squares from sagging.
- No candy thermometer. Sweetened condensed milk does all the work. You just melt and stir.
- Two clean layers. Setting the bottom layer just until firm keeps the white from sinking in, but it's still soft enough that the two layers stick together.
- Made for gifting. It keeps for two weeks in the fridge and freezes for months. Great for planning ahead.
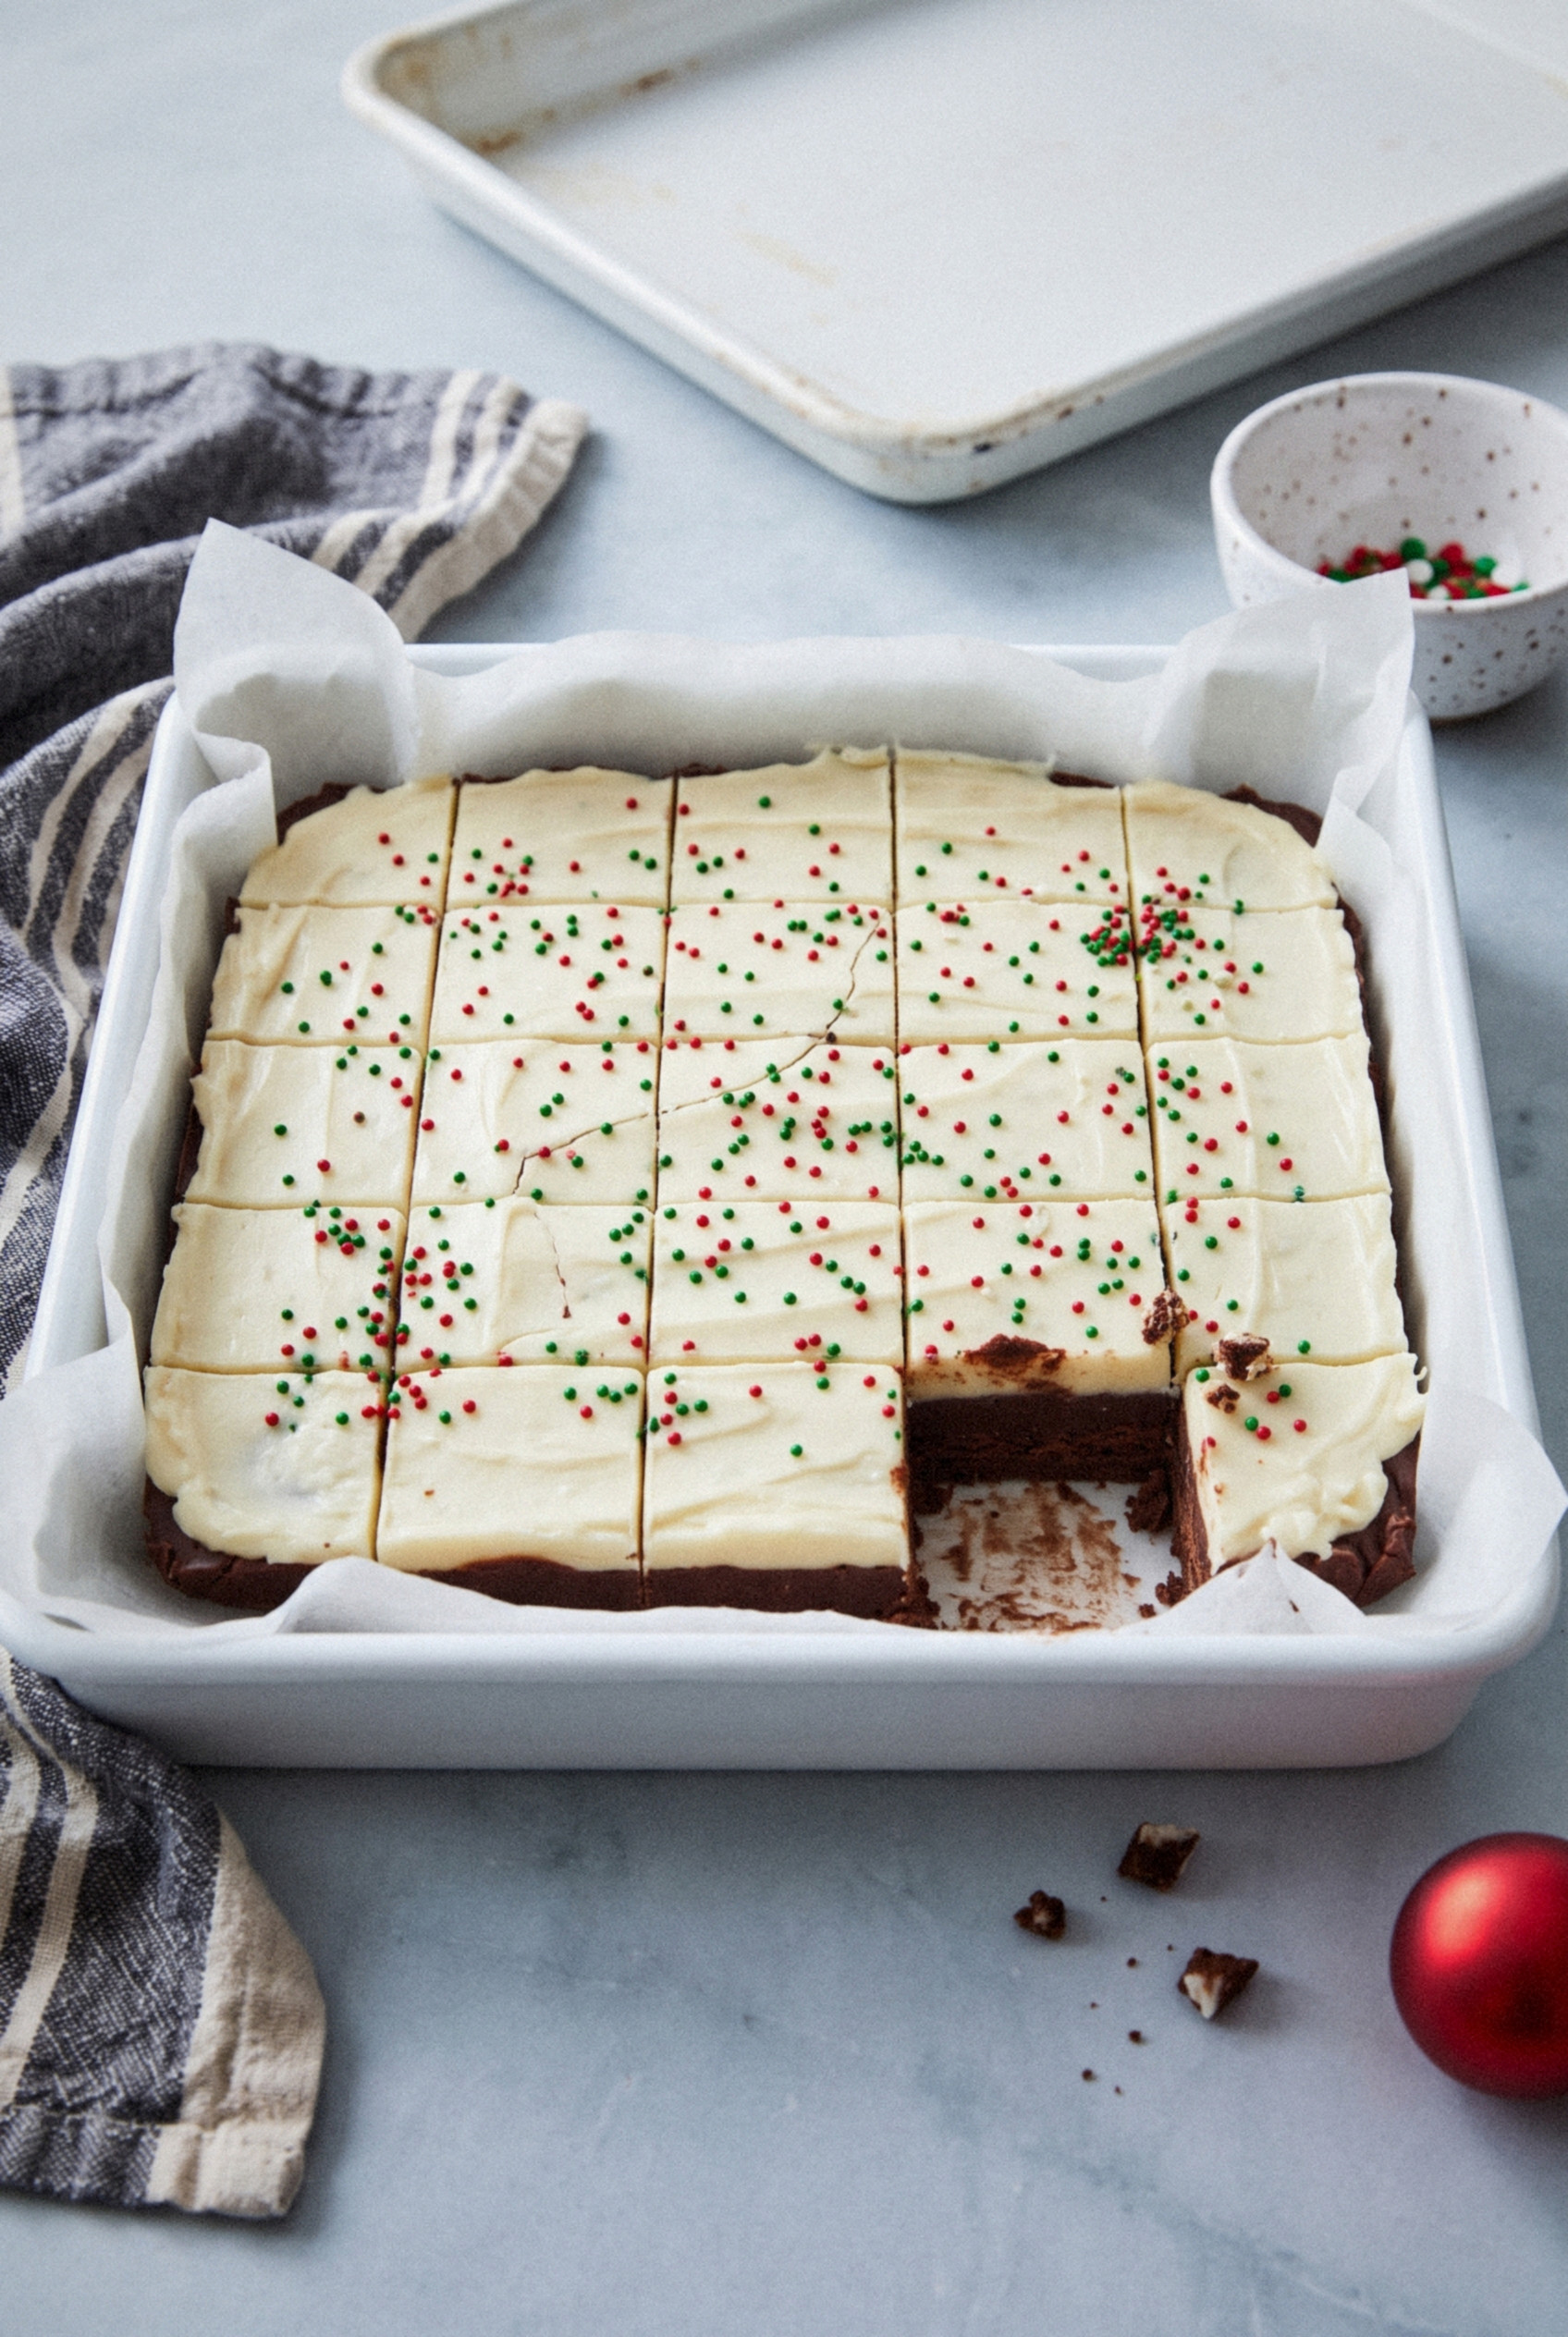
Key Ingredients for Layered Christmas Fudge
You only need six ingredients, and you probably have half of them already. Each layer uses the same simple formula.
- Sweetened condensed milk (one 14-ounce can). Split in half, one half per layer. Use full-fat. Reduced-fat versions set soft, and evaporated milk won't set at all.
- Semi-sweet chocolate chips (1 ½ cups). The dark bottom layer. It gives a rich, slightly bitter base that balances the sweet white top.
- White chocolate chips (1 ½ cups). Buy a good brand here. Cheap white chips have less cocoa butter and can turn grainy or refuse to melt smoothly.
- Unsalted butter (2 tablespoons). One tablespoon per layer. It gives the fudge a softer, melt-in-your-mouth bite and a little shine on top.
- Vanilla extract (2 teaspoons). One teaspoon per layer. It rounds out the white chocolate especially.
- Red and green nonpareils (2 tablespoons). Tiny round sugar sprinkles. They stay crunchy and don't bleed color into the white layer the way soft jimmies can.
Can you use evaporated milk instead? No.
Evaporated milk has no added sugar, so the fudge never firms up. Grab the can that says sweetened condensed.
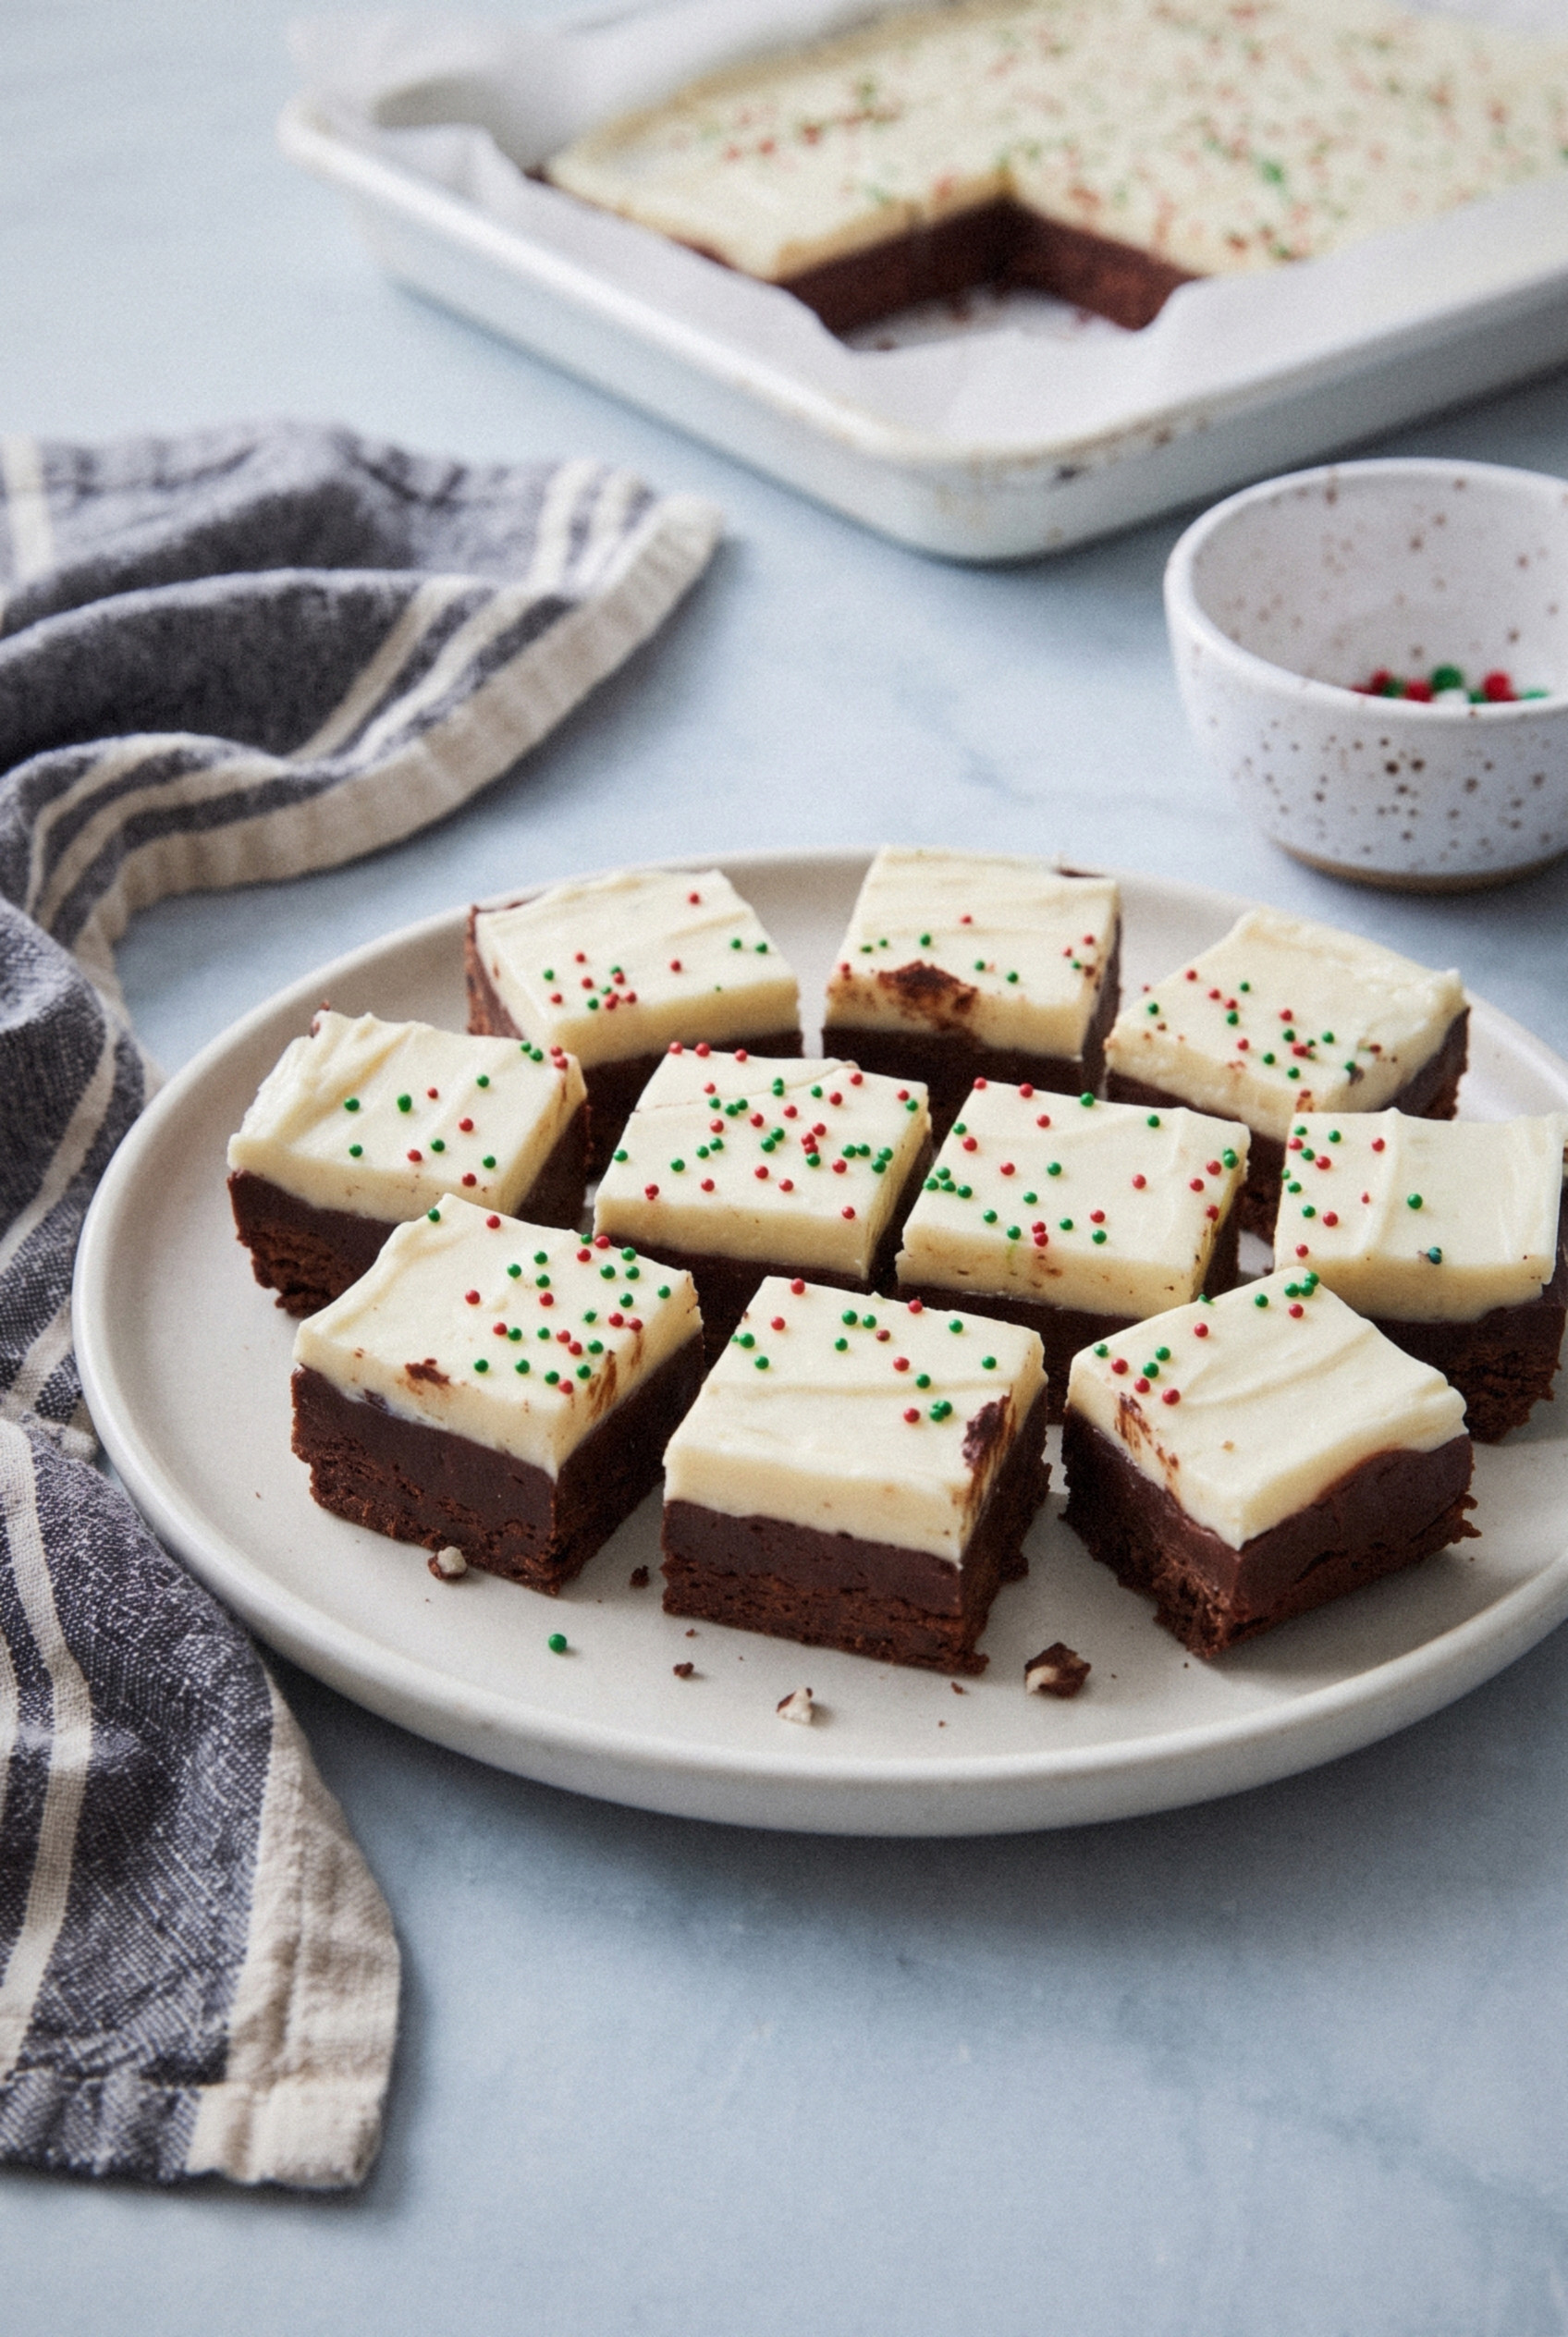
Substitutions and Additions
Once you have the method down, this fudge is a great way to play. Keep the chip-to-milk ratio the same and swap freely.
- Dark chocolate. Use 60% bittersweet chips for the bottom if you like a less sweet fudge.
- Milk chocolate. Softer and sweeter. Add 2 extra tablespoons of chips so it still sets firm.
- Peppermint. Swap the vanilla in the white layer for ½ teaspoon peppermint extract and top with crushed candy canes.
- Three layers. Make one and a half batches of the chocolate layer, then split it between the top and bottom with the white layer in the middle.
- Add nuts. Stir ½ cup chopped toasted pecans or pistachios into the chocolate layer.
- Red and green fudge. Tint half the white layer with a drop of gel coloring for a festive stripe.
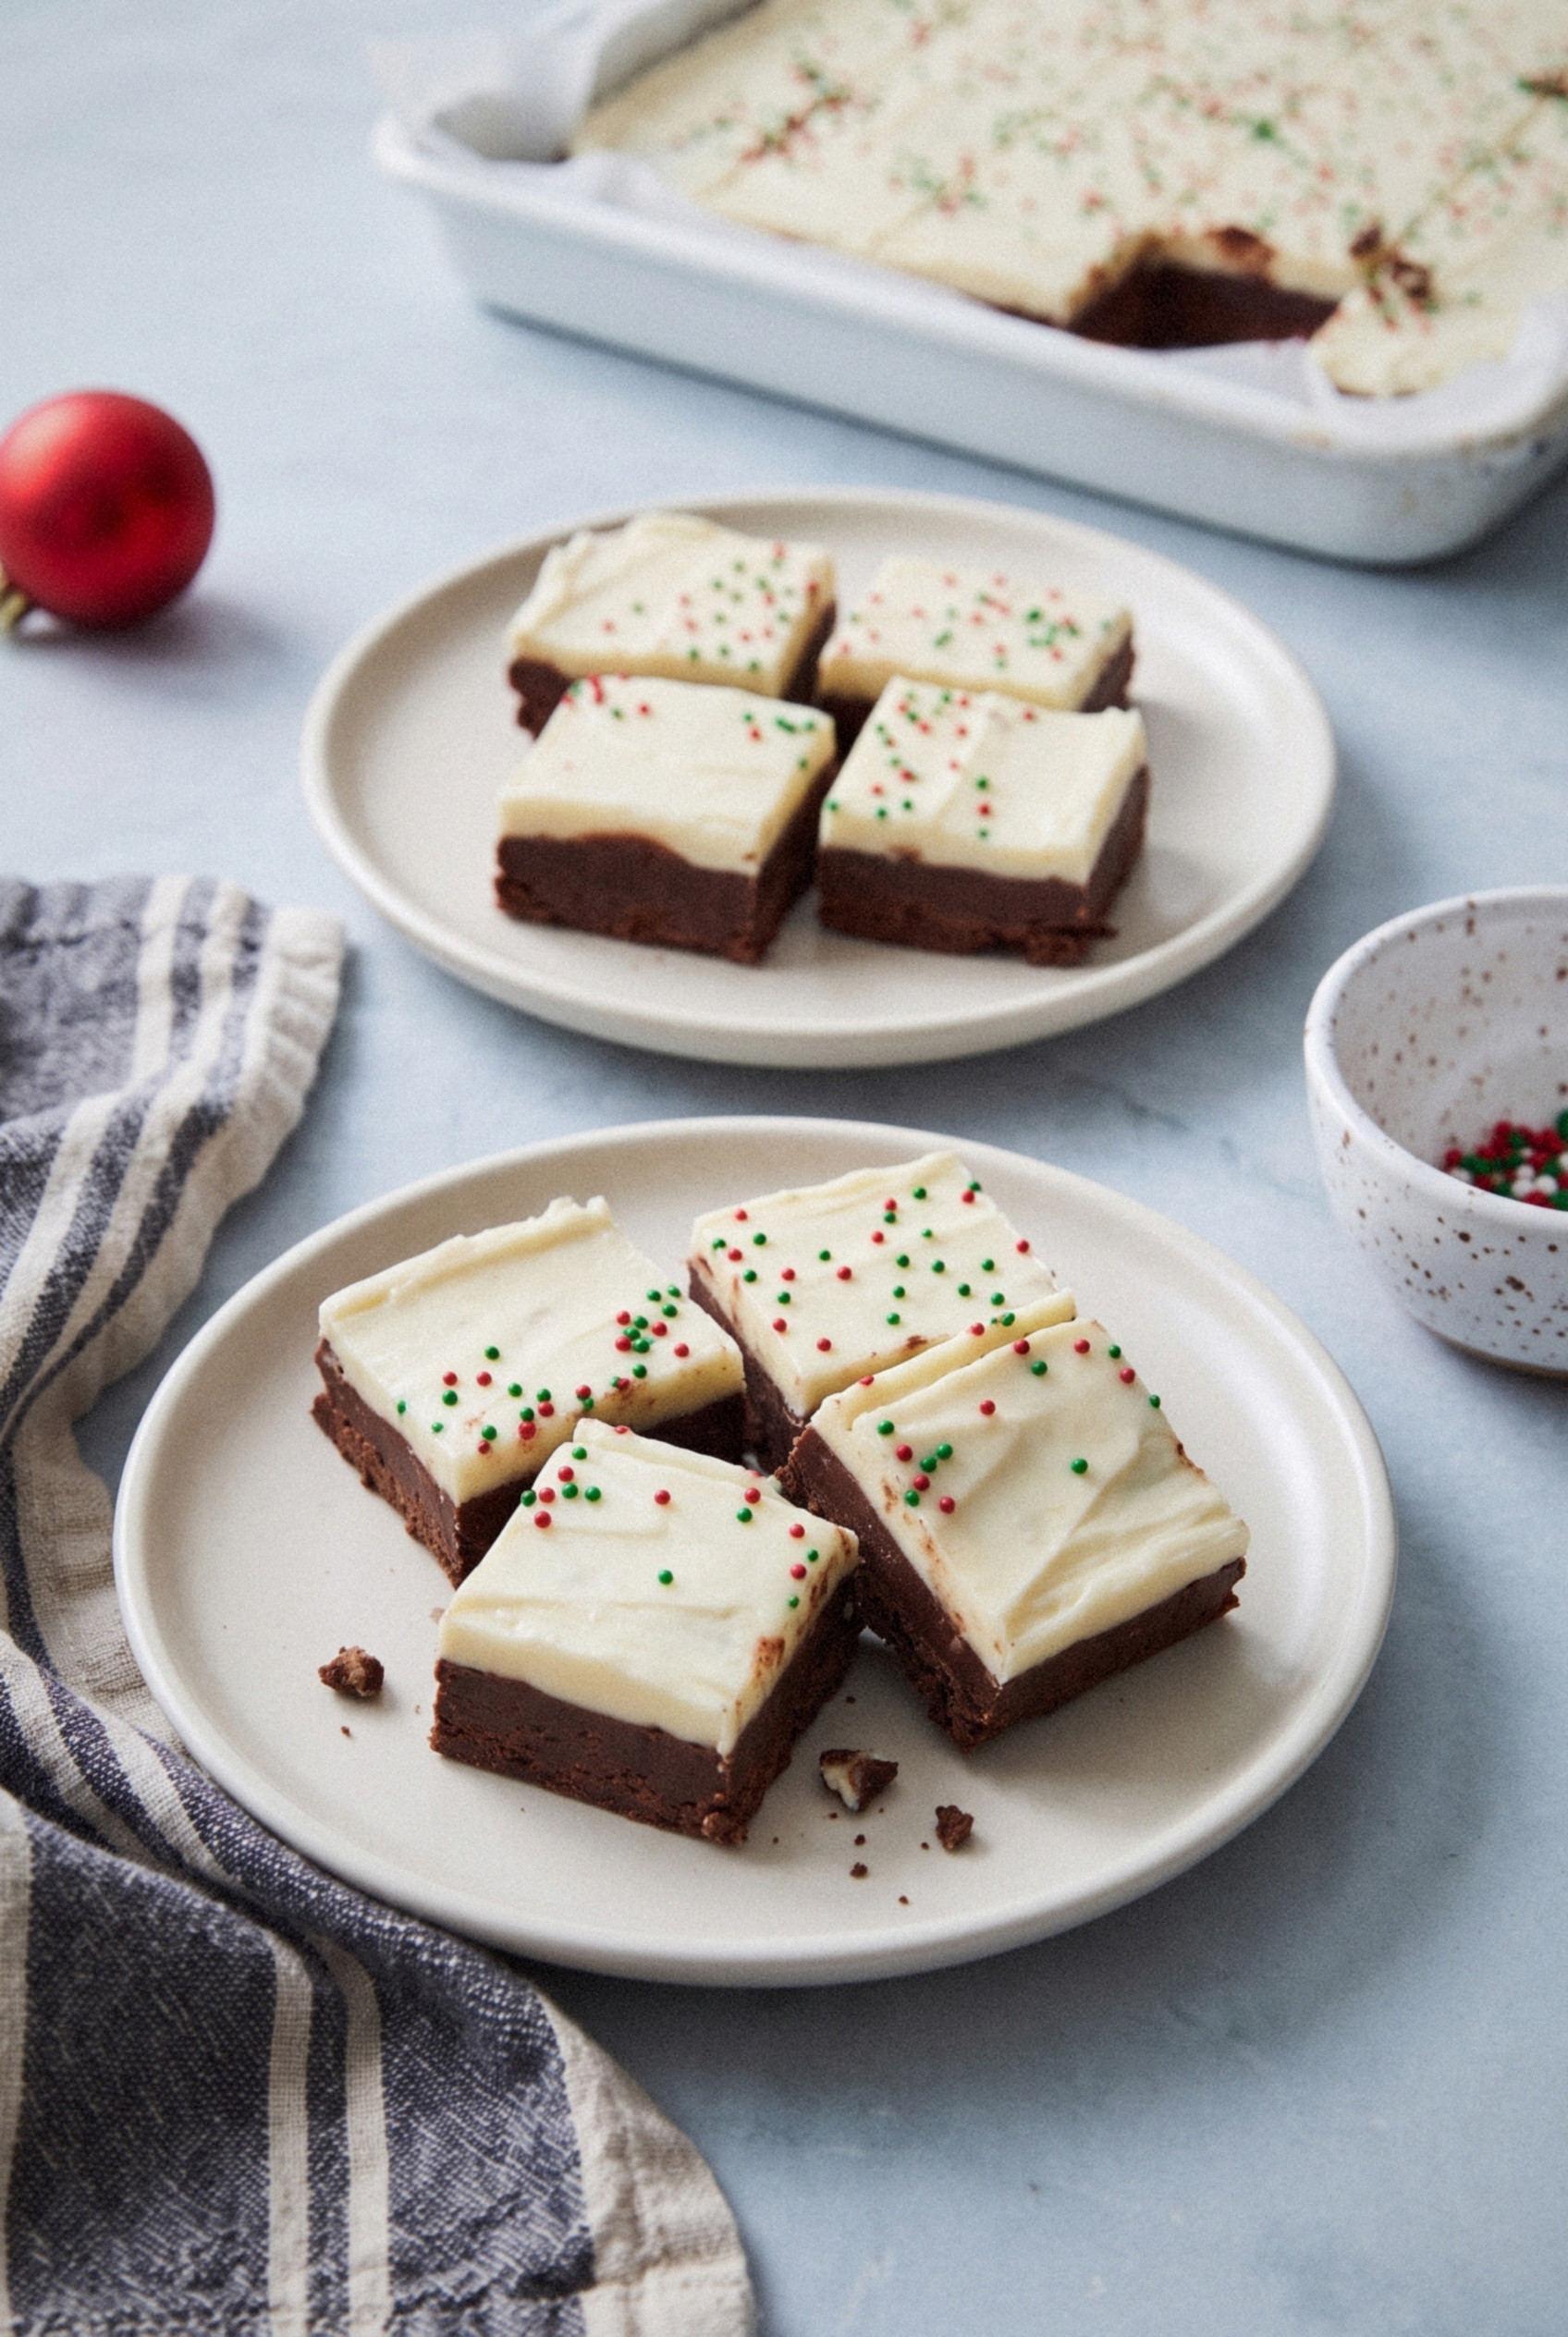
How to Make Layered Christmas Fudge
The whole process is melt, spread, wait, repeat. Here is how I do it.
Step 1: Line the Pan
Line an 8x8-inch pan with parchment, leaving a couple of inches hanging over two sides. Those flaps are your handles for lifting the fudge out later. A light spray of cooking spray under the parchment keeps it from sliding around.
Step 2: Melt the Chocolate Layer
Add the semi-sweet chips, half the condensed milk (about ⅔ cup) and 1 tablespoon butter to a microwave-safe bowl. Microwave in 30-second bursts, stirring well after each one, until smooth. It usually takes about 90 seconds total.
Stir in 1 teaspoon vanilla. Spread it into the pan in an even layer, pushing it right into the corners with a spatula.
Pro tip: Prefer the stovetop? Melt everything in a heavy saucepan over low heat, stirring constantly. It takes about 5 minutes.
Step 3: Let It Set Just Until Firm
Pop the pan in the fridge for 20 to 30 minutes. You want the surface firm when you press it lightly, not cold and hard.
Too soft and the white layer sinks in. Too cold and the two layers won't stick, so they can split apart when you cut. This short window is the whole reason my second batch worked!
Step 4: Melt and Spread the White Layer
Melt the white chips with the rest of the condensed milk and the remaining butter. Go slower here, 20-second bursts, stirring each time. White chocolate burns and seizes much faster than semi-sweet.
Stir in the remaining vanilla. Spoon the white mixture over the chocolate in dollops, then gently spread them together. Dollops are easier on the bottom layer than pouring it all in one spot.
Step 5: Add Sprinkles and Chill
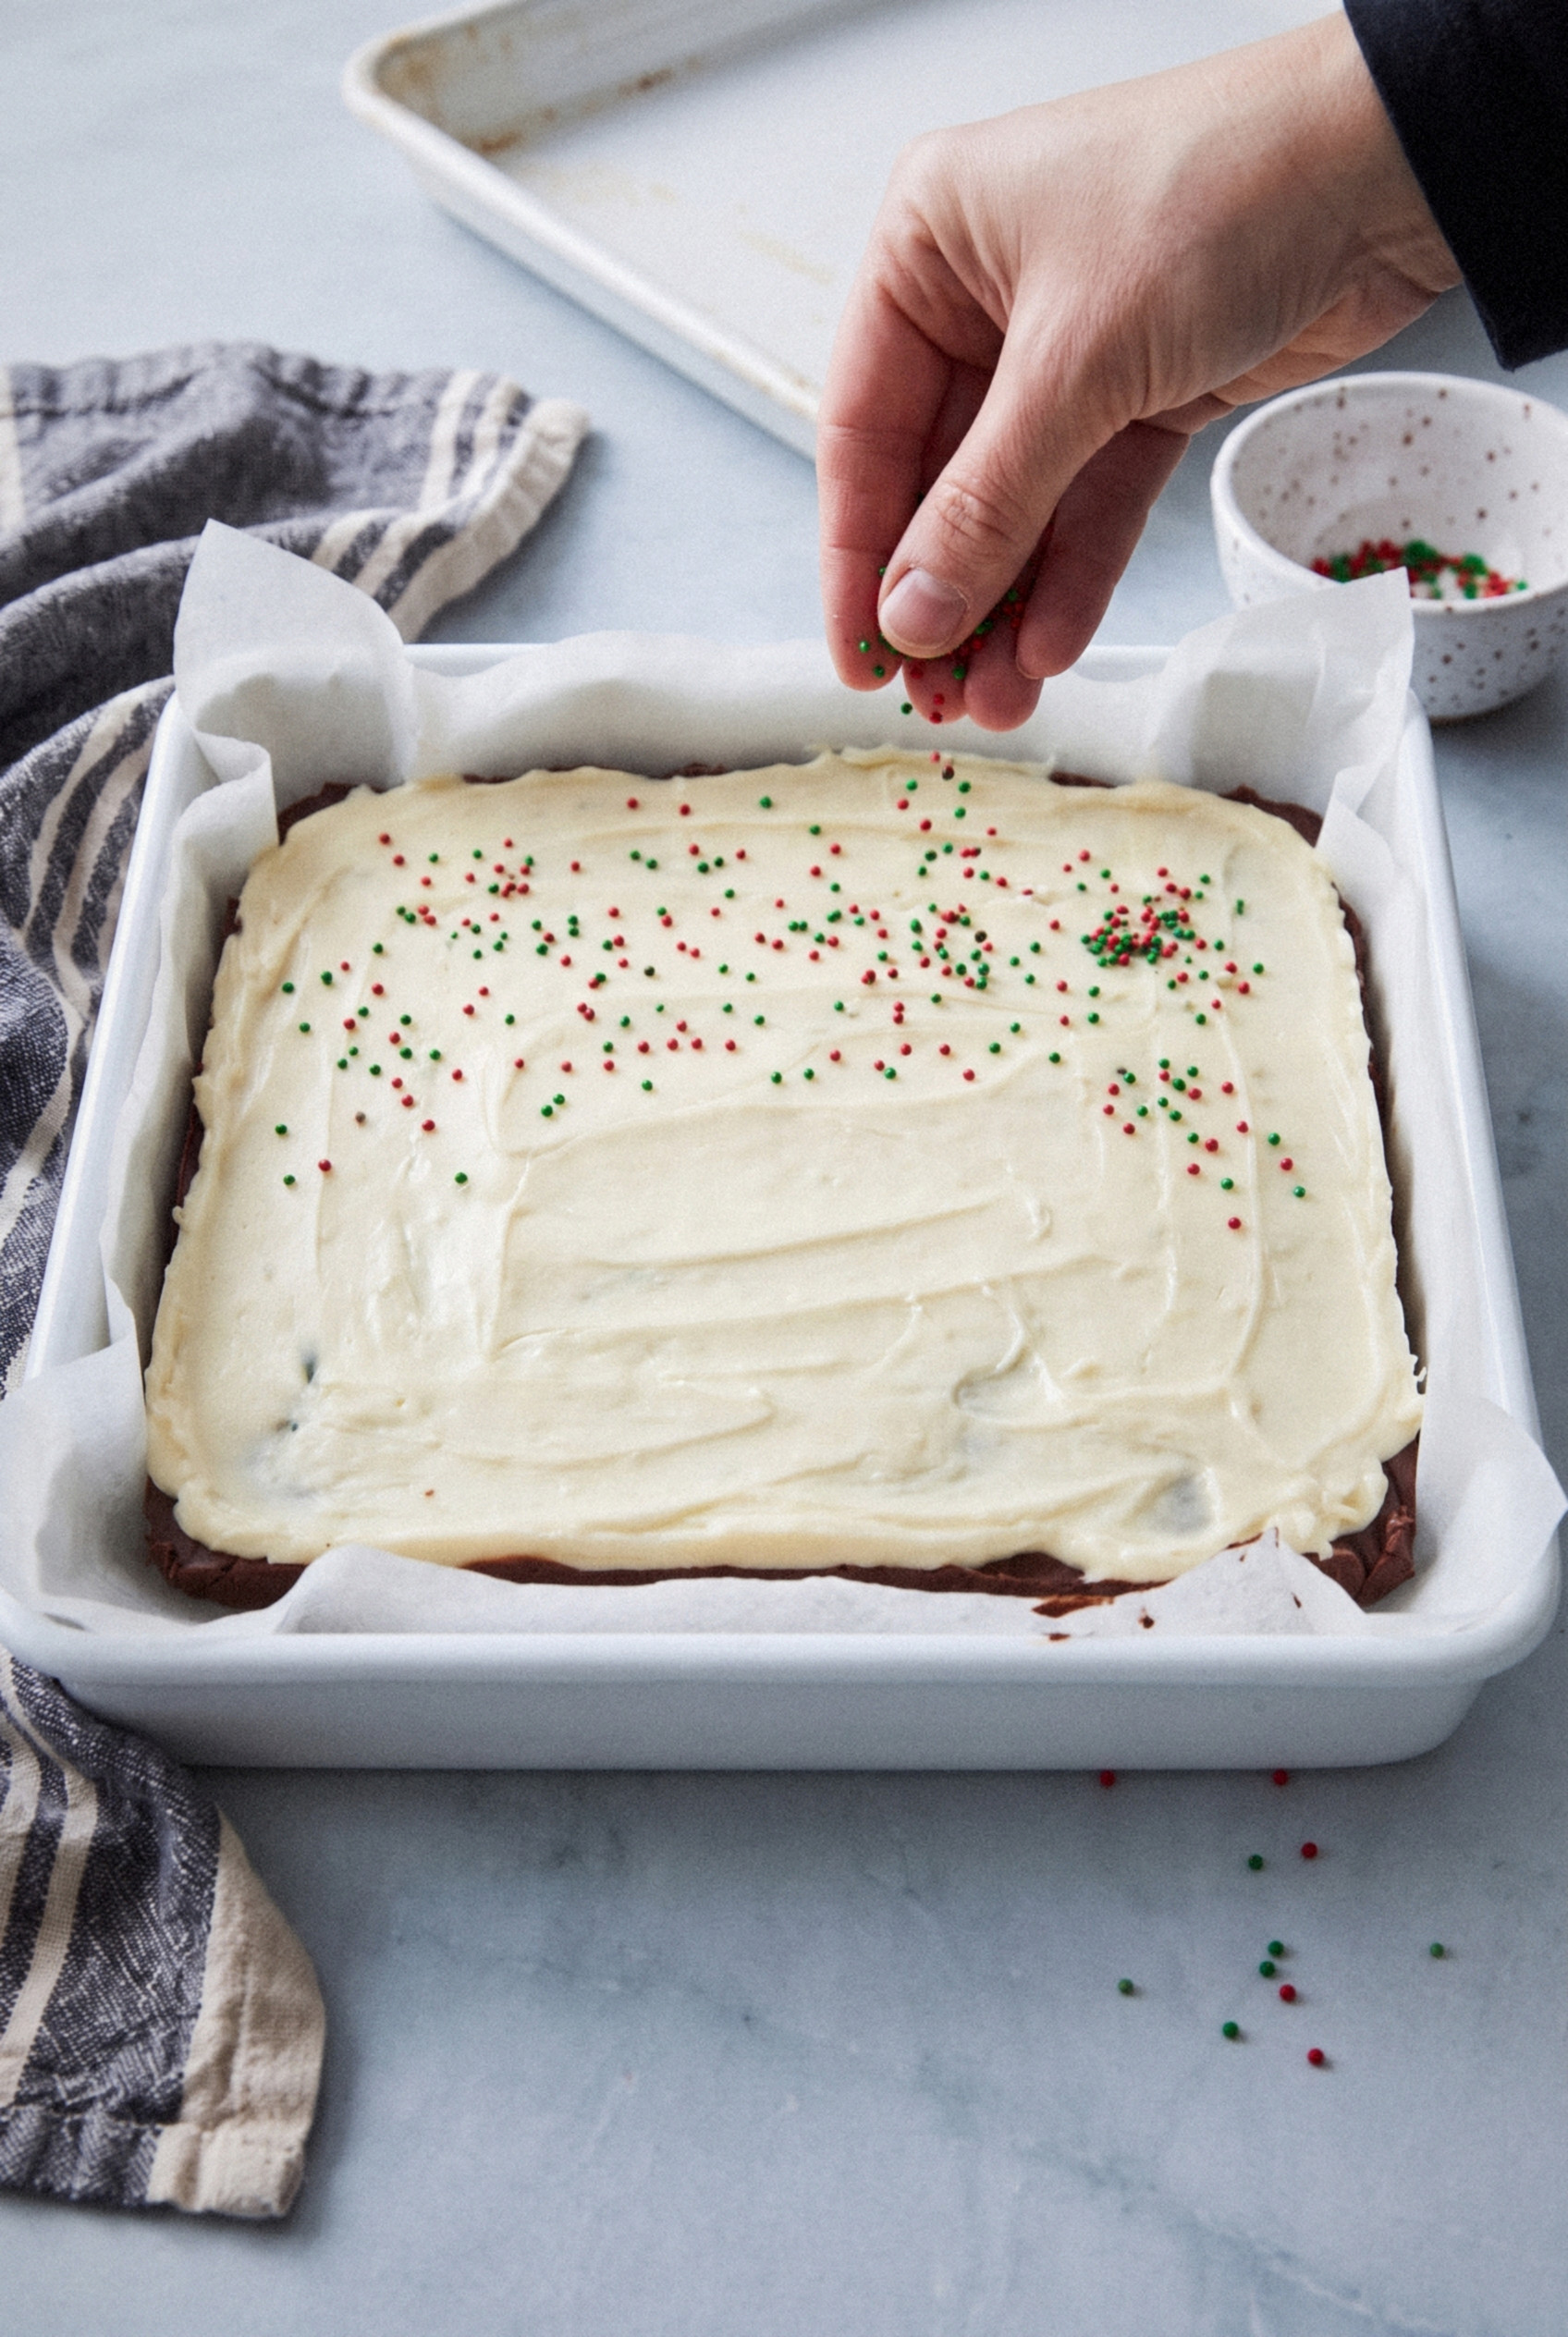
Scatter the nonpareils over the top right away, while the white layer is still soft. Press them lightly with your palm so they stick.
Chill for at least 2 hours, or until completely firm all the way through. Overnight is even better.
Step 6: Cut Clean Squares
Lift the fudge out with the parchment handles and let it sit on the counter for 10 minutes. Fudge straight from the fridge can crack.
Run a long sharp knife under hot water, wipe it dry, and press straight down. Wipe and rewarm the knife between every cut. Cut a 6 by 6 grid for 36 squares, each about 1 ¼ inches.
Want perfect edges? Trim a thin strip off each side first. Then eat the trimmings. Chef's privilege!
Expert Tips for Firm, Clean Layers
Most layered fudge problems come down to heat and timing. These tips keep yours looking sharp on the tray.
- Never rush the white chocolate. If it turns thick, dull and pasty, it's overheated. Short bursts and lots of stirring prevent it.
- Keep water away. Even a drop of water in melting chocolate can make it seize. Use a dry bowl and a dry spatula.
- Check the bottom layer with a fingertip. If it leaves a print but no chocolate on your finger, it's ready.
- Use fresh chips. Old chips that have a white bloom on them melt thick and grainy.
- Chill it fully. A firm center means clean cuts and sharp corners.
Fair warning: if your fudge stays soft after a full night in the fridge, the ratio is off, usually from a too-big pour of condensed milk. Melt it back down with an extra ½ cup of matching chips, spread it again, and chill. It firms right up.
Squares cracking when you cut them? They're too cold. Give them a few more minutes on the counter.
Storage, Freezing and Gifting
This fudge keeps really well, which makes it perfect for holiday planning. Separate the layers of squares with parchment so the sprinkles don't stick to the bottoms.
- Fridge. Airtight, up to 2 weeks. This is my favorite way to store it. The squares stay firm and clean.
- Room temperature. Up to 3 days in a cool spot. It softens a little, so don't leave it near the oven or a sunny window.
- Freezer. Wrap the whole uncut slab or the squares tightly and freeze for up to 3 months. Thaw in the fridge, still wrapped, so condensation doesn't spot the top.
- Gift tins. Line the tin with parchment, stack two layers of squares with a sheet of parchment in between, and keep it chilled until you hand it over.
On a holiday cookie tray, it pairs perfectly with gingerbread and butter cookies. The dark and white stripes make the whole tray look fancier.
Make-Ahead Timeline for Holiday Trays
Layered fudge is the one thing on my holiday list I make first. Here's how I fit it in.
- Up to 3 months ahead. Make, chill, and freeze the uncut slab. Cut it after thawing for the cleanest edges.
- Up to 2 weeks ahead. Make it and keep it in the fridge, cut or uncut.
- The day before. Cut, pack into tins, and refrigerate overnight.
- The day of. Pull it from the fridge about 15 minutes before serving so the texture softens to that perfect creamy bite.
Who doesn't love a gift that's done before the shopping even starts? Give it a try this Christmas!
Recipe
Layered Christmas Fudge
Ingredients
For the Chocolate Layer
- 1 ½ cups semi-sweet chocolate chips 9 ounces
- 7 ounces sweetened condensed milk half of a 14-ounce can, about ⅔ cup
- 1 tablespoon unsalted butter
- 1 teaspoon vanilla extract
For the White Chocolate Layer
- 1 ½ cups white chocolate chips 9 ounces
- 7 ounces sweetened condensed milk remaining half of the can
- 1 tablespoon unsalted butter
- 1 teaspoon vanilla extract
For the Topping
- 2 tablespoons red and green nonpareils
Instructions
Make the Chocolate Layer
- Line an 8x8-inch pan with parchment paper, leaving an overhang on two sides.
- Microwave the semi-sweet chips, half the condensed milk and 1 tablespoon butter in 30-second bursts, stirring after each, until smooth. Stir in 1 teaspoon vanilla.
- Spread evenly in the pan. Refrigerate for 20 to 30 minutes, just until the surface is firm to a light touch.
Make the White Chocolate Layer
- Microwave the white chips, remaining condensed milk and remaining butter in 20-second bursts, stirring after each, until smooth. Stir in the remaining vanilla.
- Spoon the white mixture over the chocolate layer in dollops and gently spread into an even layer.
- Scatter the nonpareils over the top and press lightly so they stick.
Chill and Cut
- Refrigerate for at least 2 hours, until completely firm.
- Lift the fudge out using the parchment and rest on the counter for 10 minutes. Cut into 36 squares with a sharp knife dipped in hot water and wiped dry between cuts.
Notes
- Milk: Use full-fat sweetened condensed milk. Evaporated or reduced-fat milk will not set firm.
- White chocolate: Melt in short bursts. Overheated white chocolate turns thick and grainy.
- Layer timing: Add the white layer when the bottom is firm to the touch but not cold, so the layers bond without mixing.
- Storage: Refrigerate airtight up to 2 weeks or freeze up to 3 months with parchment between layers.