The name translates to university potato, and there is a reason for it.
Vendors sold these outside the gates of Tokyo University a hundred years ago, cheap and hot in a twist of paper, and students lived on them.
The name stuck.
I bought my first cone of them from a stall near Ueno station on a cold March afternoon, mostly because a line of office workers was already waiting.
They came in a paper bag, still warm, and I ate every one before I found my train.
The glaze is the part nobody warns you about, because it is not sweet the way American candied yams are sweet.
There is soy sauce in it.
One teaspoon, and it turns the whole thing savory around the edges.
I should say this up front: the classic glaze is sugar, mirin, and soy, not honey. Honey is the modern version, and it is genuinely popular in Japan now, so I use both.
The recipe below gives you the syrup that sets glossy and tacky as it cools, not the loose molten puddle most Western versions end up with.
I make a batch every October when the sweet potatoes get good, and it never lasts an evening.
Make them once and you'll understand the line outside that stall.
What Daigaku Imo Is
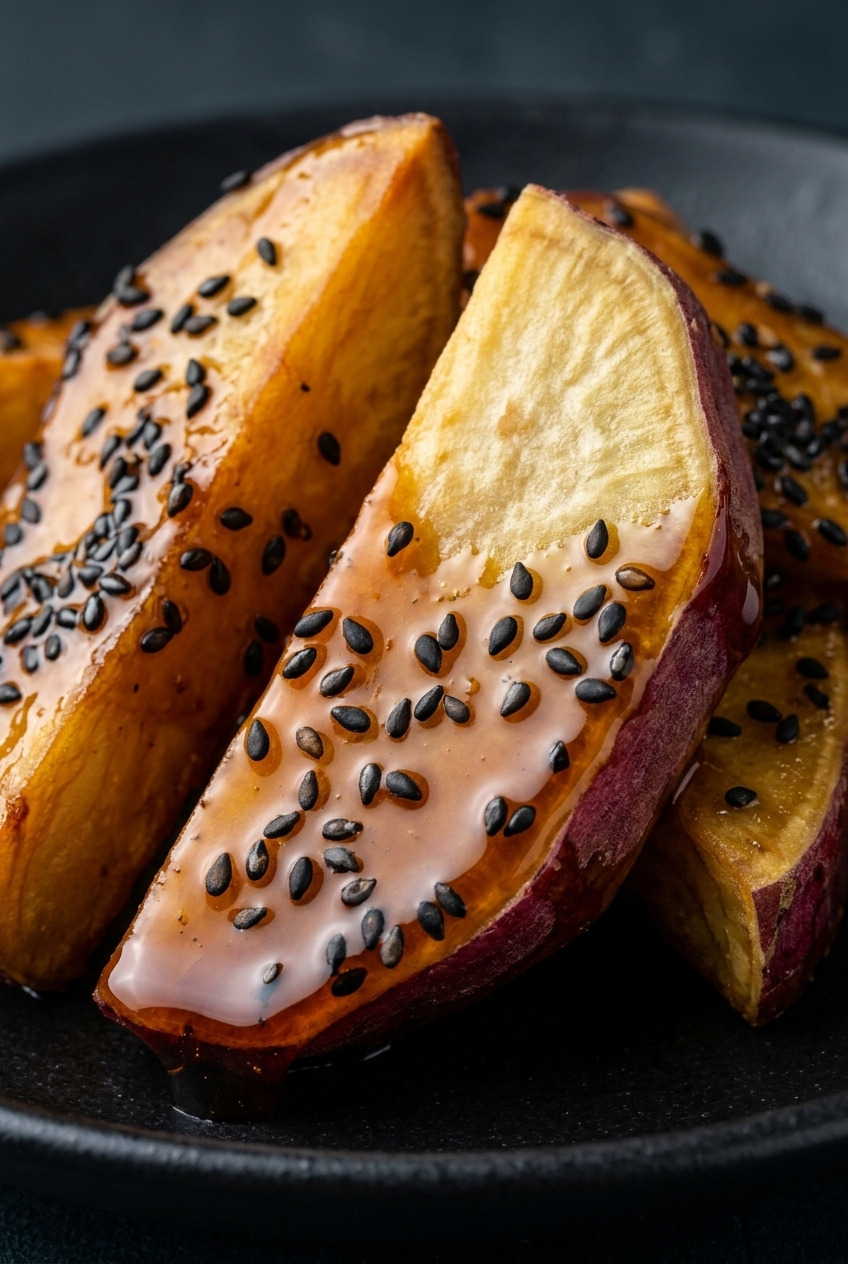
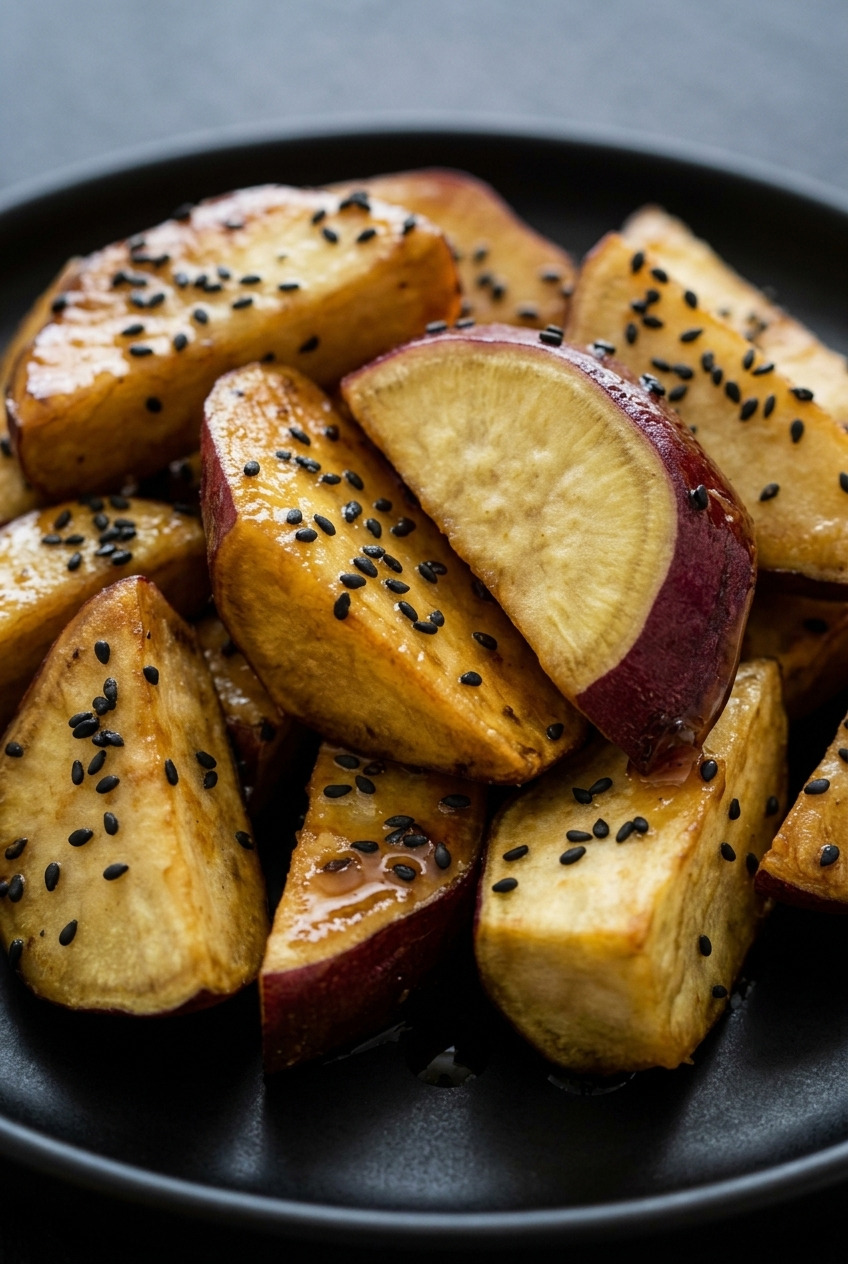
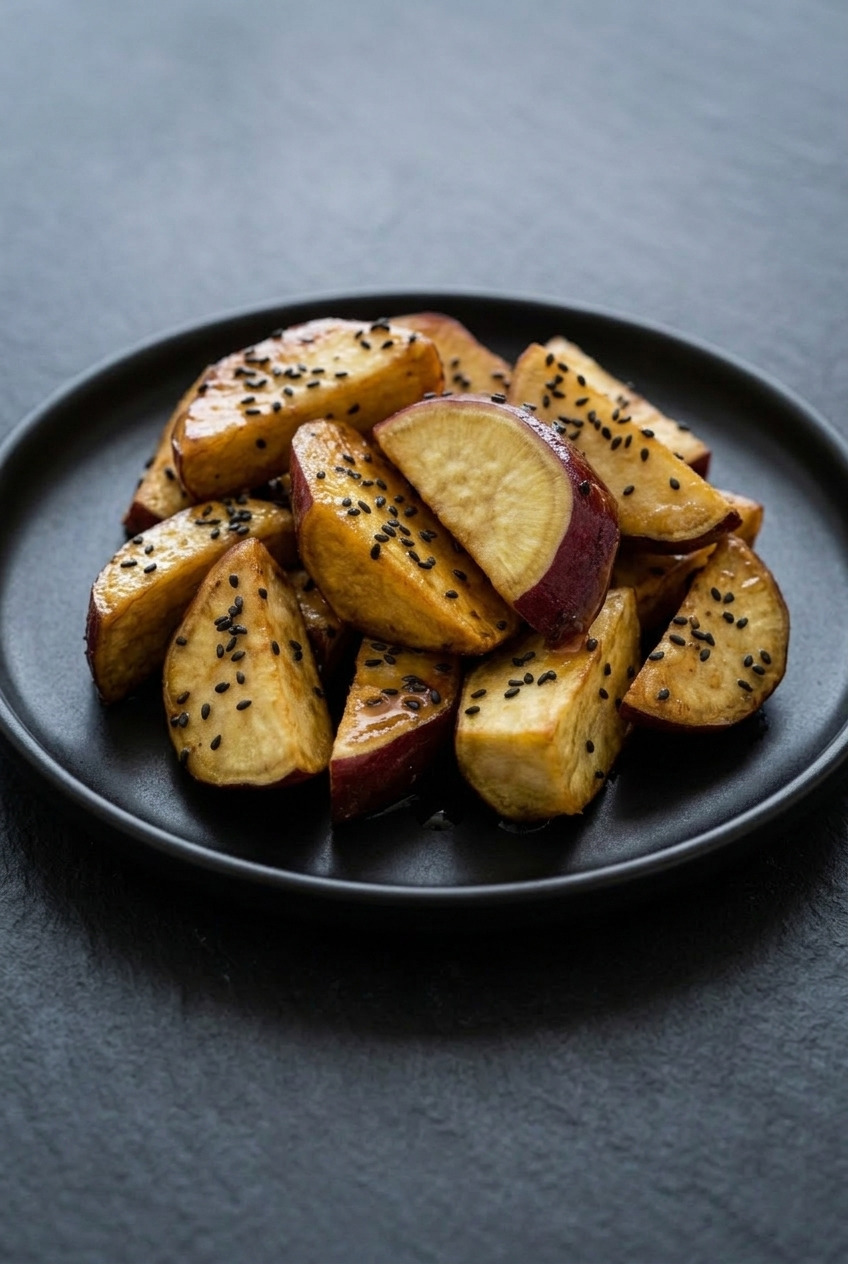
Daigaku imo is a fried and candied sweet potato snack from eastern Japan, most closely tied to Tokyo and the wider Kanto region. Bite-sized pieces of sweet potato get fried until the outside crisps, then tossed in a hot sugar syrup and finished with roasted black sesame.
Daigaku means university. Imo means potato.
Most people in Japan eat it as a snack or an afternoon sweet.
In Ibaraki prefecture, where a lot of Japan's sweet potato crop comes from, it also shows up as a side dish next to a bowl of rice. That sounds strange until you taste the soy sauce in the glaze.
On honey: the original syrup is granulated sugar with mirin and a splash of soy. Honey came later and it is now everywhere, including in the version this article is named for. My recipe uses both, because sugar gives the glaze its hard glossy set and honey gives it depth.
The black sesame is not optional decoration.
It is the visual signature of the dish, and its slight bitterness is what stops the whole thing from being cloying.
Which Sweet Potato to Use
The authentic potato is satsumaimo, the Japanese sweet potato. Purple-red skin, pale yellow flesh, noticeably drier and starchier than what you find in a US grocery store.
- Satsumaimo (first choice). Look for it at any Japanese, Korean, or Chinese grocer, often labeled Japanese sweet potato or Murasaki. The dry flesh fries into a proper crisp shell and stays fluffy rather than wet inside.
- Orange sweet potato (the substitute). Works, and it is what most American readers will use. It is wetter and sweeter, so it browns faster, softens sooner, and the glaze has more competition. Cut the pieces slightly larger and pull them from the oil a minute earlier.
- Do not use a true yam. The white fibrous African yam is a different vegetable entirely and it will not candy.
Pick firm potatoes with tight skin and no soft ends.
Ingredient Notes
Nine ingredients, and three of them are the glaze's whole personality. Read the mirin and soy sauce notes before you start substituting.
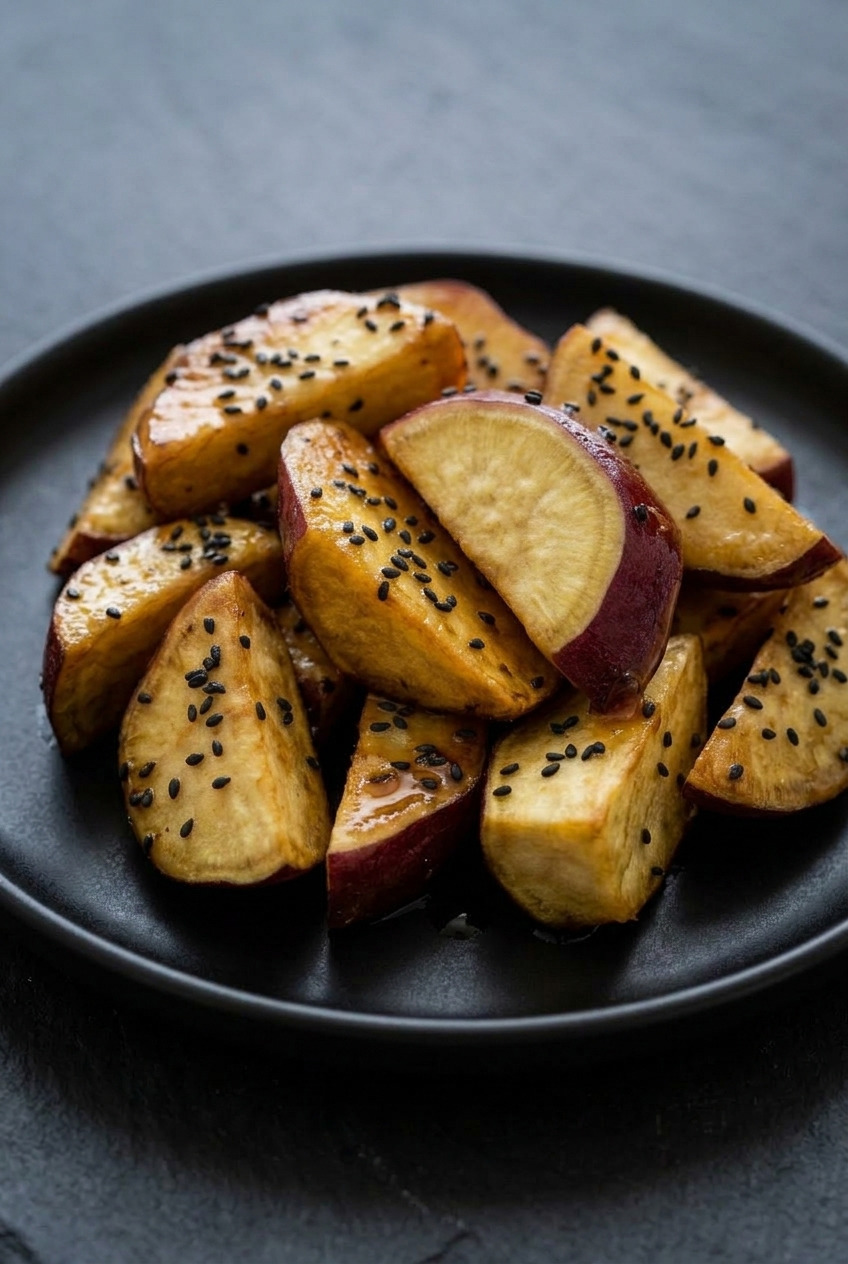
- Japanese sweet potatoes (1 ½ lb, about 2 medium). Scrub them, leave the skin on. The purple skin is part of the look and it holds the wedges together in the oil.
- Neutral oil (about 1 ½ cups for shallow frying). Canola, rice bran, or peanut. Nothing with flavor.
- Granulated sugar (3 tablespoons). This is the structural part of the glaze. Sugar is what crystallizes into a hard glossy shell as it cools, and honey alone will never do that.
- Honey (2 tablespoons). Depth and a softer, rounder sweetness. A mild honey, not buckwheat or chestnut.
- Mirin (1 tablespoon). Sweet Japanese rice wine. Every single ranking version of this dish includes it and none of them skip it. It adds gloss and a faint fermented complexity. Real mirin, not "aji-mirin" seasoning if you can find it.
- Soy sauce (1 teaspoon). One teaspoon. That is not a typo, and it is the ingredient that makes this taste Japanese instead of like a caramel apple.
- Water (1 tablespoon). Lets the sugar dissolve before it starts coloring.
- Fine salt (⅛ teaspoon). Sharpens everything.
- Roasted black sesame seeds (1 tablespoon). BLACK, not white. Roasted, not raw. Toast them 90 seconds in a dry pan if you are unsure.
How to Make Daigaku Imo
Step 1: The Rangiri Cut
Rangiri is the Japanese rolling cut, and it is the shape this dish is supposed to have.
Cut a wedge off the end of the potato on a steep diagonal, roll the potato a quarter turn toward you, and cut again at the same angle.
Keep rolling and cutting down the whole potato.
You end up with irregular chunky wedges about 1 ½ inches long, each one with more angled cut faces than a plain cube. More faces means more crisp surface and more glaze cling.
Step 2: Soak
Drop the pieces into a bowl of cold water and let them sit 10 minutes.
This pulls off loose surface starch so the wedges fry clean instead of gumming together.
Drain them and dry them completely on a towel. Wet potato hitting hot oil is how you get spitting and a soggy shell.
Step 3: Fry
Heat about ¾ inch of oil in a wide heavy pan to 325°F.
Fry the wedges in two batches, 7 to 9 minutes per batch, turning them halfway, until a skewer slides in with no resistance and the cut faces are pale gold.
Raise the heat to 375°F and return all of them for a final 60 to 90 seconds to set a crisp shell.
Lift them to a rack, not paper towels. Paper traps steam under the pieces and softens the bottoms.
Step 4: The Syrup
Pour off the oil and wipe the pan, or use a clean small skillet.
Add the sugar, honey, mirin, soy sauce, water, and salt, and set it over medium heat.
Stir only until the sugar dissolves, then stop stirring completely.
Let it bubble 2 to 3 minutes until it darkens slightly and the bubbles get bigger and slower.
Step 5: Toss and Finish
Turn off the heat, add the fried wedges, and fold them through the syrup for about 30 seconds until every face is coated and shining.
Sprinkle the black sesame seeds over them while the glaze is still wet.
Step 6: Cool Separated
Turn them out onto a lightly oiled sheet of parchment and separate the pieces so none of them touch.
Leave them 10 minutes.
The glaze goes from wet to glossy and slightly tacky as it cools, and that set is the entire point of the dish.
The Air Fryer and Oven Versions
Both work, and both give up some crunch. I still make them this way on weeknights.
- Air fryer. Toss the dried wedges with 1 tablespoon of oil, cook at 380°F for 14 to 16 minutes, shaking the basket twice. Make the syrup on the stove as written and toss.
- Oven. Toss with 2 tablespoons of oil, roast at 425°F for 25 minutes on a preheated sheet pan, flipping once.
- What you lose. The shell is thinner and it softens faster once glazed. Eat these within the hour. The deep fried version holds its crunch for several hours.
Worth doing on a Tuesday? Absolutely.
Getting the Glaze Right
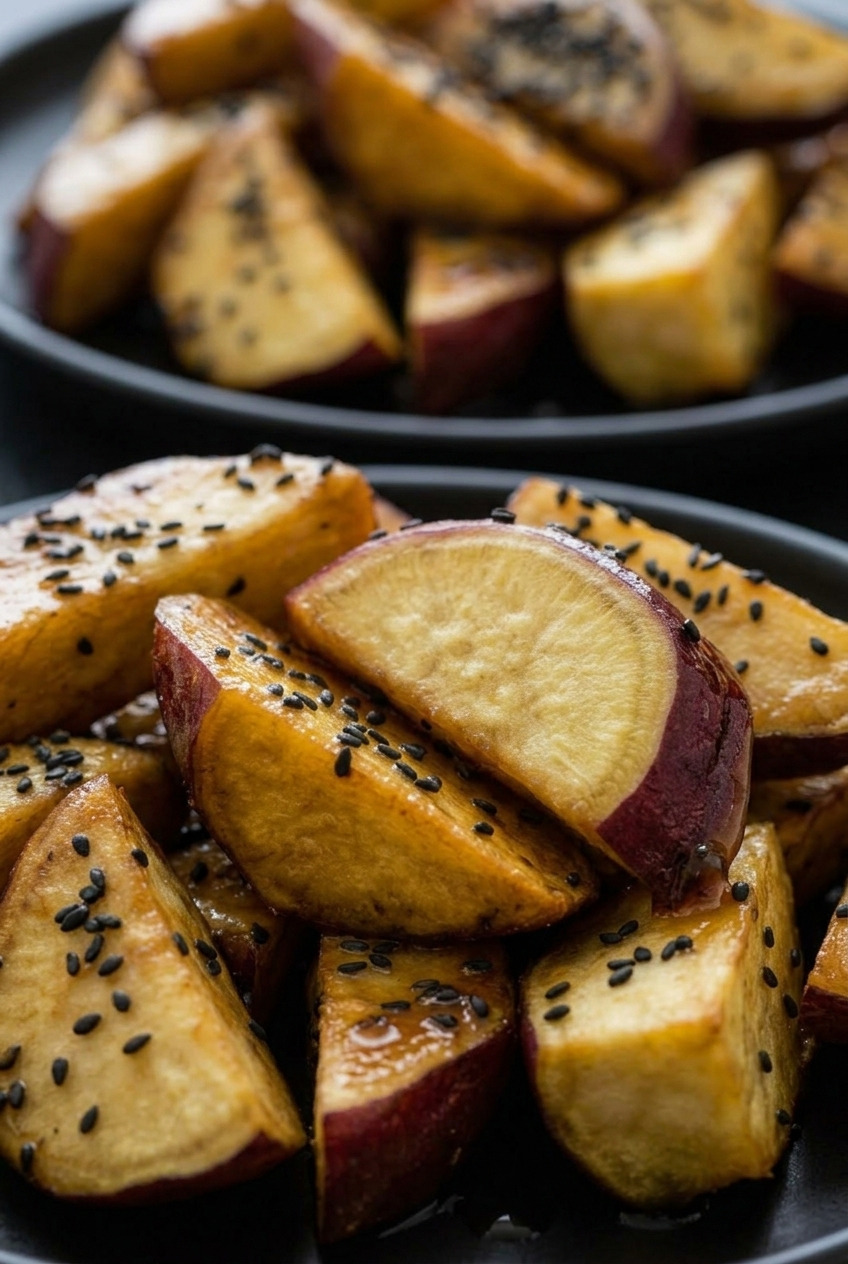
This is where daigaku imo goes wrong, and every failure is a syrup problem. Here is what each one looks like and how to fix it.
- Grainy, sandy syrup. You stirred it after the sugar dissolved, which seeds crystallization. Stir to dissolve, then leave it alone.
- Loose and molten, never sets. Undercooked. Test it: drop a little on a cold plate. It should turn tacky within 10 seconds. If it stays runny, give the pan another 30 seconds.
- Hard and bitter. Overcooked past caramel. Start over, it cannot be rescued.
- Everything welded into one lump. You cooled them touching. Separate the pieces the moment they leave the pan.
- Glaze slides off. The wedges were still greasy or still steaming. Rack them properly and give them a minute before they meet the syrup.
Pro tip: have the sesame seeds already open and next to the stove. You get about 45 seconds of wet glaze and no time to go looking for a jar.
How to Serve It
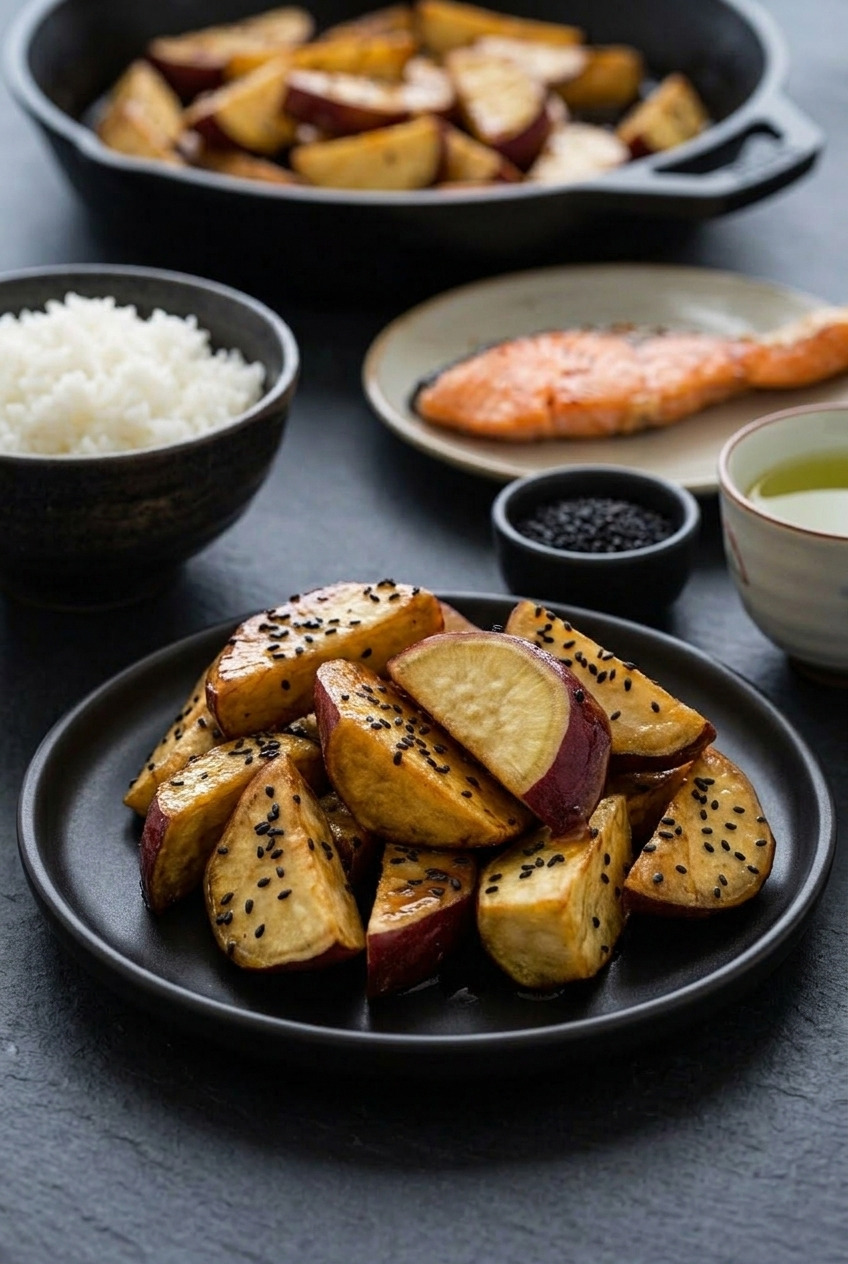
- As a snack. Room temperature, in a small bowl, with green tea. This is how it is eaten most often in Japan.
- In a bento. They hold up for hours and they are the sweet corner of a packed lunch.
- The Ibaraki way. As a side dish next to steamed rice and something savory, grilled salmon or a simple chicken. The soy in the glaze makes this work better than it sounds.
- Warm with ice cream. Not Japanese at all, and very good.
For a sweet potato snack table, set these next to a bowl of my Taiwanese sweet potato balls. My kids go back and forth between the two.
Storage and Re-Crisping
- Same day. Room temperature, uncovered, on the parchment. They are best 1 to 4 hours after cooling.
- Fridge. Up to 3 days in an airtight container. The glaze softens and the shell goes chewy, which is not a disaster but is not the point either.
- Re-crisping. Spread them on a sheet pan and give them 6 to 8 minutes at 375°F. Cool them separated again.
- Never microwave them. The glaze goes to liquid, the potato steams, and you get a sweet wet lump.
- Freezing. Don't. The glaze weeps on thawing.
Make them once and you'll understand why students used to line up for them. Yum!
If you like Japanese home cooking this simple, tamago kake gohan is the breakfast equivalent: rice, egg, soy, done.
Recipe
Daigaku Imo (Japanese Honey Glazed Fried Sweet Potatoes)
Ingredients
For the Sweet Potatoes
- 1 ½ lb Japanese sweet potatoes (satsumaimo) scrubbed, skin on, or orange sweet potato
- 1 ½ cups neutral oil canola, rice bran or peanut, for frying
For the Glaze
- 3 tablespoon granulated sugar
- 2 tablespoon honey mild
- 1 tablespoon mirin
- 1 teaspoon soy sauce
- 1 tablespoon water
- ⅛ teaspoon fine salt
- 1 tablespoon roasted black sesame seeds
Instructions
Cut and Fry
- Cut the sweet potatoes rangiri style: slice a wedge off the end on a steep diagonal, roll the potato a quarter turn, and cut again at the same angle. Continue down the potato for irregular wedges about 1 ½ inches long.
- Soak the wedges in cold water 10 minutes to remove surface starch. Drain and dry completely on a towel.
- Heat ¾ inch of oil in a wide heavy pan to 325F. Fry in two batches, 7 to 9 minutes per batch, turning halfway, until a skewer slides in easily and the cut faces are pale gold.
- Raise the oil to 375F and return all the wedges for 60 to 90 seconds to set a crisp shell. Lift to a wire rack, not paper towels.
Glaze and Finish
- Pour off the oil and wipe the pan. Add the sugar, honey, mirin, soy sauce, water and salt over medium heat. Stir only until the sugar dissolves, then stop stirring.
- Let the syrup bubble 2 to 3 minutes until it darkens slightly and the bubbles get larger and slower. Test a drop on a cold plate: it should turn tacky within 10 seconds.
- Turn off the heat, add the fried wedges, and fold them through the syrup about 30 seconds until every face is coated and shining. Sprinkle the black sesame seeds over while the glaze is still wet.
- Turn them out onto lightly oiled parchment and separate the pieces so none touch. Cool 10 minutes, until the glaze sets glossy and slightly tacky.
Notes
- The classic glaze: Traditional daigaku imo is glazed with granulated sugar, mirin and soy sauce. Honey is a popular modern addition. This recipe uses both, since sugar gives the hard glossy set and honey gives depth.
- Sweet potato: Japanese satsumaimo has drier, starchier flesh and fries crisper. Orange sweet potato works but is wetter and sweeter, so cut it slightly larger and pull it from the oil a minute earlier.
- Do not stir the syrup after the sugar dissolves, or it will crystallize and turn grainy.
- Cool separated on oiled parchment or the pieces weld into one mass.
- Air fryer: Toss dried wedges with 1 tablespoon oil, cook at 380F for 14 to 16 minutes, shaking twice, then glaze as written.
- Storage: Best 1 to 4 hours after cooling. Up to 3 days refrigerated. Re-crisp 6 to 8 minutes at 375F. Never microwave.