My first three batches went straight into the trash.
Not because they tasted bad.
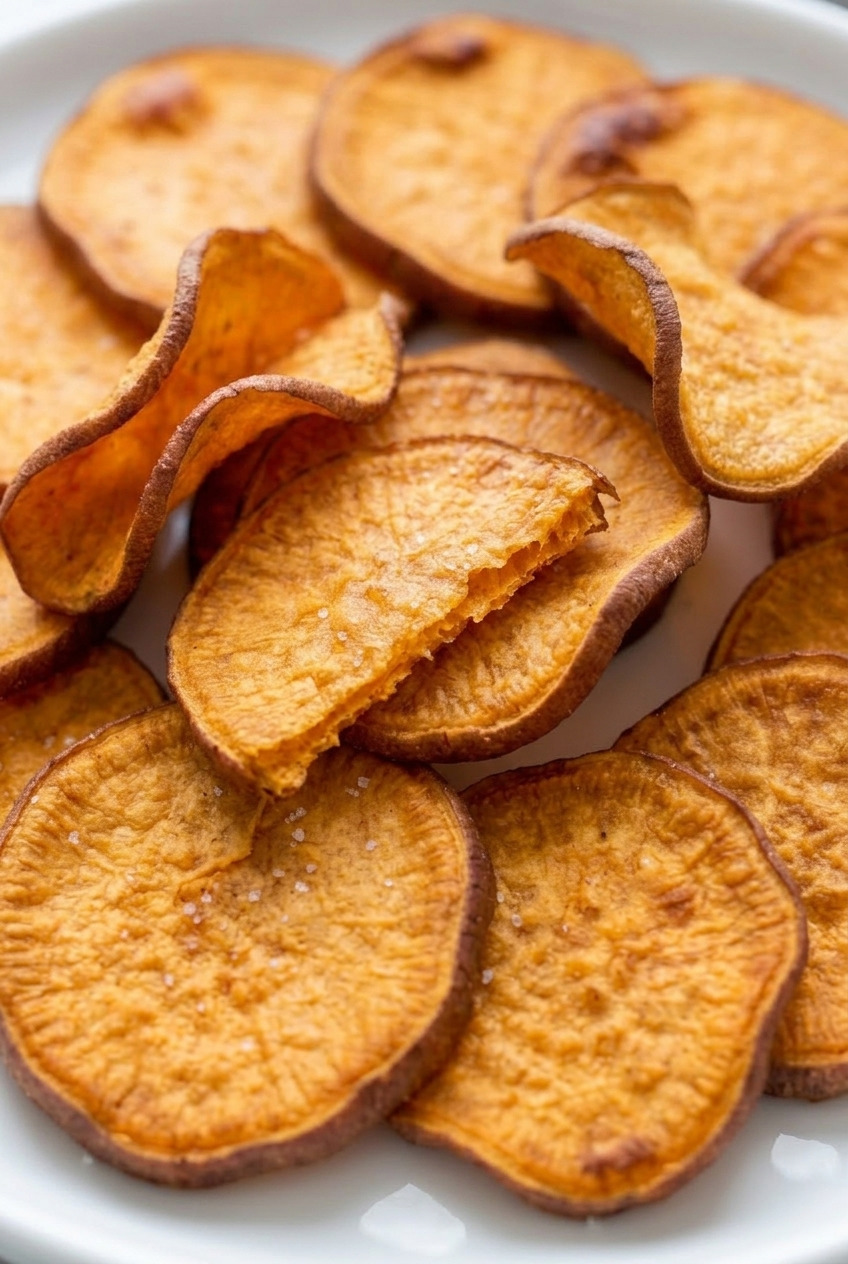
Because they bent.
Every single one came out of the oven looking gorgeous and orange, and then folded in half like a wet playing card.
I blamed the oven, then the oil, then the potato.
It was none of those.
My slices were all different thicknesses, and a tray of mixed thicknesses can never finish at the same moment.
The thin ones scorched while I waited on the fat ones.
The fat ones stayed soft while I rescued the thin ones.
I bought a cheap mandoline, set it to the second-thinnest notch, and the problem disappeared in one afternoon.
Now I make these most Sunday afternoons while something else is going in the oven.
My wife eats about a third of the tray standing at the counter before they even cool.
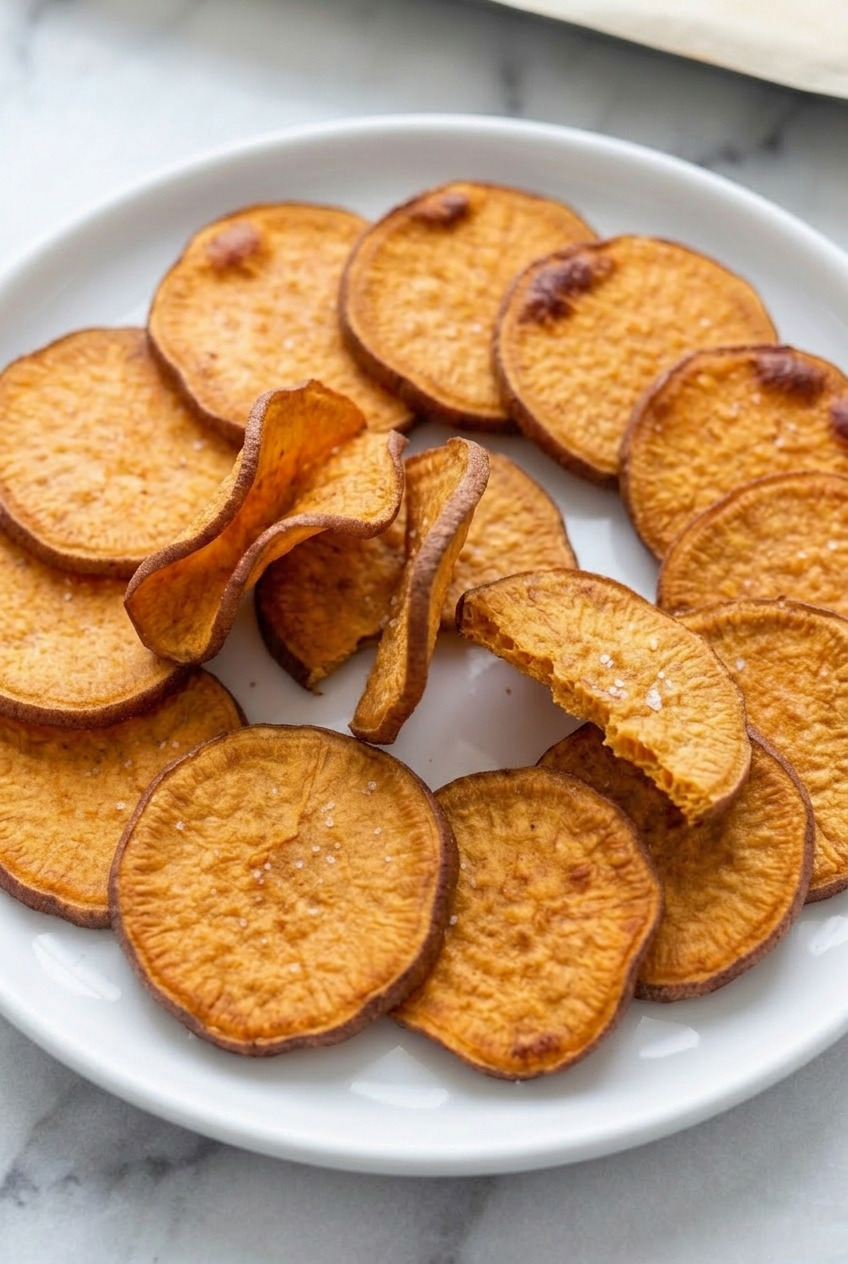
These are chips in the truest sense: rounds thin enough to see light through, baked until they snap between your fingers.
They are not thick roasted rounds and they are not fries.
If you can slice evenly and resist crowding the pan, you get the real thing in about 40 minutes.
I promise the first crackling one out of the batch is worth the fuss!
Why These Chips Actually Crisp
Crispness here is a mechanical problem, not a flavor one. Four things do all the work, and skipping any one of them is where limp chips come from.
- Mandoline-thin rounds. At 1/16 to ⅛ inch there's barely any water left to drive off, so the slice dries before it burns.
- A light oil coat. Light is the operative word. Pooled oil steams the underside instead of crisping it.
- A single uncrowded layer. Overlapping slices trap moisture between them and you get a soft patch every time.
- The pull-and-sort finish. Take the done ones off the pan and give the rest another few minutes. This one step fixes most of what people complain about.
Notice that none of those is a secret ingredient.
It's all handling.
Chips, Not Fries or Rounds
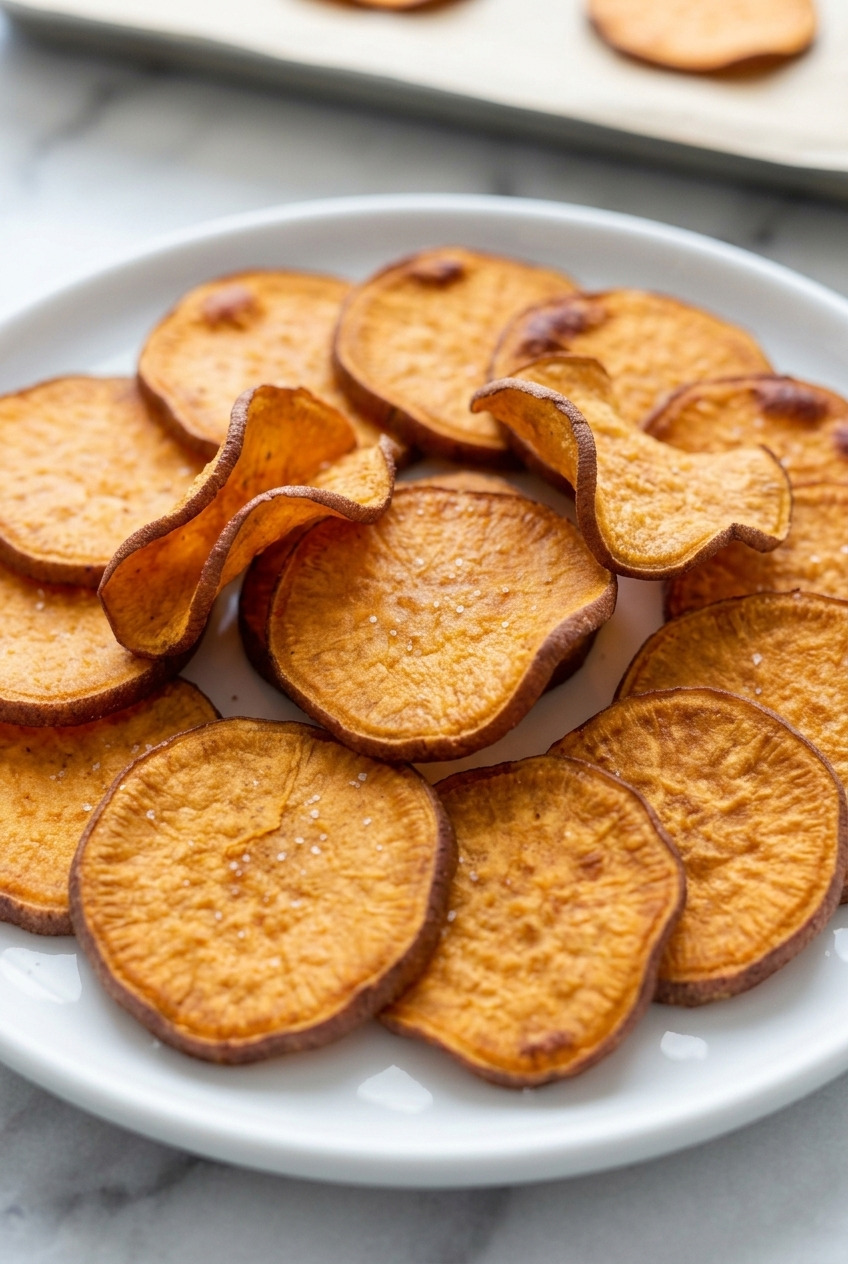
Worth being precise about, because these three things get confused constantly. A chip is a paper-thin round, 1/16 to ⅛ inch thick, baked until it's crisp edge to edge and it shatters when you bite it.
A roasted round is a quarter inch or thicker, tender in the middle, browned on the outside, and it's a side dish.
A fry is a baton, soft inside, crisp outside.
All three are good and all three are different recipes.
If you want something that snaps and disappears by the handful, you're in the right place.
Ingredients You Need
- Sweet potatoes (2 medium, about 1 ¼ pounds). Look for long, slim ones over fat round ones. A slim potato gives you rounds of a similar size, which means they finish at a similar time.
- Olive oil (2 tablespoons). That's it for the whole batch. Any neutral high-heat oil works, avocado oil included.
- Cornstarch (1 teaspoon, optional). My favorite addition and one nobody seems to use on chips. It dries the surface of the slice and gives you a crisper, harder finish.
- Fine sea salt (¾ teaspoon). Goes on after baking, not before.
- Smoked paprika and black pepper (optional). Also after baking. See the variations below.
Leave the skins on.
They crisp up beautifully and give the edge of each chip a little chew for contrast.
The Slice Is the Whole Recipe
Use a mandoline, guard on, always. Set it to 1/16 inch if you want the fastest, crackliest chip, or ⅛ inch if you want a slightly sturdier one that holds up to dip.
Uniformity matters more than the exact number.
Ten identical thin slices beat ten perfect slices mixed with two thick ones, every time.
No mandoline? A sharp knife works, and so does a Y-peeler if you press hard and go slow. Both give you more variation, which means you'll be sorting more at the end. Plan on it rather than being surprised by it.
Pick potatoes with an even diameter along their length.
A potato that bulges in the middle gives you a mix of big rounds and small ones, and small ones burn first.
Fair warning: a mandoline is genuinely sharp and it does not care about your thumb. Use the guard on every single slice, including the last stubby bit. I lost that argument once and I'm not losing it again.
How to Make Baked Sweet Potato Chips
Step 1: Slice and Soak
Scrub the potatoes well and dry them, then slice on the mandoline into a big bowl of cold water.
Let them soak 20 minutes.
The soak pulls out surface starch, which otherwise turns gummy and holds the slice back from crisping.
Step 2: Dry Them Like You Mean It
Drain and lay the slices out on towels, then press a second towel firmly on top.
Both faces need to be dry to the touch.
Surface water is the number one enemy here, because the oven spends its first several minutes boiling it off instead of crisping anything.
Step 3: Oil and Season Lightly
Toss the dry slices with 2 tablespoons of oil and the cornstarch if you're using it.
Use your hands and keep tossing until every round has a thin sheen and none are sitting in a puddle.
Hold the salt until the end.
Step 4: Single Layer, No Overlap
Lay the slices on parchment-lined sheet pans with a little space around each one.
One tray at a time in the oven, on the middle rack.
Two trays at once means two trays of mediocre chips, and I've tested that more than I'd like to admit.
Step 5: Bake at 375°F for 18 to 25 Minutes
Bake at 375°F, flipping each round at the 12 minute mark.
Start checking closely at 18 minutes.
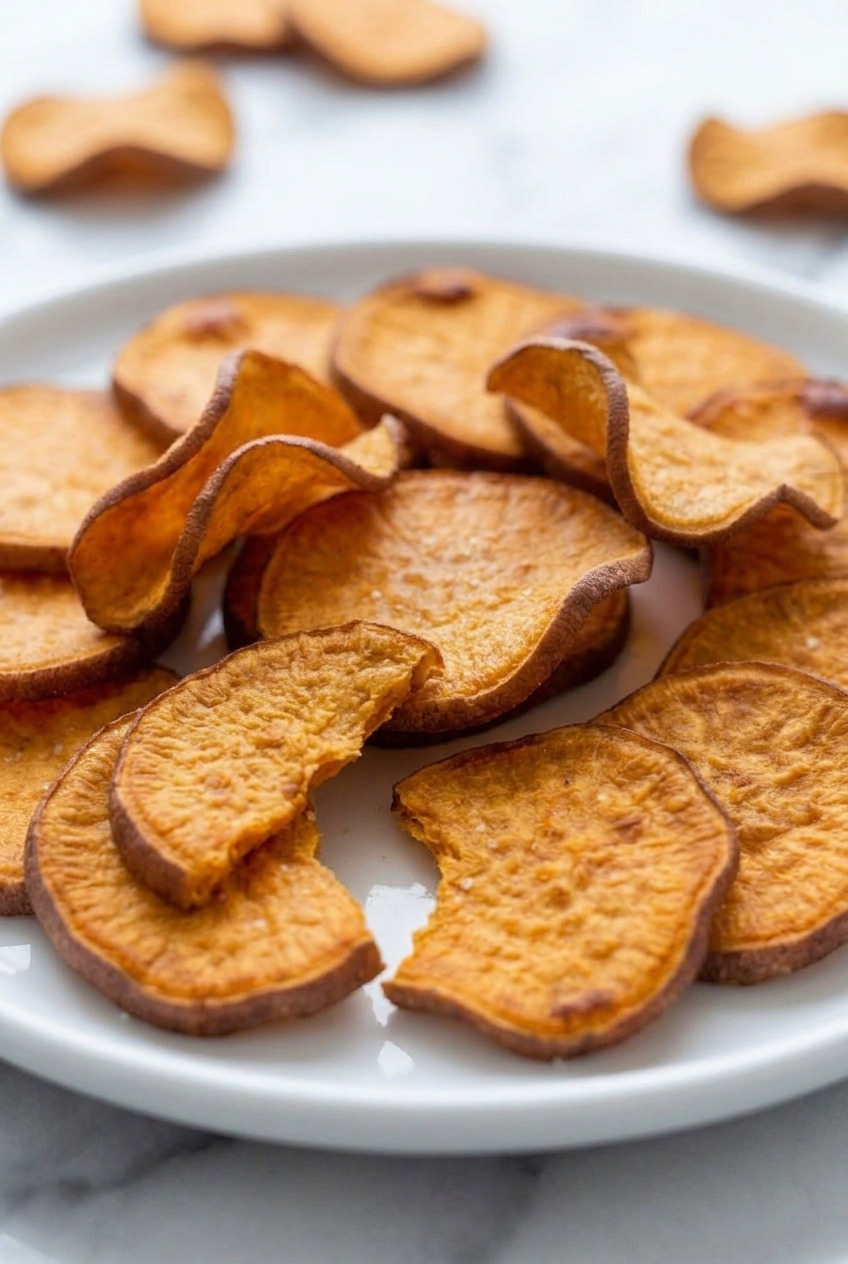
The edges curl up and darken first, and that curl is your signal that the round has dried through.
Step 6: Pull and Sort
This is the step that makes or breaks the batch.
Pull the pan out and lift off every chip that's already crisp and curled, then slide the pan back in for another 3 to 5 minutes.
Repeat until the pan is empty.
It sounds fussy and it takes about two extra minutes of your life.
Step 7: Cool on a Rack
Move the chips to a wire rack in a single layer as they come off.
They firm up considerably as they cool, so a chip that seems almost there at the pan will usually finish on the rack.
Salt them while they're still warm so it sticks.
Why Yours Came Out Bendy
Every limp chip traces back to one of five things. I've done all five.
- Uneven slices. The most common cause by a mile. Fix it with a mandoline, or sort aggressively at the end.
- A crowded pan. Overlapping rounds steam each other. Use two pans and bake them one after the other.
- Too much oil. If there's a slick on the parchment, you used too much. Blot the slices before they go in.
- Pulled too early. A chip that's still flat and floppy in the middle is not done. Wait for the curl.
- Cooled on the hot pan. The pan keeps releasing steam under the chip and softens it right back. Get them onto a rack.
Already have a bendy batch on your hands?
Spread them out on a clean pan and give them 5 minutes at 350°F, then cool them on a rack. It usually rescues them.
Seasoning Variations
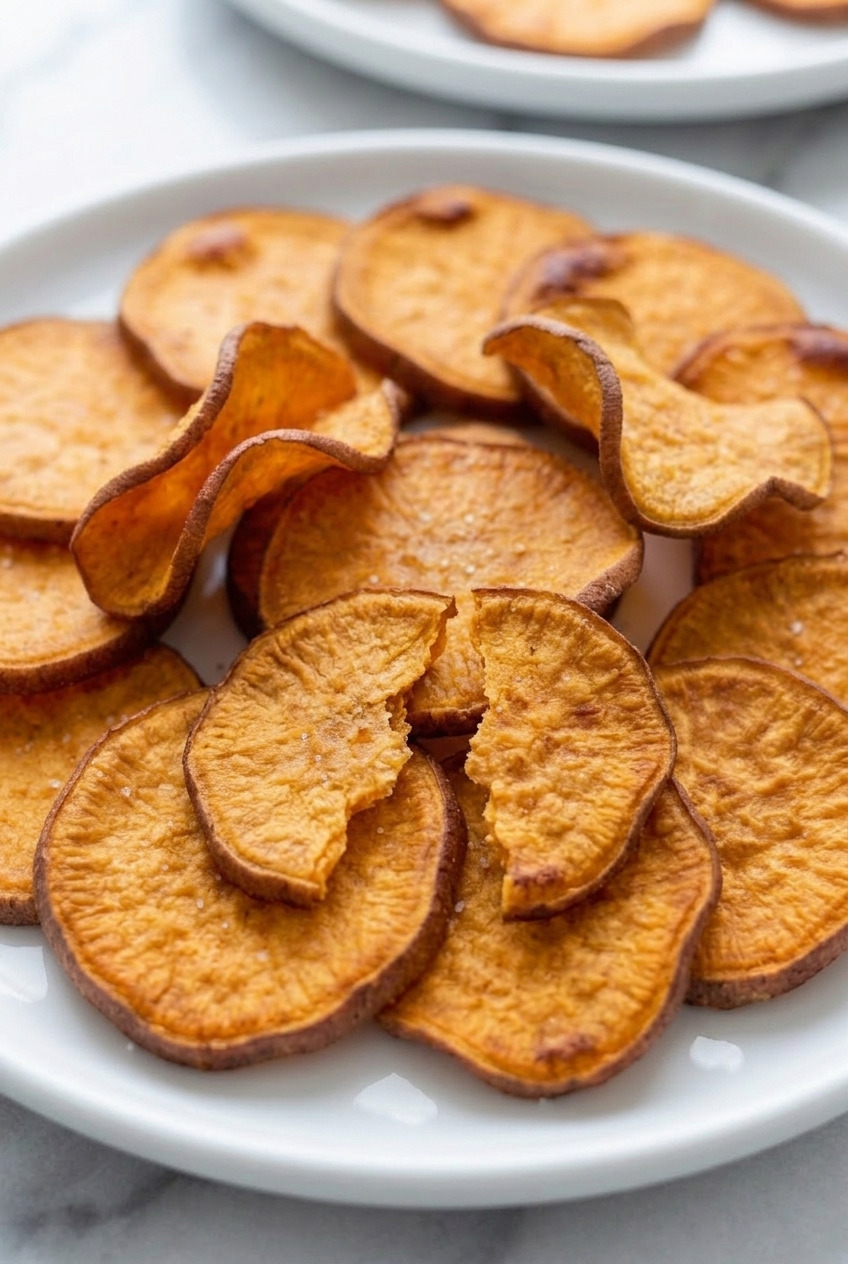
Season after baking, never before. Salt draws water to the surface during the bake, and water is exactly what you're trying to get rid of.
- Just salt. Fine sea salt and nothing else. Make this one first so you know what the potato actually tastes like.
- Smoked paprika and garlic. ½ teaspoon smoked paprika and ¼ teaspoon garlic powder. My default.
- Chili and lime. ¼ teaspoon chili powder plus a fine grating of lime zest. The zest is what makes it, not the juice.
- Black pepper and rosemary. Coarse pepper and finely chopped fresh rosemary, rubbed between your palms first.
Toss the seasoning with the warm chips in a big bowl, not on the pan.
For a sweet version, my dehydrator sweet potato chips with cinnamon are the low-and-slow route.
Air Fryer Method
It works, with one honest caveat. An air fryer basket holds a fraction of what a sheet pan holds, so you're cooking in small batches for a long time.
Set it to 350°F and go 8 to 12 minutes, shaking and separating the chips every 3 minutes.
Single layer applies here too, and it applies even more strictly.
For a handful of chips it's faster than the oven. For a real batch, it isn't.
Storing Them So They Stay Crisp
- Cool completely first. Non-negotiable. A warm chip in a sealed container makes its own steam and you'll open a container of soft orange discs.
- Airtight, room temperature. Up to 3 days. They're best on day one and still good on day two.
- Never the fridge. Refrigerator air is damp and it softens them overnight.
- The refresh. 3 minutes at 350°F brings back most of the snap. Cool on a rack afterward.
What to Serve With Them
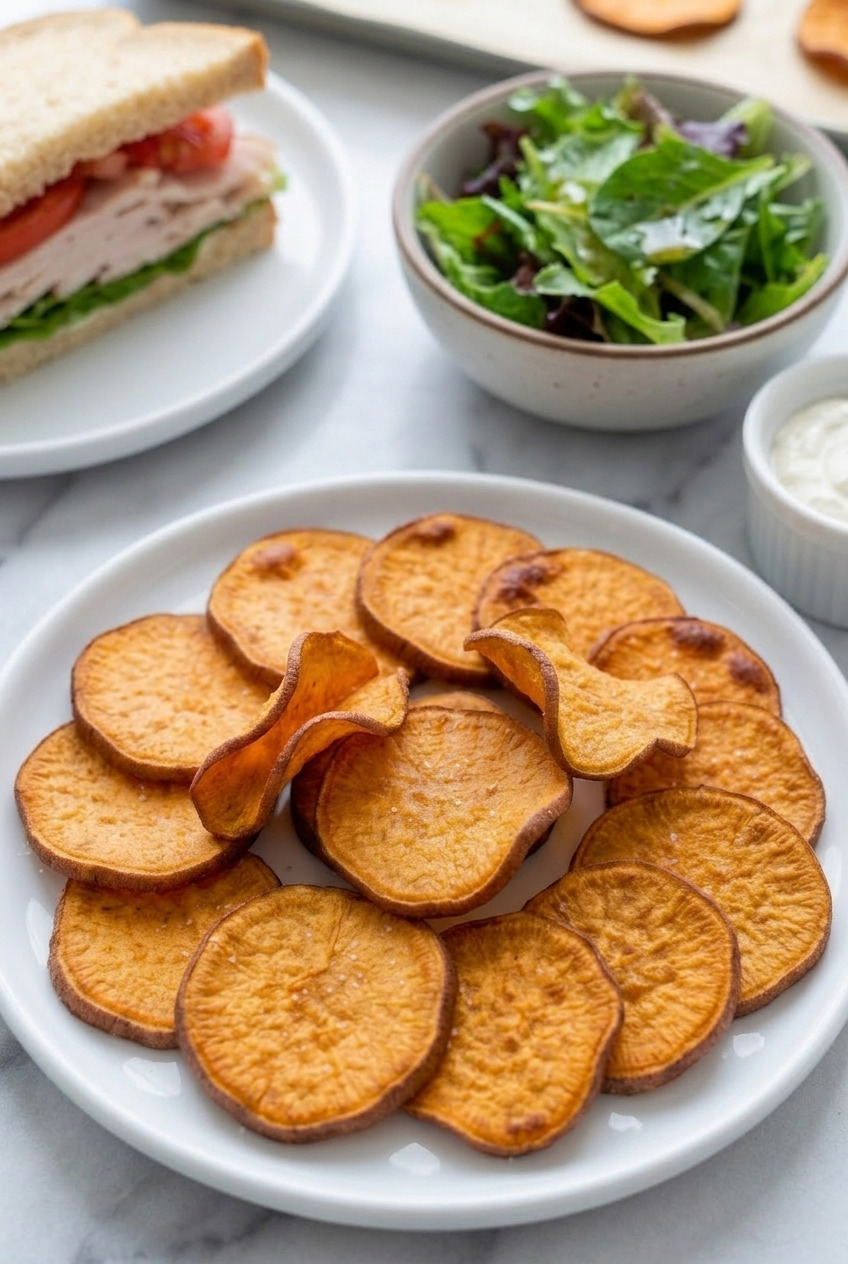
These earn their place next to a sandwich. I put them alongside a turkey club or a burger and they hold up better than a regular potato chip does.
- With a sandwich or burger. The classic use, and the reason I make a full batch.
- With a dip. Sturdy enough for a thick onion dip or a hummus if you slice at ⅛ inch.
- On a lunch plate. A pile next to soup, or next to a green salad with a sharp vinaigrette.
- Straight from the rack. Which is where most of mine go. I'm not going to pretend otherwise!
Give them a try this weekend.
Slice thin, don't crowd the pan, and sort as you pull. That's the whole thing.
For a chip board, add a tray of baked cheesy polenta chips.
Recipe
Crispy Baked Sweet Potato Chips
Ingredients
For the Chips
- 2 medium sweet potatoes about 1 ¼ pounds total, long and slim, scrubbed with skin on
- 2 tablespoons olive oil or avocado oil
- 1 teaspoon cornstarch optional, for a crisper finish
- ¾ teaspoon fine sea salt for after baking
Optional Seasoning
- ½ teaspoon smoked paprika optional
- ¼ teaspoon garlic powder optional
- ¼ teaspoon black pepper optional, coarsely ground
Instructions
Slice and Prep
- Scrub the sweet potatoes and dry them, leaving the skins on. Slice on a mandoline at 1/16 to ⅛ inch, guard on, straight into a large bowl of cold water. Uniform thickness matters more than the exact setting.
- Soak the slices 20 minutes to pull out surface starch, then drain.
- Spread the slices on towels and press a second towel firmly on top. Both faces must be dry to the touch before they go in the oven.
- Toss the dry slices with the olive oil and the cornstarch if using, until every round carries a thin sheen and none are sitting in a puddle. Do not salt yet.
Bake the Chips
- Heat the oven to 375F. Lay the slices in a single layer on parchment-lined sheet pans with space around each one and no overlap. Bake one tray at a time on the middle rack.
- Bake 18 to 25 minutes, flipping each round at the 12 minute mark. The edges curl and darken first, and that curl means the round has dried through.
- At 18 minutes, pull the pan and lift off every chip that is already crisp and curled. Return the pan for another 3 to 5 minutes and repeat until the pan is empty.
- Move the chips to a wire rack in a single layer as they come off. They firm up further as they cool. Salt while still warm, and toss with any optional seasoning in a bowl rather than on the pan.
Notes
- Uniform slices are the whole recipe: a tray of mixed thicknesses can never finish at the same moment, so the thin ones scorch while the thick ones stay soft.
- One tray at a time: two trays at once gives you two trays of mediocre chips.
- Salt after, not before: salt draws water to the surface during the bake.
- Cool on a rack, never on the pan: the hot pan keeps steaming under the chip and softens it again.
- Bendy batch rescue: spread them on a clean pan, 5 minutes at 350F, then cool on a rack.
- Storage: fully cool, airtight, room temperature up to 3 days. Never the fridge. Refresh 3 minutes at 350F.