Three Christmases in a row, I watched the same hand skip right over my gingerbread.
It belonged to my wife, and it always reached past my cookies on the holiday tray.
Every single time, it landed on the jam thumbprints instead.
I finally asked her why, and she didn't even hesitate: my gingerbread was hard enough to build a house with.
She wasn't wrong. I'd been rolling it thin and baking it crisp, and by day two you could tap it on the counter like a coaster.
So I stopped fighting her and combined the two cookies she actually wanted.
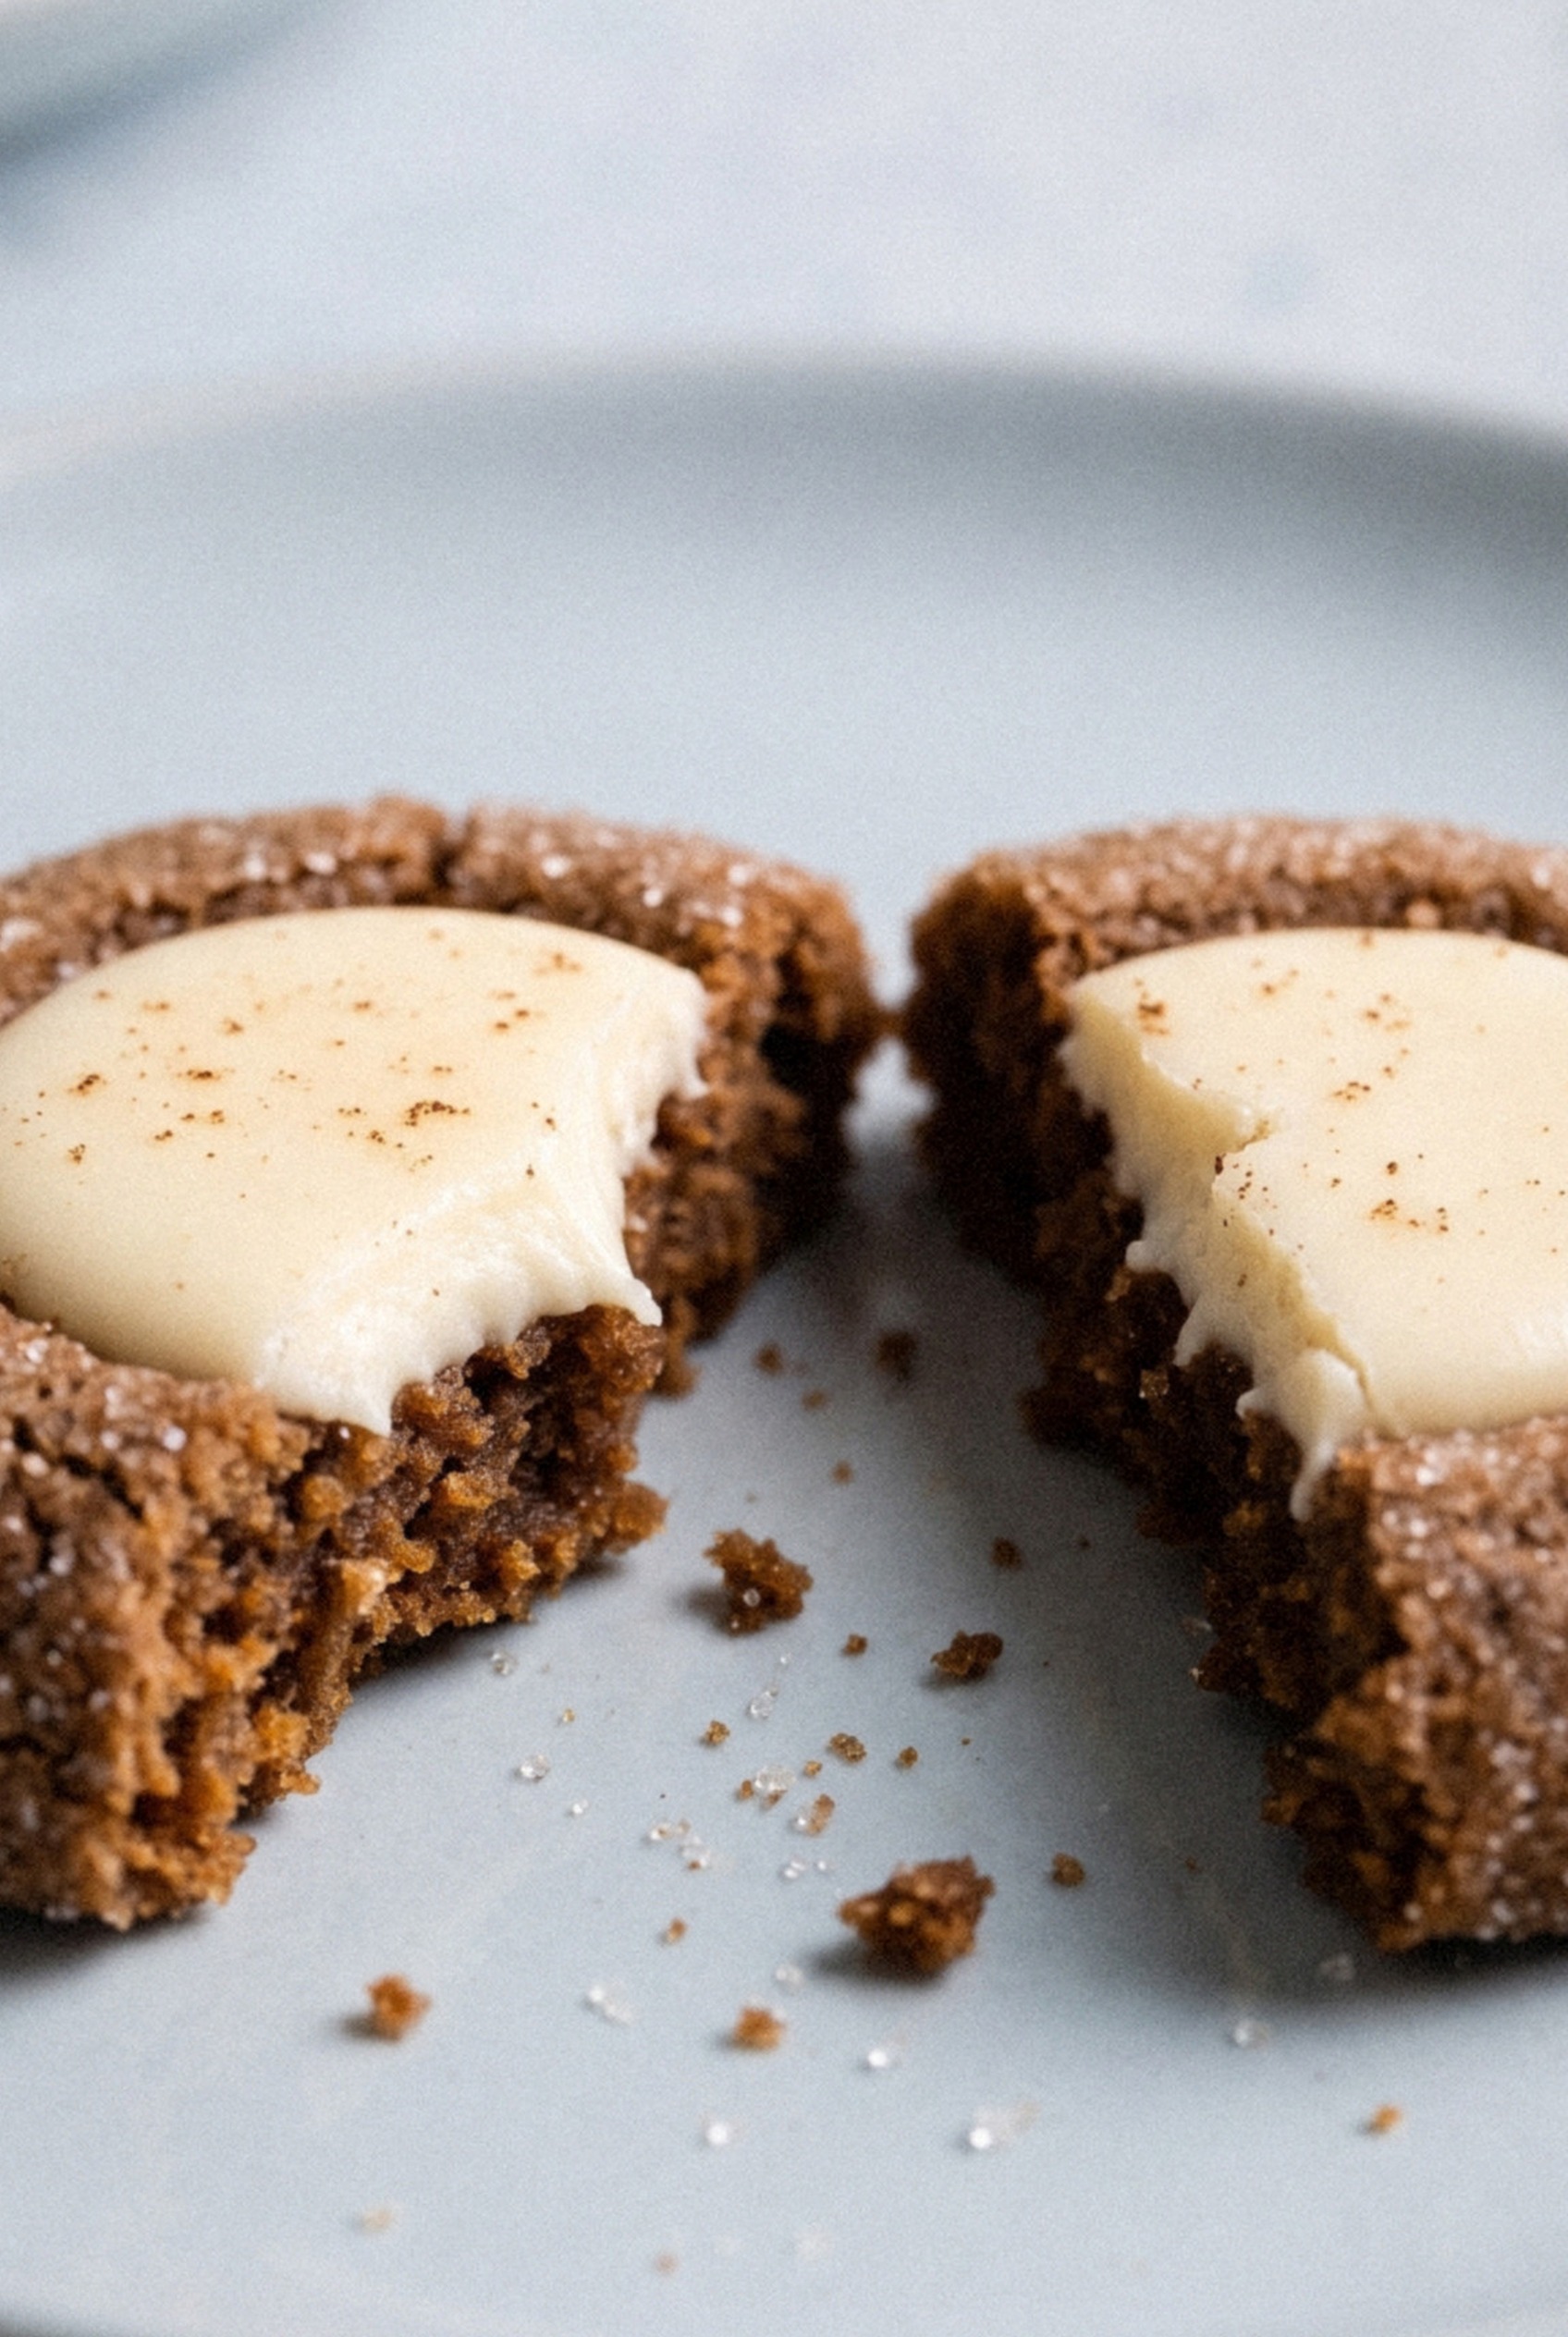
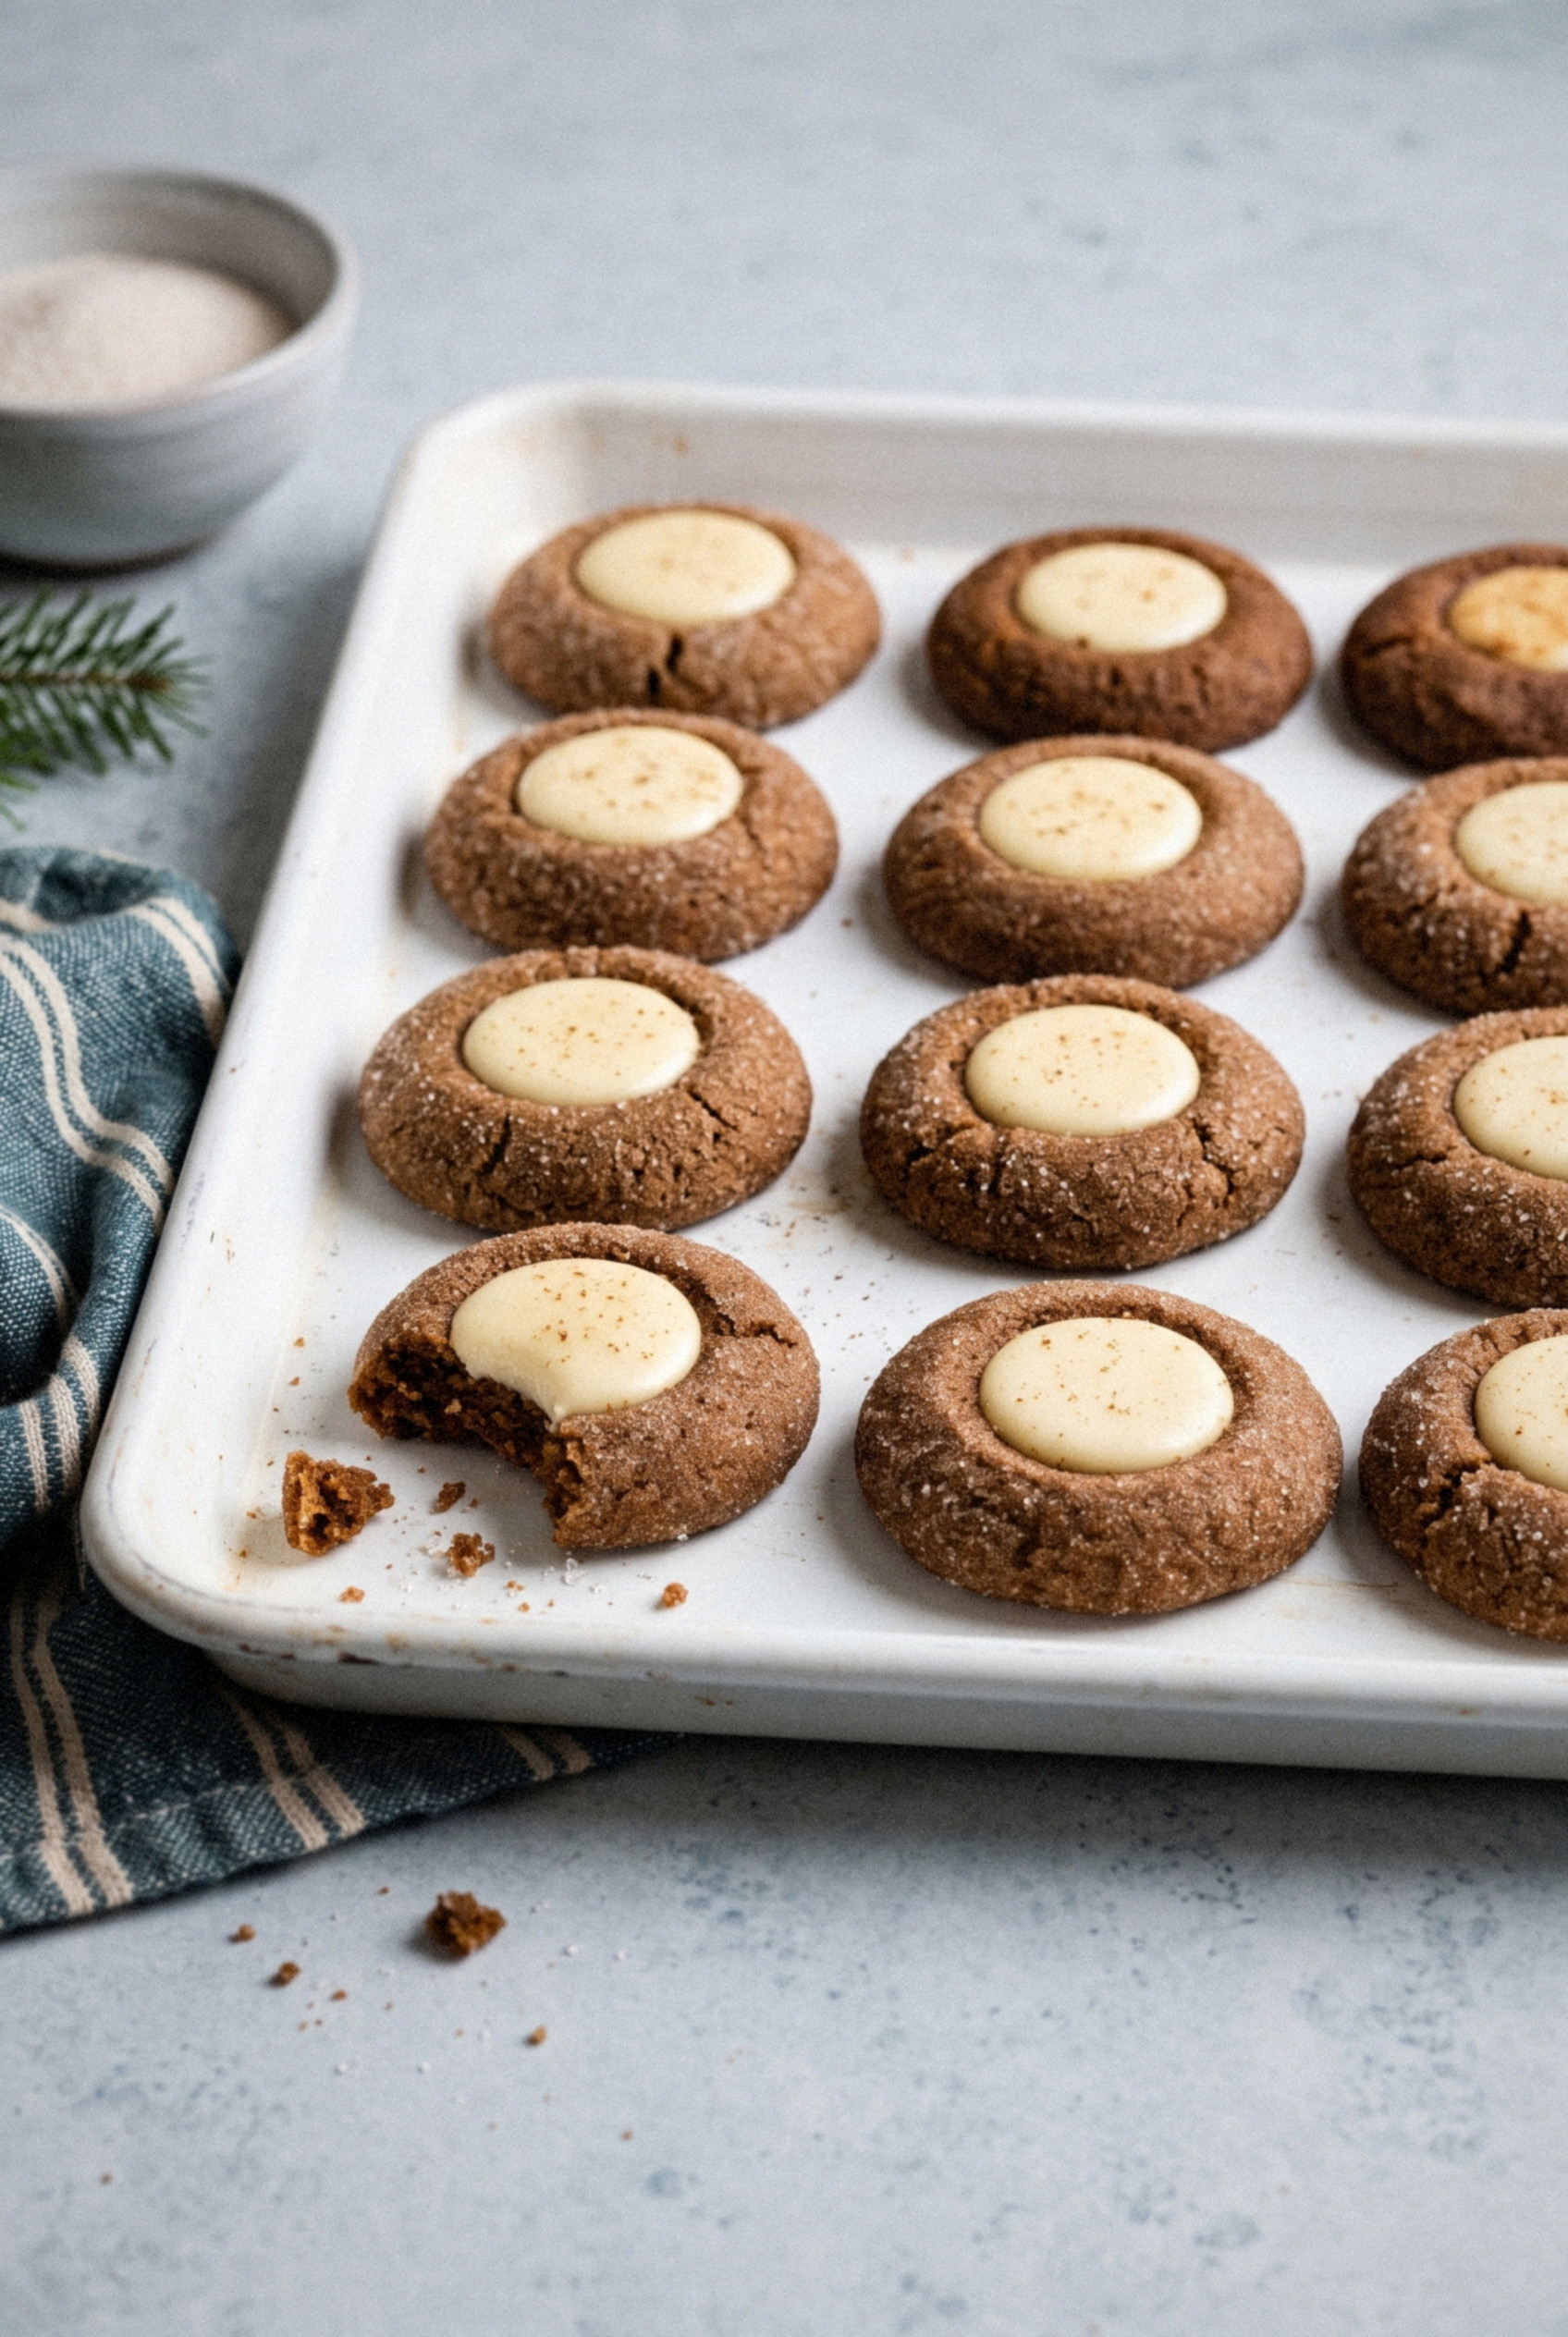
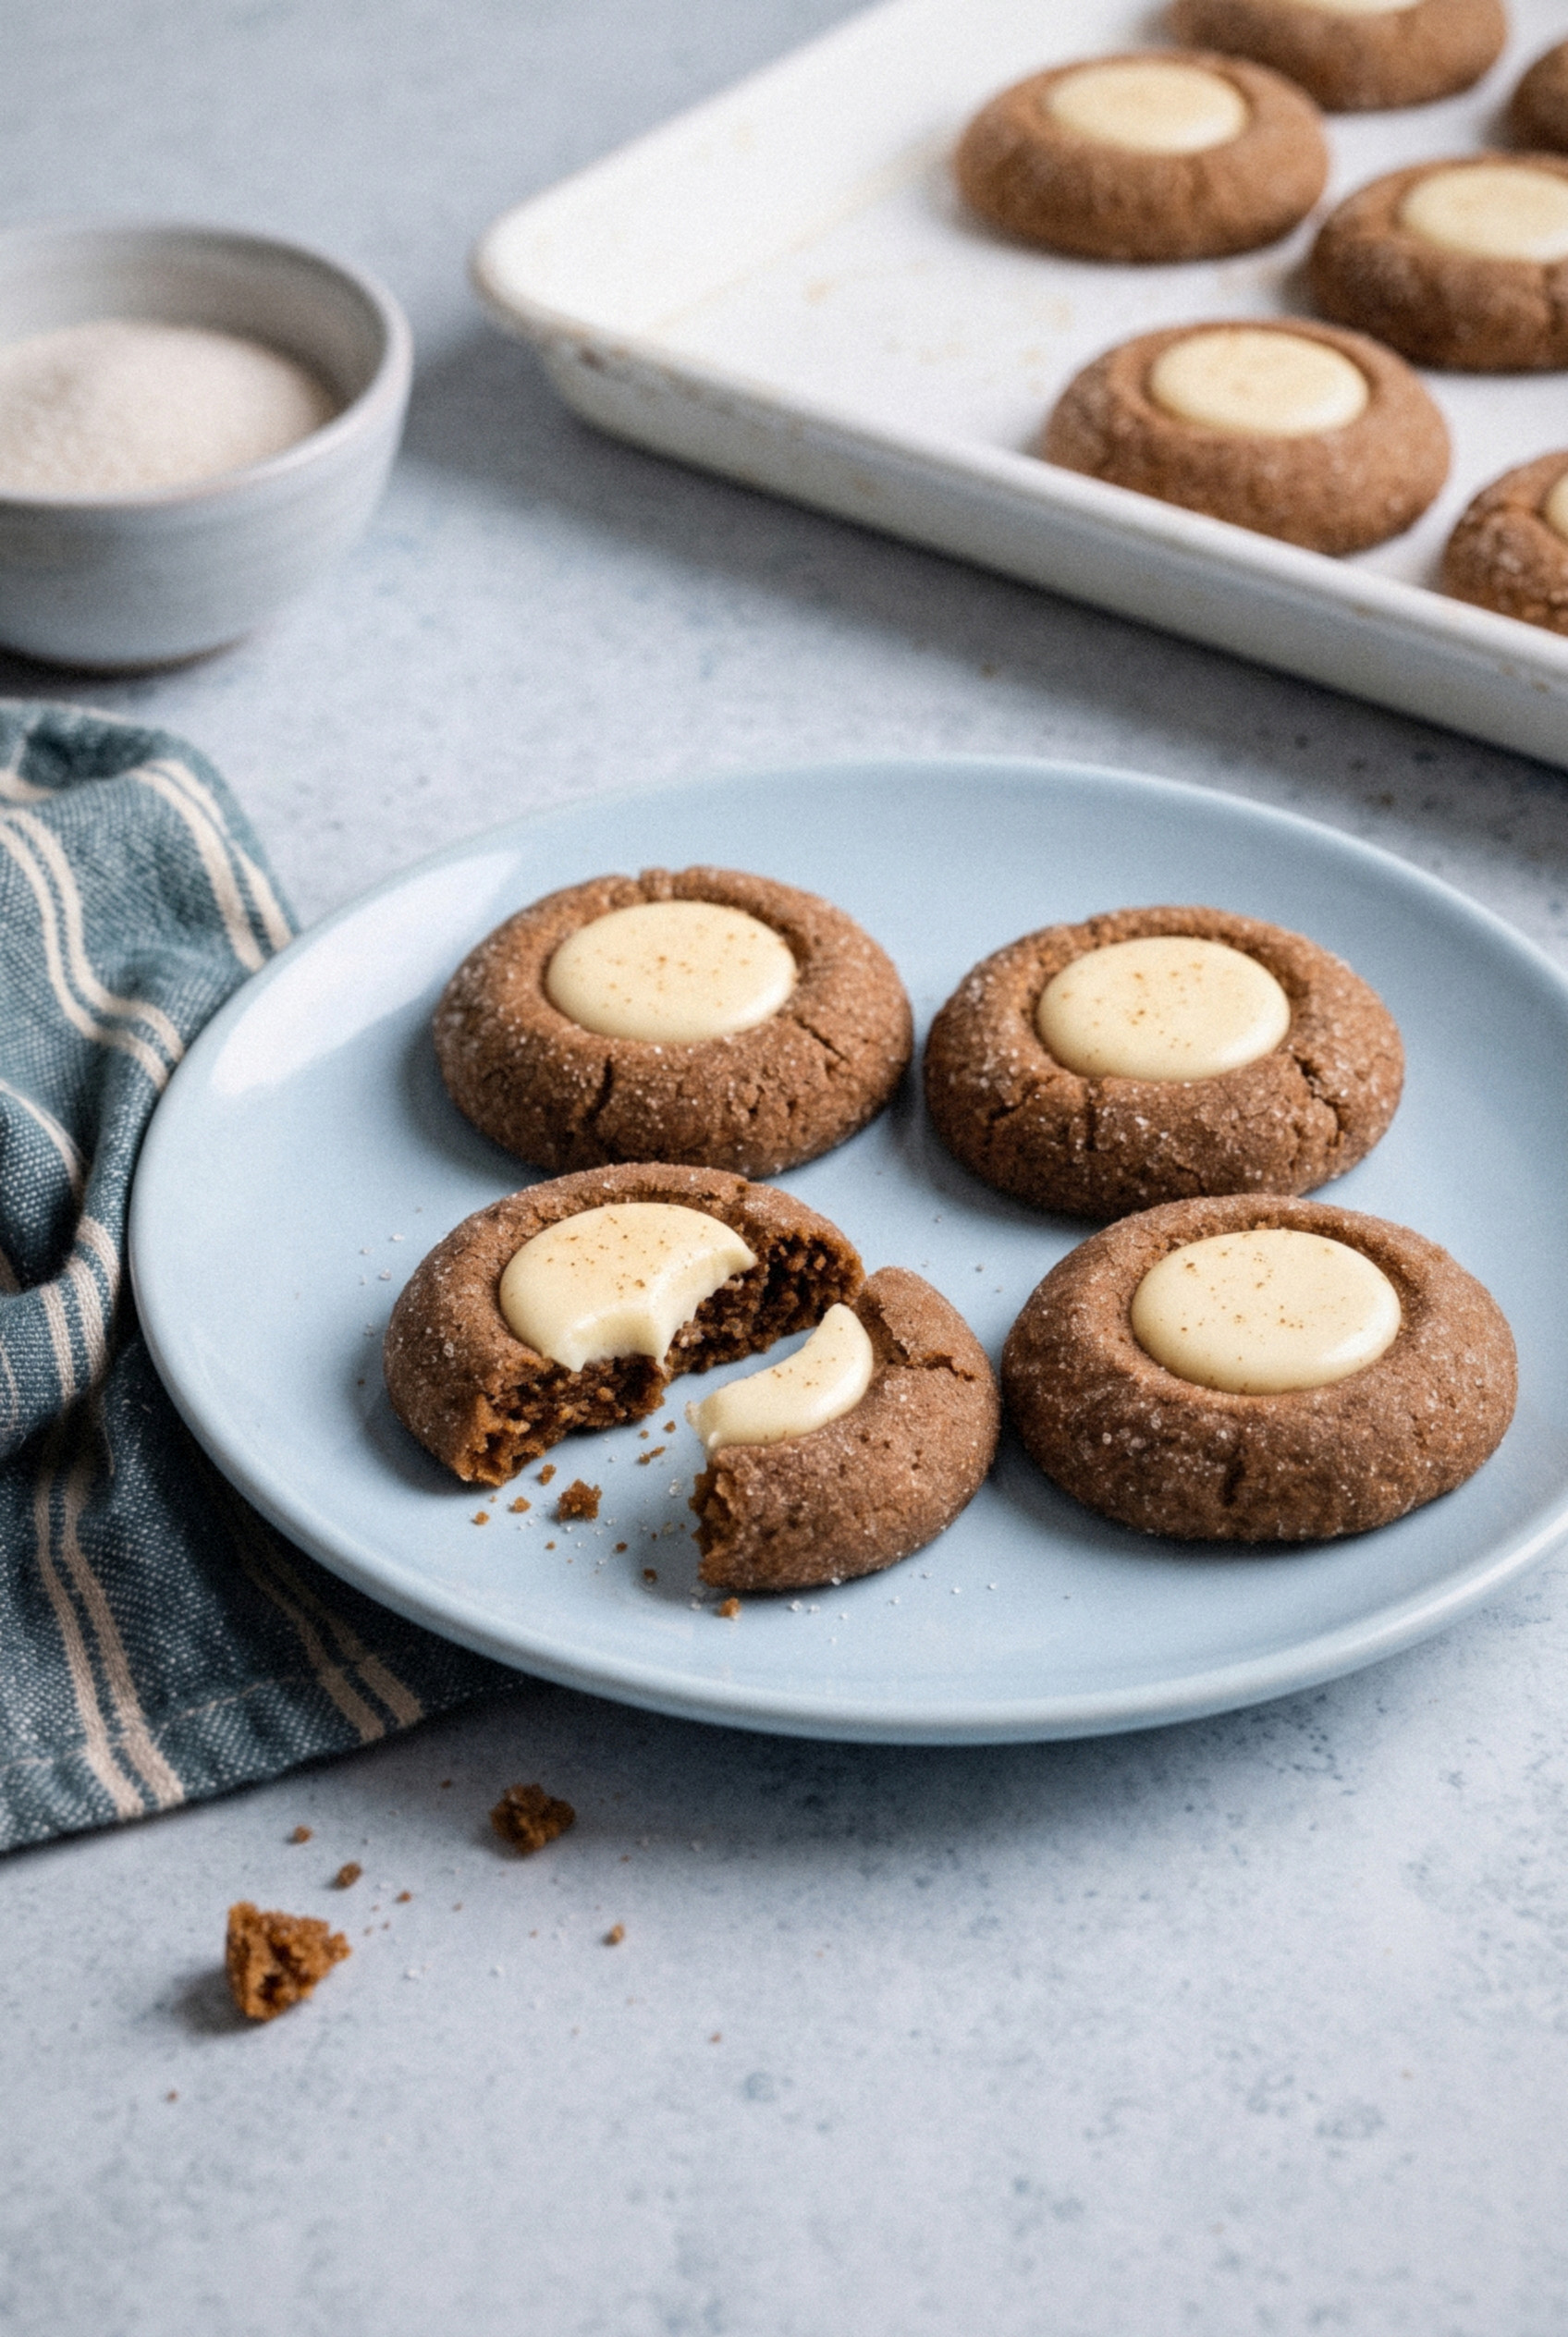
These gingerbread thumbprint cookies start with a soft, chewy molasses dough that tastes like the holidays in one bite.
Each ball gets rolled in sugar for a crackly shell, pressed with a well, and filled with a spiced white chocolate center.
That center sets firm, so you can stack them in a tin without smearing the tops.
The dough chills ahead, the cookies bake in about 10 minutes, and one batch makes around 30.
Now the gingerbread is the first thing to disappear from the tray, and my wife takes three.
Make them once and you'll see why.
Why You'll Love These Gingerbread Thumbprints
This is the soft gingerbread cookie for people who don't like gingerbread. It still has all the warm spice, just none of the snap.
- Soft for days. The molasses and brown sugar keep the centers tender and chewy long after baking day.
- Make-ahead friendly. The dough rests in the fridge for up to 2 days, so you can bake whenever the calendar opens up.
- Tin-ready centers. The white chocolate filling sets firm enough to stack with parchment between layers.
- One dough, many fillings. Swap the white chocolate for jam, a chocolate candy, or cream cheese frosting.
- A cookie tray standout. The dark spiced dough and pale center look festive next to sugar cookies and spritz.
Key Ingredients
The dough is classic gingerbread, and the filling takes four ingredients. Nothing here needs a specialty store.
For the Gingerbread Dough
- Unsulphured molasses (½ cup). This is the flavor and the chew. Use regular or "robust" molasses, NOT blackstrap, which tastes bitter and burnt in cookies.
- Dark brown sugar (¾ cup, packed). More molasses means more moisture and a deeper, caramel-like flavor. Light brown works too.
- Unsalted butter (¾ cup, softened). Soft enough to dent with a finger, not greasy or melted. Melted butter makes cookies that spread flat.
- Ground ginger, cinnamon, nutmeg, and cloves. Ginger leads at 2 teaspoons, cinnamon backs it up, and a little clove adds that old-fashioned depth.
- All-purpose flour (2 ¾ cups). Spoon it into the cup and level it off. Scooping straight from the bag packs in extra flour and gives you dry, cracked cookies.
- Egg and vanilla. One large egg at room temperature binds everything, and vanilla rounds out the spice.
- Baking soda and salt. Baking soda reacts with the molasses for a soft, slightly puffy crumb.
- Granulated sugar for rolling. This creates the sparkly, crackled outside that makes them look bakery-made.
For the Spiced White Chocolate Filling
- White chocolate baking bar (4 ounces). Chop it finely. A bar melts smoother than chips, which contain stabilizers that fight melting.
- Heavy cream (3 tablespoons). Just enough to loosen the chocolate into a pipeable ganache that still sets firm.
- Cinnamon and ginger. A pinch of each ties the filling back to the cookie.
How to Make Gingerbread Thumbprint Cookies
The method is simple, but chilling the dough is non-negotiable. Molasses dough is sticky and soft at room temperature.
Step 1: Make and Chill the Dough
Whisk the flour, ginger, cinnamon, nutmeg, cloves, baking soda, and salt together in a medium bowl. In a large bowl, beat the softened butter and brown sugar on medium speed for about 2 minutes, until creamy and lighter in color.
Beat in the molasses, egg, and vanilla until smooth, scraping the bowl once. Add the dry ingredients in two additions on low speed, mixing just until no flour streaks remain.
Cover the bowl or wrap the dough in a flat disc and chill for at least 2 hours, or up to 2 days.
Pro tip: Don't overbeat the butter and sugar. Too much air makes the cookies puff up and lose their well in the oven.
Step 2: Shape, Roll, and Press
Heat the oven to 350°F and line two baking sheets with parchment. Scoop the cold dough into 1 tablespoon portions and roll each into a smooth ball, about 1 ¼ inches across.
Roll each ball in granulated sugar and set them 2 inches apart on the sheets. Press the back of a ½ teaspoon measuring spoon into each one, about a third of the way down.
If the edges crack, pinch them back together with your fingertips. A few small cracks are fine and actually look charming.
Step 3: Bake and Re-Press
Bake one sheet at a time for 9-10 minutes, until the edges look set and the centers still look soft. They'll firm up as they cool.
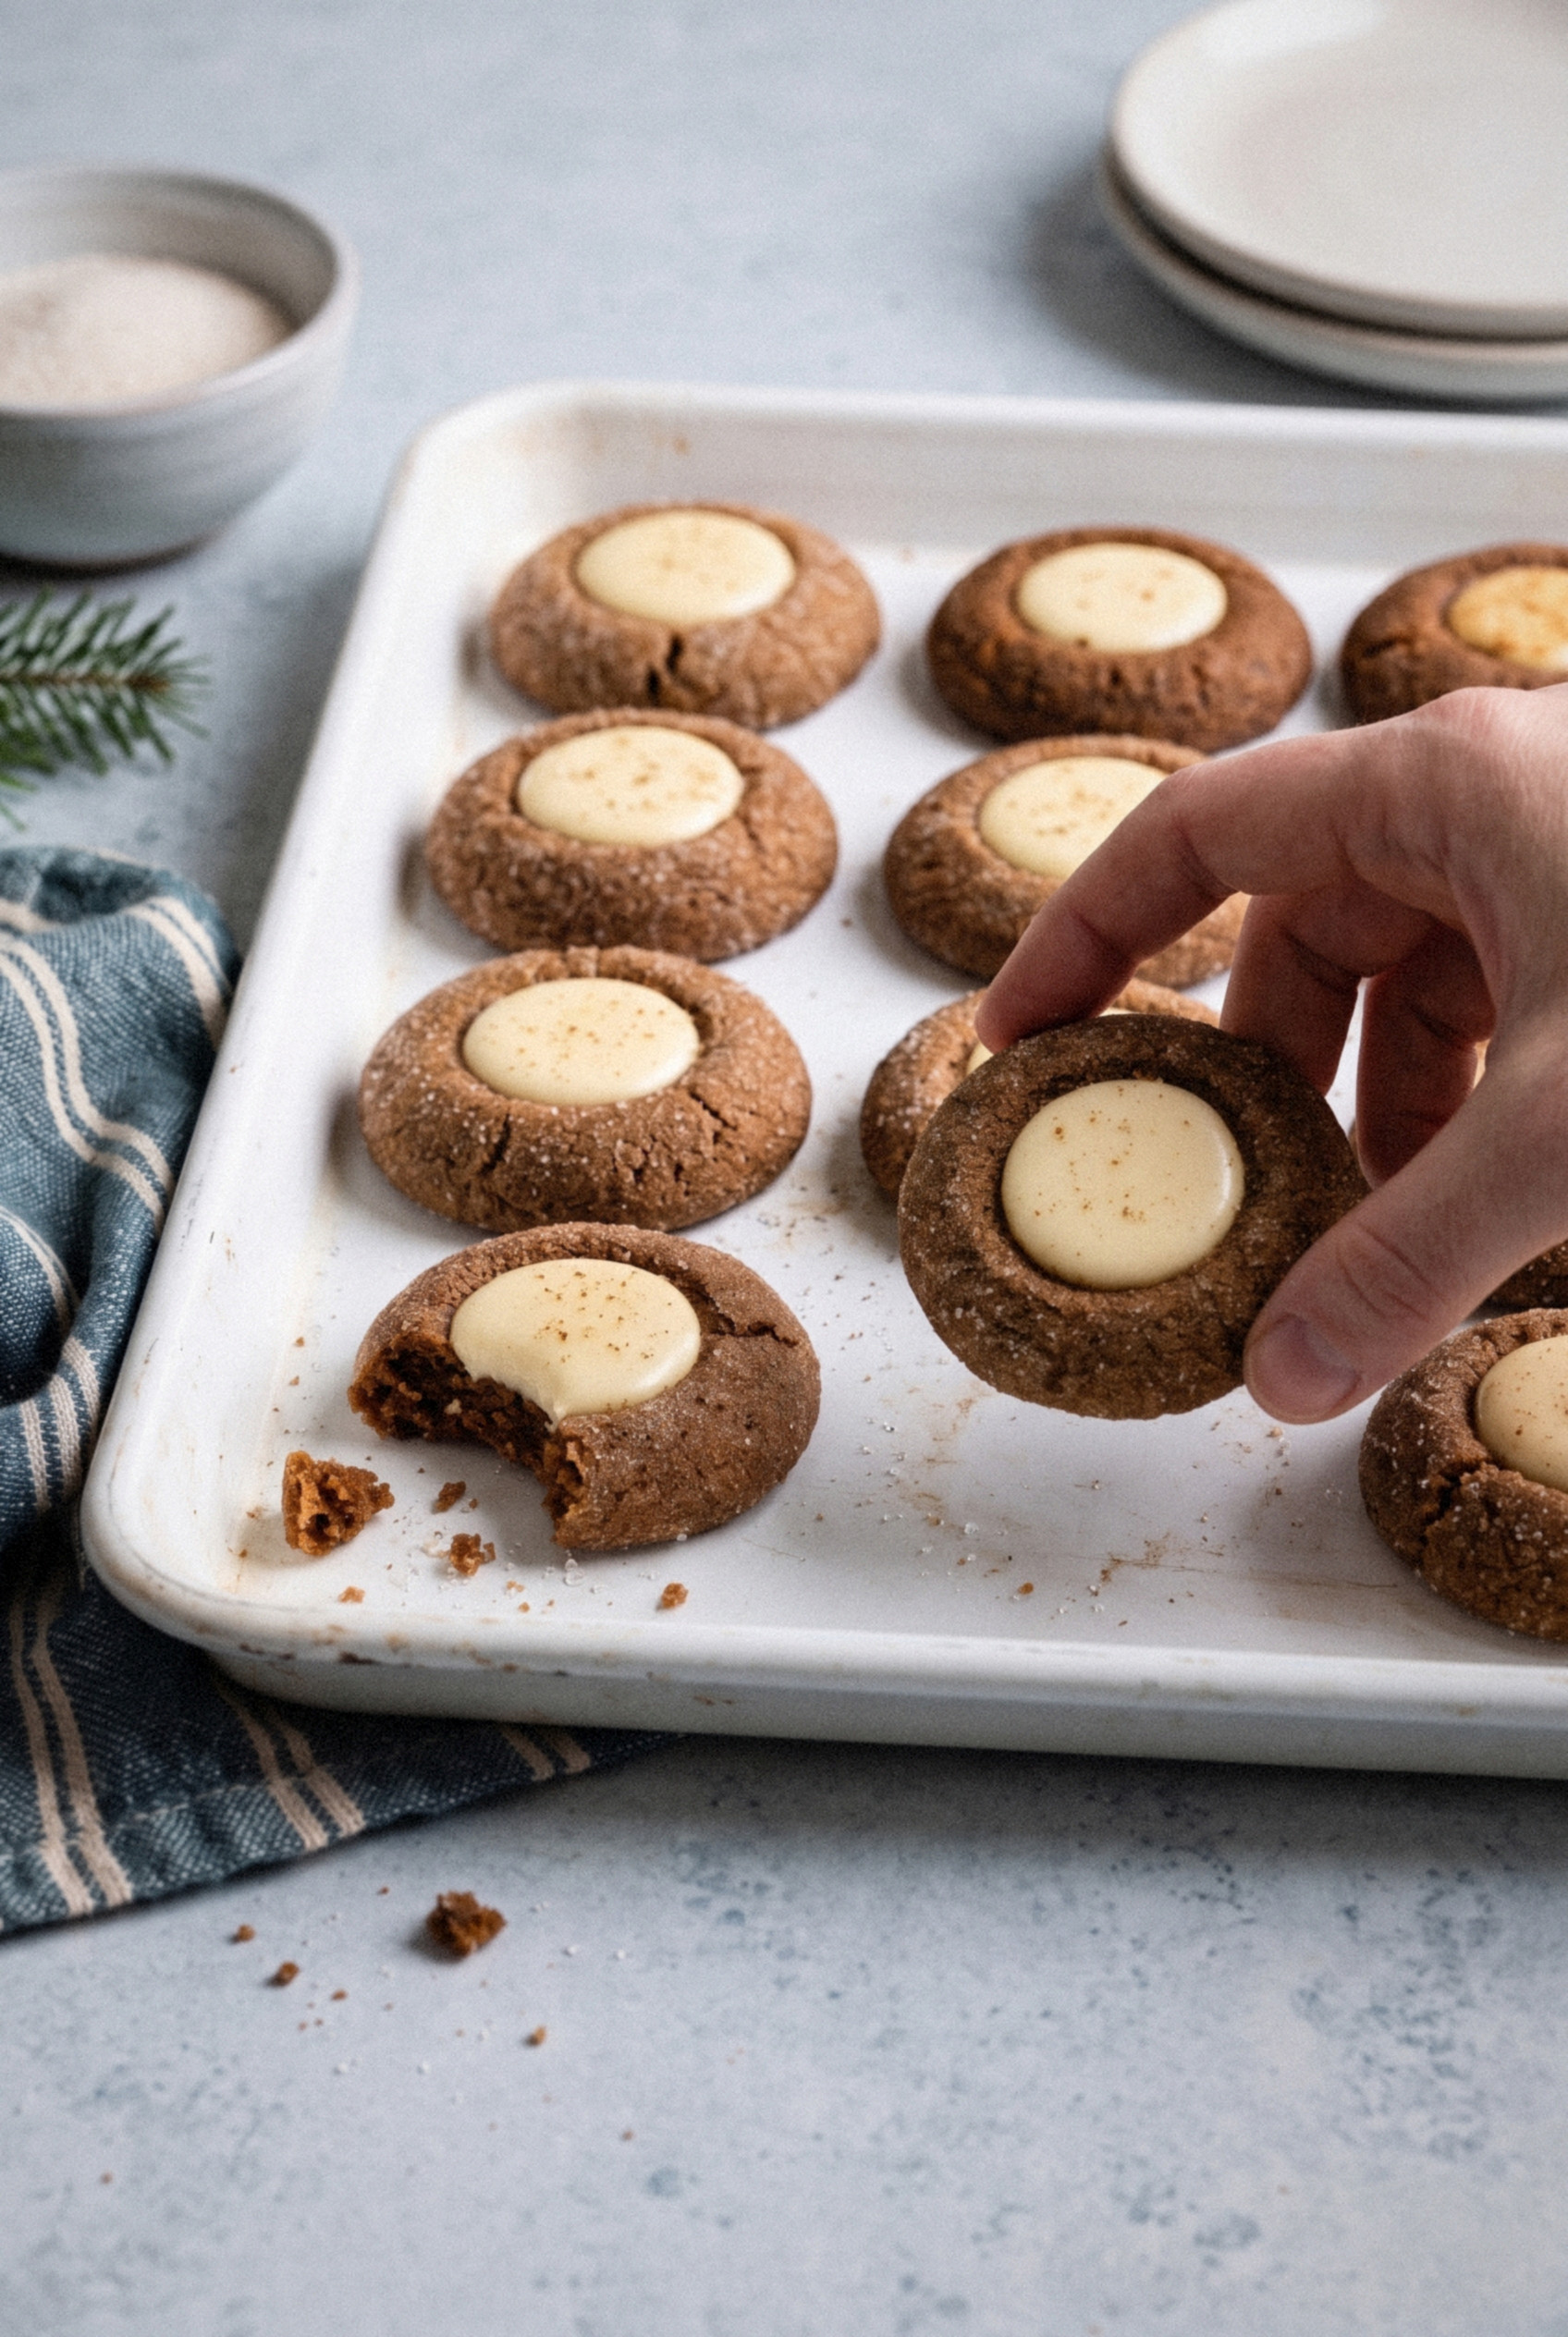
Right out of the oven, press the measuring spoon into each well again. The wells puff up during baking, and this second press gives you a clean, deep spot for the filling.
Let the cookies cool on the sheet for 5 minutes, then move them to a wire rack to cool completely.
Does the second press really matter? Absolutely. Skip it and you'll have nowhere to put the filling.
Step 4: Fill the Centers
Put the chopped white chocolate and heavy cream in a microwave-safe bowl. Heat at 50% power in 30-second bursts, stirring between each, until smooth. Stir in the cinnamon and ginger.
Spoon or pipe about 1 teaspoon of filling into each cooled cookie. A zip-top bag with the corner snipped off works great here.
Let the cookies sit at room temperature for 30-60 minutes, until the filling is firm to the touch.
Fair warning: The filling needs fully cooled cookies. Fill them warm and the white chocolate melts right into the crumb.
Tips for Perfect Thumbprints
Most thumbprint problems come down to temperature. Cold dough and cool cookies solve almost everything.
- Bake a test cookie. Ovens vary a lot. One cookie tells you if 9 minutes or 10 minutes is right for yours.
- Keep the dough cold. If the balls get soft and sticky while you shape, pop the tray in the fridge for 10 minutes. Warm dough spreads.
- Pull them early. The centers should look slightly underdone when they come out. Overbaked gingerbread turns hard, which is exactly what we're avoiding!
- Use a measuring spoon, not your thumb. It makes wells that are all the same size and depth, which looks much tidier on a tray.
- Measure flour carefully. Too much flour is the main cause of cracked, dry dough balls.
- Use parchment. Molasses cookies brown fast on the bottom, and parchment keeps them from scorching.
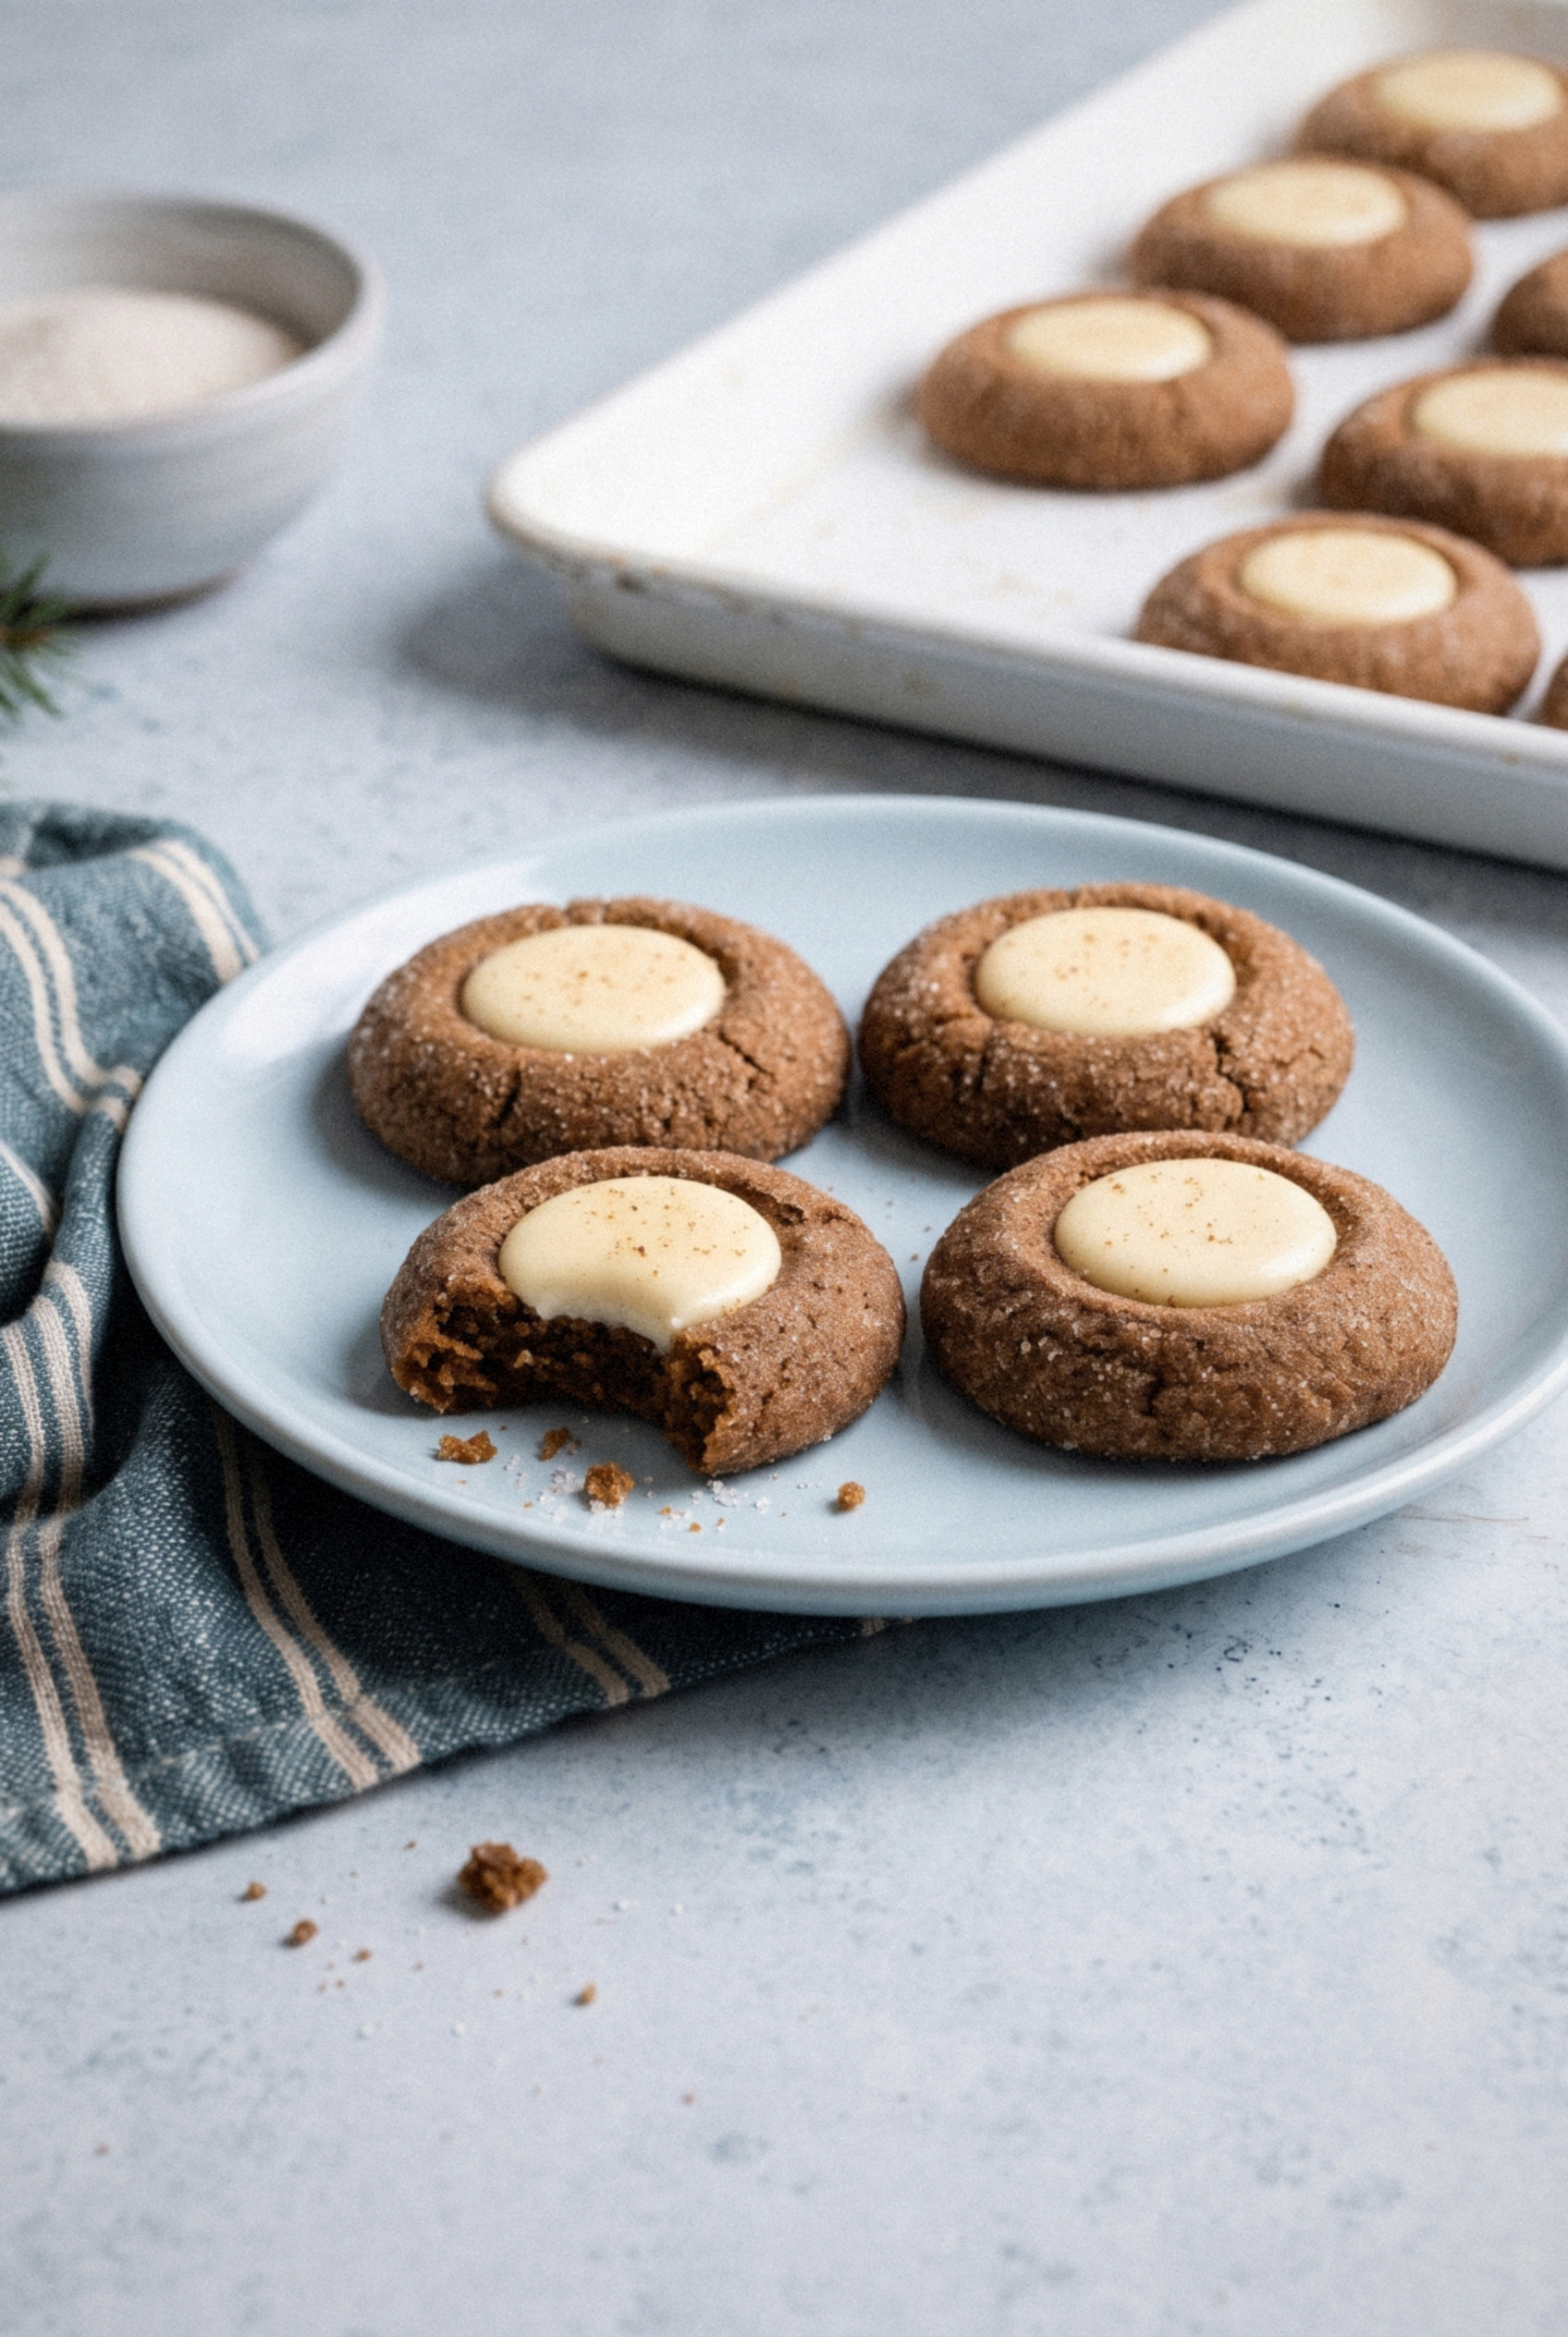
Filling Variations
The spiced dough plays well with almost any filling. I like to split one batch into two or three fillings for a mixed Christmas tray.
- Jam. Raspberry, apricot, or orange marmalade. Spoon about ½ teaspoon into the wells before baking and skip the second press.
- Chocolate candy center. Press a milk chocolate kiss-shaped candy into each cookie right out of the oven. Some people call these gingerbread blossoms.
- Dark chocolate ganache. Swap in semisweet chocolate and add 1 teaspoon of corn syrup for a glossy center that stays soft.
- Eggnog white chocolate. Replace the heavy cream with the same amount of eggnog and finish with a pinch of nutmeg.
- Cream cheese frosting. Beat 2 ounces of cream cheese with 2 tablespoons of butter and ¾ cup of powdered sugar, then pipe it in. Store these in the fridge.
- Dulce de leche. Spoon in thick dulce de leche for a caramel center. What's not to love?
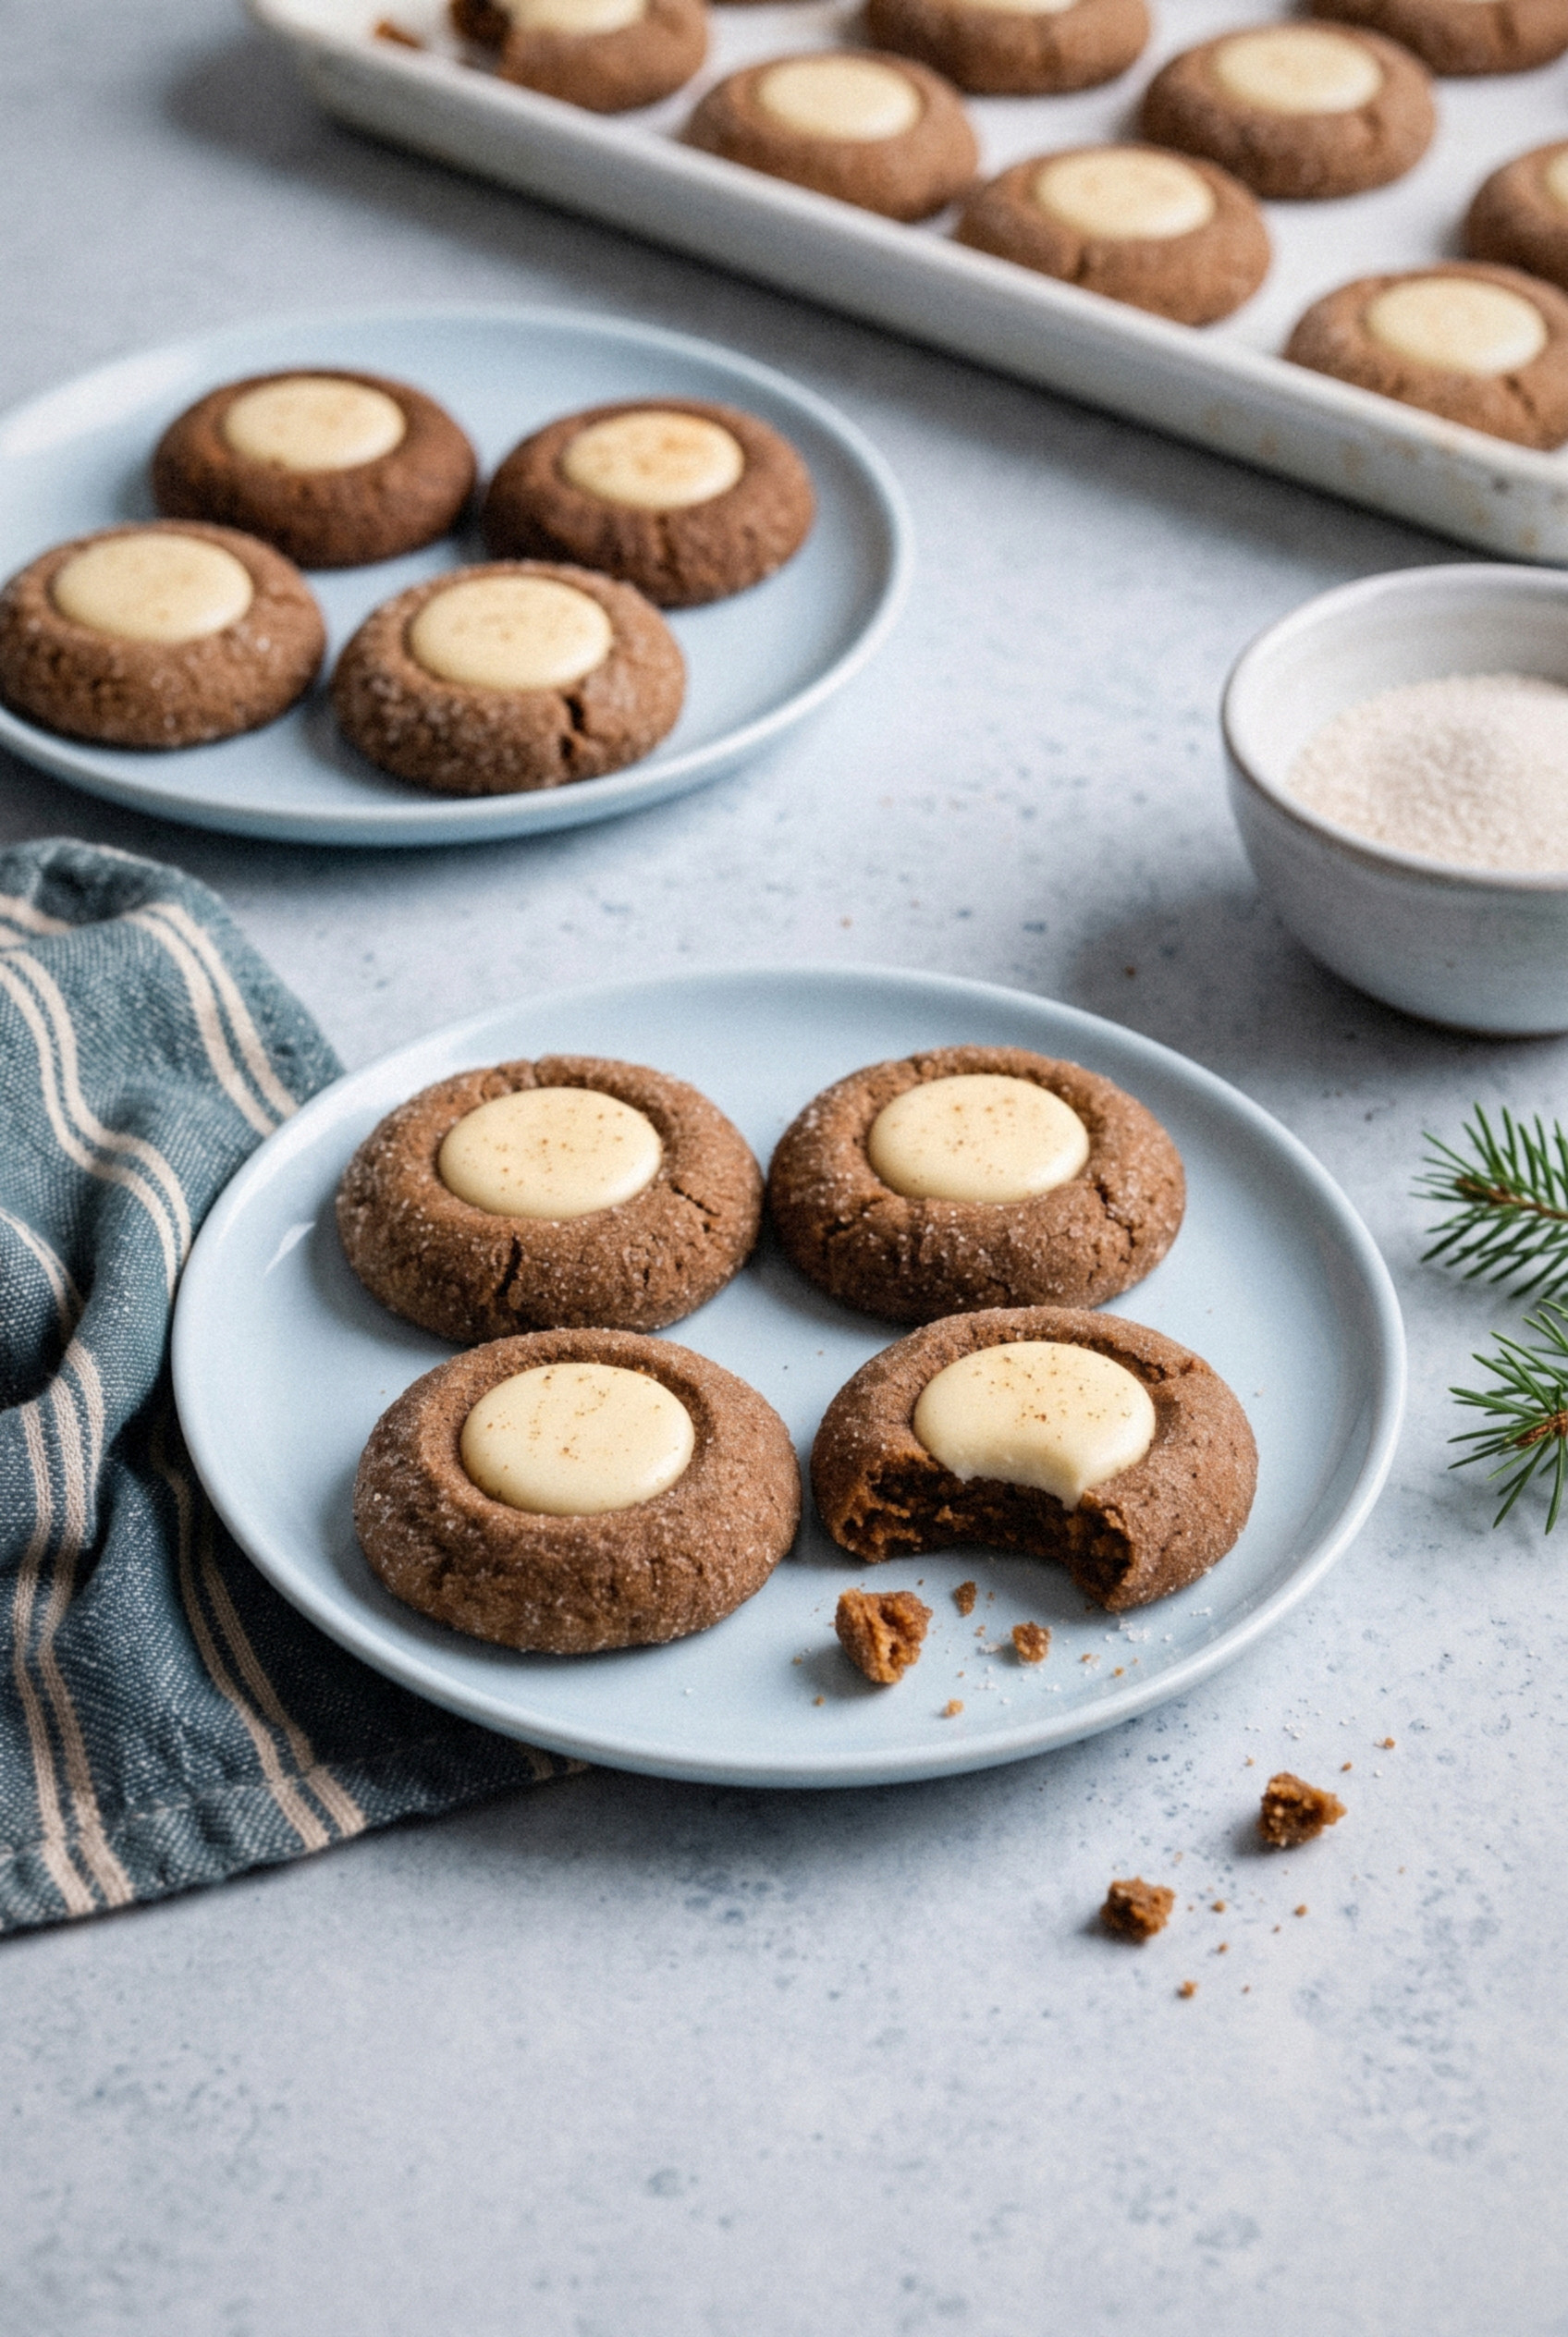
The Double Press, Explained
This one technique separates neat thumbprints from puffy domes. I learned it after a whole batch baked up with wells that had completely vanished.
The first press, before baking, sets the shape and tells the dough where to go.
The baking soda and molasses make the dough rise, so the well always shrinks in the oven.
The second press, while the cookie is still hot and soft, opens it back up without cracking the edges.
Wait even 3 minutes and the cookie sets too firm to reshape. Have your spoon ready before the timer goes off!
Make Ahead and Freezing
These are one of the easiest holiday cookies to make in stages. That's a big deal in December.
- Dough in the fridge. Wrap it tightly and refrigerate up to 2 days. Let it sit out 10 minutes if it's too firm to scoop.
- Frozen dough balls. Roll the balls (skip the sugar), freeze them on a tray, then bag them for up to 3 months. Thaw in the fridge overnight, roll in sugar, and bake.
- Frozen baked cookies. Freeze the cookies unfilled for up to 3 months. Thaw at room temperature, then fill.
- Filling ahead. Make the white chocolate filling up to 3 days ahead and keep it covered at room temperature. Rewarm gently before piping.
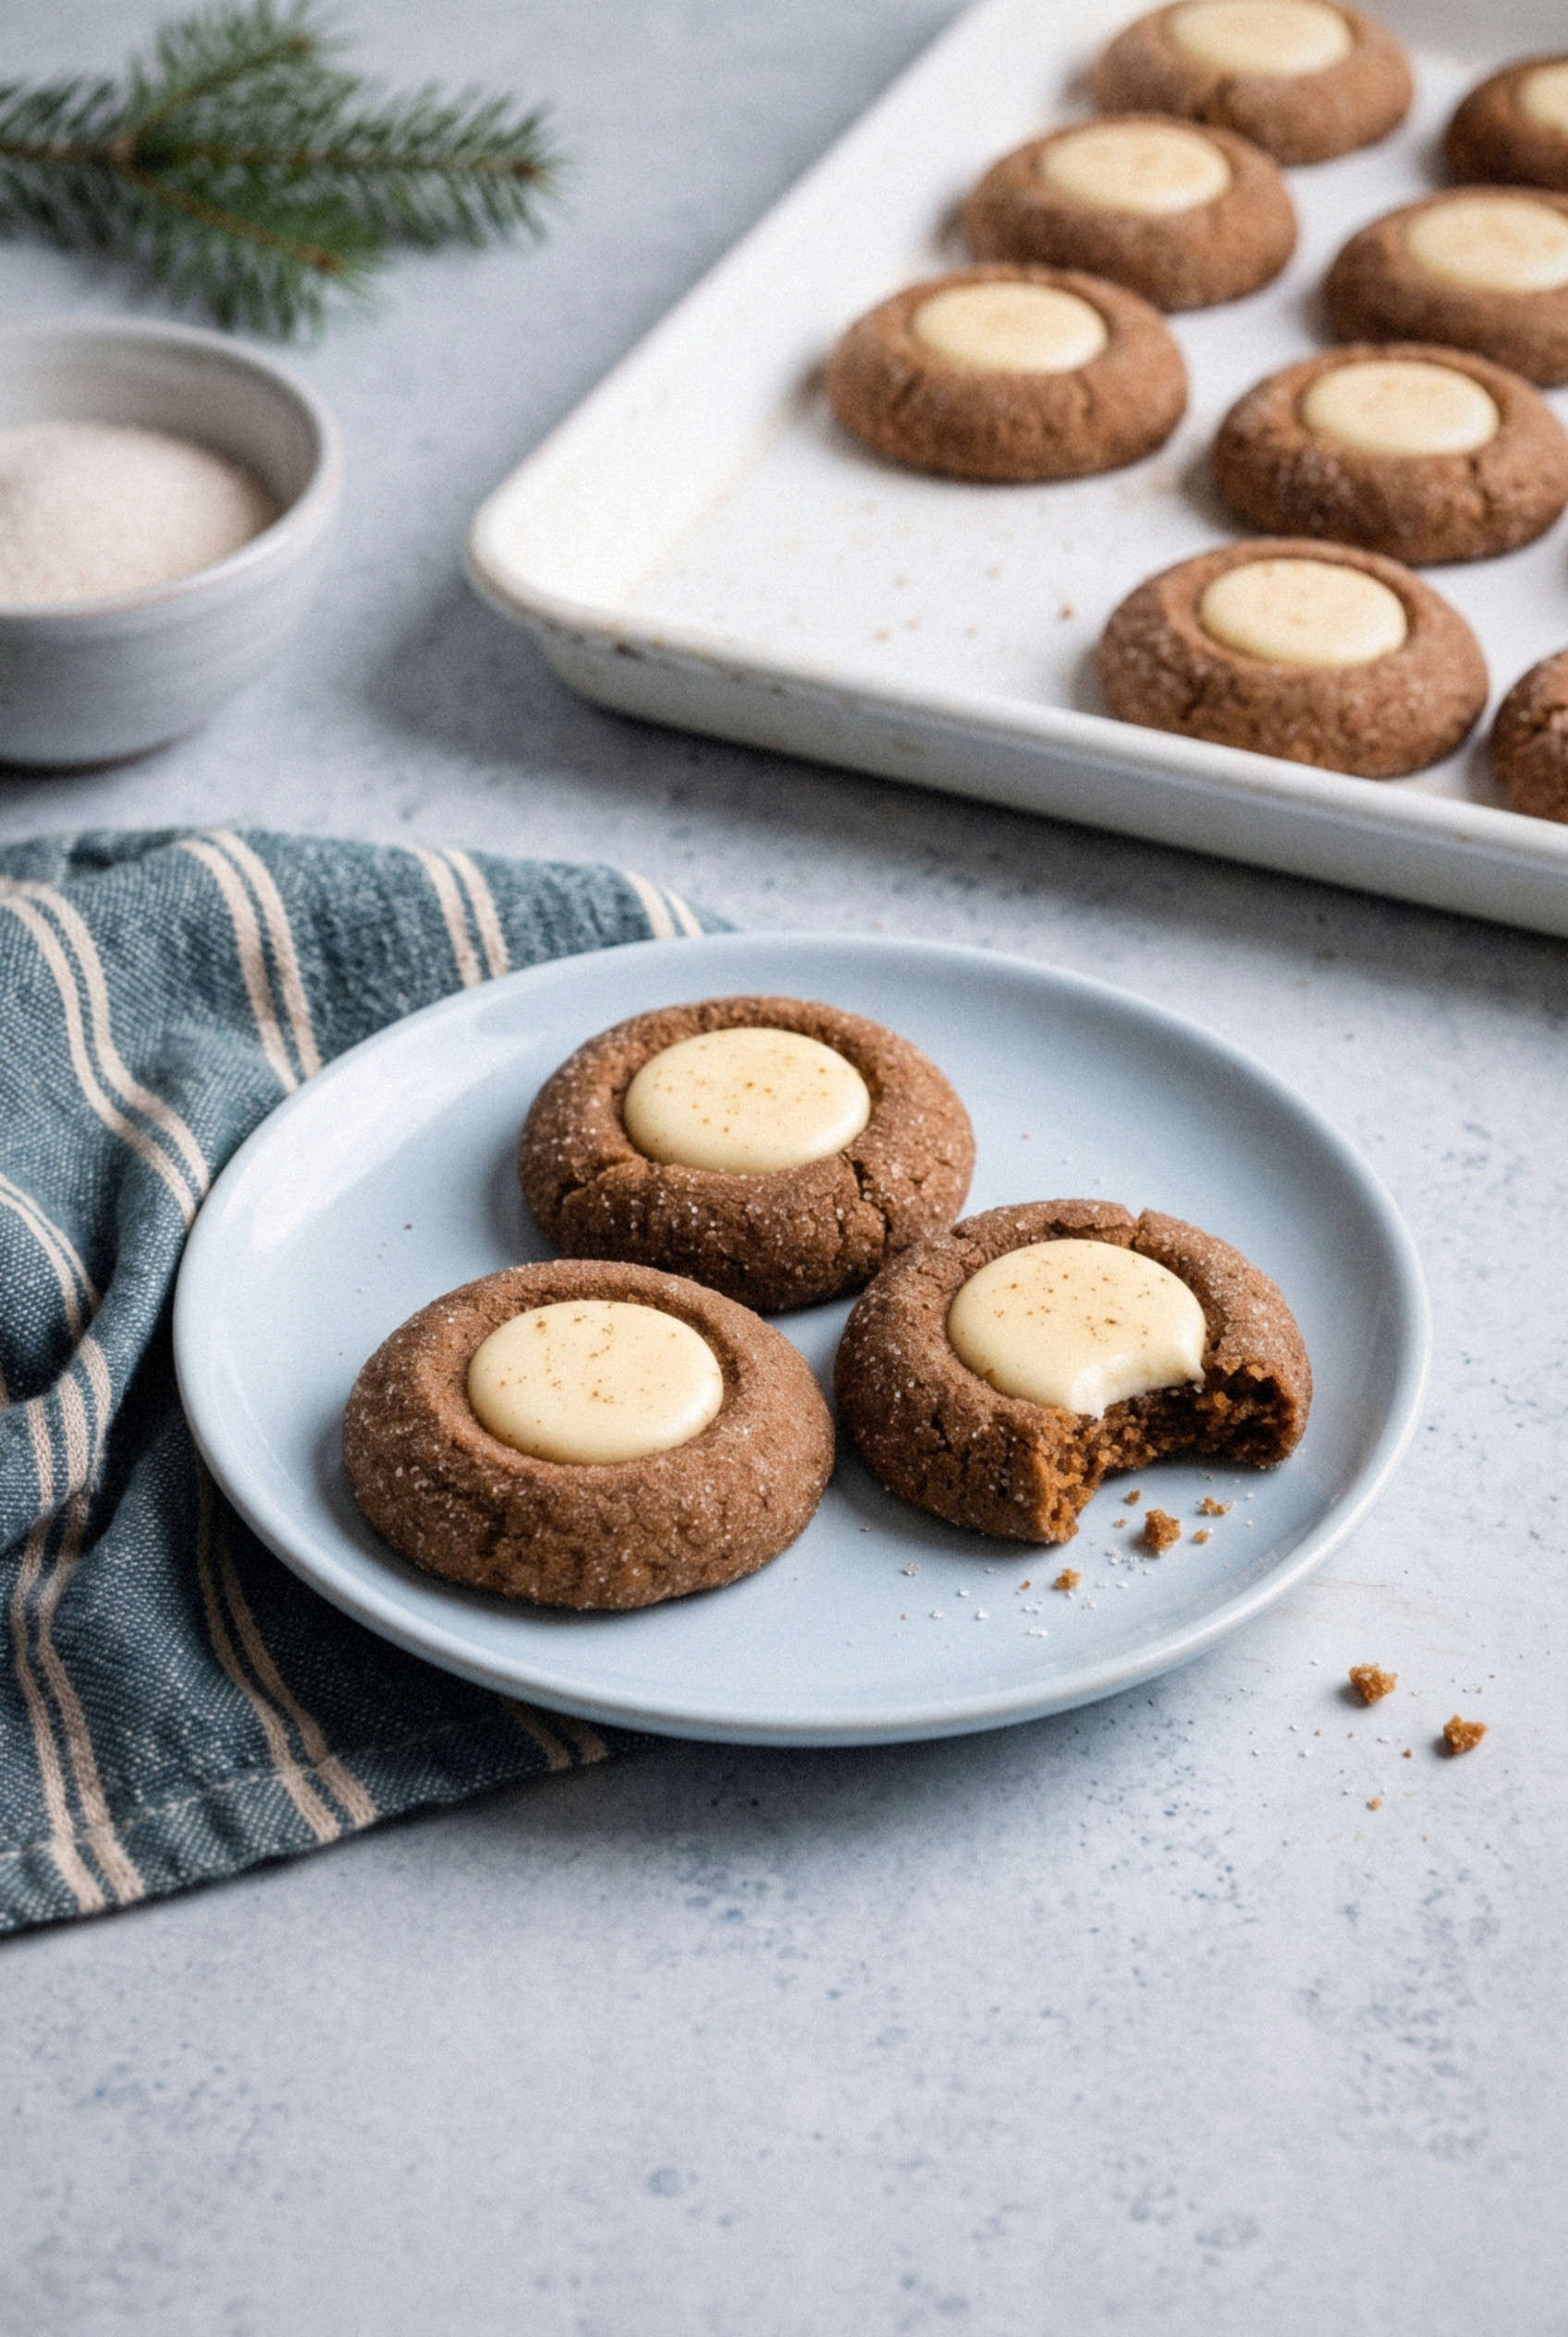
How to Store Gingerbread Thumbprint Cookies
Room temperature is best for the white chocolate version. The fridge can make white chocolate look dull and streaky.
- Countertop. Store in an airtight container for up to 5 days. They stay soft the whole time.
- Stacking. Lay parchment or wax paper between layers once the filling is fully set.
- Gifting. They pack well in cookie tins or boxes. Fill them the day before you hand them out for the freshest look.
- Cream cheese filling. Keep this version in the fridge and eat within 3 days.
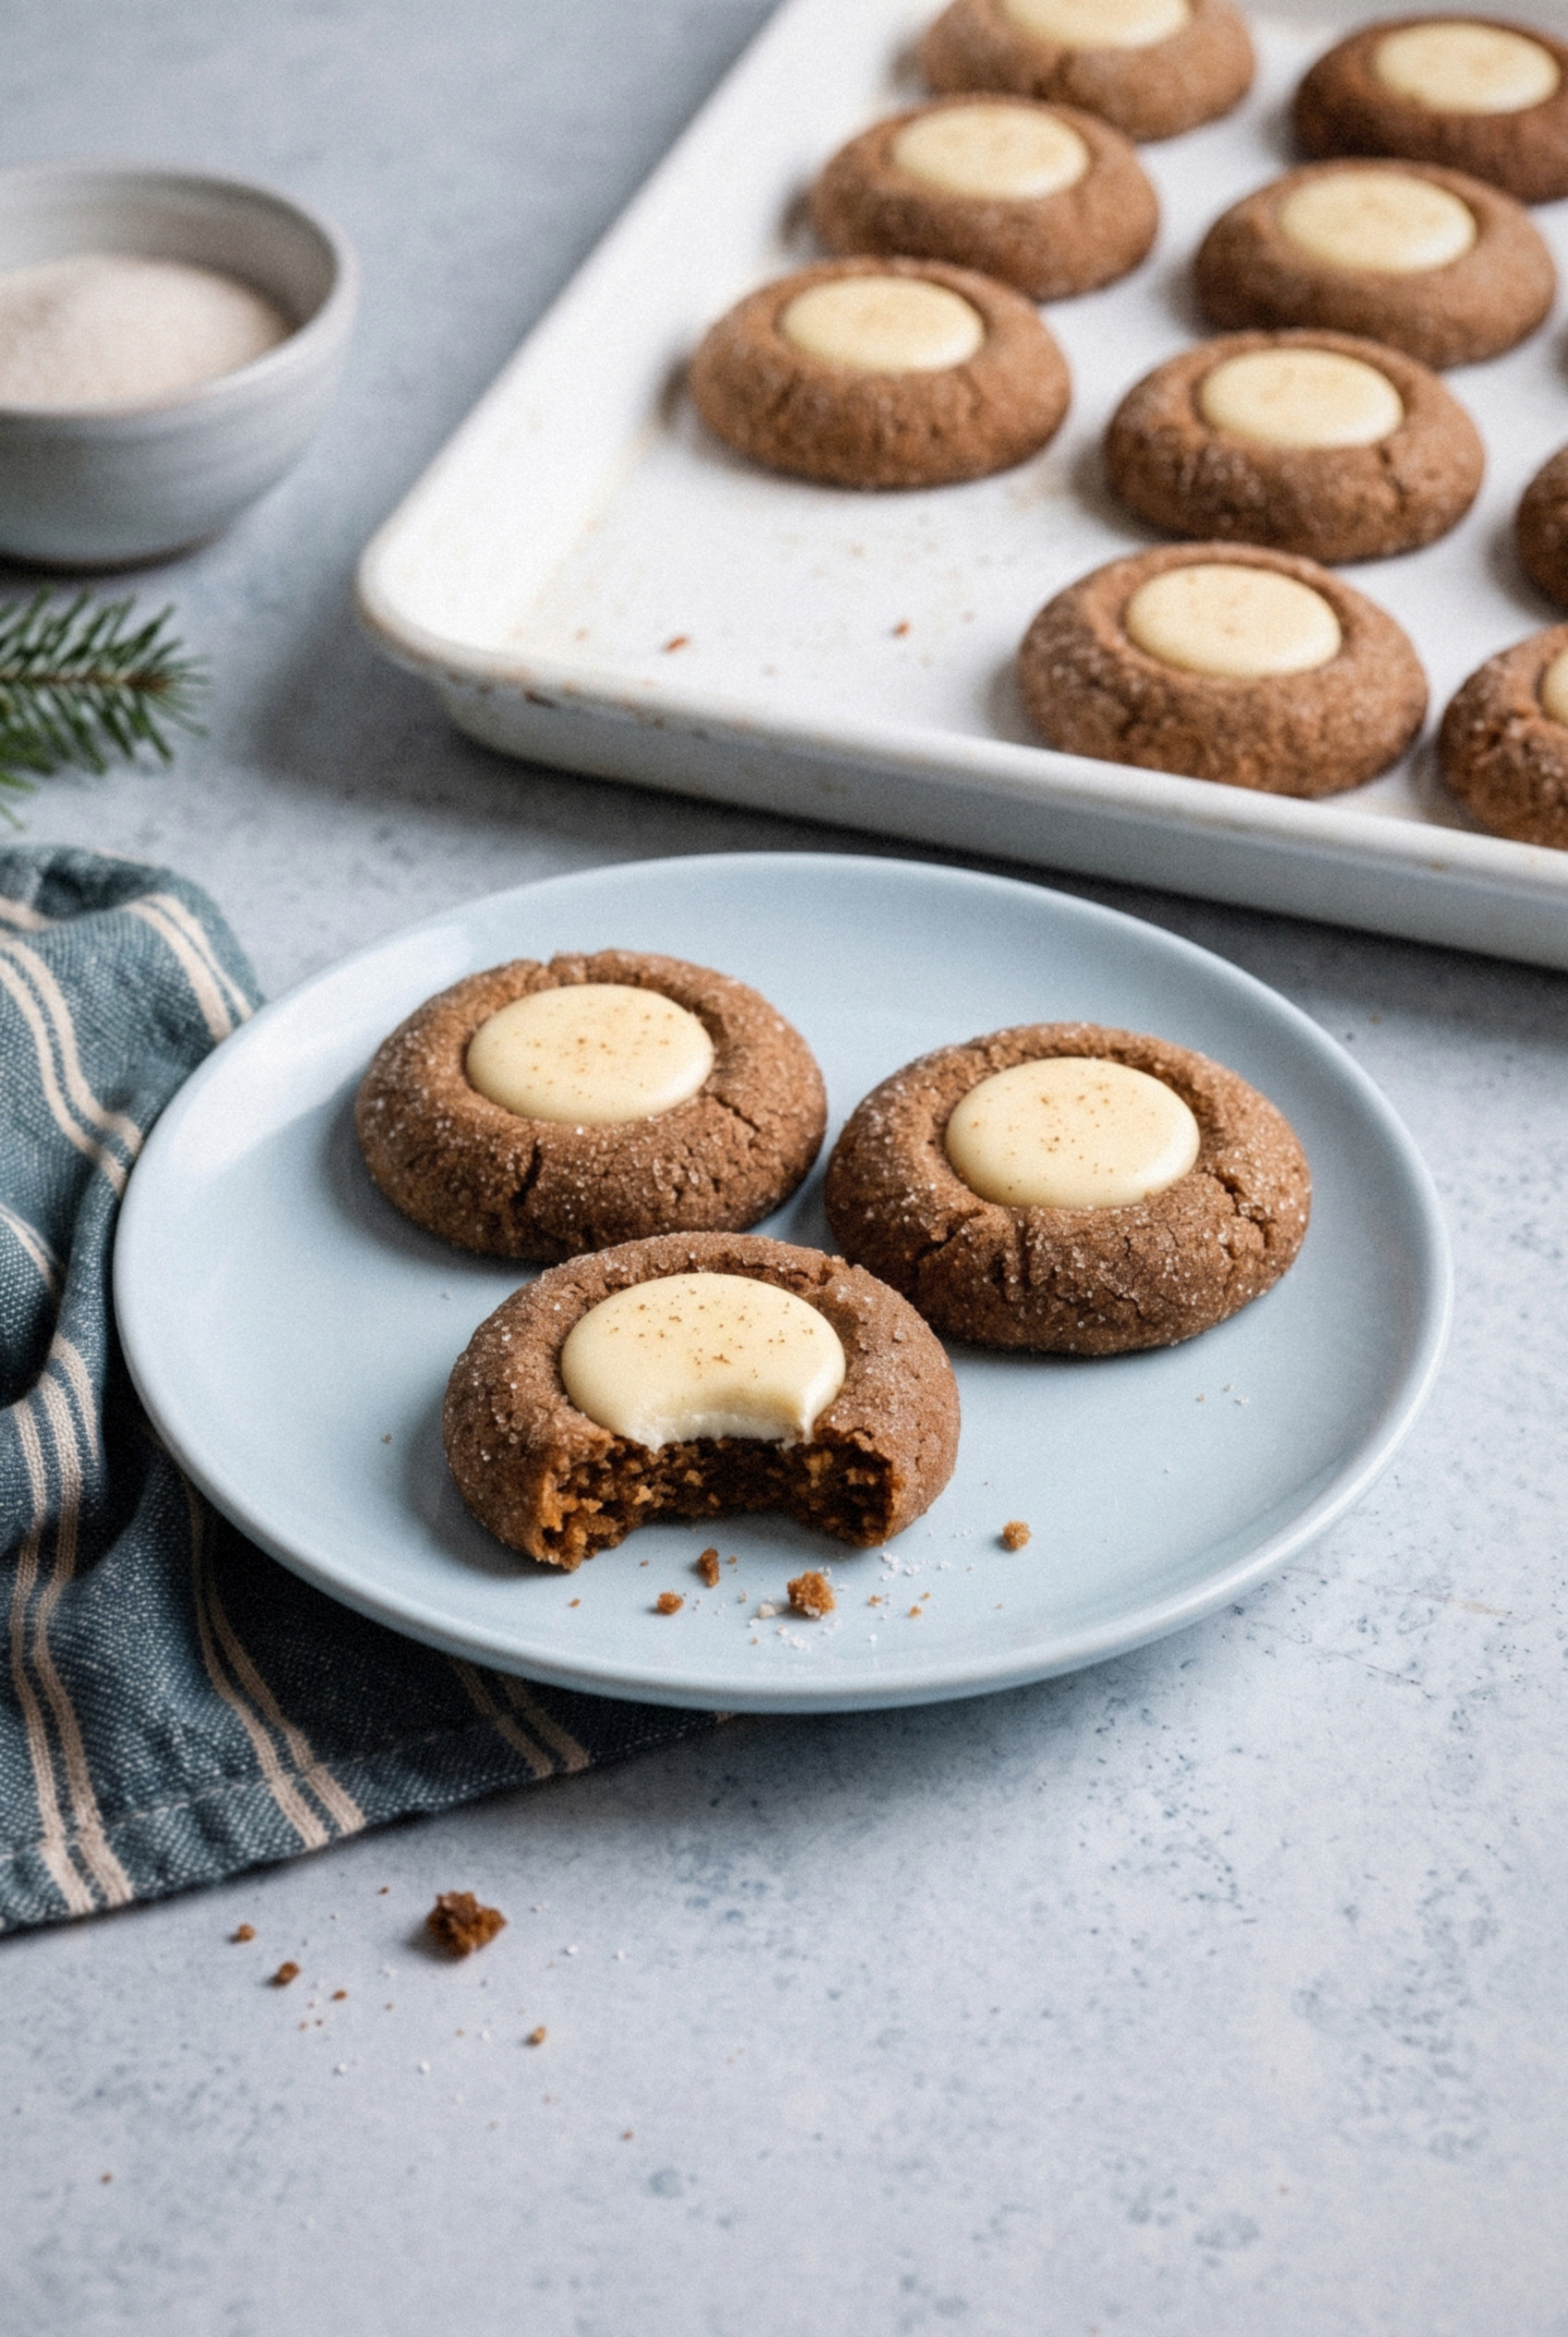
What to Serve With Gingerbread Thumbprints
These cookies were made for a holiday spread. A few ideas from my own cookie tray:
- Hot drinks. Coffee, hot cocoa, or a mug of chai all pair perfectly with the ginger and clove.
- A glass of cold milk. Classic for a reason, and a great way to keep kids happy while Santa's plate gets built.
- A mixed Christmas tray. Set them beside buttery spritz, sugar cookies, and something with peppermint for contrast in color and flavor.
- Eggnog. The nutmeg in eggnog echoes the spice in the dough.
Who doesn't love a cookie that tastes like Christmas morning?
Give them a try this year, and don't be surprised if they vanish before the sugar cookies do!
Recipe
Gingerbread Thumbprint Cookies
Ingredients
For the Gingerbread Dough
- 2 ¾ cups all-purpose flour spooned and leveled (345 g)
- 2 teaspoons ground ginger
- 1 ½ teaspoons ground cinnamon
- ¼ teaspoon ground nutmeg
- ¼ teaspoon ground cloves
- ¾ teaspoon baking soda
- ½ teaspoon salt
- ¾ cup unsalted butter softened (170 g)
- ¾ cup dark brown sugar packed
- ½ cup unsulphured molasses not blackstrap
- 1 large egg room temperature
- 1 teaspoon vanilla extract
- ⅓ cup granulated sugar for rolling
For the Spiced White Chocolate Filling
- 4 ounces white chocolate baking bar finely chopped
- 3 tablespoons heavy cream
- ⅛ teaspoon ground cinnamon
- 1 pinch ground ginger
Instructions
Make and Chill the Dough
- Whisk the flour, ginger, cinnamon, nutmeg, cloves, baking soda, and salt in a medium bowl.
- In a large bowl, beat the butter and brown sugar on medium speed for about 2 minutes, until creamy.
- Beat in the molasses, egg, and vanilla until smooth. Add the dry ingredients in two additions on low speed, mixing just until no flour streaks remain.
- Cover and chill the dough for at least 2 hours, or up to 2 days.
Shape and Bake
- Heat the oven to 350°F and line two baking sheets with parchment paper.
- Scoop the cold dough into 1 tablespoon portions and roll into smooth balls. Roll each ball in granulated sugar and place 2 inches apart on the sheets.
- Press the back of a ½ teaspoon measuring spoon into each ball about a third of the way down. Pinch any cracked edges back together.
- Bake one sheet at a time for 9 to 10 minutes, until the edges are set and the centers still look soft.
- Immediately press the measuring spoon into each well again. Cool on the sheet for 5 minutes, then move to a wire rack to cool completely.
Fill the Cookies
- Microwave the white chocolate and heavy cream at 50% power in 30-second bursts, stirring between each, until smooth. Stir in the cinnamon and ginger.
- Spoon or pipe about 1 teaspoon of filling into each cooled cookie.
- Let the cookies stand at room temperature for 30 to 60 minutes, until the filling is firm.
Notes
- Molasses: Use unsulphured regular or robust molasses. Blackstrap is too bitter for these cookies.
- Test cookie: Bake one cookie first to dial in the bake time for your oven.
- Make ahead: Refrigerate the dough up to 2 days, or freeze dough balls up to 3 months. Baked unfilled cookies freeze up to 3 months.
- Storage: Keep filled cookies airtight at room temperature for up to 5 days, with parchment between layers.
- Jam version: Fill the wells with ½ teaspoon jam before baking and skip the second press.