The forecast said rain for the whole week before Christmas, and I picked that exact week to try meringues for our cookie tray.
I had a pastry bag, a star tip and a lot of confidence.
By the next morning, my perfect little swirls had turned tacky and soft, and they were weeping sugar syrup onto the parchment.
My wife peeled one off, chewed it thoughtfully and said it tasted like a candy cane that gave up.
Fair enough.
Two batches later, on a dry, cold Saturday, I finally got it right, and these peppermint meringue kisses have been on our Christmas tray ever since.
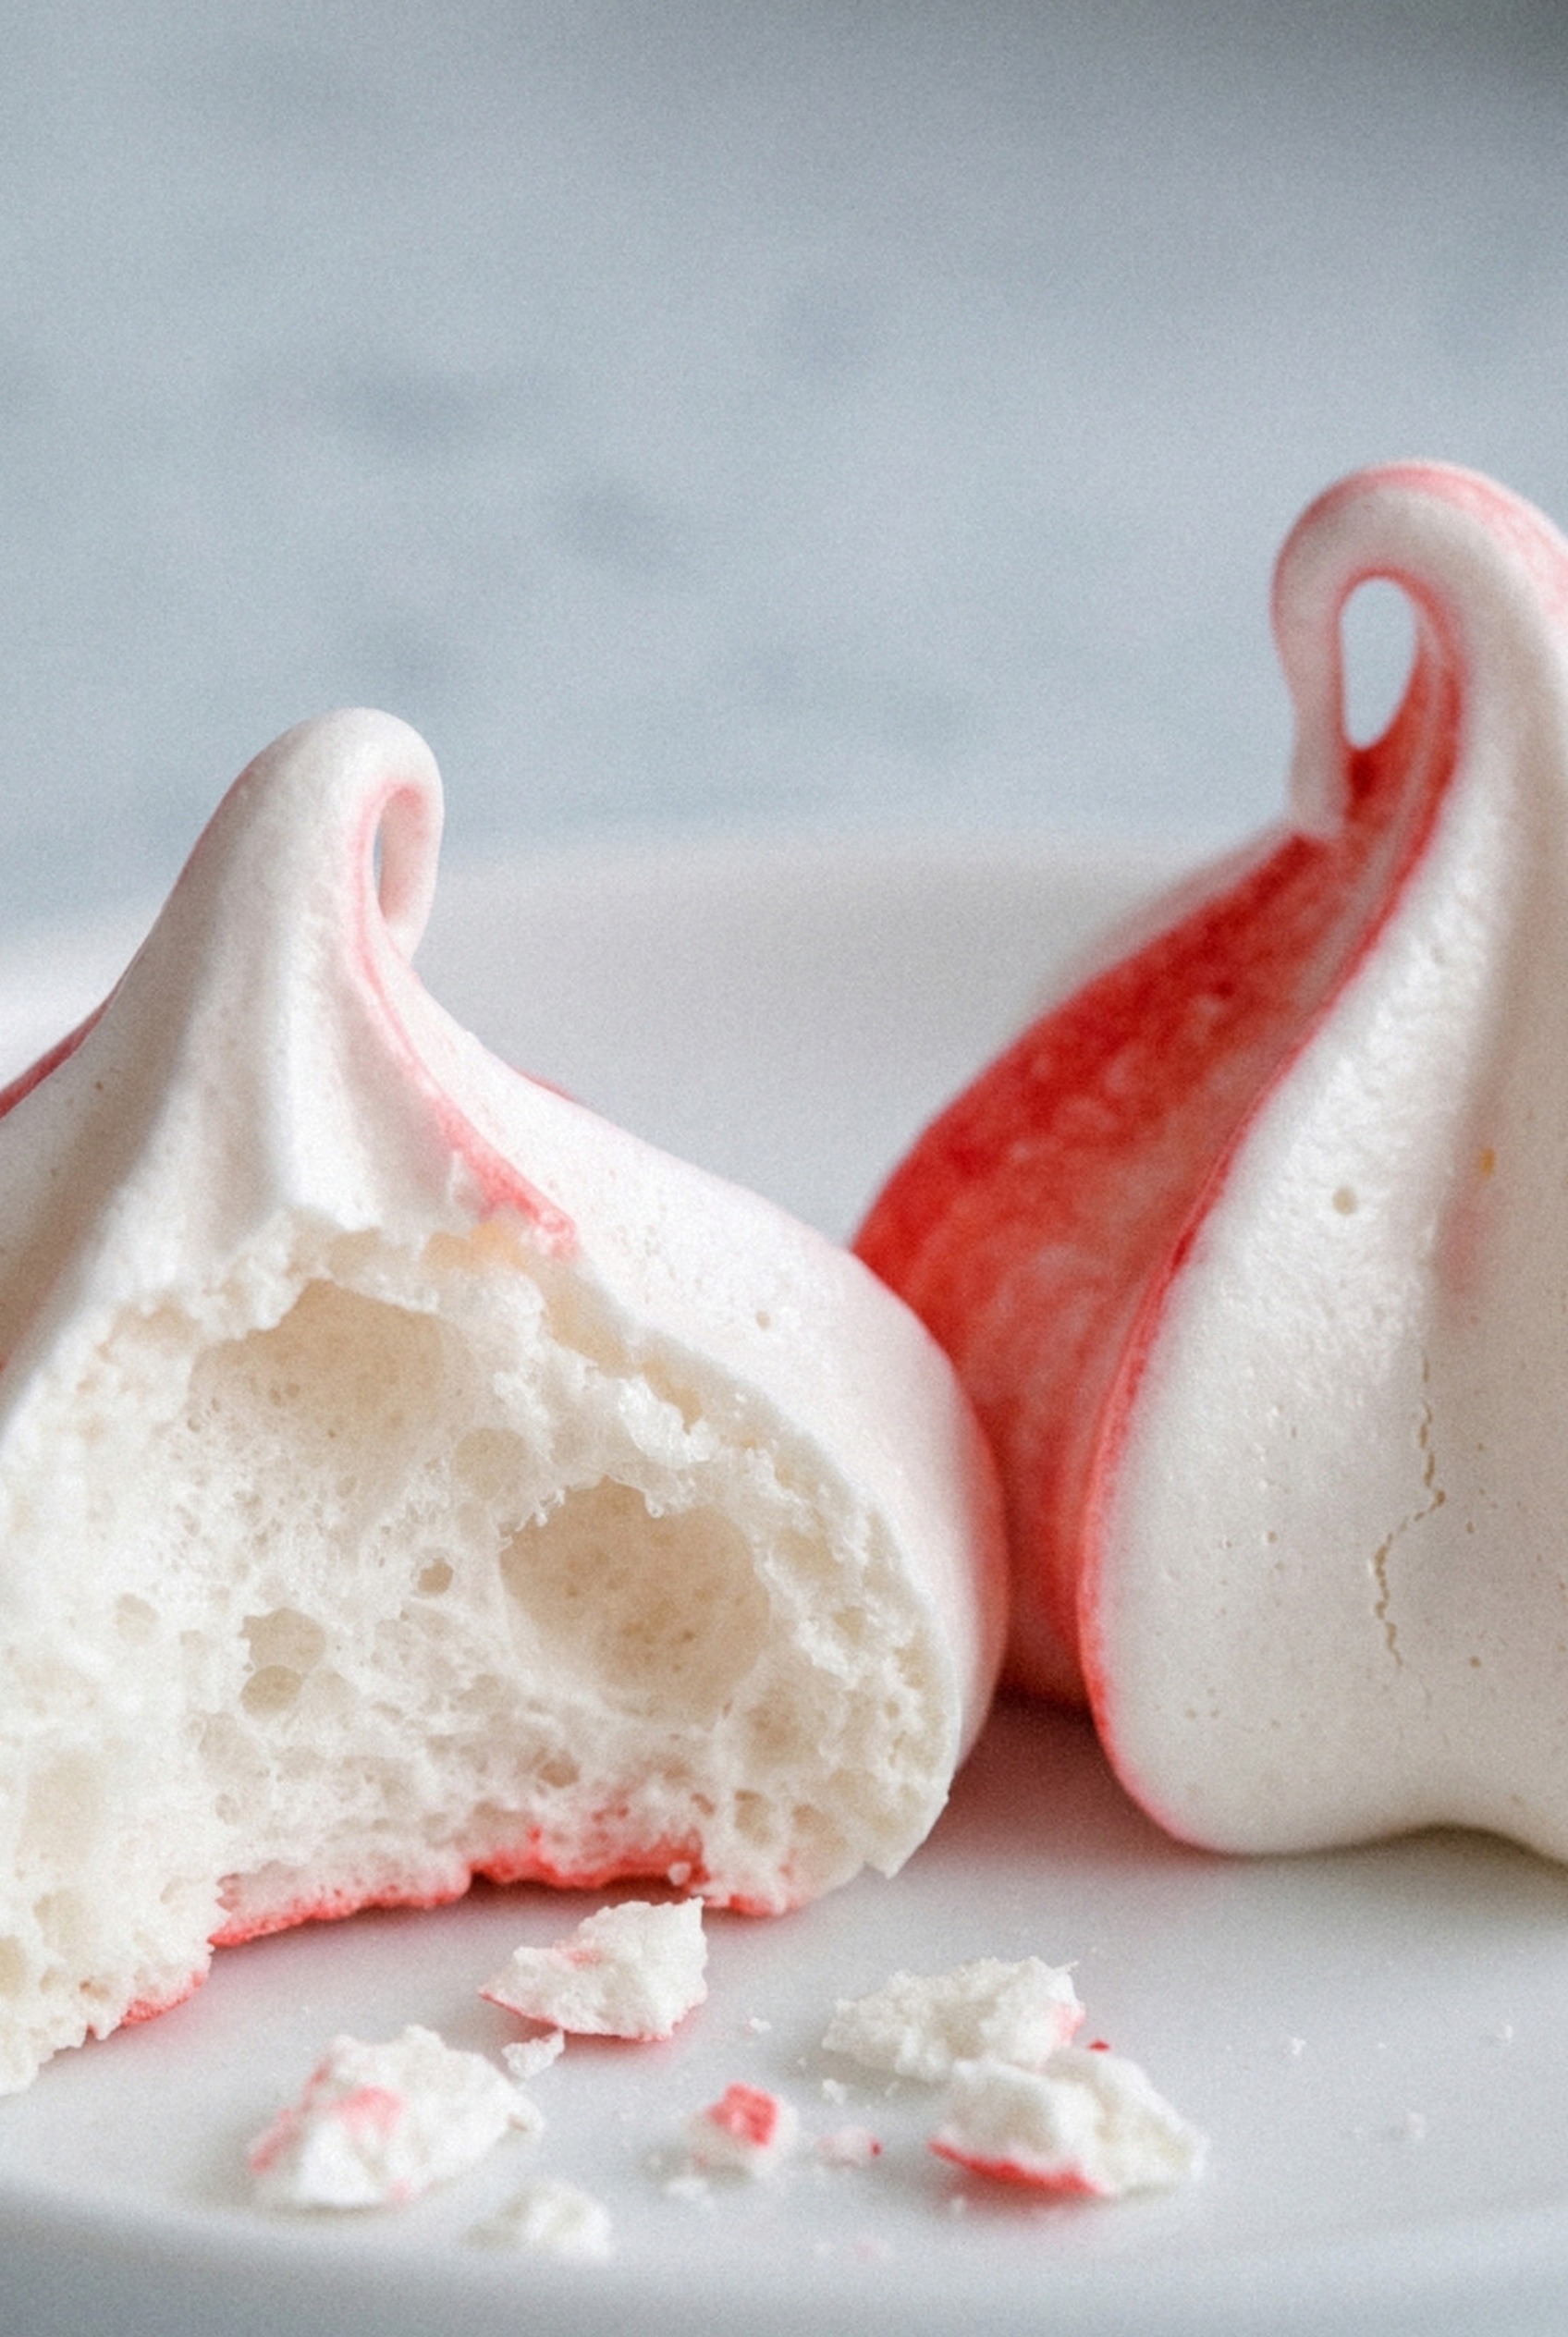
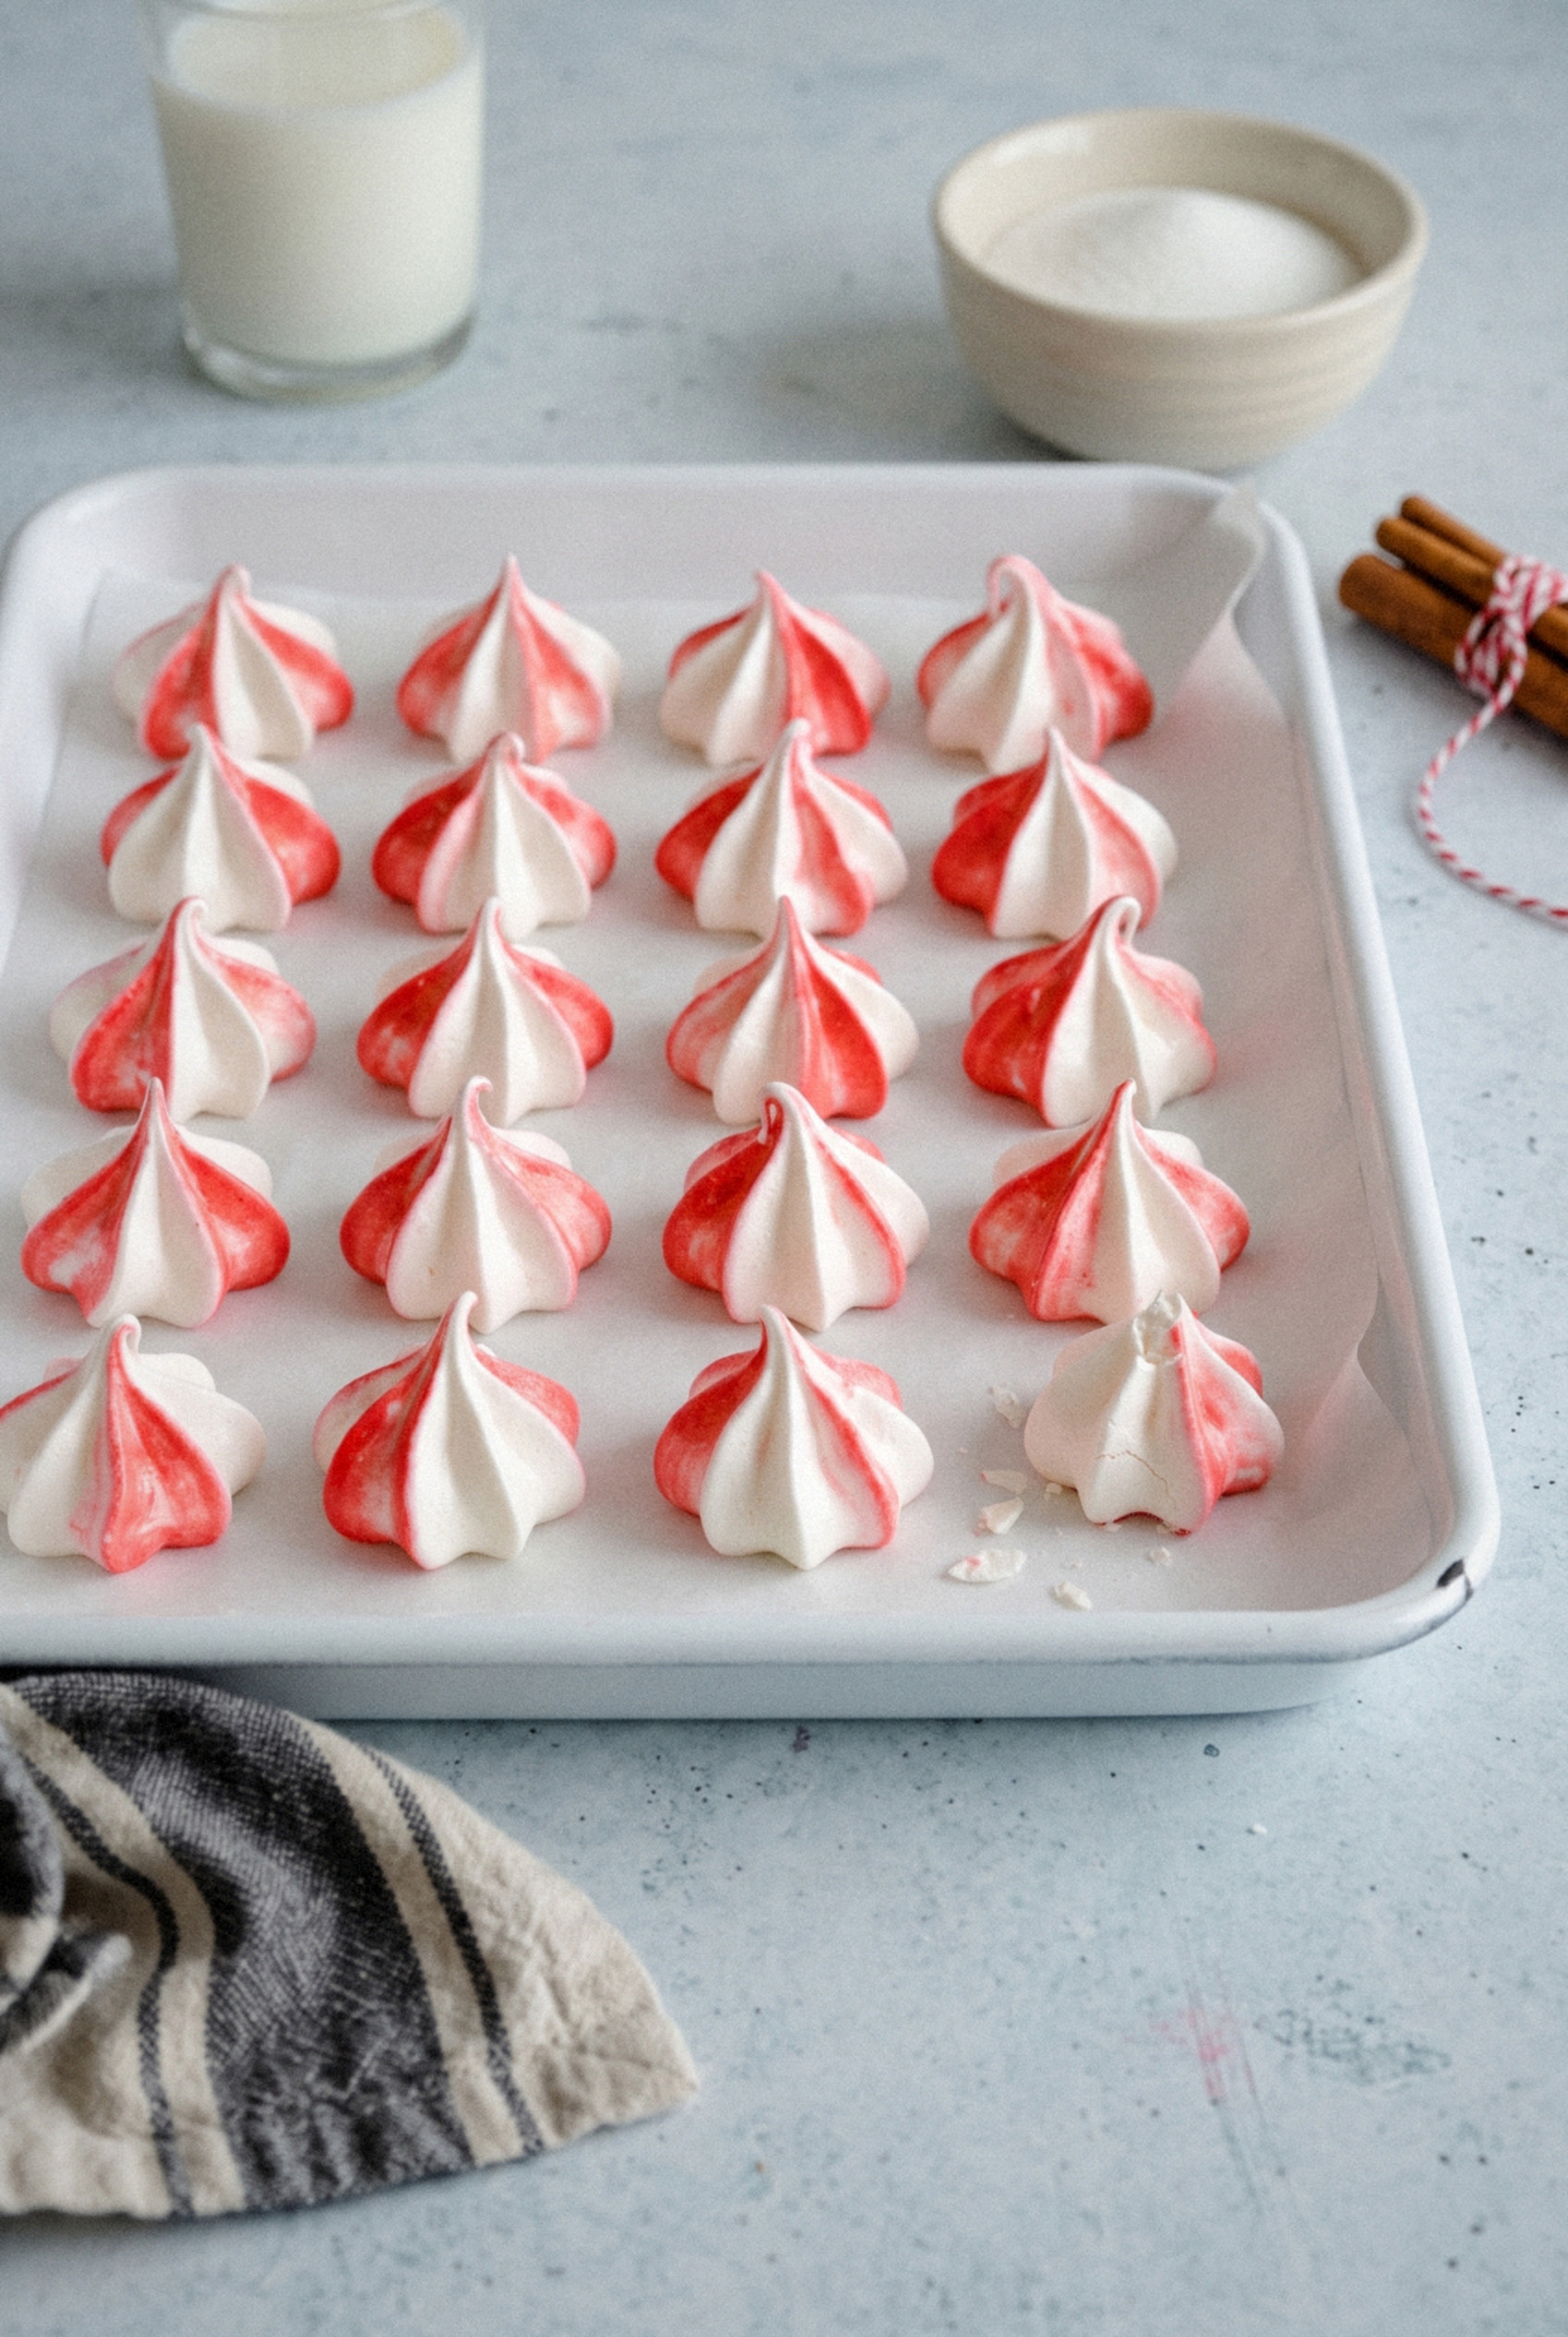
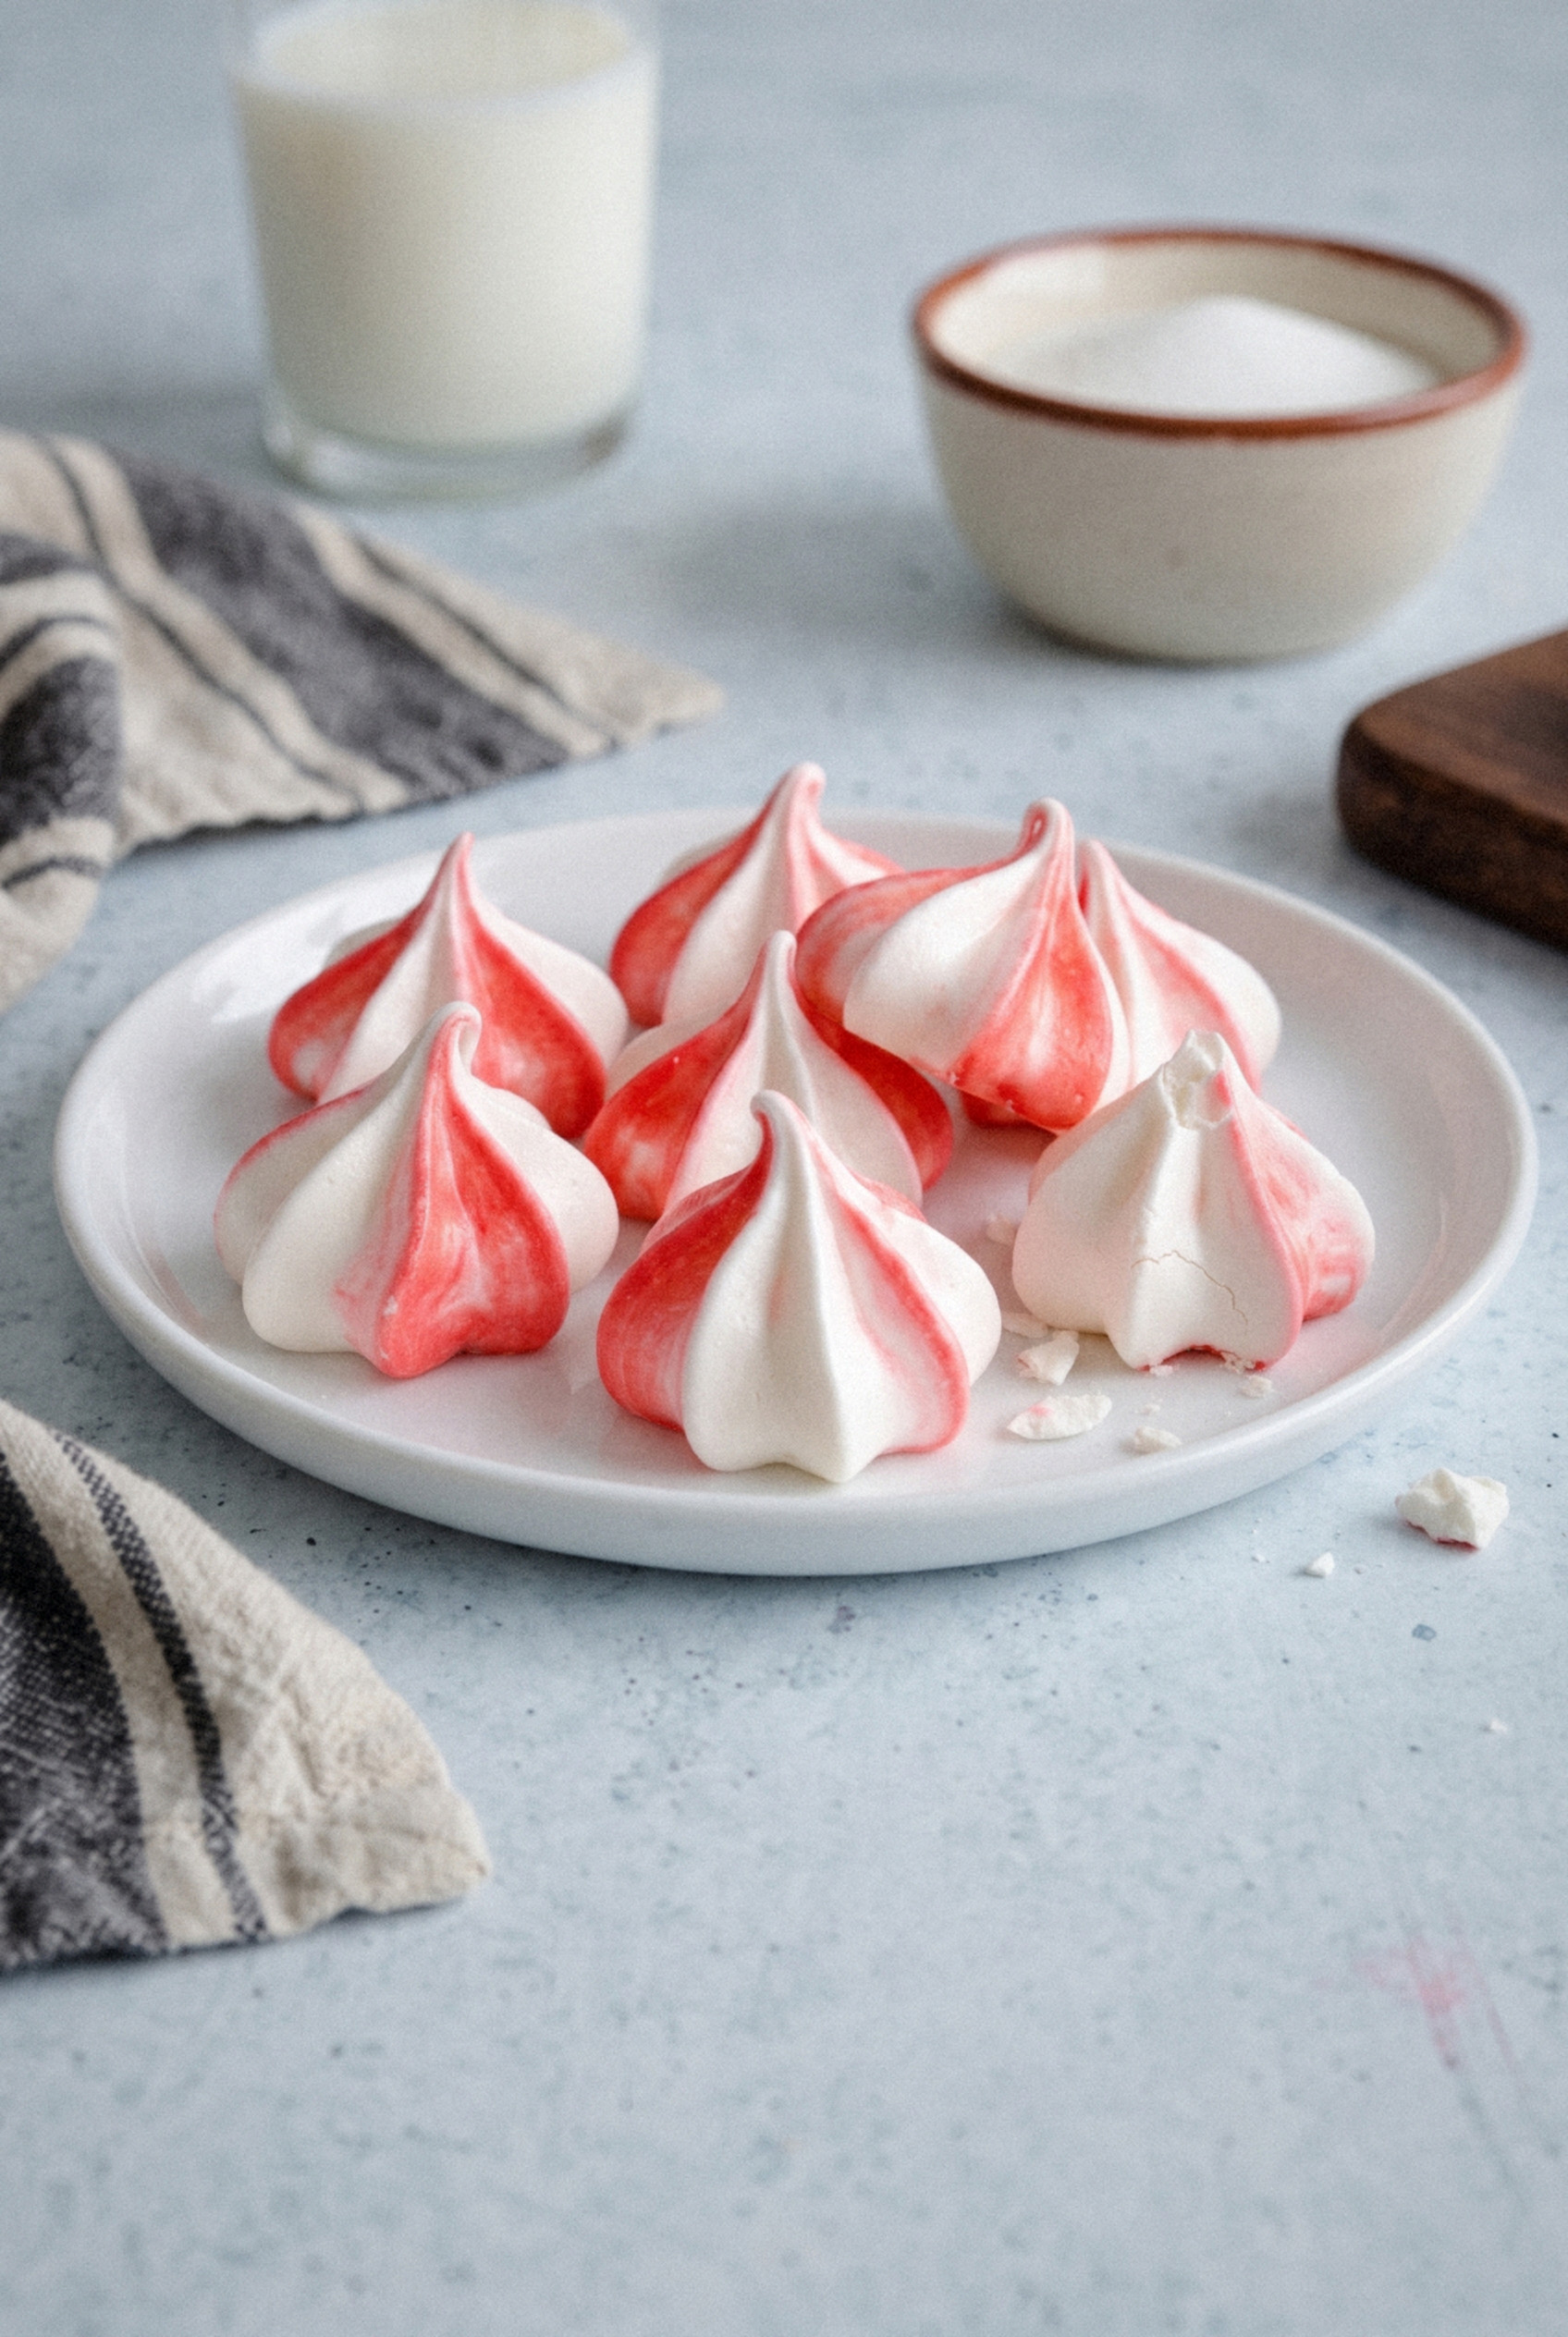
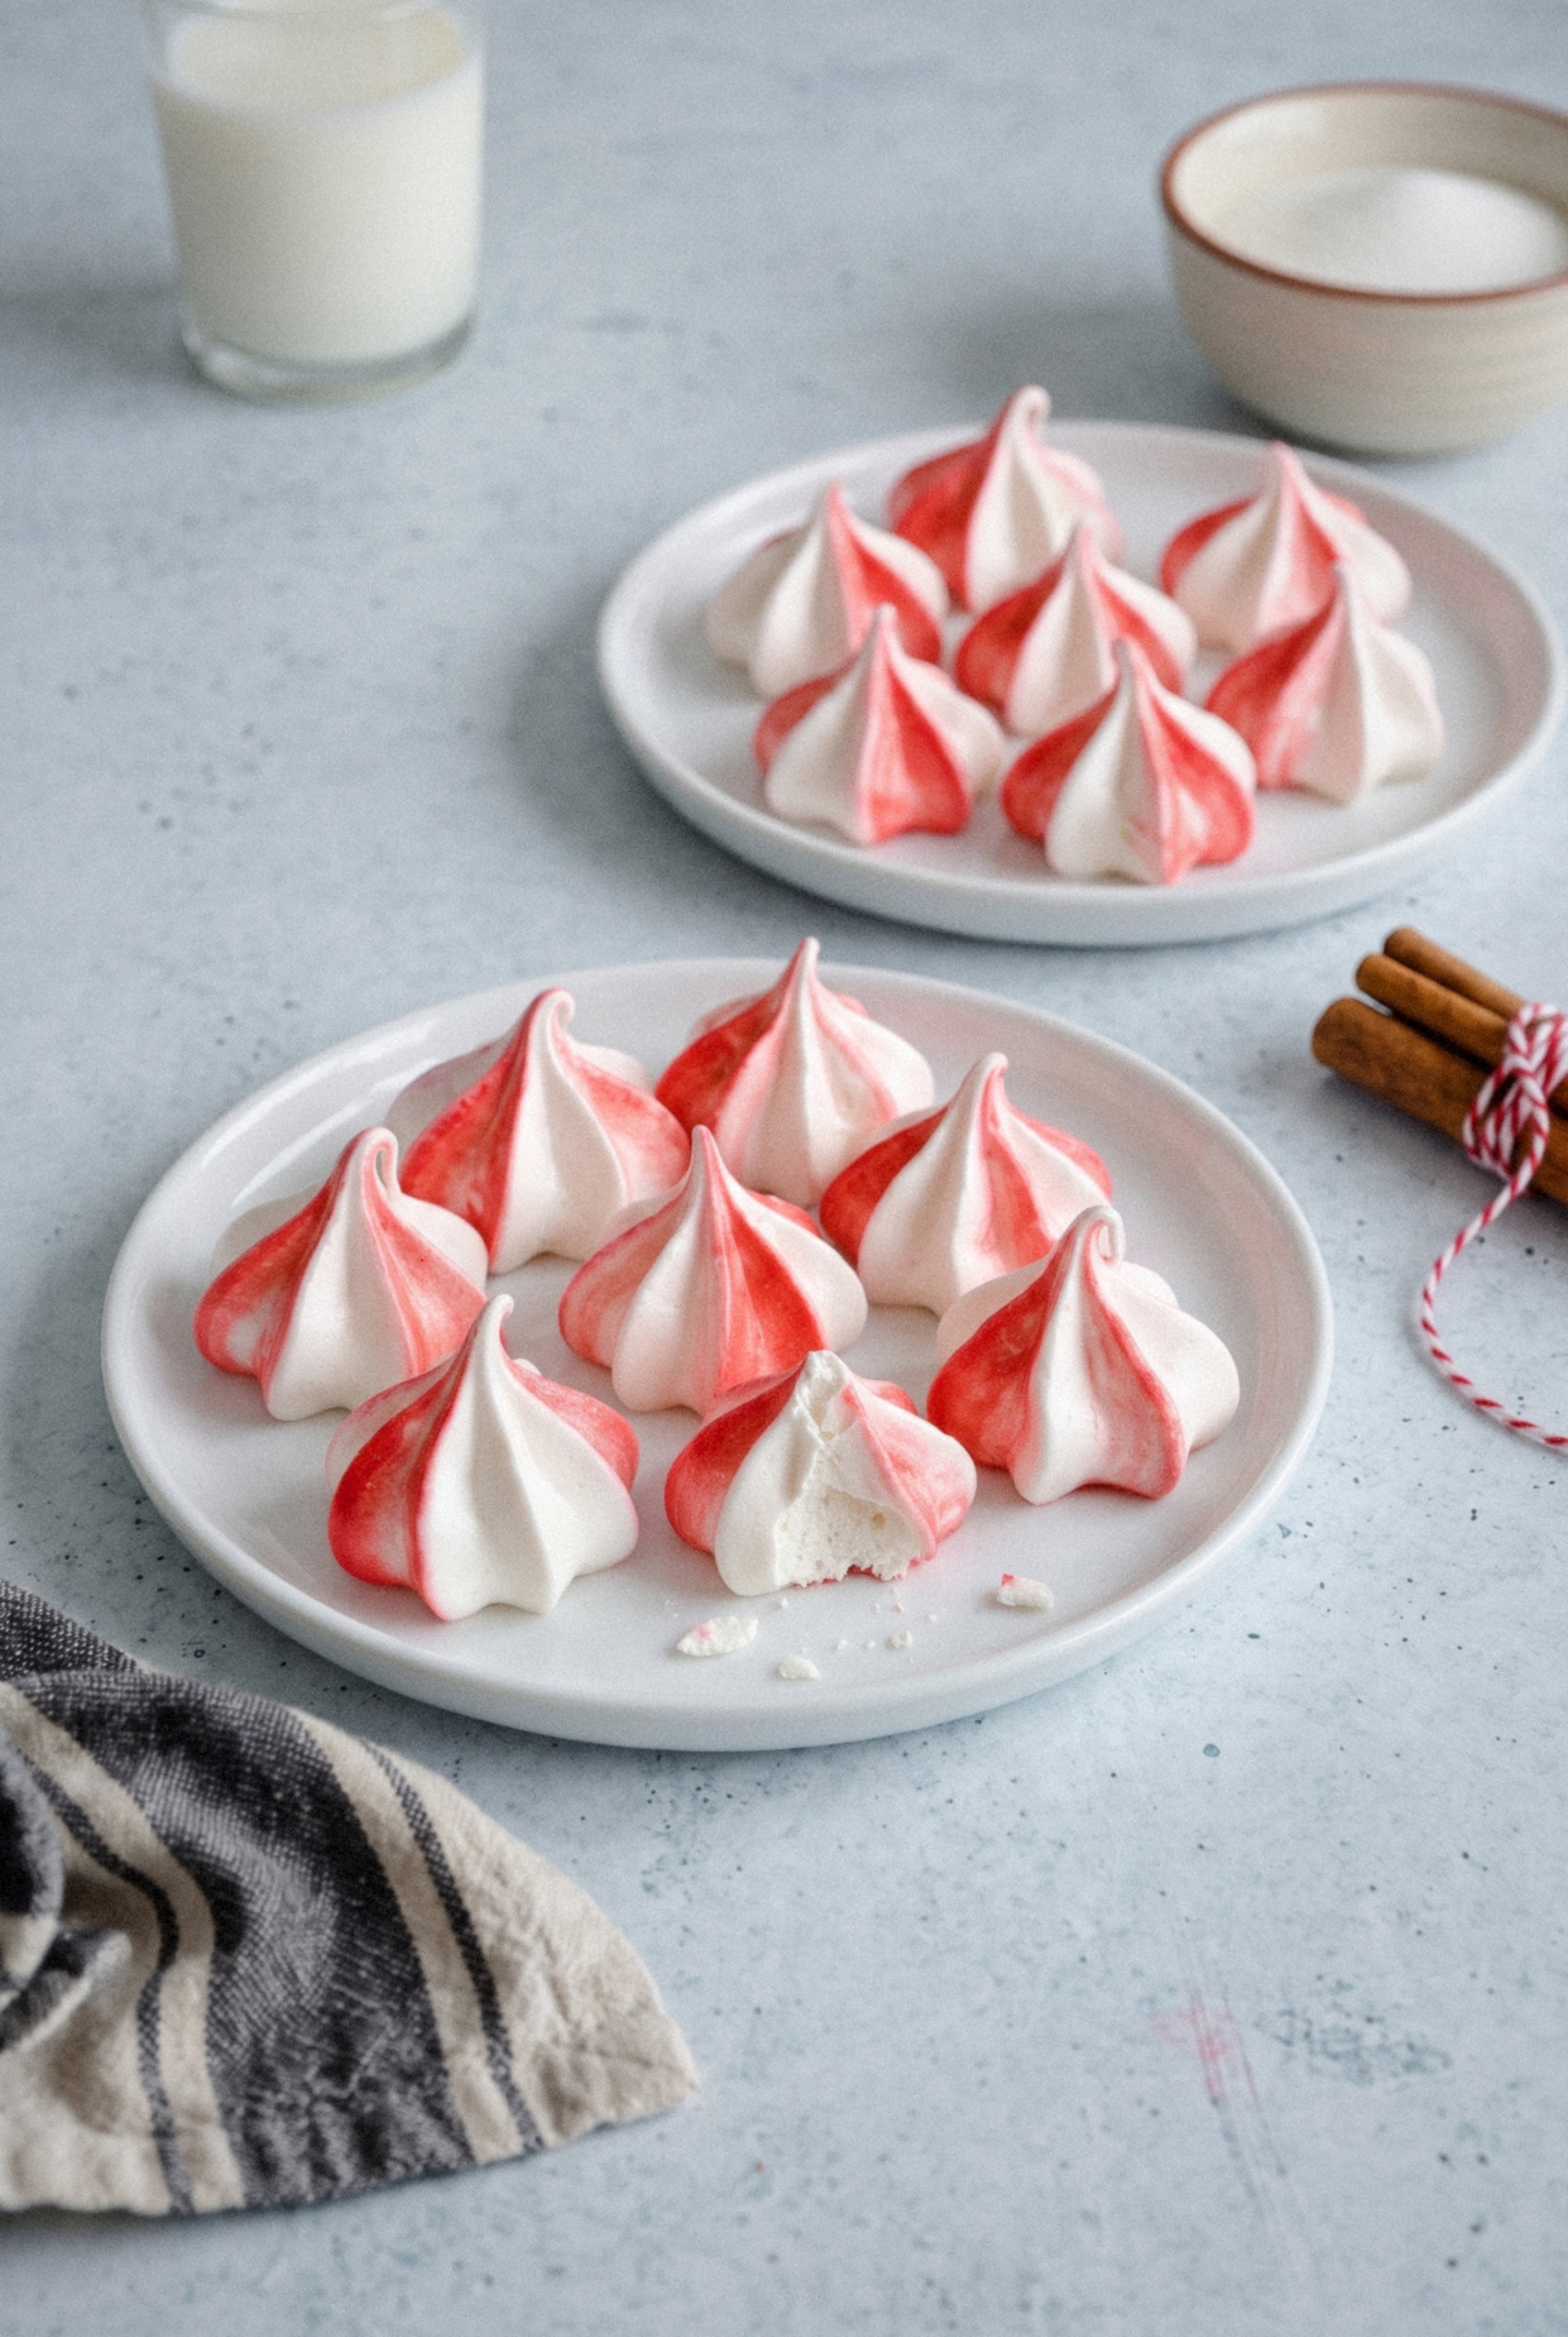
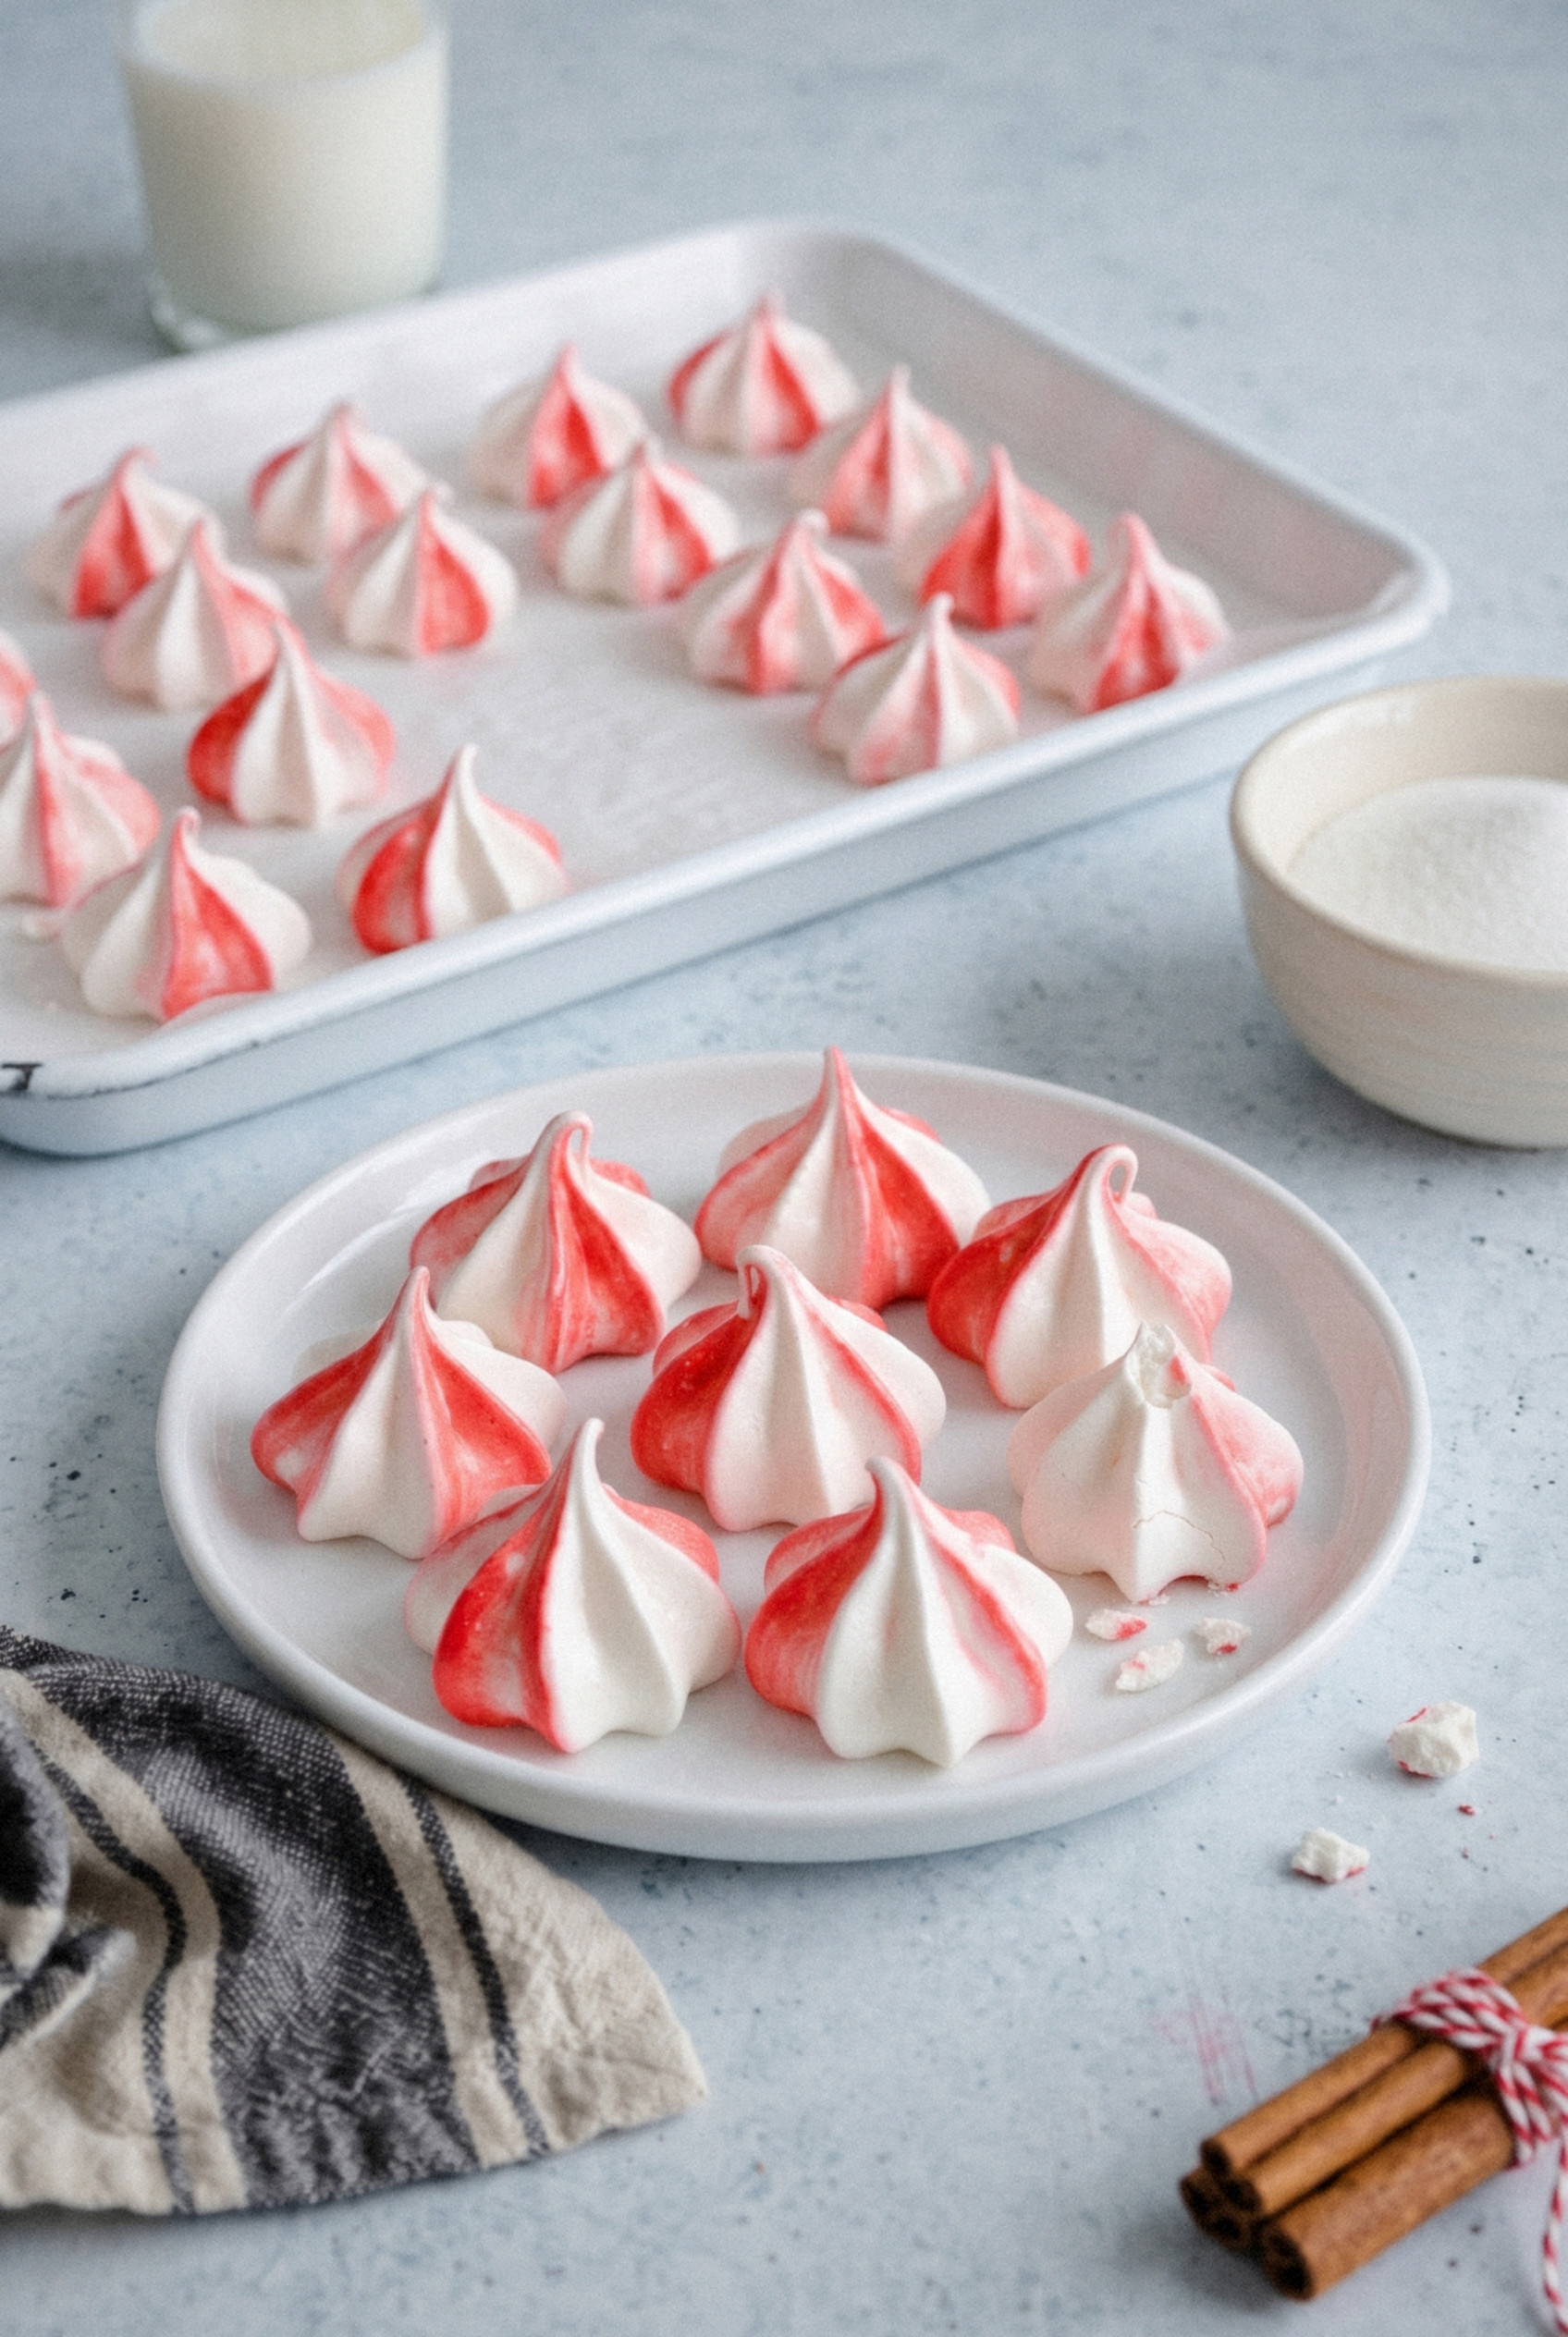
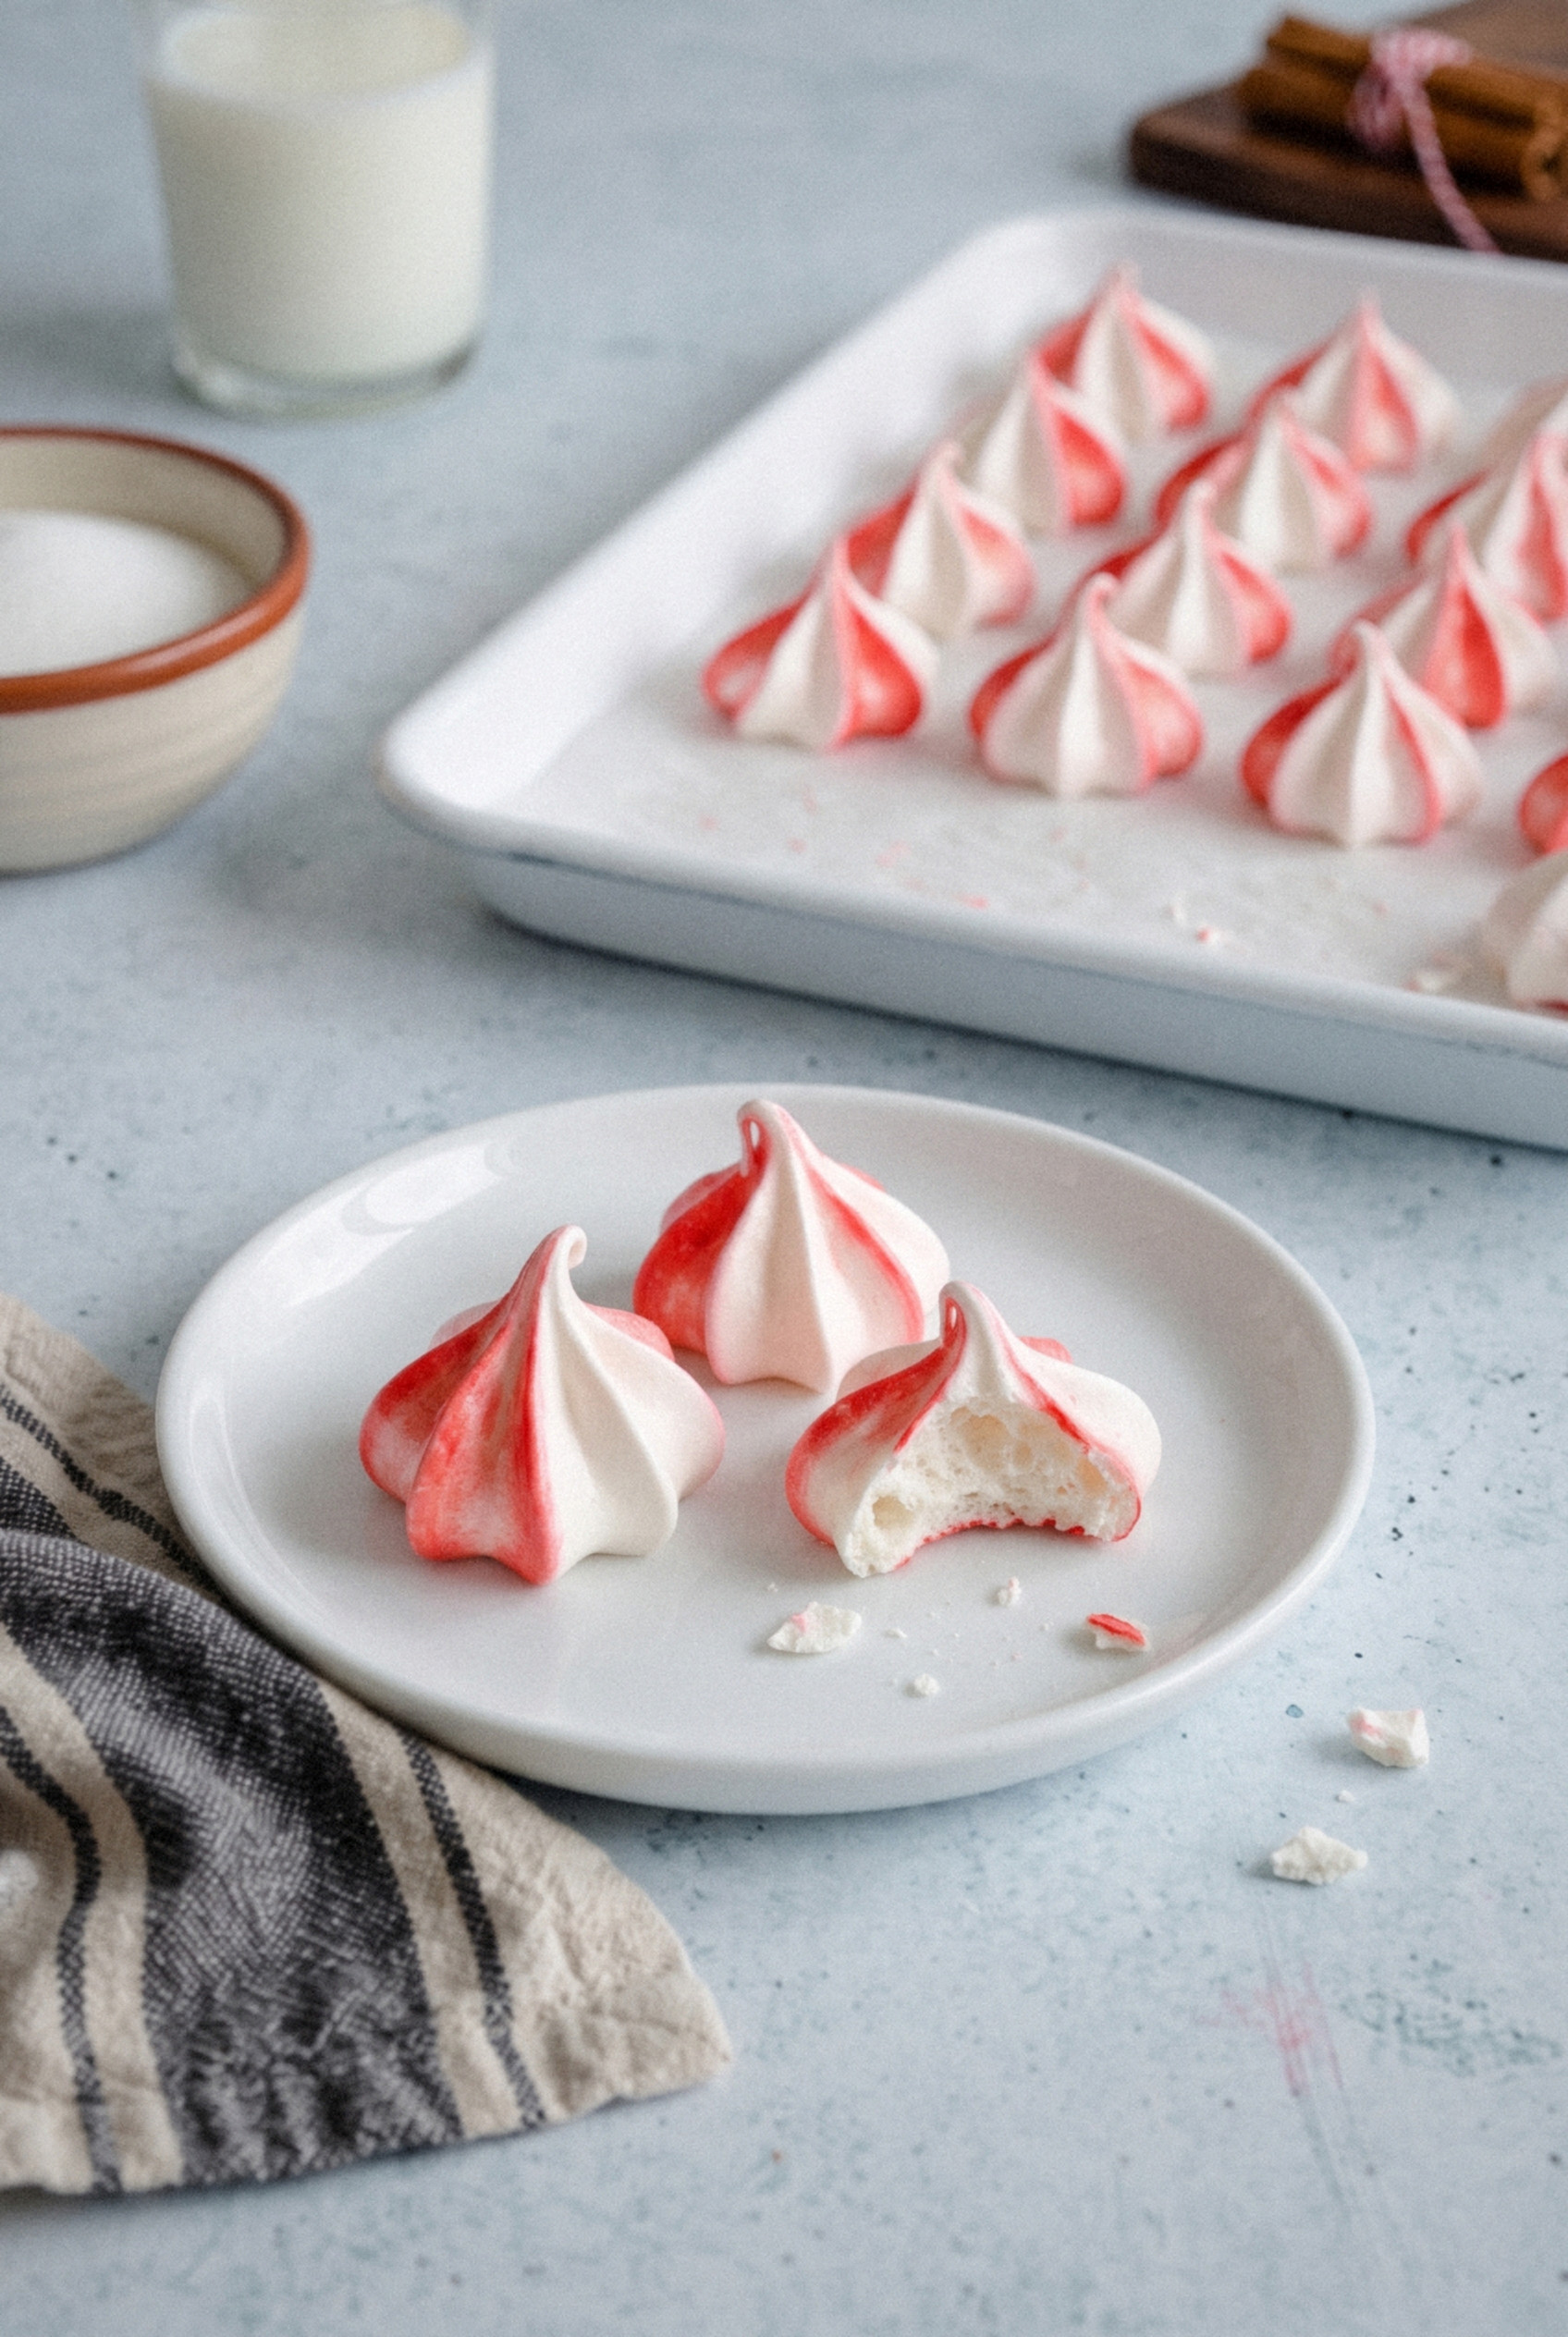
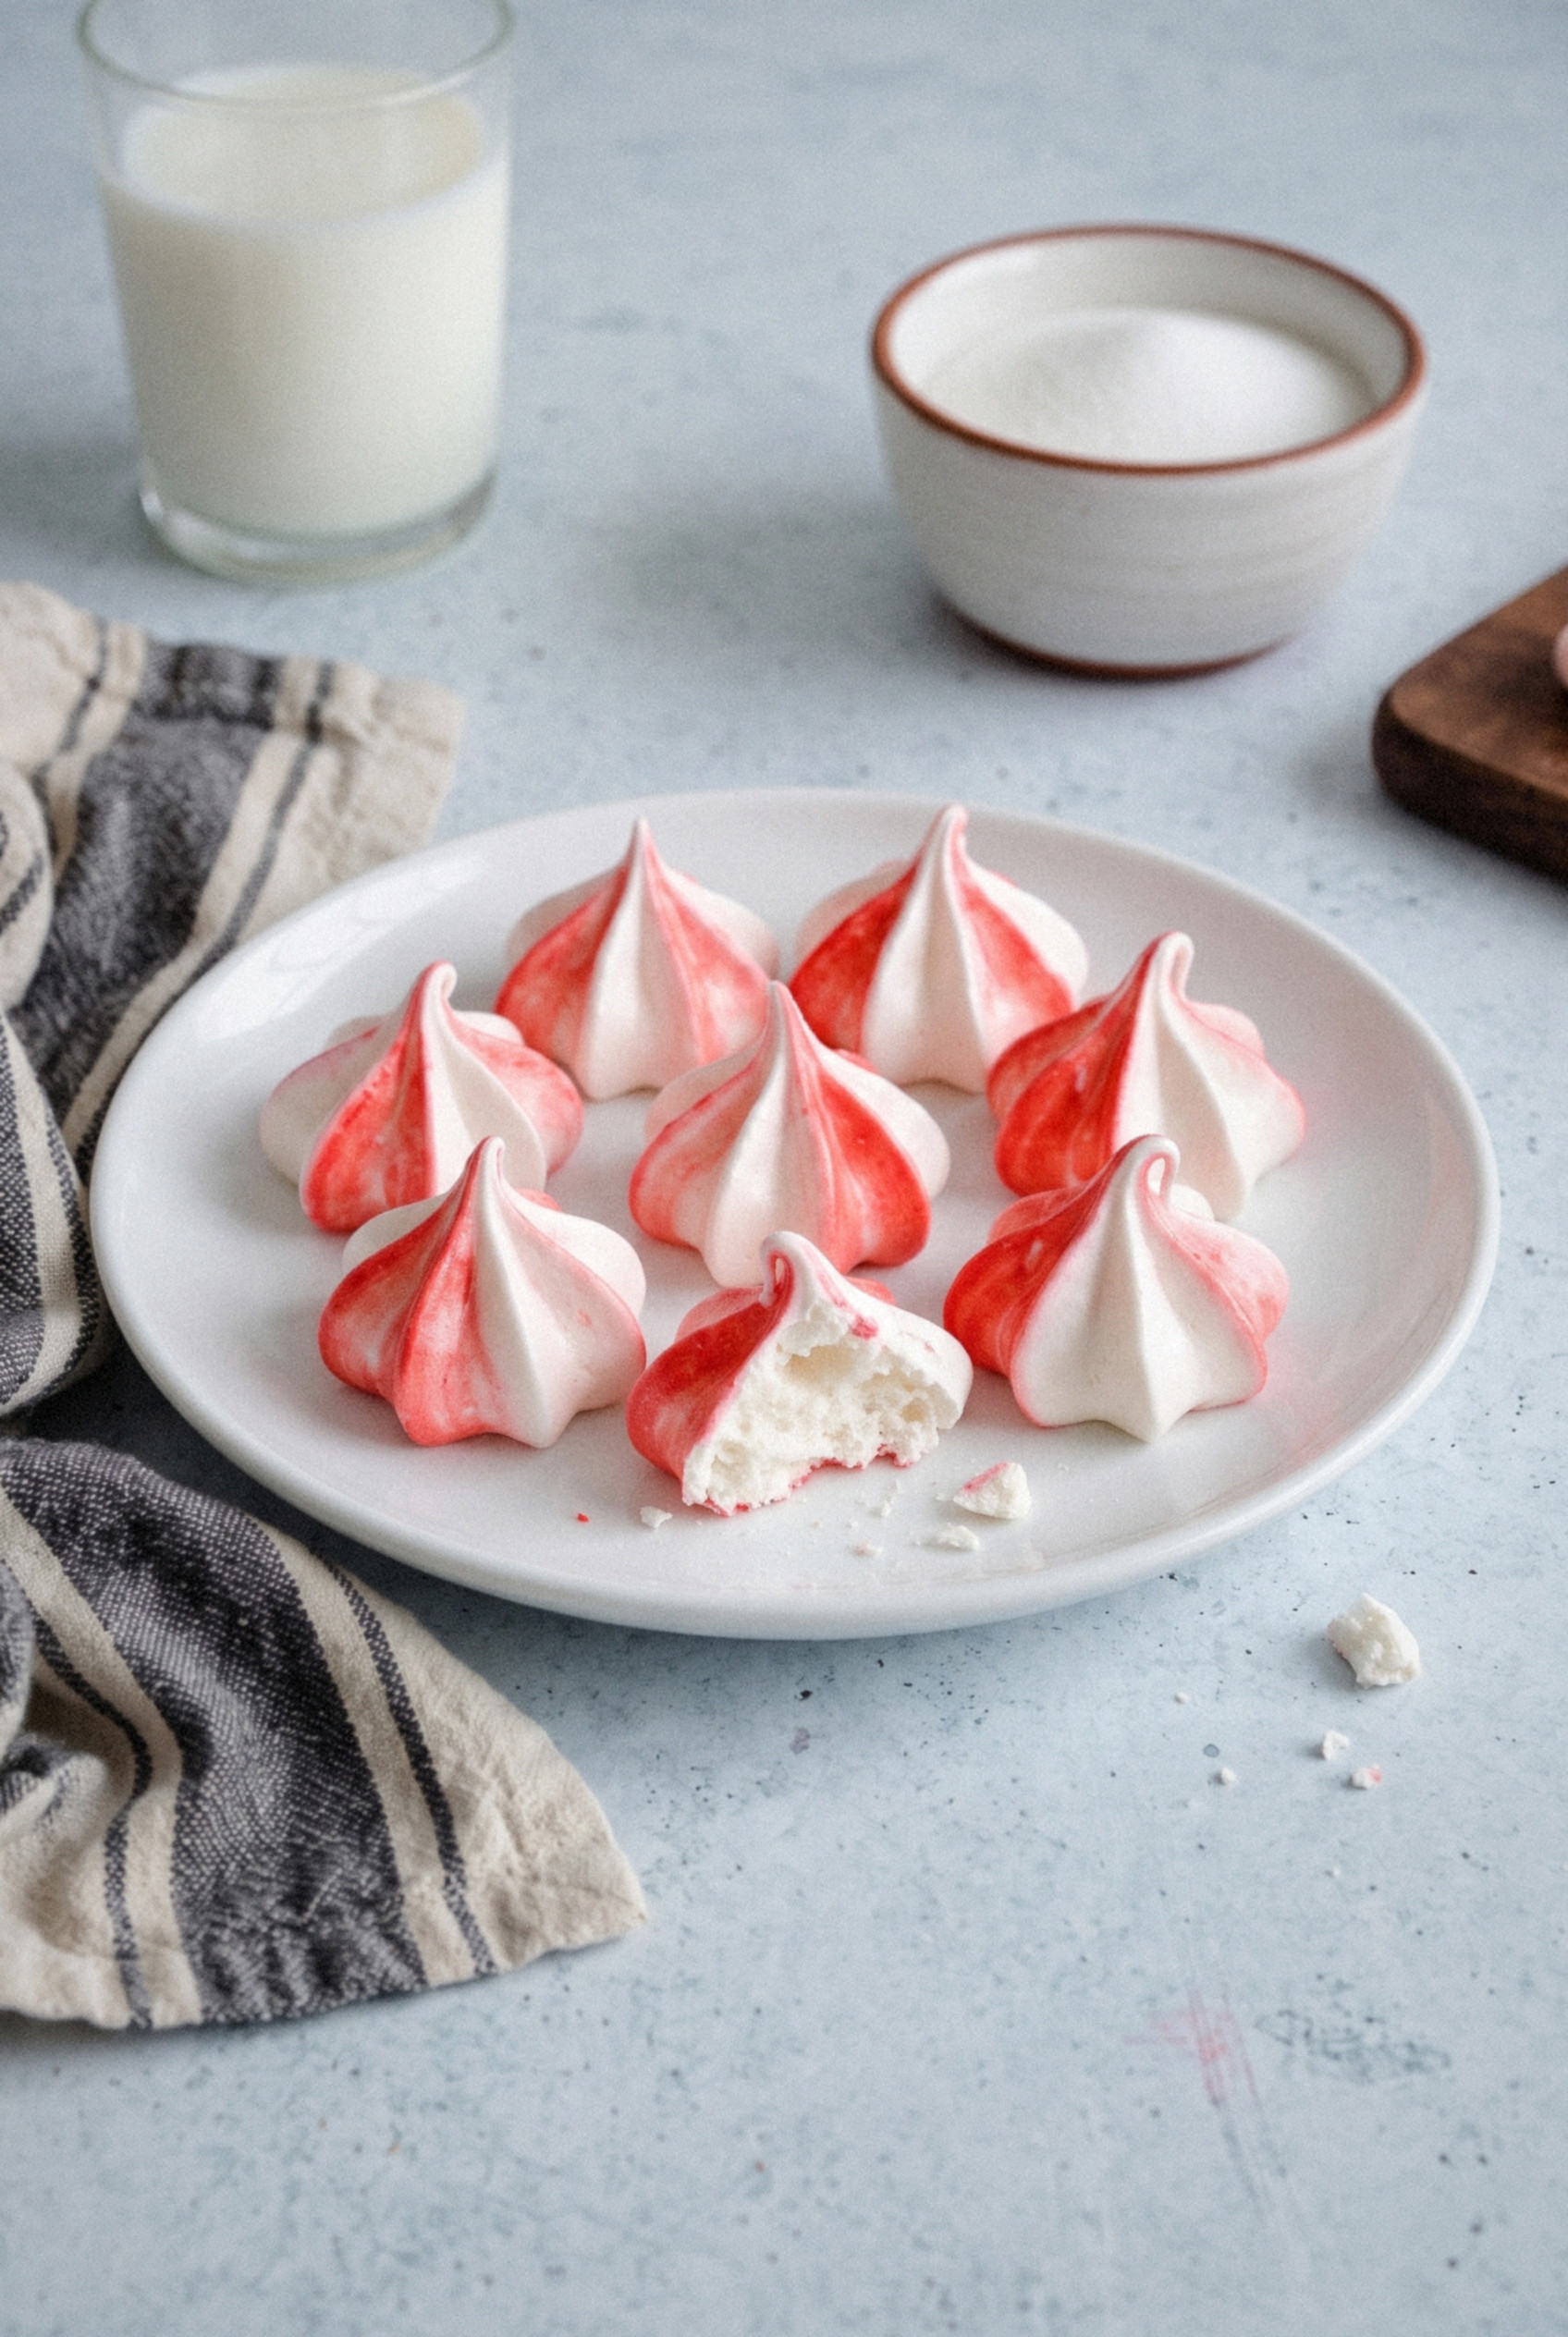
They're crisp on the outside, melt-in-your-mouth on the inside, and striped red and white like a candy cane.
The stripes come from painting gel coloring inside the piping bag, which sounds fancy and takes about a minute.
You only need egg whites, sugar, cream of tartar and a couple of extracts, and they're naturally gluten-free, which makes them a great gift for just about anyone.
The real secret is patience: a low oven, then a long rest inside it after you switch it off.
Pick a dry day, follow the steps, and you'll get a tin full of crisp little kisses that last for weeks.
Why You'll Love These Kisses
These are the easiest way I know to make a cookie tray look like Christmas. Here's why they keep earning their spot.
- Just a handful of ingredients. Egg whites, sugar, cream of tartar, salt, peppermint and vanilla. That's the whole list.
- A great way to use egg whites. Making custard or eggnog? Save the whites and turn them into about four dozen kisses.
- Naturally gluten-free. No flour at all, so they work for friends who can't have wheat.
- Light as air. Each kiss is roughly 10 calories, so you can eat three and call it restraint.
- They keep for 2 weeks. Bake them early in December and they're still crisp on Christmas Eve.
- They look stunning. Those red stripes swirling up to a little peak get people asking how you did it.
Ingredients for Peppermint Meringue Kisses
Meringue is a simple recipe, which means every ingredient has a job.
Egg Whites
- Large egg whites (4). Separate them while the eggs are COLD, because cold yolks are firmer and less likely to break. Then let the whites sit for 30 minutes to come to room temperature. Warm whites whip up higher and faster.
- Zero yolk, zero grease. Even a speck of yolk or a greasy bowl stops whites from whipping. I separate each egg over a small cup first, then tip the white into the mixing bowl.
Sugar
- Granulated sugar (¾ cup, 150g). Plain white sugar works fine as long as you add it slowly. Superfine sugar dissolves faster, and you can make your own by pulsing granulated sugar in a food processor for 30 seconds.
Cream of Tartar (and How to Skip It)
- Cream of tartar (¼ teaspoon). This acid stabilizes the foam so it holds its shape in the oven.
- No cream of tartar? Use ½ teaspoon of fresh lemon juice or white vinegar instead. The meringue is a touch softer but still pipes well.
- Salt (a pinch). A tiny pinch sharpens the peppermint and keeps the kisses from tasting flat.
Peppermint Extract and Vanilla
- Peppermint extract (½ teaspoon). Peppermint extract is oil-based, and too much of it can deflate your whites. Half a teaspoon gives a cool, clean mint without wrecking the volume.
- Vanilla extract (½ teaspoon). Vanilla rounds out the mint so the kisses taste like a candy cane, not toothpaste.
Red Gel Food Coloring
- Red gel coloring. Use gel, not liquid. Liquid coloring is watery, so it bleeds into pink streaks and can loosen the meringue.
Equipment You'll Need
You don't need much, but each piece makes the job easier.
- Stand mixer or hand mixer. Whipping by hand is possible, but your arm will hate you.
- Glass or metal bowl. Plastic bowls hold on to traces of grease. Wipe the bowl and whisk with a paper towel dampened with vinegar for insurance.
- Piping bag and large open star tip. A ½-inch star tip gives you those classic ridged kisses.
- Thin paintbrush. A new, clean craft brush is perfect for painting the stripes.
- Parchment paper. Always parchment, never foil. Meringues stick to foil.
How to Make Peppermint Meringue Kisses
Most of the time here is the oven doing the work. Your part takes about 20 minutes.
Step 1: Prep the Oven and Pans
Set two racks in the upper and lower thirds of the oven and heat it to 225°F. Line two baking sheets with parchment, and dab a little meringue under each corner later to glue it down.
Step 2: Whip the Whites to Foamy
Add the room-temperature egg whites, cream of tartar and salt to the clean bowl. Beat on medium speed for 1-2 minutes, until the whites are foamy and opaque with small, even bubbles.
Step 3: Add the Sugar Slowly
Turn the mixer up to medium-high. Add the sugar 1 tablespoon at a time, waiting about 20 seconds between spoonfuls, so it has time to dissolve.
This takes around 5-6 minutes. Don't rush it, because undissolved sugar is what makes meringues weep later.
Step 4: Whip to Stiff, Glossy Peaks and Flavor
Once all the sugar is in, turn the mixer to high and beat for 2-4 minutes. The meringue should be thick, bright white and glossy, and a peak should stand straight up on the whisk.
Rub a little meringue between two fingers. If it feels smooth, you're ready. If it feels gritty, beat for another minute.
Turn the mixer to low and add the peppermint and vanilla extracts. Mix for just 10 seconds, only until they disappear.
Step 5: Stripe the Bag and Pipe the Kisses
Fit the bag with the star tip and fold the top down over a tall glass. Dip the brush in red gel coloring and paint 4-5 thin vertical stripes inside the bag, from the tip up to about halfway. Keep each stripe about as thin as a toothpick.
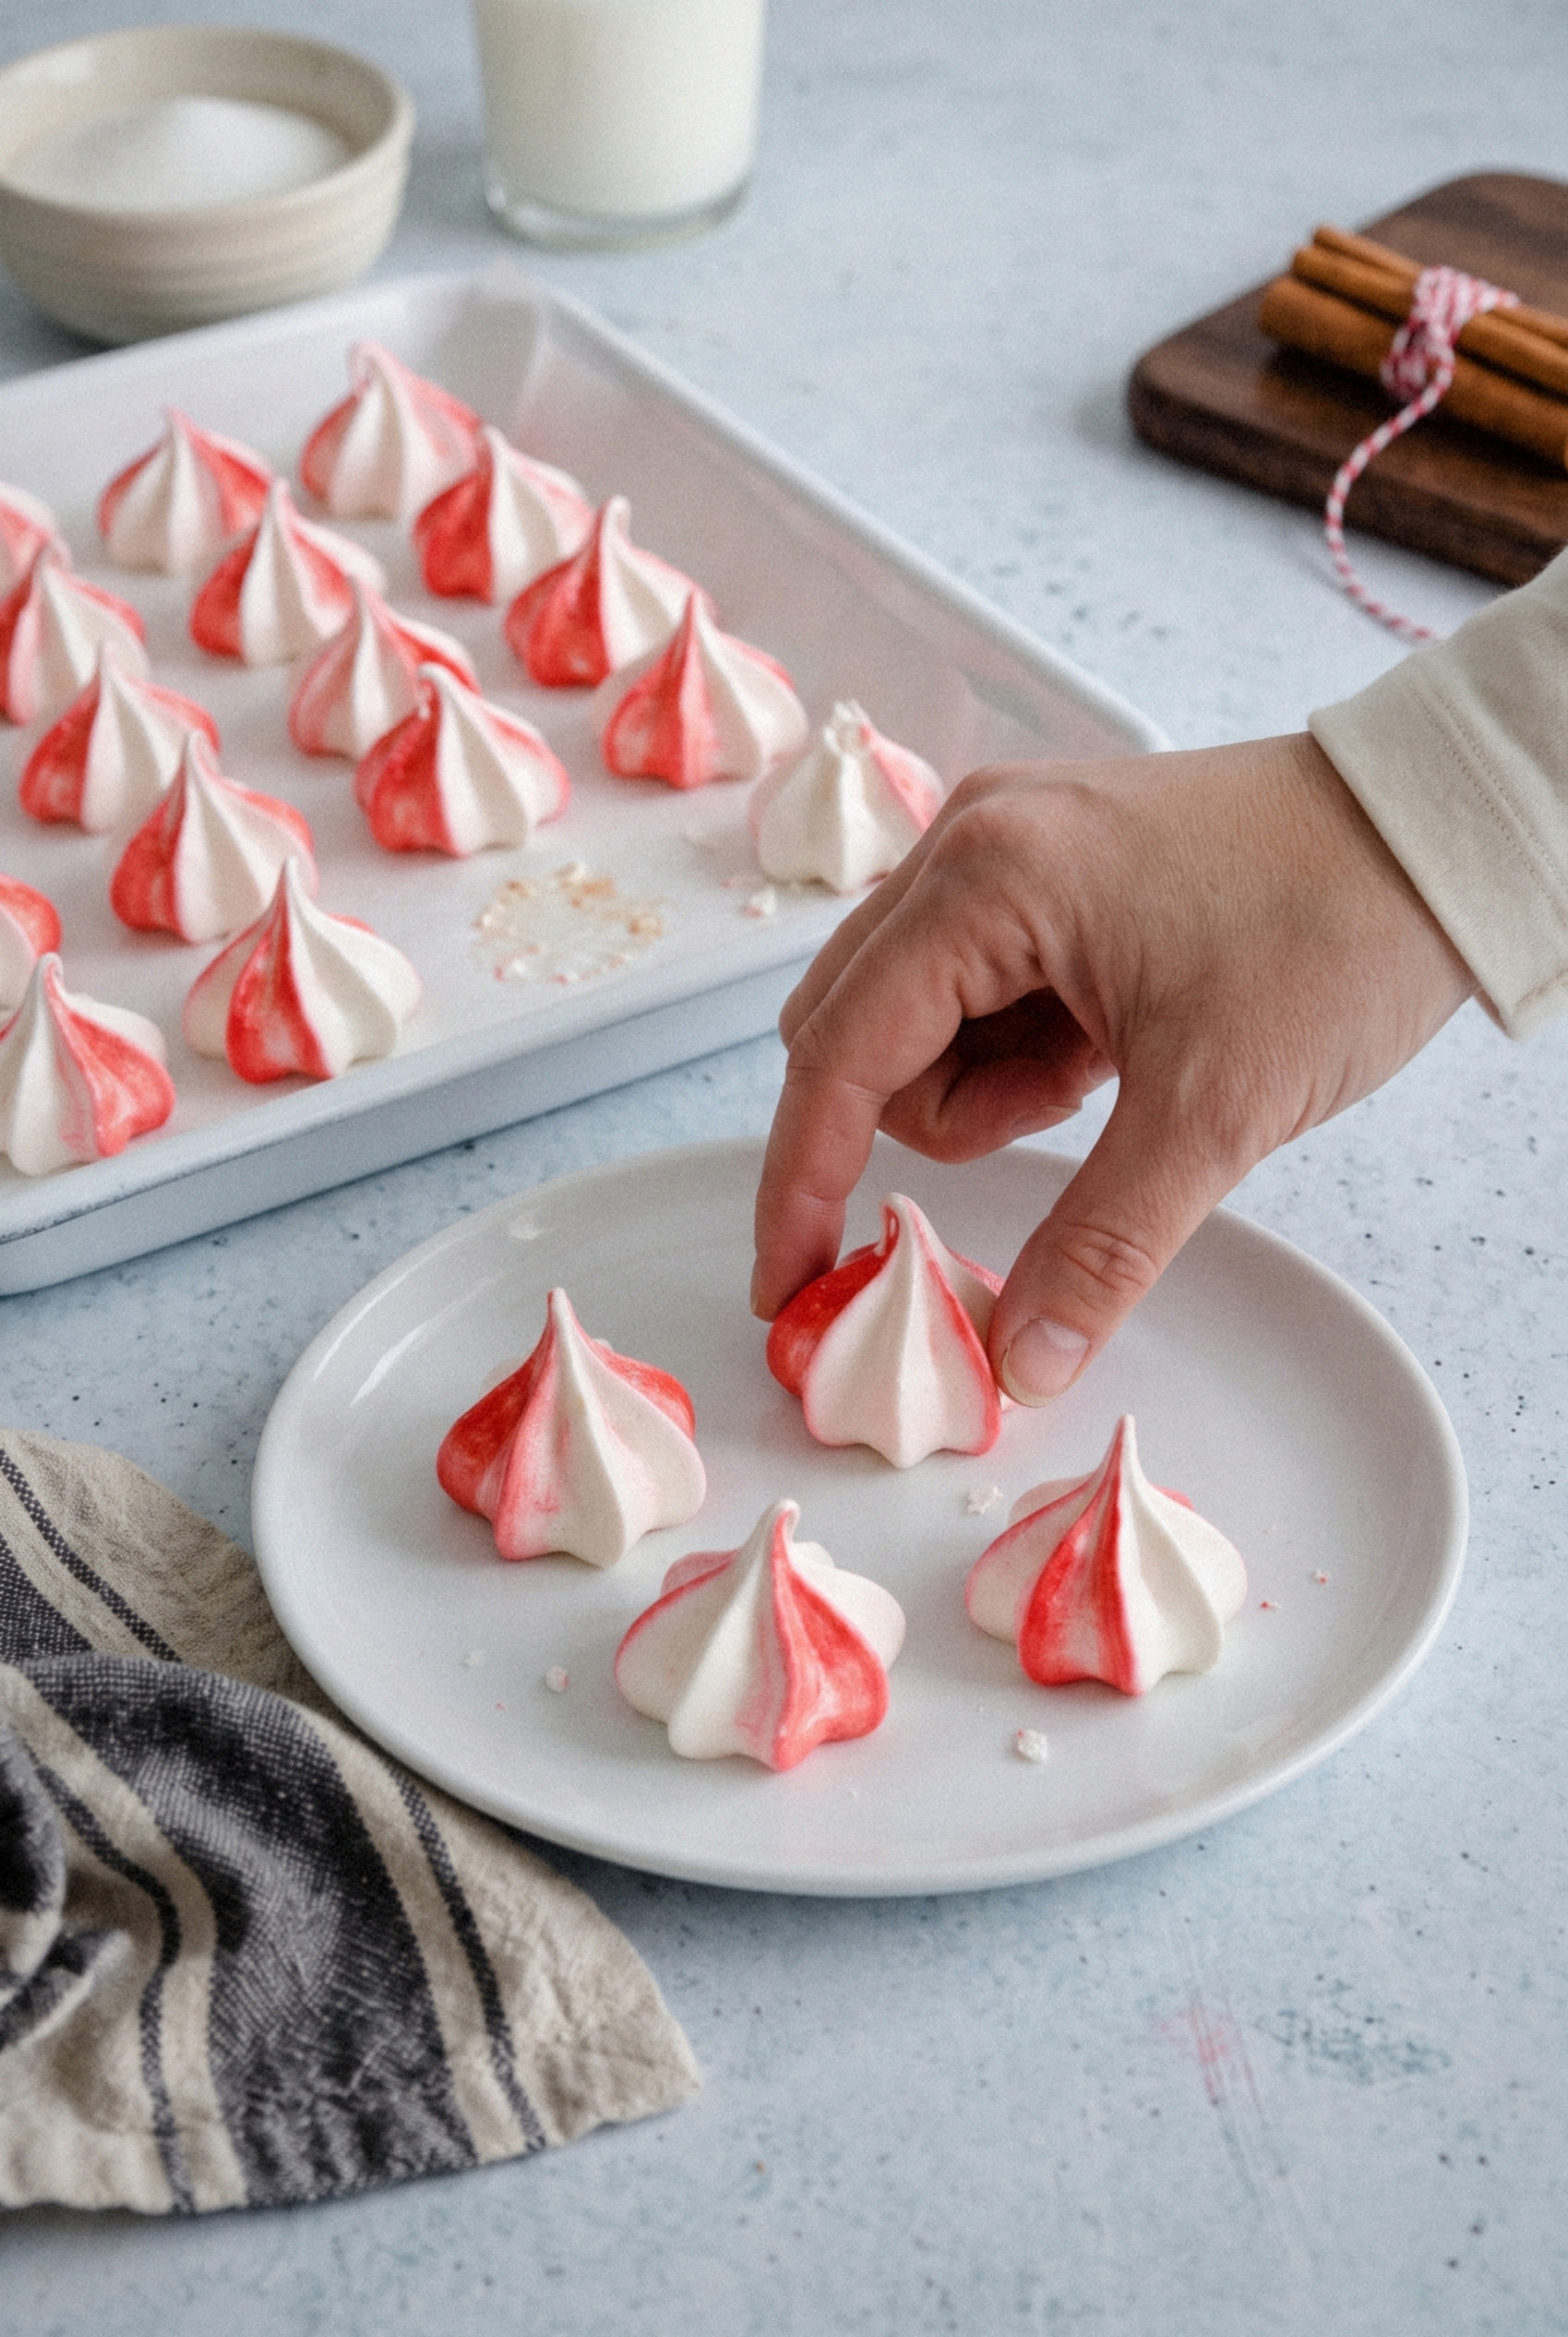
Spoon the meringue into the bag without smearing the stripes and twist the top closed. Hold the bag straight up about half an inch above the parchment, squeeze until you have a 1 ½-inch round, then stop squeezing and lift straight up to make a peak.
Space the kisses about 1 inch apart. They barely spread, so you can fit about two dozen on each sheet.
No piping bag? Snip a corner off a zip-top bag, or drop rounded teaspoons of meringue and swirl a peak with the back of the spoon. Swirl a little coloring through the meringue with a toothpick for a marbled look.
Step 6: Bake Low, Then Dry in the Oven
Bake both sheets for 1 hour 15 minutes, swapping the pans top to bottom halfway through. The kisses should stay white, not beige.
Turn the oven off and leave the kisses inside with the door closed for at least 1 hour, or overnight. That slow cool finishes drying the centers and keeps the shells from cracking.
Sound like a long wait? It is, but you don't have to do anything during it.
How to Tell When Meringues Are Done
Meringue doneness is about feel, not color. Check one kiss before you switch off the oven.
- It lifts cleanly. A done kiss pops off the parchment with a gentle nudge. If it sticks, give it another 10-15 minutes.
- It feels light. It should weigh almost nothing in your palm.
- It sounds hollow. Tap the bottom. You want a dry, hollow little click.
- It's dry to the touch. The outside should feel like smooth chalk, never tacky.
Some people love a slightly chewy middle, and that's a matter of taste. For kisses that last two weeks in a tin, you want them dry all the way through.
Troubleshooting Sticky, Chewy or Cracked Meringues
Almost every meringue problem has a simple cause. Here's what I've learned, mostly the hard way.
- Sticky or tacky. Humidity is the usual culprit. Sugar pulls water out of the air, so bake on a dry day and store them right away.
- Weeping beads of syrup. The sugar didn't fully dissolve. Add it more slowly next time and do the rub test.
- Chewy centers. They need more drying time. Leave them in the switched-off oven longer.
- Cracked or browned. Your oven runs hot. An oven thermometer is worth every penny for this recipe.
- Whites won't whip. There's a trace of yolk or grease in the bowl. Start over with a clean bowl and fresh whites.
- Flat kisses that spread. The meringue wasn't whipped to stiff peaks, or the extract went in too fast and knocked out air.
- Soft after a few days. Re-crisp them on a parchment-lined sheet at 225°F for 10-15 minutes, then let them cool in the oven.
Tips for Perfect Kisses
A few habits make all the difference with meringue.
- Watch the weather. A dry, cool day gives you the crispest kisses. A rainy day gives you sticky ones.
- Keep the stripes thin. Thick stripes turn the whole kiss pink. Less coloring gives a sharper red-and-white look.
- Pipe fast. Meringue starts to loosen as it sits, so pipe right after you whip it.
- Keep the door shut. Opening the oven lets in moisture and drops the heat.
- Don't refrigerate. The fridge is humid, and your kisses will go soft and sticky overnight.
Variations
Once you've nailed the basic kiss, there are lots of ways to dress it up.
- Crushed candy cane topping. Sprinkle finely crushed candy canes over the kisses before baking for extra crunch.
- Chocolate-dipped bottoms. Dip the flat base of each cooled kiss in melted dark chocolate and set it on parchment until firm.
- Chocolate sandwiches. Spread a little chocolate ganache between two flat bottoms just before serving. They're out of this world.
- Red and green stripes. Alternate red and green gel stripes in the bag for a classic Christmas look.
- Chocolate peppermint kisses. Gently fold 2 tablespoons of sifted cocoa powder into the finished meringue before piping.
- Candy cane only. Skip the extract and use 2 crushed candy canes on top for a softer, sweeter mint.
Storage and Make-Ahead
Kept dry, these are one of the best make-ahead Christmas cookies there is.
- Room temperature. Store in an airtight tin or container in a cool, dry spot for up to 2 weeks.
- Freezer. Freeze in a hard airtight container for up to 1 month. Let them come to room temperature in the closed container so condensation doesn't soften them.
- Refrigerator. Skip it. The moisture ruins the crisp shell.
- Chocolate versions. Dipped kisses keep about 1 week. Fill sandwiches on the day you serve them.
- Gift tins. Line the tin with parchment and stack the kisses in single layers with parchment between each layer. Pack them snugly so they don't rattle and break.
I bake mine the first dry weekend in December and they're ready whenever the cookie tray comes out.
Give them a try this year. Pick a dry day, be patient with that oven, and you're in for a treat!
Recipe
Peppermint Meringue Kisses
Ingredients
For the Meringue Kisses
- 4 large egg whites room temperature
- ¼ teaspoon cream of tartar or ½ teaspoon lemon juice
- 1 pinch fine salt
- ¾ cup granulated sugar 150g
- ½ teaspoon peppermint extract
- ½ teaspoon vanilla extract
- red gel food coloring for striping the piping bag
Instructions
Make the Meringue
- Heat the oven to 225°F with racks in the upper and lower thirds. Line two baking sheets with parchment.
- Beat the egg whites, cream of tartar and salt on medium speed for 1 to 2 minutes, until foamy and opaque.
- Increase to medium-high and add the sugar 1 tablespoon at a time, about 20 seconds apart, for 5 to 6 minutes.
- Beat on high for 2 to 4 minutes, until stiff, glossy peaks form and the meringue feels smooth when rubbed between your fingers.
- Reduce to low and mix in the peppermint and vanilla extracts for about 10 seconds, just until combined.
Pipe and Bake
- Fit a piping bag with a large open star tip. Paint 4 to 5 thin vertical stripes of red gel coloring inside the bag, then fill it with meringue.
- Pipe 1 ½-inch kisses about 1 inch apart on the parchment, lifting straight up to form a peak.
- Bake for 1 hour 15 minutes, swapping the pans halfway, until the kisses are dry and lift cleanly from the parchment.
- Turn off the oven and leave the kisses inside with the door closed for at least 1 hour or overnight to finish drying.
Notes
- Weather: Bake on a dry day. Humidity makes meringues sticky.
- No cream of tartar: Use ½ teaspoon lemon juice or white vinegar.
- No piping bag: Use a zip-top bag with the corner snipped, or drop rounded teaspoons.
- Re-crisp: Bake soft kisses at 225°F for 10 to 15 minutes, then cool in the oven.
- Storage: Airtight at room temperature up to 2 weeks, or frozen up to 1 month. Do not refrigerate.