Raspberry and almond is the best flavor pairing in the whole Christmas cookie tin, and I will argue that point at any cookie swap you invite me to.
Chocolate and peppermint get all the attention in December. Fine.
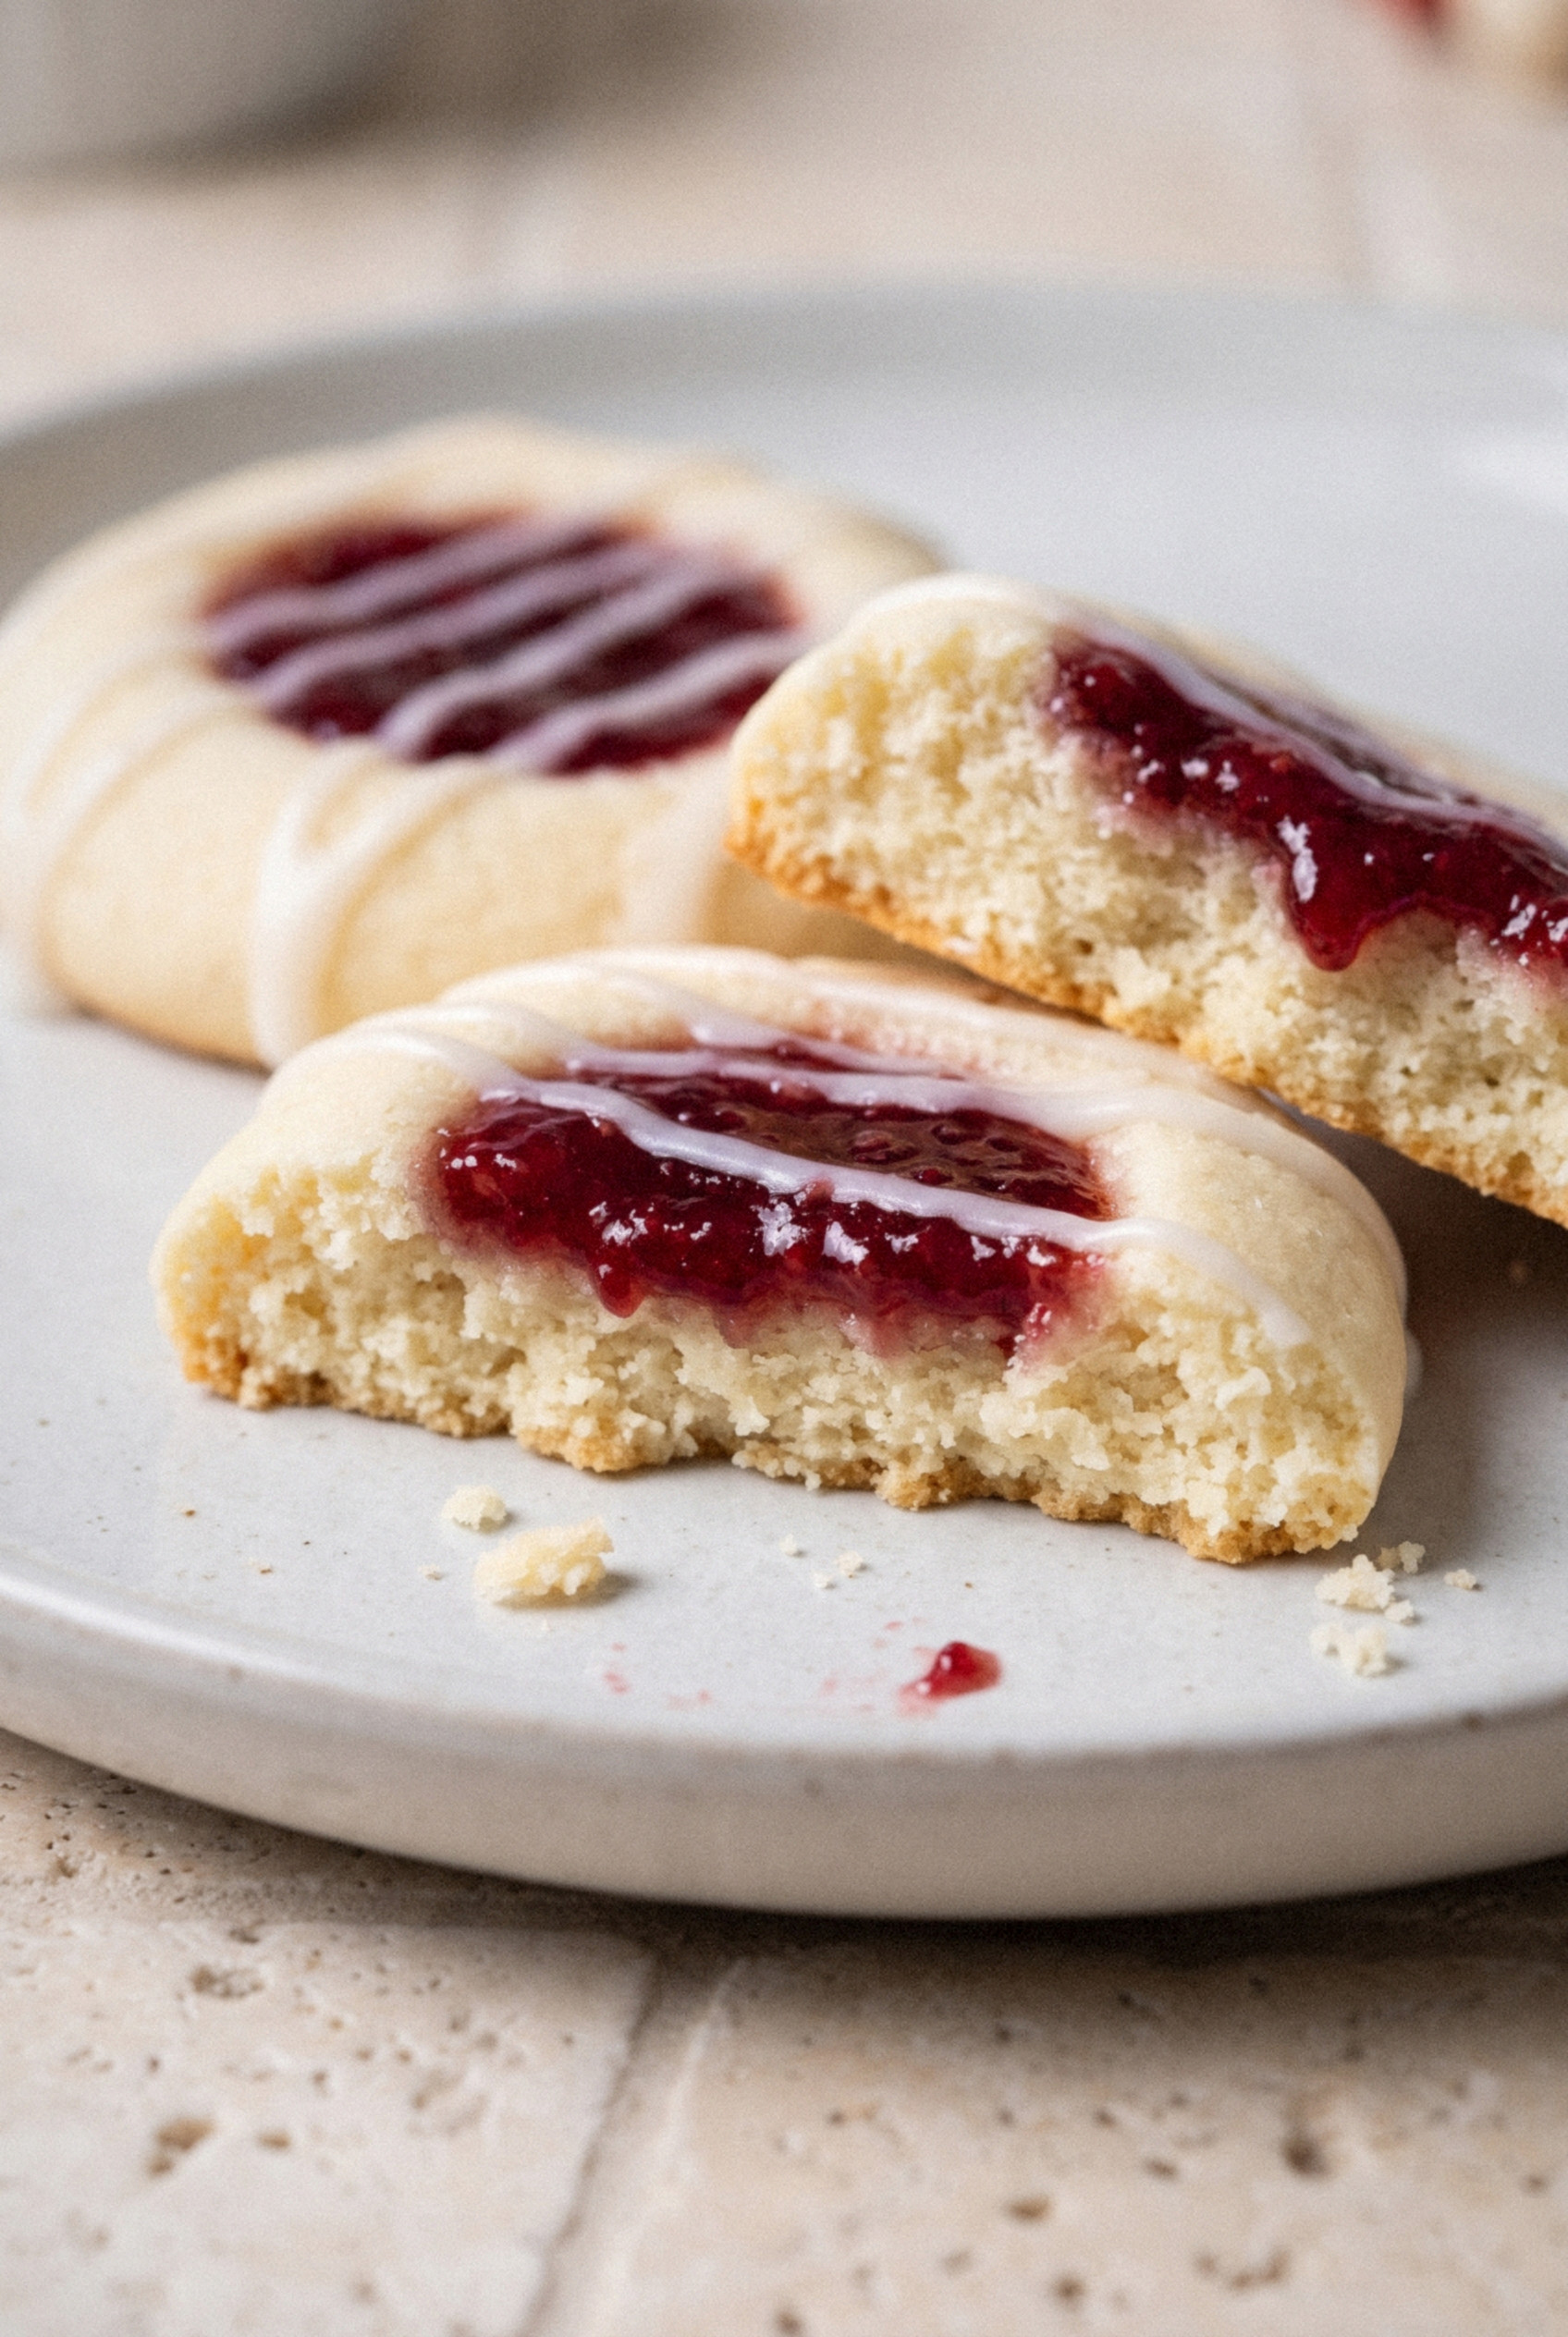
But that bright, tart berry next to a sweet, toasty almond tastes like a bakery case to me.
My wife says she knows holiday baking has officially started at our house when she walks in and the whole kitchen smells like almond extract.
That smell usually means a tray of Raspberry Almond Thumbprint Cookies is about to come out of the oven.
I make them every year for our Christmas cookie tray, and they're the cookie I tuck into gift tins for the neighbors.
Half of them come back asking for the recipe. The other half just ask for more cookies.
What I love about this recipe is how little it asks of you. The dough is one bowl, there's no egg, and it uses ingredients you probably have right now.
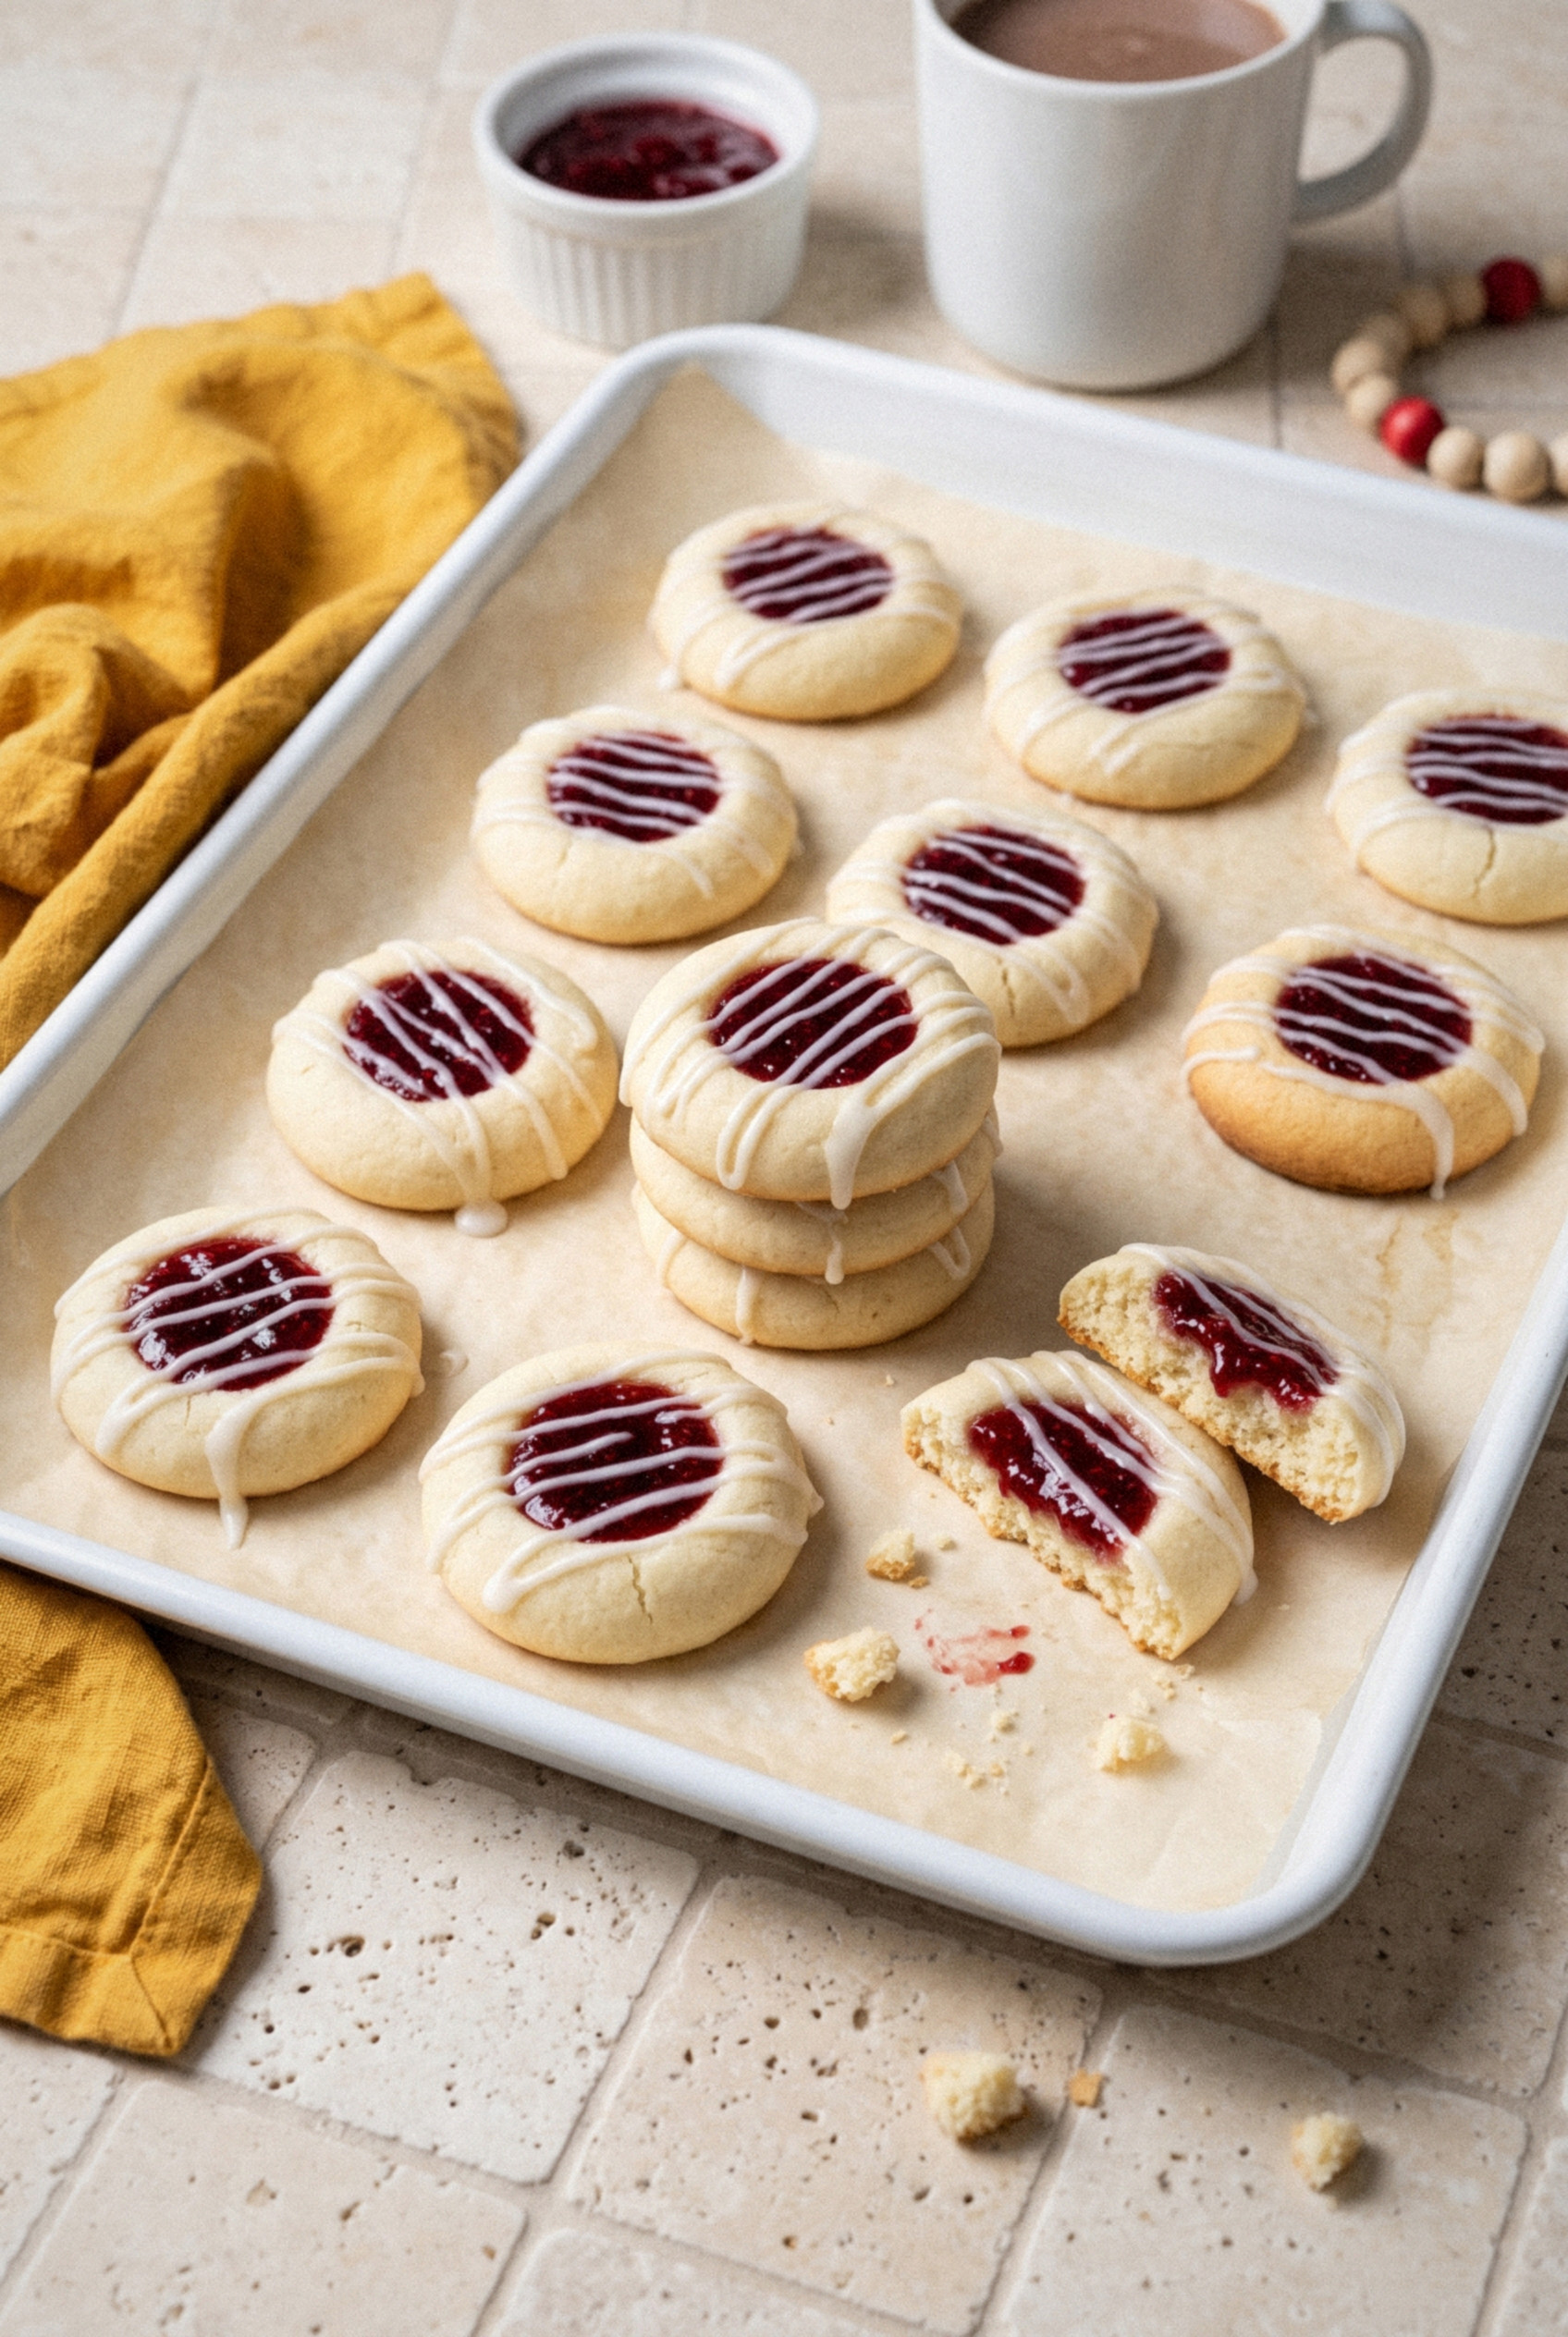
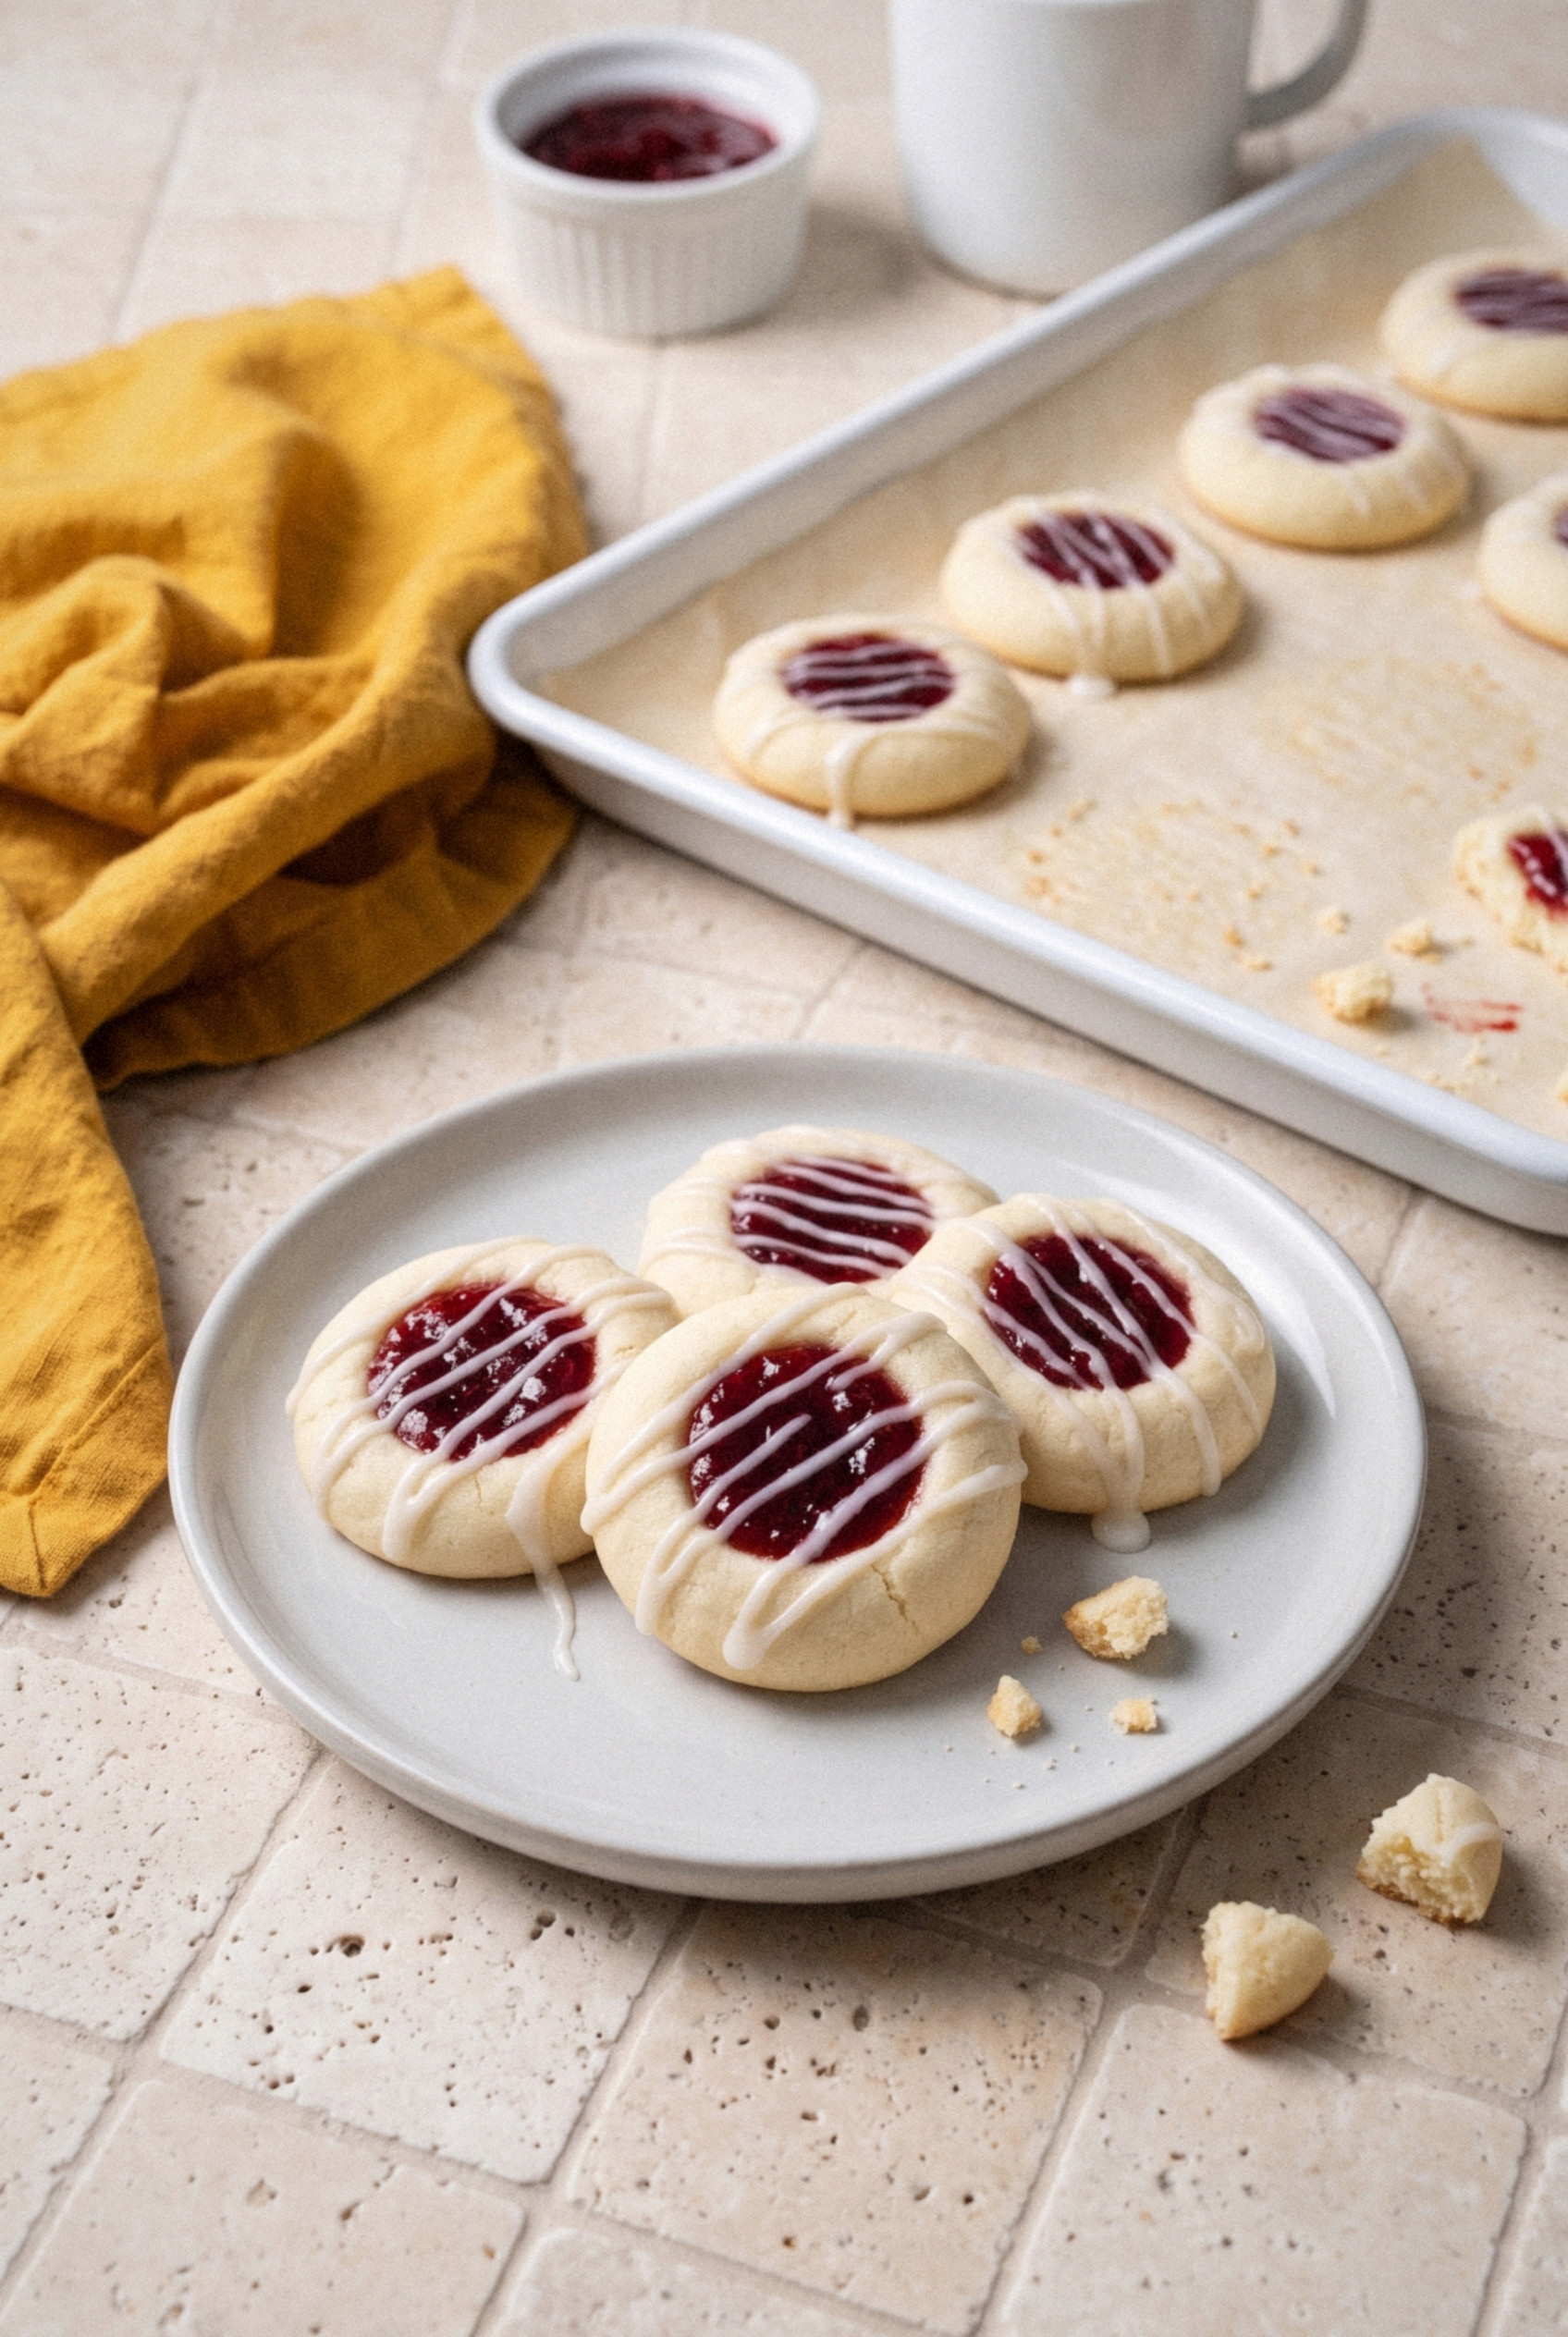
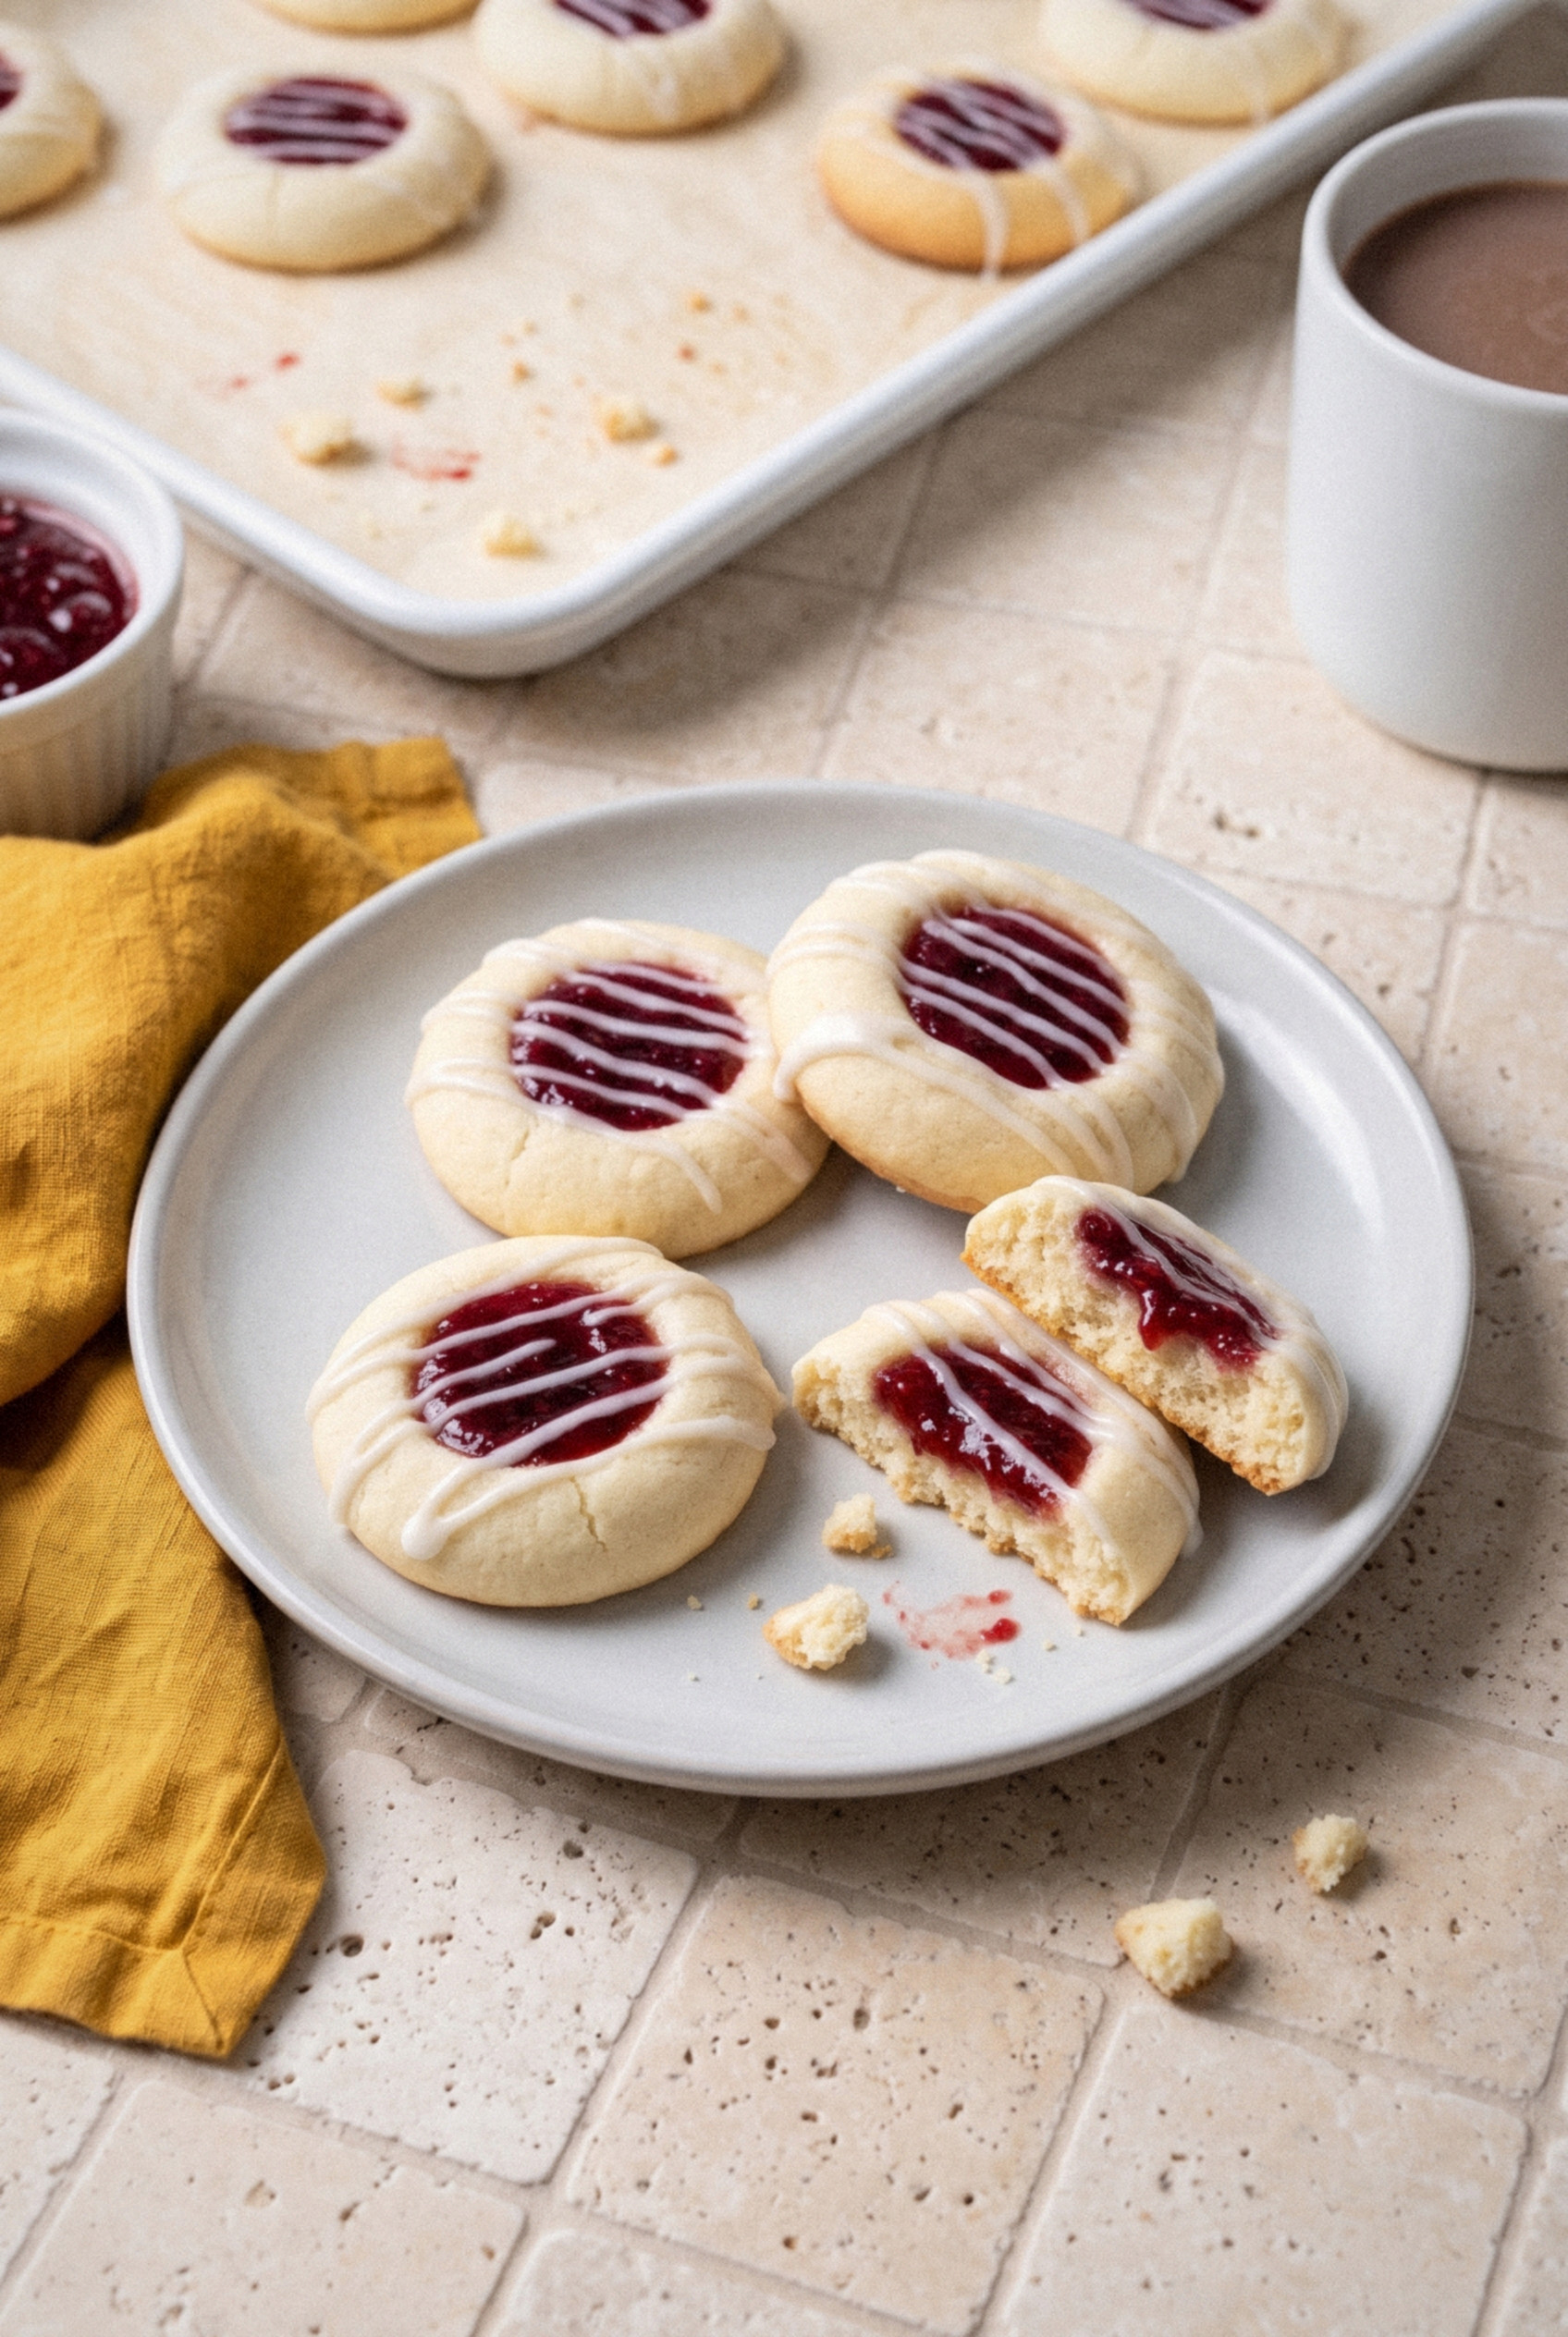
A short chill keeps every cookie round, a scant spoonful of raspberry jam bakes into a glossy red center, and a thin drizzle of almond glaze makes them look like they came from a fancy bakery.
They're buttery, tender, and just a little crisp at the edges. Bake one batch and you'll see why they never last past the weekend!
Why You'll Love These Raspberry Almond Thumbprints
These cookies look fancy but come together with almost no effort. They're a classic for a reason.
- One bowl, no egg. The dough is a classic shortbread of butter, sugar, and flour, so there's less to measure and nothing to separate.
- Melt-in-your-mouth texture. No baking powder or soda means a fine, short, tender crumb that almost dissolves on your tongue.
- Double almond flavor. Almond extract goes in both the dough and the glaze, so every bite tastes like marzipan and butter.
- A jewel on the cookie tray. Those ruby red centers look so festive next to plain sugar cookies and gingerbread.
- Made for gifting. They stack well once the glaze sets, and they hold up in a tin for days.
- Freezer friendly. Shaped dough and baked cookies both freeze for up to 3 months.
Ingredients You Need and Why
Every ingredient here has a job, and there are only a handful of them. Exact amounts are in the recipe card below.
- Unsalted butter (1 cup). Softened to room temperature, so your finger leaves a dent but doesn't sink through. Butter is the main flavor here, so use a good one.
- Granulated sugar (⅔ cup). Sweetens the dough and gives the edges a light crispness.
- Almond extract (½ teaspoon). The heart of the flavor. Use pure almond extract, not imitation, if you can find it.
- Vanilla extract (½ teaspoon). Rounds out the almond so it tastes warm instead of sharp.
- Salt (¼ teaspoon). Just enough to make the butter and jam taste brighter.
- All-purpose flour (2 ¼ cups). Spoon it into the measuring cup and level it off, or weigh 281 grams. Packed flour makes dry, cracked cookies.
- Seedless raspberry jam (½ cup). A thick jam holds its shape in the oven. Seeded jam works too if you like the texture.
- Powdered sugar (1 cup). The base of the almond glaze.
- Milk (1-2 tablespoons). Thins the glaze to a drizzle. Heavy cream or half-and-half makes it richer.
- More almond extract (½ teaspoon). For the glaze. Add a few drops more if you want it to really sing.
Why This Dough Has No Egg
Classic shortbread is just butter, sugar, and flour, and that's exactly what keeps these cookies in shape.
An egg adds moisture and lift. That sounds nice, but it makes thumbprints puff up, soften, and close over the jam well.
Without the egg, the dough bakes into a dense, short, sandy cookie that holds a crisp round edge and a neat little cup for the jam. I've baked both, and the egg-free batch wins every time.
How to Make Raspberry Almond Thumbprint Cookies
Plan on about two hours start to finish, but most of that is chilling and cooling. Your actual hands-on time is around 30 minutes.
Step 1: Make the Almond Shortbread Dough
Beat the softened butter in a large bowl on medium speed for about 1 minute until smooth and creamy. Add the sugar, almond extract, and vanilla, then beat for another 1-2 minutes until light and fluffy, scraping down the bowl once.
Add the salt and flour and mix on low speed. The dough will look sandy and crumbly at first, then pull together into a soft, smooth dough. If it feels very sticky, mix in 1 tablespoon more flour.
Step 2: Shape and Press
Line two light-colored baking sheets with parchment. Scoop 1 tablespoon portions of dough and roll each one into a smooth ball, then set them about 2 inches apart.
Press the back of a ½ teaspoon measure, or your pinky, straight down into the center of each ball, about halfway through. Don't go all the way to the bottom, or the jam will leak through.
Pro tip: Dip the measuring spoon in a little flour between cookies so it doesn't stick.
Step 3: Chill the Shaped Cookies
Refrigerate the trays of shaped cookies for 1 hour. You can chill them for up to 3 days if you cover them well.
Cold dough holds its shape in the oven. Warm dough spreads before the edges have a chance to set.
Step 4: Fill and Bake
Heat the oven to 350°F with a rack in the center. If the wells have puffed up a bit in the fridge, press them again gently.
Stir the jam until smooth, then spoon a scant ½ teaspoon into each well. You want it level with the rim, not mounded over the top.
The jam always goes in before baking. It sets into a glossy, firm center that won't smear, while jam added after baking stays soft and sticky.
Bake one sheet at a time for 12-14 minutes, until the edges are just barely golden. The tops should stay pale. Let them rest on the sheet for 5 minutes, then move them to a rack.
Step 5: Drizzle the Almond Glaze
Let the cookies cool completely, at least 30 minutes. Glaze on a warm cookie melts right off.
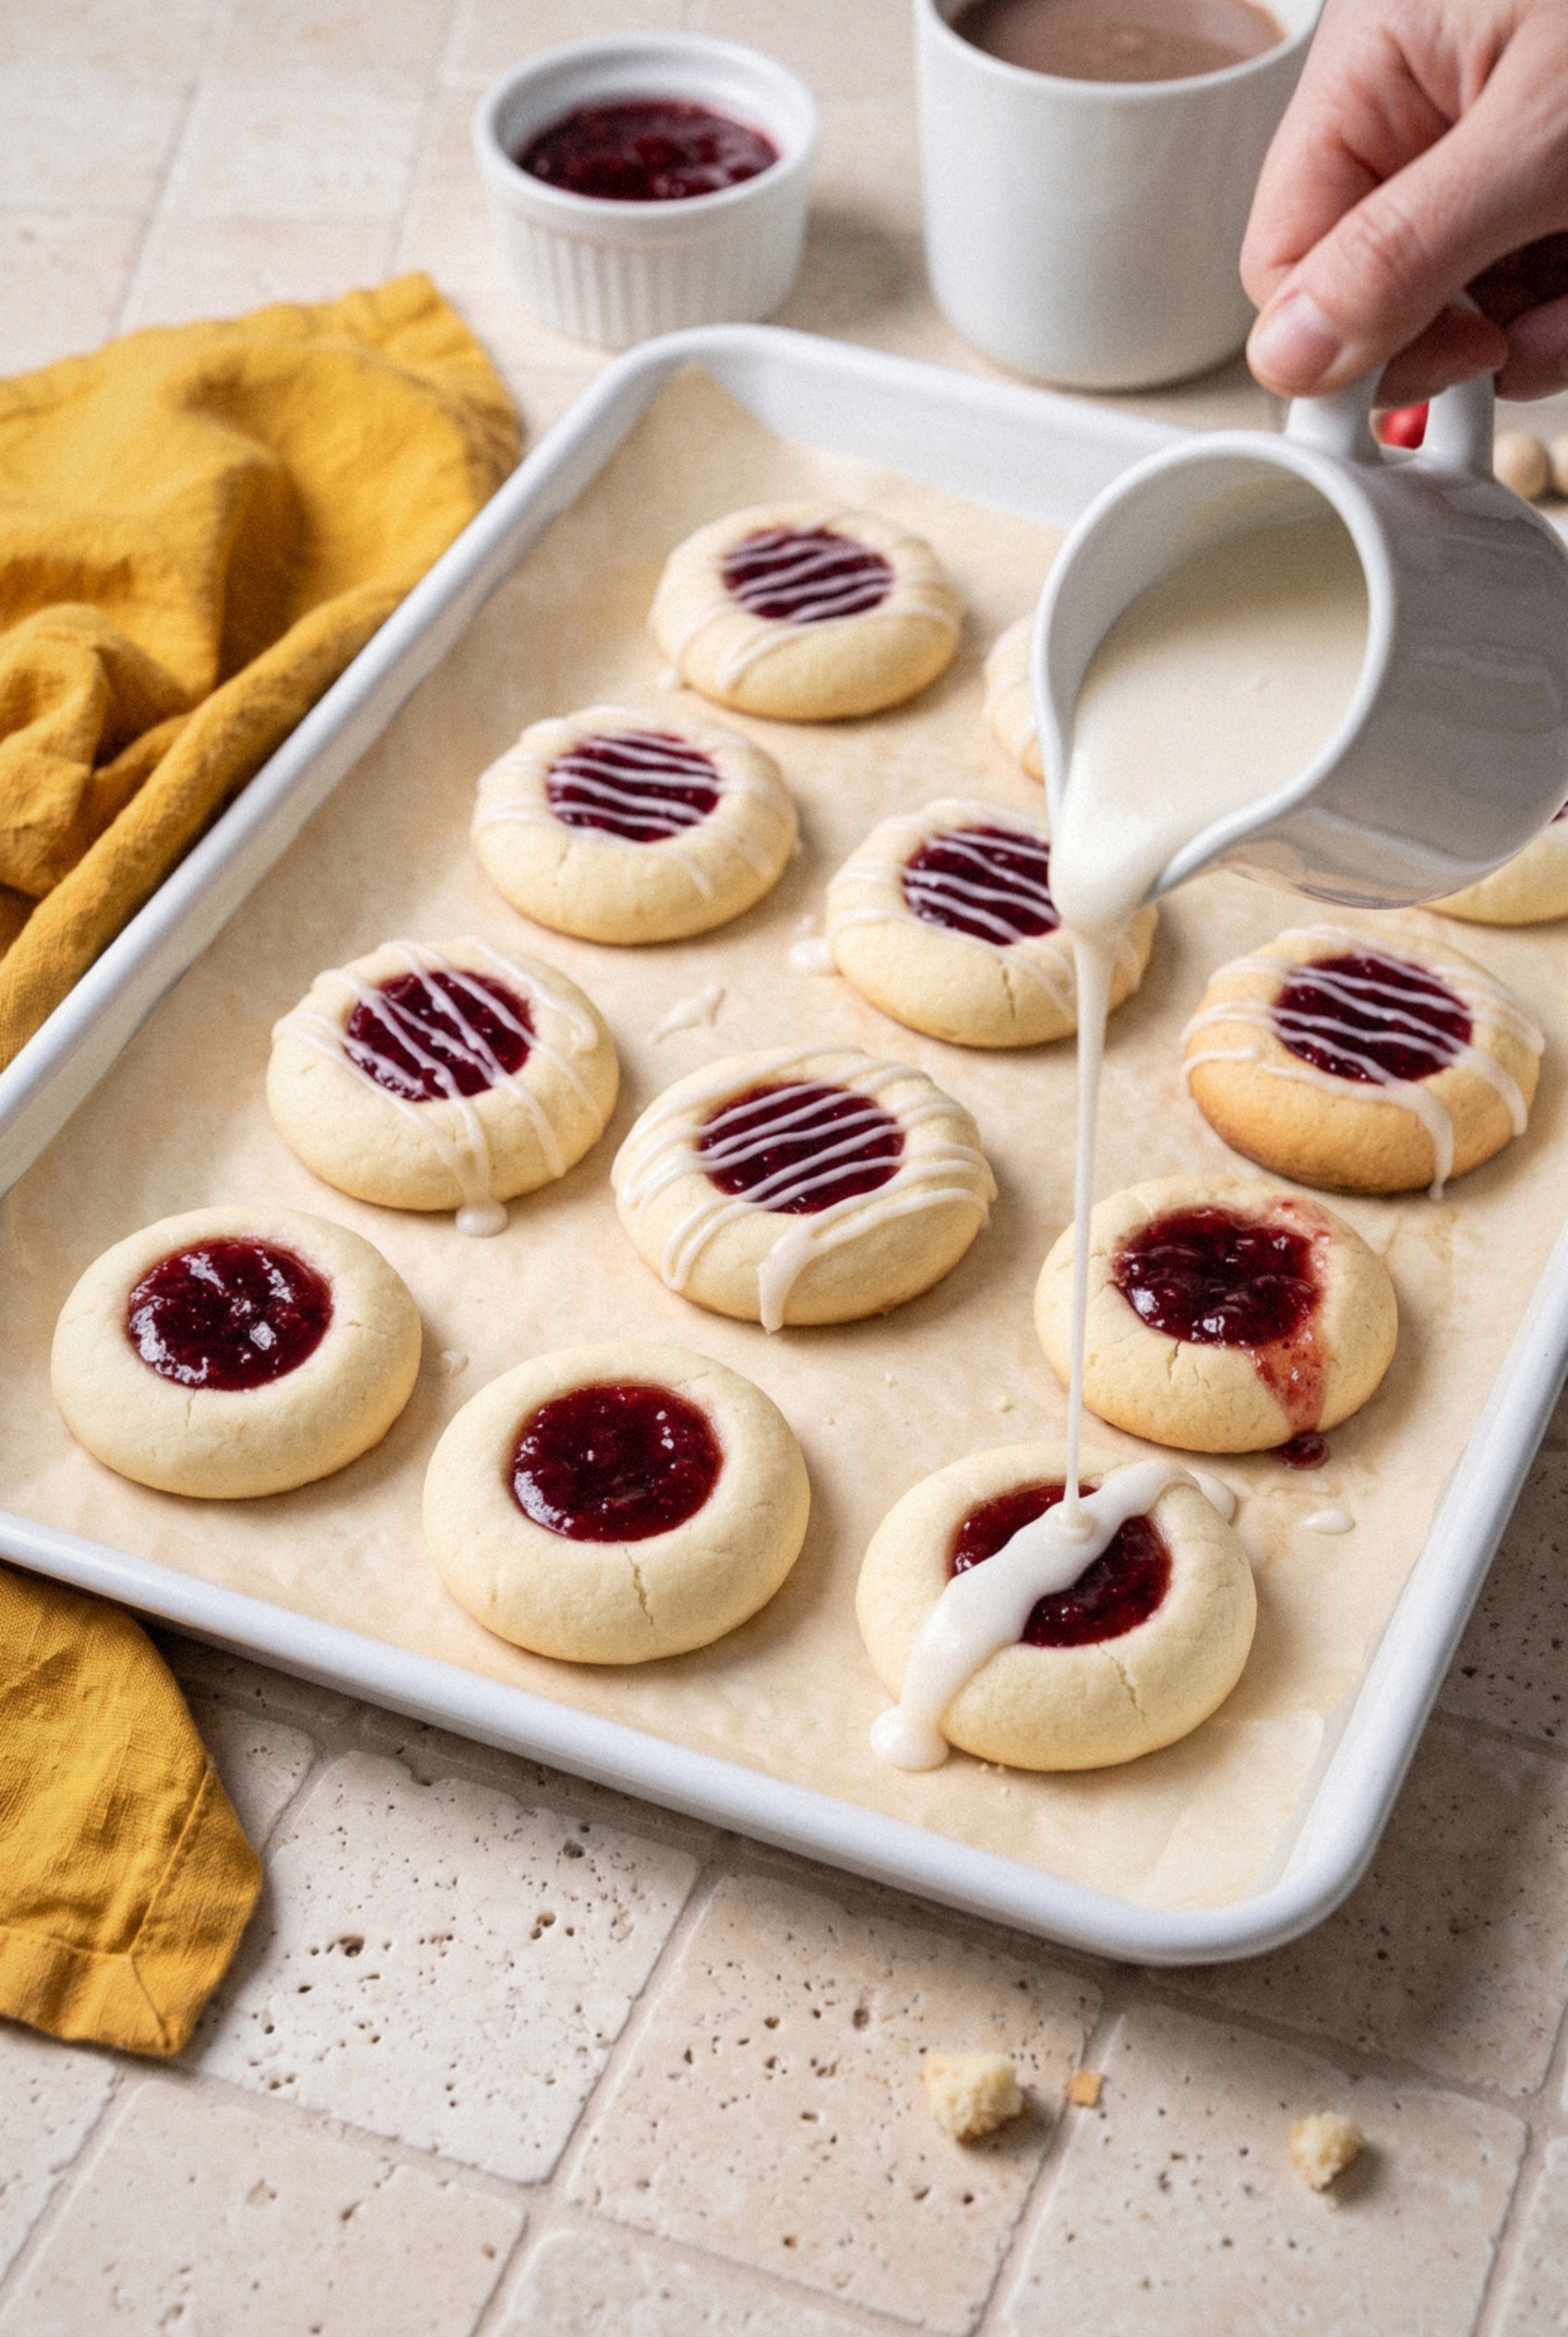
Whisk the powdered sugar, 1 tablespoon of milk, and the almond extract together. Add more milk a few drops at a time until it falls off the whisk in a thick ribbon.
Drizzle the glaze over the cookies in thin zigzag lines with a spoon, or pipe it from a zip-top bag with a tiny corner snipped off. Let it set for about 30 minutes before stacking.
To Chill or Not to Chill
Chilling is the biggest disagreement between thumbprint recipes, and the three methods give very different cookies.
- Chilling the shaped cookies (my method). The cookies go into the oven cold and already shaped, so they hold a tall round edge and a clean well. One hour does the job.
- Chilling the dough in a disc. It works, but the cold dough is stiff and cracks when you roll it. By the time you've shaped it, it's warming up again.
- No chilling at all. Faster, but these cookies spread into flat, wide discs and the jam runs toward the edges. This is the number one reason people end up with flat thumbprints.
Is one hour of chilling worth it? Absolutely.
Tips for Success
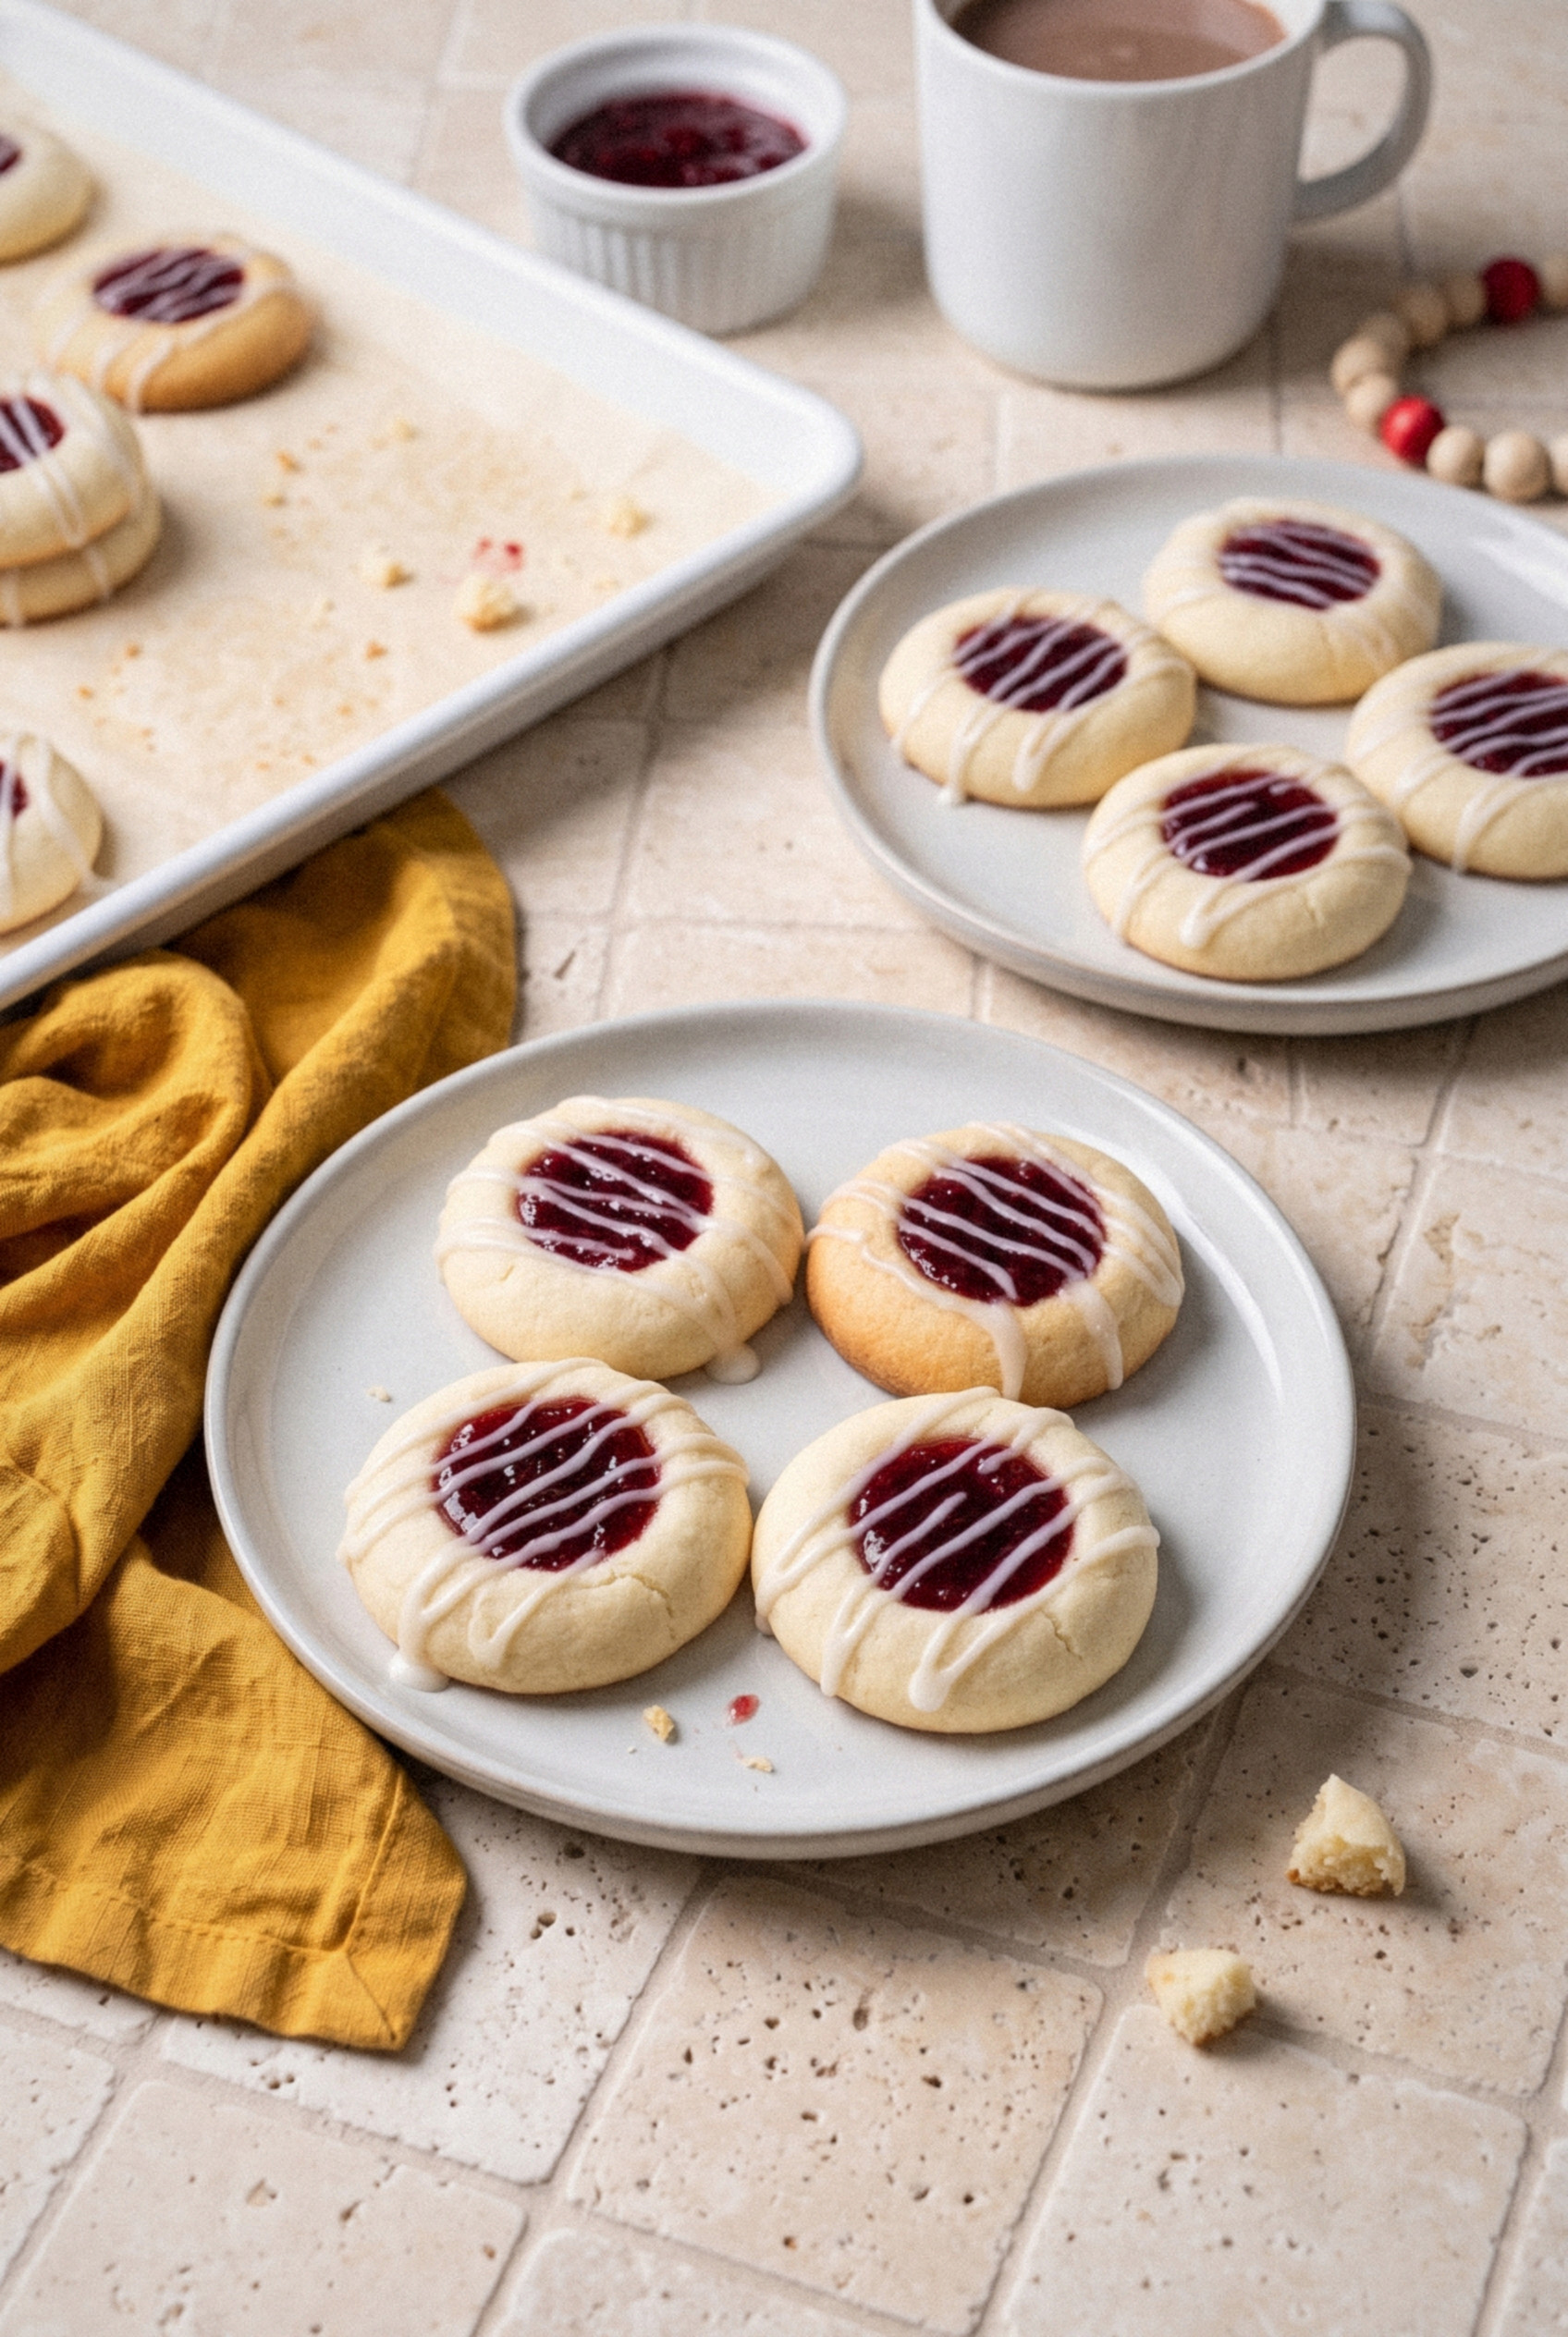
A few small habits make the difference between okay thumbprints and bakery-worthy ones.
- Use light-colored pans. Dark baking sheets brown the bottoms before the cookies are done in the middle.
- Keep pans cool. Never put dough on a hot sheet straight out of the oven. Let it cool or rotate between two sheets.
- Measure flour carefully. Too much flour makes crumbly dough. Too little makes cookies spread.
- Don't press too deep. Halfway down is plenty. A well that goes to the bottom lets jam leak underneath.
- Bake a test batch. Bake 2 or 3 cookies first. If they spread, chill the rest for 15 minutes more.
- Use thick jam. Runny jam bubbles over. If yours is loose, simmer it in a small pan for 2-3 minutes and let it cool.
- Fix the glaze. Too thick? Add milk drop by drop. Too thin? Whisk in more powdered sugar a spoonful at a time.
Variations
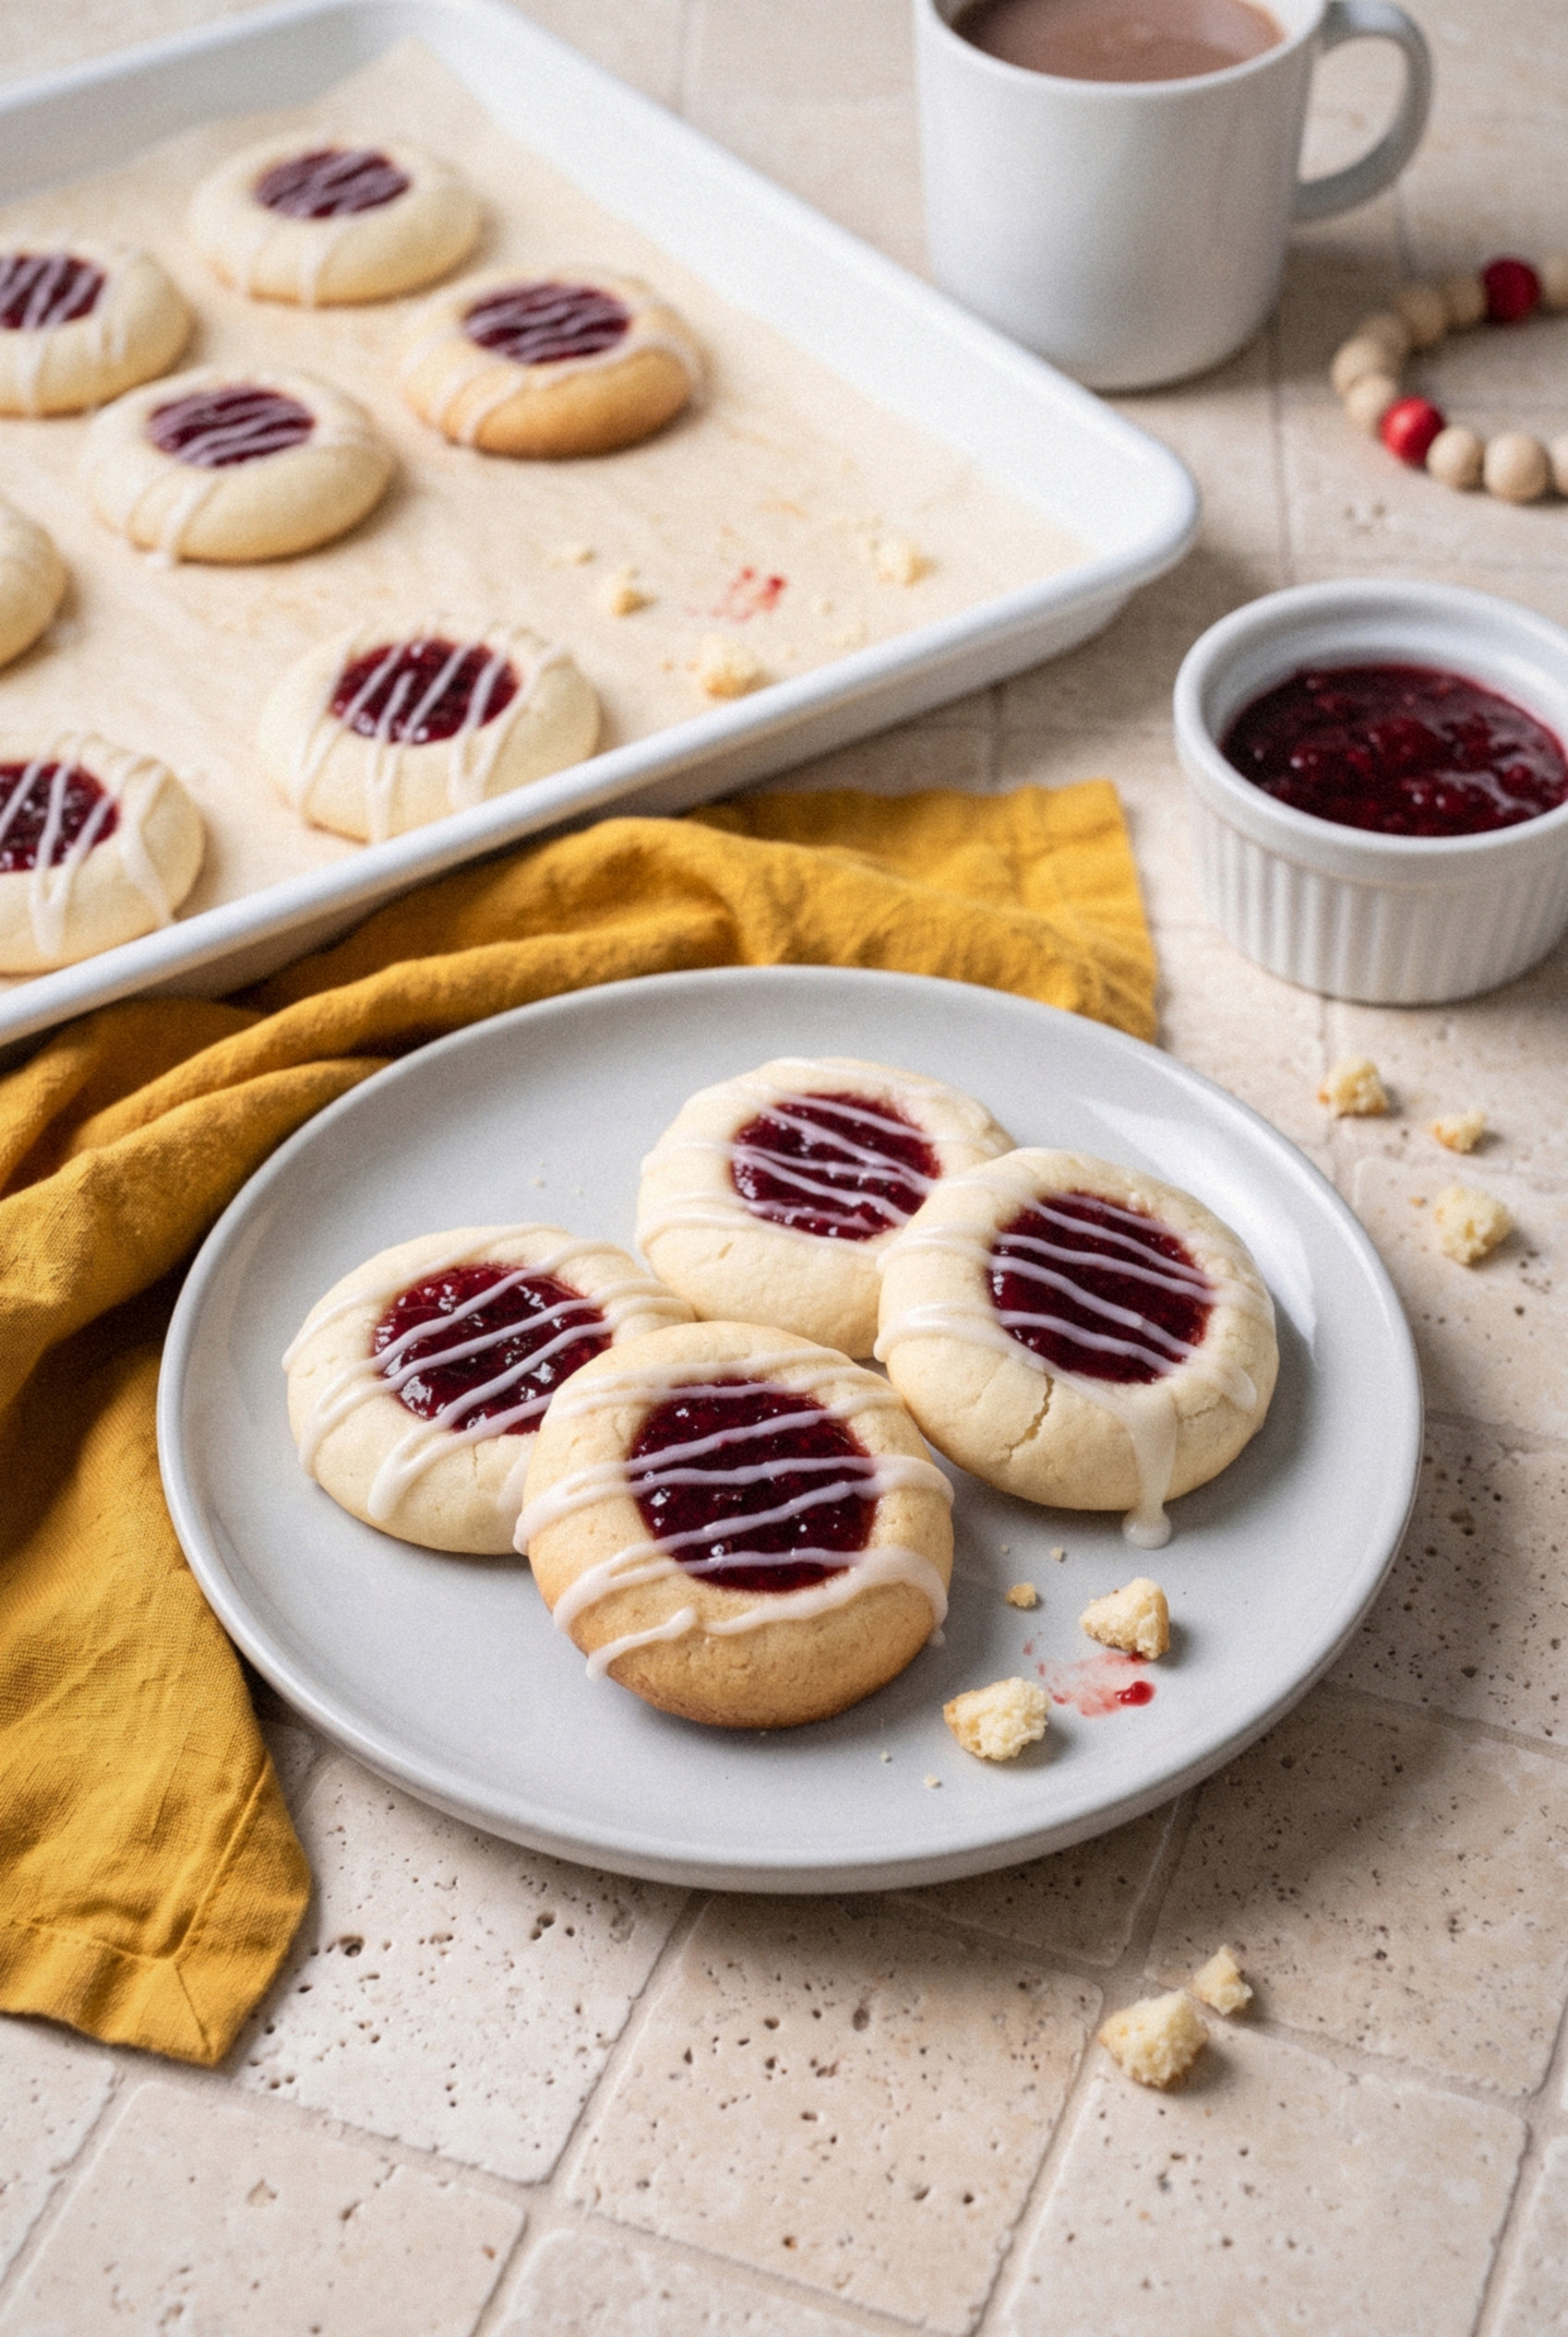
The base dough is a great canvas, so have some fun with it.
- Amaretto glaze. Swap the milk for 1-2 tablespoons of amaretto for a grown-up holiday version.
- Lemon raspberry. Add the zest of 1 lemon to the dough. The citrus makes the raspberry taste even brighter.
- Almond-crusted. Roll the dough balls in finely chopped sliced almonds before pressing the wells for a toasty crunch.
- Almond flour swap. Replace ½ cup of the all-purpose flour with almond flour for a richer, more delicate cookie. Chill them well, since they're softer.
- Other jams. Apricot, cherry, and strawberry all pair perfectly with almond. A mixed tray looks great for Christmas.
- Skip the glaze. A light dusting of powdered sugar is a super easy alternative.
How to Store and Freeze
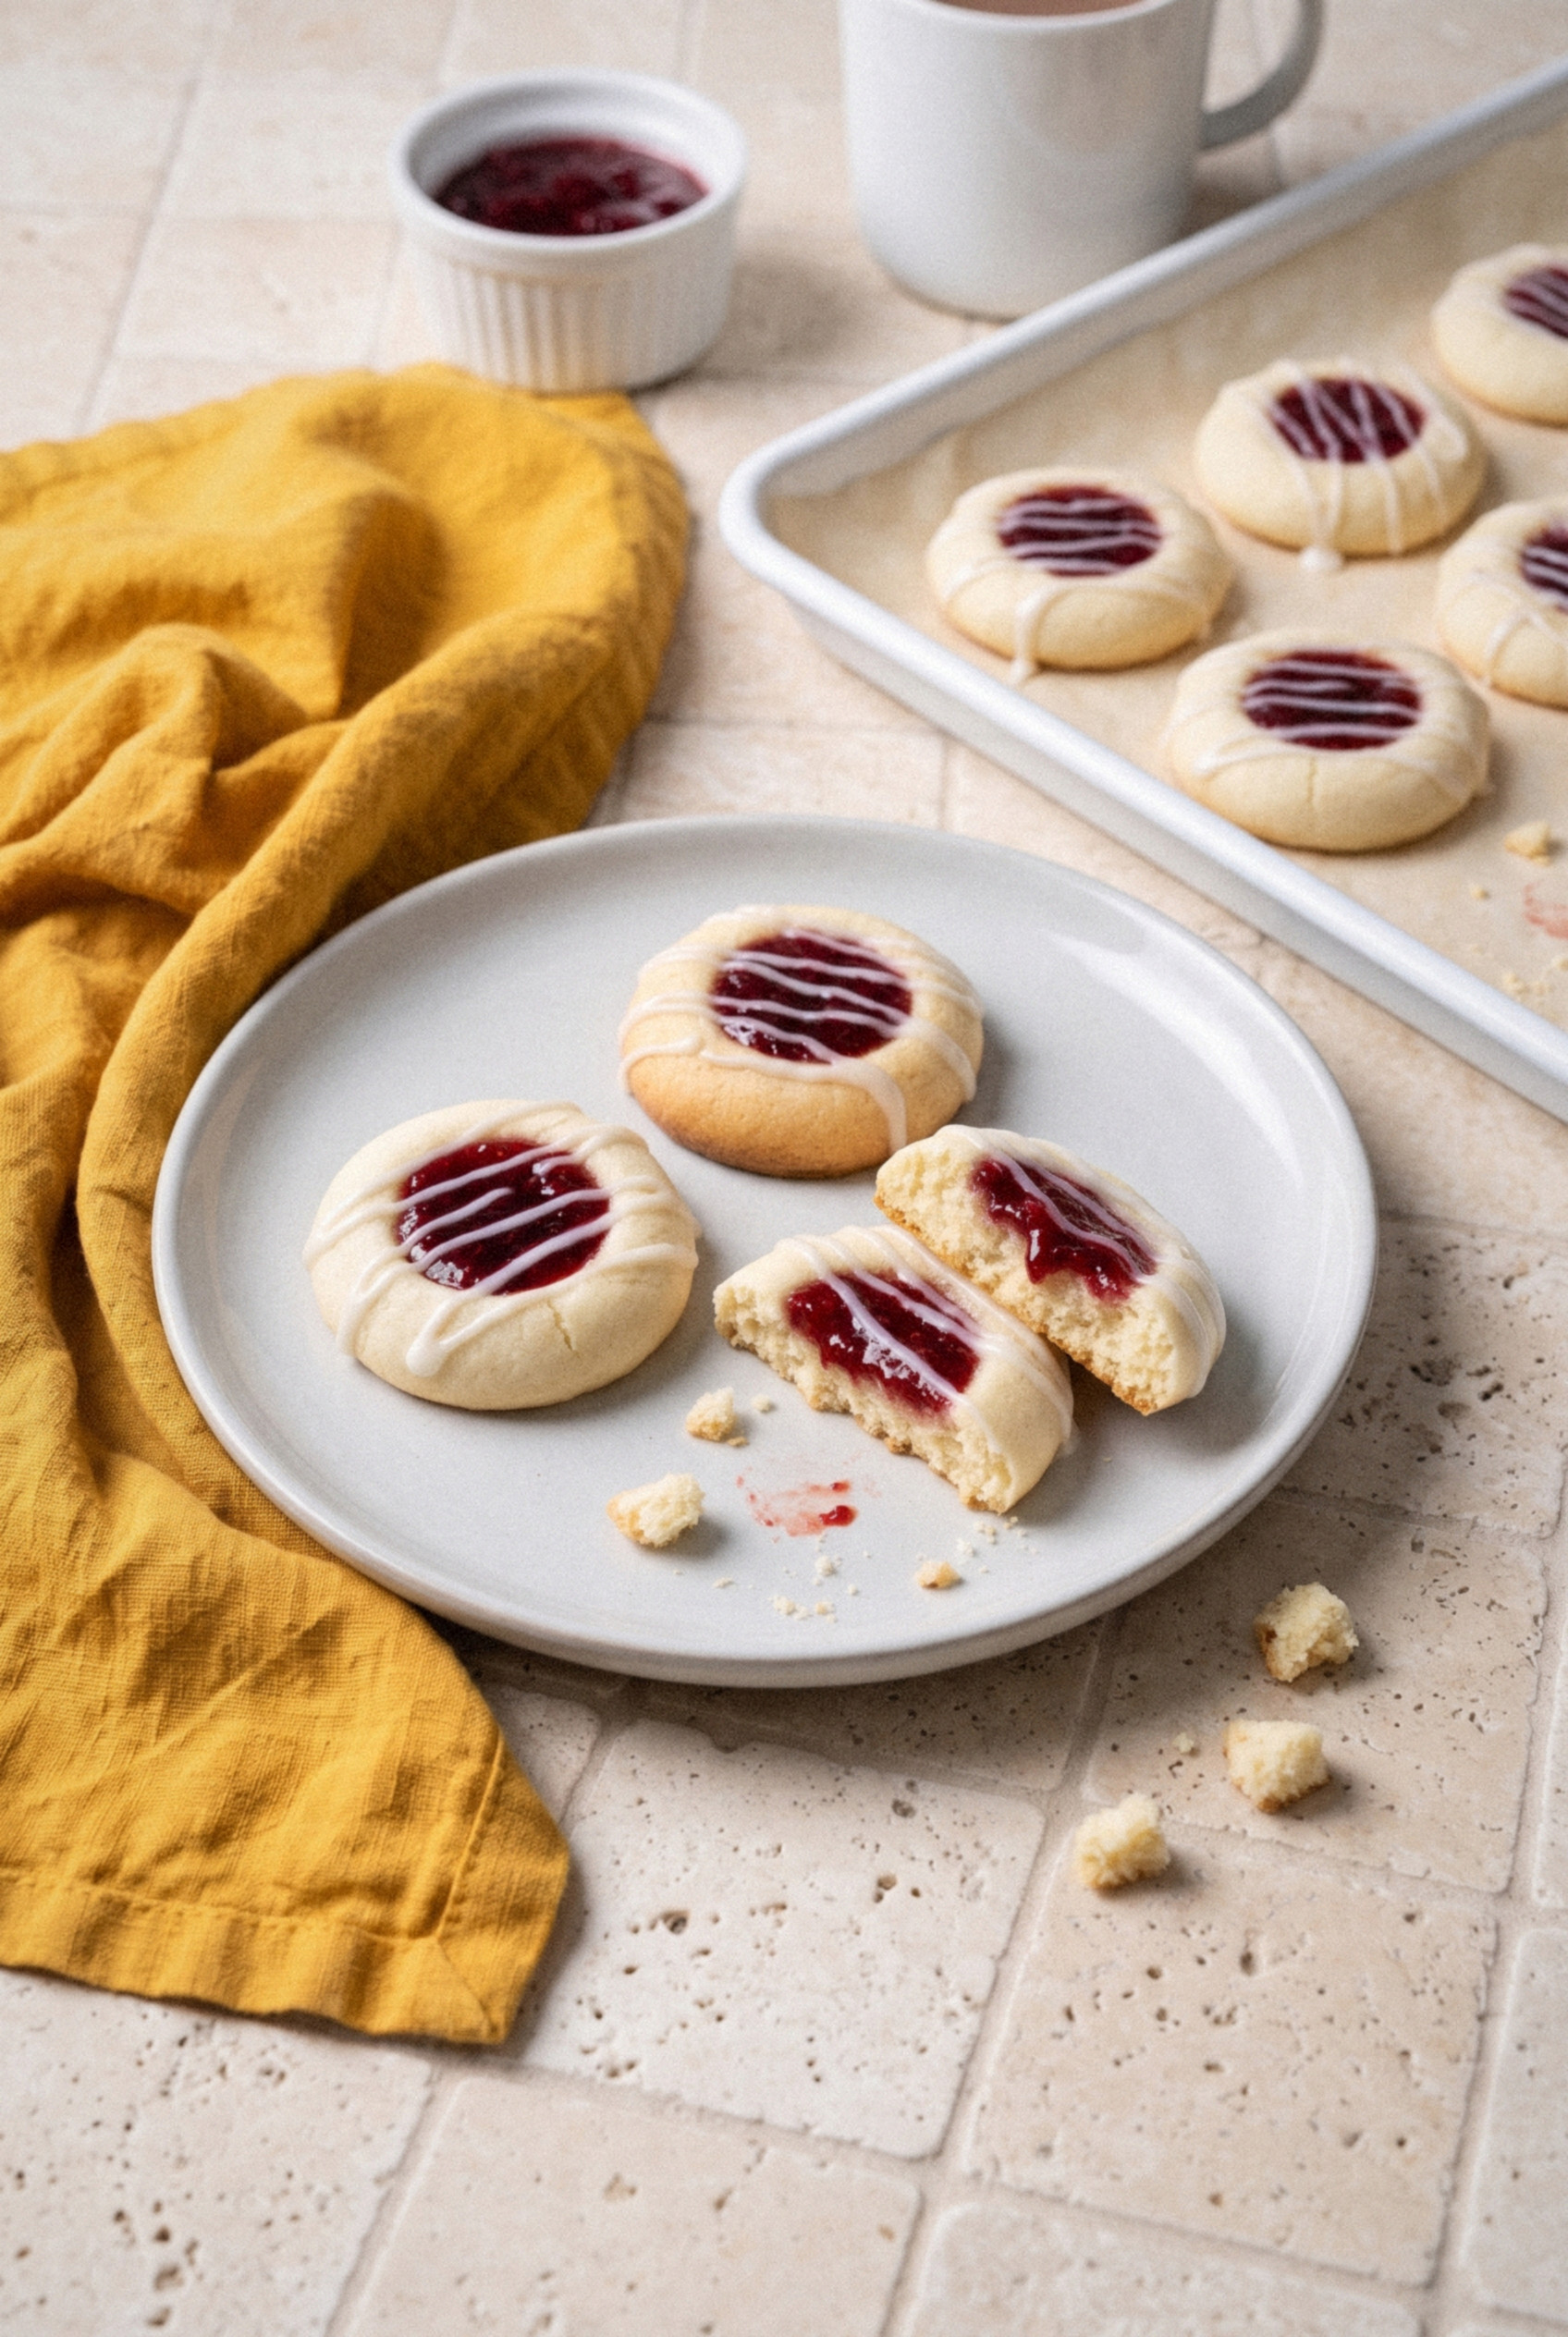
These cookies keep well, which makes them perfect for holiday planning.
- Room temperature. You don't have to refrigerate these after baking. Store them in an airtight container for up to 3 days. Use parchment or wax paper between layers once the glaze has set.
- Refrigerator. They keep for up to 1 week in the fridge. Let them sit out for 15 minutes before serving so the butter softens.
- Freezing shaped dough. Freeze shaped, unfilled dough balls on a tray, then move them to a freezer bag for up to 3 months. Fill and bake from frozen, adding 1-2 minutes.
- Freezing baked cookies. Freeze the cookies unglazed in a single layer, then stack with wax paper for up to 3 months. Thaw completely before glazing, or the jam color can bleed into the glaze.
- Gift tins. Line the tin with parchment and pack them in a single layer or in mini paper liners so the glaze stays neat.
Recipe
Raspberry Almond Thumbprint Cookies
Ingredients
For the Cookies
- 1 cup unsalted butter softened to room temperature (226 g)
- ⅔ cup granulated sugar 133 g
- ½ teaspoon almond extract
- ½ teaspoon vanilla extract
- ¼ teaspoon salt
- 2 ¼ cups all-purpose flour spooned and leveled (281 g)
- ½ cup seedless raspberry jam 160 g
For the Almond Glaze
- 1 cup powdered sugar 120 g
- 1-2 tablespoons milk or heavy cream
- ½ teaspoon almond extract
Instructions
Make the Dough
- Beat the softened butter on medium speed for about 1 minute until creamy. Add the sugar, almond extract, and vanilla extract and beat 1 to 2 minutes until light and fluffy, scraping the bowl once.
- Add the salt and flour and mix on low speed until a soft, smooth dough forms. If very sticky, mix in 1 tablespoon more flour.
Shape and Chill
- Line two light-colored baking sheets with parchment paper. Roll 1 tablespoon portions of dough into smooth balls and place 2 inches apart.
- Press the back of a floured ½ teaspoon measure or your pinky into the center of each ball, about halfway down.
- Refrigerate the shaped cookies for 1 hour, or cover and chill up to 3 days.
Fill and Bake
- Preheat the oven to 350°F (175°C). Gently re-press any wells that have puffed.
- Stir the jam until smooth and fill each well with a scant ½ teaspoon, level with the rim.
- Bake one sheet at a time for 12 to 14 minutes, until the edges are just barely golden. Cool on the sheet 5 minutes, then transfer to a wire rack and cool completely, about 30 minutes.
Glaze
- Whisk the powdered sugar, 1 tablespoon milk, and almond extract until smooth, adding more milk a few drops at a time until it falls in a thick ribbon.
- Drizzle the glaze over the cooled cookies in thin lines. Let set about 30 minutes before stacking or storing.
Notes
- Measure the flour: Spoon and level, or weigh 281 g. Too much flour causes cracks; too little causes spreading.
- Do not skip the chill: Chilling the shaped cookies keeps them round and the wells neat.
- Test bake: Bake 2 or 3 cookies first. If they spread, chill the rest 15 minutes longer.
- Storage: Airtight at room temperature up to 3 days, or refrigerated up to 1 week.
- Freezing: Freeze shaped dough or baked unglazed cookies up to 3 months. Thaw baked cookies fully before glazing.