The flat, hinged iron on my top pantry shelf comes down once a year, usually the second week of December.
I plug it in, wait for the little green light, and the whole kitchen starts to smell like licorice and butter.
Then comes the hiss.
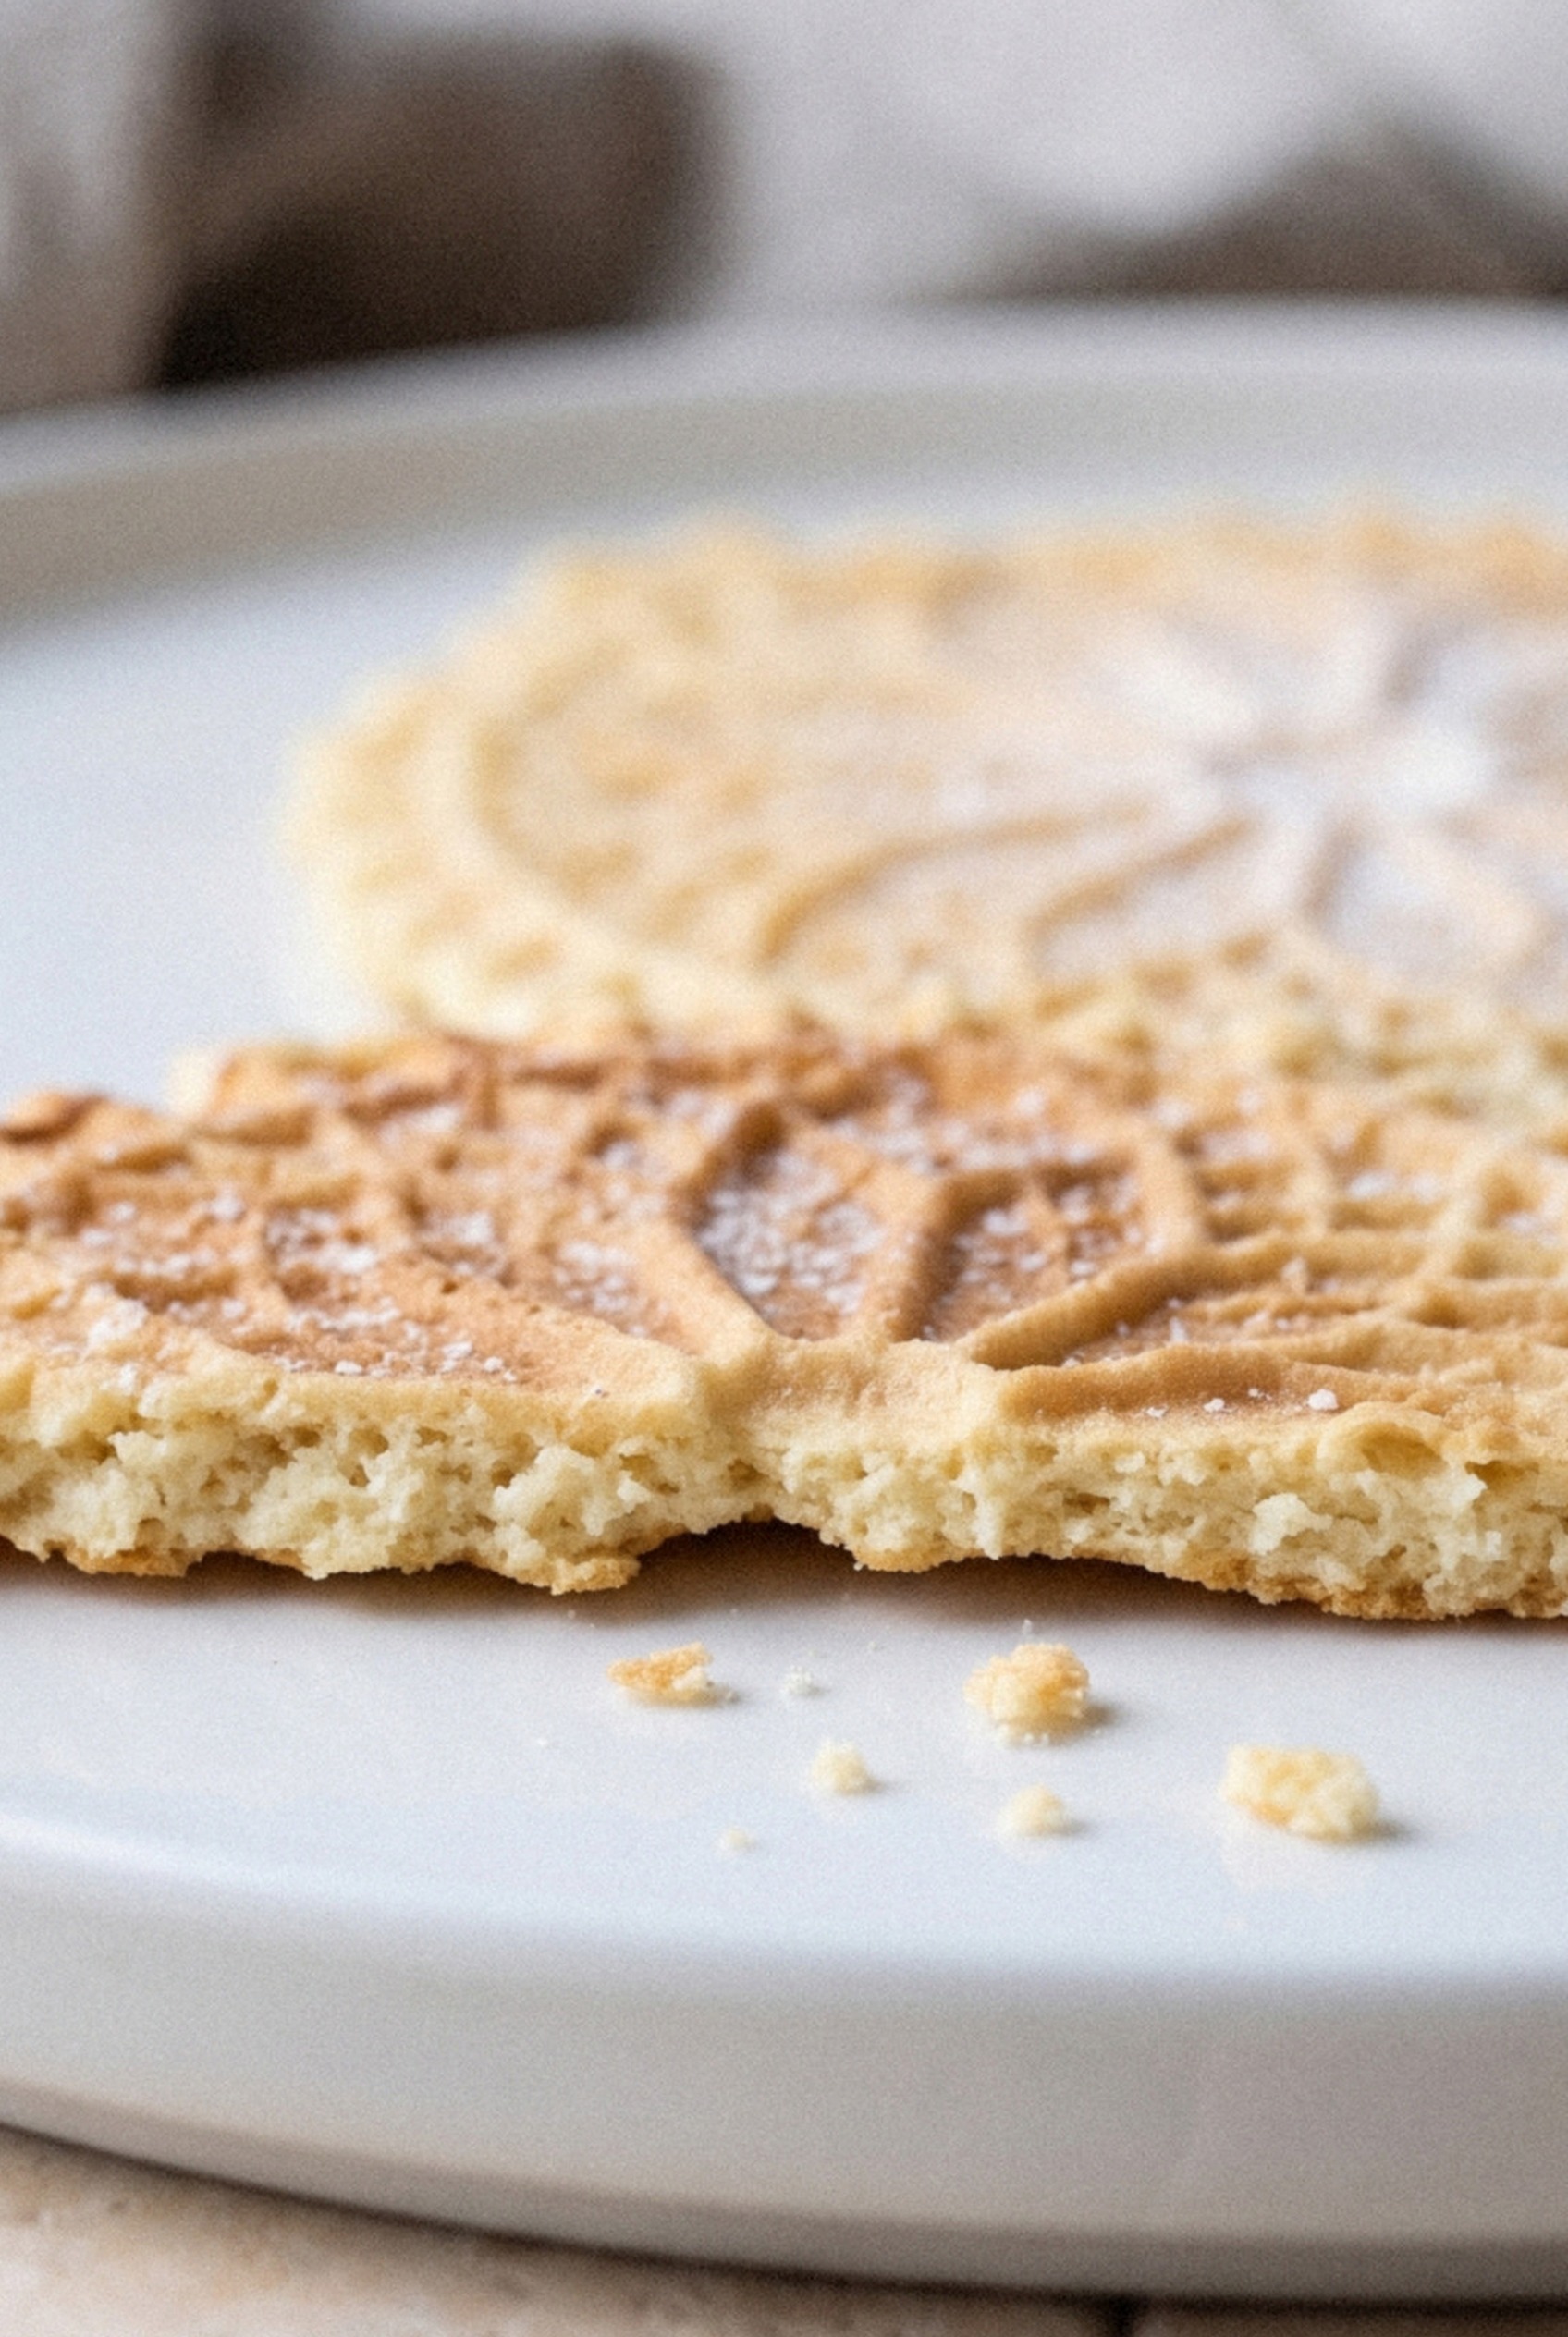
Every time I close the lid on a spoonful of batter, it lets out a sharp sigh, and forty-five seconds later I'm lifting out a paper-thin snowflake.
My wife has a rule about those wafers.
She says the first one off the iron doesn't count, so she eats it standing at the counter while I start the second batch.
I've stopped arguing.
These are Italian pizzelle, the thin embossed wafer cookies that families in Abruzzo have been pressing on hot irons for centuries.
Old irons even carried the family crest, so every cookie came out stamped with a name.
My iron stamps a snowflake, which suits a Christmas cookie tray just fine.
This version keeps the butter for flavor, uses just enough anise to taste like the holidays without tasting like candy, and rests the batter for ten minutes so every wafer bakes evenly.
They stay crisp in a tin for two weeks, too.
Make one batch and you'll see why the iron earns its shelf space.
What to Expect From These Pizzelle
These are thin, snappy, lightly sweet wafers that shatter when you bite them. They're nothing like a soft sugar cookie.
Think of a waffle cone that went to finishing school.
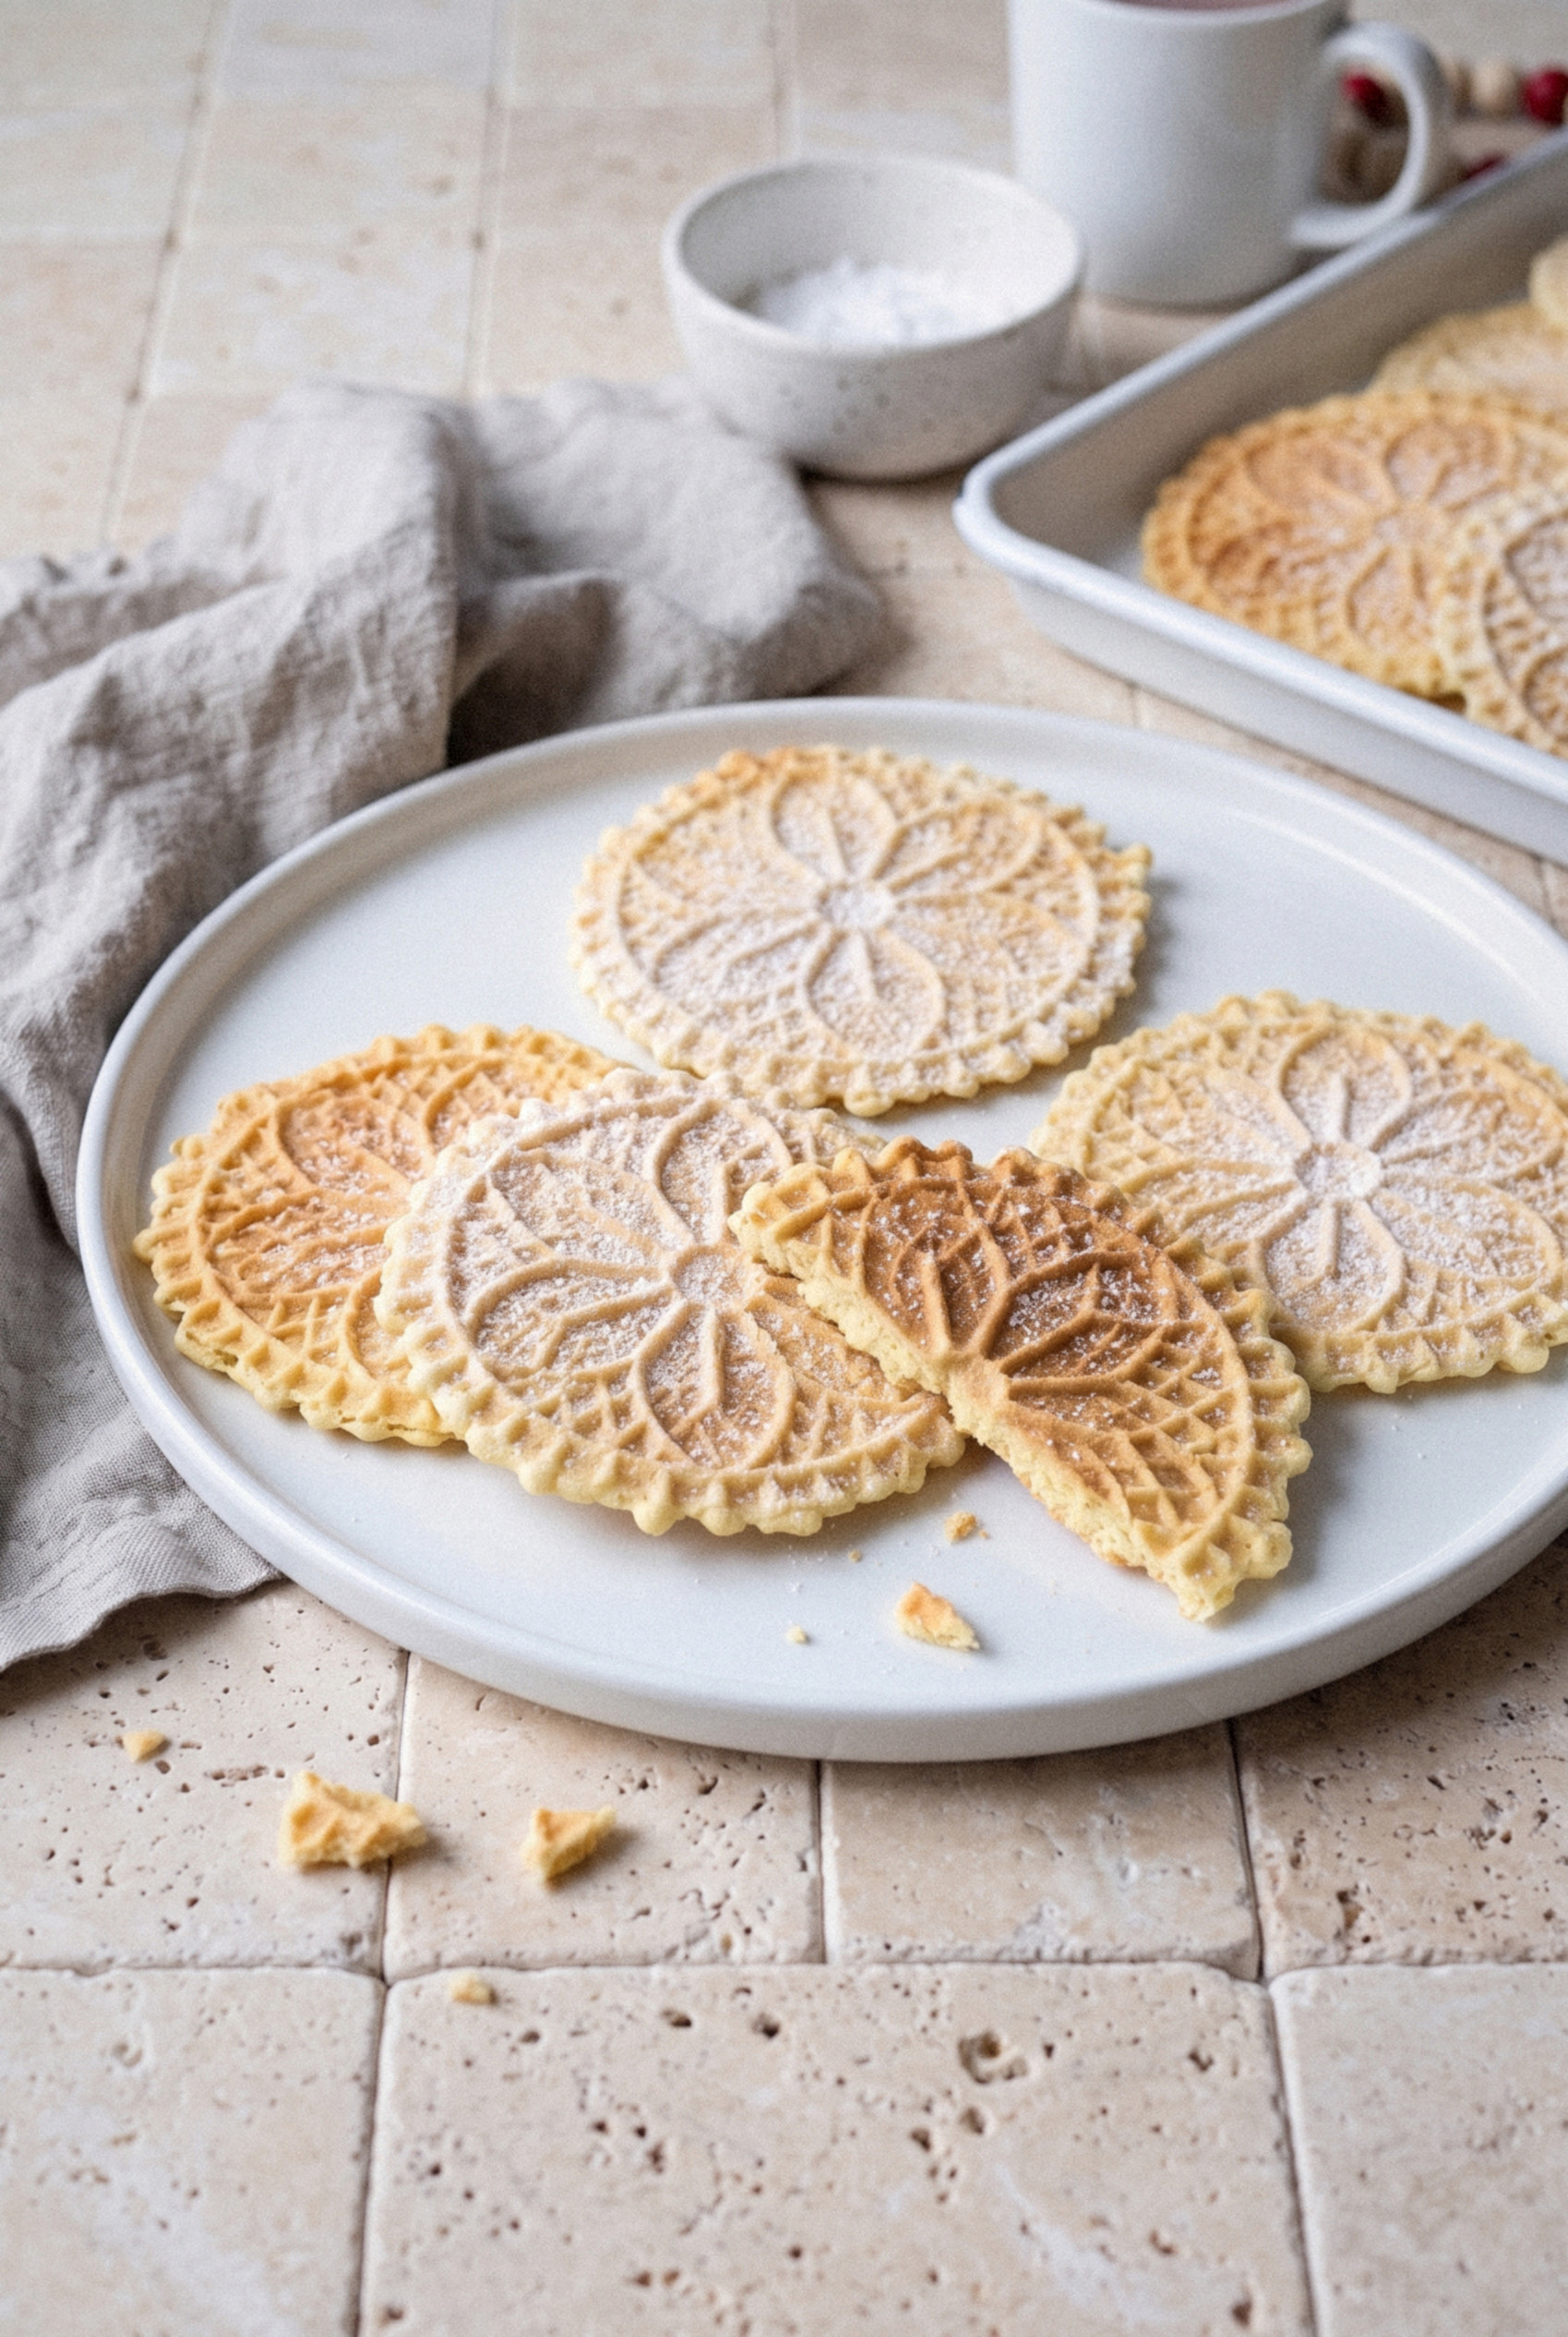
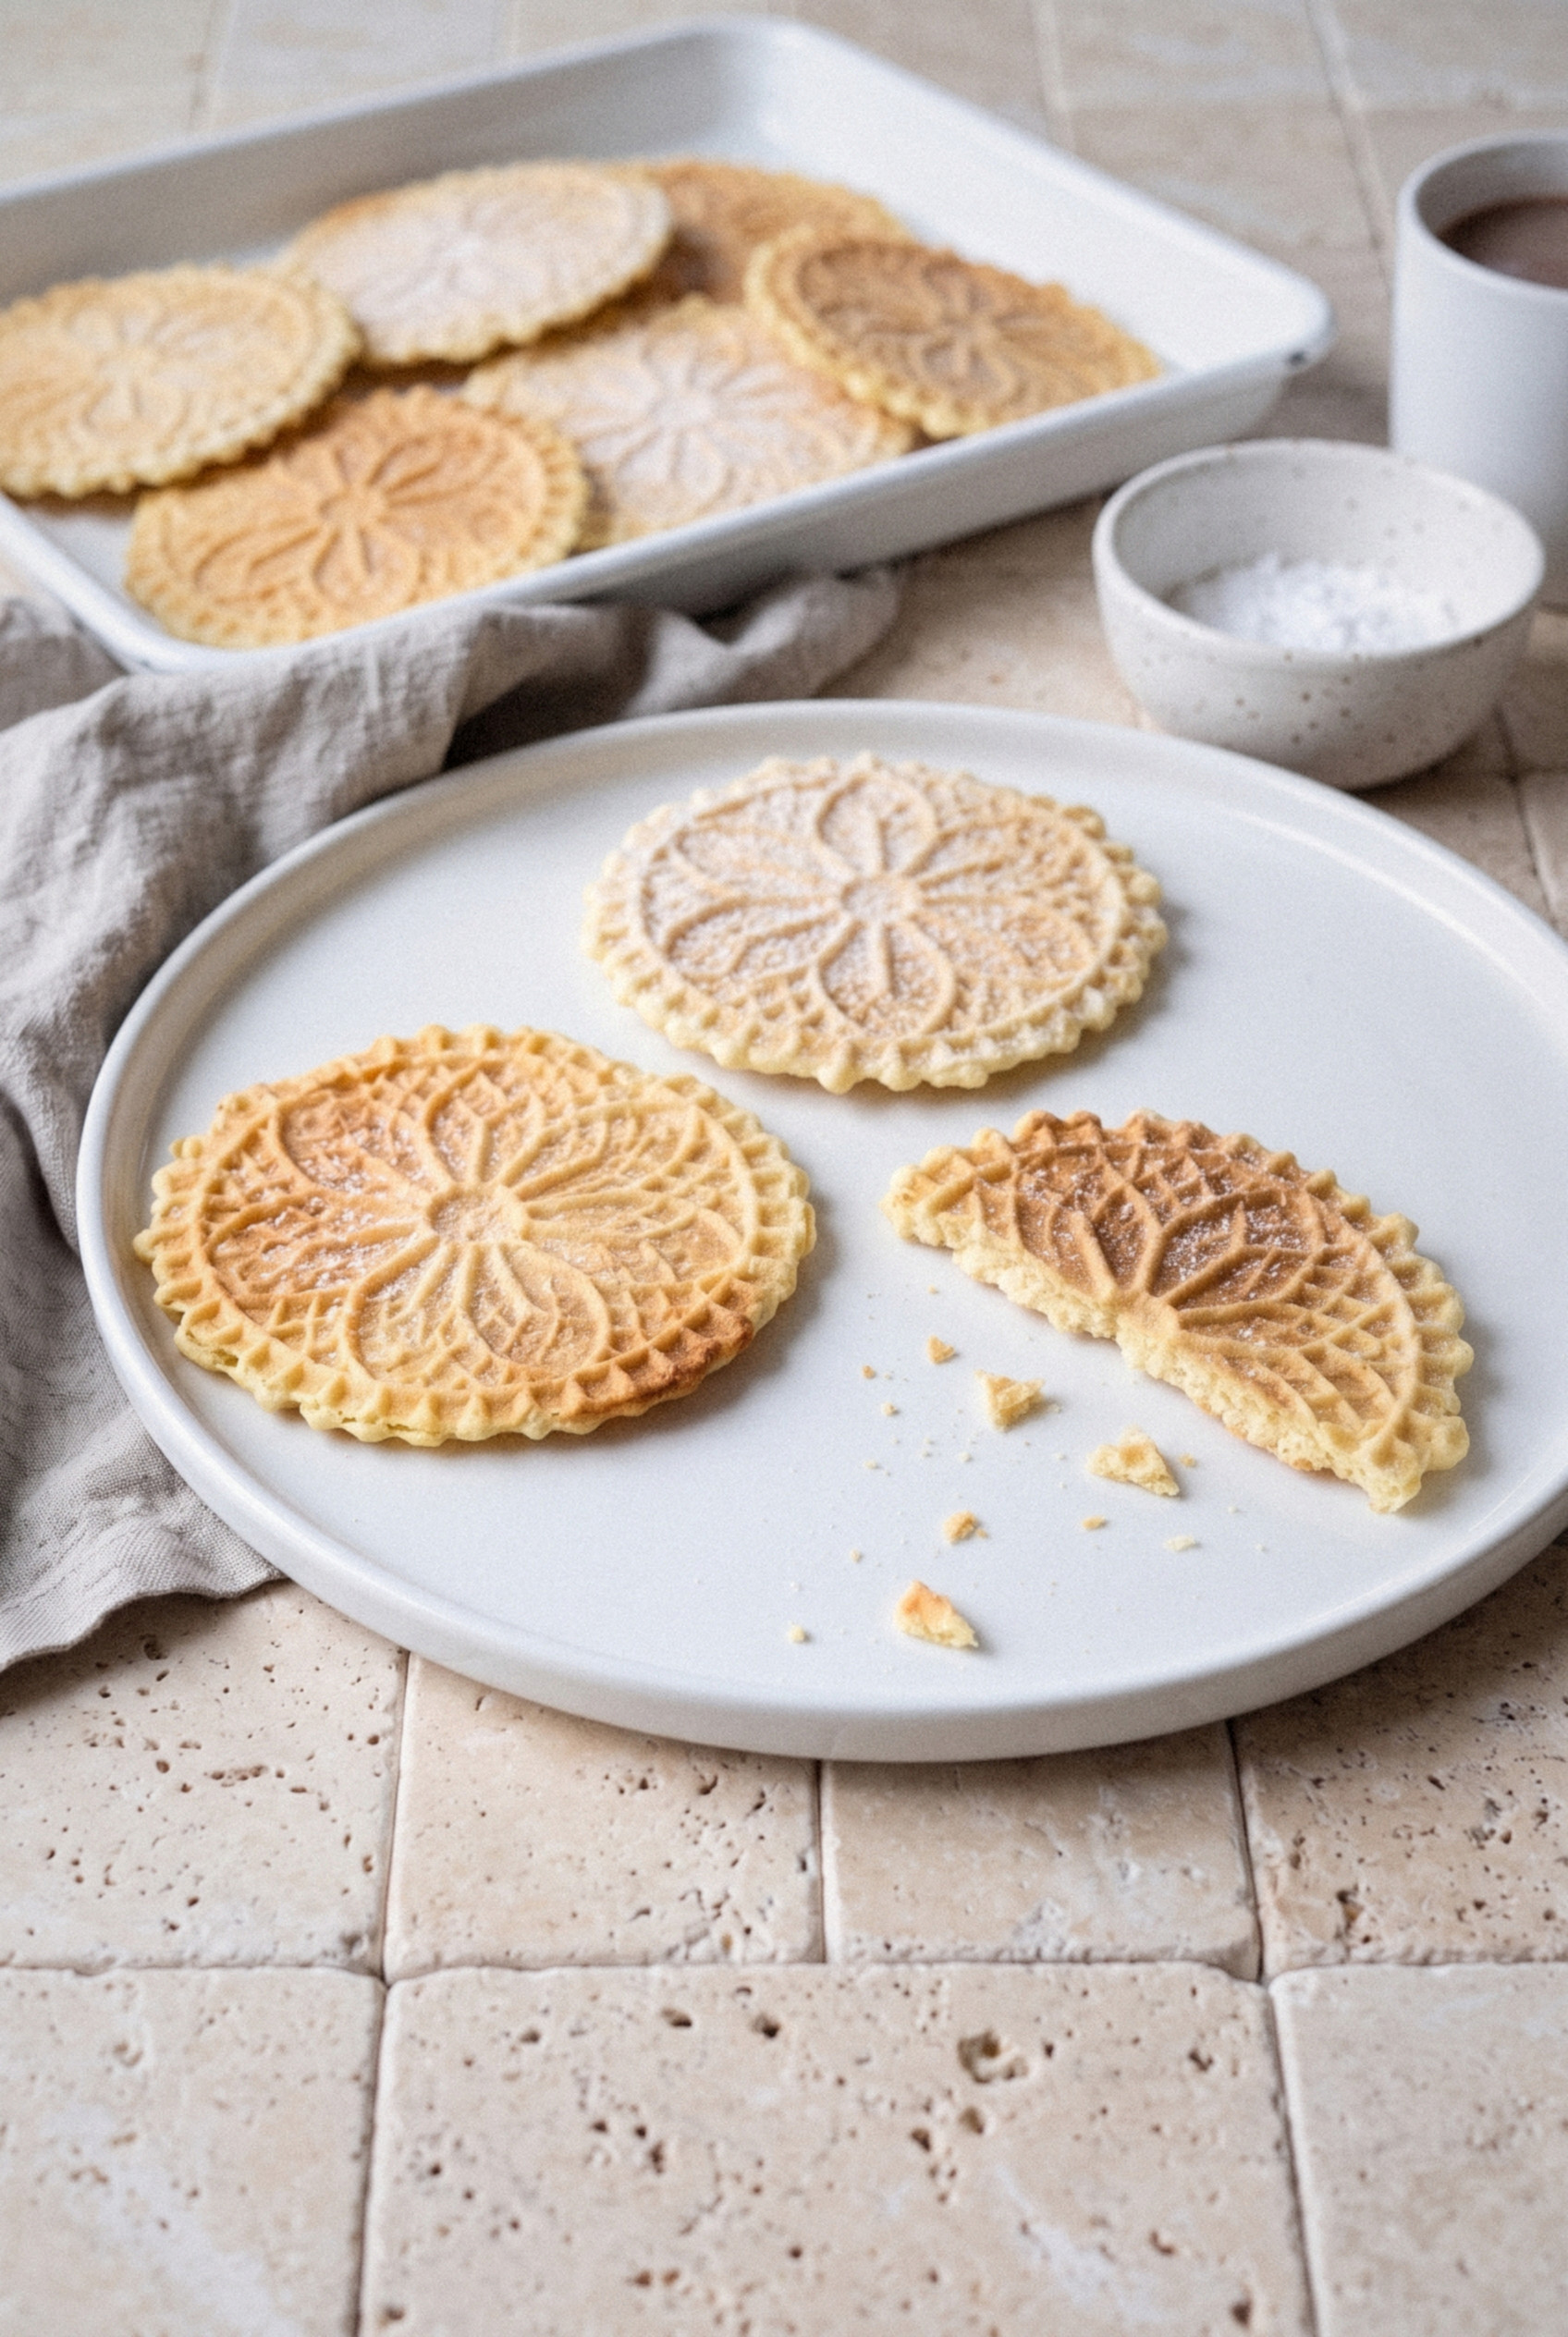
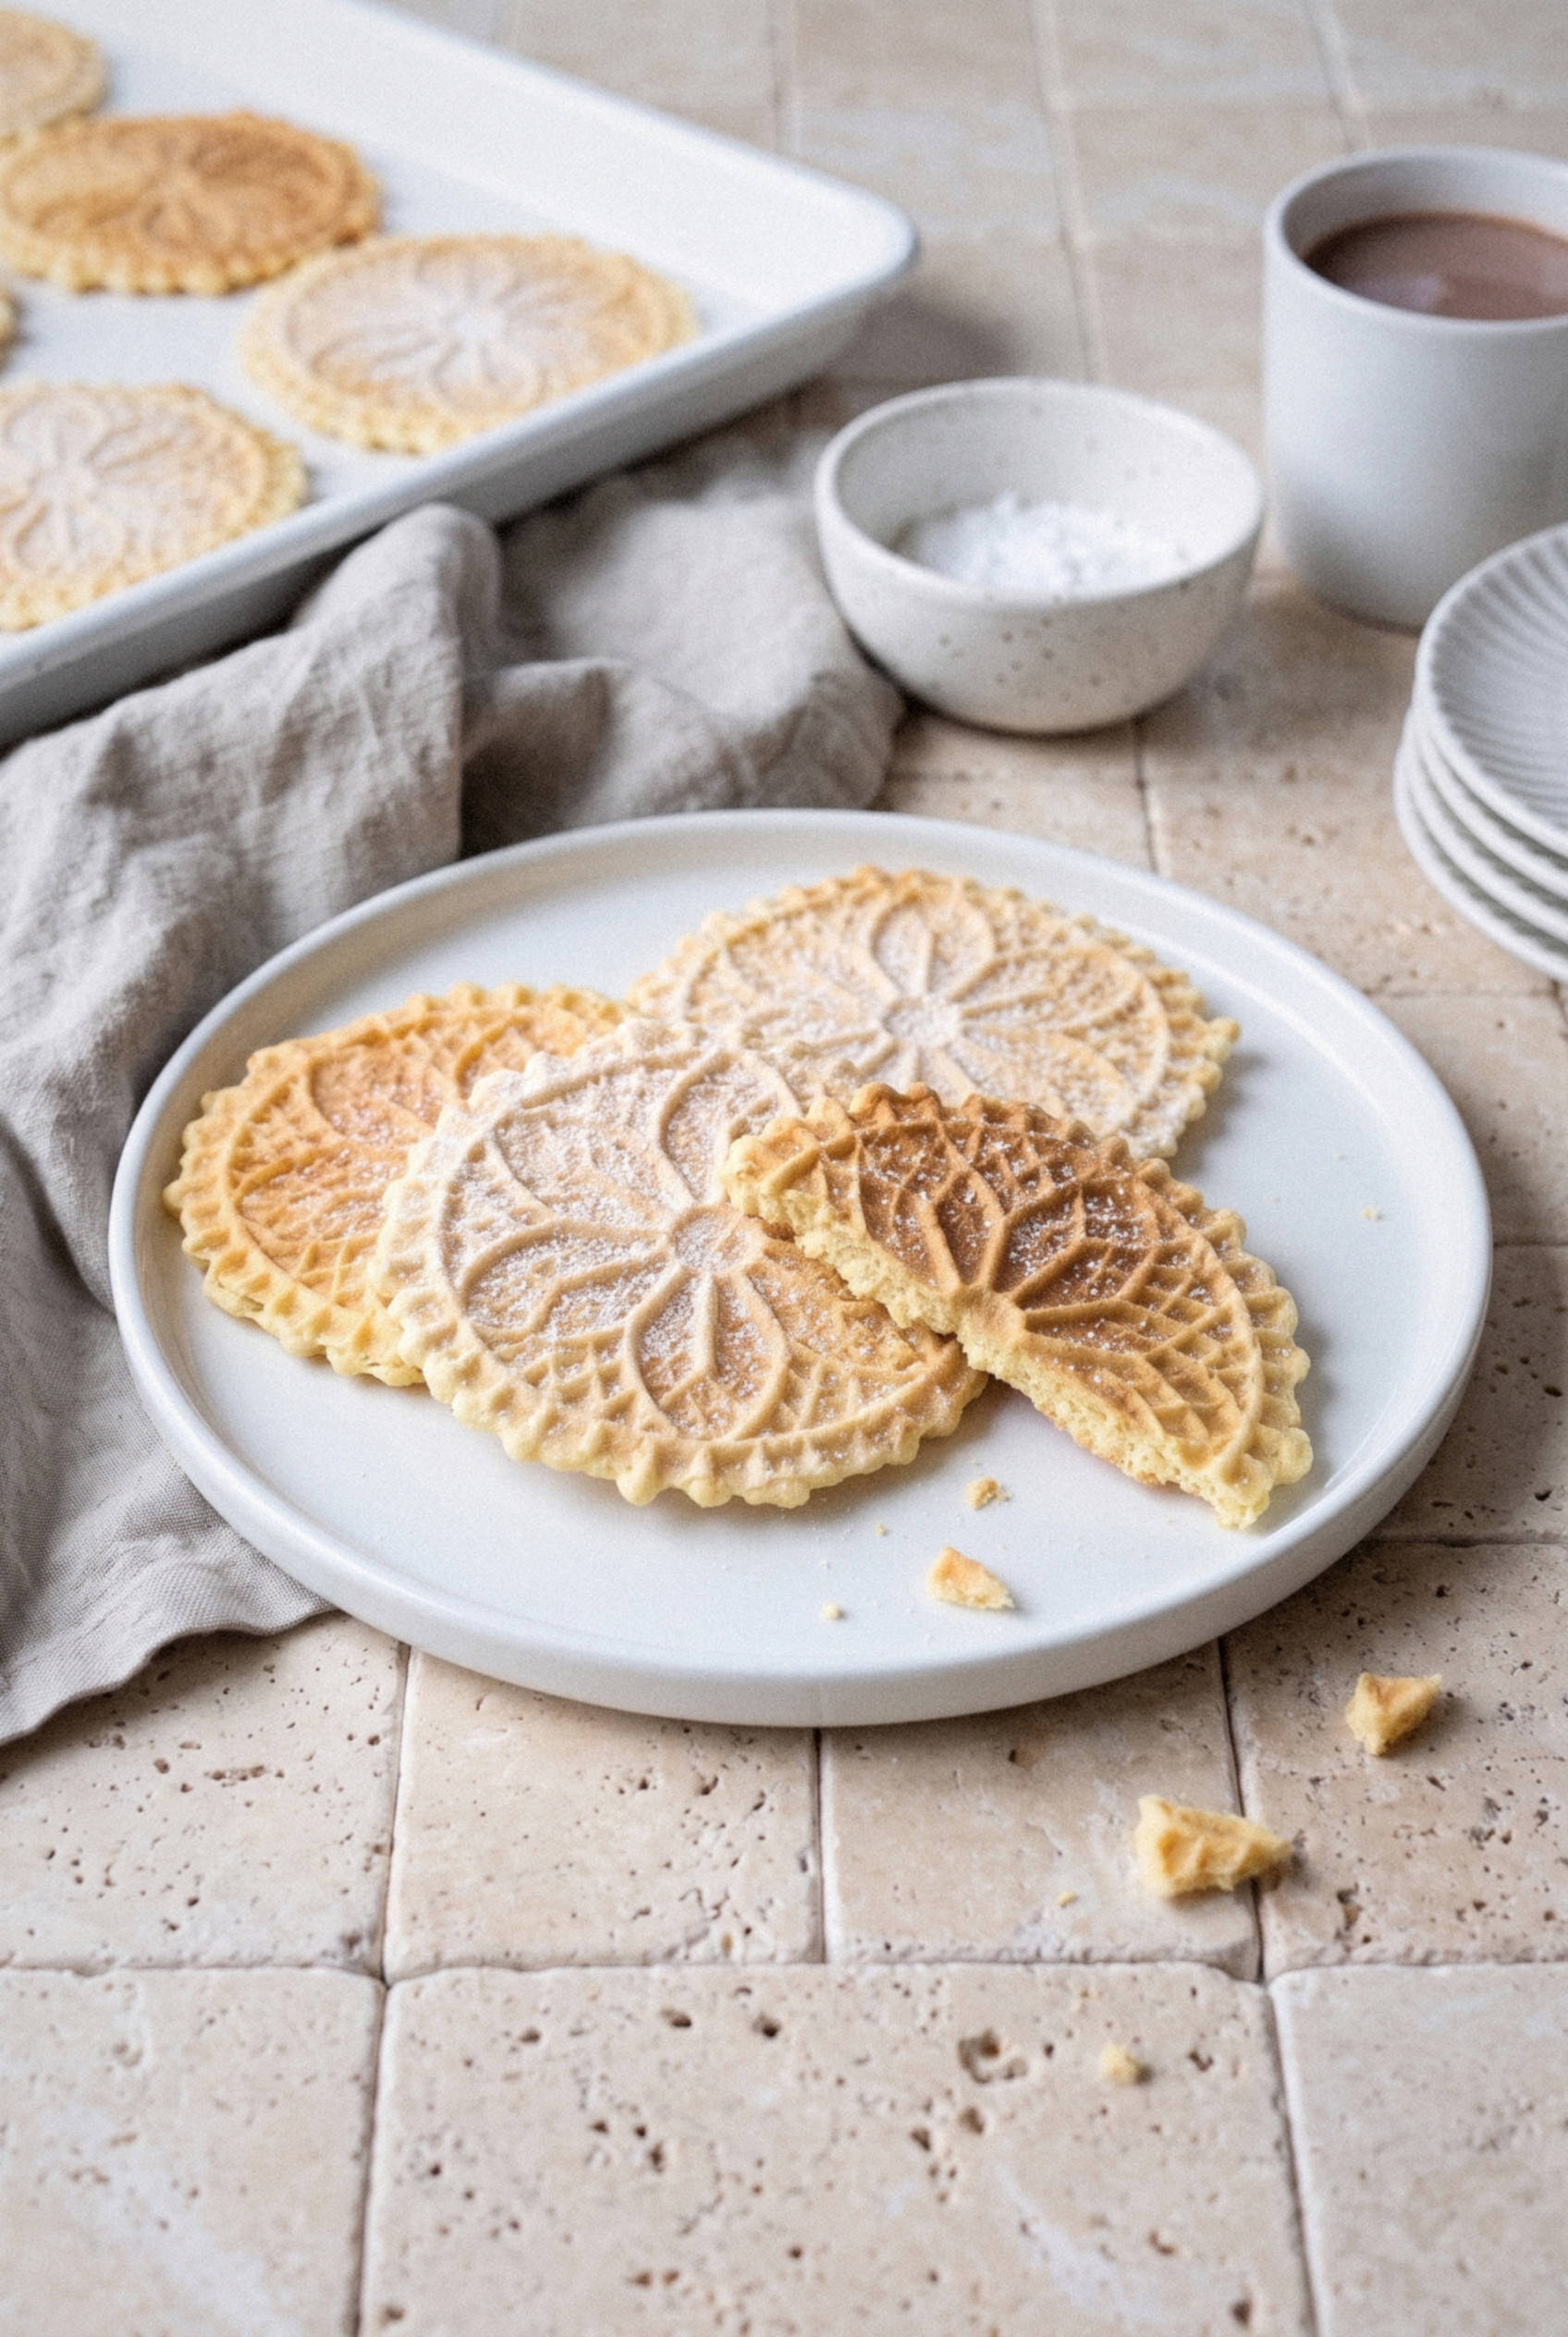
- Texture. Paper-thin and crisp, with lacy edges where the batter squeezes past the pattern.
- Flavor. Butter first, then a clean whisper of anise and vanilla. Sweet, but never cloying.
- Yield. About 30 four-inch pizzelle from one batch on a standard two-mold iron.
- Time. Roughly 40 minutes start to finish, most of it standing at the iron.
- Holiday-friendly. They stack flat, travel in a tin, and keep for up to 2 weeks, which makes them a must-try for the Christmas cookie tray.
Who doesn't love a cookie you can bake a week early?
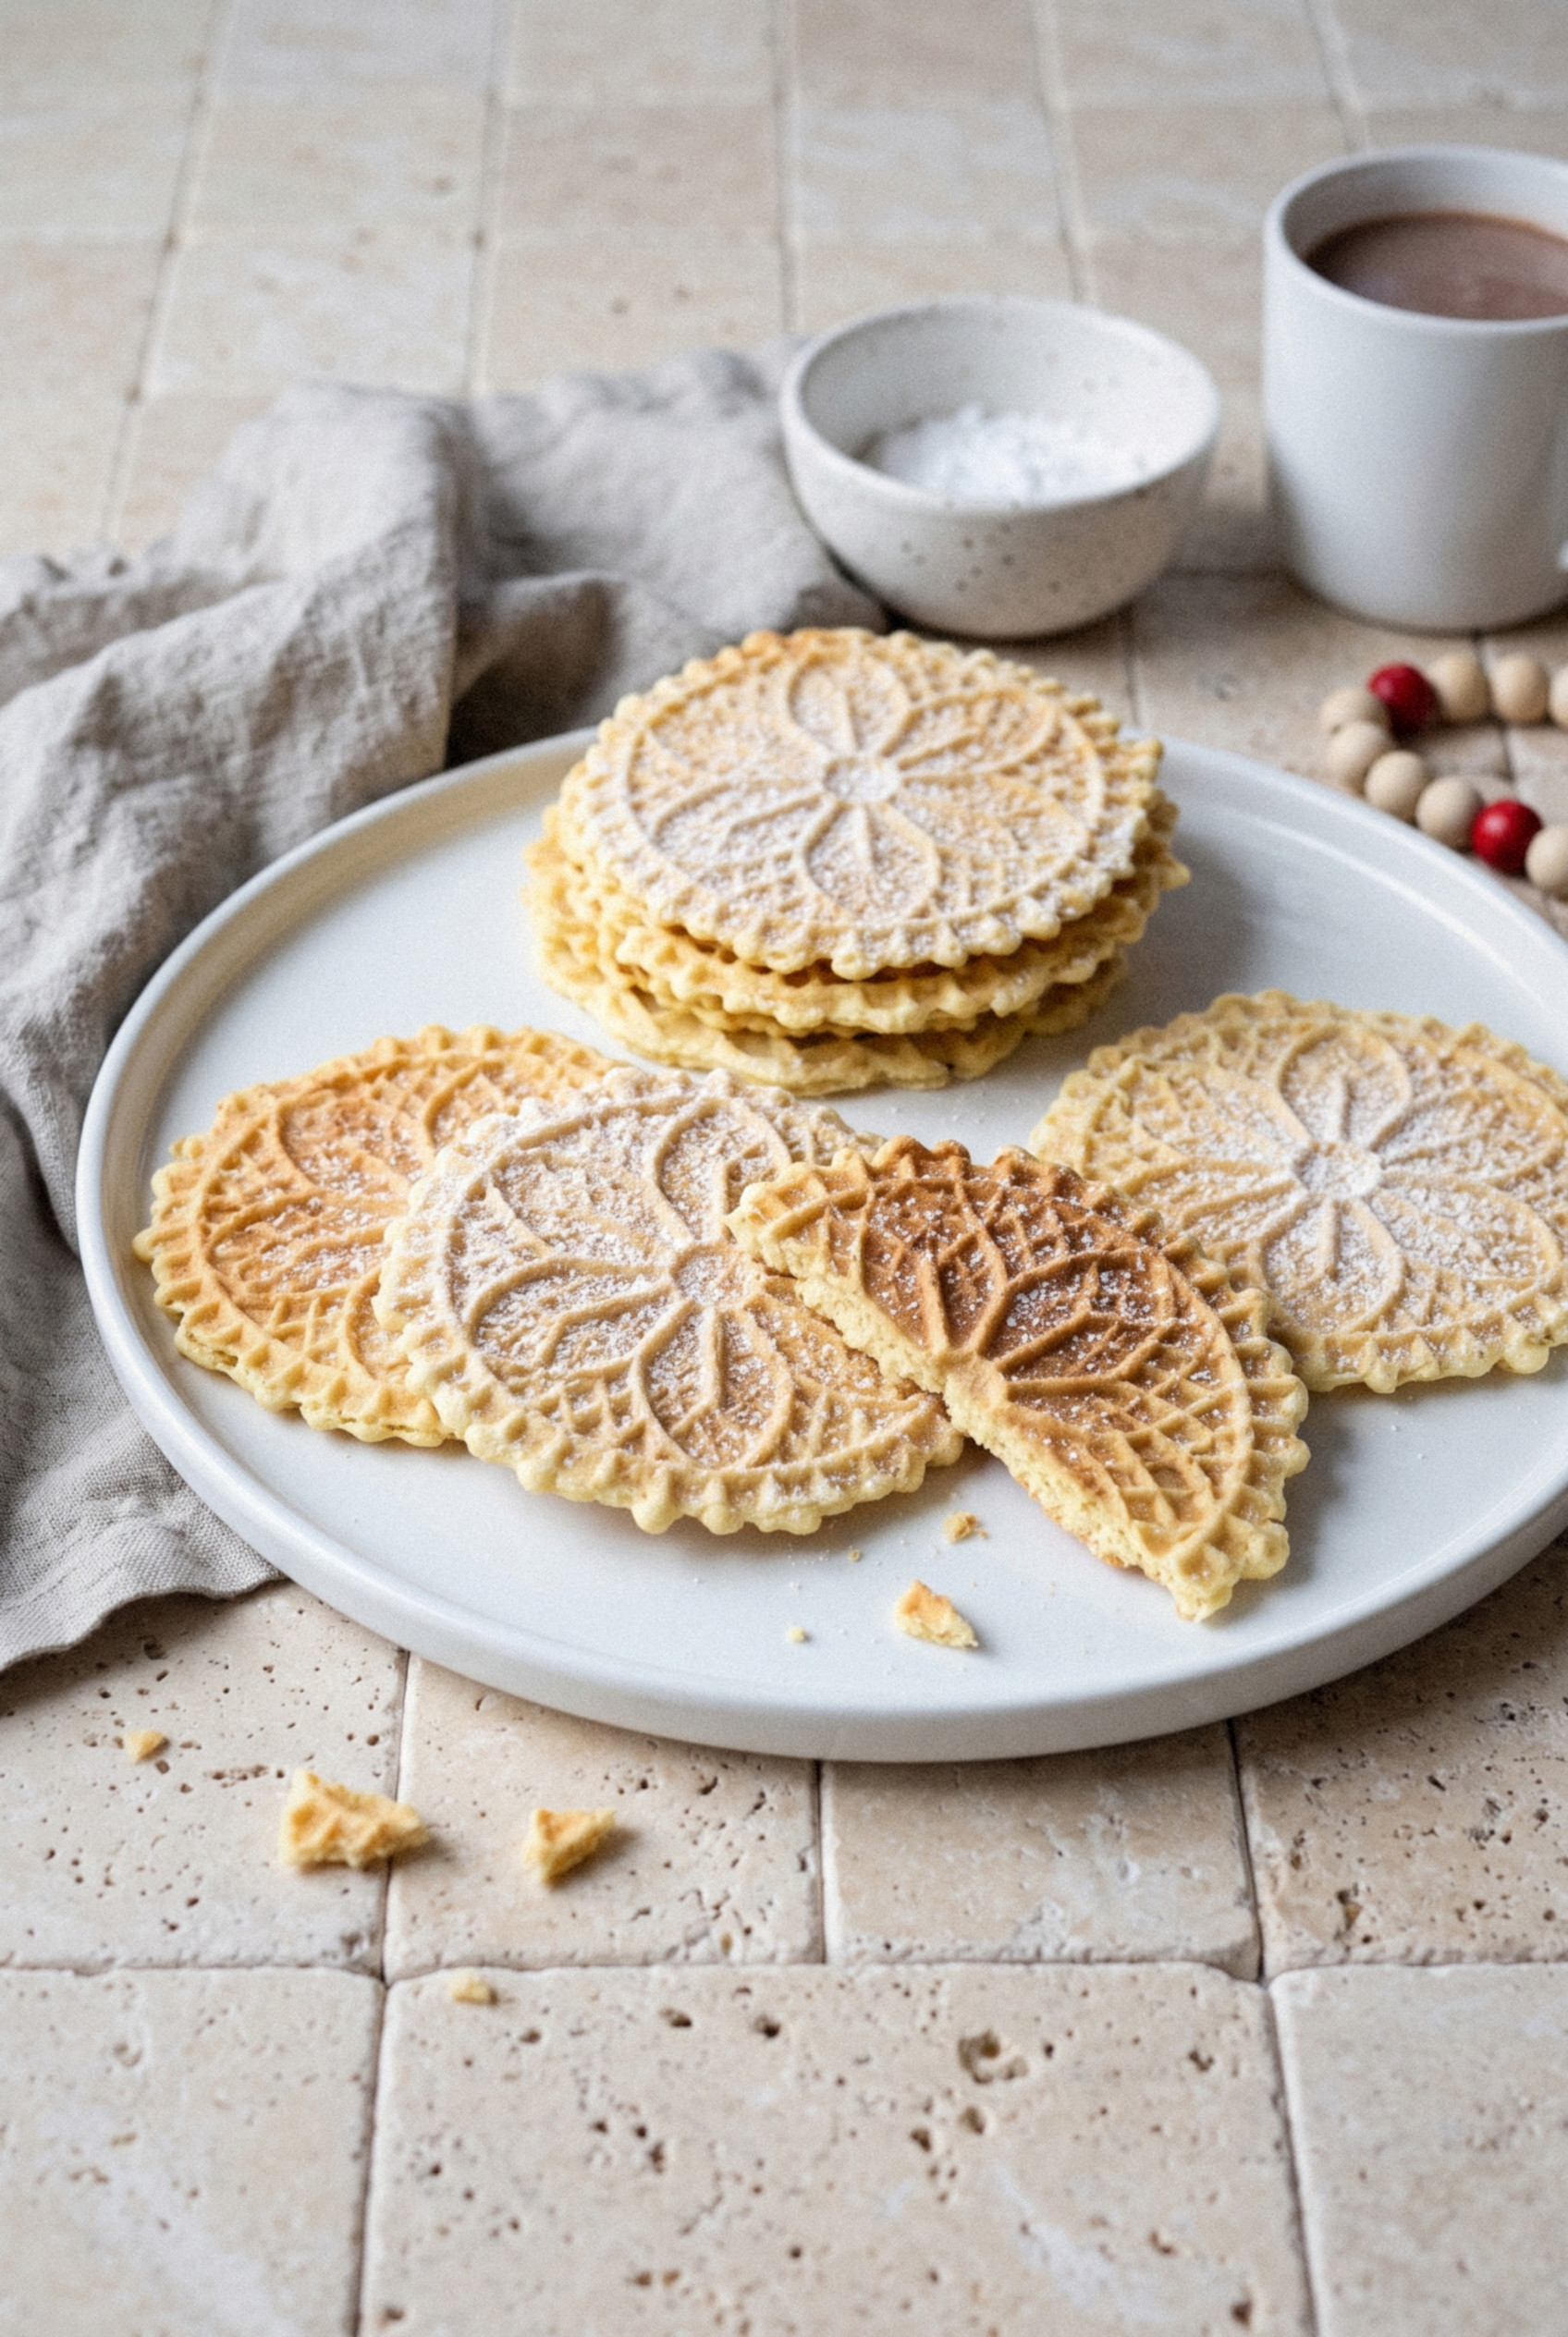
Ingredients for Italian Pizzelle
You need eight pantry staples and a pizzelle iron. That's it.
- Large eggs (3). Bring them to room temperature. Cold eggs can seize the melted butter into little clumps.
- Granulated sugar (¾ cup). Enough to sweeten and help the wafers brown at the edges. Less sugar gives you paler, softer pizzelle.
- Unsalted butter (½ cup, melted and cooled). This is where the rich flavor comes from. Let it cool for about 5 minutes so it's warm, not hot.
- Anise extract (1 teaspoon). The traditional flavor. Go up to 1 ½ teaspoons if you love licorice. If you use anise oil, start with just ¼ teaspoon because it's far stronger.
- Pure vanilla extract (1 ½ teaspoons). Rounds out the anise so it tastes warm instead of sharp.
- All-purpose flour (1 ¾ cups). Spoon it into the cup and level it off. Scooping straight from the bag packs in extra flour and gives you thick, bready pizzelle.
- Baking powder (2 teaspoons). Gives the wafers a tiny bit of lift so they're crisp, not tough.
- Kosher salt (¼ teaspoon). Sharpens the butter and the anise.
- Cooking spray. Only for the first batch on most nonstick irons.
- Powdered sugar (optional). A light dusting right before serving.
Butter or oil? Some families swear by ½ cup of neutral oil instead of butter. Oil makes a slightly crisper wafer that holds up longer in humid weather. Butter makes a richer one. I'm a butter guy, but both work in this recipe with no other changes.
Anise seed option. For bakery-style flavor, add 2 teaspoons of lightly crushed anise seed along with the extract. You get little pops of licorice in every bite.
Choosing and Prepping a Pizzelle Iron
An electric two-mold iron is what most home bakers use, and it's what I tested this recipe on. It bakes two 4-inch wafers at a time.
- Preheat fully. Give it at least 10 to 15 minutes, even after the ready light comes on. An underheated iron is the number one reason pizzelle stick.
- Grease once. Lightly spray or brush the plates with oil before the first batch. Most nonstick irons don't need it again after that.
- Stovetop irons. The old cast versions work too, but you flip them halfway and the timing depends on your burner. Expect a few test wafers.
- Skip the waffle iron. The grooves are far too deep. You'll get a thick, soft cookie, not a pizzelle.
Worth buying an iron for one cookie? If you bake every Christmas, absolutely.
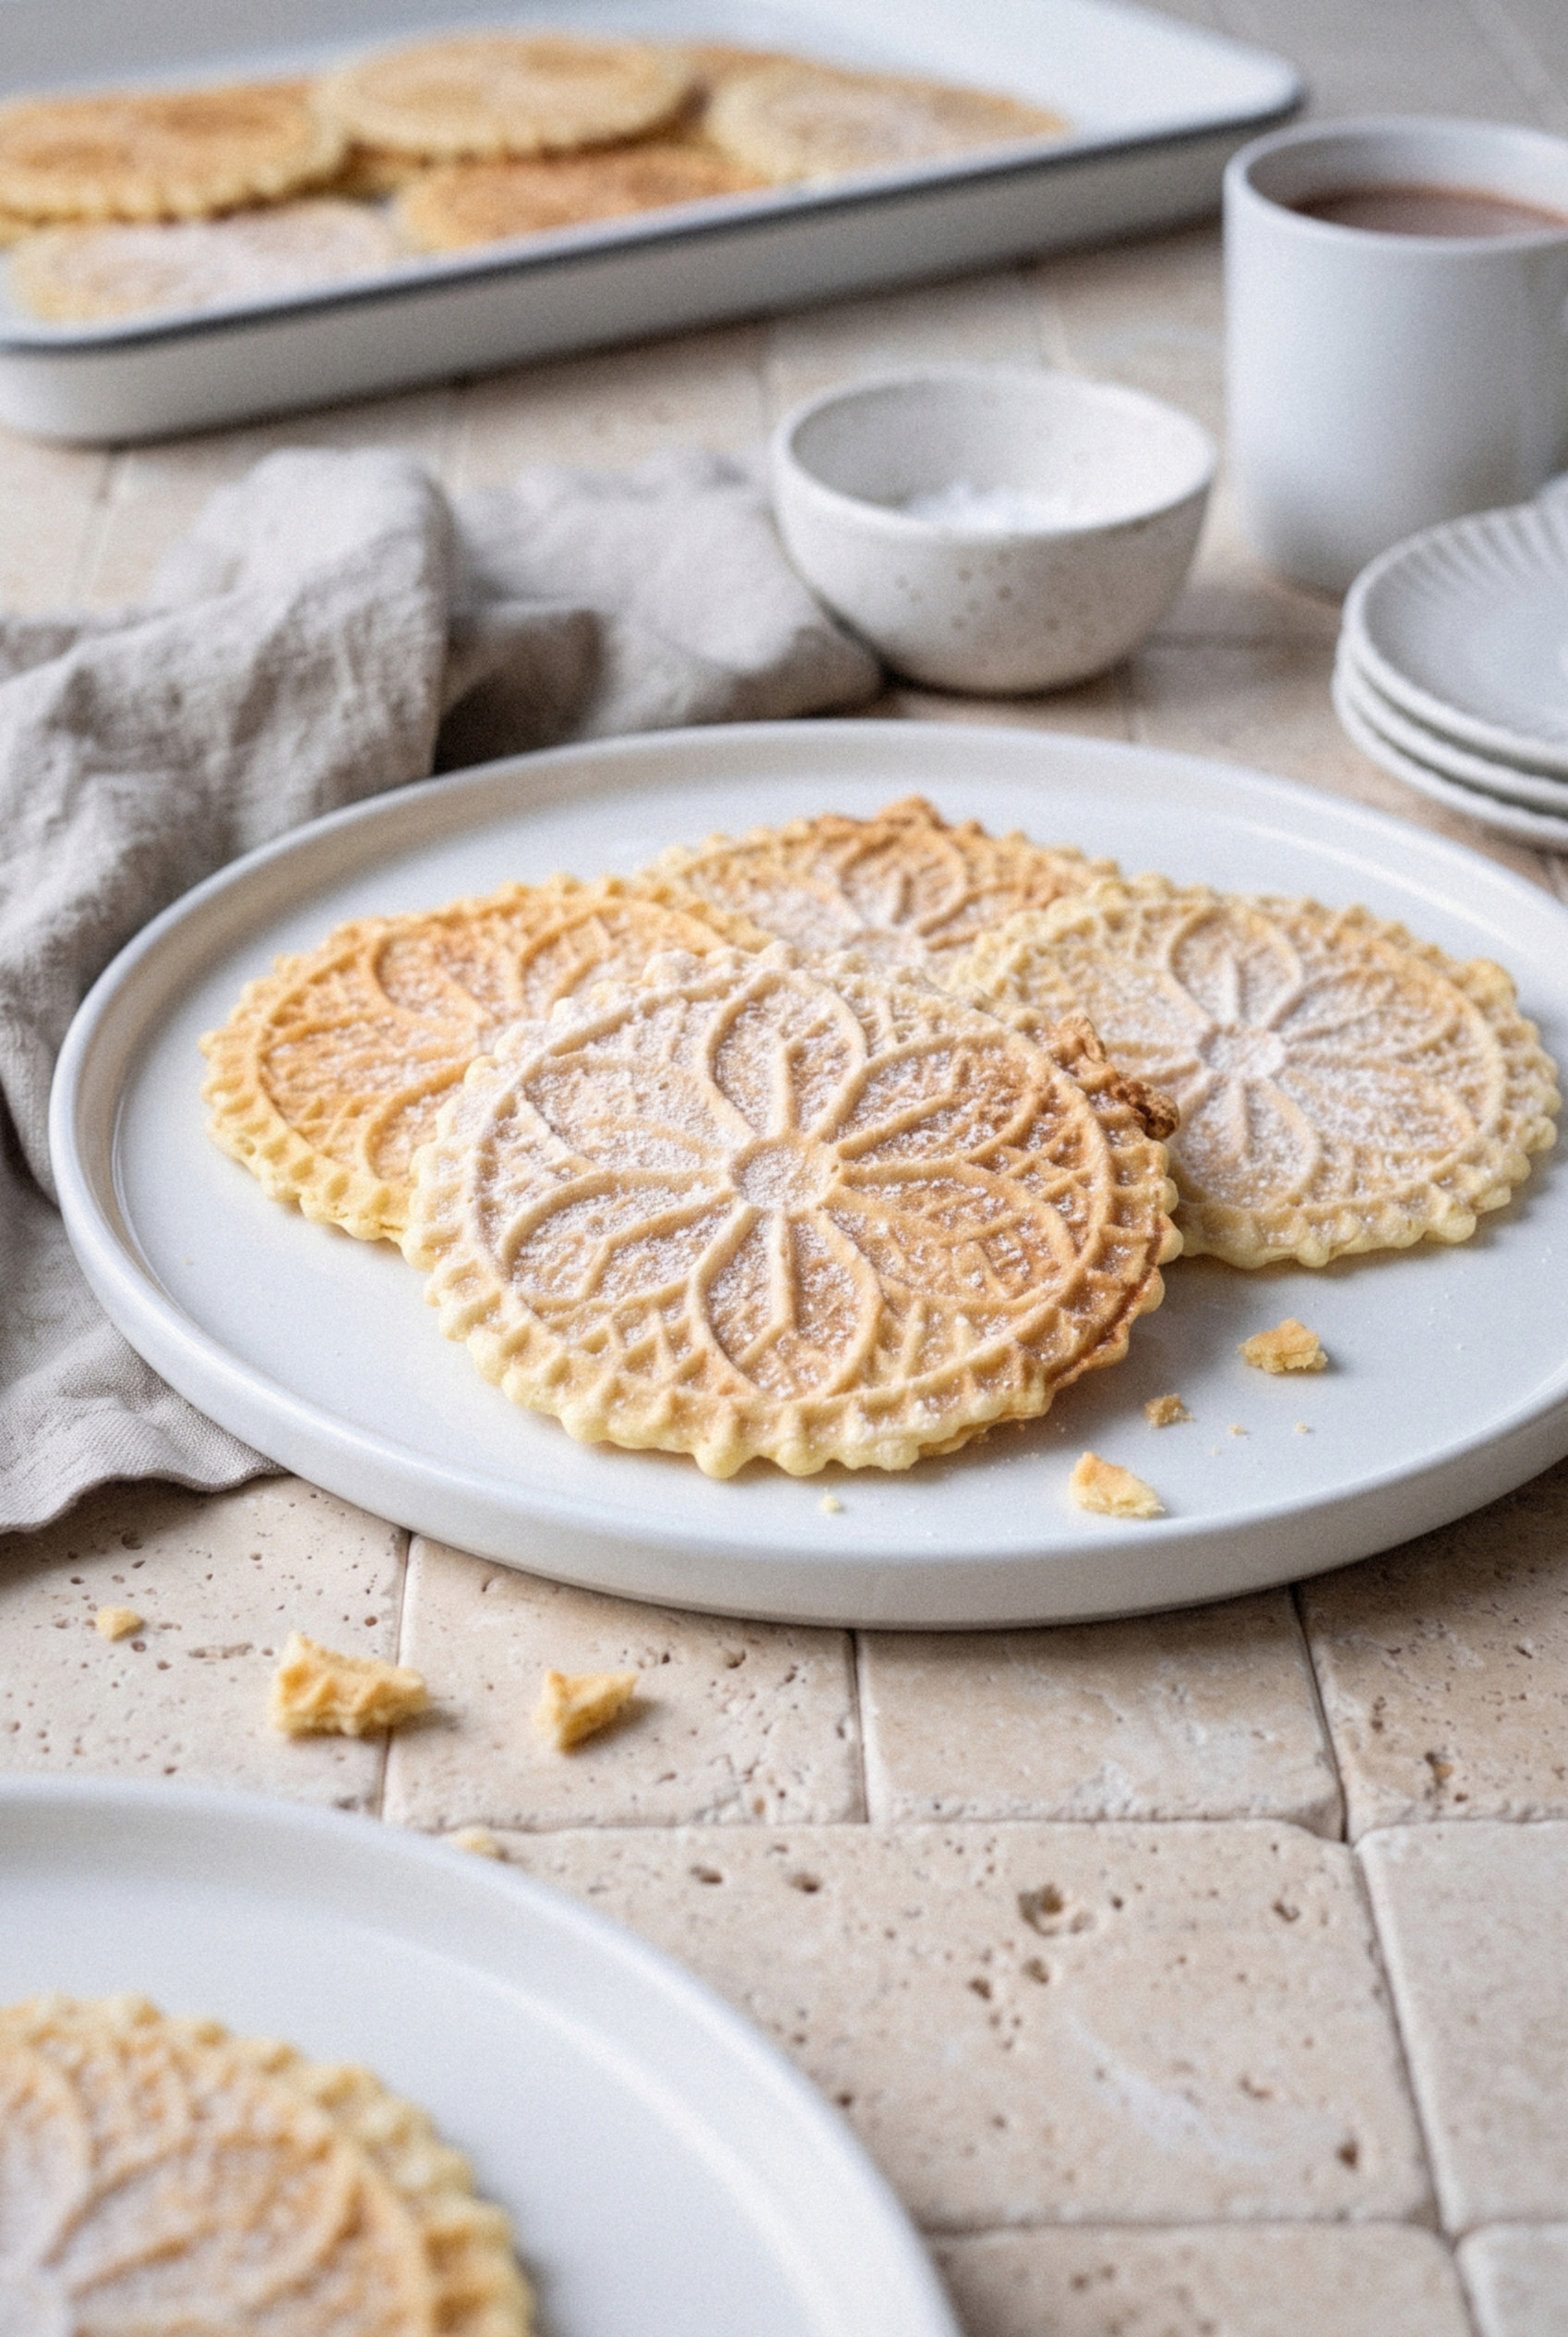
How to Make Italian Pizzelle
The batter comes together in about five minutes in one bowl. The rest is a rhythm at the iron.
Step 1: Mix the Batter
Melt the butter and set it aside to cool for a few minutes. In a large bowl, beat the eggs and sugar with a hand mixer on medium for about 1 minute, until the mixture looks pale and slightly thickened.
Beat in the cooled butter, anise extract, and vanilla on low speed. In a separate bowl, whisk together the flour, baking powder, and salt.
Add the dry ingredients to the wet and stir with a spatula just until no dry streaks remain. The batter should be thick and sticky, like a soft cookie dough that slowly holds its shape. Let it rest for 10 minutes while the iron finishes heating.
Pro tip: The batter firms up as it sits. If it gets too stiff to drop easily after 30 minutes, stir in 1 teaspoon of milk.
Step 2: Bake on the Iron
Drop about 1 tablespoon of batter onto each mold, slightly behind the center and toward the hinge. The lid pushes the batter forward as it closes, so this keeps your circles round.
Close the lid firmly and latch it if your iron has a clip. Bake for 45 to 60 seconds, until the wafers are pale golden with just a hint of color at the edges.
Step 3: Cool Flat
Open the iron and lift each pizzelle out with a thin spatula or the tip of a wooden skewer. Lay them flat on a wire rack in a single layer, never stacked while warm.
If the edges are ragged, snip them with kitchen scissors in the first few seconds while the wafer is still soft. Within a minute they turn crisp and snappy.
Fair warning: They're soft right off the iron. Don't panic. They crisp as they cool, every time.
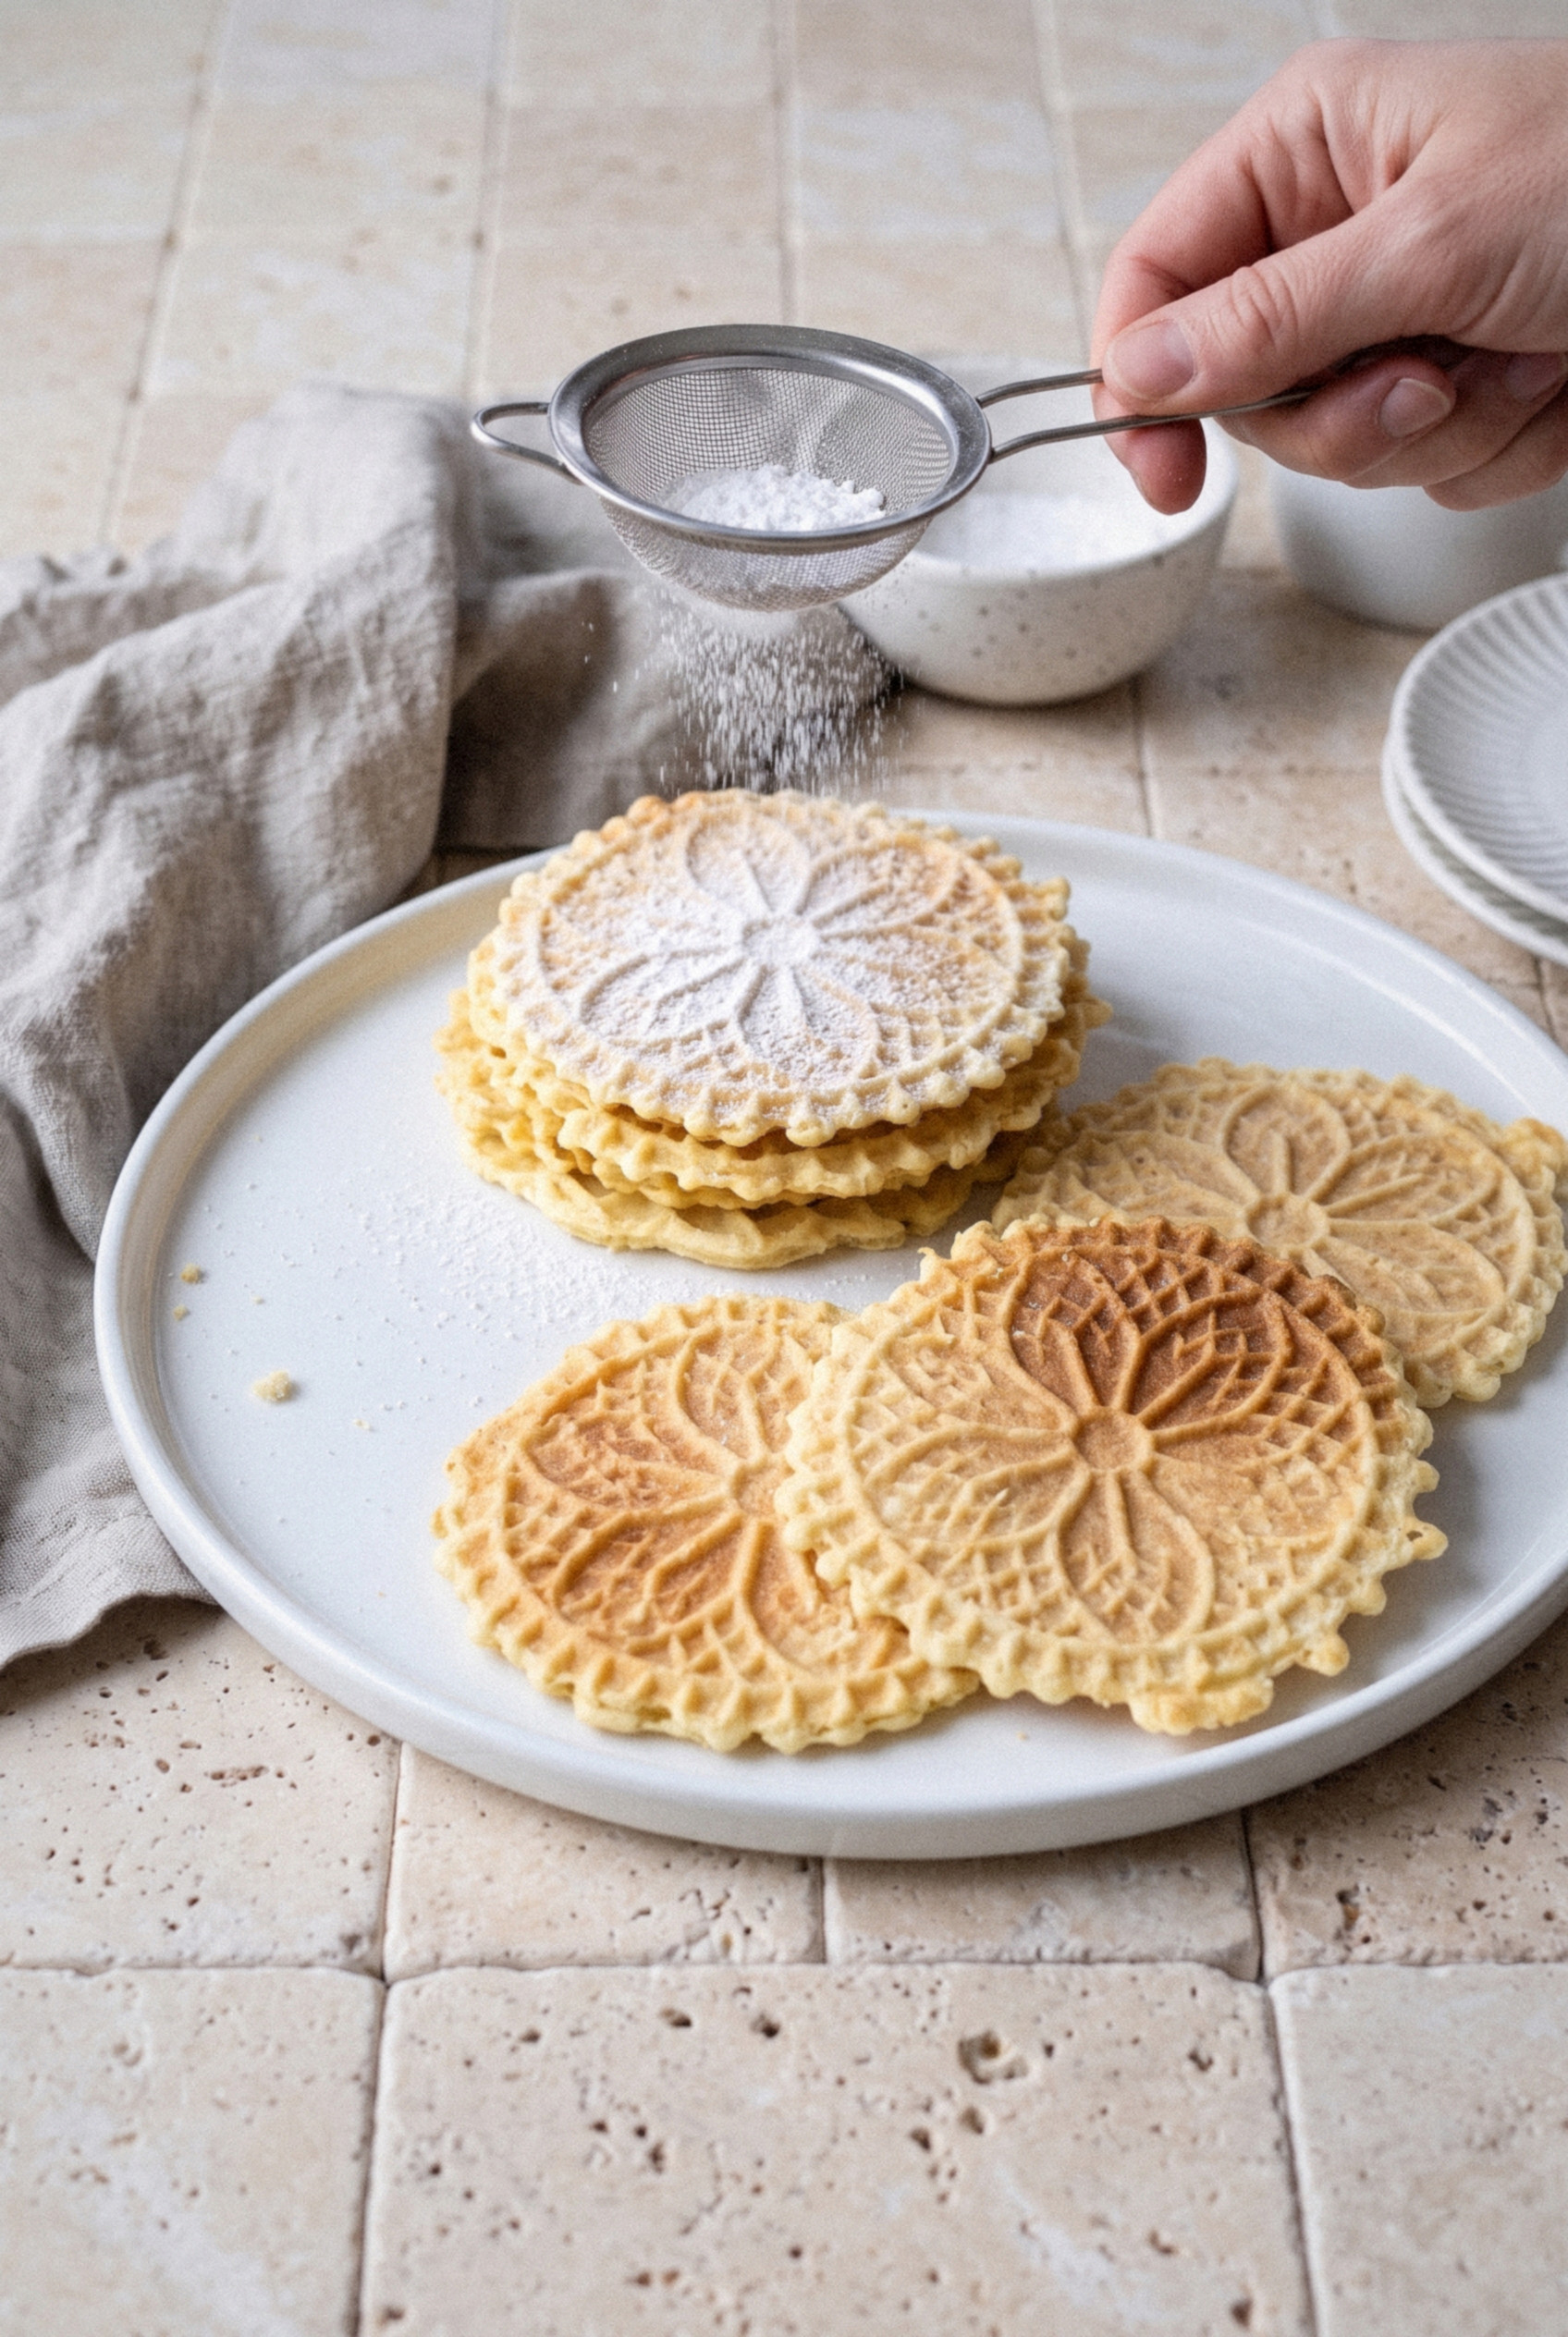
How Long to Cook Pizzelle
Most irons take 45 to 60 seconds per batch, but yours will tell you when it's ready. Watch for these cues.
- The warmth slows down. When you first close the lid, warmth pours out of the sides. When it slows to a faint wisp, you're close.
- Color. Lift the lid and look for pale gold with slightly darker edges. Deep brown means bitter.
- Your first wafer is a test. Bake one batch, check the size and color, then adjust the batter amount or timing. I always sacrifice the first two. My wife is happy to help.
- Making cannoli shells or cones? Pull them about 5 seconds early so they stay flexible long enough to shape.
Tips for Perfect Pizzelle
A few small habits make the difference between flimsy wafers and bakery-quality ones.
- Room-temperature eggs. They blend smoothly with the butter and give you a silky batter.
- Cool the butter. Hot butter can start to cook the eggs. Warm to the touch is perfect.
- Don't overfill. Too much batter oozes out the sides and burns. Start with a level tablespoon and adjust.
- Use a cookie scoop. A small scoop keeps every pizzelle the same size, which looks great on a cookie tray.
- Keep the iron closed. Peeking too early tears the wafer and gives you uneven color.
- Trim while warm. Scissors only work in the first few seconds. After that, the edges shatter.
- Shape fast. For cones or cannoli tubes, roll the hot wafer around a form within 10 seconds.
Why do pizzelle go soft? Three reasons: they were stacked while still warm, they were slightly underbaked, or they picked up humidity in storage. The fix is easy. Spread them on a baking sheet and warm them at 300°F for 3 to 5 minutes. They crisp right back up as they cool.
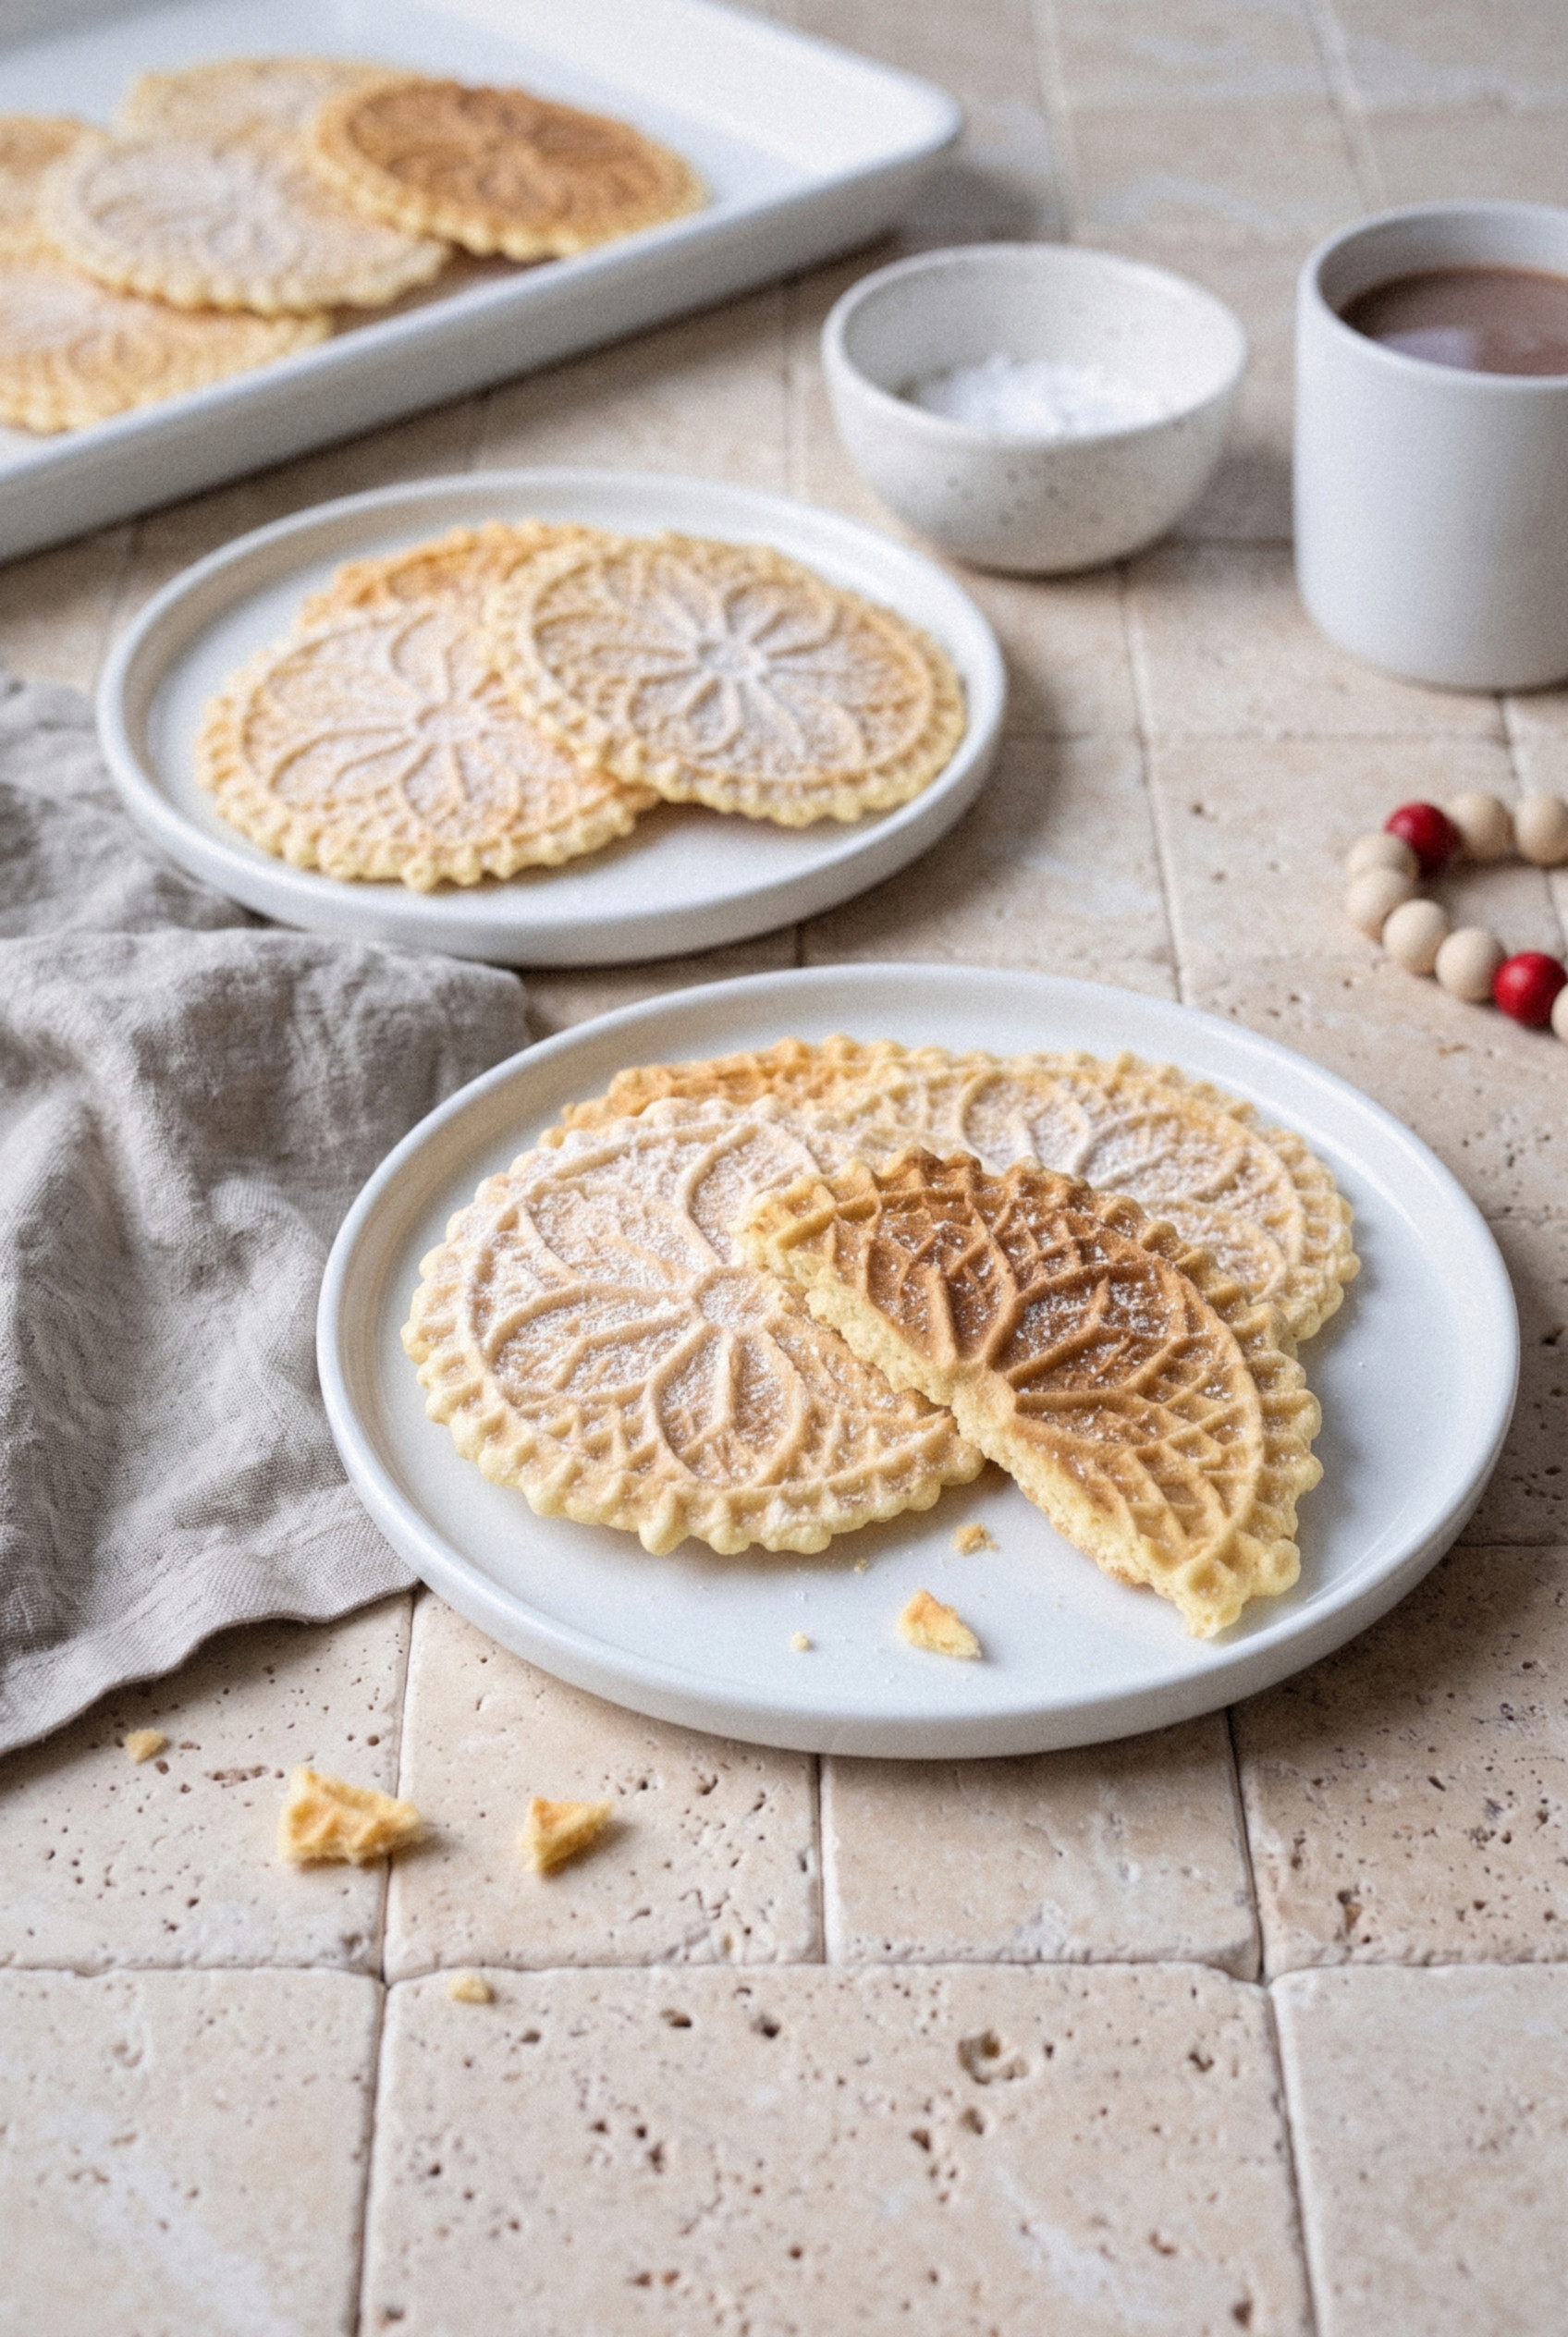
Pizzelle Flavor Variations
The base batter takes almost any flavor you throw at it. Here are my favorites for a holiday tray.
- Vanilla only. Skip the anise and use 2 teaspoons of vanilla. A great way to win over the licorice skeptics.
- Almond. Swap the anise for ½ teaspoon of almond extract. It's sweet, nutty, and to die for with coffee.
- Lemon. Replace the anise with the zest of 1 lemon and ½ teaspoon of lemon extract.
- Chocolate. Replace ¼ cup of the flour with unsweetened cocoa powder and add 2 extra tablespoons of sugar. Skip the anise.
- Anise seed. Keep the extract and add 2 teaspoons of crushed anise seed for little bursts of flavor.
- Anisette. A 1 tablespoon splash adds a grown-up note. More than that makes the batter too wet.
Serving Ideas for the Holidays
Plain pizzelle are perfect, but they're also a blank canvas.
- Christmas cookie tray. Their flat snowflake shape sits beautifully next to thumbprints and spritz cookies.
- Dusted with powdered sugar. Sift it on right before serving so it doesn't melt into the wafer.
- Cannoli cones. Roll them warm into cones and fill with sweetened ricotta and mini chocolate chips.
- Ice cream bowls. Drape a warm pizzelle over an upside-down custard cup and let it set into a little bowl for gelato.
- Sandwich cookies. Spread Nutella between two wafers for a treat that pairs perfectly with espresso.
- Cookie gift tins. Stack them flat with a sheet of parchment every few cookies. They make a fantastic homemade gift.
Christmas Make-Ahead Timeline
Pizzelle are one of the few holiday cookies that actually get better with a little planning. Here's how I spread out the work.
- Up to 3 months ahead. Bake, cool completely, and freeze in a tin layered with parchment.
- Up to 2 weeks ahead. Bake and store in an airtight tin at room temperature.
- Up to 8 hours ahead. Mix the batter, cover, and refrigerate. Let it sit out for 20 minutes before baking so it spreads evenly.
- Day of. Dust with powdered sugar and arrange on the tray.
How to Store Pizzelle
The golden rule is to cool them completely before they go into any container. Even a little trapped warmth turns into warmth and softens the whole stack.
- Room temperature. An airtight tin keeps them crisp for up to 2 weeks. In humid weather, tuck a folded paper towel in the bottom.
- Freezer. Layer them with parchment in a freezer-safe container for up to 3 months. Thaw uncovered at room temperature.
- Re-crisping. Warm them at 300°F for 3 to 5 minutes on a baking sheet, then let them cool flat.
- Shaped pizzelle. Fill cannoli cones or bowls right before serving. Filling them early makes them soggy.
Italian Pizzelle FAQ
What does pizzelle mean in Italian?
It comes from pizze, meaning round and flat, so pizzelle means "little rounds." One cookie is a pizzella. The word shares its root with pizza.
What is the traditional flavor of Italian pizzelle?
Anise is the classic flavor, usually paired with a little vanilla. Families in different regions also make them with lemon zest, almond, or anisette.
Should you refrigerate pizzelle batter before baking?
You don't need to. A short 10-minute rest at room temperature is all this batter needs. You can refrigerate it for up to 8 hours if you're working ahead, but let it warm up before baking.
Why are my pizzelle soft instead of crisp?
They were usually stacked while warm, pulled a few seconds early, or stored in humid air. Re-crisp them at 300°F for 3 to 5 minutes and cool them flat in a single layer.
Can I make pizzelle without a pizzelle iron?
Not really. A waffle iron's grooves are too deep and give you a soft cookie. A stovetop pizzelle iron or a krumkake iron is the closest substitute.
How far ahead can I make pizzelle for Christmas?
Bake them up to 2 weeks ahead and store them in an airtight tin, or freeze them for up to 3 months. They hold up better than almost any other holiday cookie.
Butter or oil: which makes better pizzelle?
Butter gives a richer flavor, and oil gives a slightly crisper wafer that resists humidity. Use the same amount of either. I prefer butter for flavor.
Recipe
Italian Pizzelle
Ingredients
For the Pizzelle
- 3 large eggs room temperature
- ¾ cup granulated sugar 150g
- ½ cup unsalted butter 113g, melted and cooled
- 1 teaspoon anise extract up to 1 ½ teaspoons for stronger flavor
- 1 ½ teaspoons pure vanilla extract
- 1 ¾ cups all-purpose flour 220g, spooned and leveled
- 2 teaspoons baking powder
- ¼ teaspoon kosher salt
- cooking spray for the iron
- powdered sugar optional, for dusting
Instructions
Make the Batter
- Preheat the pizzelle iron for 10 to 15 minutes. Lightly spray the plates with cooking spray before the first batch.
- In a large bowl, beat the eggs and sugar with a hand mixer on medium speed for about 1 minute, until pale and slightly thickened.
- Beat in the cooled melted butter, anise extract, and vanilla extract on low speed.
- In a separate bowl, whisk together the flour, baking powder, and salt. Add to the wet ingredients and stir just until no dry streaks remain. The batter will be thick and sticky. Rest for 10 minutes.
Bake the Pizzelle
- Drop about 1 tablespoon of batter onto each mold, slightly behind the center toward the hinge.
- Close and latch the lid. Bake for 45 to 60 seconds, until pale golden with lightly colored edges and the warmth has slowed.
- Lift the pizzelle out with a thin spatula and lay flat on a wire rack in a single layer. Trim ragged edges with kitchen scissors while still warm, if desired.
- Repeat with the remaining batter. Cool completely before storing. Dust with powdered sugar just before serving, if using.
Notes
- First Wafer: Treat the first batch as a test and adjust the batter amount or bake time for your iron.
- Butter or Oil: Swap the butter for ½ cup neutral oil for a slightly crisper wafer.
- Re-Crisp: Warm soft pizzelle at 300°F for 3 to 5 minutes and cool flat.
- Storage: Keep in an airtight tin for up to 2 weeks or freeze for up to 3 months.
- Shaping: For cones or cannoli shells, bake 5 seconds less and shape within 10 seconds.