A friend handed me a foil packet at a card game and told me to try one.
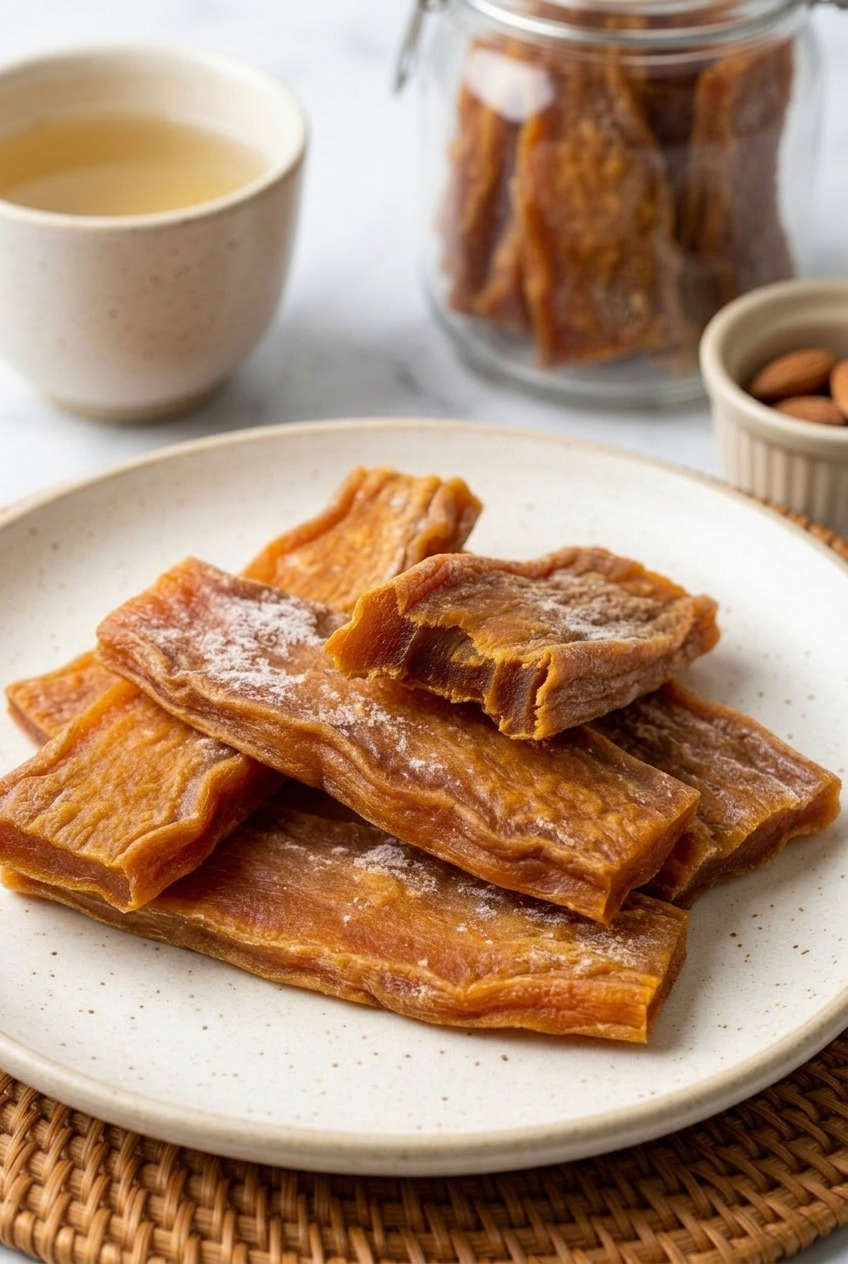
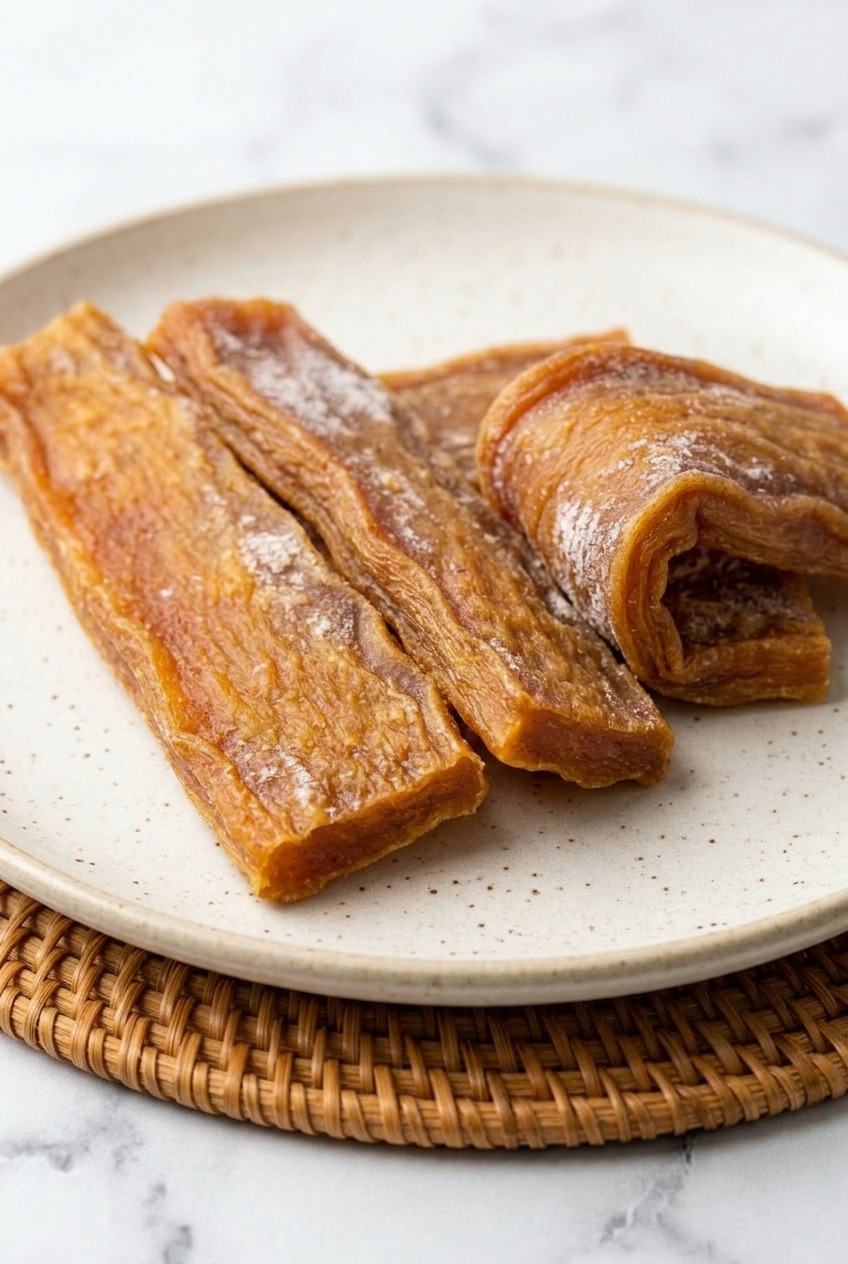
Inside were flat amber colored strips, matte and slightly wrinkled, dusted with what looked like a faint white powder.
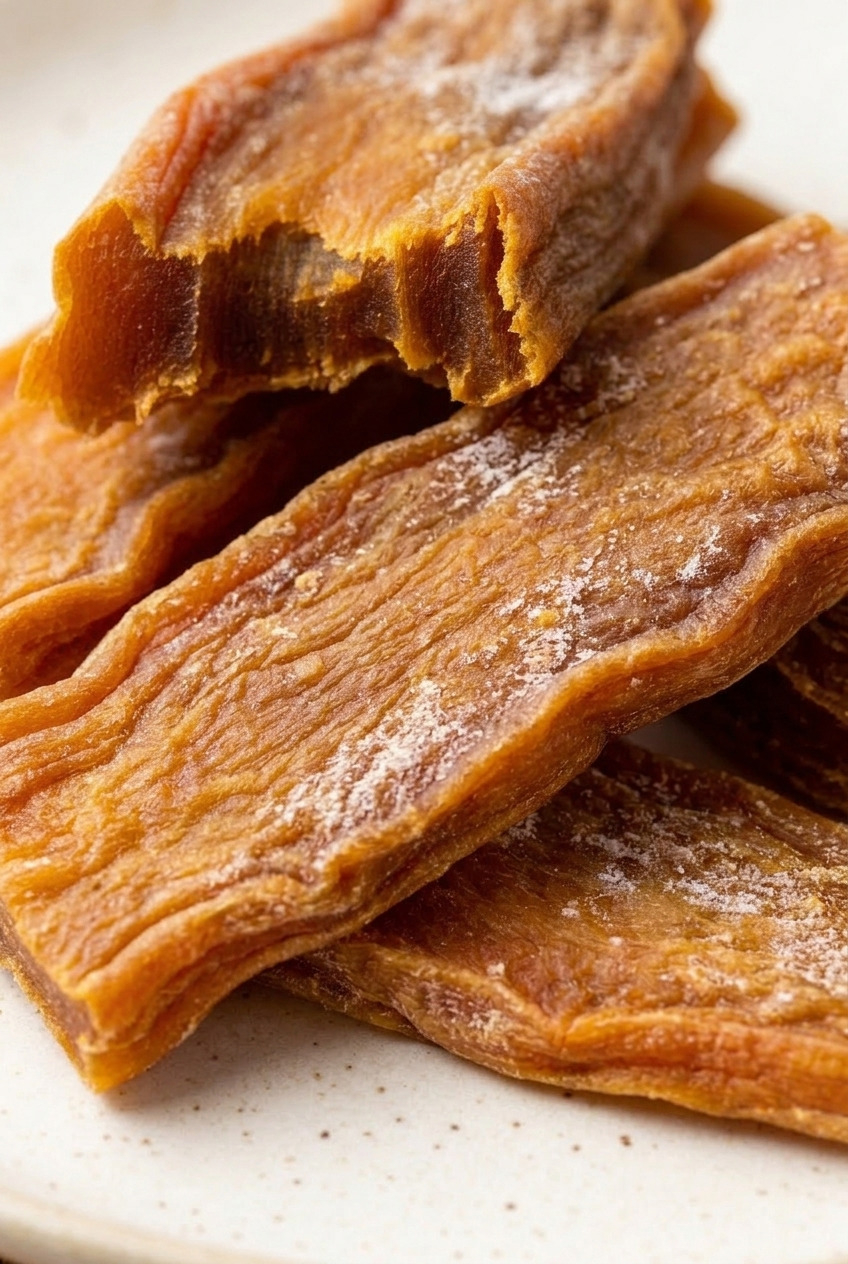
I assumed some kind of dried mango.
The texture caught me completely off guard. Dense, fudgy, chewy in a way that pulls slowly instead of snapping.
Deeply sweet, with a caramel note underneath.
I flipped the packet over expecting a long ingredient list and found exactly one word on it.
Sweet potato. That's it.
No sugar, no syrup, no oil, nothing.
The Korean name is goguma mallaengi. Goguma is the Korean sweet potato and mallaengi just means dried food.
It's a snack aisle staple in Korea, especially associated with Jeju Island where the sweet potatoes come from.
All of the sweetness you taste is concentration, water leaving and sugar staying behind.
Here's the part I want to be honest about: this takes two or three days.
Almost none of that is work. It's steam, chill overnight, slice, then let a dehydrator or the sun do the rest while you go about your life.
The active time is maybe 45 minutes total.
I keep a jar on the counter now and it never lasts a full week.
What Goguma Mallaengi Is
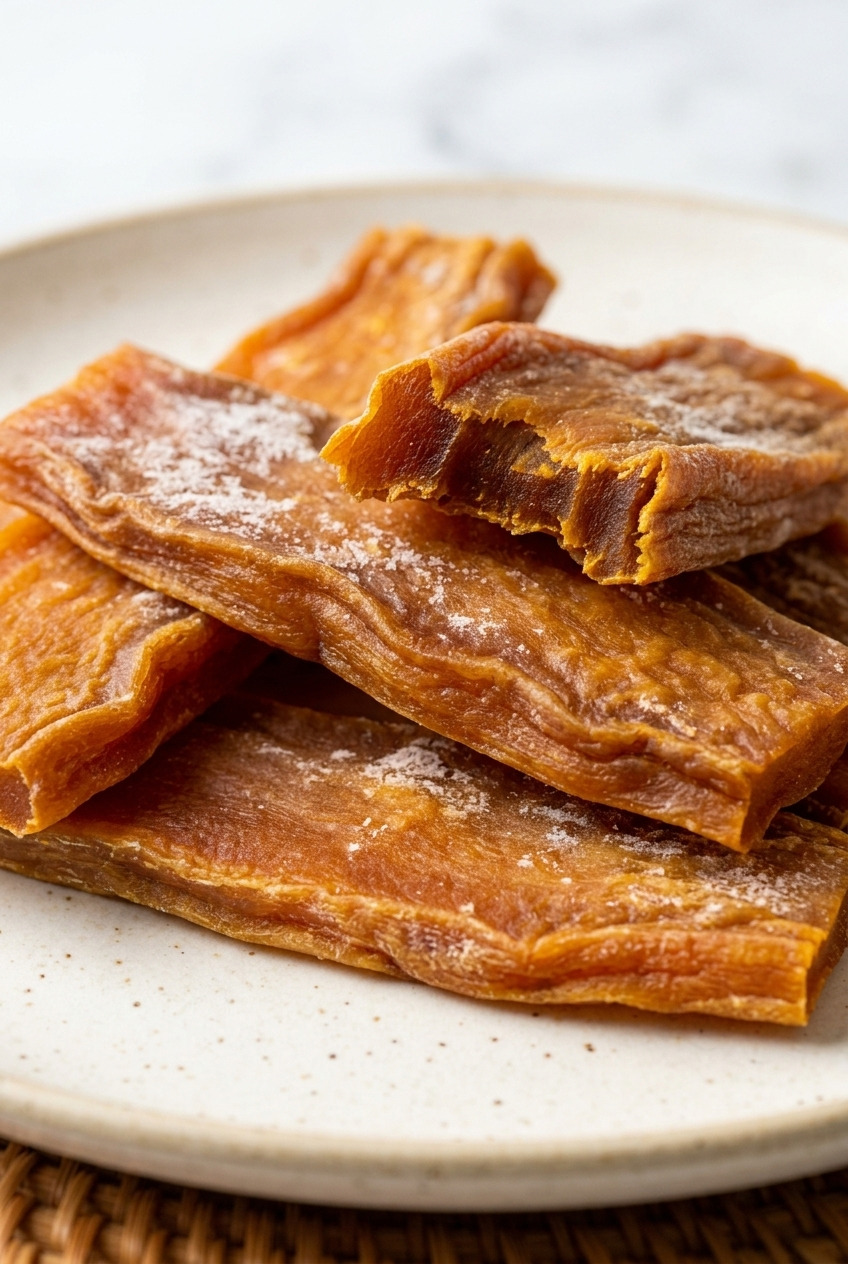
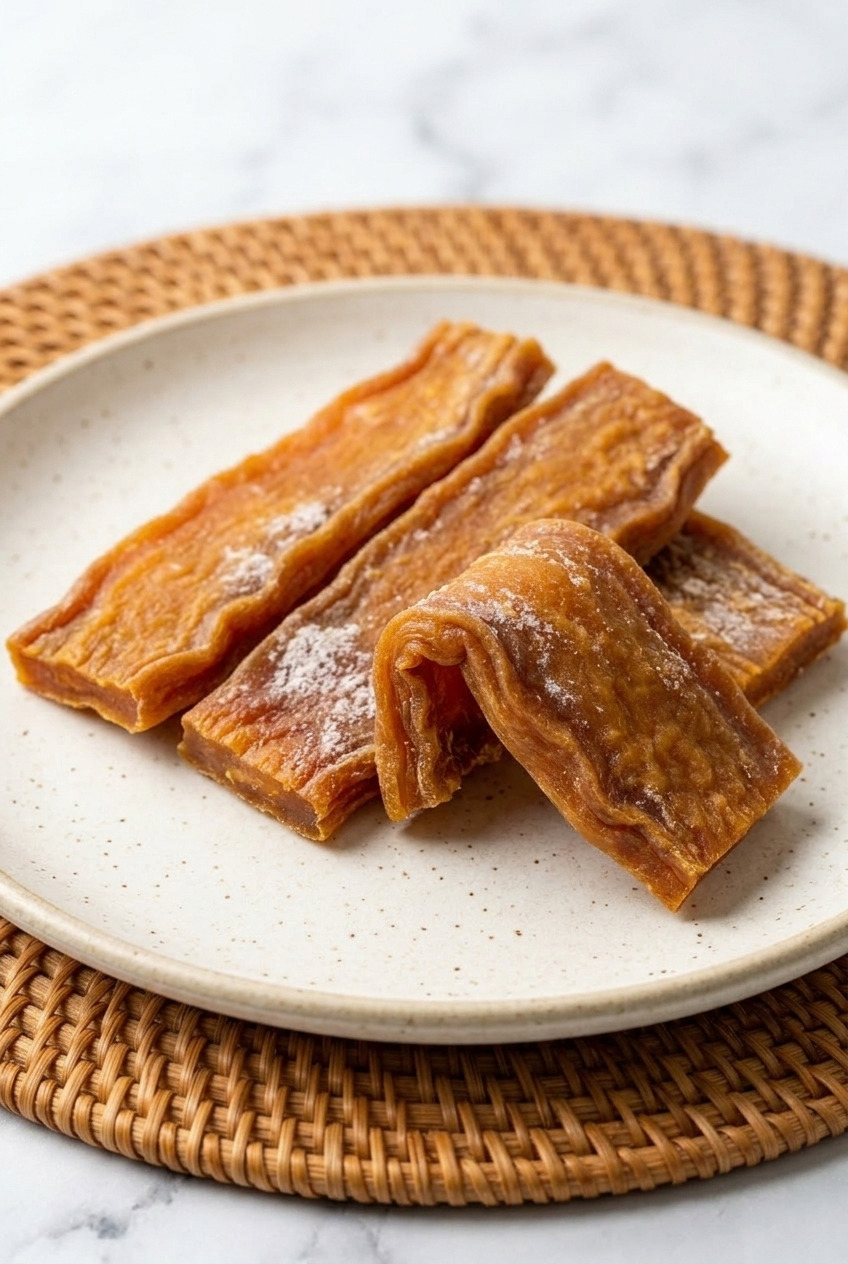
It's dried Korean sweet potato, and nothing else. The sweet potato is steamed until fully soft, cooled, sliced, then dried slowly until it turns leathery on the outside and fudgy in the middle.
Mallaengi is a general Korean word for dried food. You'll see it attached to dried radish (mu mallaengi) and other dried vegetables too.
In Korea it's sold in small snack packets right alongside candy, and it's a common thing to keep in a bag for a long drive or a hike.
Jeju Island is the place most associated with it. Sweet potato is a major crop there, and dried goguma has historically been shipped from Jeju to relatives across the country in big paper sacks.
The commercial packets are usually softer and moister than homemade, because they're often partially rehydrated and vacuum sealed.
Yours will be a bit firmer and considerably more flavorful. I prefer it.
The white bloom you sometimes see on the surface is not mold. It's sugar crystallizing as the moisture leaves, and it's a sign you did it right.
Korean Sweet Potatoes, and Why the Variety Decides Everything
This recipe has one ingredient, so that ingredient is the entire recipe. Variety matters more here than in anything else I make.
- Goguma (Korean sweet potato). Purple to deep red skin, pale yellow flesh. Dense, dry, and chestnut sweet. The low moisture is the whole reason it dries into a fudgy chew instead of a hard chip. Look at H Mart or any Korean grocer.
- Japanese satsumaimo. Purple skinned with cream flesh, very close in texture and moisture. An excellent stand in and often stocked at regular supermarkets now.
- American orange sweet potato. I'll be straight with you: it's the weakest option. It holds far more water, so it shrinks harder and dries into a thin leathery strip rather than a dense chew. If it's what you've got, cut the slices to a ½ inch instead of a third and expect a different snack.
Buying tip: pick firm ones with tight skin and no soft spots or sprouting. Sweet potatoes that have been stored a few weeks are actually sweeter than freshly dug ones, because the starch keeps converting in storage.
One Ingredient, No Added Sugar
Nothing is added to these. Not a gram of sugar. That surprises everybody, because they taste like candy.
Two things are happening.
The first is the steam. Sweet potato contains an enzyme that converts starch into maltose, and it works hardest during slow, moist heat. A long steam builds a lot more sugar than the raw vegetable ever had.
The second is the drying. Take three quarters of the water out and everything left behind, sugar included, becomes concentrated.
Same reason a raisin is sweeter than a grape.
So the flavor isn't a trick of seasoning. It's just sweet potato with most of its water removed.
Ingredients
- Korean sweet potatoes (3 pounds). Or Japanese satsumaimo. That is the complete ingredient list.
No sugar, no oil, no salt, no coating of any kind.
About the yield: 3 pounds of raw sweet potato gives you roughly 12 ounces of finished chews. That's a shrink of about 75 percent, which is why every Korean recipe you'll find calls for 8 or 10 pounds at a time. Once you've made them once, you'll want to scale up too.
Equipment you'll need:
- A steamer basket and a lidded pot, or a bamboo steamer.
- A sharp thin knife. A dull one tears the slices.
- A dehydrator, or an oven that goes down to 170°F, or a drying rack and a couple of dry sunny days.
How to Make Goguma Mallaengi
Step 1: Steam Them Whole
Scrub the sweet potatoes but leave them whole and unpeeled.
Set them in a steamer basket over boiling water, cover, and steam for 40 to 50 minutes depending on thickness.
They're done when a skewer slides straight through the fattest part with zero resistance.
Why steam instead of roast or boil? Steaming keeps the flesh evenly moist all the way through, so it dries into a uniform chew. Roasting dries the outside first and boiling waterlogs the whole thing.
Step 2: Cool, Then Chill Overnight
Let them cool on the counter until you can handle them.
Then refrigerate them, uncovered or loosely covered, overnight.
This is the step people skip and it's the one that matters most. Warm steamed sweet potato is soft enough that it tears when you slice it. Cold, set sweet potato cuts into clean even slabs.
Skip it and half your batch falls apart.
Step 3: Peel and Slice
The skins slip off cold sweet potato with your fingers. No peeler needed.
Slice each one lengthwise into planks a firm ⅓ inch thick.
Thickness is not a suggestion here. Thinner than a quarter inch dries into a brittle chip. Thicker than a half inch will not dry through the middle, and a wet core means mold in the jar two weeks later.
Step 4: Dry Them
Lay the slices in a single layer with space between them so air moves on all sides.
Pick your method from the next section. Whichever you choose, flip the slices roughly halfway through.
Step 5: Condition
Once they're done, pile them loosely in a jar, seal it, and leave it on the counter for 3 to 4 days, shaking it once a day.
Some slices always end up drier than others, and this evens the moisture out across the whole batch.
If you see any condensation on the inside of the jar, they weren't dry enough. Back on the racks for a few more hours.
Three Ways to Dry Them
Sun Drying, the Traditional Method
This is how it's actually done in Korea, on rooftops and courtyards and along walls, and it's still the best flavor.
Lay the slices on mesh racks and set them somewhere with direct sun and moving air.
You need 3 to 5 dry days with low humidity. Bring the racks indoors every evening so the slices don't take on overnight moisture, and cover them with mesh during the day for the obvious reasons.
Flip them once daily.
Fair warning: humidity kills this method. If your dew points are high, use the dehydrator and don't feel bad about it.
Dehydrator
The reliable route and what I use most of the time.
Set it to 135°F and run it for 8 to 12 hours, flipping the slices and rotating the trays at the halfway point.
Start checking at 8 hours. Trays near the fan finish first.
Oven
Works, uses a lot of energy, and needs watching.
Set the oven to its lowest temperature, ideally 170°F or below, and prop the door open a couple of inches with a wooden spoon so moisture escapes.
Arrange the slices on a wire rack set over a sheet pan and go 4 to 6 hours, flipping every 90 minutes.
Ovens run hot at the bottom of their range, so check on the early side.
How to Tell When They Are Done
Nobody gives you a real test for this, and it's the difference between a great batch and a moldy jar. Use all three checks.
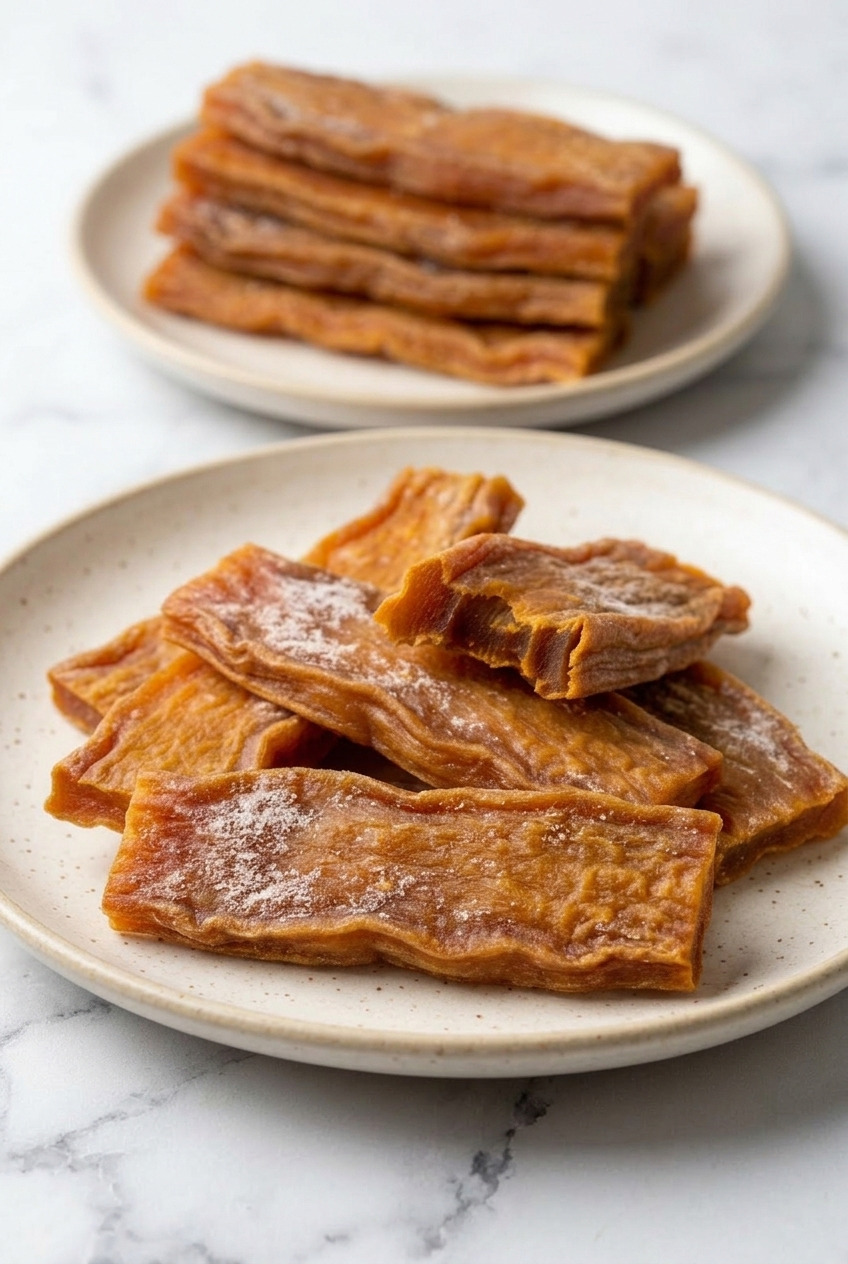
- The bend test. Pick up a cooled slice and bend it. It should fold most of the way over and spring back without cracking or snapping. If it snaps, it's over dried. If it flops limply, it needs more time.
- The surface feel. Dry and slightly tacky, like a dried fig. Never wet, never sticky enough to cling to your fingers.
- The tear test. Tear one slice in half and look at the cut edge. It should be uniformly dense and dark amber the whole way through. Any lighter, softer, visibly moist core means it goes back on the rack.
Cool a slice fully before you judge it. Warm slices always feel softer than they are.
Tips for Fudgy, Not Leathery
- Chill before slicing. The overnight refrigerator rest is the single highest value step in this whole recipe.
- Cut them evenly. One thin slice in a tray of thick ones will be a chip while the others are still wet.
- Do not crowd the racks. Slices touching each other stay damp where they meet, and that damp spot is where mold starts.
- Steam, do not boil. Boiled sweet potato takes on water and washes out the sugars you're trying to concentrate.
- Lower and slower beats hotter and faster. High heat cases the outside over and traps moisture inside, which is exactly the failure you want to avoid.
- Do the conditioning rest. Four days in a jar redistributes moisture across the batch and it's what makes commercial ones so consistent.
How to Eat Them
- Straight from the jar. How they're meant to be eaten. Two or three at a time.
- With tea. Barley tea or roasted corn tea is the Korean pairing and it's a good one.
- Lightly toasted. Thirty seconds in a dry pan or a toaster oven warms them into something softer and more aromatic.
- Cubed into trail mix. Snip them into pieces with kitchen shears and toss with almonds and pumpkin seeds.
- Packed for a drive. No refrigeration, no mess, no crumbs. They're the ideal car snack.
Storage
- Room temperature. Airtight jar, 2 to 3 weeks. Check the jar for condensation in the first few days.
- Refrigerator. Up to 3 months airtight, and they stay chewier this way.
- Freezer. Up to 6 months. They don't freeze hard, so you can eat them straight out of the bag.
- Watch for moisture. Any residual water is the only real risk. If a slice ever feels damp or smells off, throw the batch out.
- The white bloom is fine. Crystallized sugar, not mold. Mold is fuzzy and colored, sugar bloom is flat and powdery.
Recipe
Goguma Mallaengi (Korean Dried Sweet Potato Chews)
Ingredients
- 3 pounds Korean sweet potatoes (goguma) or Japanese satsumaimo. This is the complete ingredient list, with no sugar, oil or salt
Instructions
Steam and Chill
- Scrub the sweet potatoes and leave them whole and unpeeled. Set them in a steamer basket over boiling water, cover, and steam 40 to 50 minutes, until a skewer slides through the thickest part with no resistance.
- Cool on the counter until you can handle them, then refrigerate overnight. Cold, set sweet potato slices cleanly, while warm sweet potato tears apart. Do not skip this step.
Peel and Slice
- Slip the skins off with your fingers. They come away easily once the sweet potatoes are cold.
- Slice each sweet potato lengthwise into planks a firm ⅓ inch thick. Thinner slices dry into brittle chips and thicker ones will not dry through the middle.
Dry
- Lay the slices in a single layer on drying racks with space between them so air moves on all sides.
- SUN DRYING: set the racks in direct sun with moving air for 3 to 5 dry days, flipping once a day, covering with mesh, and bringing them indoors each evening.
- DEHYDRATOR: dry at 135F for 8 to 12 hours, flipping the slices and rotating the trays halfway through. Start checking at 8 hours.
- OVEN: set the oven to its lowest temperature, ideally 170F or below, and prop the door open a couple of inches. Dry on a wire rack set over a sheet pan for 4 to 6 hours, flipping every 90 minutes.
- They are done when a cooled slice bends most of the way over and springs back without cracking, feels dry and slightly tacky, and shows a uniformly dense dark amber interior when torn in half.
Condition
- Pile the finished slices loosely in a jar, seal it, and leave it on the counter for 3 to 4 days, shaking once a day. This evens out the moisture across the batch.
- If condensation appears inside the jar, the slices were not dry enough. Return them to the racks for a few more hours.
Notes
- Yield: 3 pounds of raw sweet potato gives about 12 ounces of finished chews, a shrink of roughly 75 percent. Scale up freely.
- Variety matters: Korean goguma or Japanese satsumaimo have low moisture and dry into a dense fudgy chew. American orange sweet potato holds more water and dries into a thinner leathery strip, so cut those slices to ½ inch.
- Steam, do not boil or roast. Steaming keeps the flesh evenly moist and lets the enzyme convert starch into maltose.
- The overnight chill is mandatory. It is the difference between clean slices and a torn batch.
- The white bloom is crystallized sugar, not mold. Sugar bloom is flat and powdery, mold is fuzzy and colored.
- Storage: airtight at room temperature 2 to 3 weeks, refrigerated up to 3 months, frozen up to 6 months.