Chocolate or peppermint is a question that has started real arguments in my house.
My wife is firmly Team Peppermint, I'm Team Chocolate, and every December our marbled chocolate peppermint spritz cookies are the only thing on the holiday tray we agree on.
It didn't start that way.
For a few years I baked two separate batches, one chocolate and one peppermint, and she'd quietly move hers to her side of the platter.
I'd move mine right back.
This went on until our nephew asked, very seriously, why we were "doing cookie borders."
So one night I split a single batch of peppermint dough, stirred cocoa into half, and loaded both into the cookie press at the same time.
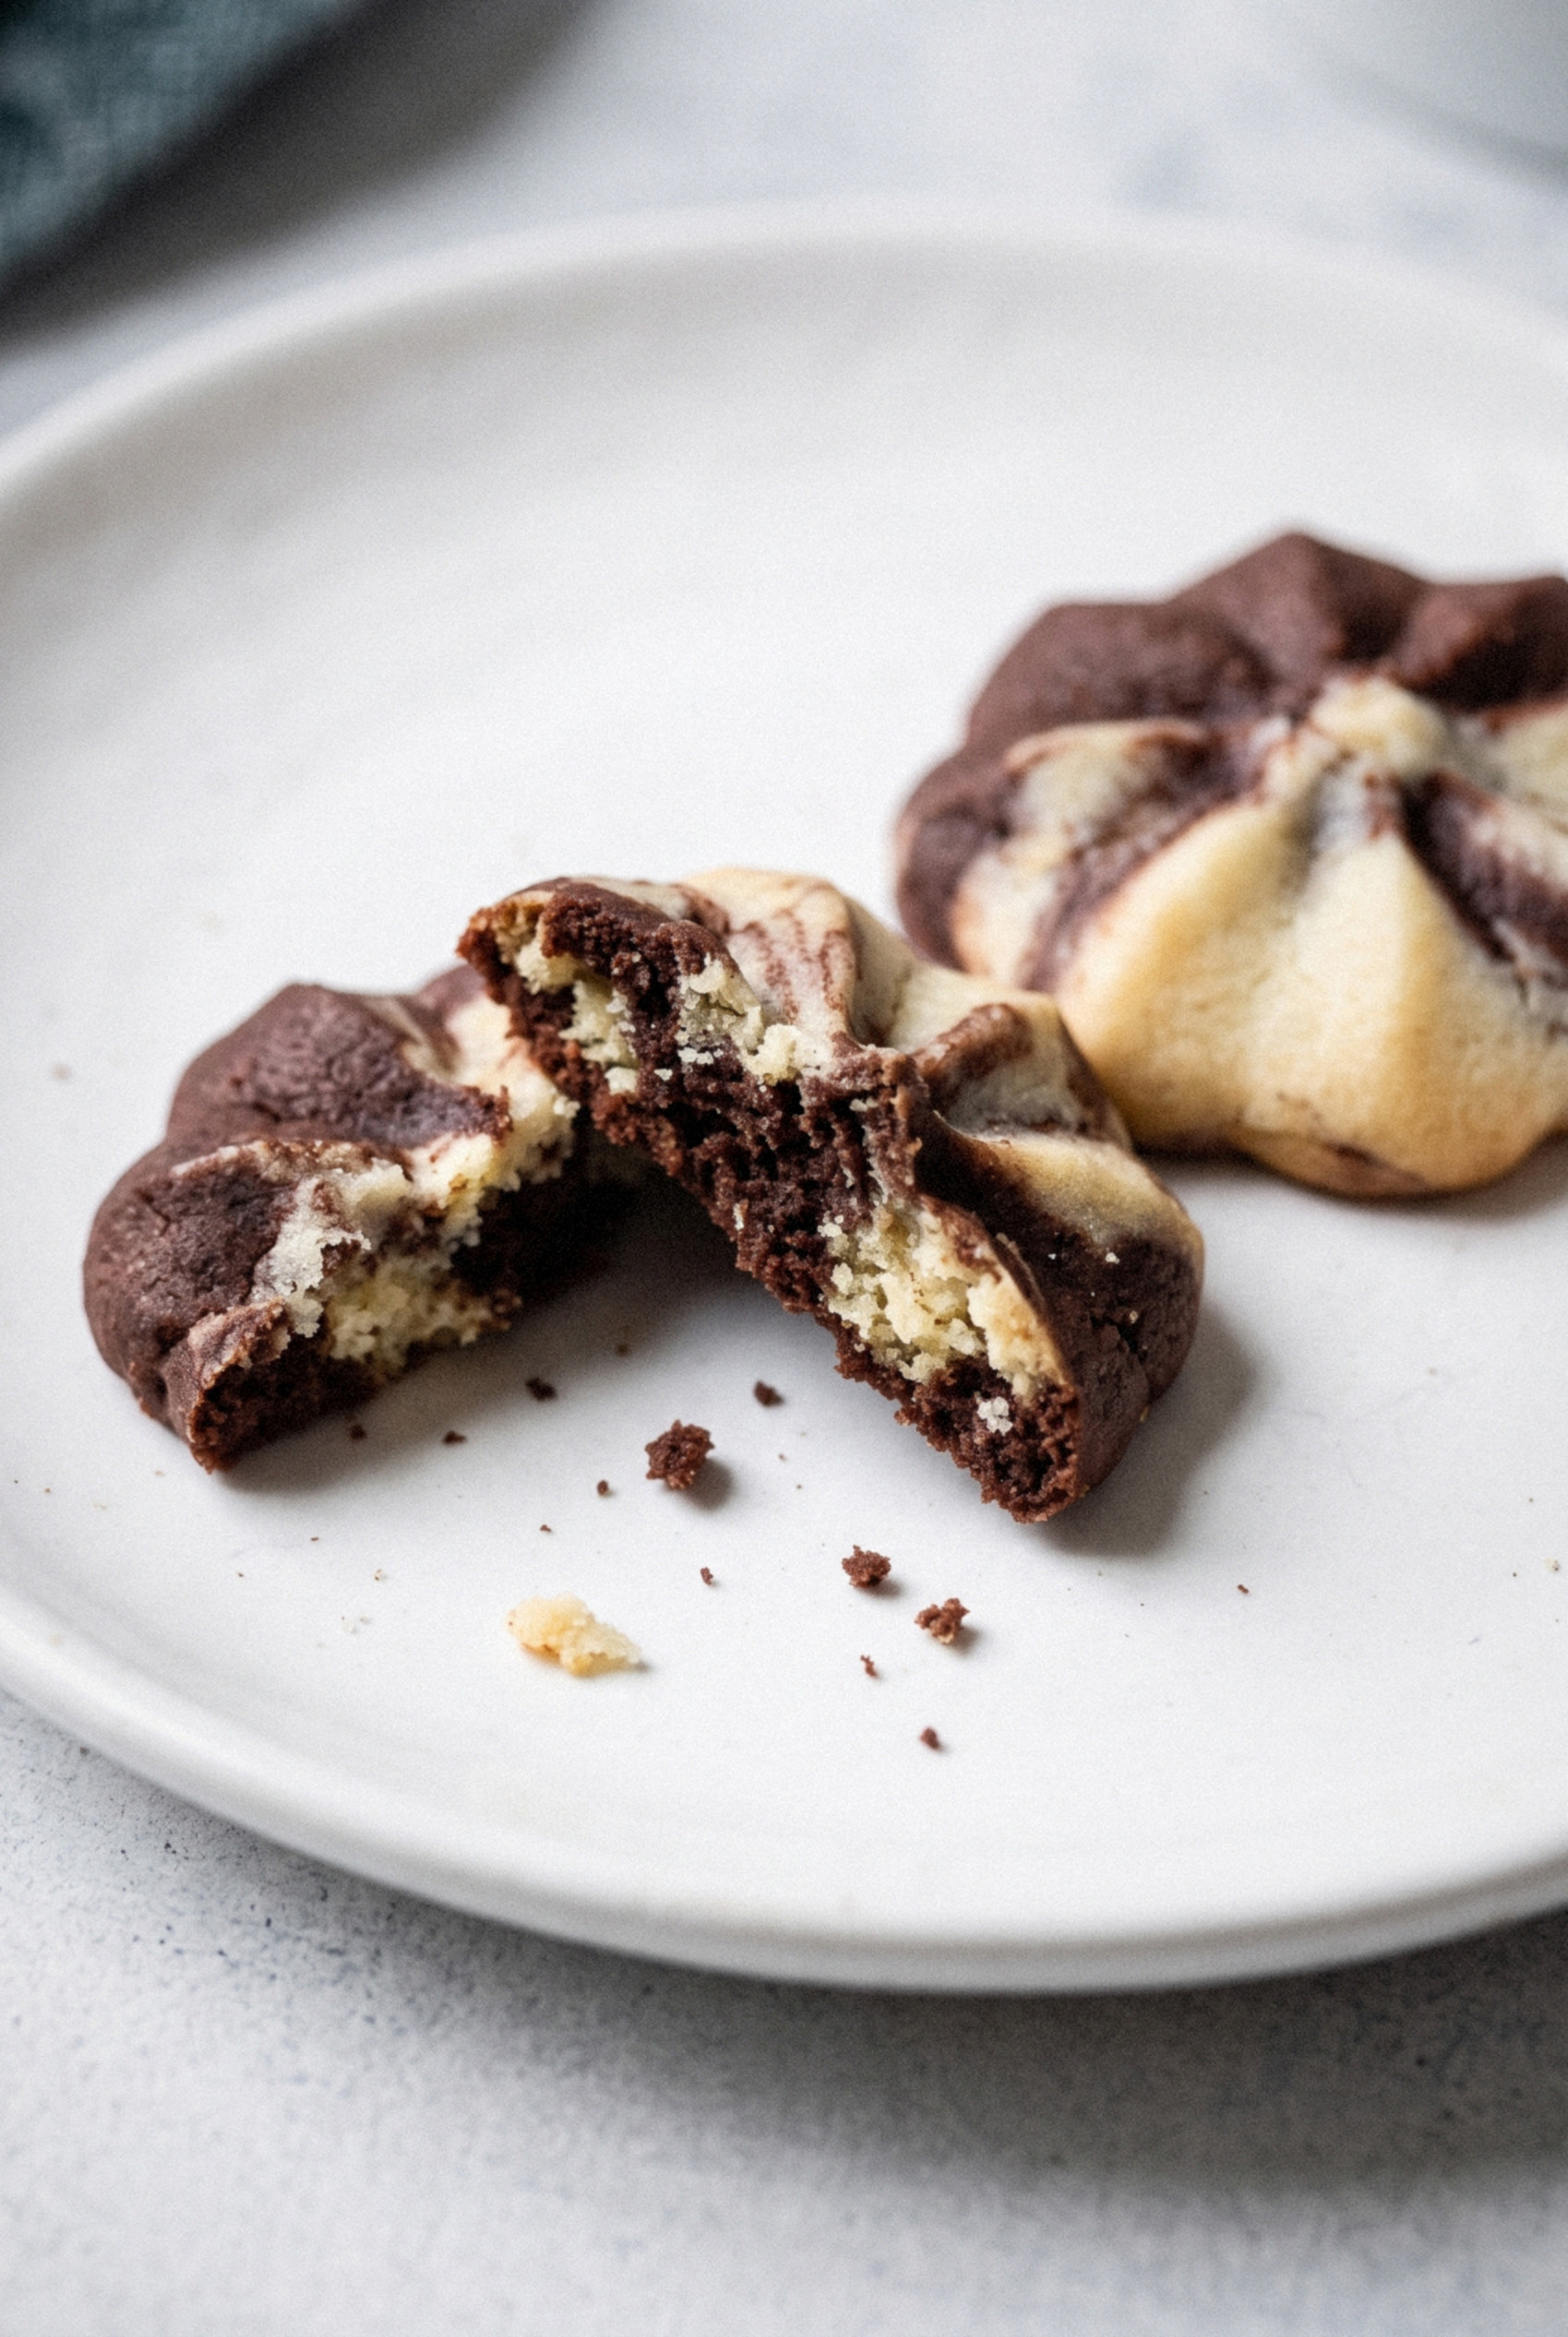
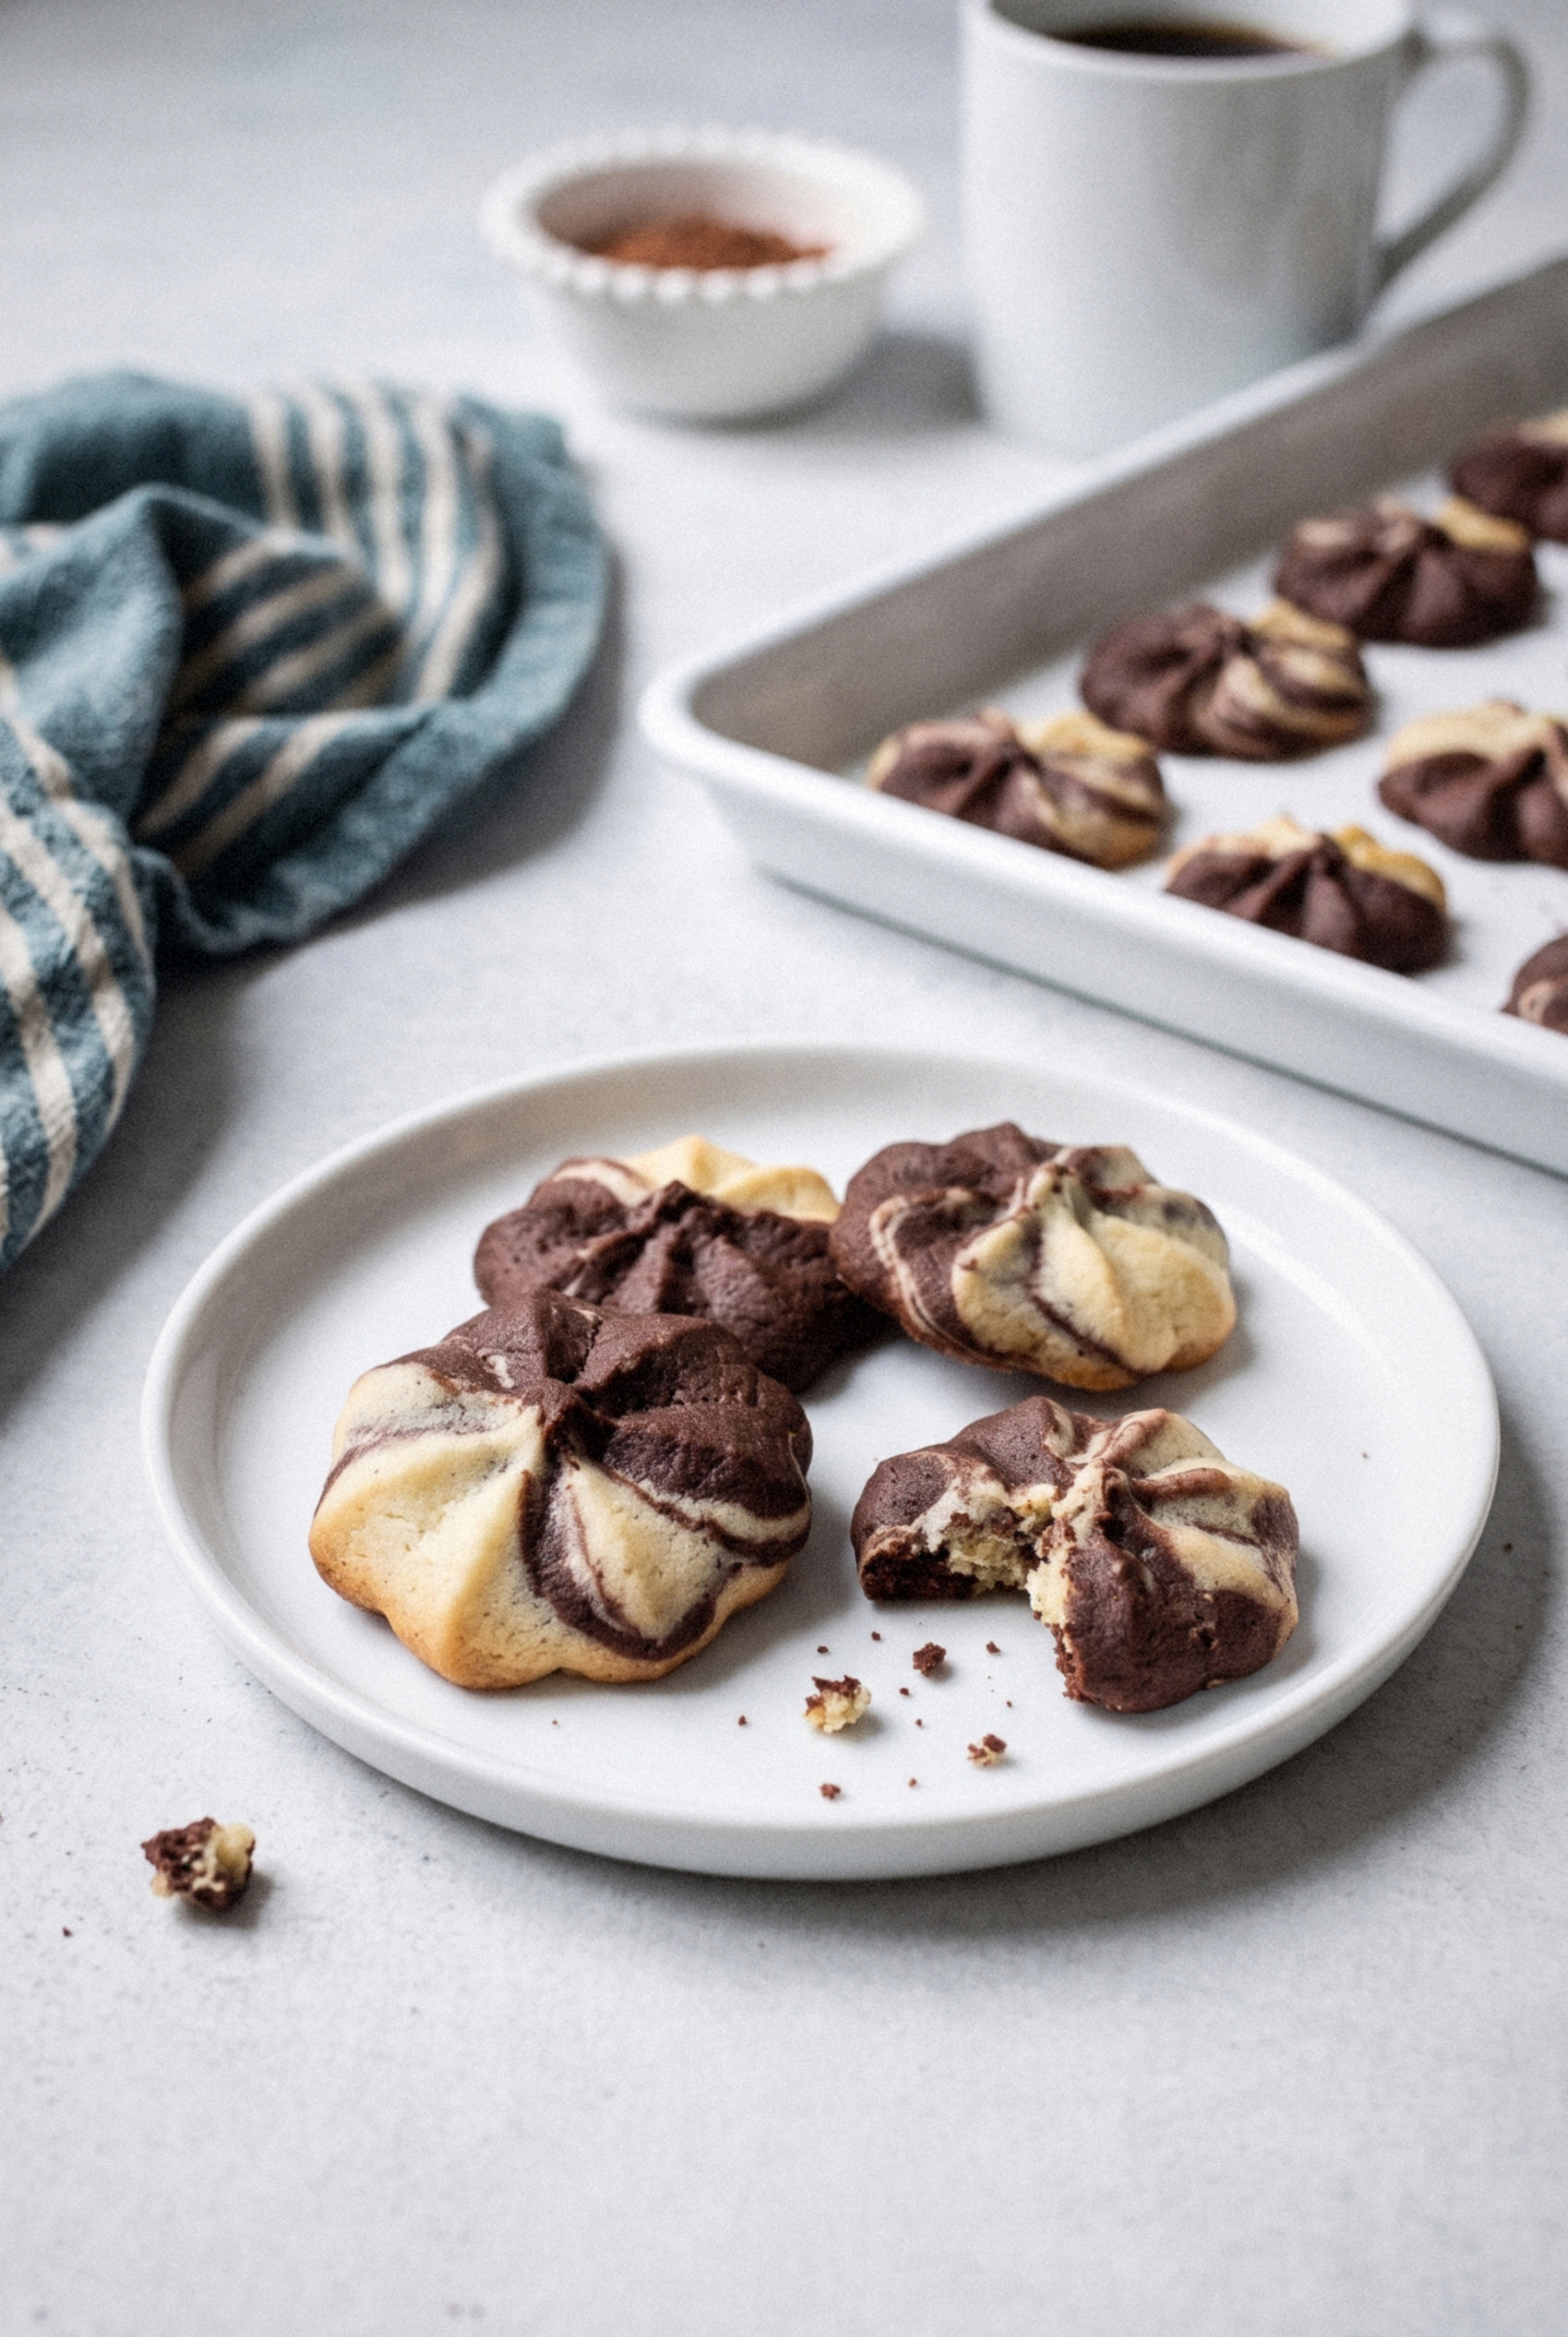
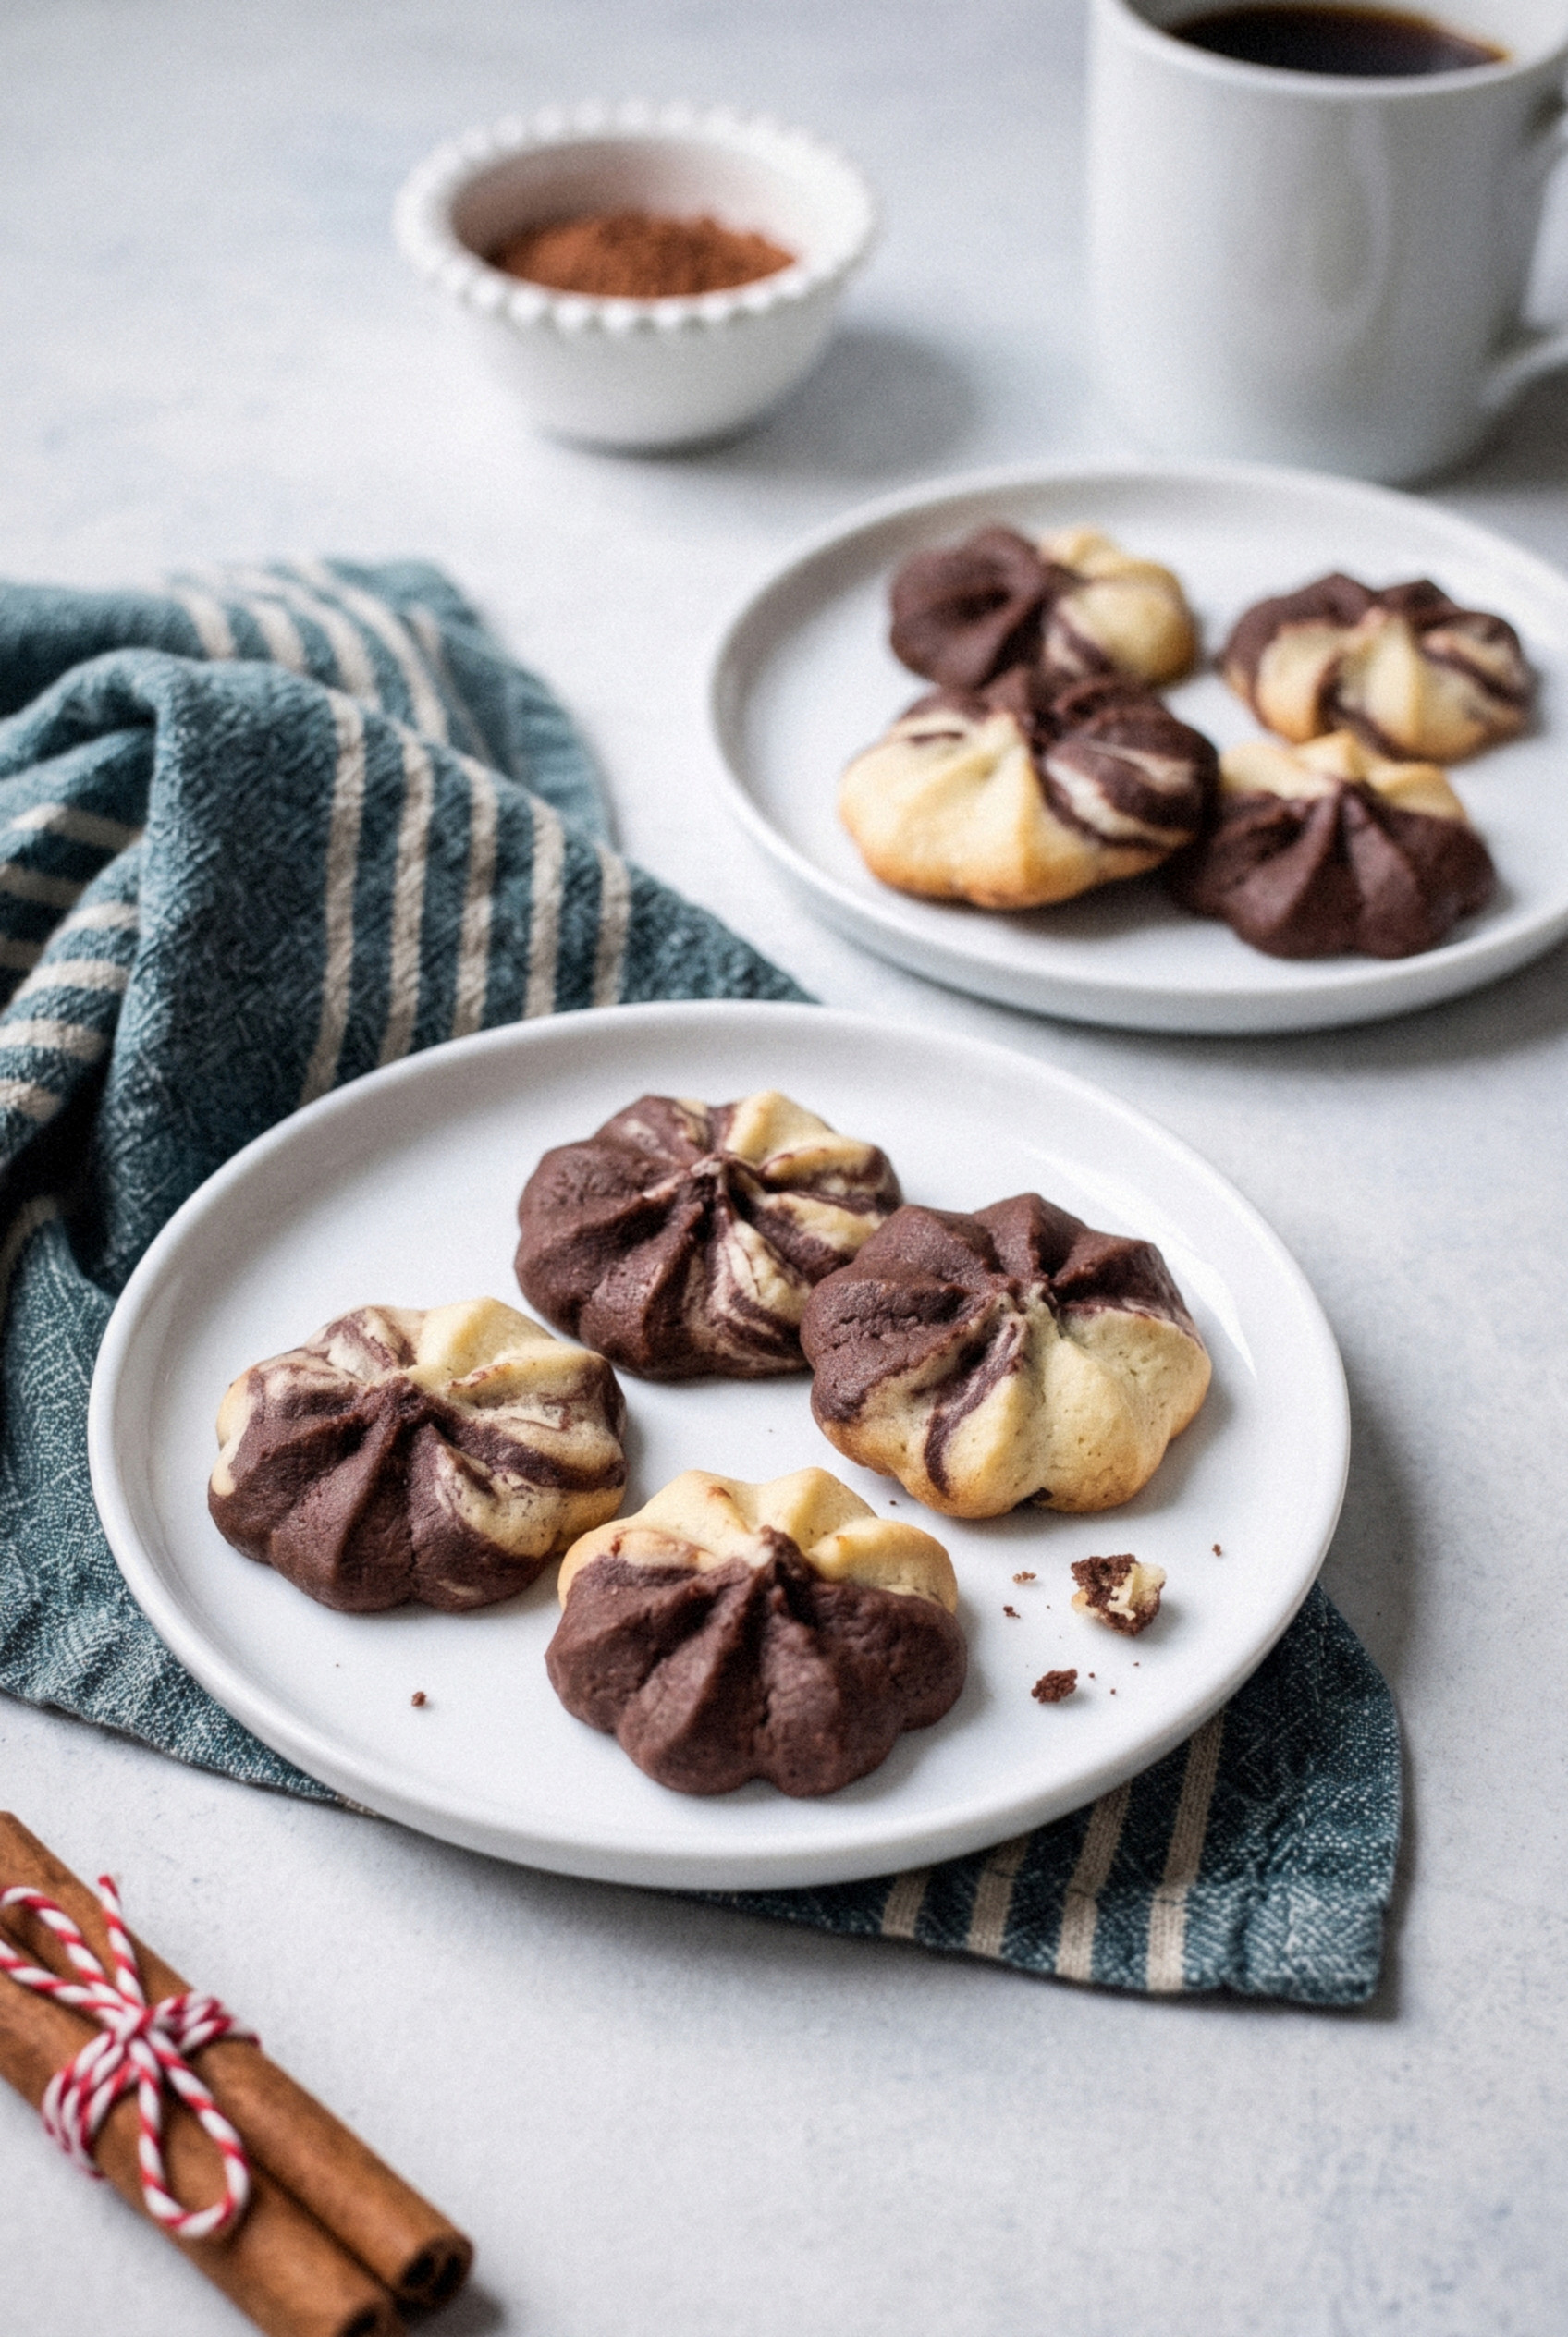
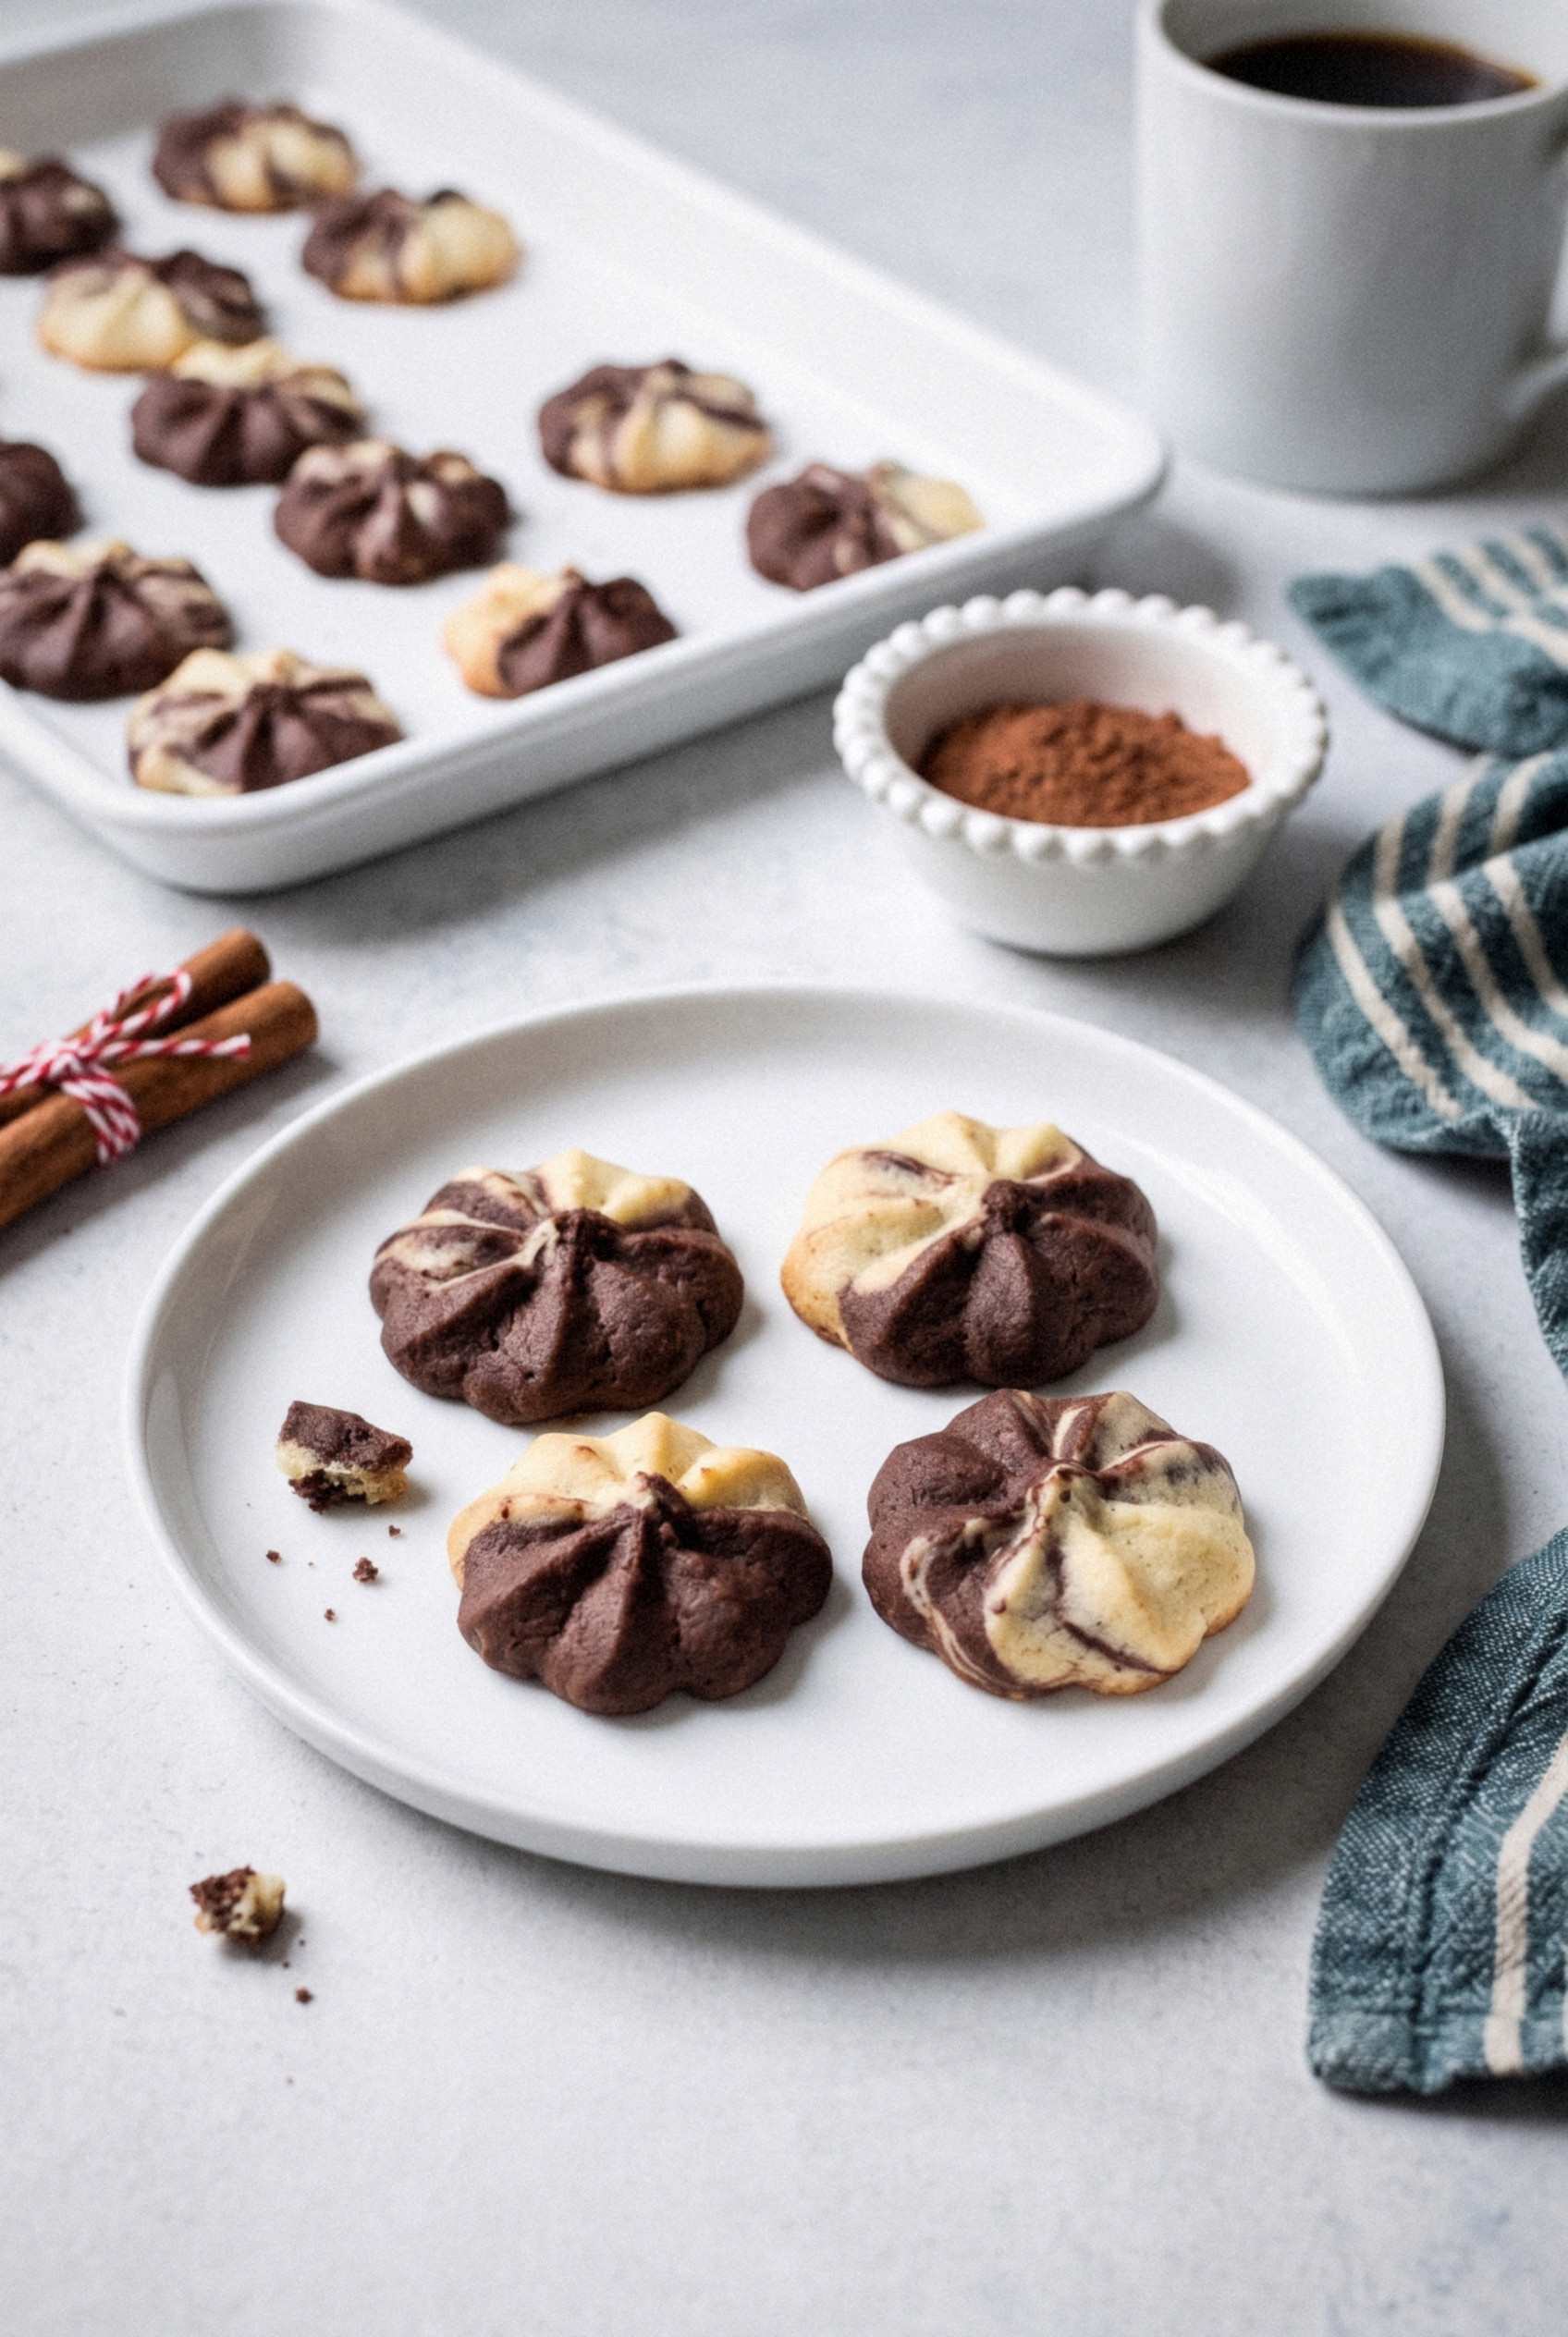
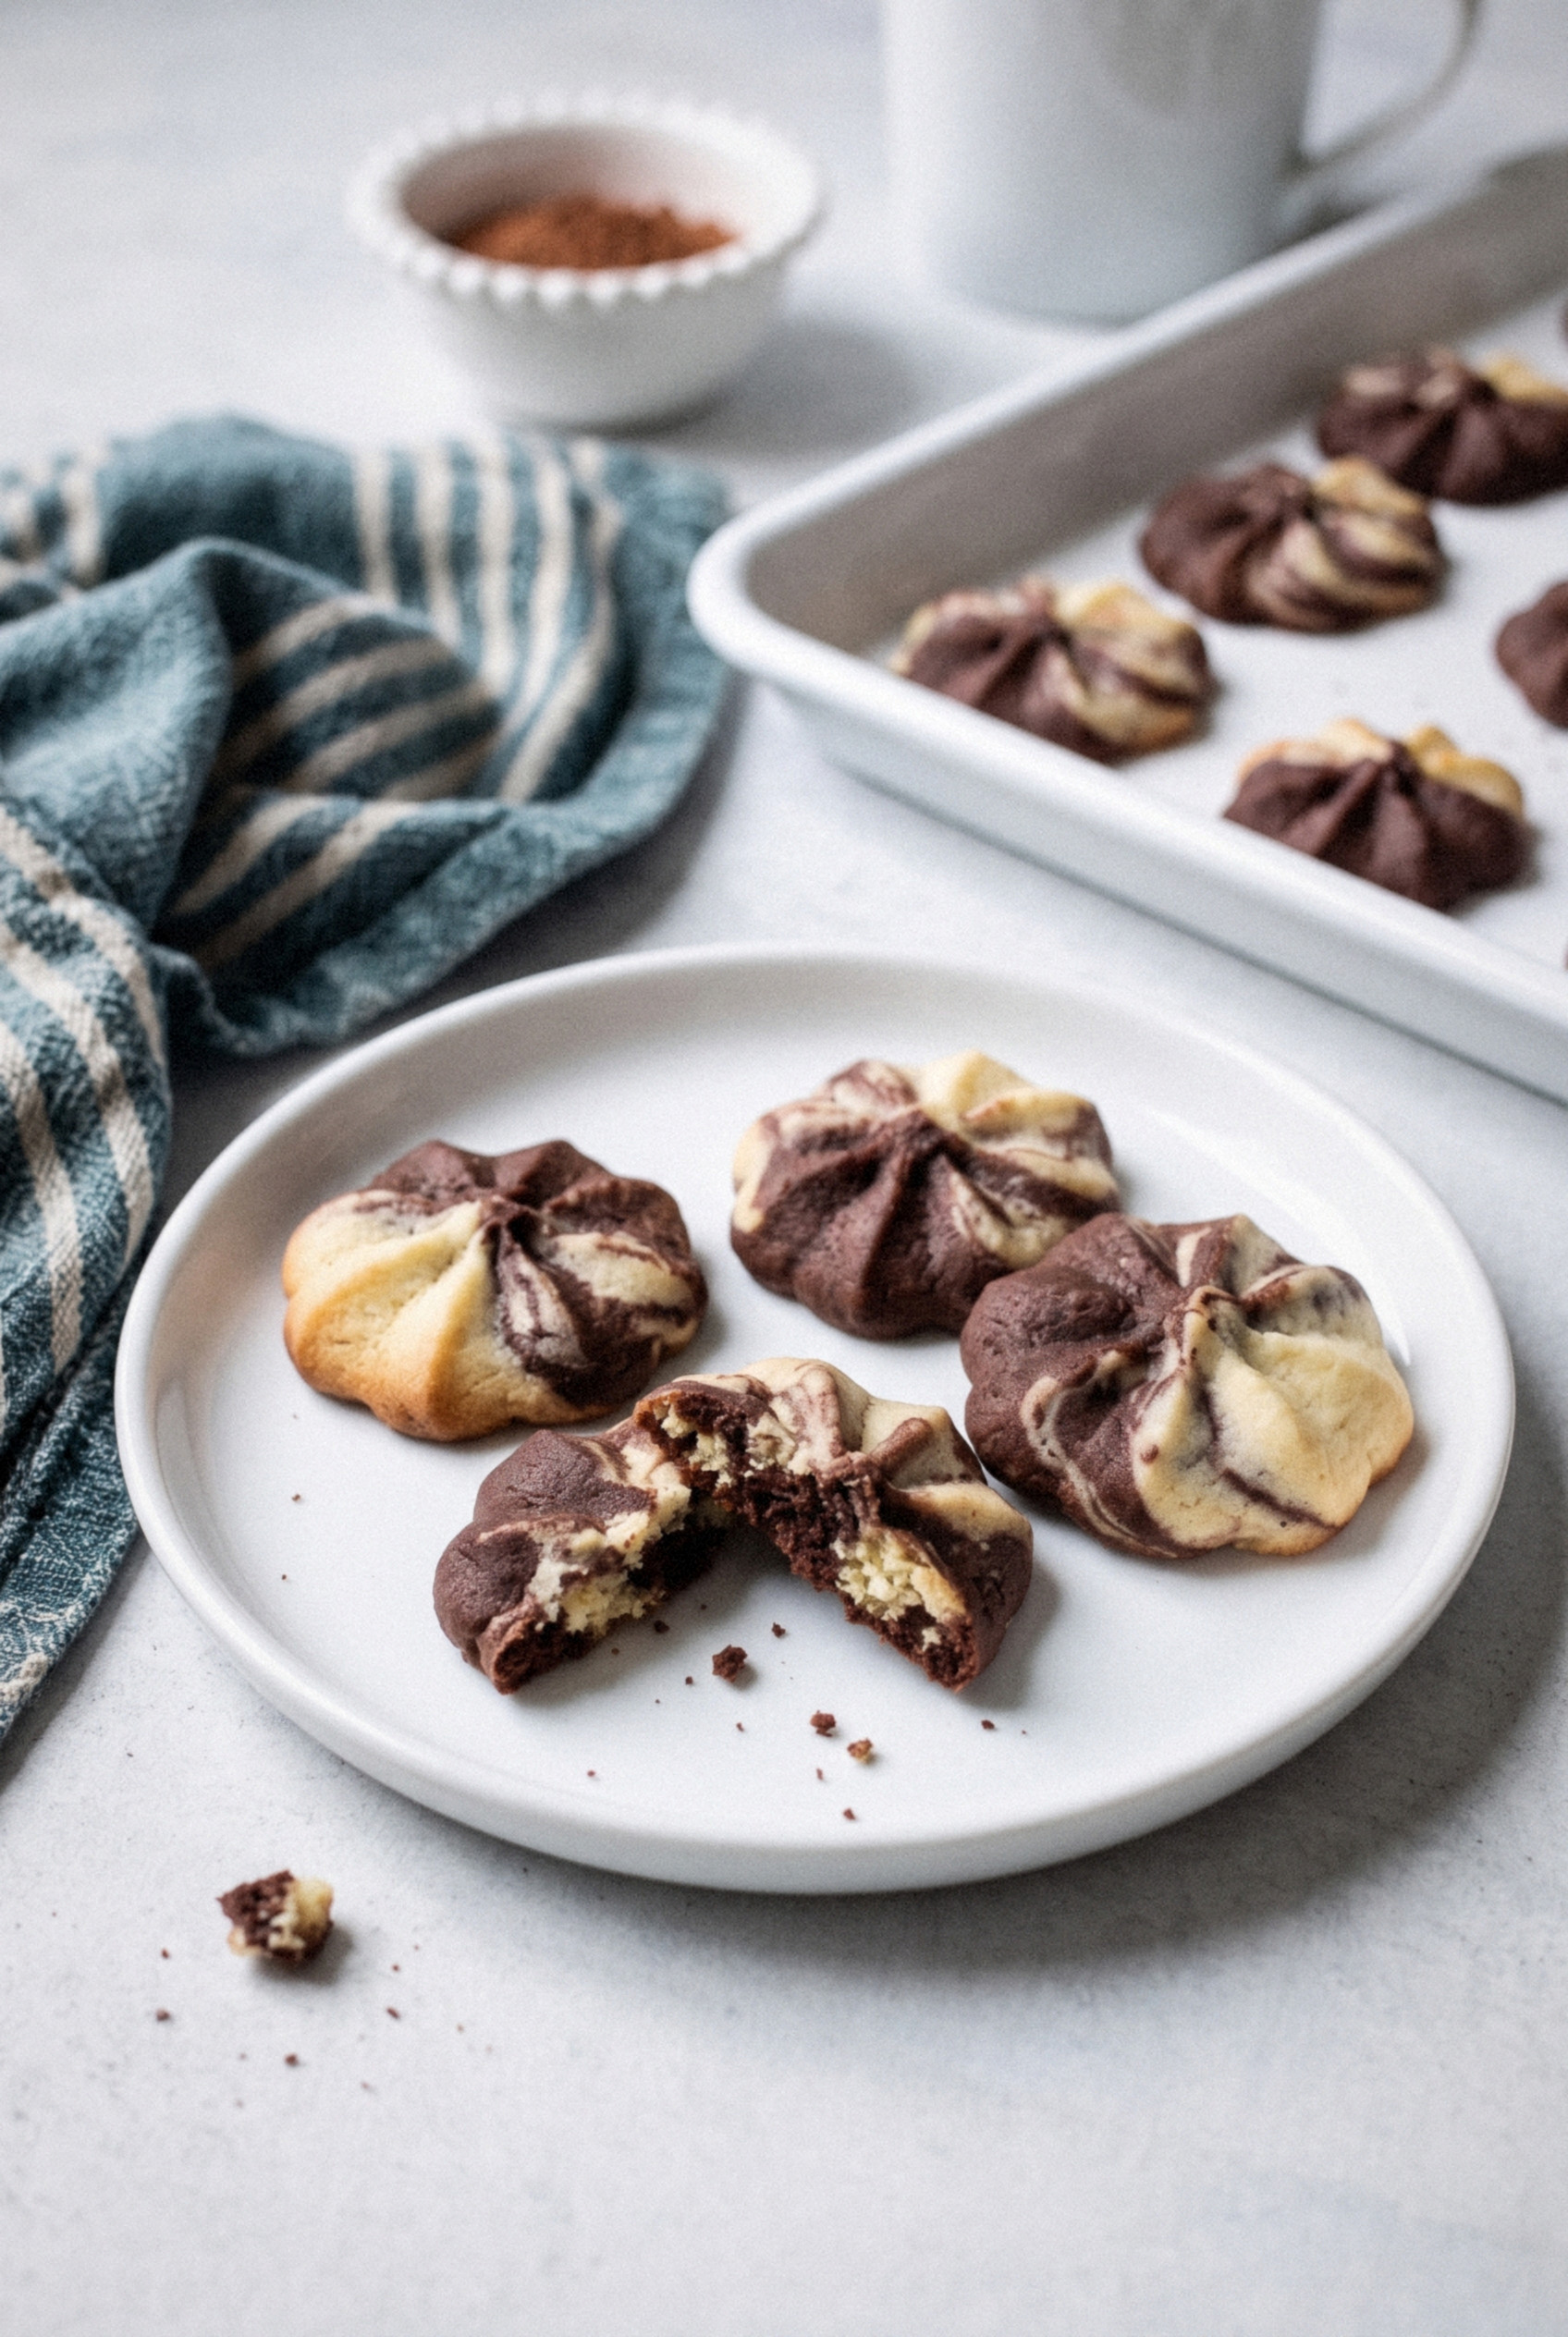
What came out was a little swirled ring of chocolate and cream, cool and minty on one side, deep and cocoa-rich on the other.
Truce declared!
The dough needs no chilling, the cookies bake in about 7 minutes, and one batch makes enough for the tray, the neighbors, and a tin you hide for yourself!
Each one tastes a bit like a thin mint that went soft and buttery on you.
I promise you'll never bake two separate batches again!
What Are Spritz Cookies?
Spritz are German butter cookies shaped with a cookie press. The name comes from the German word spritzen, which means "to squirt," and that's exactly what the press does.
The dough is rich with butter and enriched with an egg, so it's more tender than a classic shortbread.
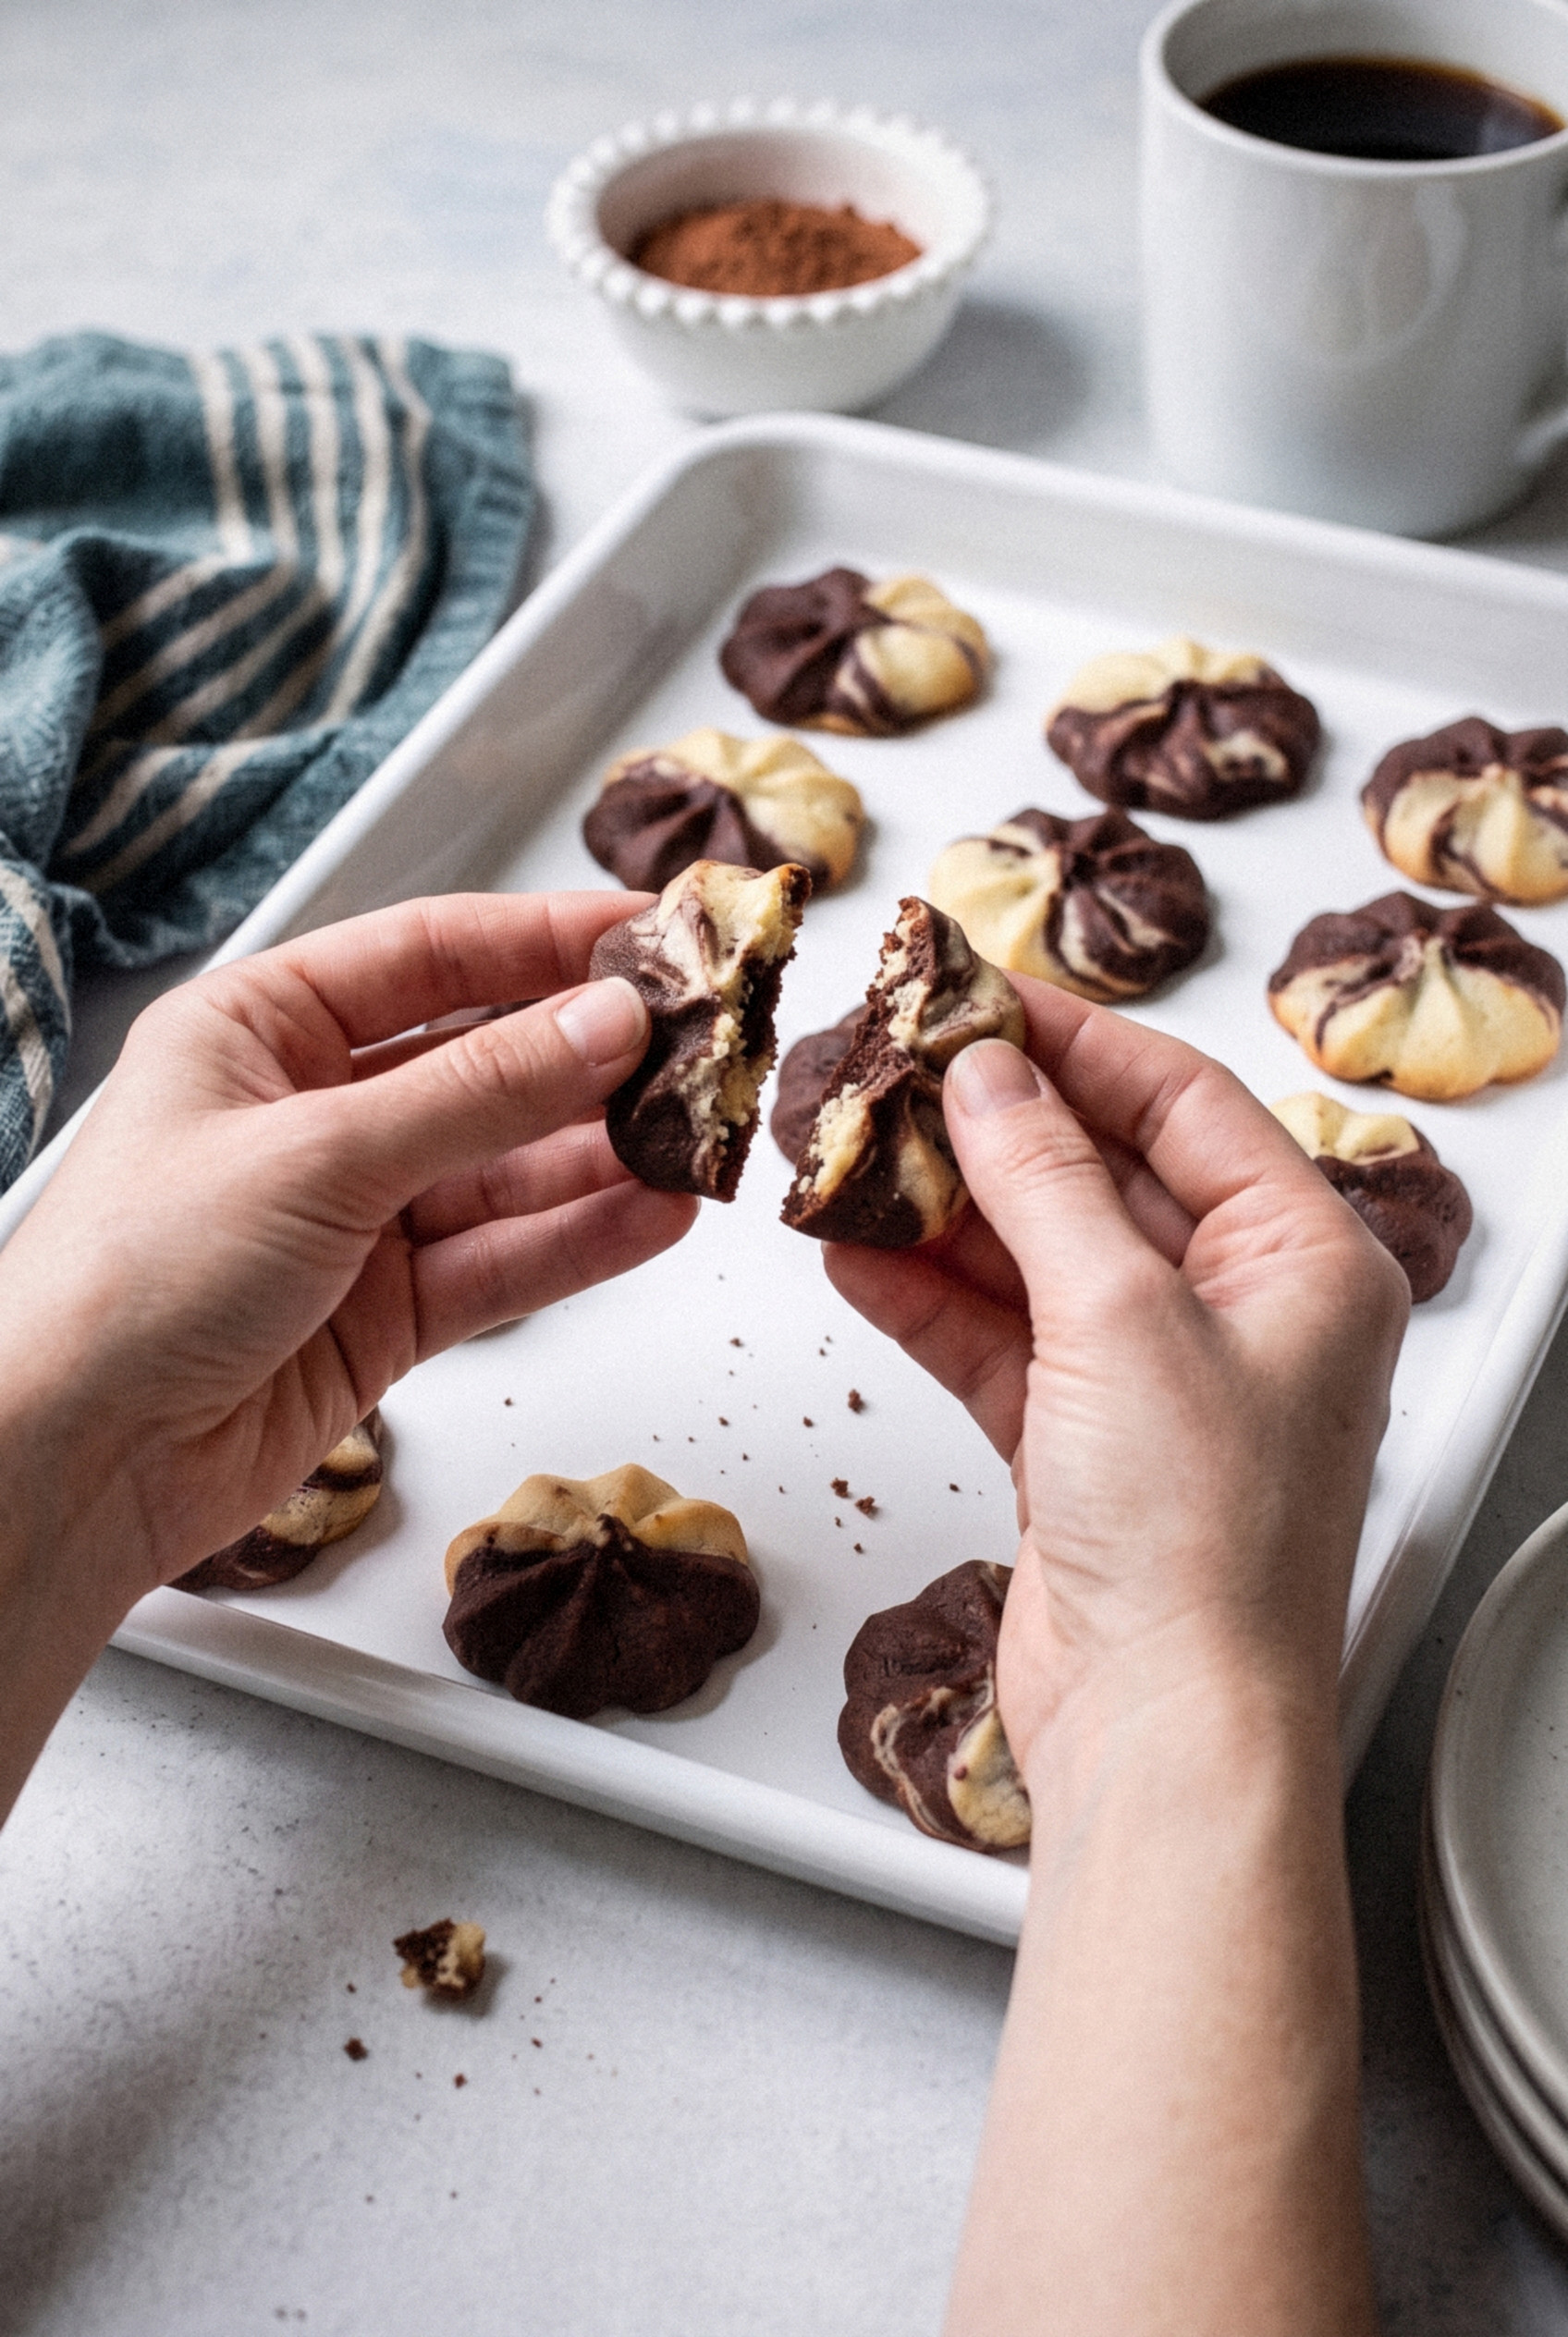
Because the dough isn't chilled, the cookies come out soft-crisp and melt-in-your-mouth instead of snappy.
Spritz are a Christmas cookie tray staple in so many families, mine included. They're small, they look festive, and you can make dozens in under an hour.
This version takes the classic and gives it two personalities!
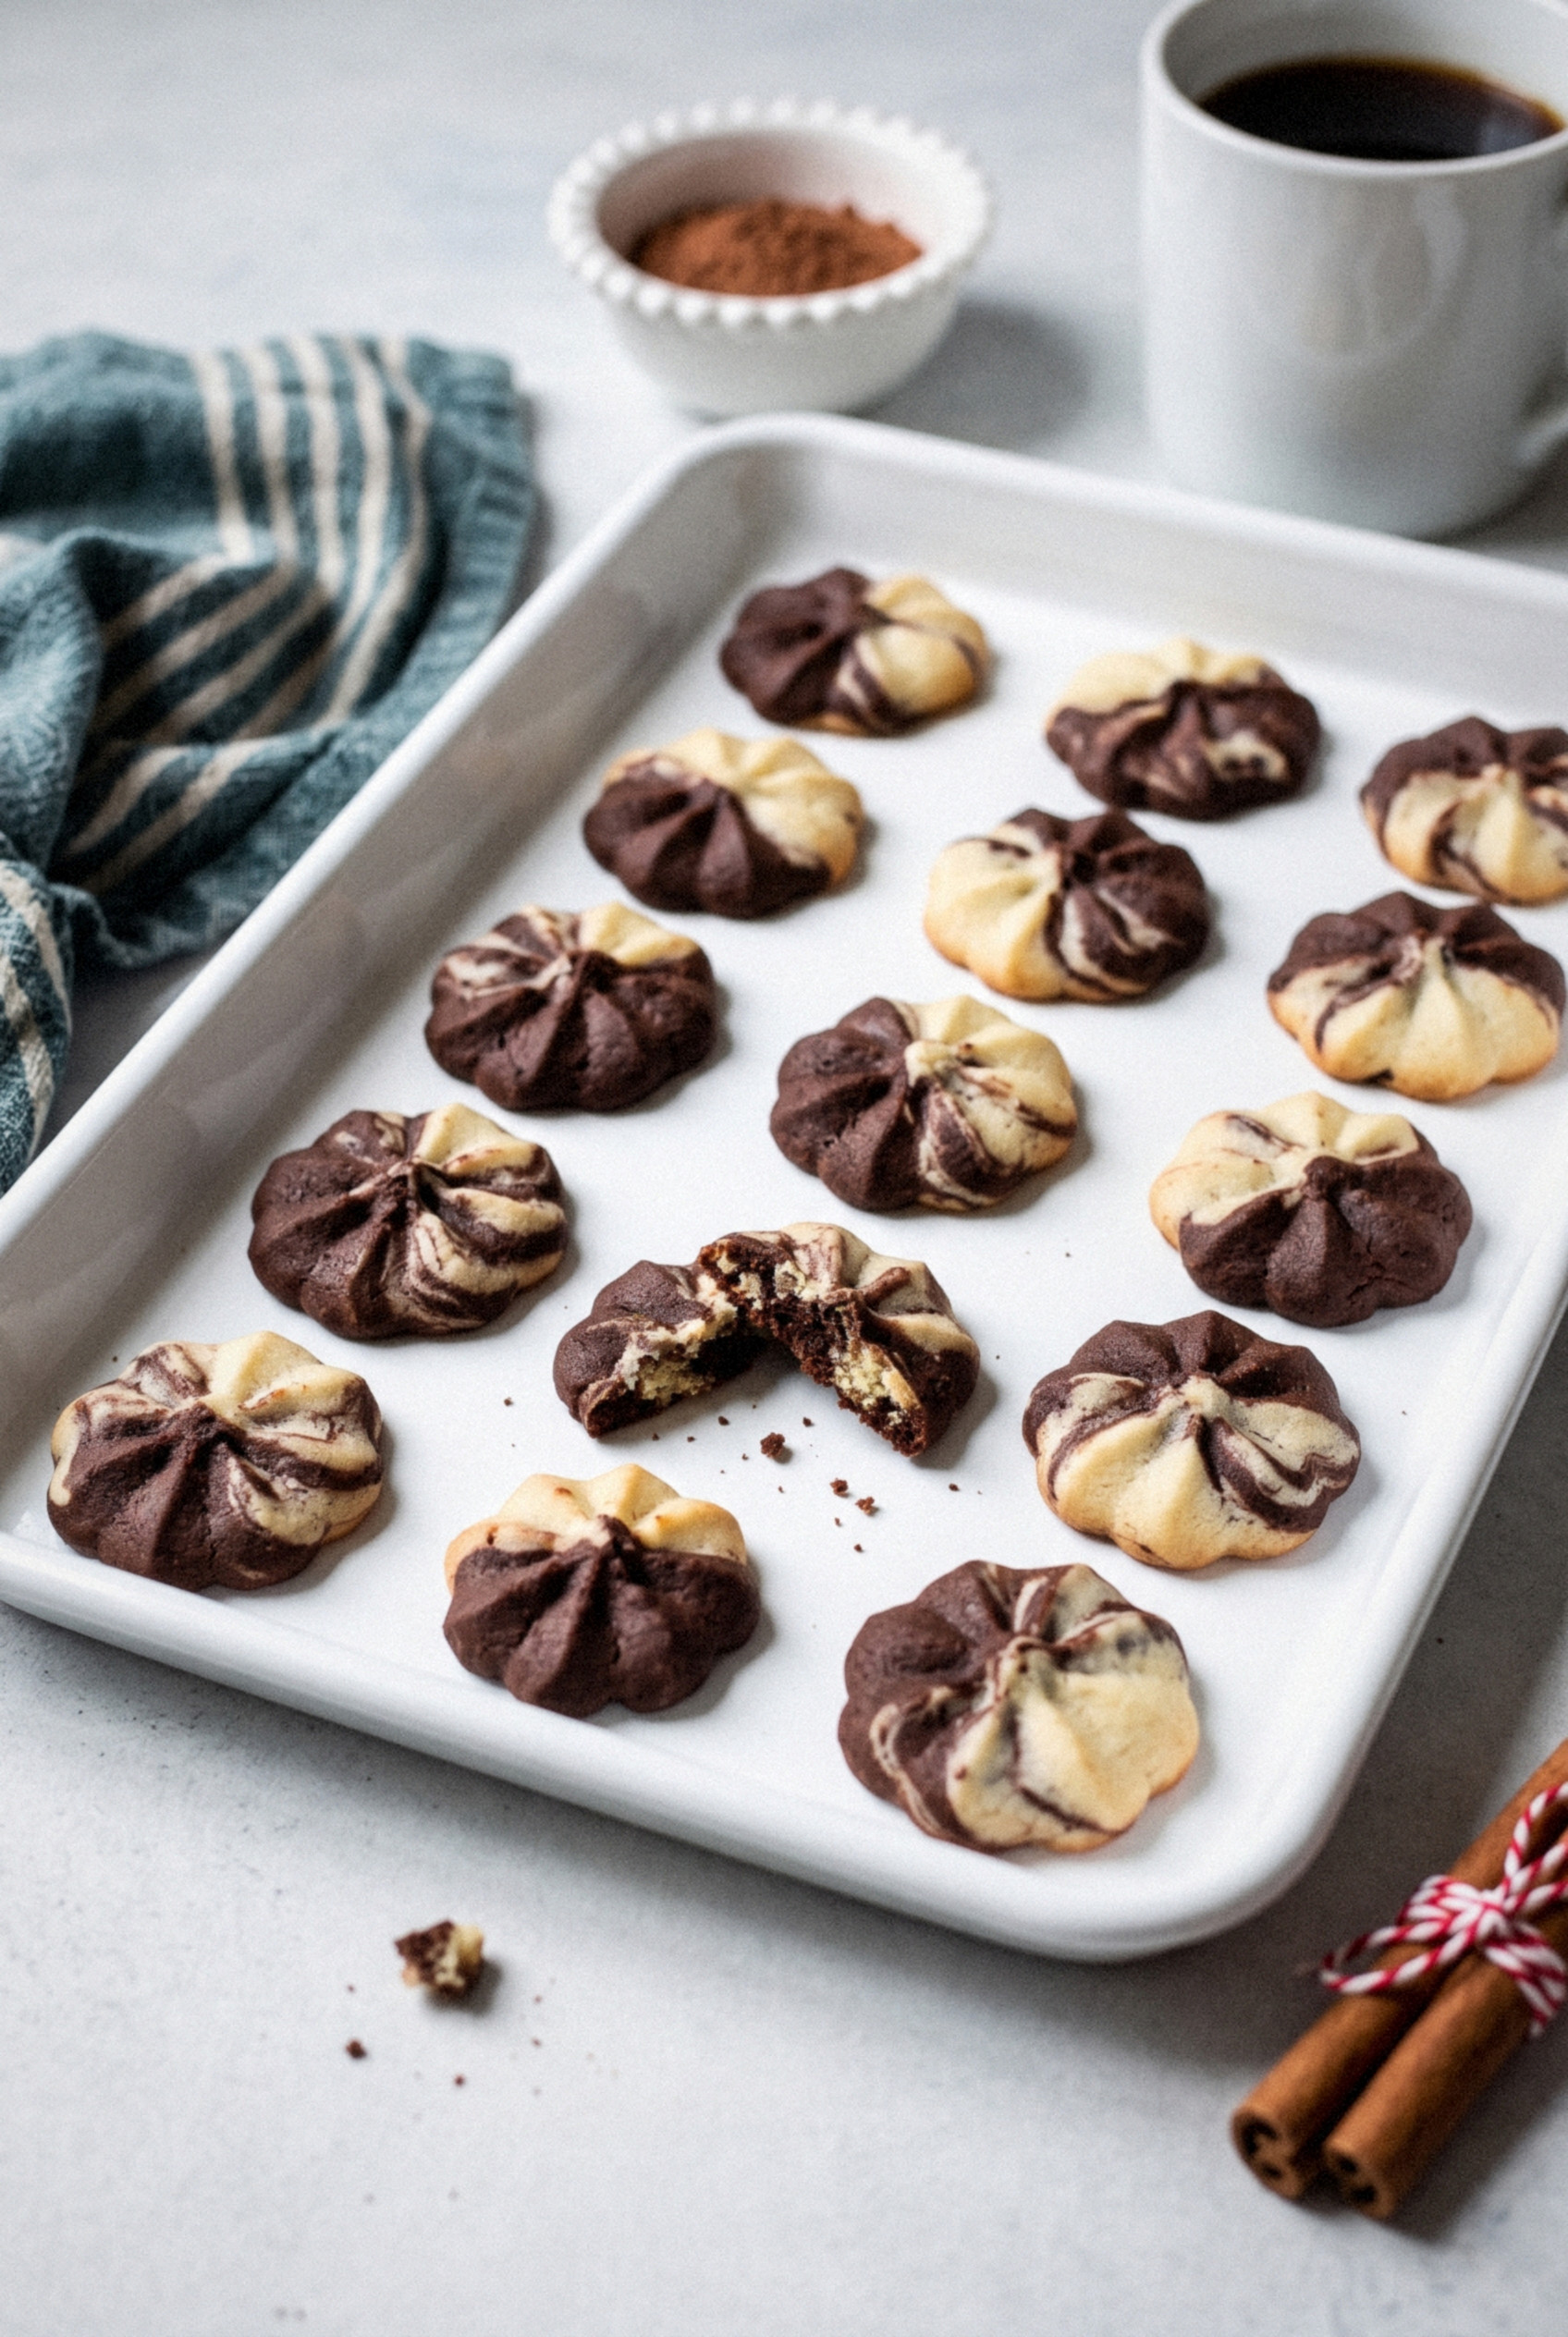
Half the dough is a pale vanilla peppermint, half is a chocolate peppermint, and they swirl together right inside the press. What's not to love?
What's a Cookie Press and How Do I Use It?
A cookie press is a hollow barrel with a plunger on one end and a shaped metal disc on the other. You fill the barrel with dough, click the trigger, and a perfectly shaped cookie drops onto the sheet.
No rolling. No cookie cutters. No chilling!
- Pick metal discs. They give crisper shapes than plastic ones and they don't bend after a few seasons.
- Choose a simple shape for marbling. Wreaths, flowers and stars show the swirl best. Tiny, detailed discs like snowflakes break the pattern up too much.
- Hold it flat and straight. Set the base of the press right on the cold baking sheet, click once, and lift straight up.
- Use the medium setting. If your press has adjustable settings, medium gives the most defined shape.
- Expect a warm-up click. The first one or two cookies from every fill are usually a little off. Toss them back in the bowl.
Ingredients for Marbled Chocolate Peppermint Spritz
This whole recipe starts from ONE base dough. You split it in half and add cocoa to one side, so you're only mixing once. Exact amounts are in the recipe card below.
- Unsalted butter (1 cup). Soft enough to dent with a finger, but not greasy. This is what makes spritz taste like spritz.
- Granulated sugar (¾ cup). Plain white sugar keeps the vanilla half pale, so the marble really shows.
- Salt (¼ teaspoon). A small pinch keeps the chocolate from tasting flat.
- Egg (1 large). Room temperature, so it blends right into the butter without curdling.
- Peppermint extract (1 teaspoon). Use pure peppermint extract, not mint extract. Mint extract includes spearmint and tastes like toothpaste.
- Vanilla extract (1 teaspoon). Softens the peppermint so it tastes cool and sweet, not sharp.
- All-purpose flour (2 ¼ cups). Spoon and level it. Packed flour makes the dough too stiff to press.
- Unsweetened cocoa powder (3 tablespoons). Goes into the chocolate half only. Dutch-process or dark cocoa gives the deepest color and the best contrast.
- Milk (1 tablespoon). Also for the chocolate half. Cocoa soaks up moisture, and this splash keeps both doughs equally soft so they press out together.
- White chocolate wafers (1 cup, optional). For dipping. Melting wafers set firmer than chopped white chocolate bars.
- Red gel food coloring (optional). One drop swirled into the melted white chocolate.
- Candy canes (2, optional). Crushed and sprinkled over the dip.
How to Make Marbled Chocolate Peppermint Spritz Cookies
Start by putting two or three bare metal baking sheets in the fridge. Spritz dough needs a cold, clean surface to grab onto, and having them ready saves you a lot of waiting.
Step 1: Make the Peppermint Base Dough
Preheat the oven to 375°F. Beat the butter, sugar and salt on medium speed for about 1 minute, just until smooth and creamy. Don't whip it for ages, since too much air makes the shapes puff and blur.
Beat in the egg, peppermint extract and vanilla until smooth, then scrape the bowl. Switch to low speed and add the flour in two additions, mixing only until no dry streaks remain. The dough should feel soft, smooth and pliable.
Step 2: Split and Make the Chocolate Half
Scoop half of the dough onto a plate and set it aside. A kitchen scale makes this super easy, but eyeballing it is fine.
Add the cocoa powder and milk to the dough still in the bowl and mix on low until it turns an even, deep brown. Both doughs should now feel about the same. If the chocolate half seems stiffer, add another 1 teaspoon of milk.
Pro tip: Do NOT refrigerate either dough. Cold dough won't move through the disc, and it cracks the swirl.
Step 3: Load the Press for a Marbled Swirl
Pinch off walnut-size pieces from each dough. Drop them into the press barrel, alternating chocolate and vanilla, and tuck them in loosely so you can see both colors along the side. Fill the barrel to about an inch from the top.
Push the dough down gently with the plunger to close any air gaps, attach your disc, and screw on the cap. Give it one or two test clicks onto a plate, and you're ready to go!
Step 4: Press and Bake
Take one cold sheet out of the fridge. Leave it completely bare: no parchment, no silicone mat, no spray. Press the cookies about 1 inch apart, since spritz barely spread at all.
Bake one sheet at a time for 6 to 8 minutes, until the cookies are set and matte and the vanilla parts are just turning golden at the very edge. Chocolate hides browning, so watch the pale swirl as your guide.
Let them sit on the sheet for 2 minutes, then move them to a wire rack. Rinse, dry and re-chill the sheet before the next round.
Sound like a lot of steps? It isn't. The whole batch comes together in about 45 minutes!
How to Get a Clean Marble (Not a Muddy One)
The swirl is the whole point here, so it's worth getting right. I made a few muddy brown batches before I figured out these rules.
- Keep the chunks big. Walnut-size pieces give bold swirls. Pea-size pieces blend into a single murky tan.
- Never knead the two doughs together. It's tempting to twist them into a rope first, but too much handling smears the colors.
- Alternate as you load. Chocolate, vanilla, chocolate, vanilla. If you dump in all the chocolate first, the first dozen cookies come out solid brown.
- Refill in the same pattern. When the barrel runs low, push out the last bit onto a plate and reload fresh pieces. Old leftover dough at the bottom tends to look muddy.
- Accept a few that lean one way. Some cookies will be mostly chocolate and some mostly vanilla. Honestly, that's part of the charm on a cookie tray!
Decorating Ideas
The marbled cookie is pretty on its own, but a little decoration makes it party-ready. These are my favorite ways to dress them up.
- Red-swirled white chocolate dip. Melt the white chocolate wafers, add one drop of red gel coloring, and drag a toothpick through it once or twice. Dip one edge of each cooled cookie, lift straight up, and set it on wax paper. When the swirl turns pink, stir in fresh melted white chocolate.
- Crushed candy canes. Sprinkle them over the dip while it's still wet. Freeze the candy canes for 30 minutes before crushing, so they shatter instead of sticking to everything.
- Drizzle stripes. Spoon melted white chocolate into a zip-top bag, snip a tiny corner, and zigzag thin lines over the tops.
- Sanding sugar. Red or white sanding sugar goes on before baking for a sparkly, no-fuss finish.
- Leave them plain. On a crowded holiday tray, a clean swirled cookie stands out more than you'd think.
Fair warning: the dipped ones disappear first. Every single time!
How to Make Them Without a Cookie Press
No press? You can still get the marble. It just takes a few more minutes.
- Piping bag method. Beat an extra 1 tablespoon of milk into each dough. Spoon alternating pieces into a piping bag fitted with a ½-inch open star tip and pipe 1 ½-inch rosettes onto parchment. Freeze for 10 minutes, then bake 8 to 10 minutes.
- Two-tone rope rings. Roll a pencil-thin rope of each color, twist them together, and pinch into small rings. They look a bit like little candy canes, and kids love making them!
- Slice-and-bake swirl. Press the two doughs together loosely into a log, chill for 1 hour, then slice ¼ inch thick. It's not technically spritz anymore, but it tastes exactly the same!
Tips for Success
Spritz are simple, but they're fussy about temperature. Keep these in mind and you'll have a smooth baking day.
- Cookies won't stick to the sheet. The sheet is greasy, lined or warm. Wash it with soap, dry it completely, and chill it for 10 to 15 minutes.
- Dough feels too sticky. Your kitchen or butter is too warm. Add 1 to 2 tablespoons of flour, or let the dough rest in a cool spot for a few minutes.
- Dough is too stiff. Too much flour sneaked in. Mix in milk one teaspoon at a time.
- Peppermint tastes too strong. Extract brands vary a lot. Start with ¾ teaspoon if yours is potent, and taste a pinch of raw dough.
- Bake one sheet at a time. Tiny cookies overbake fast, and the middle rack gives the most even heat.
- Use light-colored sheets. Dark pans brown the bottoms before the tops set.
Worried about the press? Don't be. If I can pull it off, so can you!
Make-Ahead Plan
These are a great way to get ahead on holiday baking. Here's the schedule I use for cookie exchanges.
- Dough, refrigerated. Wrap each half separately and chill up to 3 days. Let them sit at room temperature about 1 hour before loading the press.
- Dough, frozen. Freeze each half in a flat disc up to 3 months. Thaw overnight in the fridge, then soften on the counter.
- Baked, undecorated. Bake up to a week ahead and store airtight. Super easy! Dip and decorate the day you serve or gift them.
Storing and Freezing
Spritz keep beautifully, which is why they're perfect for gift tins. Just make sure they're completely cool before you pack them.
- Plain cookies. Store airtight at room temperature for up to 1 week.
- Dipped cookies. Let the white chocolate set fully, then store in a single layer or between sheets of wax paper for up to 5 days.
- Freezer. Freeze undecorated cookies airtight for up to 3 months. Thaw them in the sealed container so they don't get damp.
- Decorate after thawing. Candy canes and white chocolate turn sticky when they thaw, so add them once the cookies are back at room temperature.
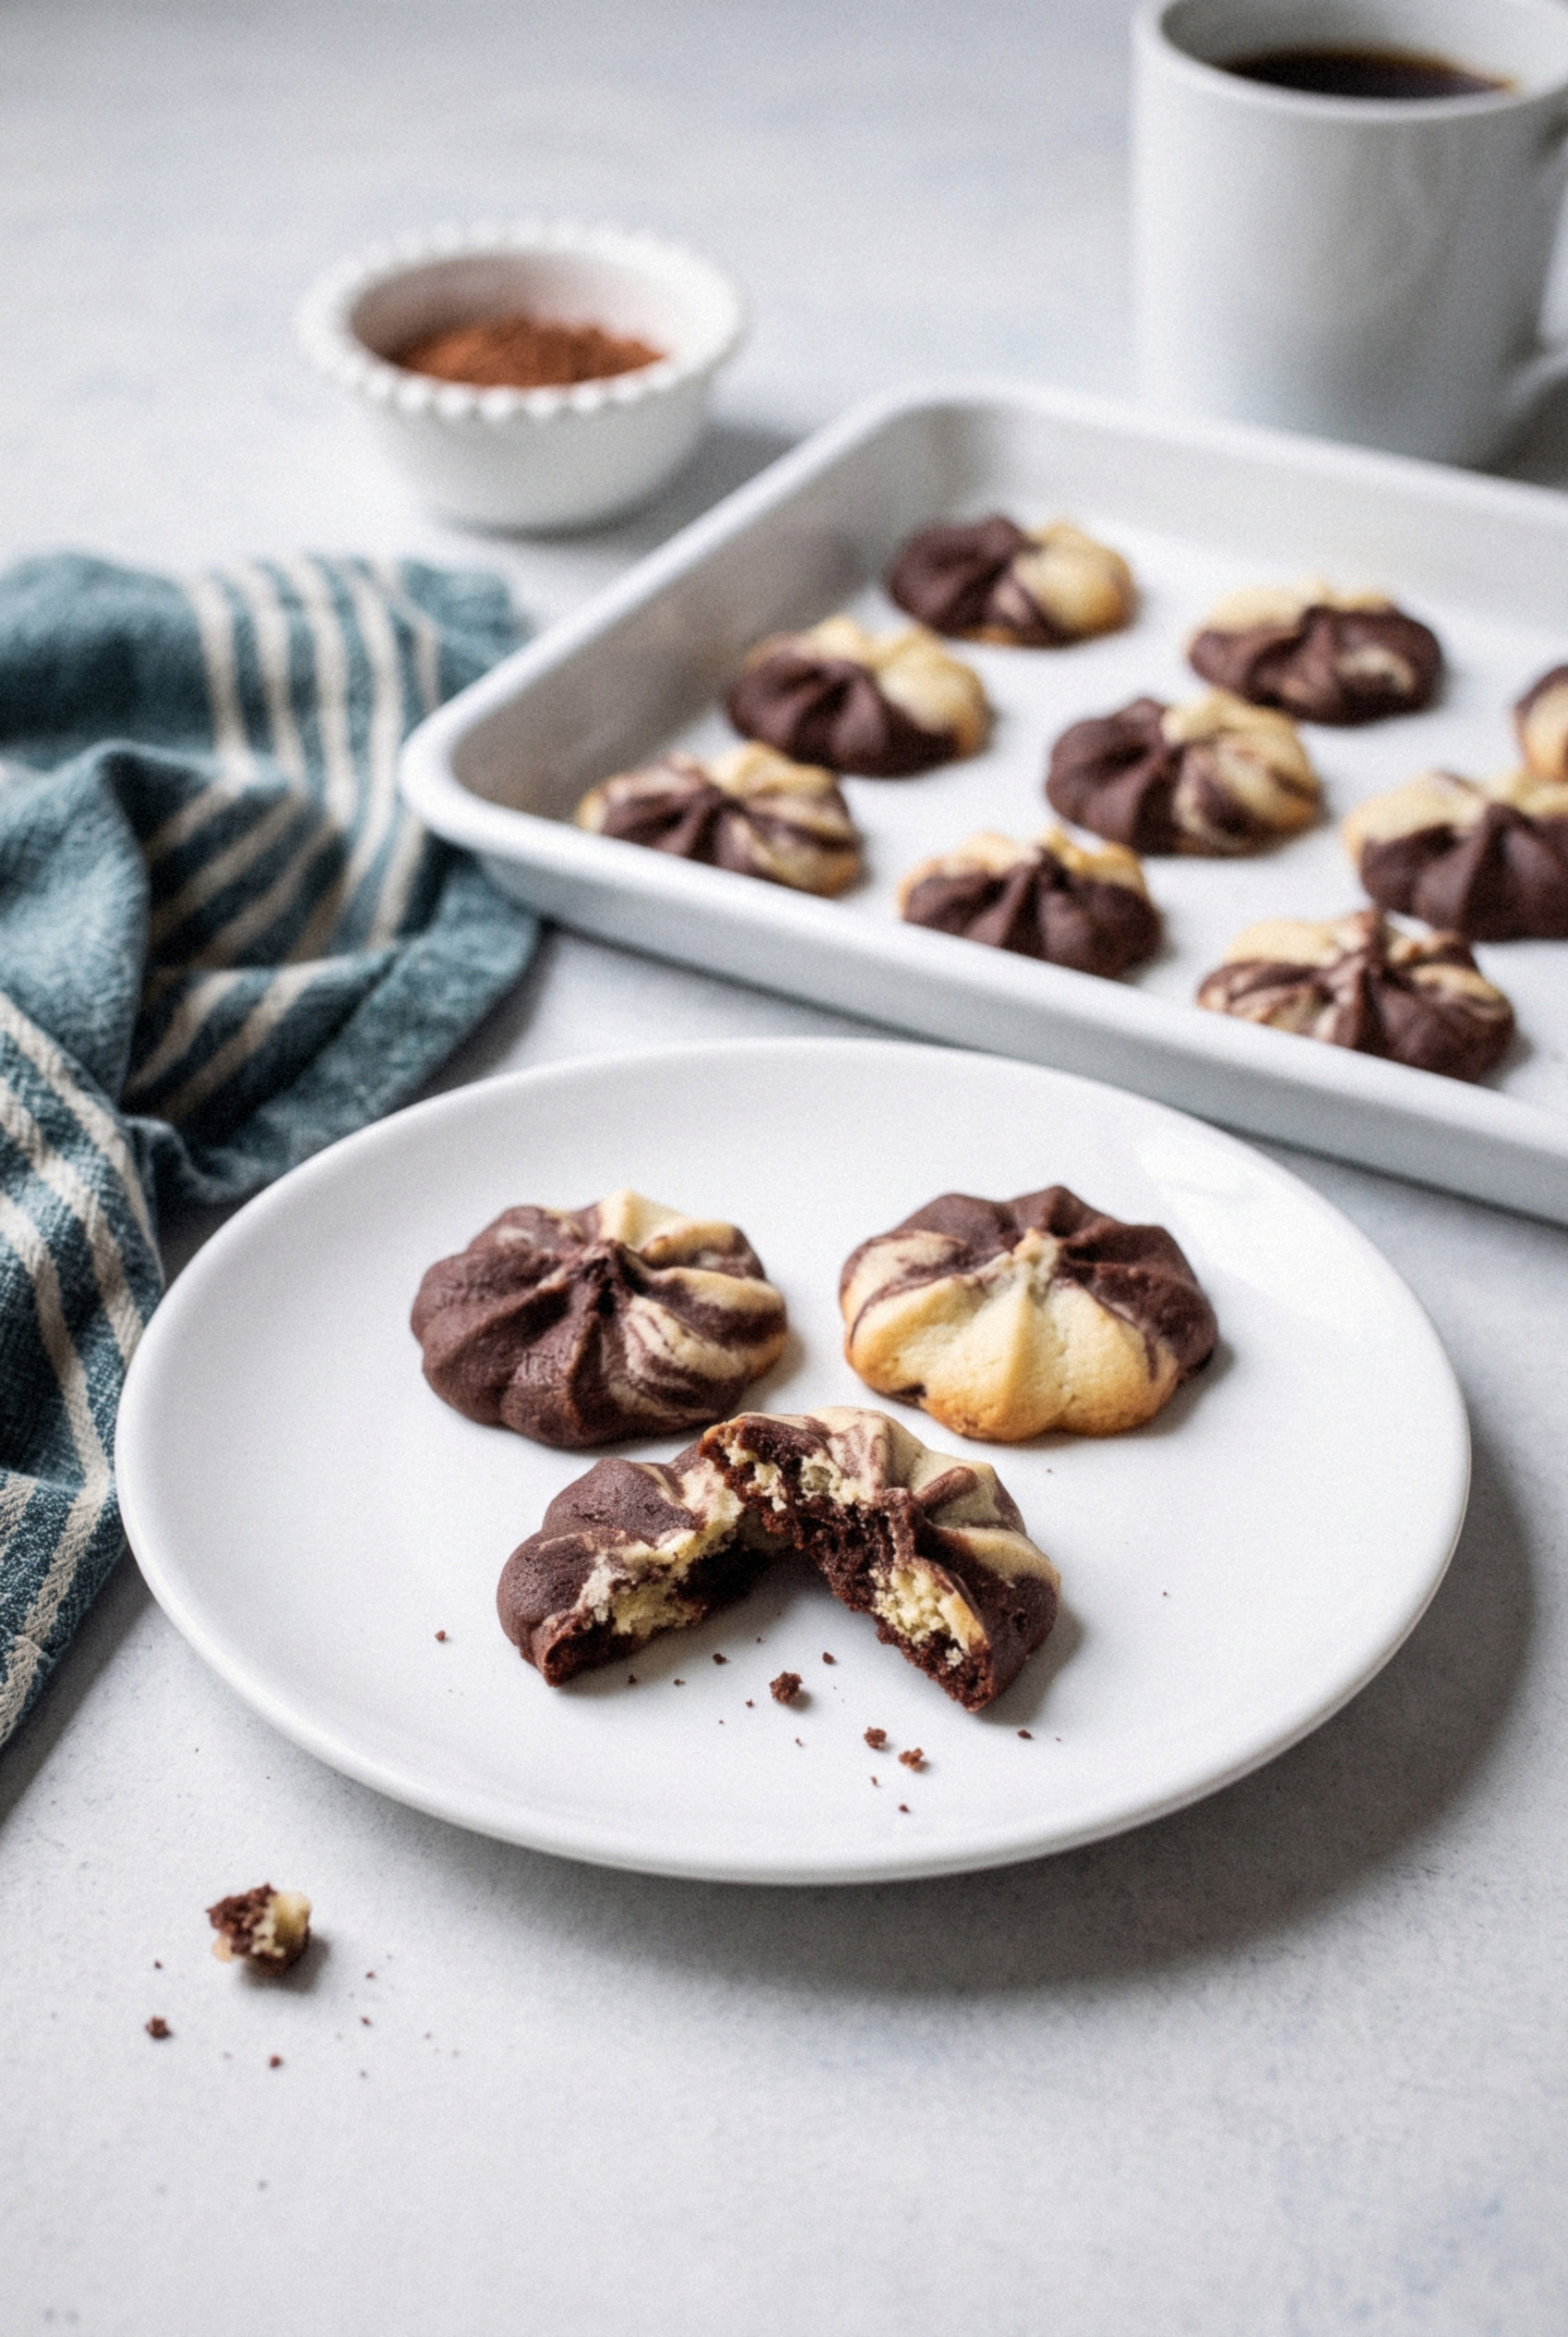
What to Serve With Marbled Chocolate Peppermint Spritz
These pair perfectly with all the usual holiday suspects. A few of my favorite combos:
- Hot cocoa. Chocolate, peppermint and a warm mug. You can't go wrong with that combo!
- Coffee or espresso. The cool mint cuts right through a dark roast.
- A mixed cookie tray. Set them next to sugar cookies and gingerbread for a crowd-pleaser platter with lots of color.
- Vanilla ice cream. Crumble a few over a scoop for a quick holiday dessert.
Give them a try this Christmas, and maybe end a cookie border dispute of your own. Yum!
Recipe
Marbled Chocolate Peppermint Spritz Cookies
Ingredients
For the Base Dough
- 1 cup unsalted butter softened to room temperature (2 sticks, 226 g)
- ¾ cup granulated sugar 150 g
- ¼ teaspoon salt
- 1 large egg room temperature
- 1 teaspoon peppermint extract pure peppermint, not mint
- 1 teaspoon vanilla extract
- 2 ¼ cups all-purpose flour spooned and leveled (281 g)
For the Chocolate Half
- 3 tablespoons unsweetened cocoa powder Dutch-process or dark
- 1 tablespoon milk plus 1 teaspoon more if needed
For Dipping (optional)
- 1 cup white chocolate melting wafers
- 1 drop red gel food coloring
- 2 candy canes frozen 30 minutes, then crushed
Instructions
Make the Doughs
- Chill 2 or 3 bare metal baking sheets in the fridge. Preheat the oven to 375°F.
- Beat the butter, sugar and salt on medium speed for about 1 minute, until smooth.
- Beat in the egg, peppermint extract and vanilla. On low speed, add the flour in two additions and mix just until no dry streaks remain.
- Remove half of the dough to a plate. Add the cocoa powder and milk to the dough left in the bowl and mix on low until evenly brown and as soft as the vanilla half. Do not chill either dough.
Press and Bake
- Pinch off walnut-size pieces of each dough and drop them into the cookie press barrel, alternating colors. Attach a wreath, flower or star disc.
- Press cookies 1 inch apart onto a cold, bare, ungreased baking sheet.
- Bake one sheet at a time for 6 to 8 minutes, until set and matte and the pale parts are just golden at the edge.
- Cool on the sheet for 2 minutes, then transfer to a wire rack. Rinse, dry and re-chill the sheet between batches. Reload the press in the same alternating pattern.
Dip (optional)
- Melt the white chocolate wafers. Add one drop of red gel coloring and swirl once or twice with a toothpick.
- Dip one edge of each cooled cookie, lift straight up, and set on wax paper. Sprinkle with crushed candy canes and let set completely.
Notes
- Clean marble: Keep the dough pieces walnut size and never knead the two colors together, or the swirl turns muddy.
- Sheets: Use cold, bare, light-colored metal sheets. Parchment, mats or grease keep the dough from releasing.
- No press: Add 1 tablespoon milk to each dough and pipe rosettes with a ½-inch open star tip onto parchment. Freeze 10 minutes and bake 8 to 10 minutes.
- Make ahead: Refrigerate the doughs up to 3 days or freeze up to 3 months. Bring to room temperature before pressing.
- Storage: Plain cookies keep airtight 1 week, dipped cookies 5 days. Freeze undecorated cookies up to 3 months.