Every December my kitchen table turns into a reindeer factory for one very loud afternoon.
My nieces claim the candy eyes, my nephew snaps pretzels in half, and my wife referees the red noses.
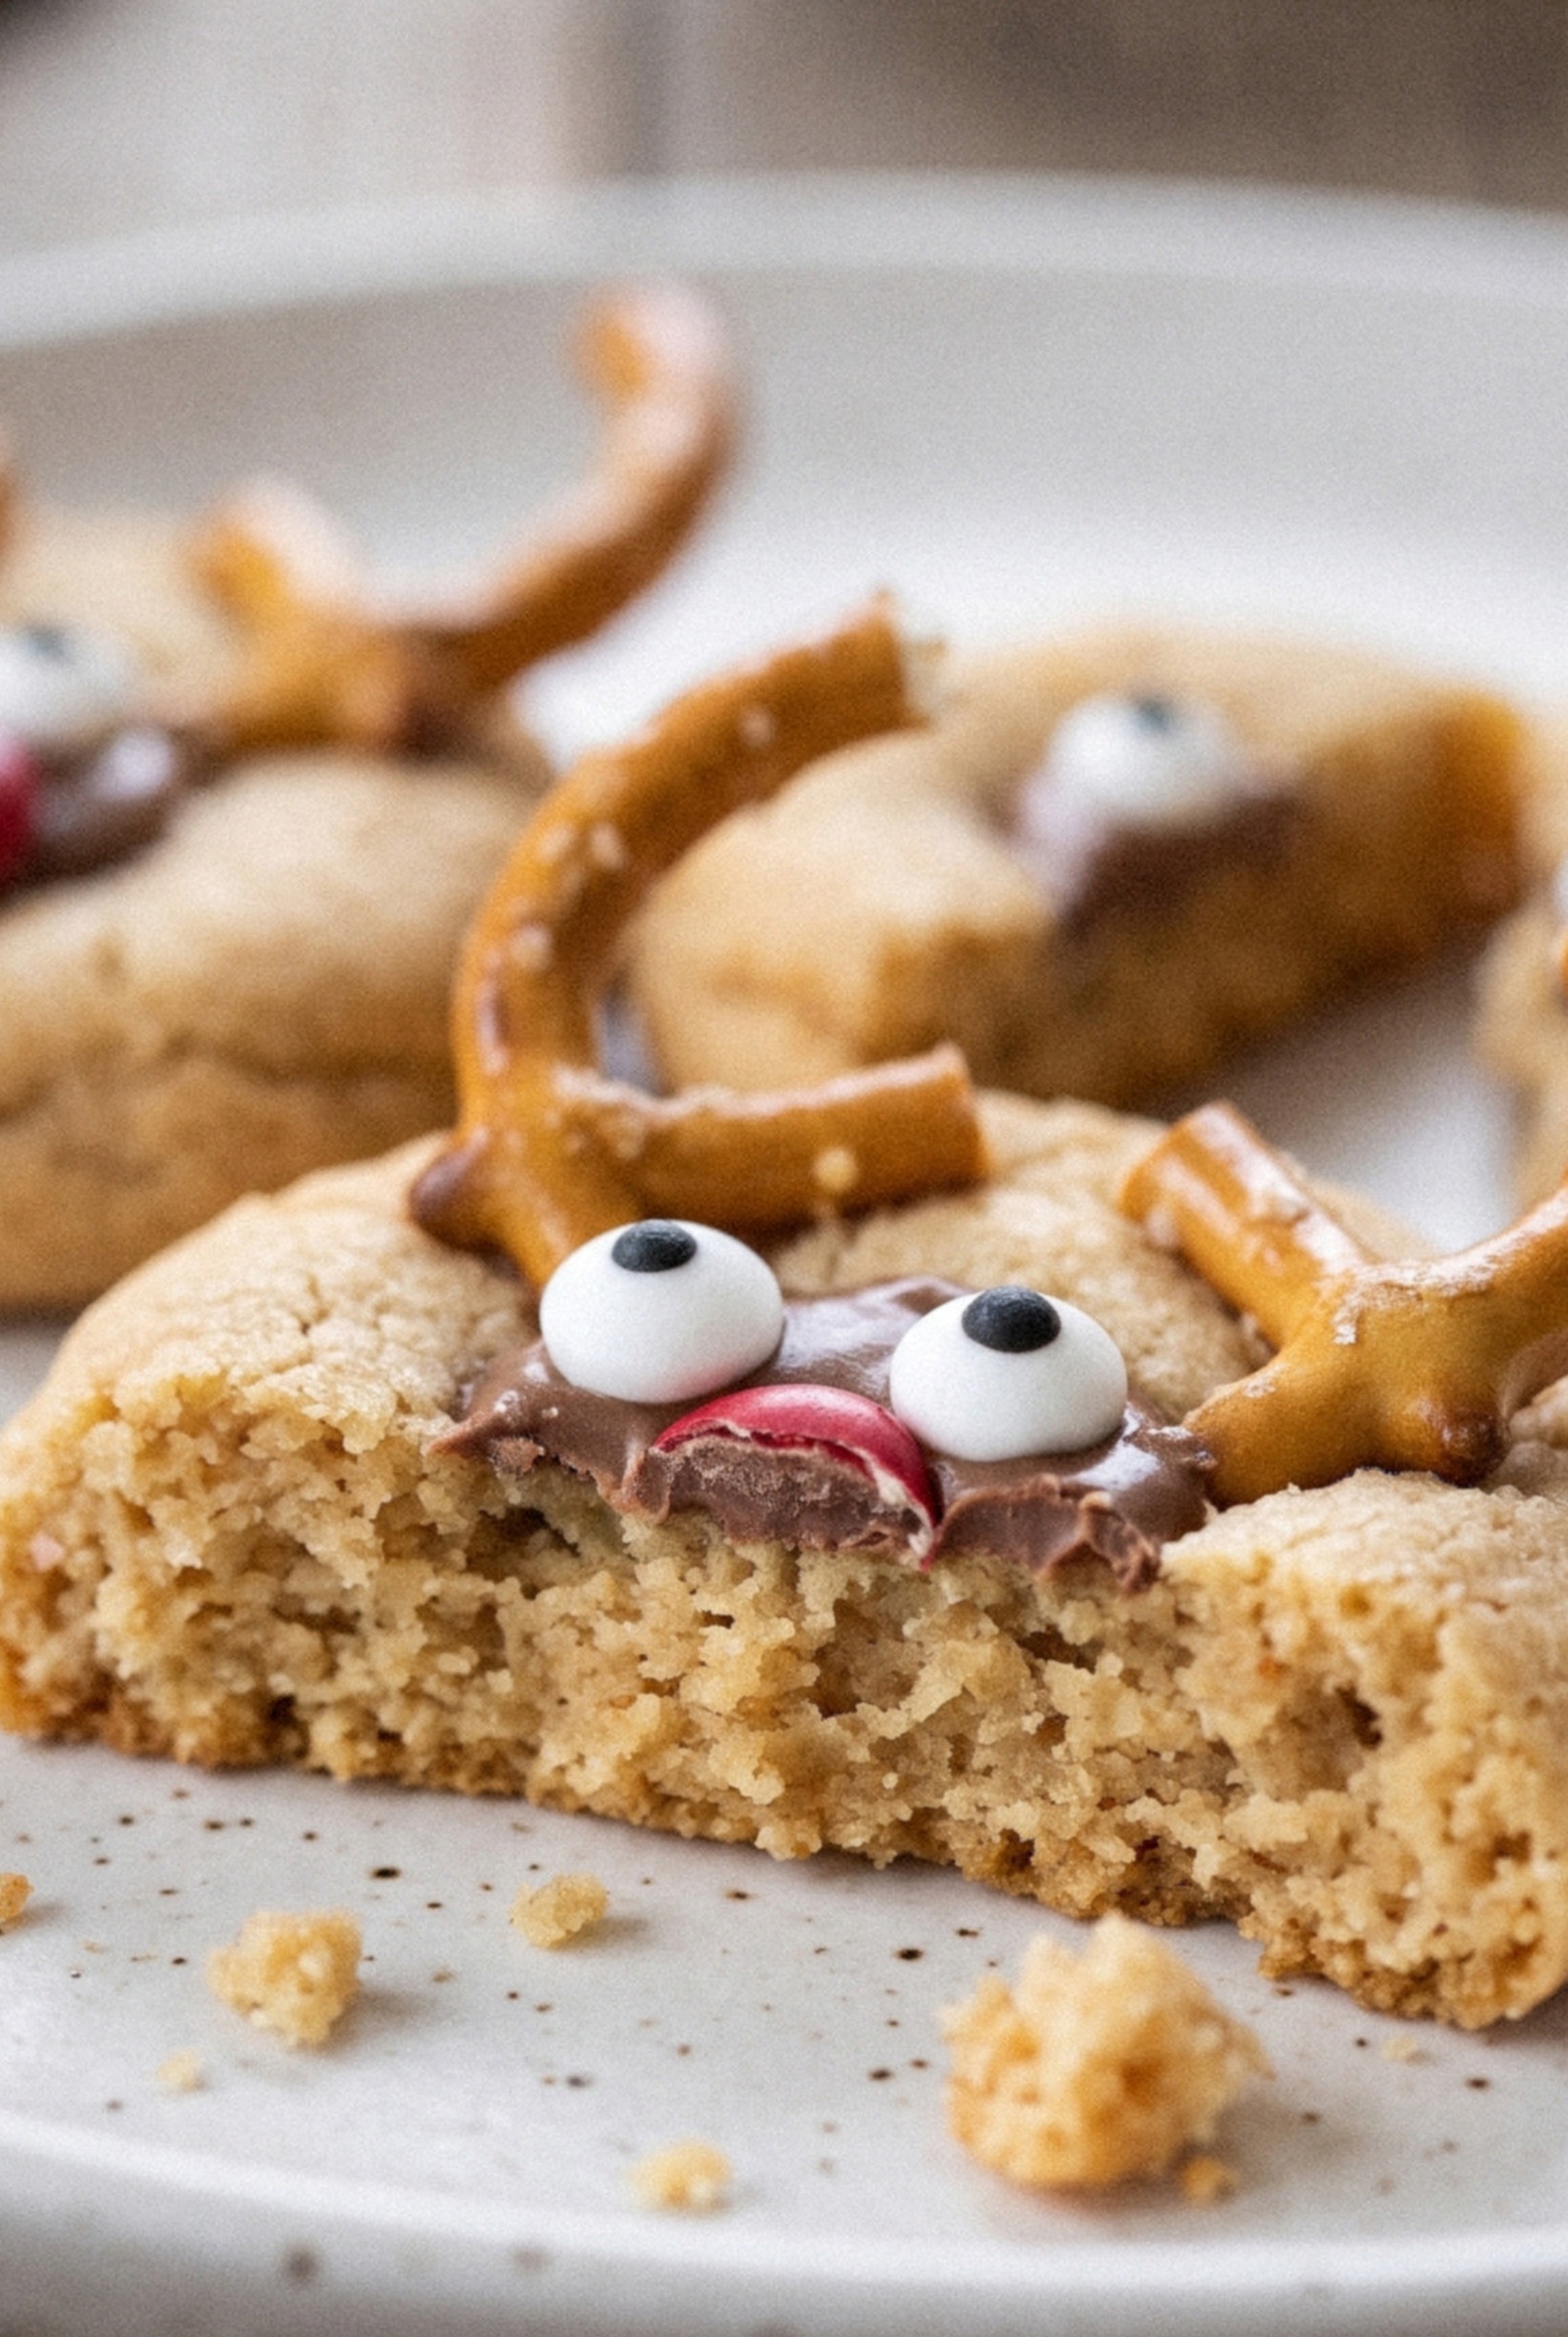
The first year we tried this, I baked two full trays and let them cool on the counter while everybody argued over seating.
By the time we started decorating, the cookies had set hard. Antlers slid right off and landed on the floor.
We ended up with a plate of very sad, antler-less deer.
That flop is exactly why these Peanut Butter Reindeer Cookies work the way they do now.
The base is a soft, chewy peanut butter cookie made with butter and two sugars, so it holds its round face instead of spreading into a puddle.
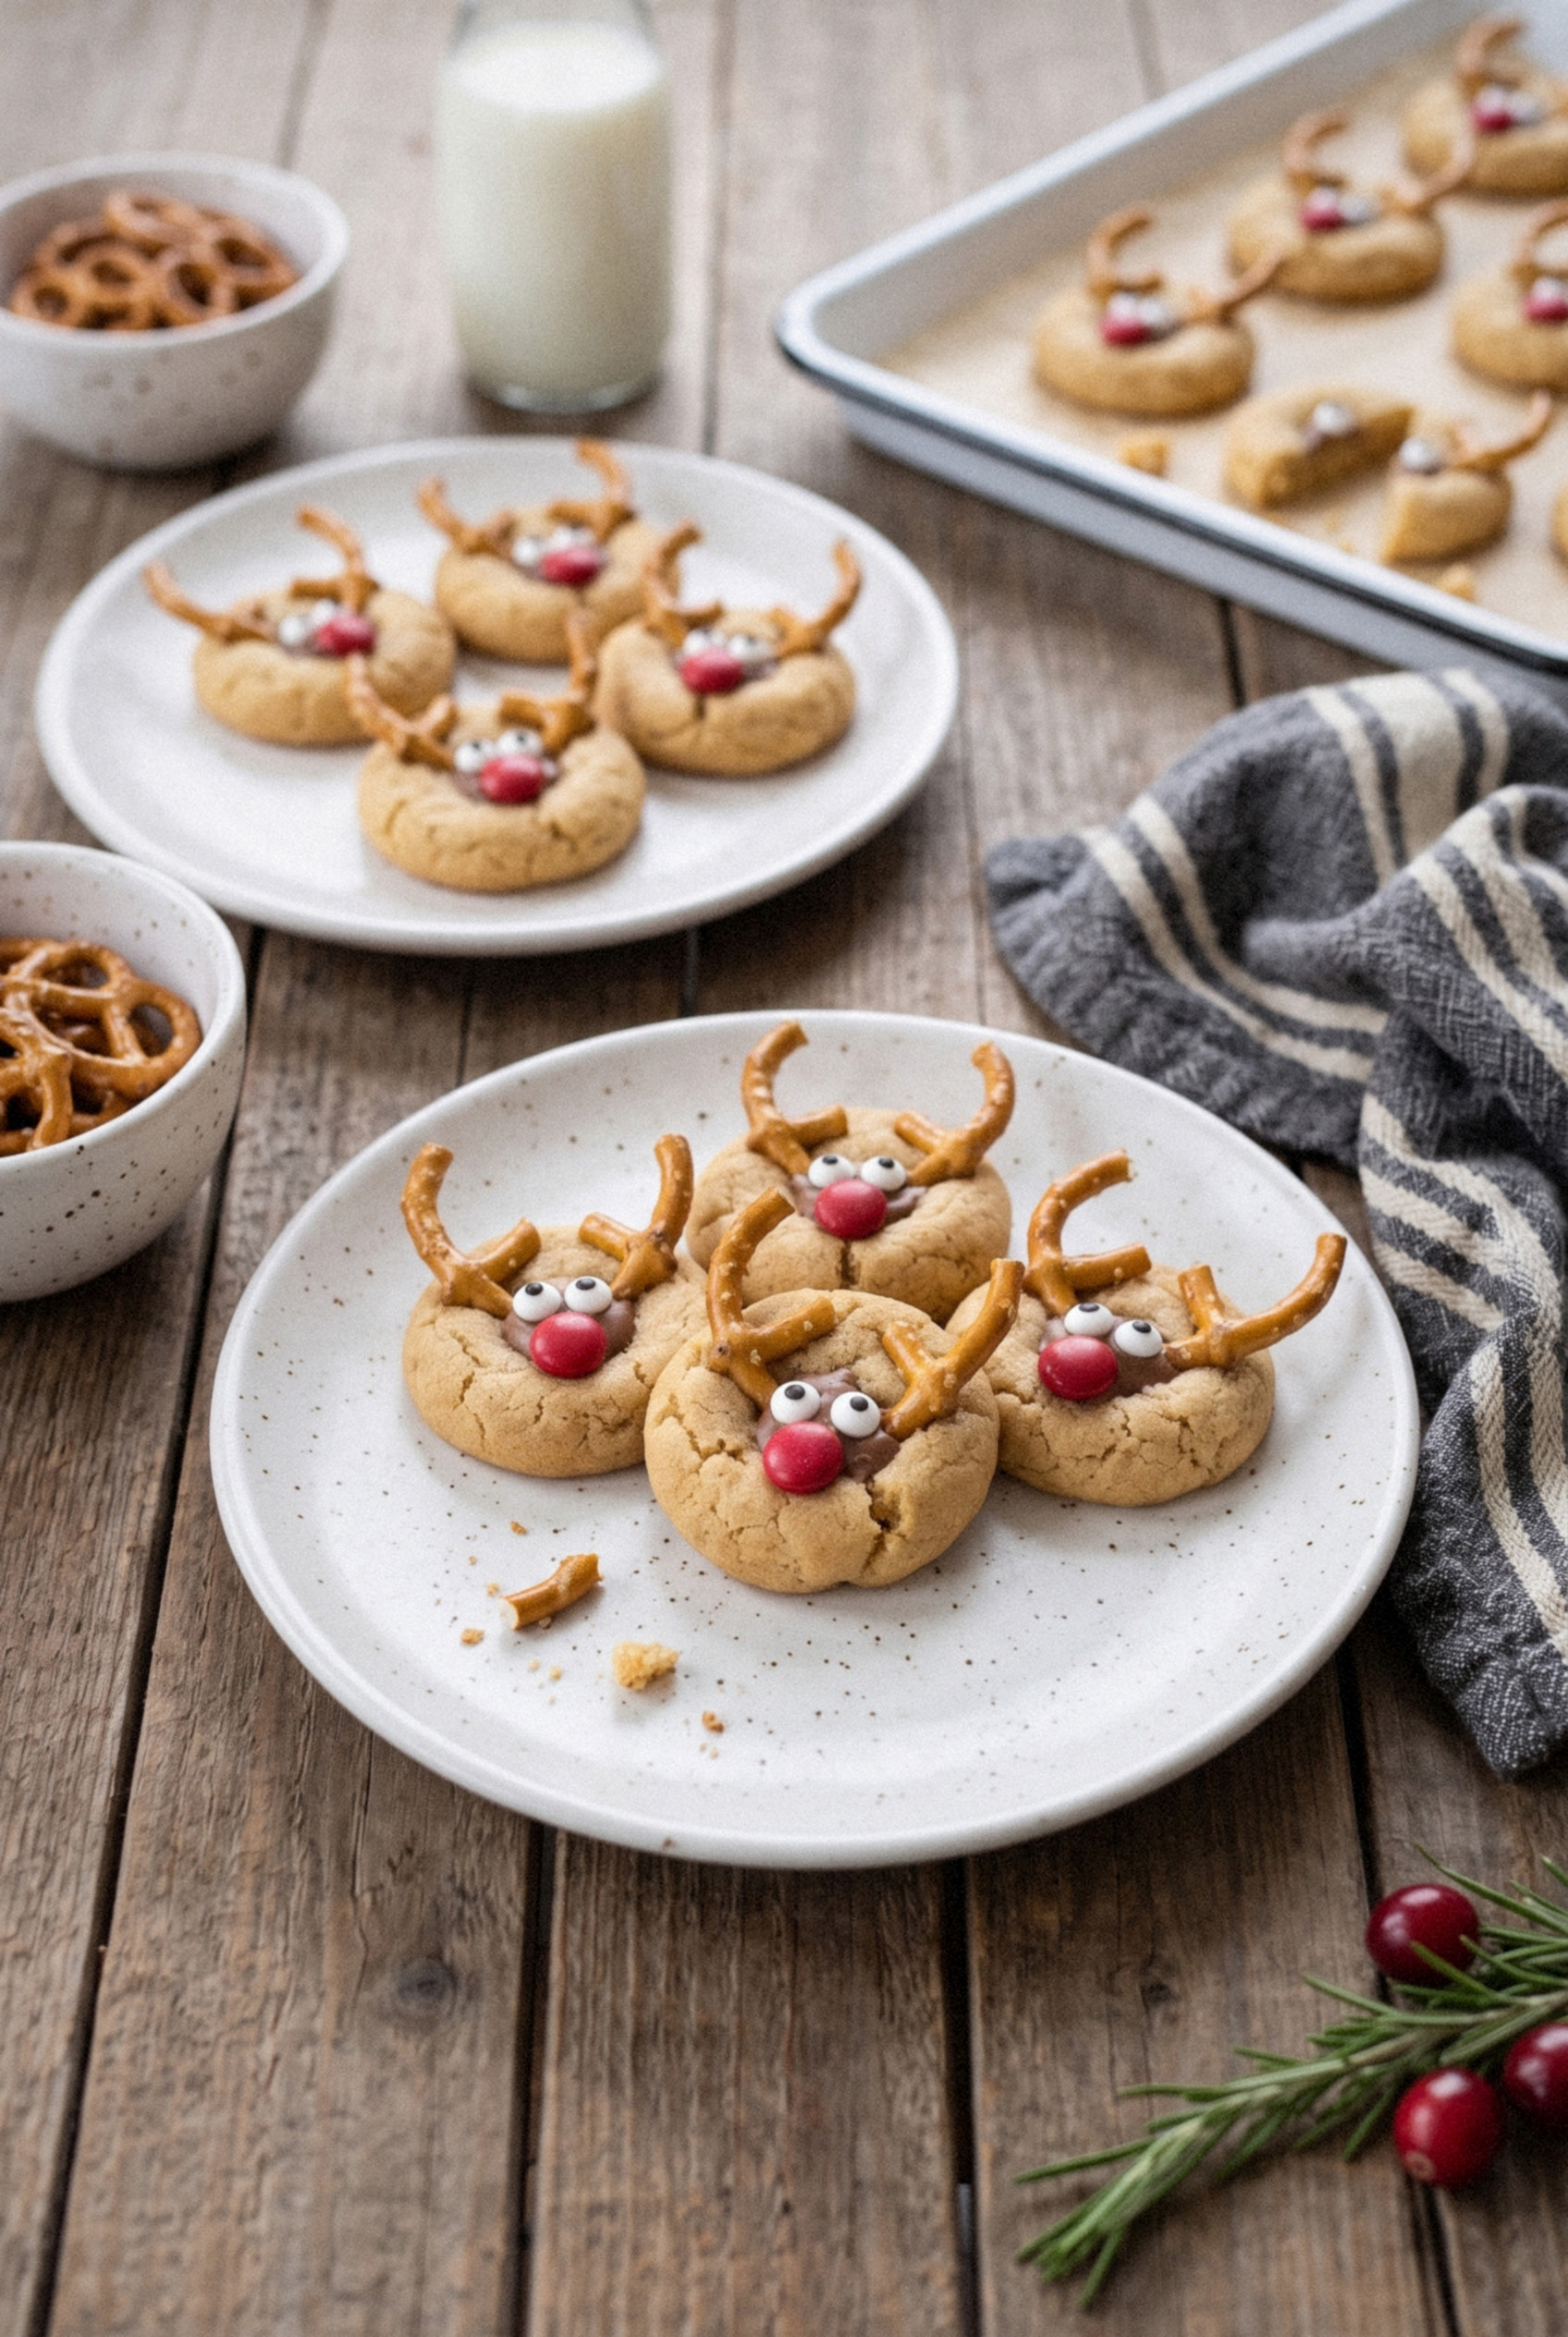
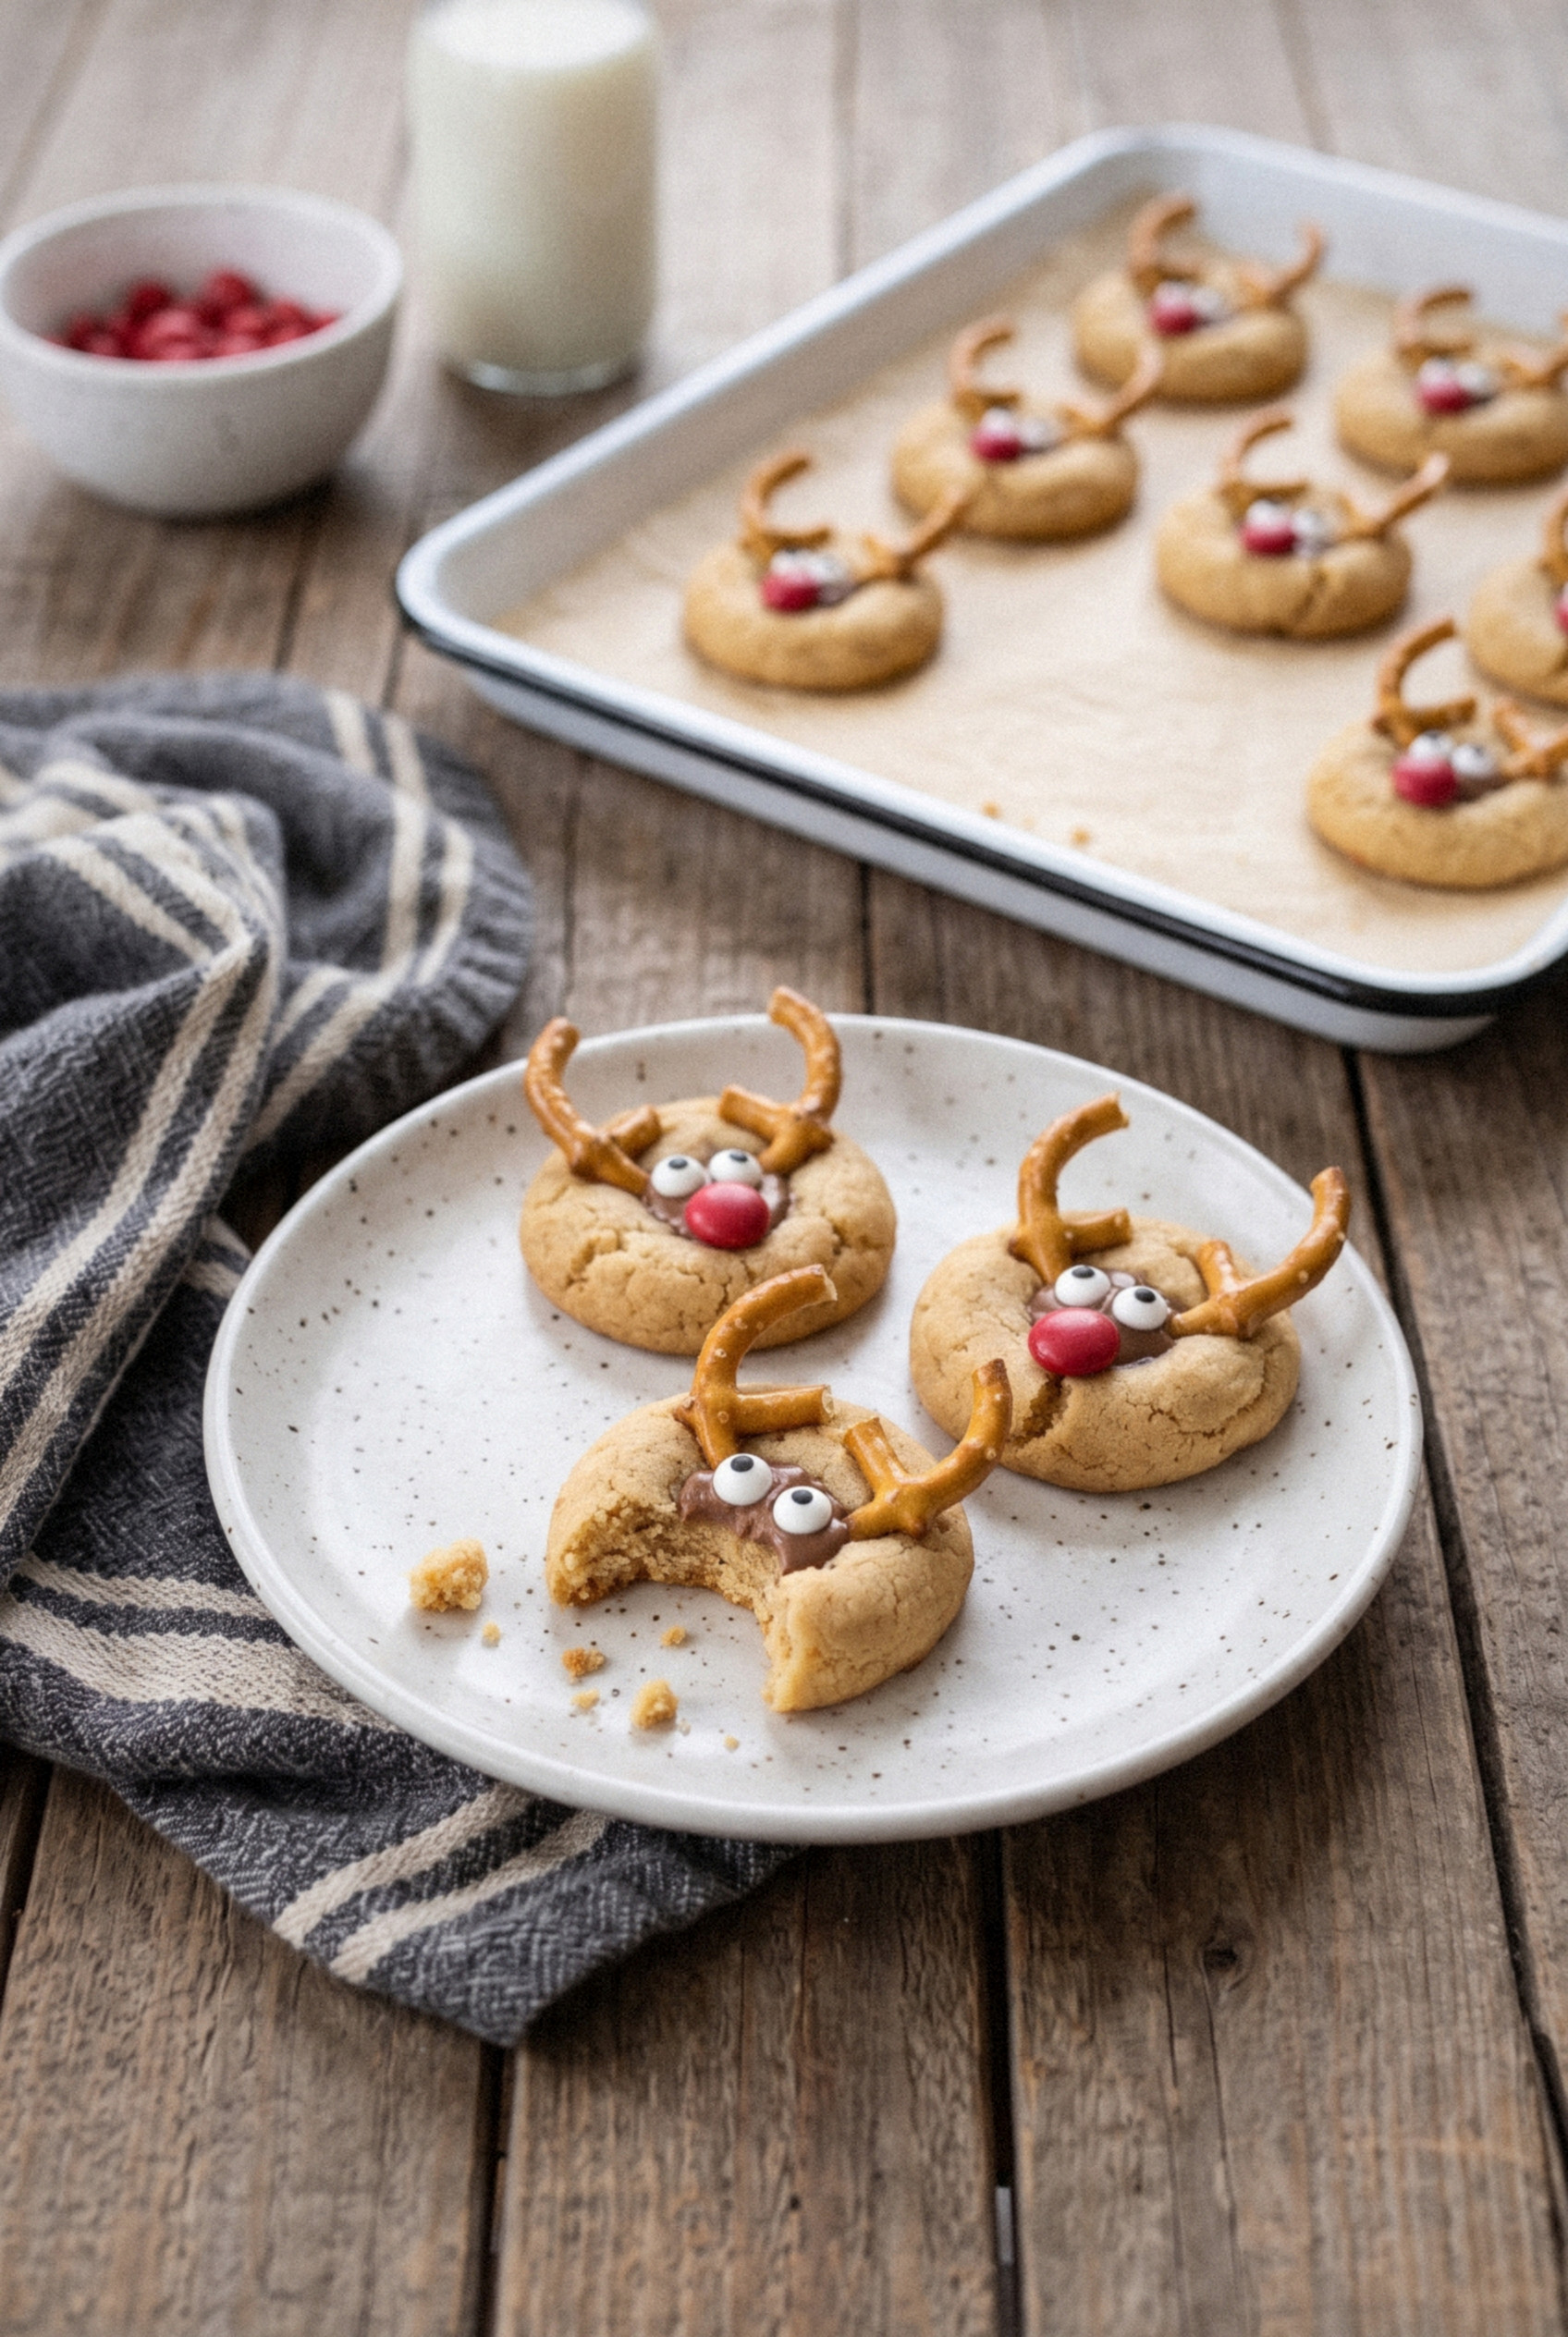
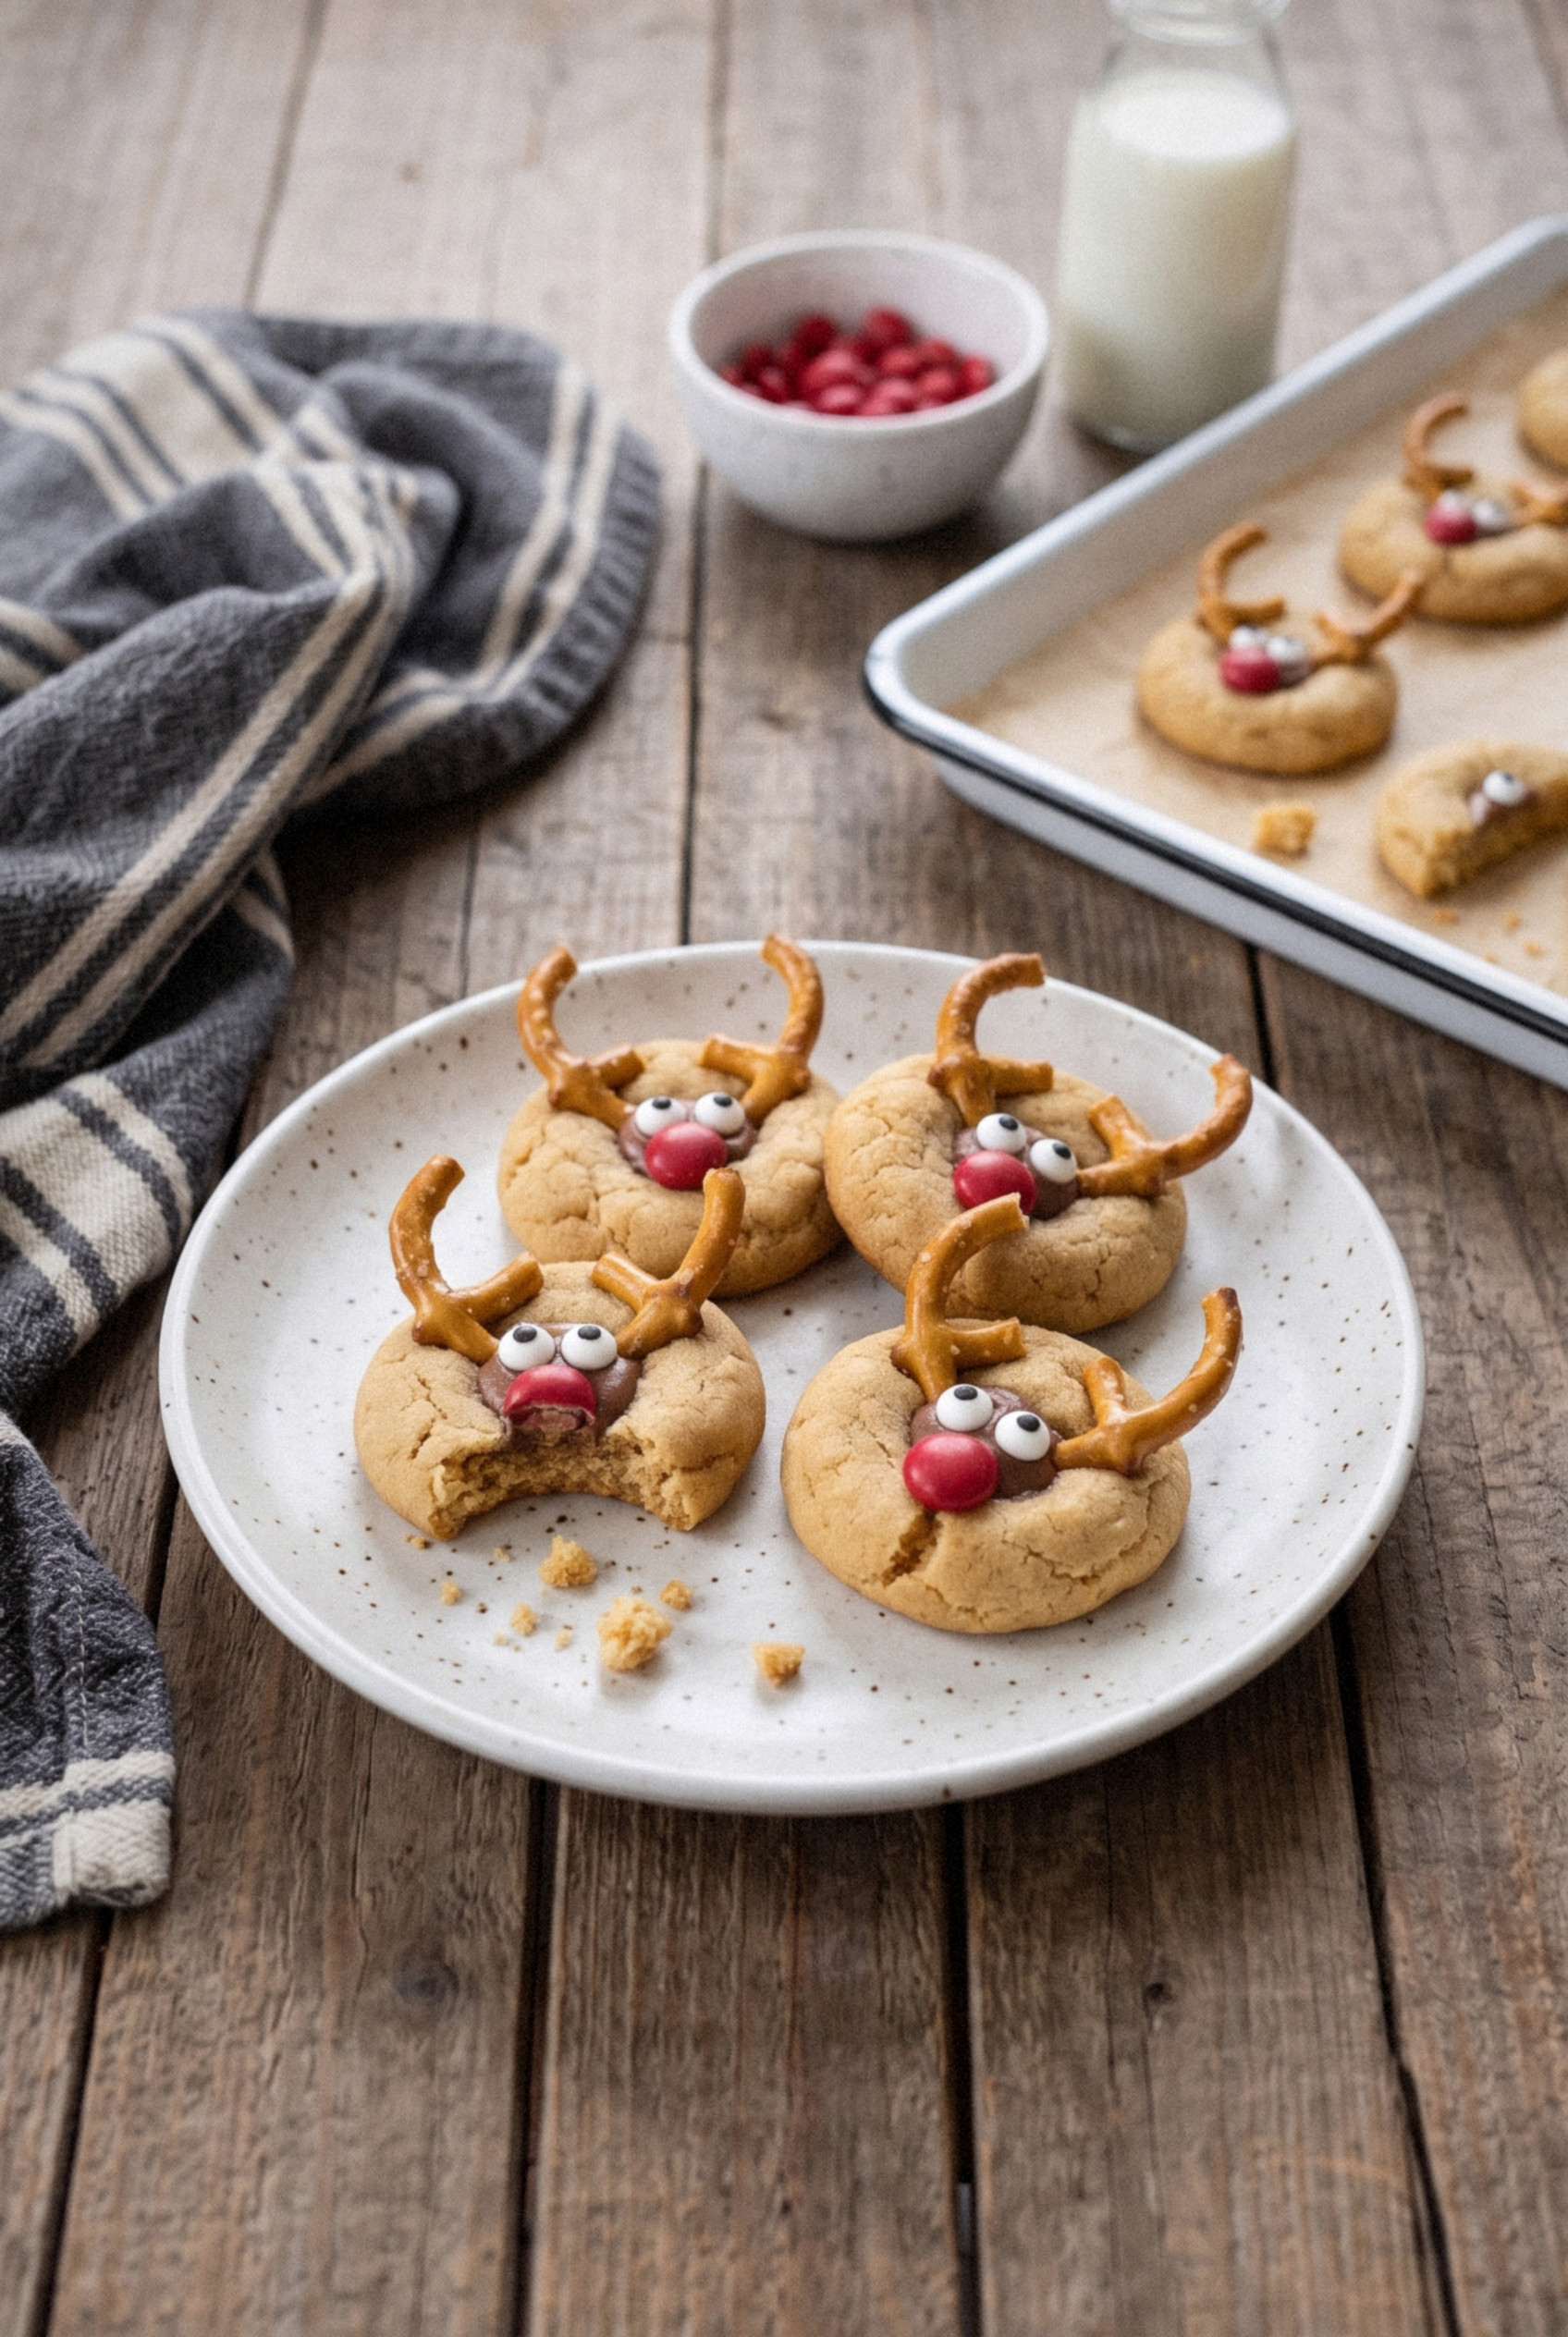
Each one gets two pretzel antlers, two candy eyes and a bright red nose.
The real secret is timing: you decorate in a short two-minute window while the cookies are still warm and soft.
Get that right and every antler stays put, even on the cookie tray at the office party.
They're sweet, salty and a little bit silly, which is the perfect combination for a Christmas cookie.
Make them once with your family and I promise they'll be on the list every year.
Why You'll Love These Reindeer Cookies
These are the cookies people point at first on a holiday tray. Here's why they've earned a permanent spot in my December baking.
- A sturdy dough that holds antlers. Butter plus flour gives the cookie enough structure to grip a pretzel without cracking apart.
- Kid-friendly decorating. Nobody needs piping skills. If you can press a candy into a cookie, you can make a reindeer.
- Classic peanut butter flavor. Underneath the decorations it's a soft, chewy, nutty peanut butter cookie that tastes great on its own.
- Sweet and salty to boot. The pretzel antlers add a salty crunch against the sweet, tender cookie.
- Built for Christmas cookie trays. They're cheerful, sturdy enough to stack with parchment, and they travel well to parties and cookie swaps.
- Make-ahead friendly. You can chill the dough or freeze the dough balls days before decorating day.
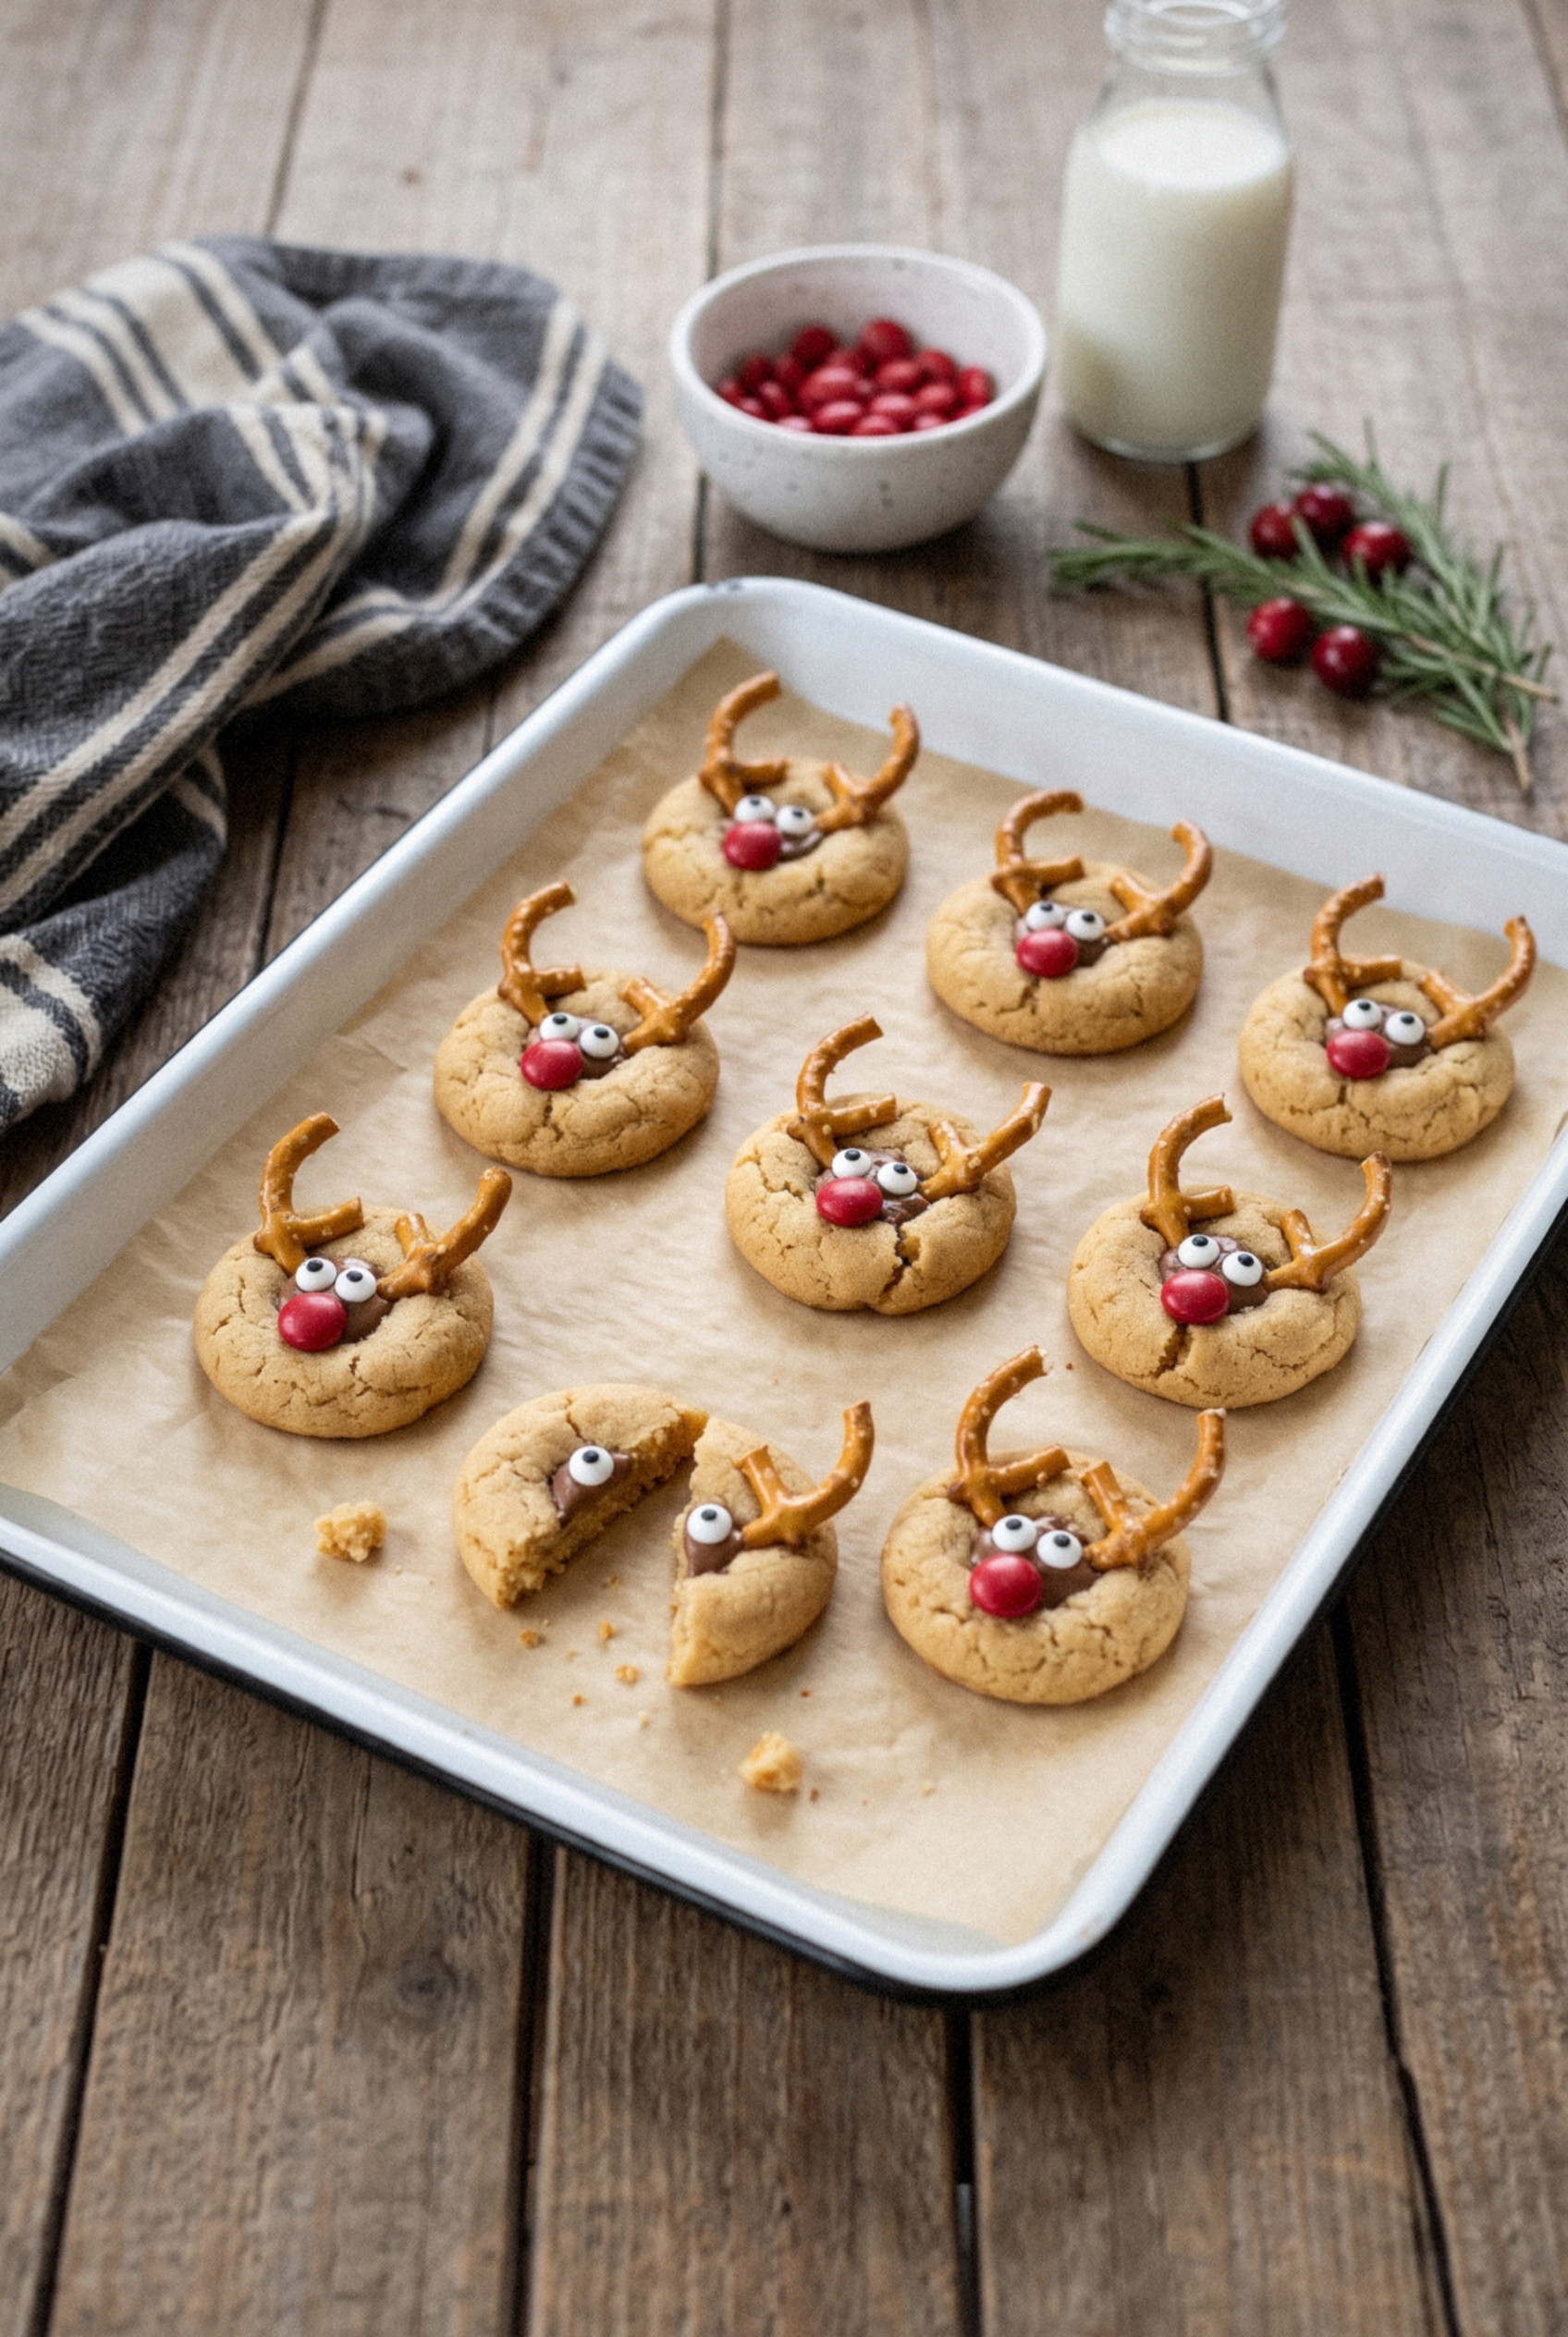
Ingredients for Peanut Butter Reindeer Cookies
The dough is a classic creamed peanut butter cookie with a few smart tweaks. The decorations are just as important, so prep them before the oven goes on.
For the Cookie Dough
- Unsalted butter (½ cup, softened). Butter gives a tender crumb and rich flavor. Soft enough to dent with a finger, not greasy or melted.
- Creamy peanut butter (¾ cup). Use a regular stabilized brand like Jif or Skippy. Natural peanut butter separates and makes the cookies spread flat, which ruins the face.
- Granulated sugar (½ cup). White sugar gives crisp edges and helps the cookie hold its shape.
- Light brown sugar (½ cup, packed). Brown sugar keeps the center soft and chewy and adds a little caramel flavor.
- Large egg (1). Binds the dough. Room temperature mixes in more evenly.
- Vanilla extract (1 teaspoon). Rounds out the peanut butter.
- All-purpose flour (1 ½ cups). Spoon and level it, or weigh 190 grams. Too much flour makes a dry, crumbly cookie that cracks when you press in antlers.
- Baking soda (¾ teaspoon) and baking powder (¼ teaspoon). Soda gives the classic crackly top, and a pinch of powder adds a little puff.
- Fine salt (½ teaspoon). Peanut butter cookies need salt to taste like anything.
For the Reindeer Decorations
- Mini pretzel twists (about 30, plus extras). Snap each one in half so each half looks like a little antler. Some always break wrong, so grab a few extra.
- Candy eyes (60). Find them in the baking aisle around the holidays. Mini chocolate chips, pointy side down, work in a pinch.
- Red candies (30). Red M&Ms are the classic Rudolph nose. Red cinnamon candies also work and add a little spice.
- Chocolate chips (2 tablespoons, optional). Melted into a little glue for any decoration that won't stick.
Equipment: two baking sheets, parchment paper, a stand or hand mixer, and a 1-tablespoon cookie scoop for even-sized faces.
How to Make Peanut Butter Reindeer Cookies
The method is simple, but the order matters. Read through the decorating step before you start so you're ready the moment the first tray comes out.
Step 1: Make the Dough
Beat the softened butter, peanut butter, granulated sugar and brown sugar on medium speed for about 2 minutes, until the mixture looks smooth and a little lighter in color. Scrape down the bowl, then add the egg and vanilla and beat until combined.
In a separate bowl, whisk together the flour, baking soda, baking powder and salt. Add the dry mix to the peanut butter mixture on low speed and stop as soon as no dry flour streaks remain. The dough should feel soft and only slightly tacky.
Step 2: Chill and Shape
Cover the bowl and chill the dough for 20-30 minutes. While it chills, preheat the oven to 350°F, line two baking sheets with parchment, and snap the pretzels in half.
Scoop the dough into 1-tablespoon balls and roll them smooth between your palms. Set them about 2 inches apart and press each one lightly with your fingertips into a slightly oval shape, about ½ inch thick.
Pro tip: Bake about 12 cookies per tray. That's as many as you can comfortably decorate in the warm window.
Step 3: Bake
Bake one tray at a time for 9-10 minutes, until the edges are just set and the tops look puffed and lightly cracked. The centers will still look a touch soft, and that's exactly what you want.
Pull them before the edges turn deep golden. Overbaked cookies firm up too fast and crack when you press in the antlers.
Step 4: Decorate While Warm
Let the tray rest for 1-2 minutes, just long enough that the cookies won't collapse. Press two pretzel halves into the top edge of each cookie for antlers, then press in two candy eyes just below them and a red candy nose near the bottom.
Press gently but firmly, so the decorations sink in slightly. Leave the cookies on the tray for 5 minutes more, then move them to a wire rack to cool completely.
Fair warning: If a cookie firms up before you get to it, dab a little melted chocolate on the back of the pretzel or candy and use it as glue.
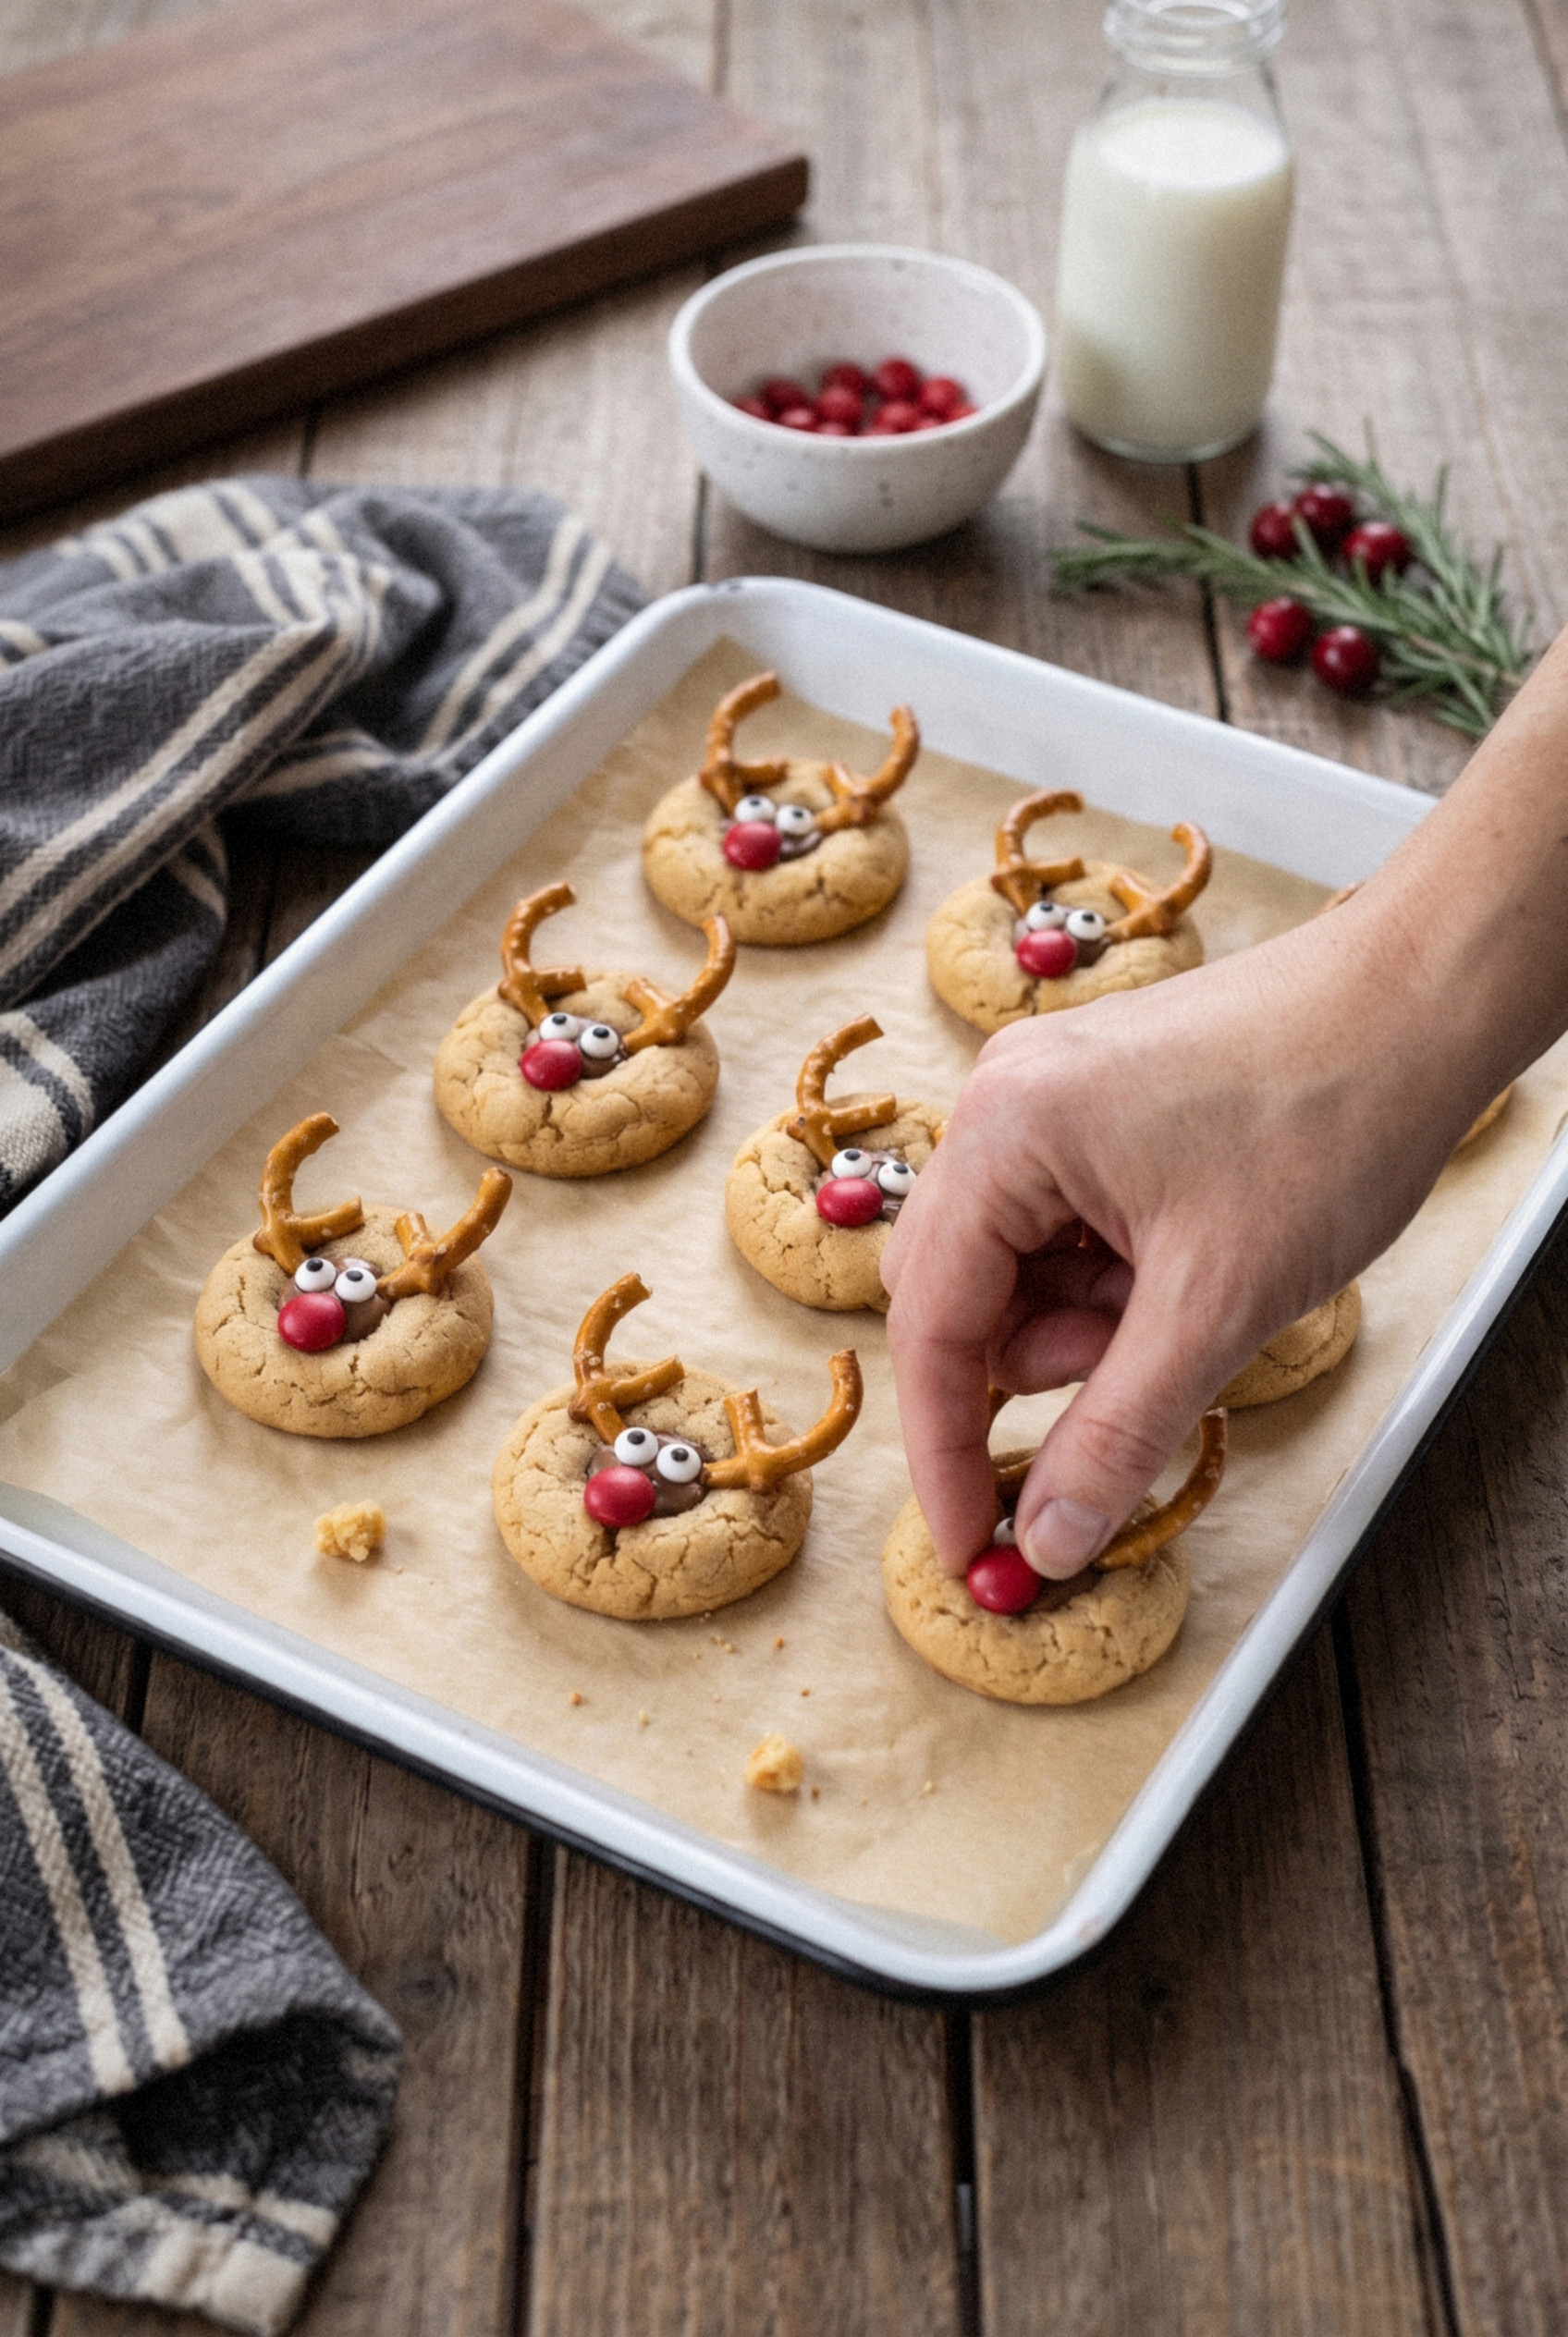
The Two-Minute Decorating Window
This is the part every reindeer cookie recipe glosses over. Get the timing right and the decorations practically lock themselves in.
Straight out of the oven, the cookies are too soft. Press an antler in and the whole face caves.
After about five minutes, the surface sets. Now the pretzel just bounces off or cracks the cookie.
Somewhere around the one to two minute mark, the outside has a light skin but the inside is still soft and yielding. That's your window.
How do you know? Touch the edge gently. If it holds its shape but your finger leaves a slight dent, start decorating.
- Set up an assembly line. Put pretzels, eyes and noses in three small bowls before the first tray goes in.
- Assign jobs. One person does antlers, one does eyes, one does noses. It moves fast and nobody fights over the candy eyes.
- Stagger the trays. Shape the next tray while the first bakes, so there's always a fresh batch ready.
- Keep the oven warm. If a whole tray firms up, slide it back in for 30 seconds to soften the cookies again.
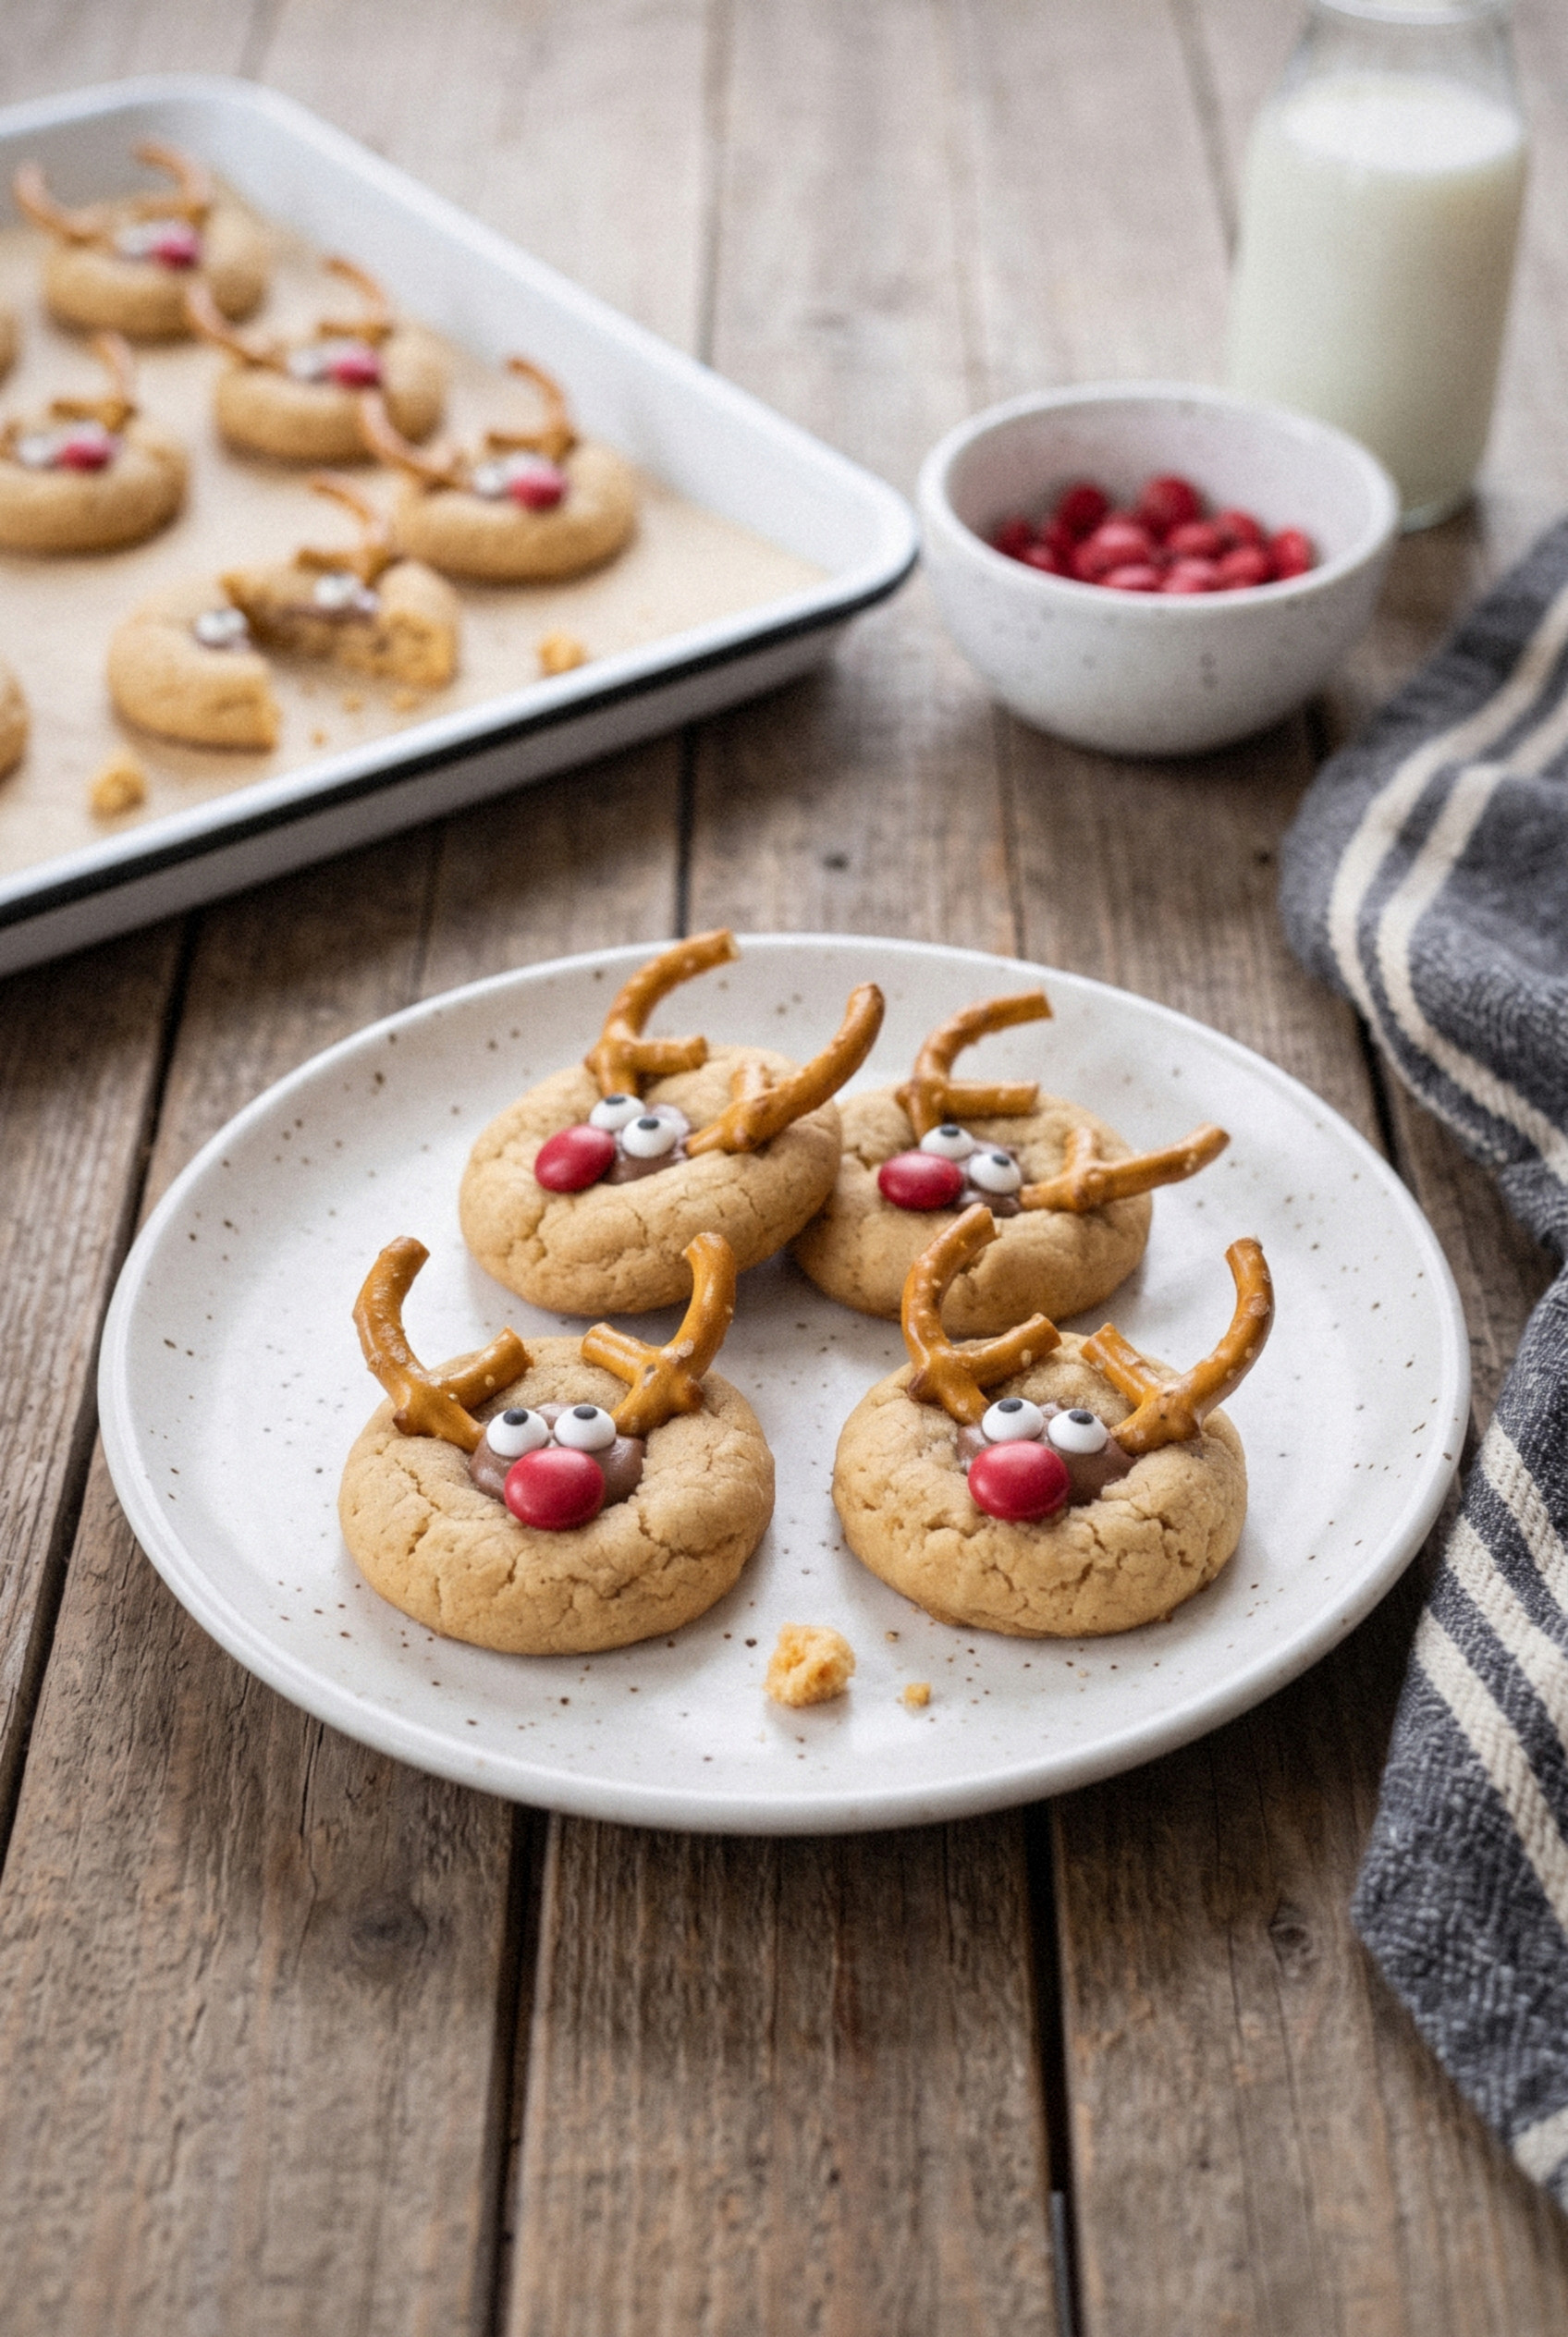
Tips for the Best Reindeer Cookies
A few small habits make the difference between cute reindeer and blobs. These are the ones I learned the hard way.
- Snap the pretzels ahead. Breaking pretzels while the cookies cool wastes your decorating window.
- Unwrap and sort candy first. Pick out the red ones before you bake. Digging through a bag with warm cookies waiting is stressful.
- Work one tray at a time. Two trays out at once means half of them will be too firm by the time you get there.
- Don't overbake. Pull them at 9-10 minutes. A firm cookie cracks when you push in an antler.
- Use a cookie scoop. Same-size balls bake evenly and the faces all look like part of the same herd.
- Press antlers deep. Push the cut end of each pretzel about ¼ inch into the cookie so it anchors as the cookie cools.
- Use REGULAR peanut butter. Natural peanut butter is the number one reason these spread flat.
Easy Variations
Once you've made the classic version, the herd is easy to change up. These are the swaps my family asks for most.
- Chocolate peanut butter reindeer. Swap ¼ cup of the flour for unsweetened cocoa powder for a darker, fudgier cookie.
- Peanut butter cup snout. Press an unwrapped mini peanut butter cup into the center of each warm cookie, then set the red nose on top of the cup.
- Rudolph and friends. Give most of the herd brown noses and only a few red ones, so Rudolph stands out on the platter.
- Crunchy peanut butter. Works fine and adds texture. The faces look a little more rustic.
- Chocolate-dipped antlers. Dip the cut end of each pretzel in melted chocolate before pressing it in for extra grip and flavor.
- Cinnamon sugar coat. Roll the dough balls in cinnamon sugar before baking for a sparkly, spiced finish.
Storage and Make-Ahead
These keep well, but the pretzels are the weak link. Plan around them and the cookies taste fresh for days.
- Room temperature. Store decorated cookies in an airtight container for up to 5 days, in single layers separated by parchment.
- Dough. Wrap and refrigerate the dough for up to 3 days. Let it sit out for 10 minutes before scooping.
- Frozen dough balls. Freeze scooped balls on a tray, then bag them for up to 3 months. Bake from frozen, adding 1-2 minutes.
- Frozen baked cookies. Undecorated cookies freeze well for up to 2 months. Decorated ones can freeze, but the pretzels soften a little after thawing.
- Humidity. In a damp kitchen, pretzels go soft after a couple of days. Keep the container tightly sealed.
A Simple Make-Ahead Timeline
- Up to 3 months ahead. Make and freeze the dough balls.
- Up to 3 days ahead. Make the dough and keep it in the fridge.
- The day before. Snap pretzels, sort candy and set up your decorating bowls.
- Decorating day. Bake one tray at a time and decorate each tray warm.
What to Serve With Reindeer Cookies
These cookies are the fun one on any Christmas spread. Pair them with a few classics for a full holiday tray.
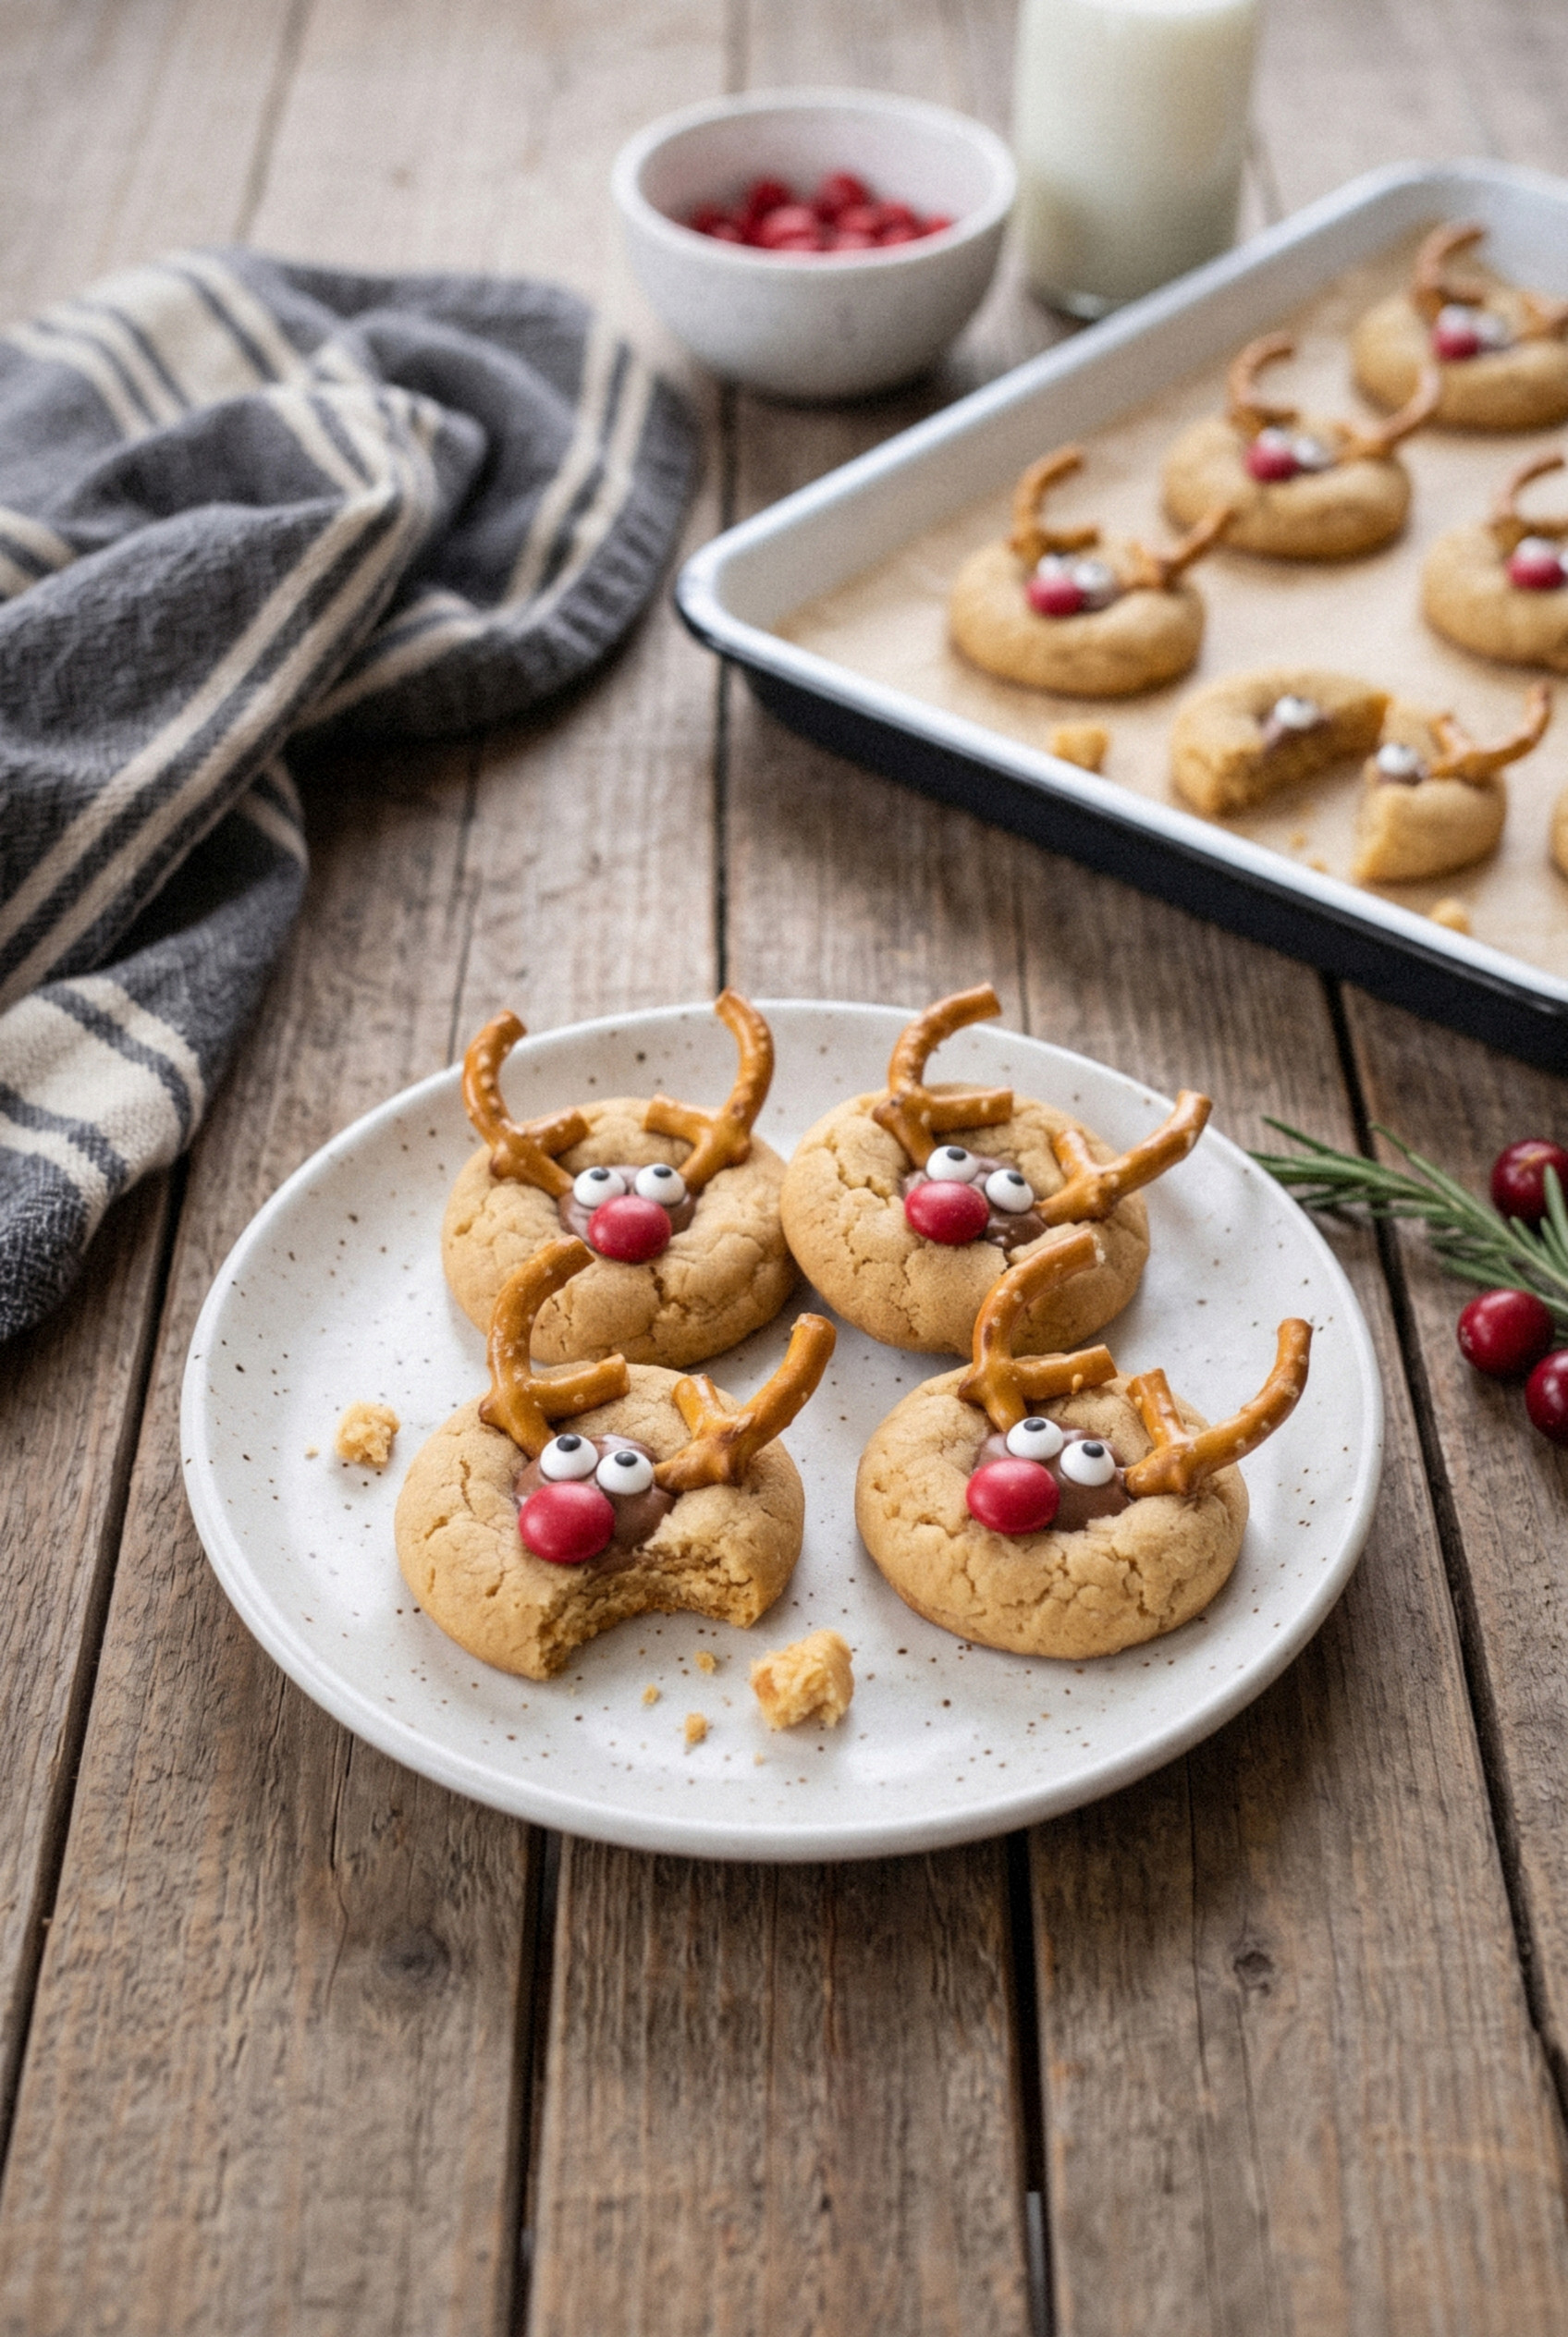
- A mixed cookie tray. Set them next to sugar cookies, gingerbread and snowball cookies for a mix of colors and textures.
- Hot cocoa. Peanut butter and chocolate is a combo that always hits the spot on a cold night.
- A glass of cold milk. The classic for a reason, and exactly what you'd leave out for Santa.
- Cookie swap boxes. Pack them in a shallow box so the antlers stay upright.
Peanut Butter Reindeer Cookies FAQ
Can I use natural peanut butter for reindeer cookies?
I don't recommend it. Natural peanut butter separates and makes the dough greasy, so the cookies spread flat and the faces lose their shape. Stick with a regular creamy brand.
How do I keep the pretzel antlers from falling off?
Decorate within 1-2 minutes of the cookies leaving the oven and press the cut end of each pretzel about ¼ inch deep. For extra insurance, dip the pretzel end in melted chocolate first.
Can I make peanut butter reindeer cookies ahead of time?
Yes. Bake and decorate them up to 5 days before serving, or make the dough up to 3 days ahead and keep it chilled. Frozen dough balls also bake beautifully straight from the freezer.
Can I freeze reindeer cookies?
You can freeze decorated cookies for up to 2 months, but the pretzels lose a little crunch. For the best texture, freeze the dough balls or undecorated cookies and decorate after baking or thawing, using melted chocolate as glue on thawed cookies.
What can I use instead of candy eyes?
Mini chocolate chips pressed in pointy side down work great. You can also pipe little dots of melted white chocolate and add a mini chocolate chip pupil once they set.
Can kids help decorate these?
Absolutely! Let an adult handle the hot trays, then give each kid one decoration job. Kids as young as three can press in noses, and the slightly crooked faces are half the charm.
Why did my cookies spread flat?
The usual causes are natural peanut butter, butter that was too warm, or skipping the chill. Too little flour also causes spread, so weigh it if you can. Chill the dough for at least 20 minutes and the faces stay round.
Recipe
Peanut Butter Reindeer Cookies
Ingredients
For the Cookie Dough
- ½ cup unsalted butter softened
- ¾ cup creamy peanut butter regular, not natural
- ½ cup granulated sugar
- ½ cup light brown sugar packed
- 1 large egg room temperature
- 1 teaspoon vanilla extract
- 1 ½ cups all-purpose flour 190 g, spooned and leveled
- ¾ teaspoon baking soda
- ¼ teaspoon baking powder
- ½ teaspoon fine salt
For the Decorations
- 30 mini pretzel twists snapped in half, plus a few extra
- 60 candy eyes or mini chocolate chips
- 30 red M&Ms or red cinnamon candies for noses
- 2 tablespoons chocolate chips melted, optional, for glue
Instructions
Make the Dough
- Beat the butter, peanut butter, granulated sugar and brown sugar on medium speed for about 2 minutes until smooth and slightly lighter in color.
- Add the egg and vanilla and beat until combined, scraping down the bowl.
- Whisk the flour, baking soda, baking powder and salt in a separate bowl. Add to the peanut butter mixture on low speed and mix just until no dry streaks remain.
Chill and Shape
- Cover and chill the dough for 20 to 30 minutes. Meanwhile, preheat the oven to 350°F, line two baking sheets with parchment and snap the pretzels in half.
- Scoop the dough into 1-tablespoon balls, roll smooth and place 2 inches apart, about 12 per sheet. Press each lightly into a slightly oval shape about ½ inch thick.
Bake
- Bake one sheet at a time for 9 to 10 minutes, until the edges are just set and the tops are puffed and lightly cracked.
Decorate
- Let the cookies rest on the sheet for 1 to 2 minutes. Press two pretzel halves into the top edge of each cookie as antlers, two candy eyes below them and one red candy near the bottom as the nose.
- If any cookie has firmed up, attach decorations with a dab of melted chocolate.
- Cool on the sheet for 5 minutes, then transfer to a wire rack to cool completely.
Notes
- Peanut butter: Use a regular stabilized creamy peanut butter. Natural peanut butter makes the cookies spread.
- Timing: Decorate 1 to 2 minutes after baking. If a tray firms up, return it to the warm oven for 30 seconds.
- Storage: Keep in an airtight container with parchment between layers for up to 5 days.
- Make ahead: Freeze dough balls up to 3 months and bake from frozen, adding 1 to 2 minutes.