My gym bag has a side pocket that has held some genuinely sad snacks over the years.
Crushed granola bars. A banana that did not survive. One protein bar so dense I think I chipped something.
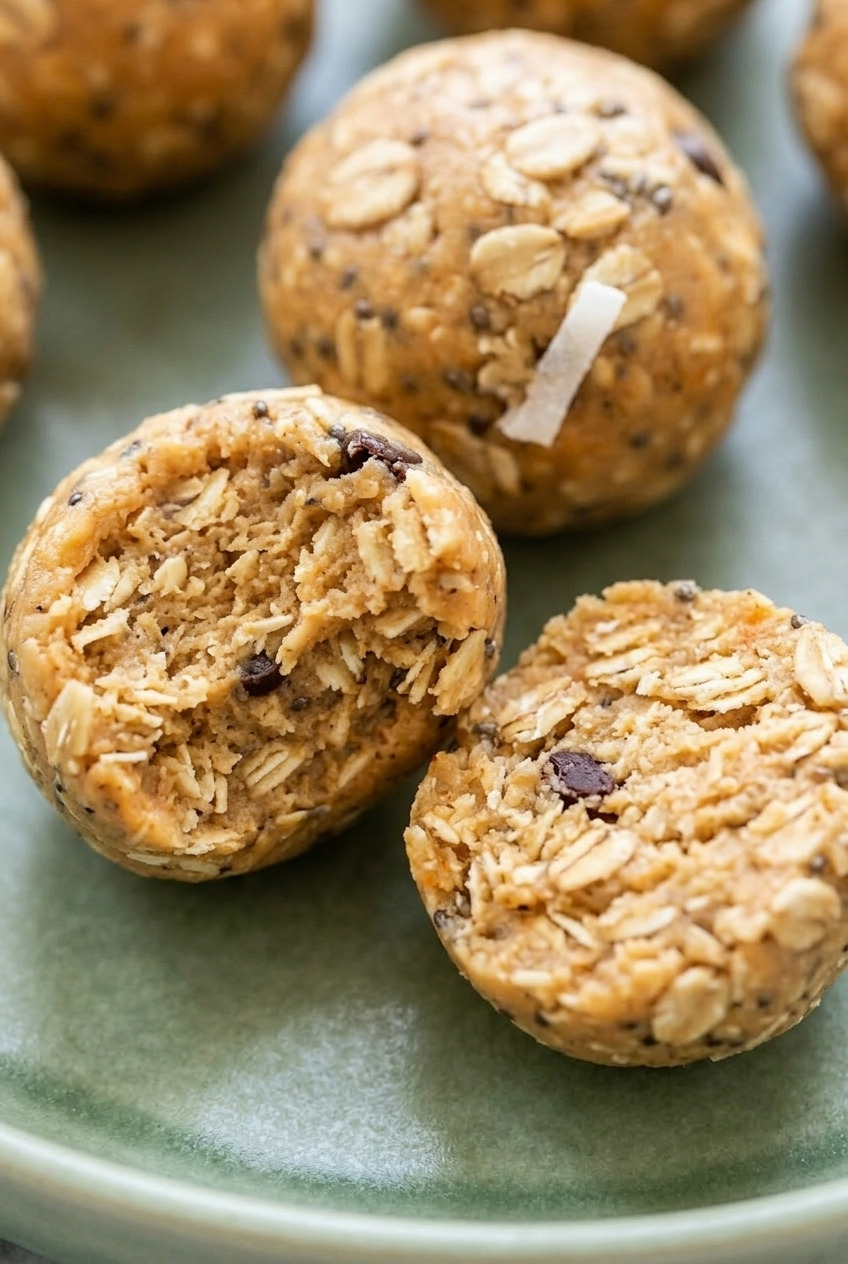
These fixed that pocket.
I roast sweet potatoes for dinner most weeks and there's almost always half of one left, so on Sunday nights it goes into a bowl with oats and peanut butter and comes out as a container of snacks that lasts me until Thursday.
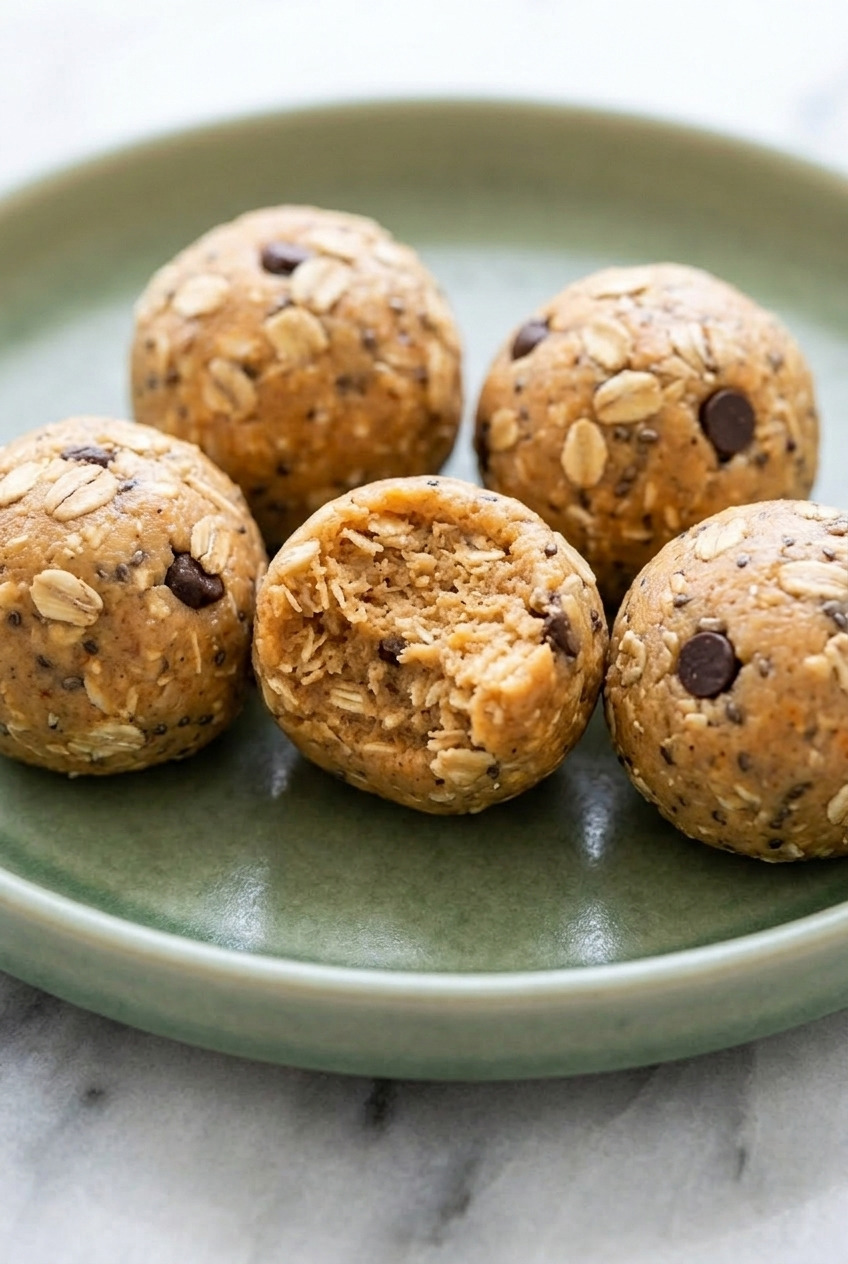
They're soft, cool from the fridge, and mildly spiced with cinnamon.
The sweet potato brings a natural sweetness and a little moisture, the oats give slow-burning fiber, and the peanut butter adds fat and protein so you're not hungry again twenty minutes later.
That combination is the whole reason these work as fuel rather than just candy shaped like a ball.
I eat two before a morning workout and I'm good.
Everything happens in one bowl with a spoon.
No oven, no food processor, no blender to wash.
You mash, you stir, you roll, and in about 15 minutes you have a dozen bites chilling in the fridge.
Sound too simple to be worth it? Try one straight from the cold fridge on a Wednesday afternoon and you'll understand.
Why These Energy Balls Work
Most no-bake bites are dates and nuts, which is basically dessert with a health label. Swapping in sweet potato changes what the snack actually does for you.
- Real staying power. Sweet potato and oats are both complex carbohydrates with fiber, so the energy arrives steadily instead of spiking and dropping.
- Fat and protein from the nut butter. ⅓ cup of peanut butter across the batch is what turns a carb snack into something that holds you over.
- Portion-friendly by design. Each ball lands around 90 calories. Two is a real snack, one is a small one, and there's no bag to accidentally finish.
- Genuinely no-bake. Once the sweet potato is cooked, nothing else touches heat.
- Leftover-driven. ½ cup of mash is about half a medium sweet potato. This is a use-up recipe first and a snack recipe second.
- Naturally sweet with very little added sugar. 2 tablespoons of maple syrup across twelve balls is not much, and the sweet potato covers the rest.
Fair warning: They're a lot easier to eat than a granola bar, so a batch disappears faster than you'd plan for.
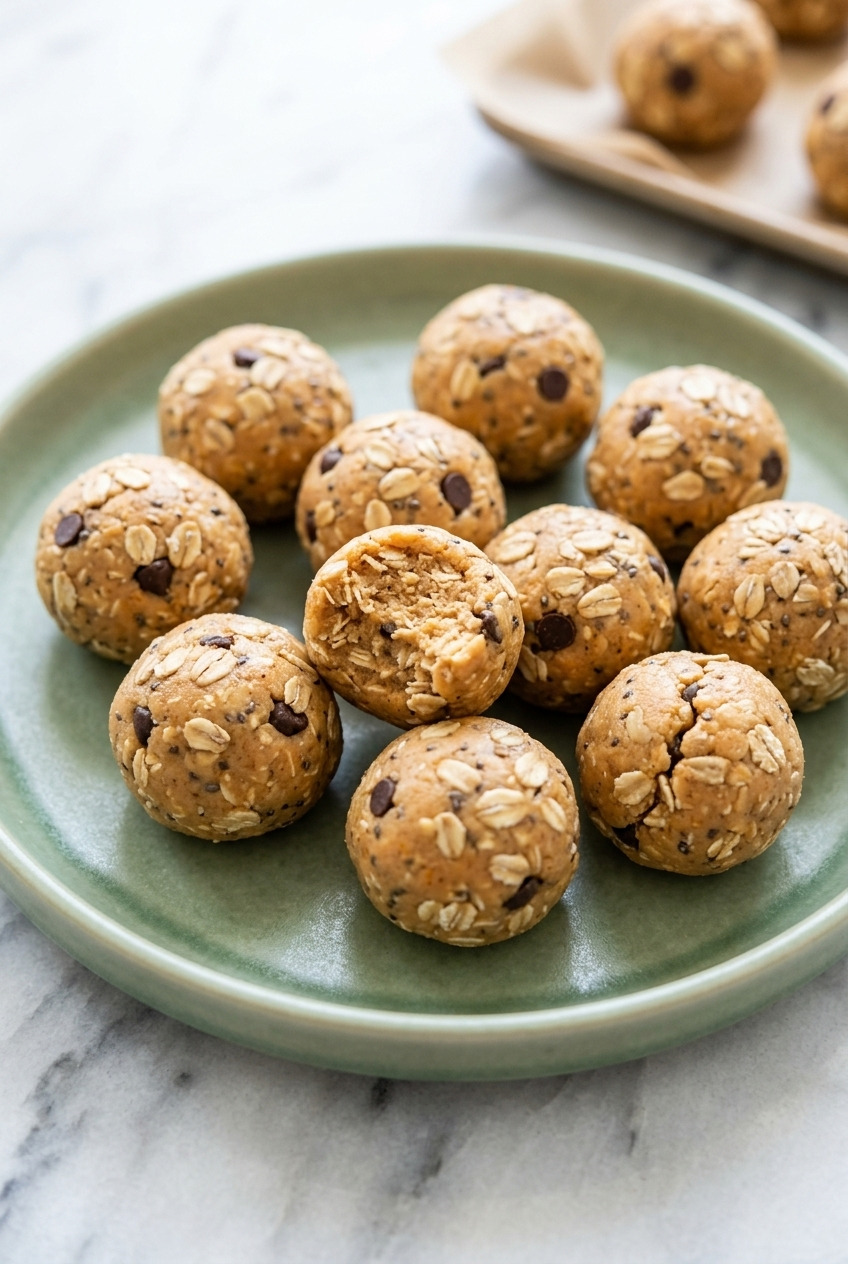
Ingredients You'll Need
Five ingredients form the base and everything after that is a mix-in. This is a pantry recipe once the sweet potato is handled.
The Base
- Cooked, mashed sweet potato (½ cup). Bake it rather than boil it. Baking concentrates the flavor and drives off water, and water is what makes these too soft to roll. Mash it smooth and let it cool completely before it meets the peanut butter.
- Rolled oats (1 cup). Old-fashioned rolled oats are what you want here, not quick oats. They keep a bit of chew and structure instead of dissolving into paste. Use certified gluten-free oats if that matters to you.
- Peanut butter (⅓ cup). Creamy, and preferably the natural kind that's just peanuts and salt. Very runny natural peanut butter makes the mixture slack, so stir the jar well and pour off any standing oil first. Almond butter, cashew butter, and sunflower seed butter all work.
- Maple syrup or honey (2 tablespoons). Both work. Maple is a little cleaner in flavor, honey is a little stickier and helps binding.
- Ground cinnamon (½ teaspoon). The one spice that makes sweet potato taste like a snack instead of a side dish. A pinch of salt alongside it if your nut butter is unsalted.
Optional Mix-Ins
- Mini chocolate chips (¼ cup). Mini, not regular. They distribute through the mixture instead of forcing you to work around big chunks.
- Chia seeds (1 tablespoon). They absorb moisture as the mixture rests, which quietly firms everything up. My favorite fix when the mix feels a touch wet.
- Ground flaxseed (1 tablespoon). Same binding benefit, plus a mild nuttiness.
- Shredded coconut (2 tablespoons). Adds texture and a little chew.
On canned puree: Use ½ cup of plain canned sweet potato puree, never pie filling. Blot it with paper towels first, because canned carries more water than baked flesh and you'll need an extra couple tablespoons of oats to compensate.
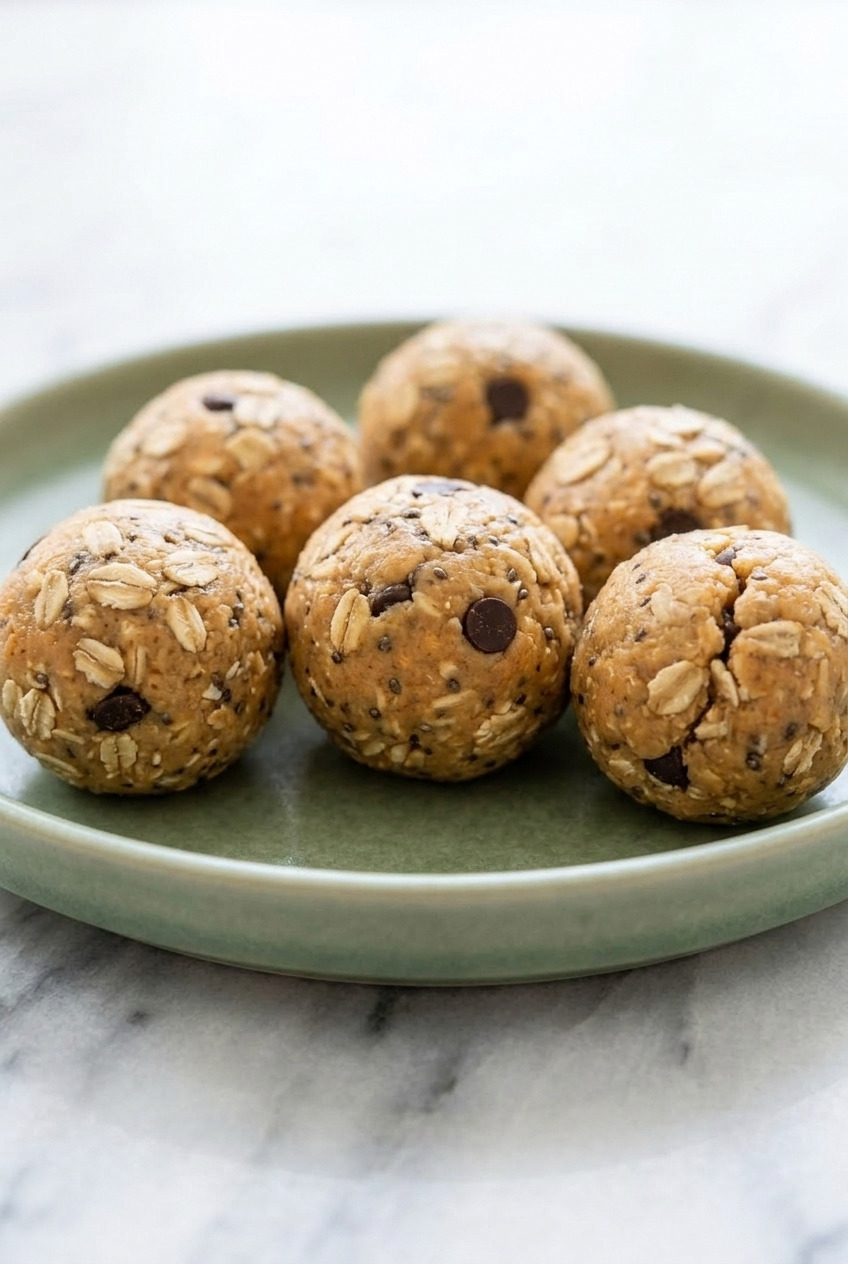
How to Make Sweet Potato Energy Balls
Step 1: Cook and Cool the Sweet Potato
Prick a medium sweet potato and bake at 400°F for 45 to 55 minutes, until a knife slides in with no resistance.
Scoop the flesh out, mash it smooth, and measure ½ cup.
Let it cool completely, which takes about 30 minutes on the counter.
Warm mash makes the peanut butter runny and the whole mixture too loose to roll.
Step 2: Mix the Base
In a medium bowl, stir the cooled sweet potato with the peanut butter, maple syrup, and cinnamon until it's completely smooth and uniform in color.
Do this before the oats go in.
Trying to blend nut butter into a bowl that already has oats in it never works cleanly.
Step 3: Add the Oats and Mix-Ins
Add the rolled oats and any mix-ins you're using.
Stir until every oat is coated and the mixture starts pulling away from the sides of the bowl in a single mass.
It should feel like thick cookie dough: sticky, but holding together when you squeeze a spoonful.
Step 4: Chill the Mixture
Cover the bowl and refrigerate 20 to 30 minutes.
The oats absorb moisture during this rest and the mixture firms up considerably.
Skipping this is why people end up with a bowl of paste and frustration.
Step 5: Roll
Scoop 1-tablespoon portions and roll them between your palms into balls, about 12 to 14 total.
Run your hands under cold water and shake them off first.
Slightly damp hands stop the mixture from sticking, and re-wetting them every four or five balls keeps it that way.
Step 6: Final Chill
Set the balls on a plate or tray and refrigerate at least 1 hour before eating.
They go from soft and fragile to firm and grabbable.
Cold is also just how they taste best.
Tips & Notes
Nearly every problem here is a wet-versus-dry ratio problem, and both directions are easy to fix.
- Too wet to roll? Add oats 2 tablespoons at a time until the mixture holds a shape. Sweet potatoes vary enormously in moisture and this is normal, not a mistake.
- Too dry and crumbly? Add another tablespoon of nut butter, or a splash of milk. Work it in and give it five minutes before judging.
- Wet hands, always. Cold water on your palms is the single tip that makes rolling pleasant instead of maddening.
- Use a scoop for consistency. A small cookie scoop gives you uniform balls, which matters if you're tracking portions.
- Bake, don't boil. Boiled sweet potato holds water and you'll be adding oats forever to compensate.
- Let them rest overnight. The cinnamon and peanut butter settle in and day two genuinely tastes better than day one.
- Making them nut-free? Sunflower seed butter is the swap, and it behaves almost identically. It's a touch less sweet, so taste and add another teaspoon of maple syrup if you want it.
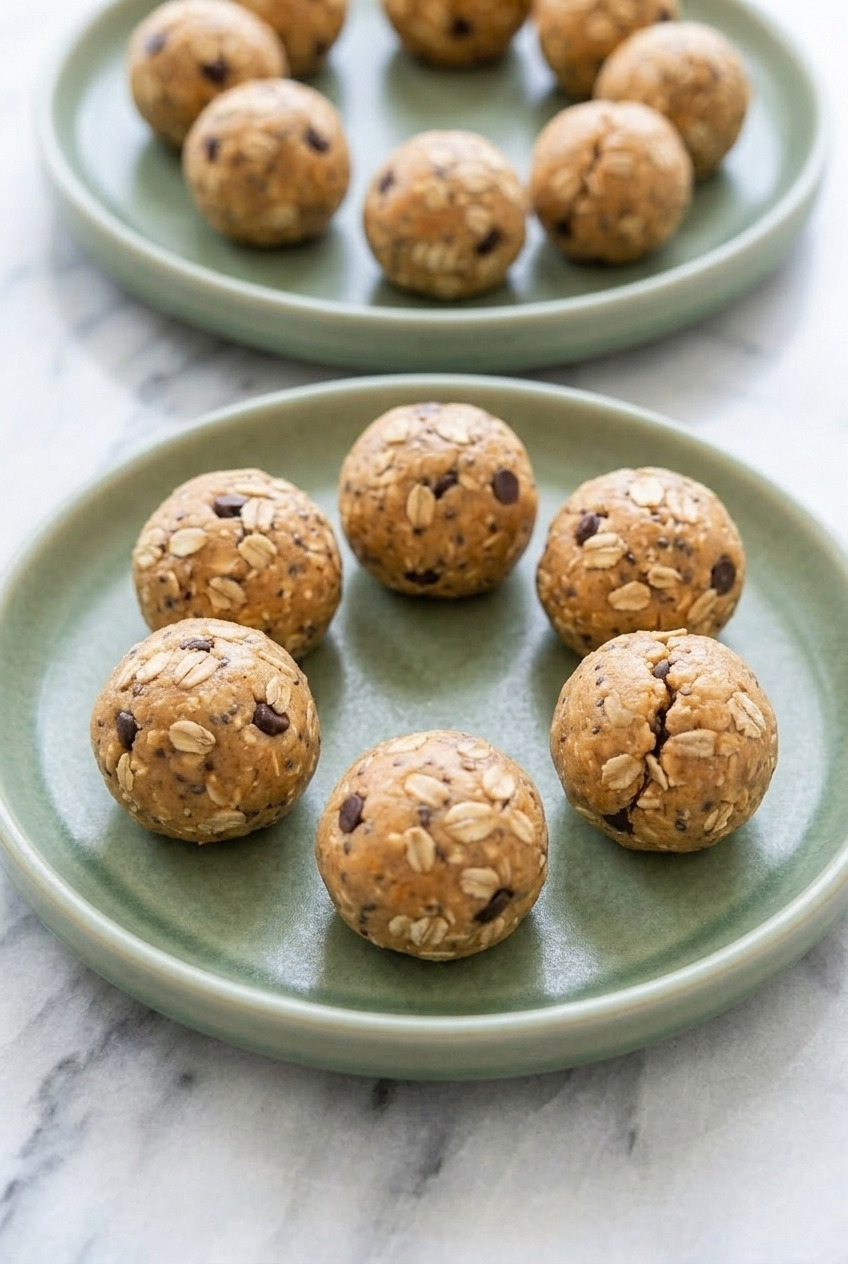
Variations
The base takes swaps easily, so treat the list below as a starting point.
- Chocolate chip. ¼ cup mini chips. The default at my house and the version my wife requests.
- Pumpkin spice. Swap the cinnamon for ¾ teaspoon of pumpkin pie spice. Fall in a ball.
- Trail mix. 2 tablespoons each of chopped pecans, raisins, and mini chips. More texture in every bite.
- Protein boost. Add 2 tablespoons of vanilla protein powder and an extra tablespoon of nut butter to offset the dryness it brings.
- Coconut almond. Almond butter, 2 tablespoons shredded coconut, and a roll in more coconut after shaping.
- Dried cranberry and orange. ¼ cup chopped dried cranberries plus the zest of half an orange. Brighter and less expected.
- Cocoa. 1 tablespoon of unsweetened cocoa powder plus an extra teaspoon of maple syrup. Turns them into a chocolate bite.
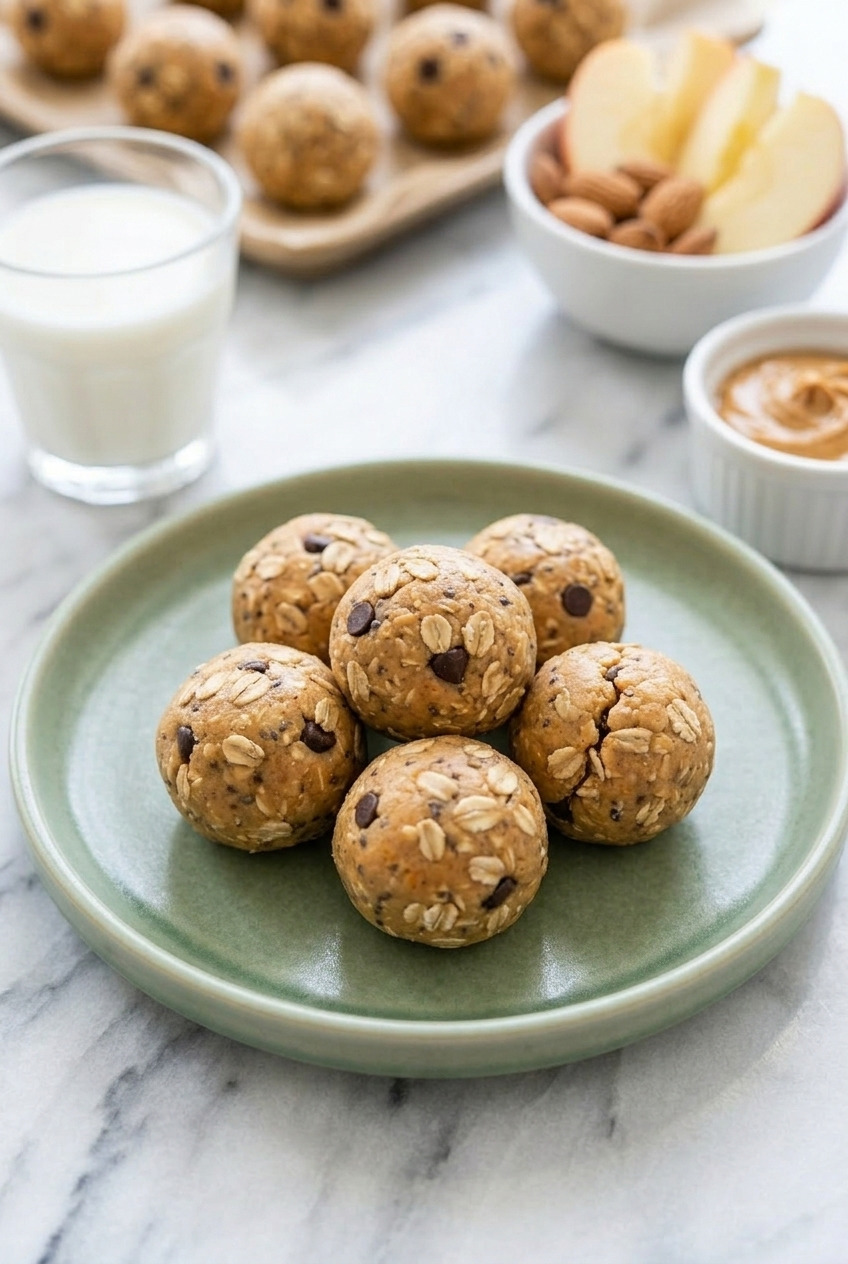
How to Store
These were built to live in the fridge, which is the point of making them at all.
- Refrigerator. Airtight container up to 1 week. They firm up over the first day and stay that way.
- Freezer. Up to 3 months. Freeze them on a tray first so they don't clump, then move them to a bag.
- Eating from frozen. Ten minutes on the counter and they're ready. I've also eaten them straight from the freezer, and cold and dense is a good texture.
- Packing them. A small container with a lid, straight into a lunch bag. They hold their shape for a few hours out of the fridge but soften if it's genuinely hot out.
- Do not store at room temperature. There's real moisture in these from the sweet potato, so the counter is not the place for them.
Roast an extra sweet potato with dinner tonight and you're one bowl away from next week's snacks. Give it a try.
Recipe
No-Bake Sweet Potato Energy Balls
Ingredients
Base
- ½ cup cooked sweet potato mashed smooth and fully cooled
- 1 cup rolled oats old-fashioned
- ⅓ cup creamy peanut butter or almond, cashew, or sunflower seed butter
- 2 tablespoons maple syrup or honey
- ½ teaspoon ground cinnamon
- 1 pinch salt if your nut butter is unsalted
Optional Mix-Ins
- ¼ cup mini chocolate chips optional
- 1 tablespoon chia seeds optional
- 1 tablespoon ground flaxseed optional
- 2 tablespoons shredded coconut optional
Instructions
Prepare
- Prick a medium sweet potato and bake at 400F for 45 to 55 minutes, until a knife slides in with no resistance. Scoop out the flesh, mash smooth, and measure ½ cup.
- Let the mash cool completely on the counter, about 30 minutes.
Mix and Roll
- In a medium bowl, stir the cooled sweet potato with the peanut butter, maple syrup, cinnamon, and salt until completely smooth.
- Add the rolled oats and any mix-ins. Stir until every oat is coated and the mixture pulls together into a single sticky mass.
- Cover and refrigerate 20 to 30 minutes so the oats absorb moisture and the mixture firms up.
- With slightly damp hands, scoop 1-tablespoon portions and roll into 12 to 14 balls, re-wetting your hands every few balls.
- Refrigerate the rolled balls at least 1 hour before serving.
Notes
- Too wet to roll: Add oats 2 tablespoons at a time until the mixture holds a shape.
- Too dry: Add another tablespoon of nut butter or a splash of milk.
- Bake, do not boil: Boiled sweet potato carries too much water.
- Damp hands: Cold water on your palms keeps the mixture from sticking while rolling.
- Canned puree: Use plain puree, not pie filling, and blot it first.
- Storage: Fridge up to 1 week, freezer up to 3 months. Keep them cold.