Search for sweet potato jerky and you will find dog treats.
Almost all of it. Page after page.
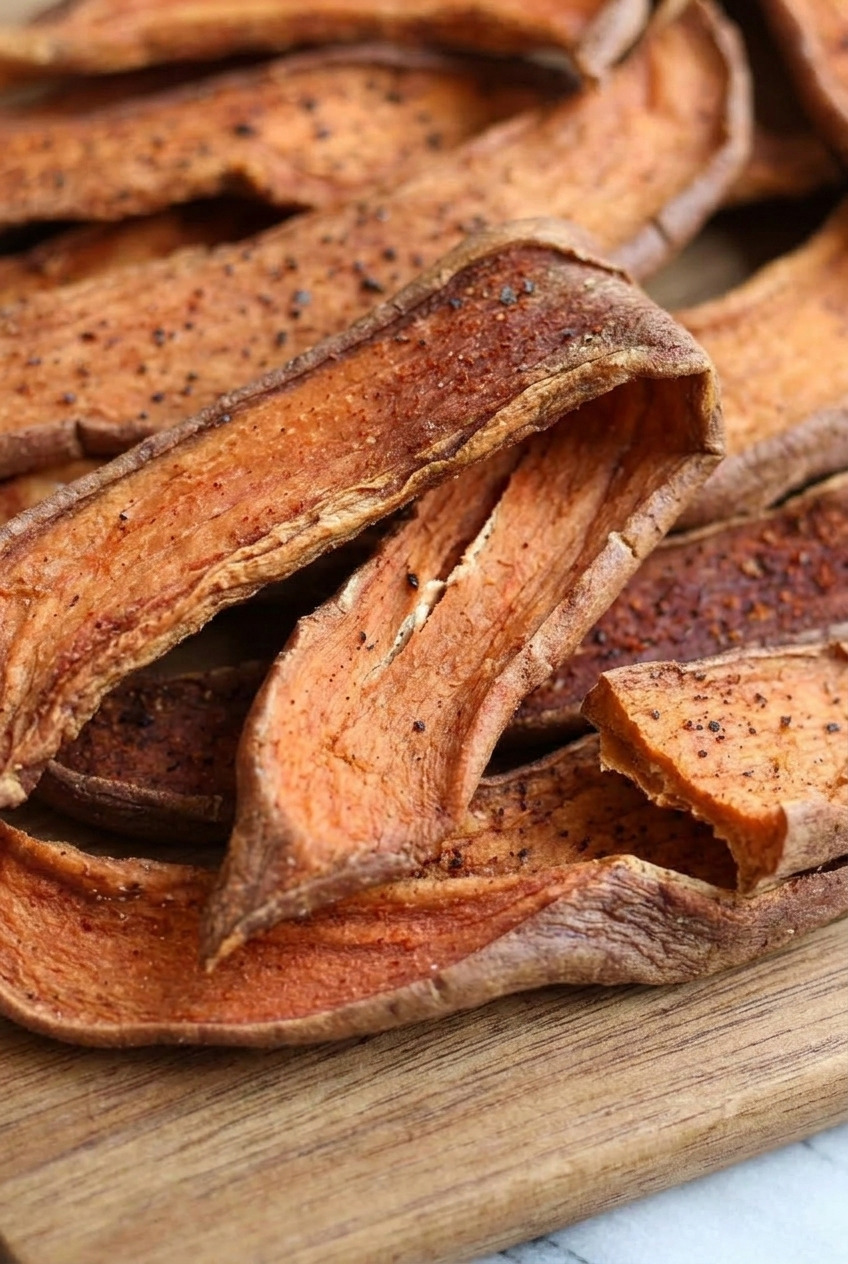
This is not that.
This is a savoury snack for a person, and the difference is entirely in the marinade.
Salt, soy sauce, smoked paprika, garlic, black pepper, and a small hit of maple to balance it.
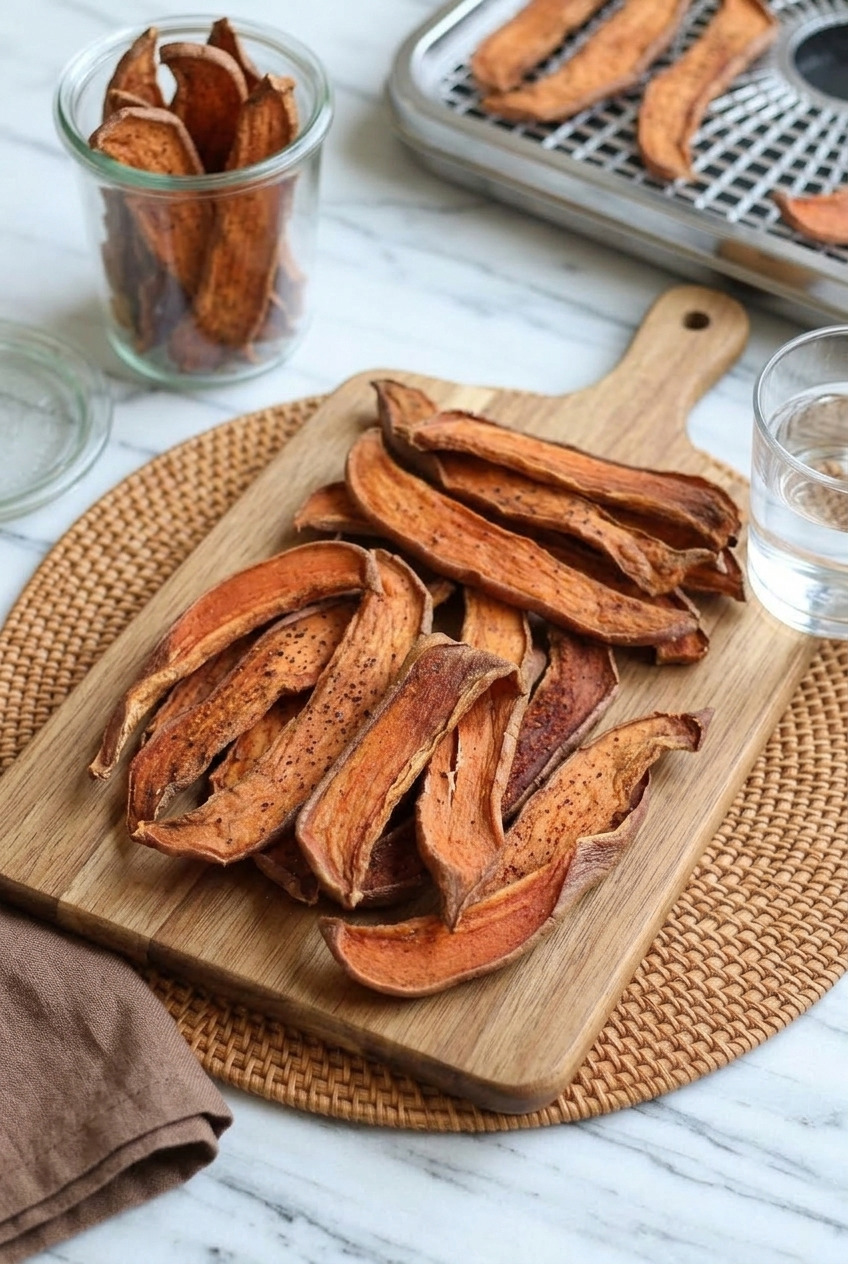
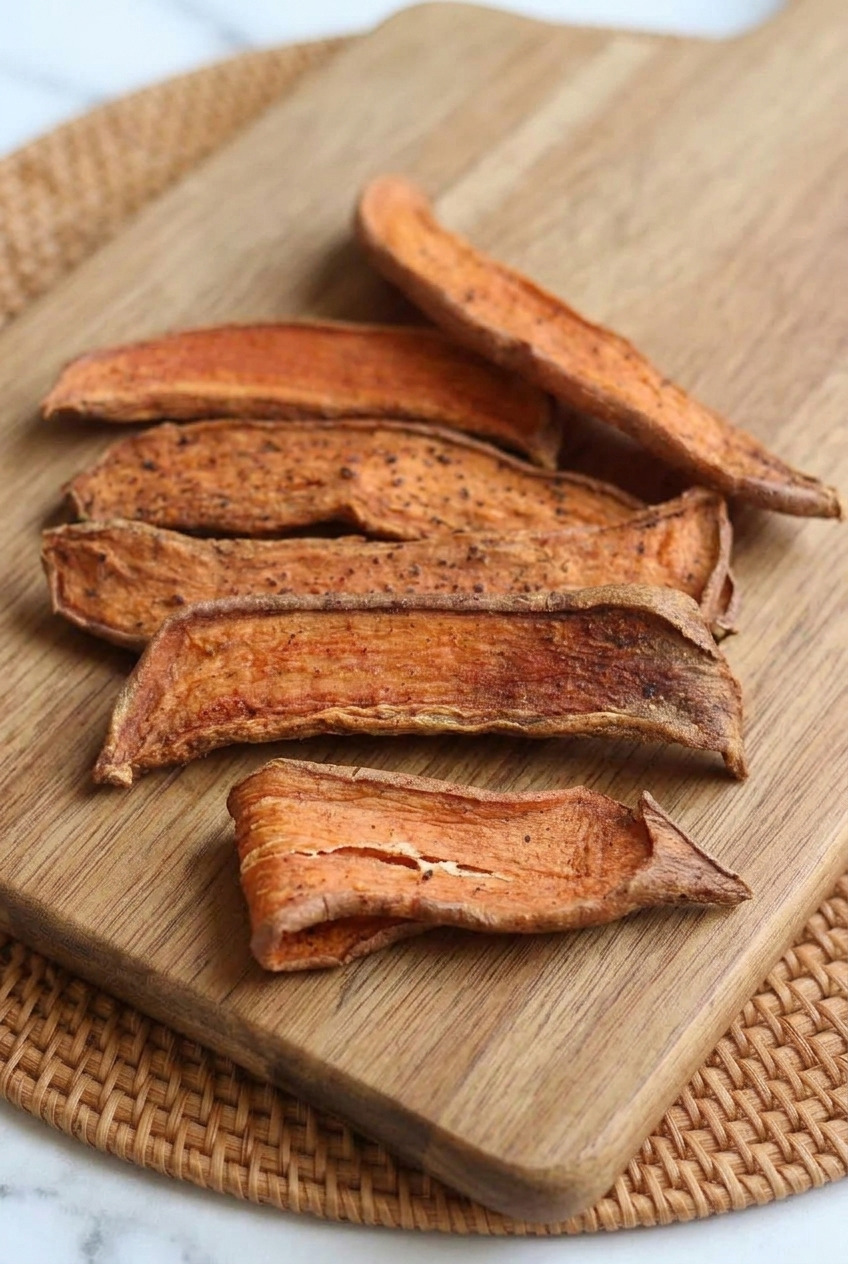
What you end up with is a strip that is leathery, matte and pliable.
It bends. It tears with a bit of effort. It does not snap like a chip and it is never glossy.
That texture is the whole game here, and it comes from drying low and slow rather than baking.
135°F for 8 to 10 hours in a dehydrator, or your oven on its lowest setting with the door propped open.
A bag of vegetable jerky at my store costs nine dollars. Two sweet potatoes cost me three.
My wife takes these hiking, which is honestly the best case for them, since they weigh nothing and do not care about being crushed in a pack.
One thing I want to flag right at the top, because nobody else does.
Dried vegetables are only shelf stable if they are genuinely dry, and there is a simple week long test that tells you whether yours are.
I cover it below, and I would not skip it.
This Is a Snack for People, Not a Dog Treat
I want to be clear about this in both directions. The recipes dominating this search are made for dogs, and they are made correctly for dogs.
Sweet potato, maybe a little oil, no salt. That is the right call for an animal.
It is also why they taste like nothing to us.
Salt is the ingredient that turns dried sweet potato from a bland orange strip into something you actually want to eat.
Add soy sauce for depth, smoked paprika for the campfire note, garlic and pepper for savoury backbone.
Fair warning, and this matters: the seasoned version here is NOT suitable for dogs. The salt content is too high for them, garlic and onion powder are genuinely bad for them, and the soy sauce is both.
Want to make a batch for the dog too? Slice extra and dry those strips completely plain, no marinade at all.
What the Texture Should Actually Be
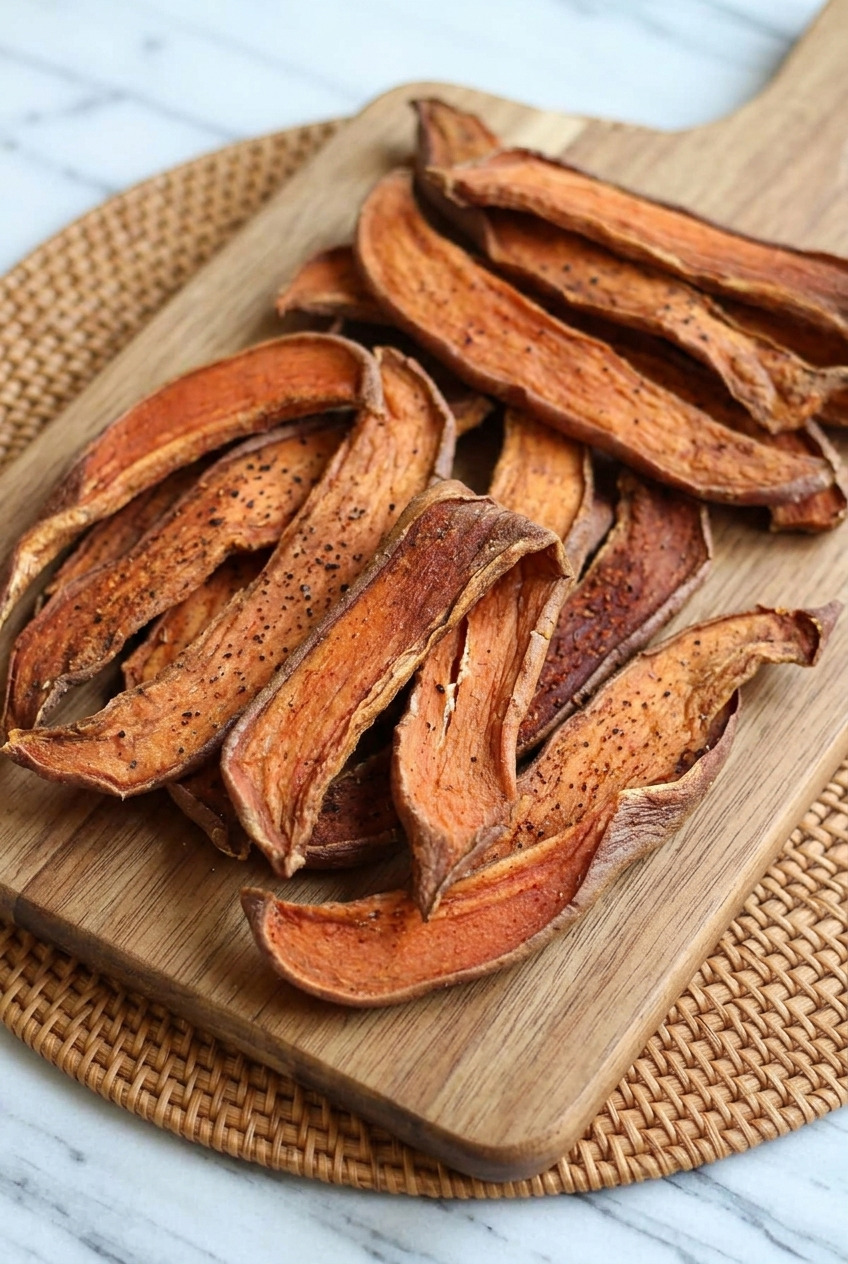
Leathery, matte and pliable. Those three words are the target, and it is worth being fussy about them.
Leathery means it has the density of real beef jerky. There is resistance when you bite it.
Matte means the surface is dull and slightly rough, not shiny. A glossy strip means it still holds oil or moisture on the surface and needs more time.
Pliable means it bends. Fold a cooled strip in half and it should crease and crack a little along the fold without breaking into two pieces.
What it should NOT be is a chip.
If your strips shatter when you bend them, they went too far or the oven ran too hot. They still taste fine, they are just a different snack.
They should not be soft or floppy either, and that is the direction that actually matters, because a soft strip is a strip that will go mouldy.
Ingredients You Need
- Sweet potatoes (2 large, about 2 pounds). Firm, orange fleshed, straight sided if you can find them. Long and even beats big and lumpy, because you want strips of a consistent width.
- Soy sauce or tamari (3 tablespoons). The savoury base. Tamari if you need it gluten free, and it works identically here.
- Maple syrup (1 tablespoon). Not for sweetness. It balances the salt and keeps the surface slightly tacky, which helps the strips stay pliable instead of brittle.
- Olive oil (1 tablespoon). A thin coat so the seasoning clings and the strips do not stick to the trays.
- Smoked paprika (1 ½ teaspoons). The single most important seasoning. It is what makes this read as jerky rather than dried vegetable.
- Garlic powder (1 teaspoon) and onion powder (½ teaspoon). Powders, not fresh. Fresh garlic burns and goes bitter over a long dry.
- Coarse black pepper (½ teaspoon). Ground coarse so you get occasional hits of it.
- Fine sea salt (½ teaspoon). On top of the soy. Taste the marinade before you commit.
- Cayenne (¼ teaspoon), optional. I use it. It builds slowly across a handful of strips.
Slicing: ¼ Inch, and Why It Matters
A quarter inch, cut lengthwise, then into strips about an inch wide. This is the number I care most about in the whole recipe.
Go thinner and you are making chips. They dry in half the time and they snap.
Go thicker and the outside dries into a seal while the inside stays damp, which is both a bad texture and a genuine safety problem.
Even thickness matters more than the exact number. A tray of strips that vary from ⅛ to ½ inch will never finish at the same time, so you either pull some underdone or dry the rest to glass.
Use a mandoline if you own one, set to ¼ inch, with the guard. I am not joking about the guard.
No mandoline? Cut a thin slice off one long side first so the potato sits flat and stops rolling, then work slowly with your largest knife.
Peel or not? I peel. The skin dries much tougher than the flesh and you get a chewy rim that fights the rest of the strip.
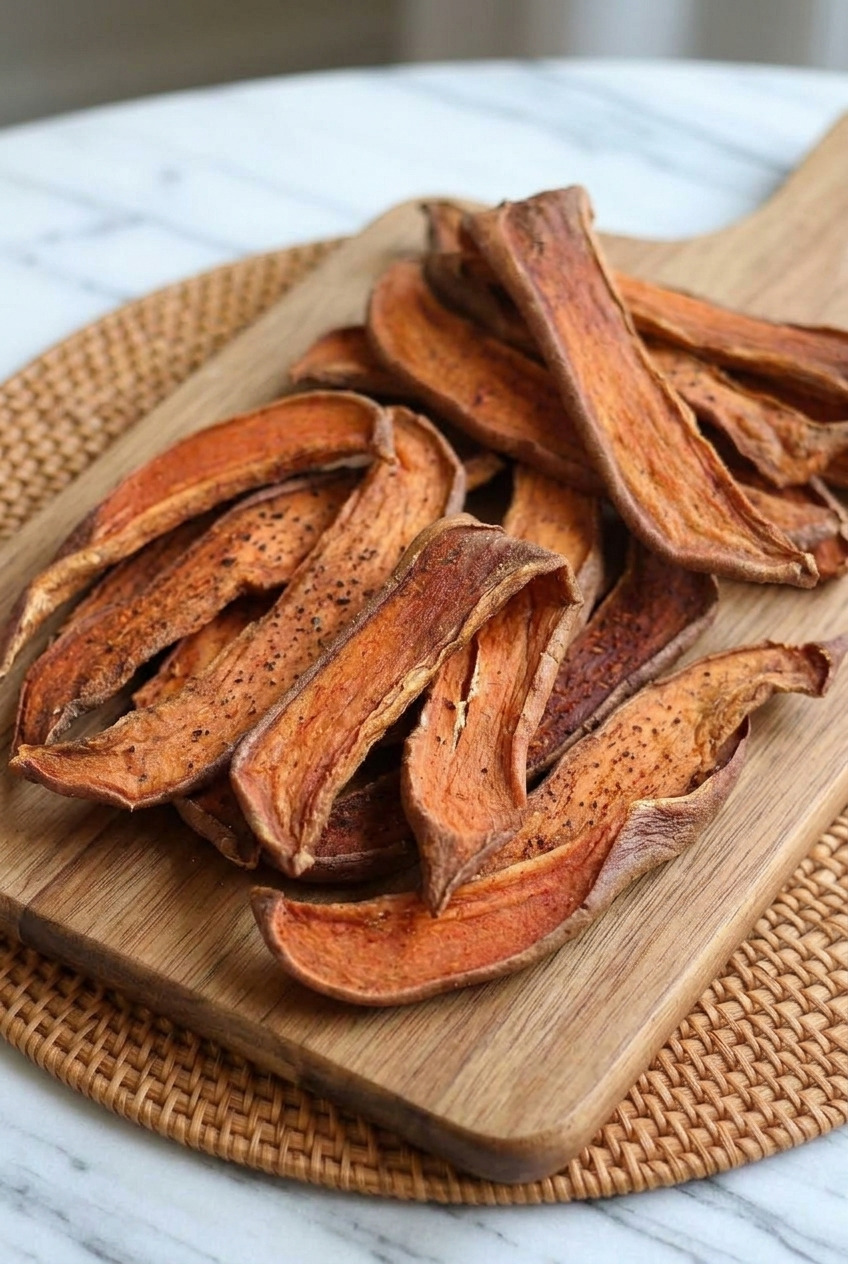
How to Make Sweet Potato Jerky
Step 1: Slice the Sweet Potatoes
Peel the potatoes and trim one long side flat so they sit still.
Slice lengthwise at ¼ inch, then cut the planks into strips roughly 1 inch wide.
Step 2: Blanch Briefly
Drop the strips into boiling water for 3 minutes, then straight into ice water and drain them well.
This is a small step people skip, and it does two useful things. It sets the colour so the strips stay orange rather than going grey brown, and it softens the flesh just enough that the marinade penetrates instead of sitting on the surface.
Pat them completely dry. Any surface water dilutes the marinade.
Step 3: Marinate
Whisk everything else together in a large bowl until the syrup and oil are fully combined.
Add the strips and turn them over with your hands until every one is coated.
Marinate 30 minutes at room temperature, or up to 4 hours in the fridge. Turn them once halfway.
Step 4: Load the Trays
Lay the strips out in a single layer with at least ¼ inch between them, on dehydrator trays or on wire racks set over sheet pans.
Air has to reach both faces. Strips laid directly on a solid sheet pan will steam on the underside and take twice as long.
Do not let them touch. Where two strips overlap, neither one dries.
Step 5: Dry Low and Slow
Dehydrator: 135°F for 8 to 10 hours. Rotate the trays once at the halfway mark if your machine does not have a rear fan.
Oven: the lowest setting your oven offers, ideally 170°F or below, with a wooden spoon holding the door open a crack. 4 to 5 hours, flipping the strips at the 2 hour point.
The propped door is not optional in an oven. It lets the moisture out, and without it you are baking, not drying.
Step 6: Test for Doneness
Pull a strip and let it cool for 5 minutes before you judge it, because warm jerky is always more pliable than it will be cold.
Then bend it. Crease and a small crack, no break, matte surface. That is done.
Dehydrator vs Oven
Both work, and they give you slightly different snacks. Here is the honest comparison after making this both ways more times than I can count.
- Dehydrator, 135°F, 8 to 10 hours. The better result. Constant low airflow dries evenly through the strip, so you get the true leathery chew all the way to the middle. It also costs almost nothing to run overnight.
- Oven, 170°F or lower, 4 to 5 hours. Faster and slightly crisper. The heat is higher so the outside firms up before the middle finishes, which pushes the texture toward a chip. Perfectly good, just less jerky-like.
- Oven with a convection setting. Use it. The fan closes most of the gap between the two methods.
- What about an air fryer? Only if yours has a true dehydrate mode under 160F. Otherwise it runs far too hot and you will make crisps in 40 minutes.
If you dry these more than twice a year, a basic dehydrator pays for itself fast.
How to Tell When It Is Done
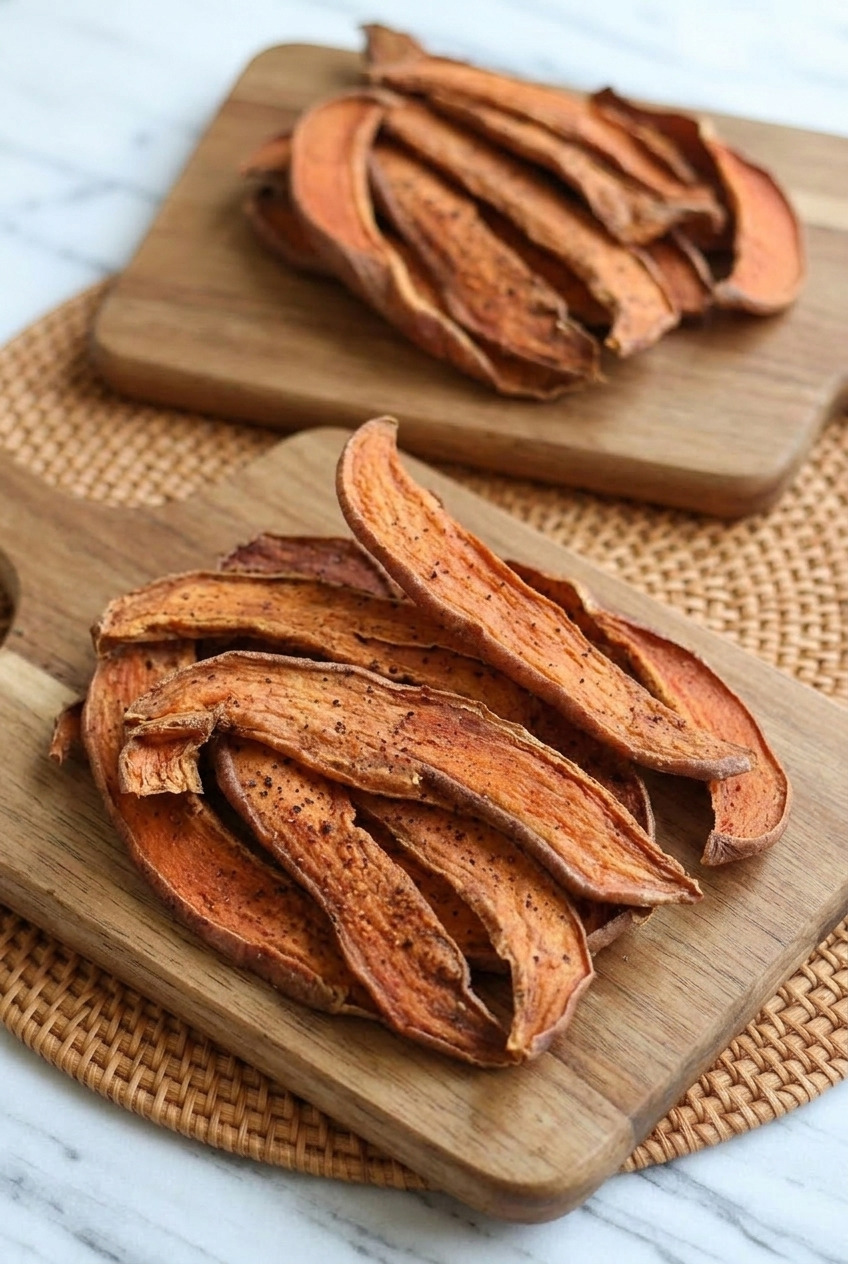
The bend test, done on a cooled strip. That last part is where everyone goes wrong.
- Cool it first, always. Give a test strip 5 minutes off the heat. Warm jerky feels softer and wetter than it really is, and judging it hot is how you end up overdrying a whole batch.
- Fold it in half. You want a clean crease with small cracks opening along the fold, and the strip still in one piece.
- Look at the surface. Matte and dull. Any shine means moisture or oil is still sitting on the outside.
- Tear one open. The interior should look the same colour as the outside, deep burnt orange, with no lighter damp band through the middle.
- Snapping clean in two? Overdried. Still delicious, just crisper than the target.
Batches finish unevenly, which is normal. Pull the thin strips early and give the thick ones another hour.
Conditioning and Food Safety
This is the step no other sweet potato jerky recipe mentions, and it is the one that keeps the batch safe. It takes a week and almost no effort.
Here is the problem. Even a batch that passes the bend test has strips of slightly different moisture levels. Seal them straight into a jar and the wet ones give up their water to the dry ones, and now you have damp pockets that grow mould.
Conditioning fixes it. Cool the jerky completely, pack it loosely into a clean glass jar, seal it, and leave it on the counter for 7 days.
Shake the jar once a day and look at the glass.
- No condensation after a week. The batch is evenly dry and shelf stable. Move it to long term storage.
- Any moisture beading on the glass. Tip the strips back onto the trays and dry them another 1 to 2 hours, then condition again from day one.
- Any fuzz, any off smell, any soft spot. Throw the whole batch out. Not one strip, all of it.
One more safety note. Dried vegetables are not preserved the way cured meat is. There is no nitrite, no acid, no salt cure doing the work here. Dryness is the only thing standing between this jar and spoilage, which is exactly why the week in the jar is worth doing.
Storage and Shelf Life
- Airtight jar, cool dark cupboard, 2 weeks. Once conditioned. Glass with a proper seal, not a zip bag.
- Fridge, 1 month. Where I keep mine, because my kitchen runs warm in summer.
- Freezer, 6 months. The texture holds up remarkably well. Thaw at room temperature in the sealed bag so condensation forms outside it, not on the jerky.
- Add a desiccant packet if you have one. The little silica sachets from a vitamin bottle, cleaned off. They buy you weeks.
- Check the jar every time you open it. Look at the glass, smell it. Ten seconds, every single time.
Flavour Variations
The base marinade is the one I make most, but these three earn their place. Same slicing, same drying, swap the seasoning.
- Teriyaki style. Soy sauce, maple, 1 teaspoon grated fresh ginger, 1 teaspoon rice vinegar and a pinch of five spice. Sticky, sharp, and the closest thing here to classic beef jerky.
- Chipotle lime. Swap the smoked paprika for 1 teaspoon chipotle powder and add the zest of a lime. Add the lime zest to the marinade, not after drying.
- Black pepper and rosemary. Drop the paprika entirely, double the black pepper, add 1 teaspoon finely chopped fresh rosemary. Herbal and much less smoky.
Whatever you use, keep the salt and the maple. They are structural, not decorative.
Slice at a quarter inch, dry at 135°F, cool before you judge it, and condition the jar for a week.
Do those four things and you get a snack worth the nine hours!
Recipe
Sweet Potato Jerky
Ingredients
For the Strips
- 2 pounds sweet potatoes 2 large, firm and orange fleshed, peeled
For the Savoury Marinade
- 3 tablespoons soy sauce or tamari for gluten free
- 1 tablespoon maple syrup balances the salt and keeps the strips pliable
- 1 tablespoon olive oil
- 1 ½ teaspoons smoked paprika
- 1 teaspoon garlic powder powder, not fresh, which burns over a long dry
- ½ teaspoon onion powder
- ½ teaspoon coarse black pepper
- ½ teaspoon fine sea salt
- ¼ teaspoon cayenne pepper optional
Instructions
Slice and Blanch
- Peel the sweet potatoes and cut a thin slice off one long side so they sit flat. Slice lengthwise at an even ¼ inch, then cut the planks into strips about 1 inch wide. Even thickness matters more than the exact number.
- Boil the strips 3 minutes, then transfer them straight to ice water. Drain and pat them completely dry. Blanching sets the orange colour and lets the marinade penetrate.
Marinate
- Whisk the soy sauce, maple syrup, olive oil, smoked paprika, garlic powder, onion powder, black pepper, salt and optional cayenne together until fully combined.
- Add the strips and turn them by hand until every surface is coated. Marinate 30 minutes at room temperature or up to 4 hours in the fridge, turning once.
Dry and Condition
- Lay the strips in a single layer with at least ¼ inch between them on dehydrator trays or wire racks set over sheet pans. Air must reach both faces, so never lay them on a solid pan and never let them overlap.
- Dehydrator: dry at 135F for 8 to 10 hours, rotating the trays once at the halfway point. Oven: use the lowest setting, 170F or below, with the door propped open a crack, for 4 to 5 hours, flipping the strips at 2 hours.
- Test a strip after letting it cool 5 minutes. It should be leathery, matte and pliable, bending into a crease with small cracks along the fold without breaking. Warm jerky always feels softer than it really is.
- Cool the batch completely, pack it loosely into a clean sealed glass jar, and condition it on the counter for 7 days, shaking daily. No condensation on the glass means it is evenly dry. Any beading means it needs another 1 to 2 hours of drying. Any fuzz or off smell means discard the whole batch.
Notes
- Not for dogs: the salt, soy sauce, garlic powder and onion powder in this marinade are unsuitable for dogs. Dry a few plain unmarinated strips for them instead.
- ¼ inch, evenly: thinner gives chips, thicker leaves a damp centre, which is a safety issue as well as a texture one.
- Texture target: leathery, matte and pliable. It bends and cracks at the fold, it does not snap, and it is never glossy.
- Cool before judging: warm jerky feels softer than it will be, so always test a strip after 5 minutes off the heat.
- Condition for 7 days: sealed jar, shaken daily. This is the step that makes the batch shelf stable and no other recipe includes it.
- Storage: 2 weeks in a sealed jar in a cool dark cupboard, 1 month in the fridge, 6 months in the freezer.