Last December a coworker picked one up off my cookie tray, turned it over twice, and asked which bakery I'd ordered from.
I didn't correct her right away.

I let her believe it for about ten seconds, which felt amazing.
Then I confessed that the whole pattern came from a ruler, a sharp knife, and a fridge.
She didn't believe me, so I wrote the steps on a sticky note for her.
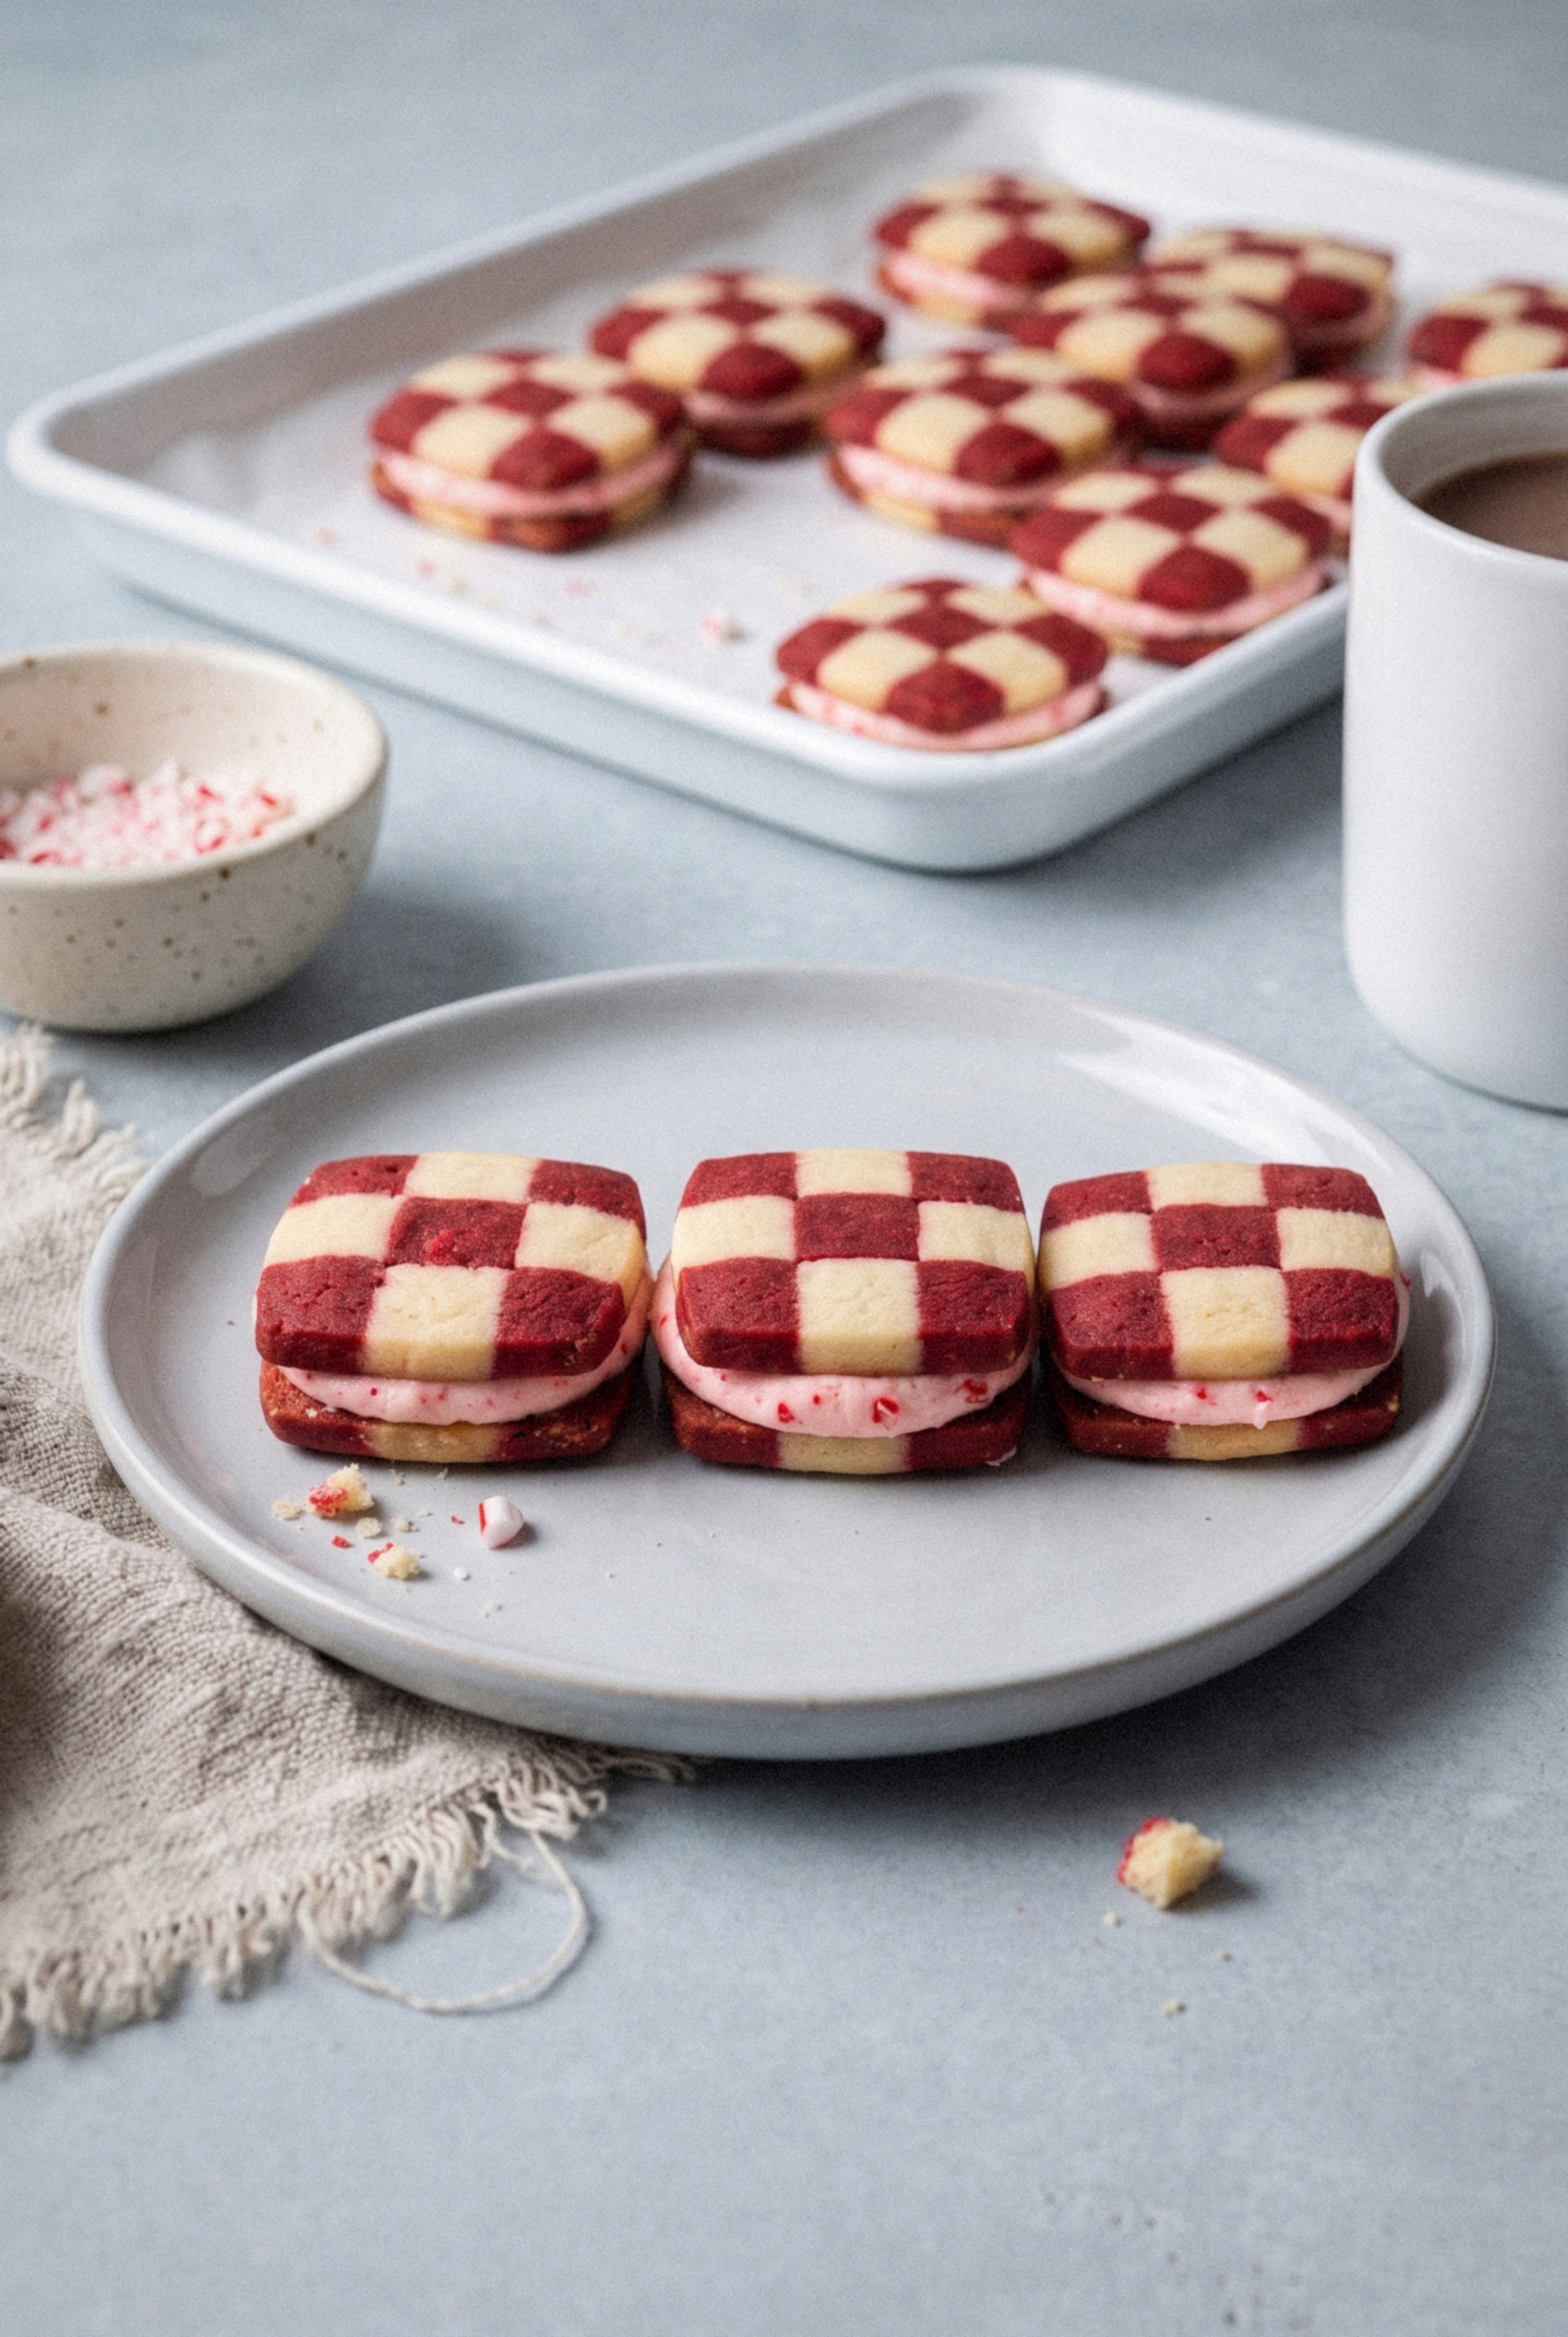
That's the secret behind these peppermint checkerboard sandwich cookies.
They look fussy, but the checkerboard is just red and white strips of butter dough stacked like little building blocks and chilled until firm.
You slice the log, bake the squares, and press a candy cane buttercream between two of them so a pink stripe shows at the edge.
I've made them every Christmas for four years now, and my wife guards the last few in the tin like they're gold.
The cookies are crisp at the edges and tender in the middle, and the filling is cool, sweet, and a little crunchy from the crushed candy.
Best of all, you can shape the logs days ahead and bake them whenever the holiday calendar gives you an hour.
Make them once and you'll see why they disappear first at every cookie swap.
Why These Cookies Belong on Your Christmas Cookie Tray
These are the cookies people photograph before they eat them. Every holiday tray needs one showpiece, and this is mine.
- Slice-and-bake format. The dough logs wait in the fridge for up to 4 days, so the hard part is done long before baking day.
- Double checkerboard plus a pink stripe. Two patterned squares and a peppermint filling give you three layers of color with modest effort.
- Sturdy enough to travel. They stack in a gift tin without cracking, which makes them a great way to show up at a cookie exchange looking like a pro.
- Peppermint in both layers. A little extract goes in the dough and more goes in the buttercream, so the mint flavor runs all the way through.
- No special equipment. A ruler, a sharp knife, and plastic wrap are all you need. No piping tip required, though a zip-top bag helps.
Who doesn't love a cookie that looks this sharp on a plate?

Ingredients You Need
The ingredient list is short and lives in your pantry already. The only thing you might need to buy is red gel coloring.
For the Checkerboard Dough
- Unsalted butter (1 cup). Softened, but still cool to the touch. Melty butter makes a soft dough that smears the pattern.
- Granulated sugar (1 cup). Gives the cookies their crisp, snappy edges.
- Large egg (1). At room temperature so it blends in smoothly.
- Vanilla extract (1 ½ teaspoons). The warm base flavor under the mint.
- Peppermint extract (½ teaspoon). Just enough to make the cookie taste like Christmas without turning it into toothpaste.
- All-purpose flour (2 ¾ cups). Spoon it into the cup and level it off. Packed flour makes crumbly dough.
- Salt (½ teaspoon). Keeps the sweetness in check.
- Red gel food coloring (1 to 1 ½ teaspoons). Gel is non-negotiable here. Liquid coloring adds water, softens the dough, and gives you a washed-out pink instead of a deep red.
Fair warning: there's no baking powder in this dough on purpose. Leavening makes the squares puff into rounds, and you lose the clean lines.
For the Peppermint Buttercream
- Unsalted butter (½ cup). Softened to room temperature for a smooth, fluffy filling.
- Powdered sugar (2 ½ cups). Sift it if it's lumpy.
- Peppermint extract (¾ teaspoon). Taste and add a drop more if you like it bold.
- Heavy cream (1 to 2 tablespoons). Milk works in a pinch, but cream makes a richer filling.
- Salt (a pinch). Makes the mint taste brighter.
- Crushed candy canes (3 tablespoons). Crush them fine, almost to sand. Big shards poke out the sides and crack the cookies when you press them together.
- Red gel coloring (optional, 1 tiny drop). For a soft pink filling that shows at the edges.
How to Make Peppermint Checkerboard Sandwich Cookies
The process is all about patience, not skill. Most of the time is the dough sitting in the fridge while you do something else.
Step 1: Make and Split the Dough
Beat the butter and sugar on medium speed for about 1 minute, just until smooth and combined. Don't whip it pale and fluffy, because extra air makes the cookies spread. Beat in the egg, vanilla, and peppermint extract until blended.
Add the flour and salt and mix on low until a soft dough forms with no dry streaks. If it feels crumbly, add 1 teaspoon of cold water at a time until it holds together when squeezed.
Weigh the dough and split it into two equal halves. Return one half to the mixer, add the red gel coloring, and mix until the color is even with no streaks.
Pro tip: use a kitchen scale for the split. Eyeballing it leaves you with uneven blocks and a lopsided pattern.
Step 2: Shape Two Dough Blocks and Chill
Shape each color into a neat rectangular block that measures 6 inches long, 2 inches wide, and 2 inches tall. Press the sides against the counter or a bench scraper to square up the corners. Wrap each block tightly in plastic wrap.
Chill the blocks for 1 hour. Not longer. Dough that's too cold cracks when you cut it into strips, so if yours sat overnight, let it rest on the counter for 15 to 20 minutes first.
Step 3: Cut the Strips and Build the Checkerboard
Unwrap one block and cut it lengthwise into four slabs, each ½ inch thick. Lay each slab flat and cut it lengthwise into four strips, so every strip is ½ inch square and 6 inches long. Repeat with the second color, giving you 16 strips of each.
Lay four strips side by side on plastic wrap, alternating red and white, and press them together gently. Brush the top very lightly with water, then lay the next row on top with the colors flipped. Keep going until you have four rows, which gives you a 2-inch square log with a 4 by 4 checkerboard.
Build the second log the same way with the remaining 16 strips. Press all four sides firmly with your palms or a bench scraper to close any gaps.
Sound tricky? It's honestly just stacking.
Step 4: Chill, Slice, and Bake
Wrap both logs tightly and chill for at least 2 hours, or up to 4 days. The colder and firmer the log, the cleaner your slices will be.
Heat the oven to 350°F and line two baking sheets with parchment. Trim a thin slice off each end of the logs to reveal the clean pattern. Slice the logs into ¼-inch squares with a long, thin, sharp knife, and give the log a quarter turn every few slices so one side doesn't flatten.
Arrange the squares 1 ½ inches apart and bake for 10 to 12 minutes, until the bottoms are lightly golden and the tops are still pale. Cool on the sheet for 5 minutes, then move them to a rack to cool completely.
Step 5: Whip the Filling and Assemble
Beat the softened butter until creamy, then add the powdered sugar, peppermint extract, salt, and 1 tablespoon of cream. Beat on medium-high for 2 to 3 minutes until fluffy, adding more cream if it's too stiff to pipe. Fold in the crushed candy canes and the drop of red gel if you're using it.
Pair up the cookies by size and pattern. Spoon the filling into a zip-top bag, snip the corner, and pipe about 2 teaspoons onto the flat side of half the cookies, starting with a ring near the edge and filling in the center.
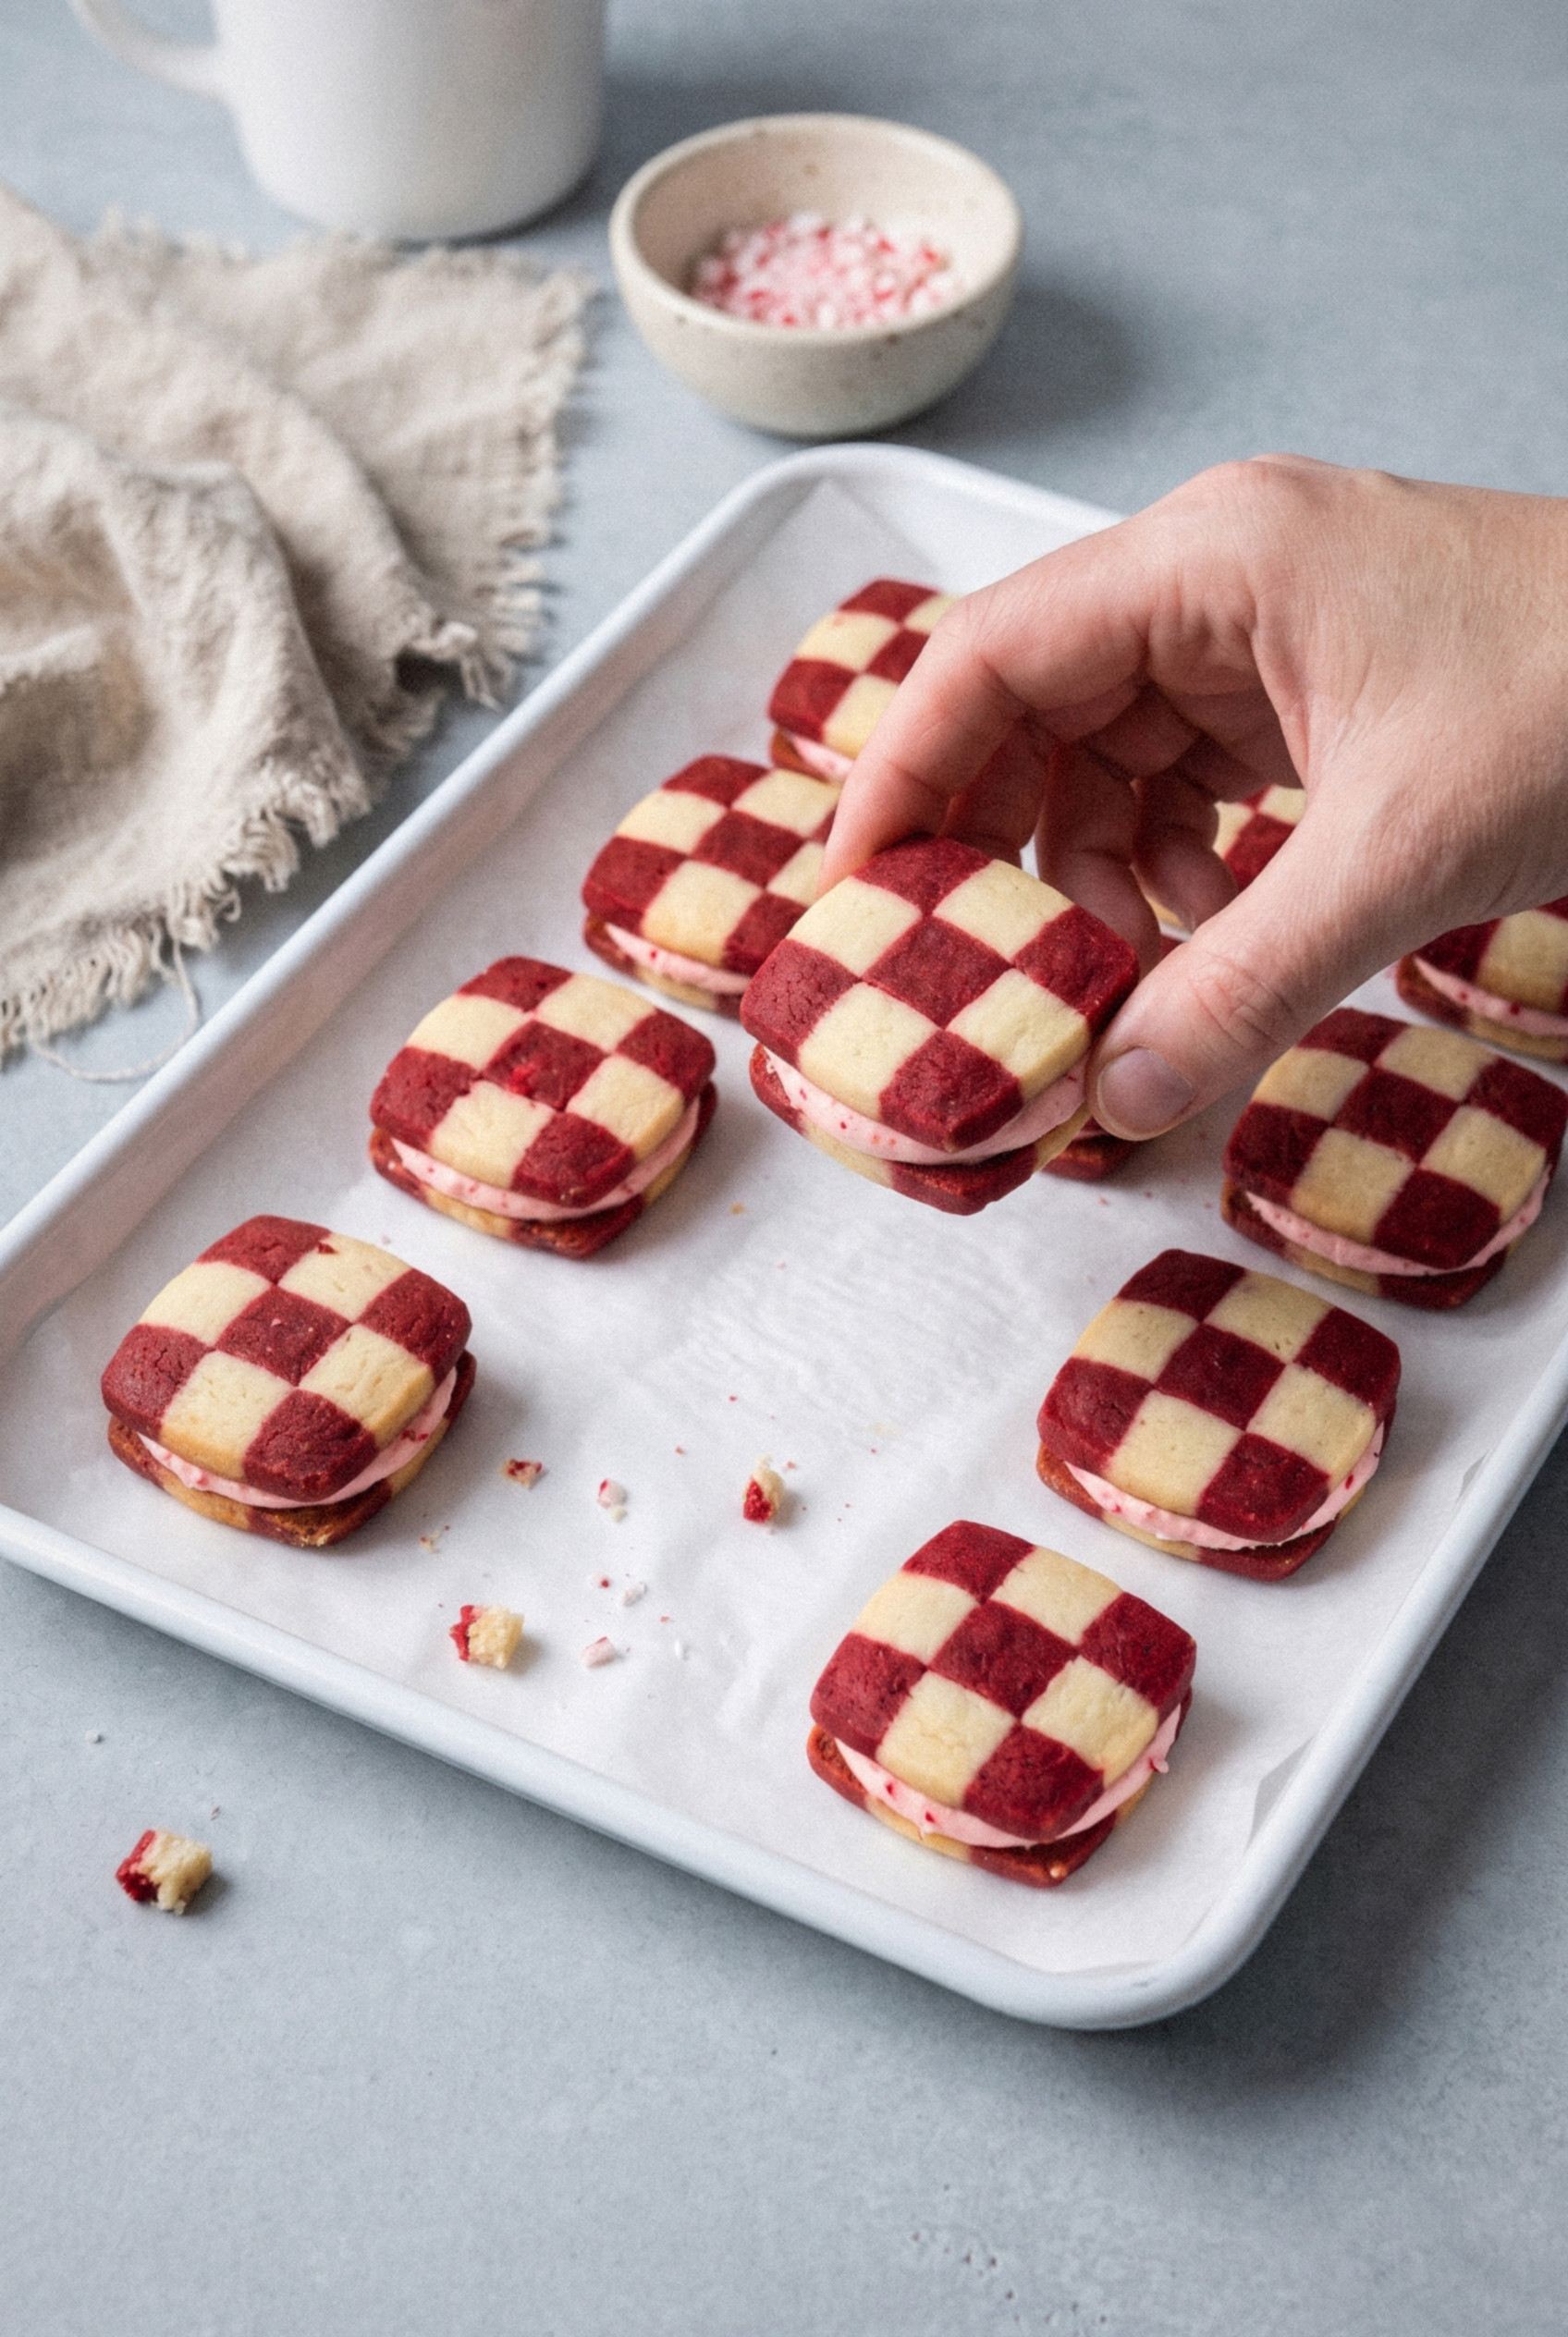
Top with the matching cookie and press gently until the filling just reaches the edges. That little pink stripe is the whole look!
Tips for a Sharp Checkerboard Pattern
Clean lines come from cold dough and a careful knife. These are the habits that made the biggest difference for me.
- Use a real ruler. I keep a clean ruler just for baking. Guessing at ½ inch strips is how you end up with wonky squares.
- Trim the rounded edges. The outside of each block is softly rounded. Shave it off before cutting strips, and add the scraps to a snack cookie later.
- Chill at both stages. One hour before cutting strips, at least two hours before slicing. Skip either one and the pattern smears.
- Use water, not egg wash, as glue. A light brush of water holds the strips together. Too much and the dough gets slippery.
- Wipe the knife. Clean the blade every few slices so red dough doesn't streak across the white squares.
- Turn the log as you slice. A quarter turn every three or four cuts keeps the square truly square.
- Match your pairs. Line up the baked cookies before filling so both halves of each sandwich are the same size.
Variations
Once you've got the method down, the dough is easy to play with. Here are my favorite spins.
- Chocolate peppermint squares. Skip the red coloring and beat 3 tablespoons of cocoa powder and 1 tablespoon of milk into one half of the dough instead.
- Candy cane edges. Roll the edges of the filled sandwiches in extra crushed candy canes for a sparkly, crunchy rim.
- Single cookies. Skip the filling entirely and serve the squares on their own. You'll get about 44 cookies.
- White chocolate dip. Dip one corner of each sandwich in melted white chocolate and let it set on parchment.
- Green and white. Swap the red gel for green for a different holiday look.
- Store-bought frosting shortcut. It works, but it is softer than homemade and squishes out the sides. Beat in ½ cup of extra powdered sugar to stiffen it, then add the peppermint and candy cane.
Make-Ahead Christmas Timeline
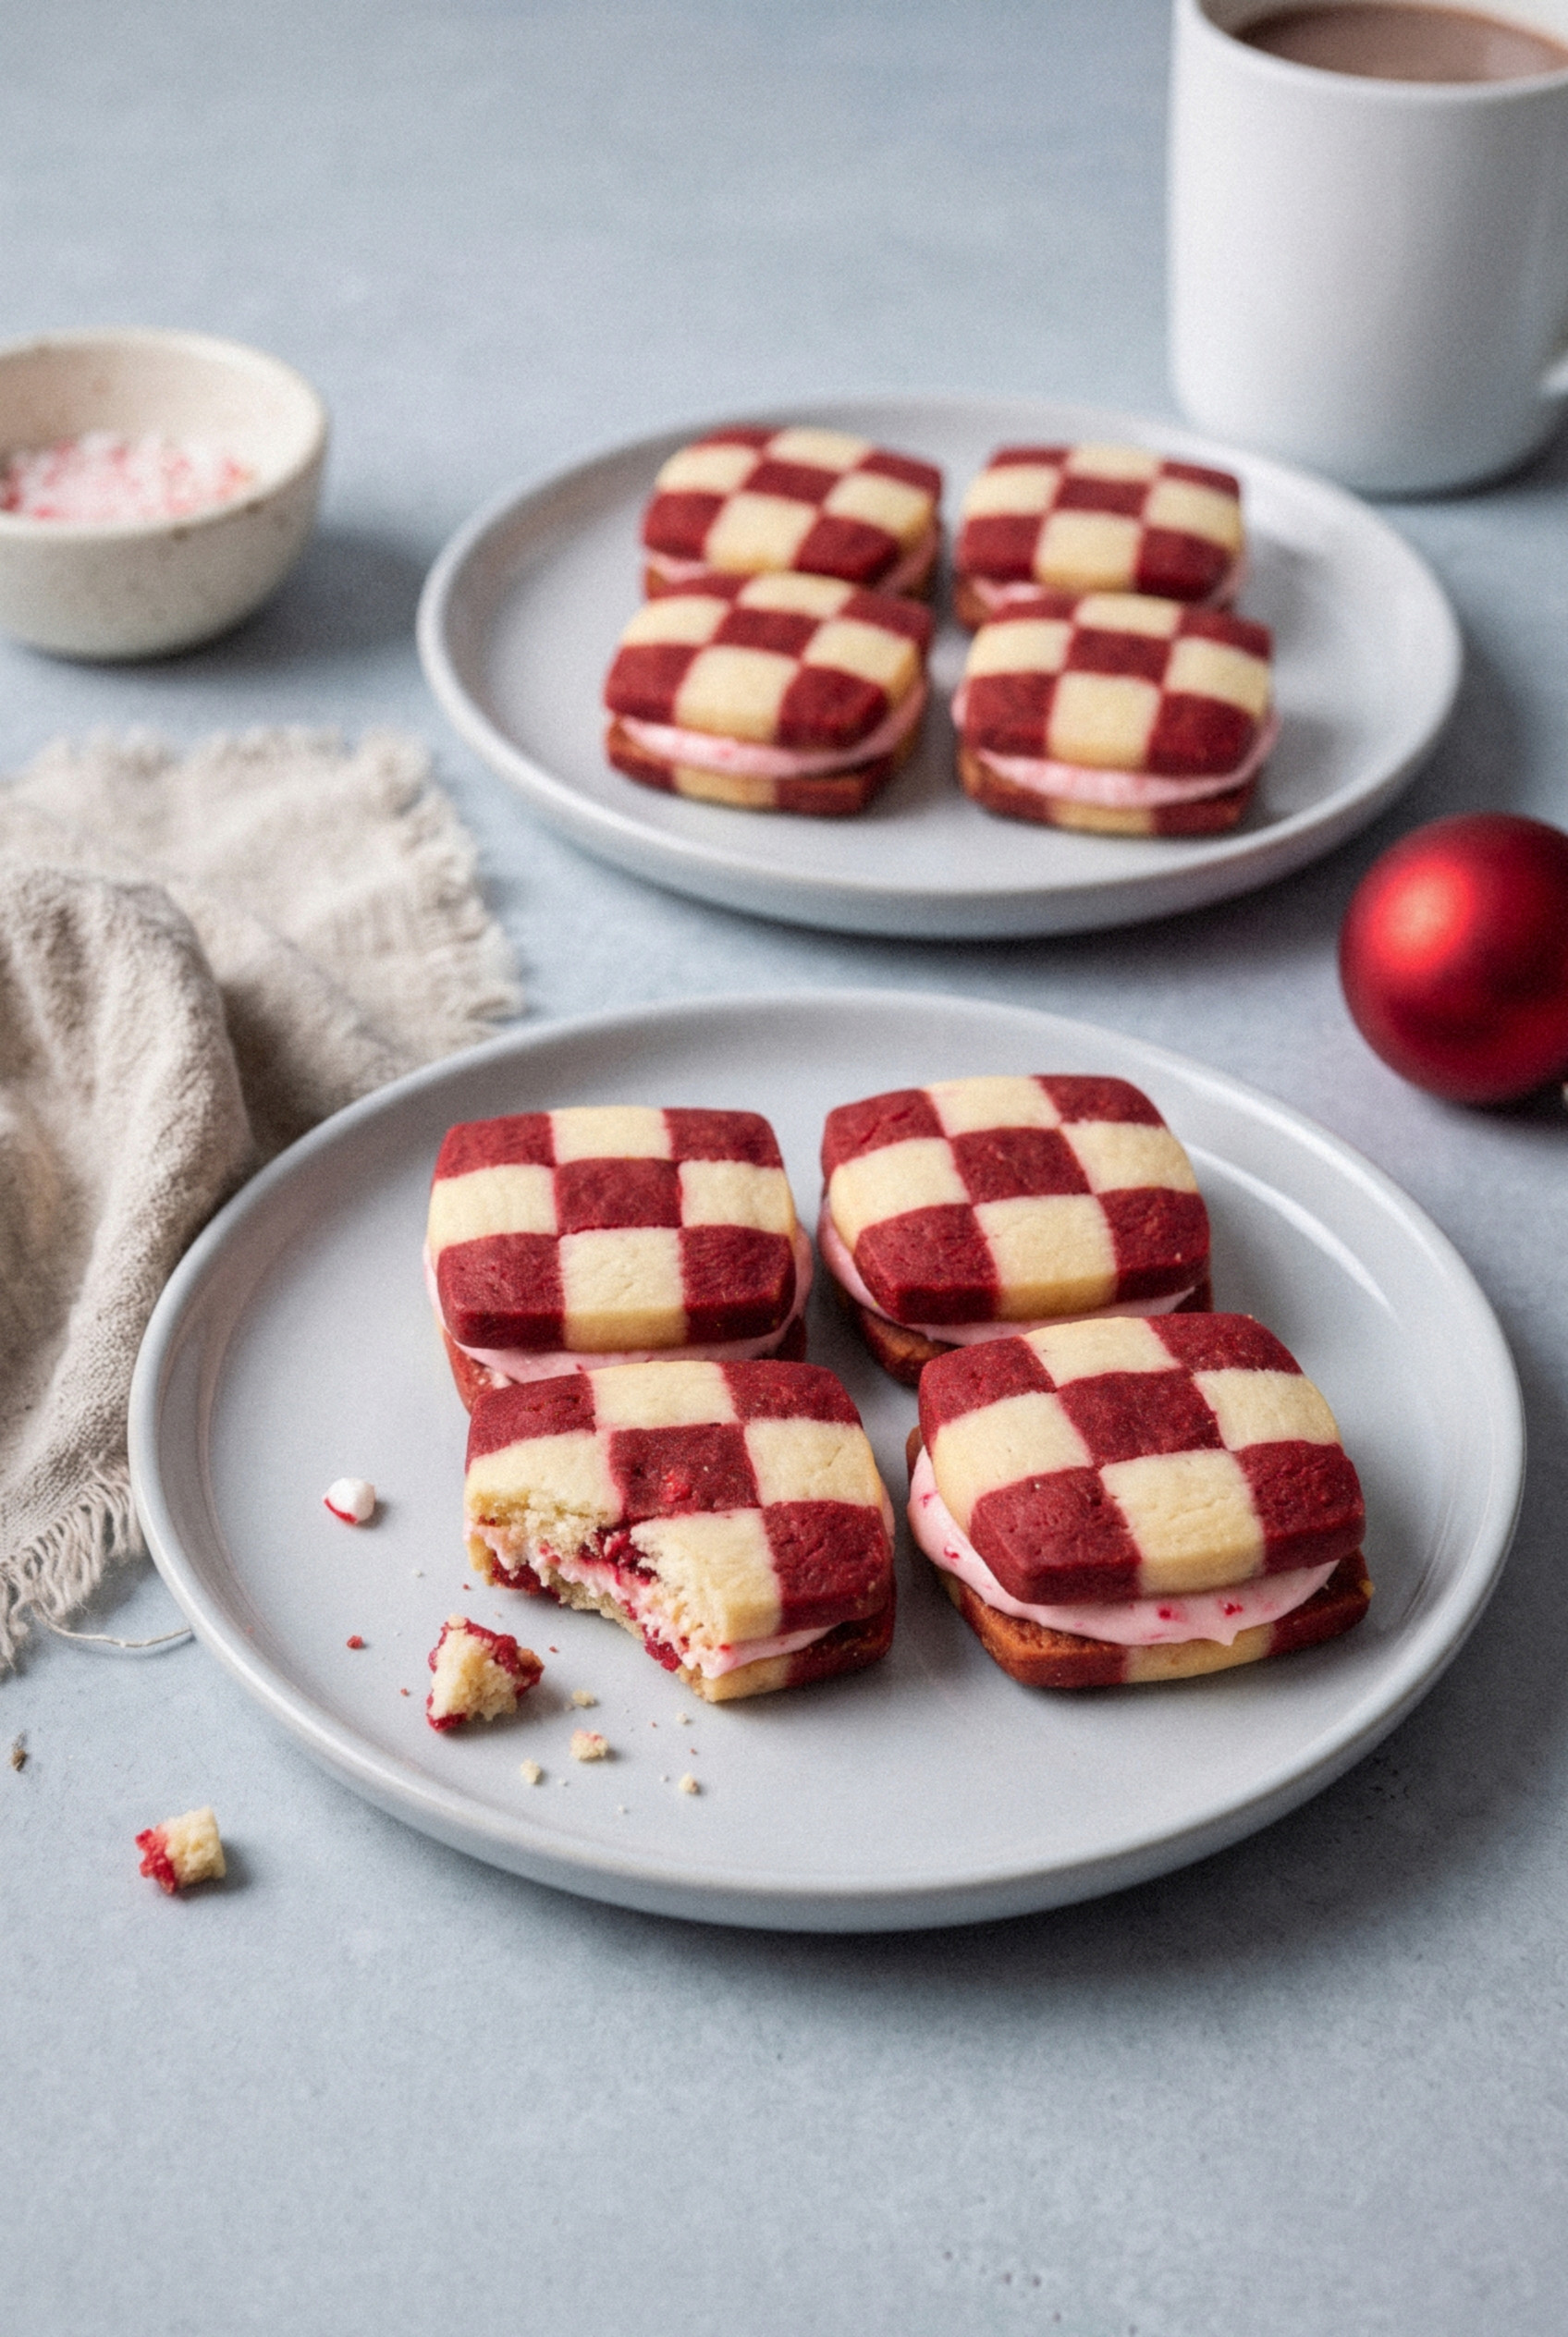
Spread the work over the week and baking day feels easy. This is the schedule I use before our office cookie swap.
- Day 1. Mix the dough, shape the blocks, cut the strips, and build both logs. Wrap and refrigerate.
- Day 2 to 4. Slice and bake whenever you have 30 minutes. Store the baked, unfilled squares airtight.
- The morning of. Whip the buttercream and fill the sandwiches. The candy cane stays crunchy when you fill them close to serving.
Storing and Making Ahead
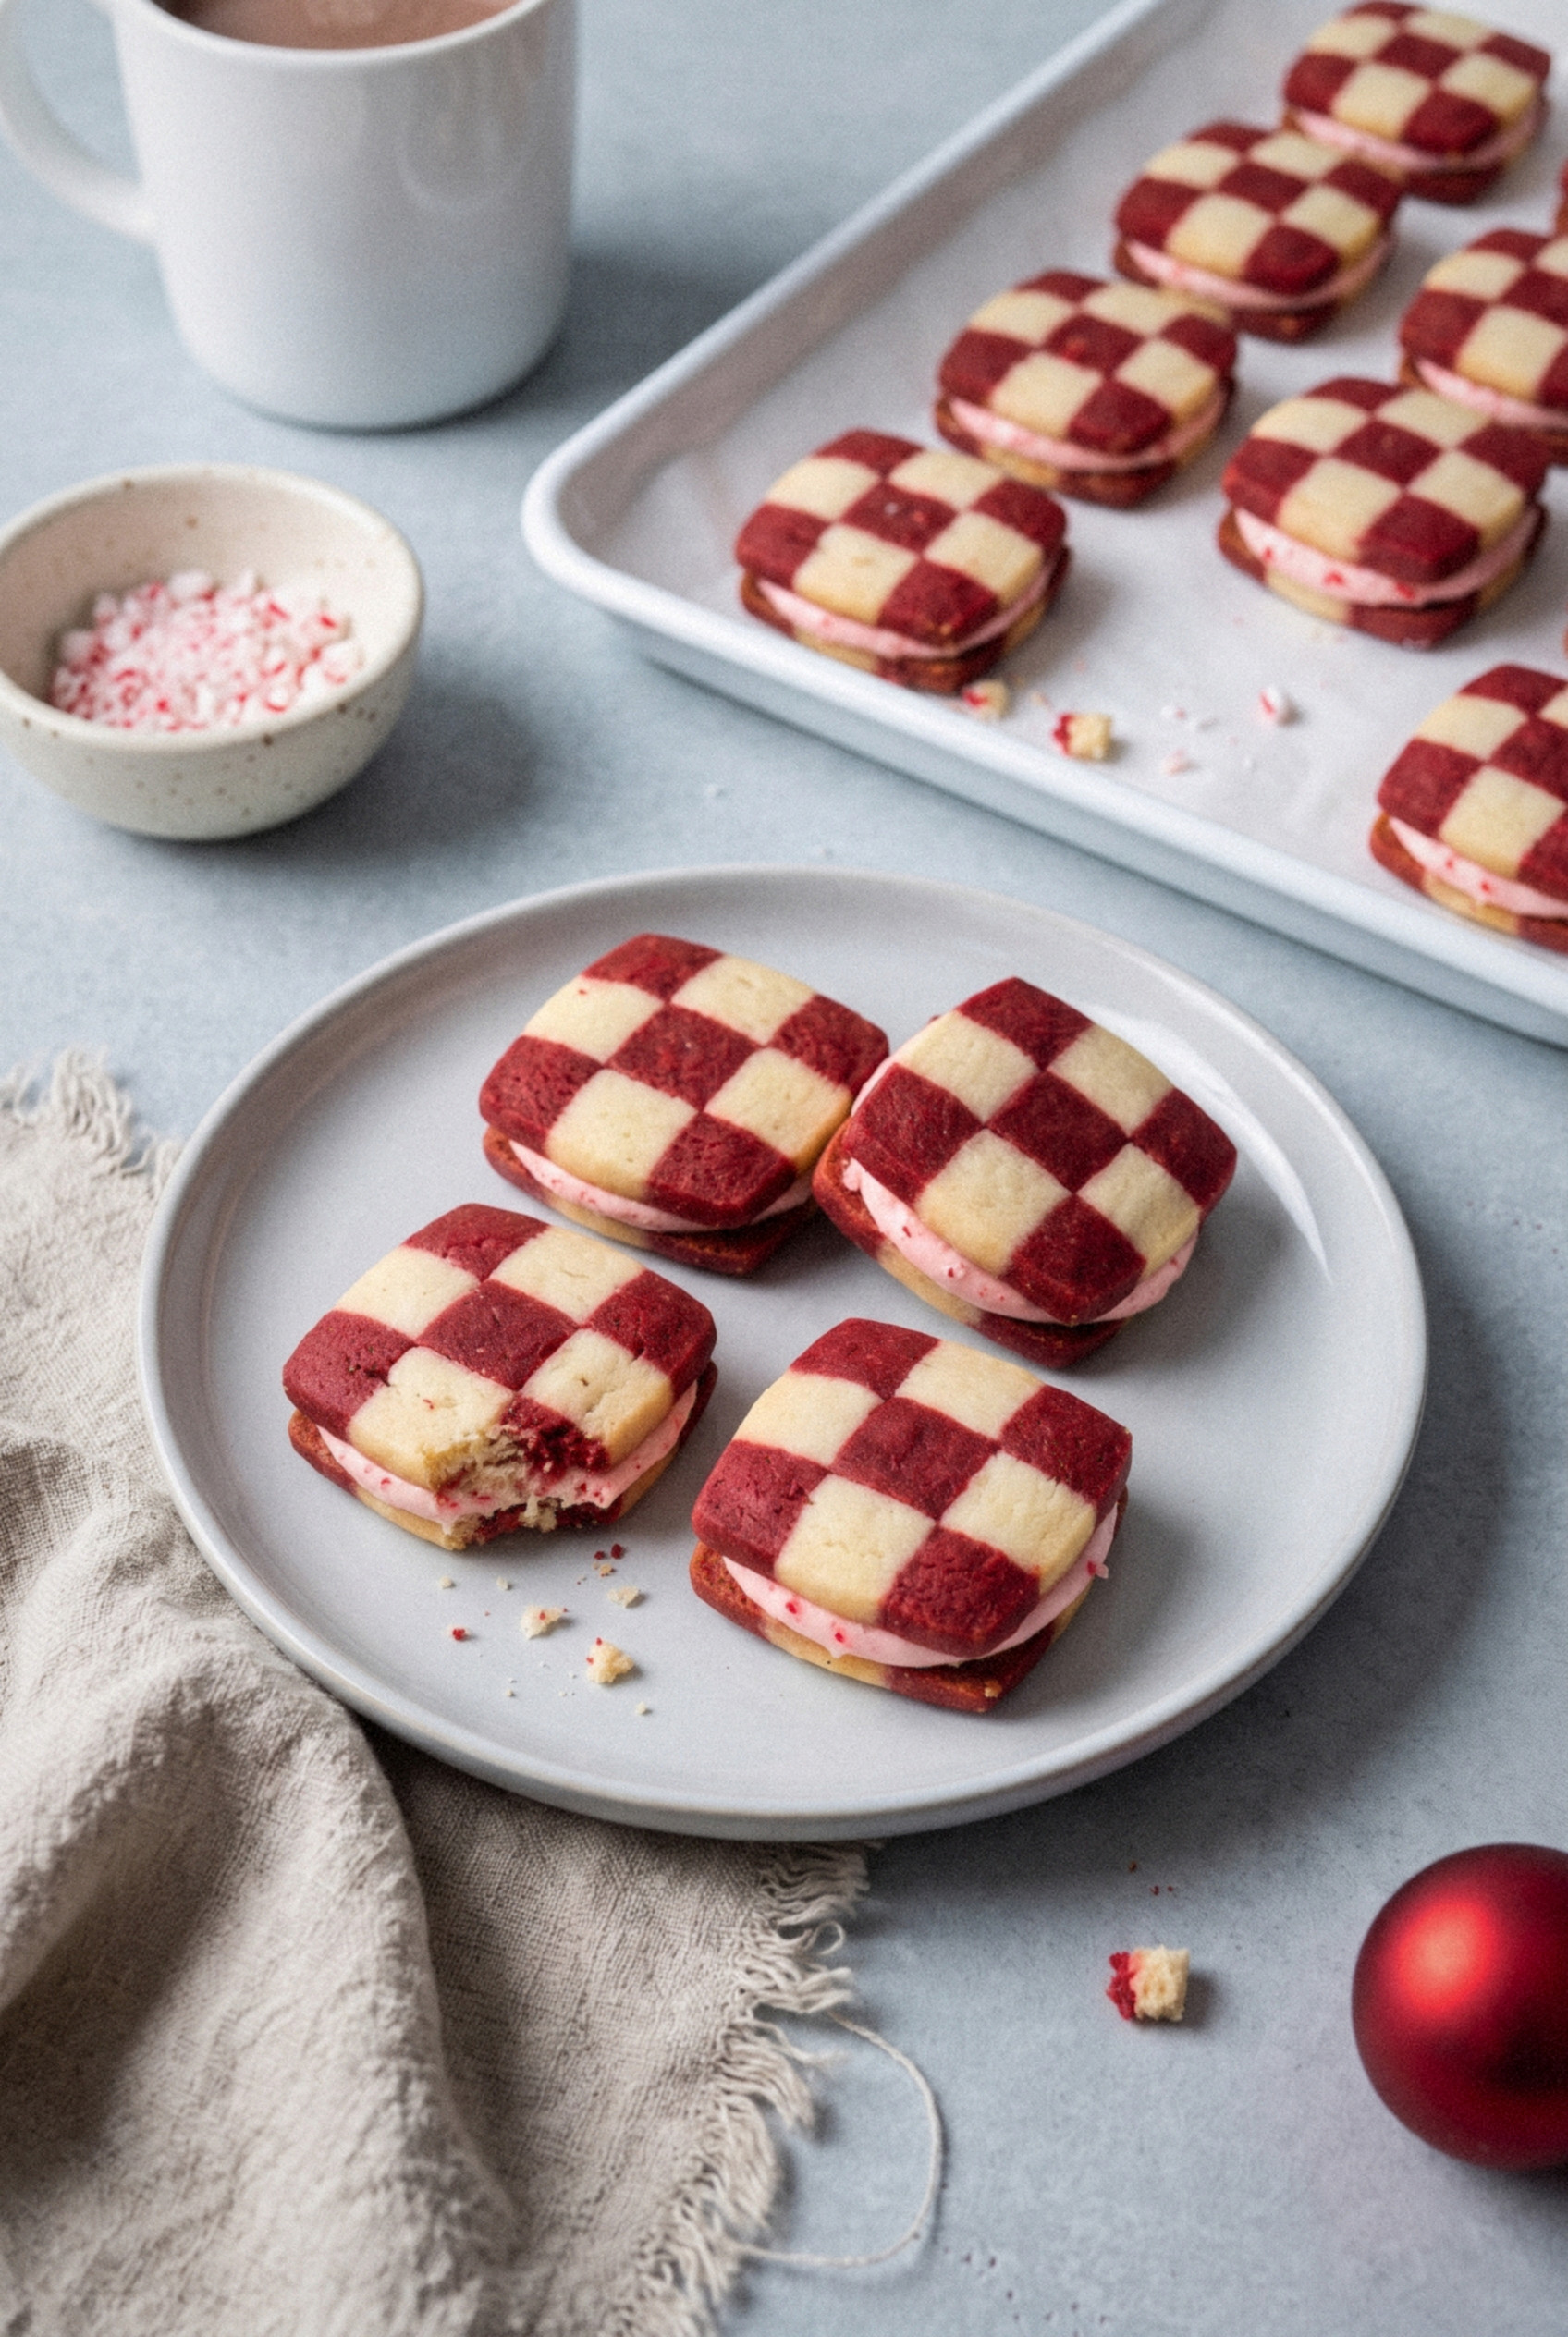
These keep beautifully if you store each stage the right way. Here's the breakdown.
- Unbaked dough logs. Refrigerate wrapped for up to 4 days, or freeze for up to 3 months. Thaw frozen logs overnight in the fridge before slicing.
- Baked, unfilled cookies. Keep in an airtight container at room temperature for up to 1 week.
- Filled sandwiches. Store airtight in a cool spot for up to 3 days, or in the fridge for up to 5 days. The candy cane slowly softens into the buttercream over time.
- Freezing filled cookies. Freeze in a single layer, then move to a container with parchment between layers for up to 1 month. Thaw in the container so condensation doesn't make them sticky.
- Gifting. Pack them upright in a tin lined with parchment, with a sheet between each layer.
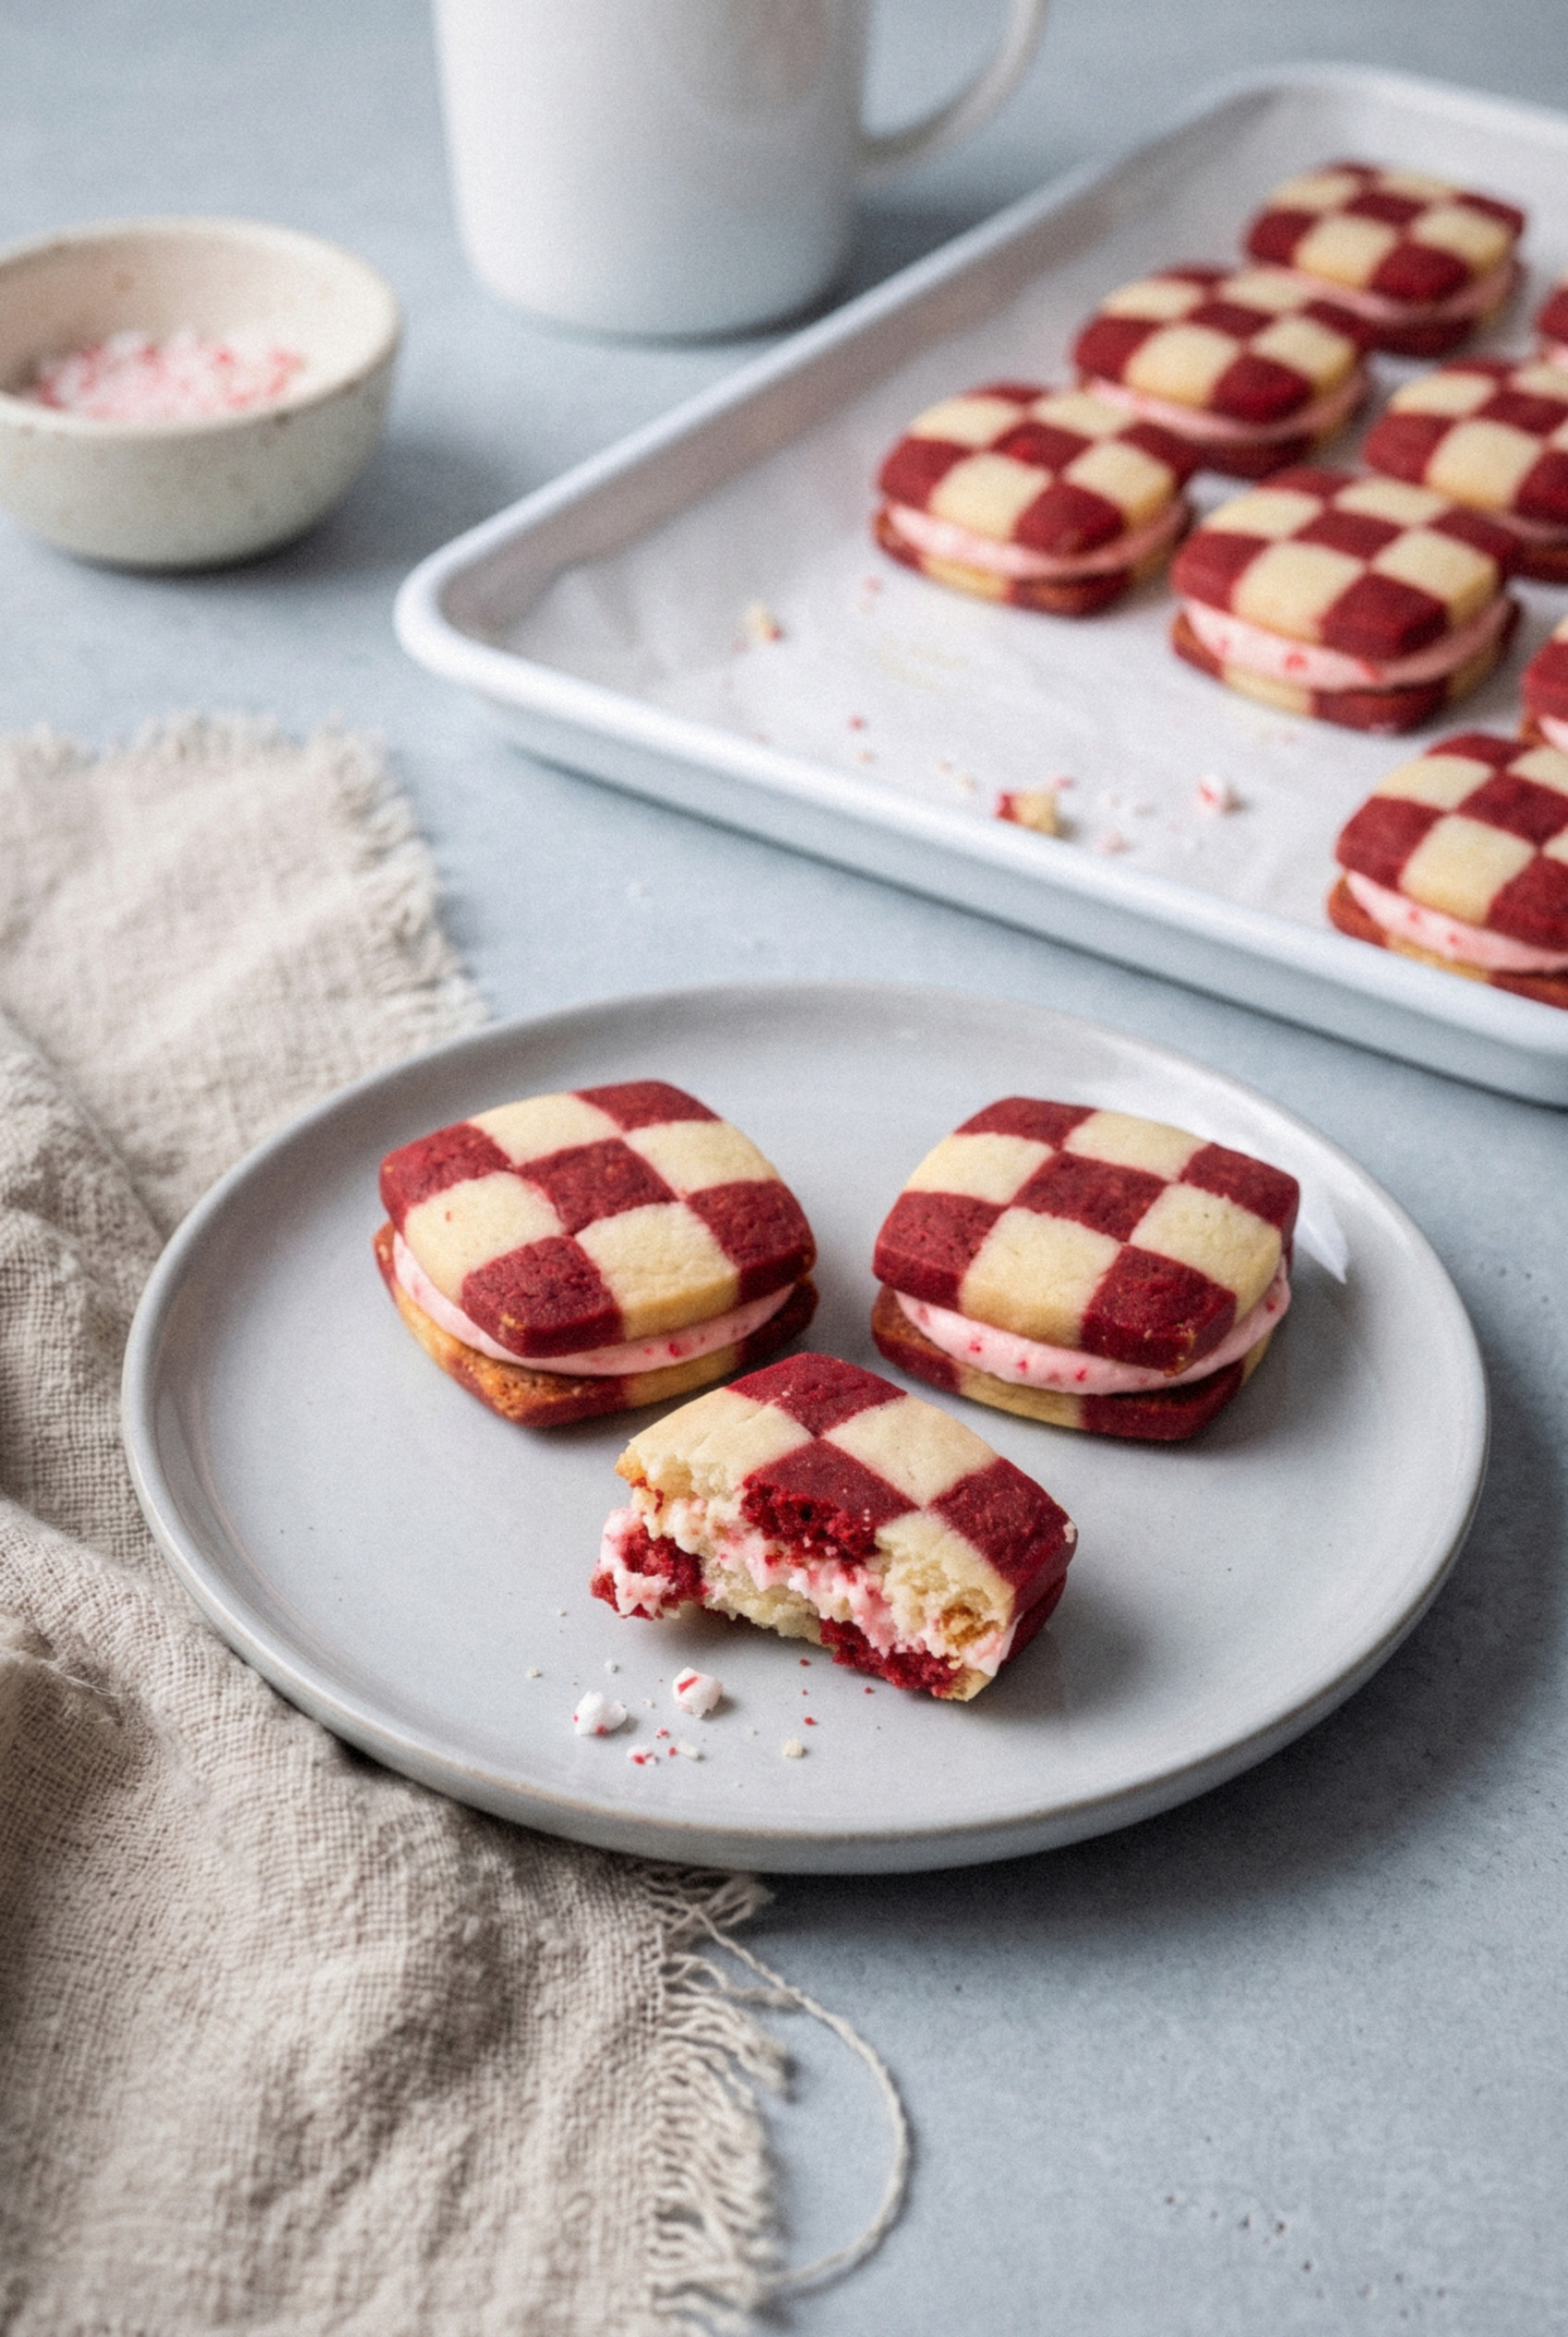
What to Serve With Them
They pair perfectly with anything warm in a mug. A few ideas for your holiday table.
- Hot cocoa. Chocolate and peppermint is a classic for a reason.
- Black coffee. The bitterness balances the sweet filling.
- A cold glass of milk. Hard to beat after a long day of holiday shopping.
- A mixed cookie tray. Set them next to soft gingerbread and powdered sugar snowballs for contrast in color and texture.
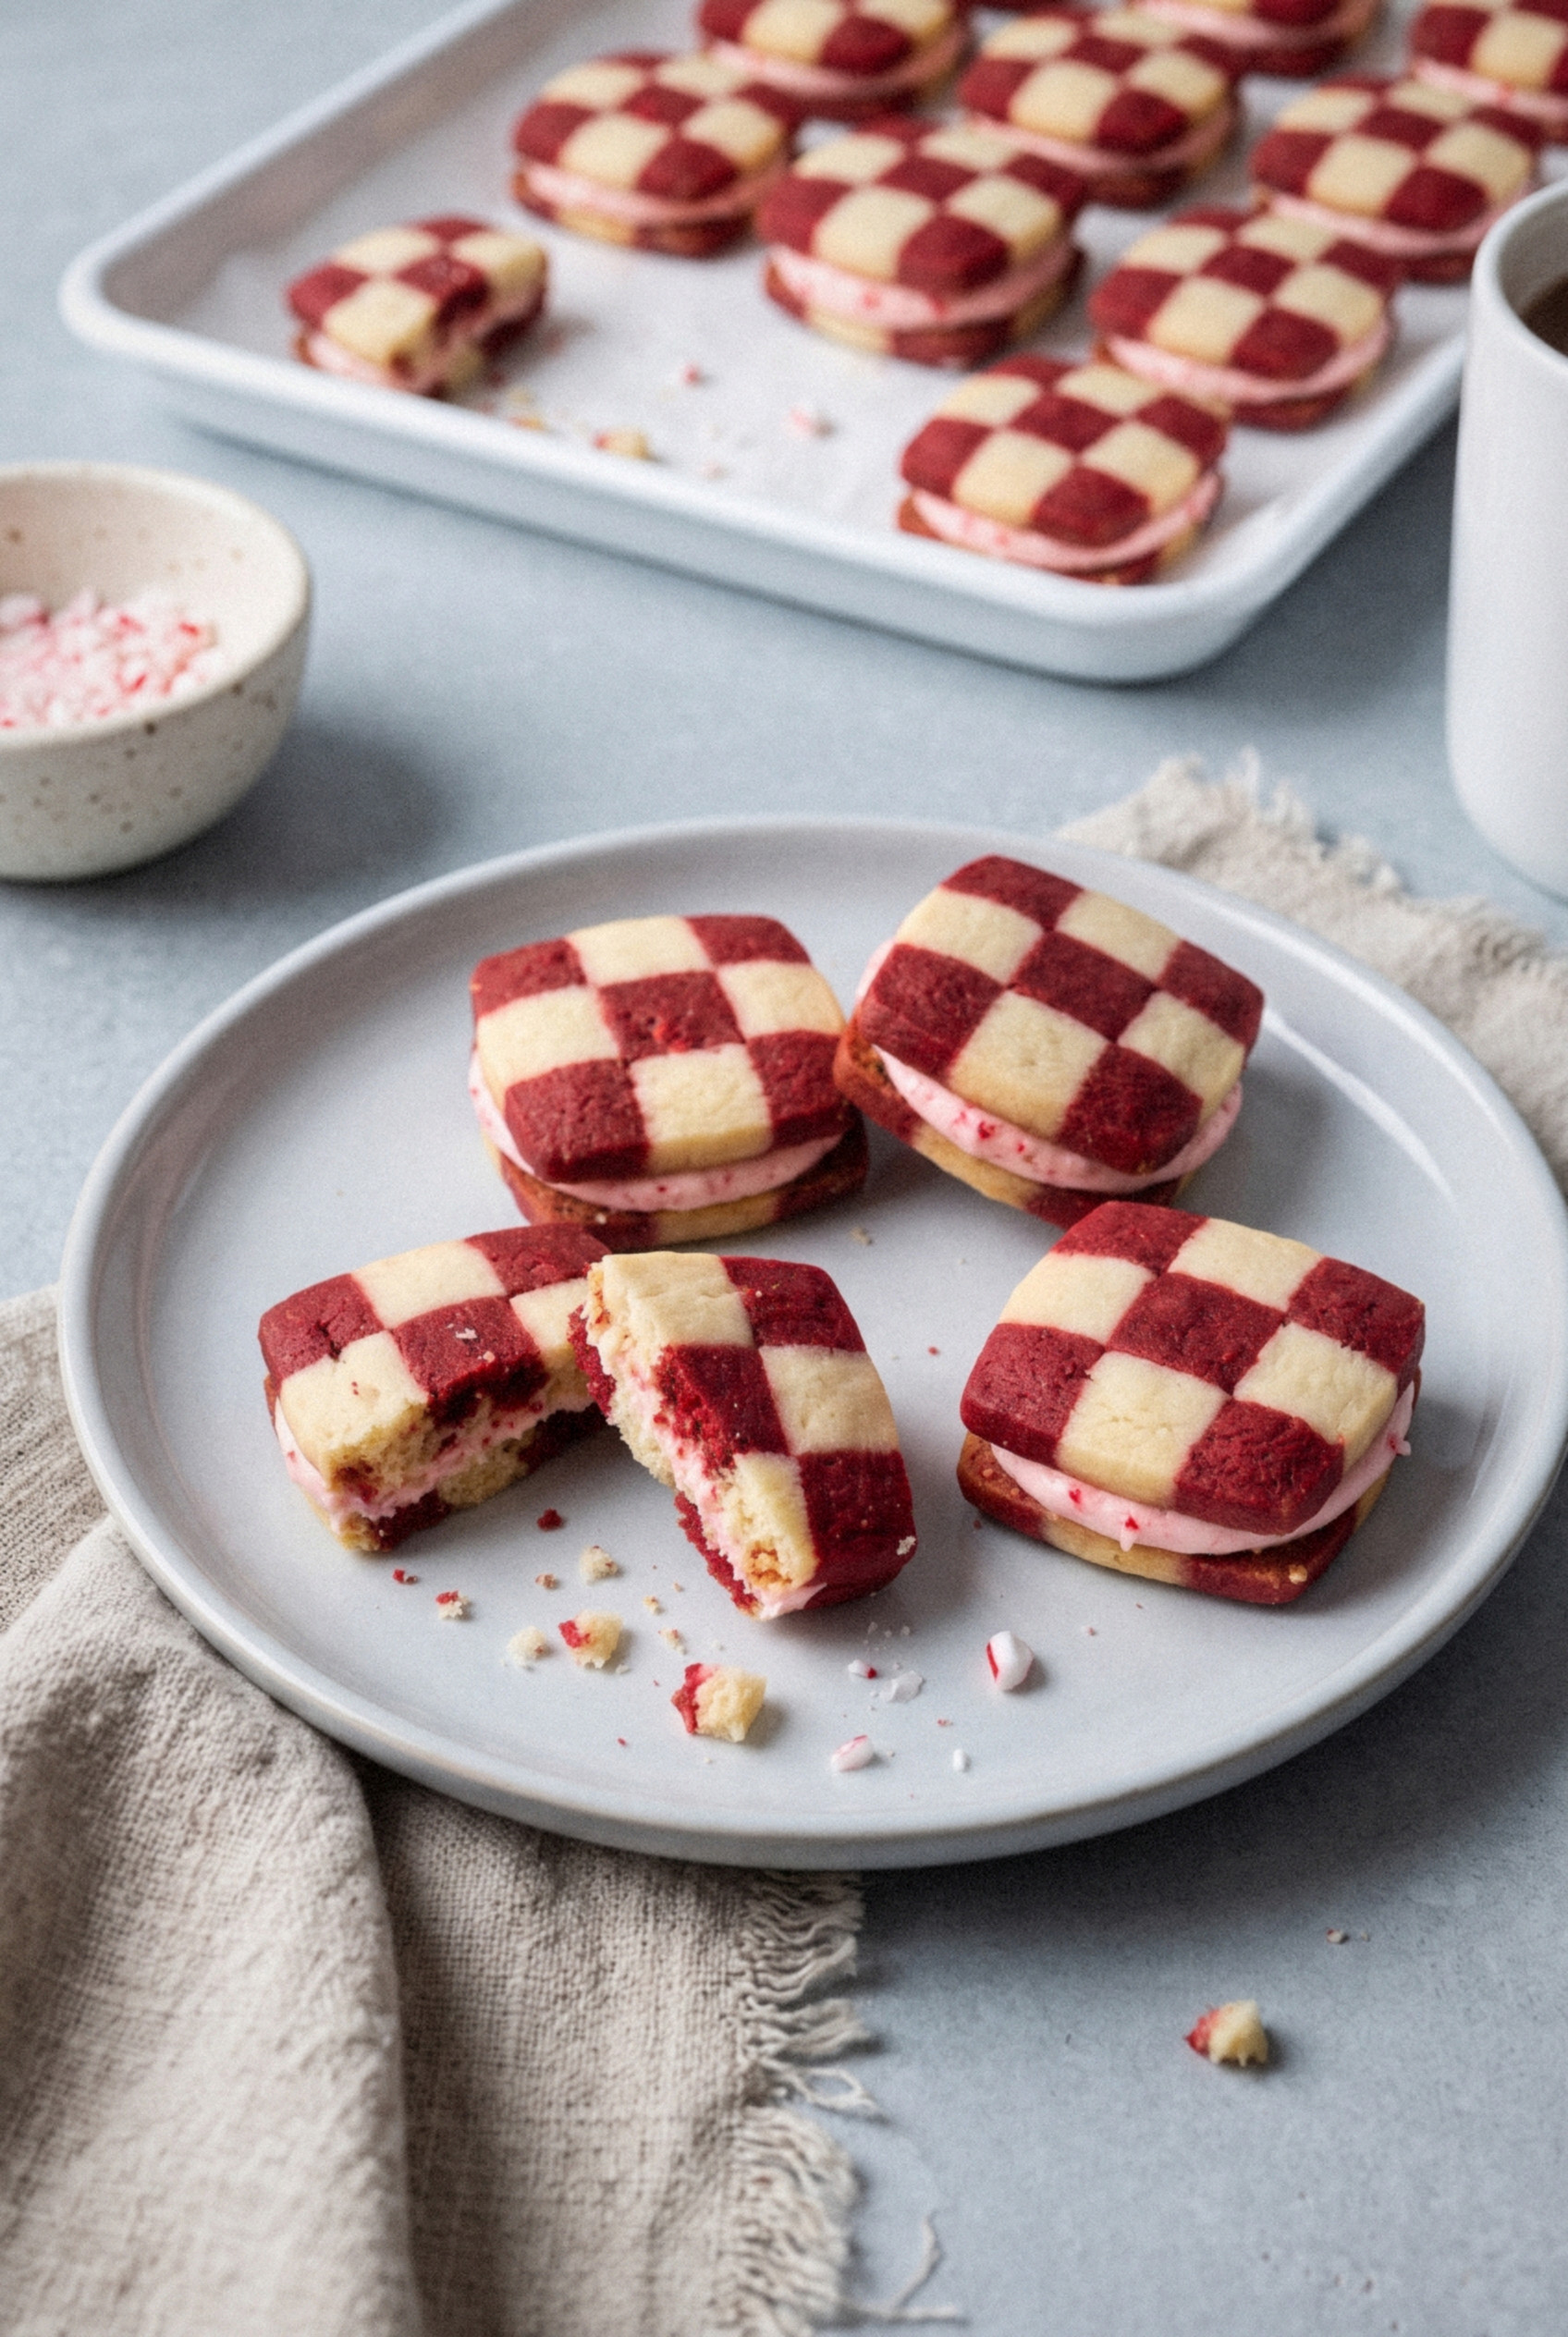
Recipe
Peppermint Checkerboard Sandwich Cookies
Ingredients
For the Checkerboard Dough
- 1 cup unsalted butter softened but cool, 226g
- 1 cup granulated sugar 200g
- 1 large egg room temperature
- 1 ½ teaspoons vanilla extract
- ½ teaspoon peppermint extract
- 2 ¾ cups all-purpose flour spooned and leveled, 344g
- ½ teaspoon salt
- 1 to 1 ½ teaspoons red gel food coloring
For the Peppermint Buttercream
- ½ cup unsalted butter softened, 113g
- 2 ½ cups powdered sugar sifted, 300g
- ¾ teaspoon peppermint extract
- 1 to 2 tablespoons heavy cream
- 1 pinch salt
- 3 tablespoons candy canes crushed very fine
- 1 drop red gel food coloring optional, for pink filling
Instructions
Make the Dough
- Beat the butter and sugar on medium speed for about 1 minute, just until smooth. Beat in the egg, vanilla, and peppermint extract.
- Add the flour and salt and mix on low until a soft dough forms. If crumbly, add cold water 1 teaspoon at a time.
- Weigh the dough and divide it into two equal halves. Mix the red gel coloring into one half until evenly colored.
Shape the Checkerboard Logs
- Shape each color into a block 6 inches long, 2 inches wide, and 2 inches tall. Wrap and chill for 1 hour.
- Trim the rounded edges. Cut each block lengthwise into four ½-inch slabs, then cut each slab into four ½-inch strips, for 16 strips of each color.
- Lay four strips side by side, alternating colors. Brush lightly with water and stack the next row with the colors flipped. Repeat to make a 4 by 4 checkerboard log. Build a second log with the remaining strips.
- Press the sides firmly to close gaps. Wrap tightly and chill at least 2 hours or up to 4 days.
Slice and Bake
- Heat the oven to 350F and line two baking sheets with parchment.
- Trim the ends of each log, then slice into ¼-inch squares, turning the log a quarter turn every few slices. Place 1 ½ inches apart.
- Bake 10 to 12 minutes, until the bottoms are lightly golden and the tops are pale. Cool 5 minutes on the sheet, then cool completely on a rack.
Fill the Cookies
- Beat the butter until creamy. Add the powdered sugar, peppermint extract, salt, and 1 tablespoon cream and beat 2 to 3 minutes until fluffy, adding more cream if needed.
- Fold in the crushed candy canes and the optional drop of red gel coloring.
- Pair the cookies by size. Pipe about 2 teaspoons of filling onto the flat side of half the cookies, top with the matching cookie, and press gently until the filling reaches the edges.
Notes
- Gel coloring: Use gel, not liquid, so the dough stays firm and the red stays deep.
- Chill twice: Chill 1 hour before cutting strips and at least 2 hours before slicing for clean lines.
- Make ahead: Dough logs keep 4 days refrigerated or 3 months frozen. Fill the cookies the day of serving so the candy cane stays crunchy.
- Storage: Filled cookies keep airtight 3 days in a cool spot or 5 days refrigerated.