I made this focaccia four weekends in a row.
Not because I was testing it. Because I wanted to eat it.
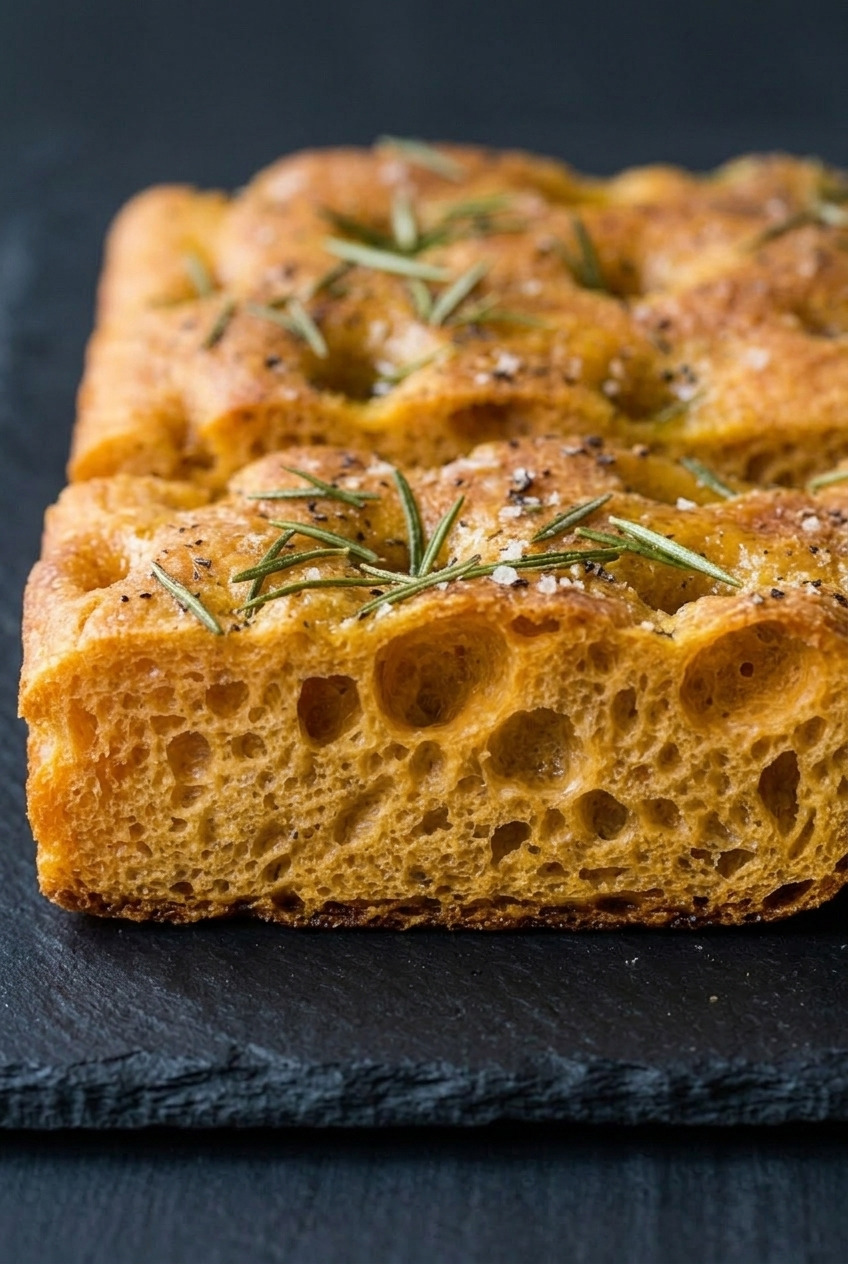
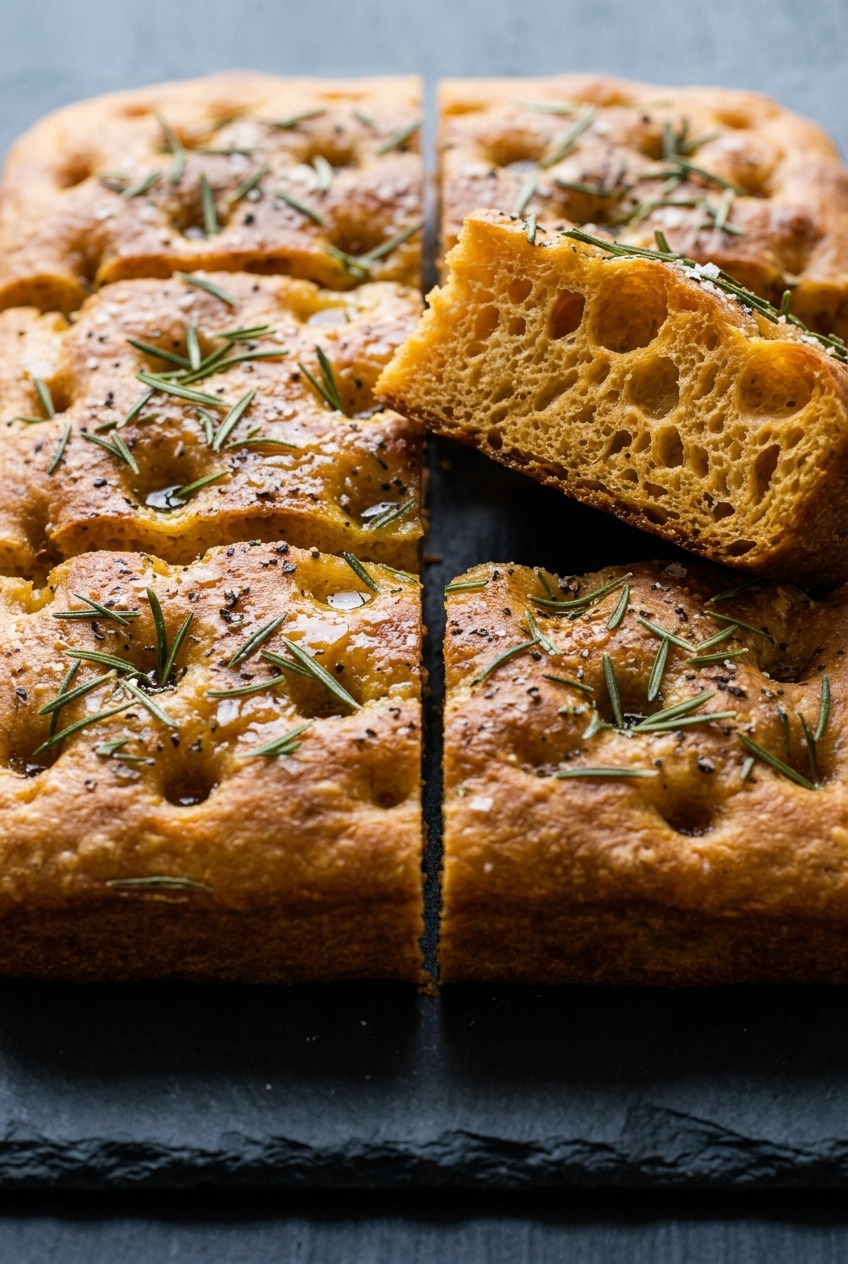
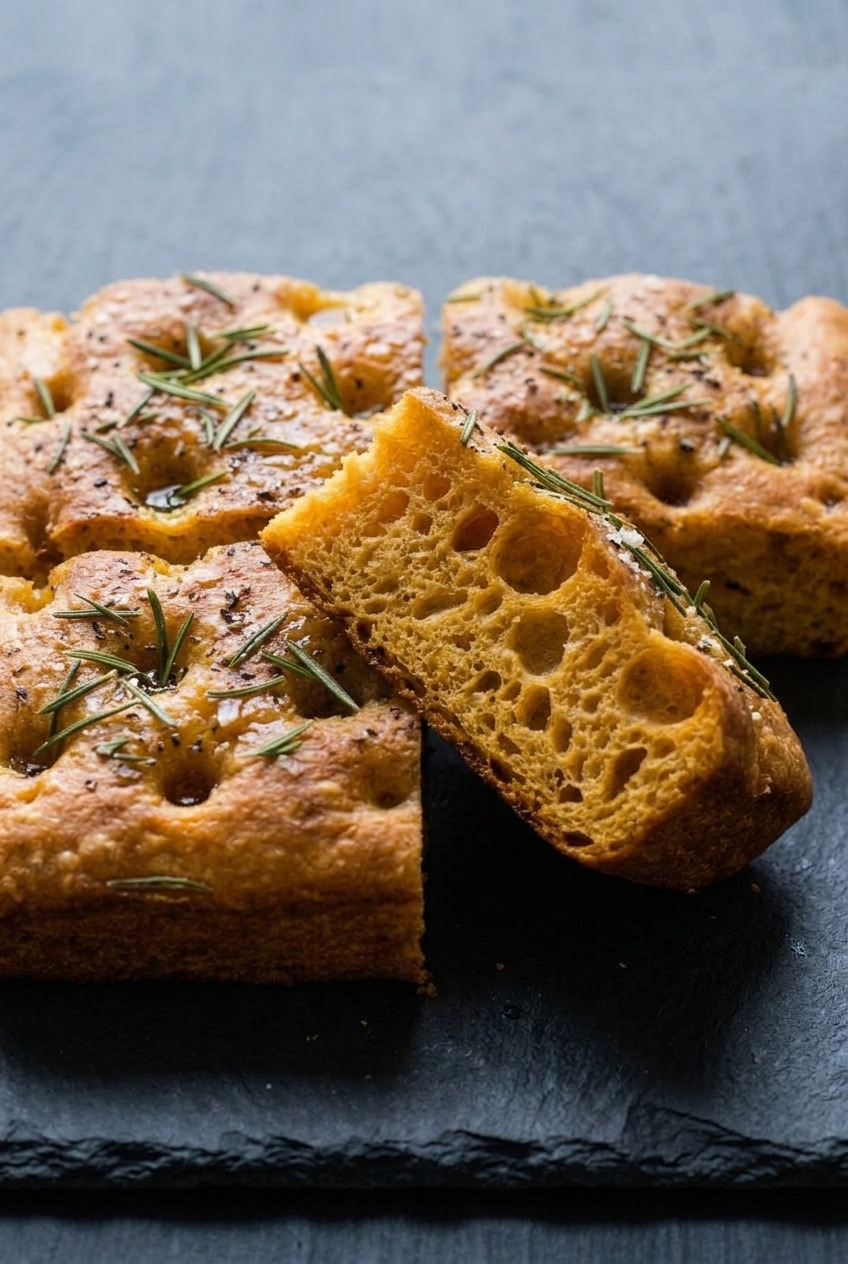
Here is what comes out of the pan: a thick slab, about an inch and a quarter tall, dimpled all over, cut into squares.
The top is deep golden with olive oil pooled in every dimple and flaky salt sitting on top of that.
The bottom is the good part.
It sits in oil for the whole bake, so it comes out crisp and genuinely fried at the edges, almost like a chip.
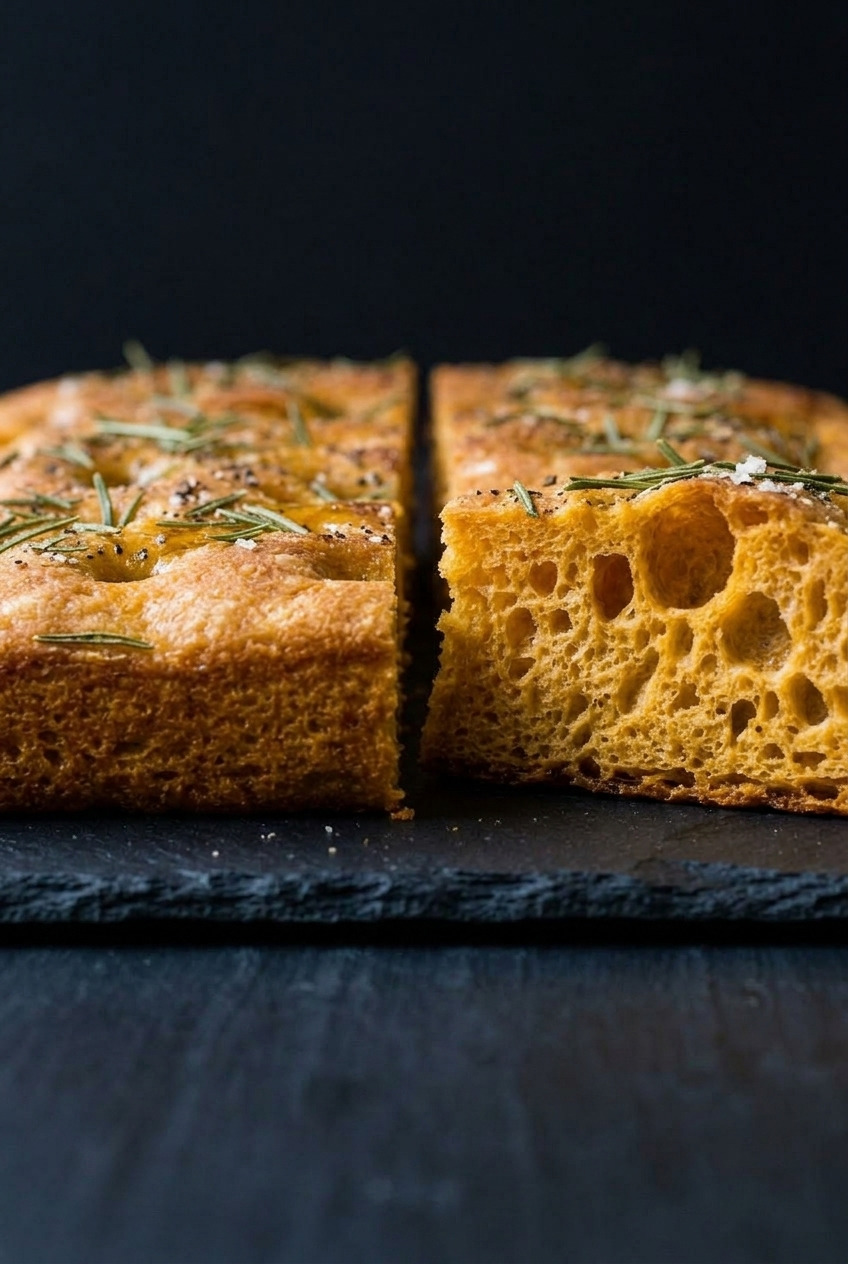
Inside is soft, open and a little chewy, with a warm orange tint running through the crumb.
Does it taste sweet? No.
The sweet potato is doing something else entirely, and I get into that below.
Fair warning about the dough. It is wet. Properly wet, around 75 percent hydration, and it will look like a mistake in the bowl.
You do not knead it and you barely touch it.
You fold it four times over an hour, then it goes into an oiled pan and sits in the fridge overnight.
Total hands-on time is maybe 20 minutes.
One more thing before you start, and it is the thing that took me two burnt pans to work out.
Bake it on a low oven rack.
What the Sweet Potato Actually Does
It is not there for sweetness. That surprises people, so let me be specific about what it changes.
Colour. The crumb picks up a warm orange gold tint that a plain focaccia never has, and the crust browns deeper for the same reason.
Softness that lasts. Sweet potato starch holds water and keeps handing it back, so a square on day two is still soft rather than stale.
A gentler chew. The starch interferes slightly with gluten development, which sounds bad but gives you a crumb that tears rather than snaps.
What you taste is a faint earthy warmth underneath the olive oil and rosemary.
If you handed a square to someone with no context, I do not think they would name the ingredient.
Half a Cup, and Not a Cup More
The recipes online disagree about this by a factor of nearly three, and it matters enormously. I tested it both ways.
At ½ cup (115 g), everything above happens and the crumb still opens up into big irregular holes.
At 1 ⅓ cups, which one popular version calls for, you get a different bread.
Denser. Slightly gummy in the middle. The holes never form properly because there is too much starch and not enough gluten structure to hold a bubble.
It also browns much faster, to the point where the top is dark before the middle is cooked.
So: 115 grams. Weigh it if you can.
Pro tip: roast the sweet potato instead of boiling it. Boiled flesh carries water you did not account for into an already wet dough, and this is not a dough with any room to spare.
Ingredients You Need
- Cooked mashed sweet potato (½ cup, 115 g). Roasted, mashed smooth, cooled. Half a cup. I have said it three times now for a reason.
- Bread flour (3 cups, 390 g). Bread flour, not all purpose. At this hydration you need the protein or the dough will not hold a single bubble.
- Warm water (1 ¼ cups plus 2 tablespoons, 330 ml). Around 90°F. This is the number that scares people and it is the number that makes the crumb.
- Instant yeast (1 ¼ teaspoons). A small amount, because the rise is long and cold.
- Fine sea salt (1 ½ teaspoons). In the dough. Separate from the flaky salt on top.
- Extra virgin olive oil (¼ cup, plus more for the pan). Some in the dough, some in the pan, some drizzled on before baking. Use one you would happily dip bread into, because you are about to taste it directly.
- Fresh rosemary (2 tablespoons, chopped). Fresh only here. Dried rosemary turns to little sticks in the oven.
- Garlic (1 large clove, minced). Stirred into the finishing oil, not into the dough.
- Flaky sea salt and coarse black pepper. The last thing that goes on, right before it enters the oven.
Weigh It, Please
A cup of flour can vary by 20 percent depending on how you fill it. On most recipes you get away with that.
Not on this one.
At 75 percent hydration the difference between a wet dough that bakes into an open crumb and a stiff dough that bakes into a brick is about 40 grams of flour.
That is one careless scoop.
A kitchen scale costs less than a decent bottle of olive oil and it removes the single biggest variable in bread baking.
No scale? Spoon the flour into the cup and level it with a knife, never scoop the cup through the bag, and expect a slightly denser result.
How to Make Sweet Potato Focaccia
Step 1: Cook and Mash the Sweet Potato
Roast one medium sweet potato at 400°F for 50 minutes, until it is soft enough that a knife slides through with nothing to push against.
Scoop the flesh, mash it completely smooth, and weigh out 115 g.
Cool it to room temperature before it meets the yeast.
Step 2: Mix the Dough
Whisk the warm water, yeast and mashed sweet potato together until the mash breaks up and the water goes cloudy orange.
Add the flour and salt and stir with a stiff spatula until there are no dry patches.
It will be a shaggy, sticky, unpromising mess. Correct.
Drizzle 2 tablespoons of the olive oil over the top and cover the bowl.
Step 3: Fold Instead of Knead
Every 15 minutes for the next hour, wet your hand, reach under one side of the dough, stretch it up and fold it over the middle.
Turn the bowl a quarter and repeat, four folds per round.
Four rounds total. By the last one the dough will be visibly smoother and holding together instead of tearing.
That is gluten development without a single minute of kneading.
Step 4: Overnight Rise in the Pan
Pour 2 tablespoons of olive oil into a 9x13 inch metal pan and spread it right up the sides.
Scrape the dough in, turn it once so both faces are oiled, cover tightly and refrigerate 12 to 18 hours.
The cold rise is where the flavour comes from, and it means the hard work happens while you sleep.
Step 5: Dimple and Top
Take the pan out and let it sit at room temperature for 2 hours, until the dough has relaxed and spread to fill the corners and looks pillowy.
Stir the minced garlic into the remaining olive oil and pour it over the surface.
Now oil your fingers and dimple, which gets its own section below.
Finish with chopped rosemary, flaky salt and coarse black pepper.
Step 6: Bake on a Low Rack
Bake at 425°F on the lowest rack for 25 to 28 minutes, until the top is deep golden and the edges have pulled away from the pan.
Lift a corner with a spatula and look at the bottom. It should be brown and crisp, not pale.
Slide it out of the pan onto a rack immediately, or the trapped steam softens the bottom you just worked for.
Dimpling, and Why Yours Disappear
Most home focaccia has shallow dimples that fill back in during the bake. The fix is going deeper than feels right.
- Oil your fingers first. Properly coated, not damp. Dry fingers stick and drag the dough instead of pressing it.
- Press straight down to the pan floor. All the way. You should feel the metal through the dough.
- Use all eight fingers at once. Both hands, held loose, working across the surface in rows.
- Aim for 40 to 50 dimples. More than you think. They are what hold the oil, and the oil is what fries the surface.
- Do not re-dimple after topping. Once the oil and salt are on, leave it alone. Late pressing knocks out the gas you spent 18 hours building.
Deep dimples also give you the classic focaccia profile, thick ridges and thin valleys.
That contrast in one bite is the entire point of the bread.
The Bottom Crust Problem
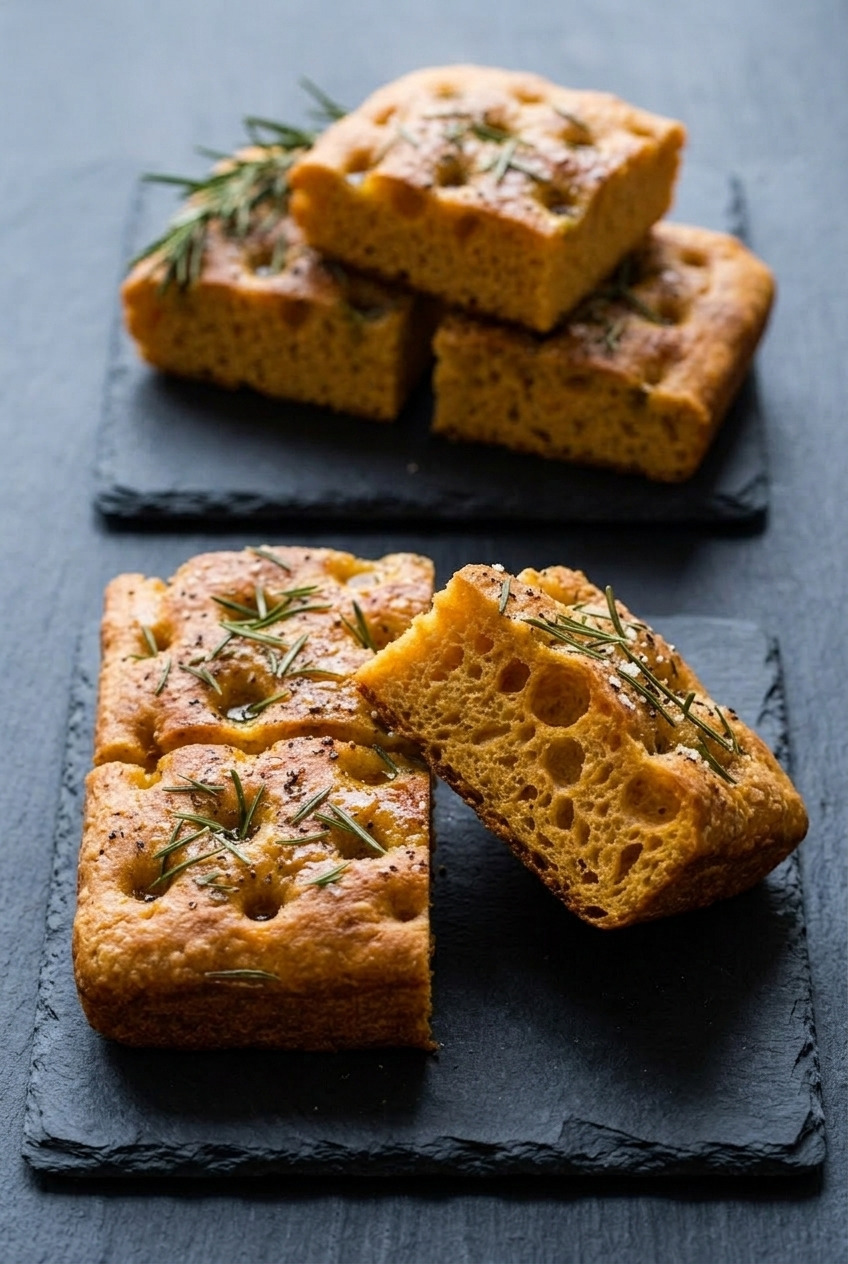
Sweet potato brings sugar, and sugar browns early. This is the thing that cost me two pans before I worked it out.
A plain focaccia on a middle rack is fine.
This one, on a middle rack, gives you a top that is perfectly golden and a bottom that is still pale and slightly greasy. Then you leave it in longer to fix the bottom and the top goes too dark.
Three things solve it.
- Lowest rack. Closer to the bottom element, so the base sets and crisps while the top is still catching up.
- Metal, never glass. Glass and ceramic insulate. A light metal pan conducts heat straight into the dough, which is exactly what you want.
- Be heavy handed with the pan oil. A full 2 tablespoons, spread up the sides. The base is shallow frying, and a dry pan cannot do that.
Get all three right and the bottom comes out crackling, deep brown, and honestly better than the top.
Toppings That Work
Rosemary, garlic oil and flaky salt is the version I make most. It is on the recipe card and it never gets old.
Three other combinations I rotate through:
- Thyme and lemon zest. The zest goes on after baking, not before, or it turns bitter. Brighter and lighter than the rosemary version.
- Thin red onion and sage. Slice the onion paper thin and press it into the dimples so it steams instead of burning. It goes sweet and jammy.
- Za'atar. Stirred into the finishing oil until it is a loose paste. Earthy and sour, and a genuinely great match for the sweet potato.
Whatever you use, the flaky salt goes on last and it goes on more heavily than feels polite.
Storage and Reheating
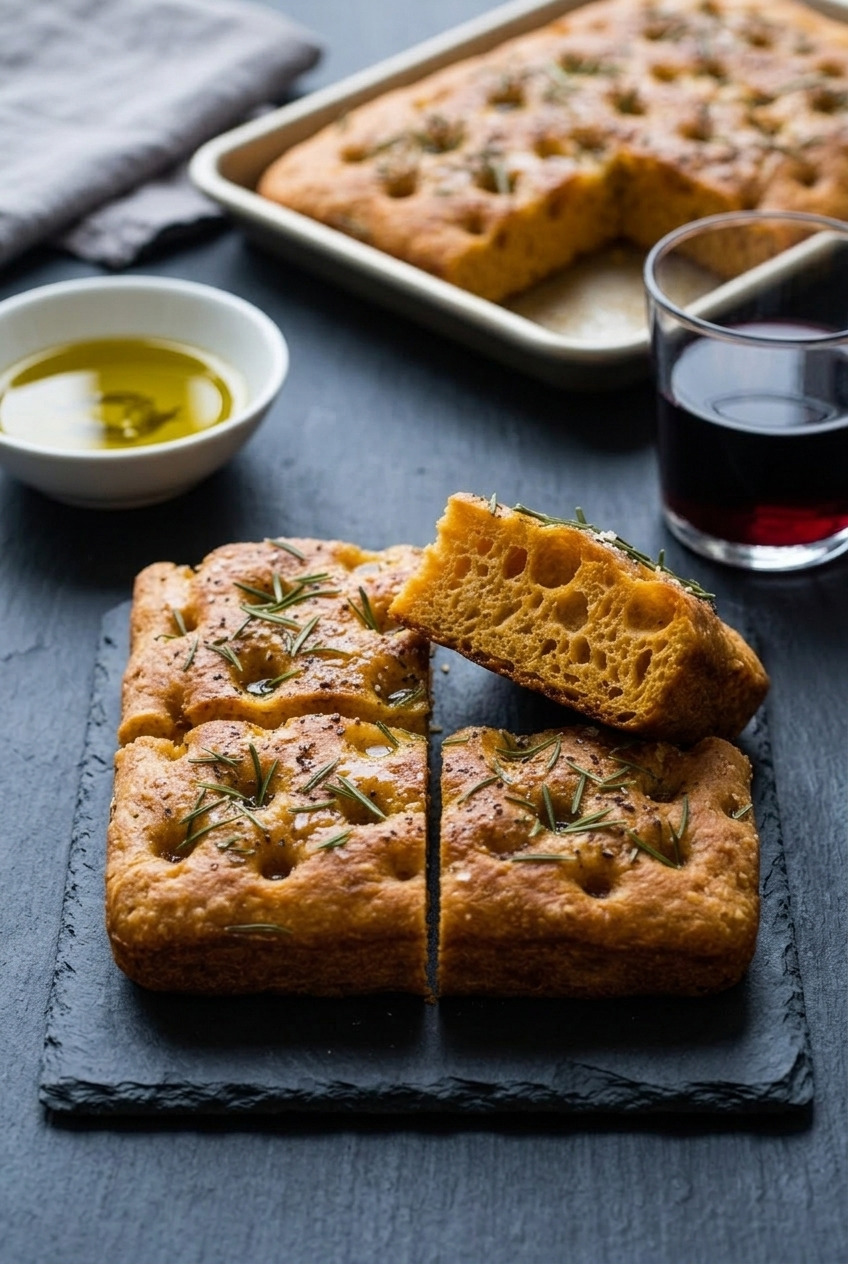
- Counter, 2 days. Cut side down on a board, loosely covered with a towel. A sealed container turns the crisp bottom soft overnight.
- Freezer, 2 months. Cut into squares first, then freeze them flat in a bag. Freezing the whole slab makes it impossible to take just one.
- Reheating is not optional on day two. Five minutes in a 400°F oven, straight on the rack, brings the bottom right back.
- The skillet method. My favourite. Split a square, put the cut faces down in a dry hot pan for 2 minutes, and it is better than it was fresh.
- Never the microwave. It steams the crumb and destroys the crust in about eight seconds.
Roast the potato, keep the dough wet, dimple deep, bake low.
Four rules, one very good pan of bread!
Recipe
Sweet Potato Focaccia
Ingredients
For the Dough
- ½ cup cooked mashed sweet potato 115 g, roasted and cooled, not boiled
- 3 cups bread flour 390 g
- 1 ½ cups warm water 330 ml, about 90F, slightly less than 1 ½ cups
- 1 ¼ teaspoons instant yeast
- 1 ½ teaspoons fine sea salt
- 2 tablespoons extra virgin olive oil for the dough
For the Pan and Topping
- 2 tablespoons extra virgin olive oil for the pan, spread up the sides
- 2 tablespoons extra virgin olive oil for the finishing oil
- 1 large clove garlic minced, stirred into the finishing oil
- 2 tablespoons fresh rosemary chopped
- 1 teaspoon flaky sea salt to finish
- ½ teaspoon coarse black pepper to finish
Instructions
Make the Dough
- Roast 1 medium sweet potato at 400F for 50 minutes, until a knife meets no resistance. Scoop the flesh, mash it smooth, weigh out 115 g and cool it to room temperature. Do not boil it, since boiled flesh carries extra water into an already wet dough.
- Whisk the warm water, instant yeast and mashed sweet potato together until the mash breaks up and the water is cloudy orange.
- Add the bread flour and fine salt and stir with a stiff spatula until no dry flour remains. The dough will be shaggy and very sticky, which is correct. Drizzle 2 tablespoons olive oil over the top and cover the bowl.
- Every 15 minutes for the next hour, wet one hand, reach under an edge of the dough, stretch it up and fold it over the middle, turning the bowl a quarter each time for four folds. Do four rounds total.
Overnight Rise
- Pour 2 tablespoons olive oil into a 9x13 inch metal pan and spread it up the sides. Scrape the dough in and turn it once so both faces are oiled.
- Cover tightly and refrigerate 12 to 18 hours. The cold rise builds the flavour and does the work overnight.
Dimple and Bake
- Take the pan out and leave it at room temperature about 2 hours, until the dough has relaxed into the corners and looks pillowy.
- Stir the minced garlic into the remaining 2 tablespoons olive oil and pour it over the surface. Oil your fingers well and press straight down to the pan floor, making 40 to 50 deep dimples across the whole slab.
- Finish with the chopped rosemary, flaky sea salt and coarse black pepper. Do not press the dough again after topping.
- Bake at 425F on the LOWEST oven rack for 25 to 28 minutes, until the top is deep golden and the edges pull away from the pan. The low rack matters because the sugar in the sweet potato browns the top before the base is set.
- Slide the focaccia out of the pan onto a rack right away so trapped steam does not soften the crisp bottom. Cool 15 minutes, then cut into 12 squares.
Notes
- 115 grams, not more: extra sweet potato makes a dense, faintly gummy crumb that never opens into holes.
- Roast, do not boil: boiled flesh adds water to a dough that is already at 75 percent hydration.
- Weigh the flour: a careless scoop is worth 40 g, which is the difference between an open crumb and a brick.
- Dimple to the pan floor: shallow dimples fill back in during the bake and you lose the ridge and valley profile.
- Lowest rack, metal pan, heavy pan oil: the three things that give a crisp brown bottom instead of a pale greasy one.
- Storage: 2 days on the counter cut side down, 2 months frozen in squares. Reheat 5 minutes at 400F, never in the microwave.