A festival stall in Hakone sold me a korokke on a paper sleeve for about two dollars.
I bit into it expecting the one I already knew, the potato and ground pork version from every Japanese deli case in America.
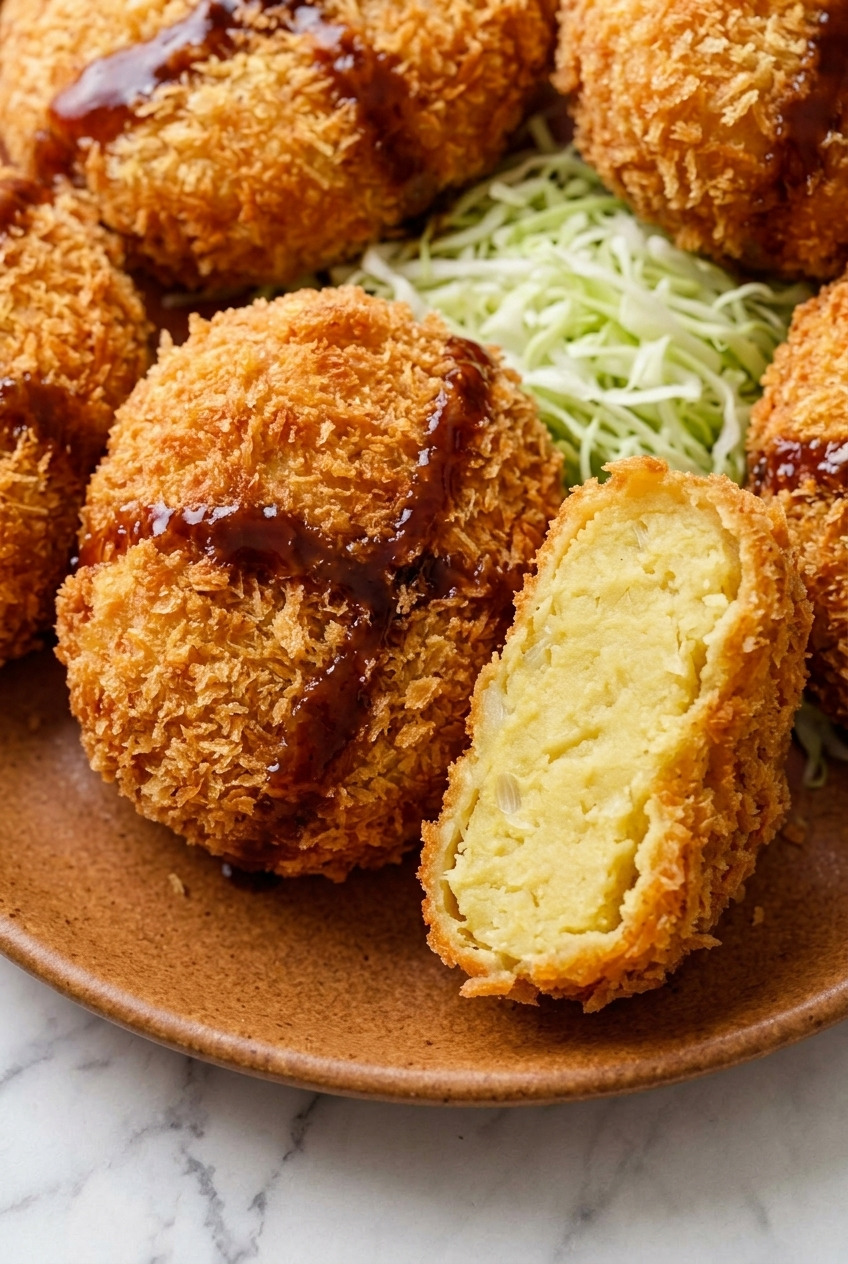
It was sweet.
Not dessert sweet, but unmistakably sweet, and the inside was pale gold instead of white.
Turns out I'd been thinking about korokke completely wrong for years.
It isn't one recipe. It's a whole family.
Korokke is the Japanese croquette, breaded in panko and deep fried, and the filling changes depending on who's making it and what month it is.
Potato is the everyday one. Taro, kabocha, cream and crab all have their versions.
Satsumaimo, the Japanese sweet potato, is the autumn member of that family, and it's the one I now make more than any of the others.
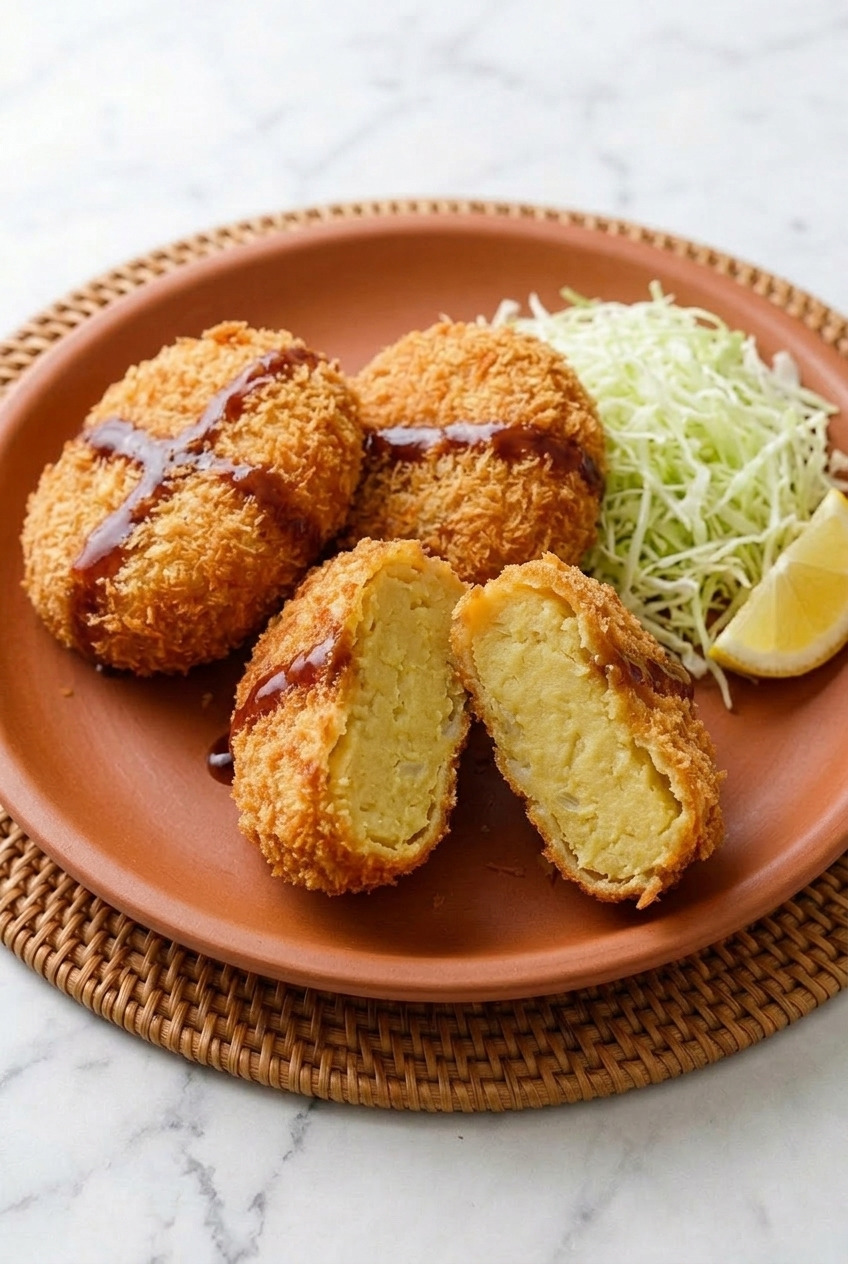
Sweet inside, salty shell, and a puddle of tonkatsu sauce doing the work of pulling those two apart.
My wife rates it above the potato one, which I'm told settles the matter.
Two numbers decide whether yours work: how dry the mash is and how hot the oil is.
Get those right and you get a shell that shatters. Get them wrong and you get a pot full of burst korokke and sweet potato foam.
I'll walk you through both!
What Korokke Is, and Where It Came From
Korokke is a borrowed dish that Japan made completely its own. The history explains why it tastes the way it does.
The word comes straight from the French croquette, and the dish arrived in Japan during the Meiji era, in the late 1800s, when Western cooking was flooding in.
It landed in the category the Japanese call yoshoku, Western-style food adapted for Japanese tastes, alongside curry rice, omurice and tonkatsu.
The French original is bound with a thick bechamel. The Japanese version swapped that for mashed potato, which was cheaper and sturdier.
By the 1920s korokke was everywhere. Butcher shops sold them by the register, and they still do.
You'll find them at convenience stores, at supermarket hot counters, in bento boxes, and at every festival stall in the country.
It's genuinely a national snack food.
The family runs deeper than most Americans realize:
- Jagaimo korokke. Potato, usually with a little ground beef or pork. The default, and the one people mean when they just say korokke.
- Satsumaimo korokke. Sweet potato. Autumn, sweeter, denser, what we're making.
- Kabocha korokke. Japanese pumpkin. Also autumn, also sweet, deeper orange.
- Satoimo korokke. Taro. Stickier and more subtle.
- Cream korokke. The one that stayed closest to the French, bound with bechamel and often full of crab or shrimp.
The satsumaimo version is a seasonal item rather than a year-round one, which is exactly why it feels like a treat.
Satsumaimo vs a Regular Sweet Potato
These are not interchangeable, and the difference matters more here than in almost any other recipe. Moisture is the reason.
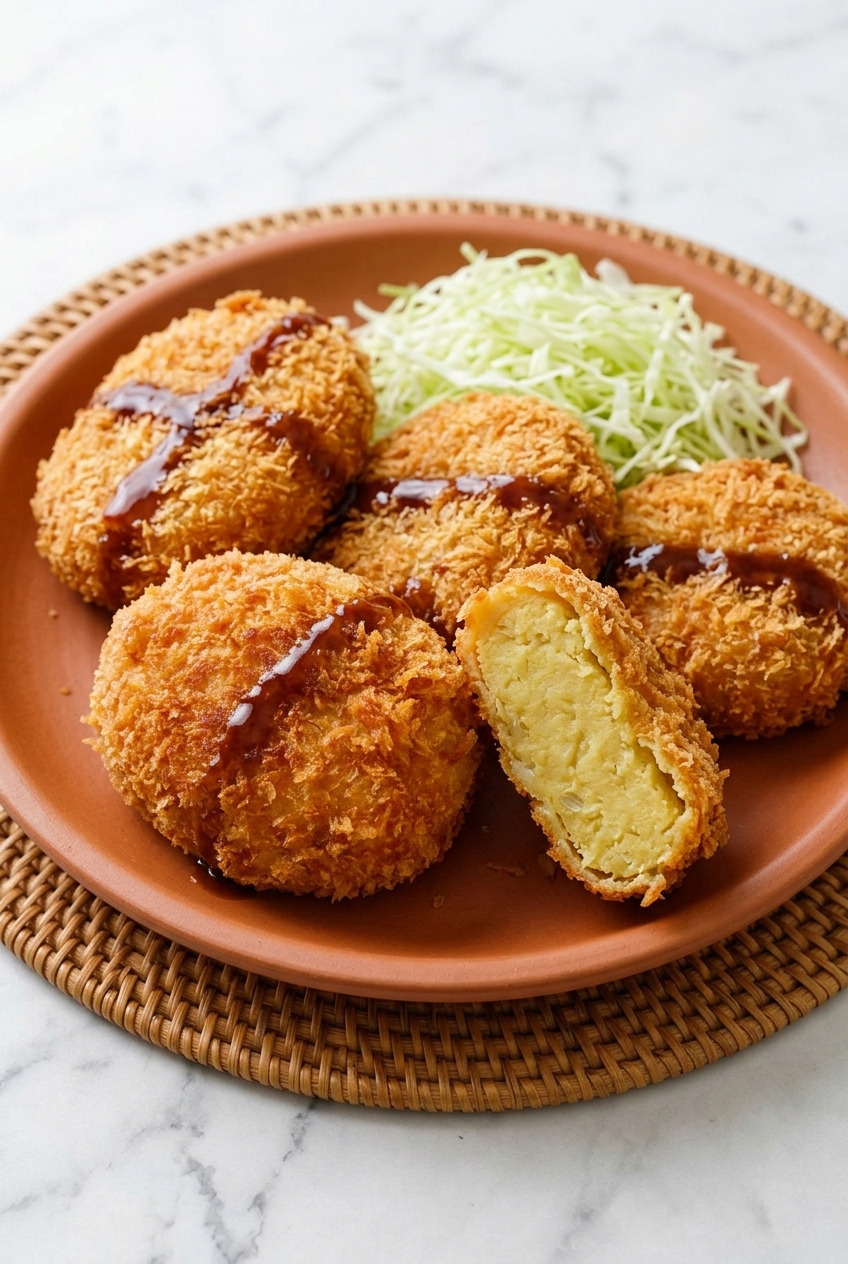
Satsumaimo has magenta to purple skin and pale yellow flesh, and it eats dry, starchy and chestnutty.
The American orange sweet potato is wetter, softer and considerably sweeter, and it mashes into something closer to a puree than a mash.
In a croquette that extra water turns to steam in the fryer, and steam is what splits the shell open.
- Satsumaimo, the authentic choice. Japanese and Korean groceries stock it, especially September through December. H Mart, Mitsuwa, Nijiya. Many regular supermarkets now label it "Japanese sweet potato" or "murasaki sweet potato."
- Regular orange sweet potato, the substitute. It absolutely works, and I've made these with it plenty of times. Bake rather than steam, and dry the mash in the pan for an extra 2 to 3 minutes. The finished korokke will be softer inside and sweeter.
- Why soak the cut pieces in salt water? This is the question everyone asks and nobody answers. Two reasons. Cut satsumaimo oxidizes within minutes and the faces go grey brown, and the soak stops it. It also draws off surface starch, which otherwise makes the mash gummy.
- Is it healthier? Comparable calories and fiber. The orange one has vastly more beta carotene, the Japanese one runs a little lower on the glycemic index. It's a wash, and we're about to deep fry it anyway.
Ingredients You'll Need
Three short lists: the filling, the coating, and what goes on the plate. Nothing here is hard to find.
- Satsumaimo (1 ½ pounds, about 2 medium). Peeled and cut into 1 inch pieces. Peeled this time, unlike the rice version, because you want a smooth mash.
- Unsalted butter (2 tablespoons). Beaten into the hot mash. Richness, and it helps the mash hold together.
- Yellow onion (½ small, finely minced) and neutral oil (1 teaspoon). Sautéed until soft and sweet. This is the savory anchor that keeps the filling from reading as dessert.
- Egg yolk (1 large). The binder, and it earns its place. Sweet potato mash is looser than potato mash and the yolk holds it together in the oil.
- Kosher salt (¾ teaspoon) and black pepper (¼ teaspoon). Season the filling harder than feels right. It's competing with a lot of sugar.
- All-purpose flour (½ cup). First coat. It gives the egg something to cling to.
- Egg (1 large) beaten with cold water (1 tablespoon). The water thins it so it coats evenly instead of gumming into a thick layer.
- Panko (1 ½ cups). See below. This is non-negotiable.
- Neutral oil for frying (about 4 cups). Canola, rice bran or vegetable. Rice bran is what Japanese kitchens tend to use and it has a lovely clean flavor.
- Green cabbage (2 cups, very finely shredded). Raw, alongside. Standard in Japan and it belongs there.
- Tonkatsu sauce and lemon wedges. Bulldog is the classic bottle. Tangy, fruity, faintly Worcestershire-ish.
The Coating: Why It Has to Be Panko
Ordinary breadcrumbs will give you a completely different and much worse korokke. This isn't snobbery, it's structural.
Panko is made from crustless bread baked by electrical current, so it dries into long jagged flakes rather than dense little grains.
Those flakes stick out from the surface, absorb less oil, and fry into a shell that's light and shattering instead of sandy.
They also brown more slowly, which matters enormously here, because you're frying something full of sugar.
Buy Japanese panko if you can. The flakes are noticeably bigger than most American house brands.
How to Make Satsumaimo Korokke
Half of this recipe happens before anything touches oil. The frying itself takes about six minutes total.
Step 1: Cook the Sweet Potato and Dry the Mash
Peel the satsumaimo, cut into 1 inch pieces, and soak in lightly salted cold water for 10 minutes.
Drain, then steam over simmering water for 15 to 18 minutes, until a knife goes through easily.
Now the step that matters. Tip the cooked pieces into a dry pan over medium-low heat and mash them there.
Keep stirring for 2 to 3 minutes and you'll see it change from wet and glossy to matte and slightly stiff.
That's the moisture leaving, and every bit that leaves now is a bit that won't turn into steam and blow your korokke apart later.
Beat in the butter while it's still hot.
Step 2: Sauté the Onion and Season
Cook the minced onion in the teaspoon of oil over medium heat for 5 minutes, until soft and translucent with no color.
Stir it into the mash along with the salt and pepper.
Taste it. It should taste clearly seasoned, almost too salty on its own, because the panko and the sweetness will pull it back.
Let the mixture cool to room temperature, then beat in the egg yolk.
Adding the yolk to hot mash scrambles it. Don't rush this part.
Step 3: Shape and Chill
Divide the filling into 8 portions, about ⅓ cup each.
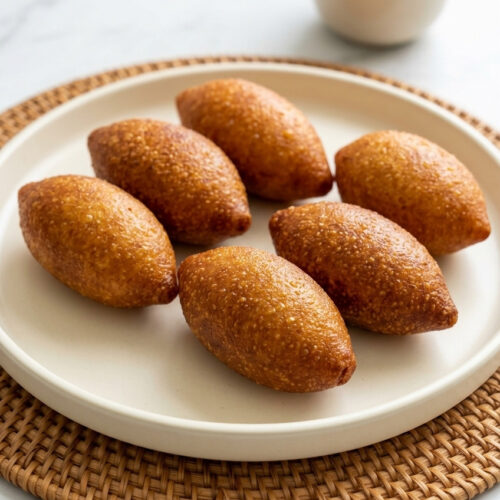
Shape each into a flattened oval roughly 3 inches long and ¾ inch thick, pressing firmly so there are no air pockets inside.
Air pockets expand in the fryer. That's a burst korokke waiting to happen.
Chill the shaped ovals on a tray for at least 30 minutes, or up to overnight.
Cold, firm korokke hold their shape when the hot oil hits them. Warm ones slump and split.
Step 4: Flour, Egg, Panko
Set up three shallow dishes: flour, then beaten egg with the tablespoon of cold water, then panko.
Coat each oval in flour and tap off the excess, then dip in egg and let it drip, then press into the panko.
Press. Don't roll and hope.
Turn each one and press the flakes firmly onto every face and every edge, especially the edges, which is where a shell tends to fail.
Back onto the tray, back into the fridge for 15 minutes while the oil heats.
Step 5: Fry at 340 to 350°F
This is the number nobody tells you. Potato korokke fries happily at 350 to 360°F. Sweet potato does not.
Heat 2 inches of oil in a heavy pot to 340 to 350°F and use a thermometer, because guessing here is how the batch goes wrong.
Go hotter and the sugars in the satsumaimo scorch the panko dark brown before the inside is heated through.
Fry 2 or 3 at a time, never more, for 2 ½ to 3 minutes total, turning once at the halfway point.
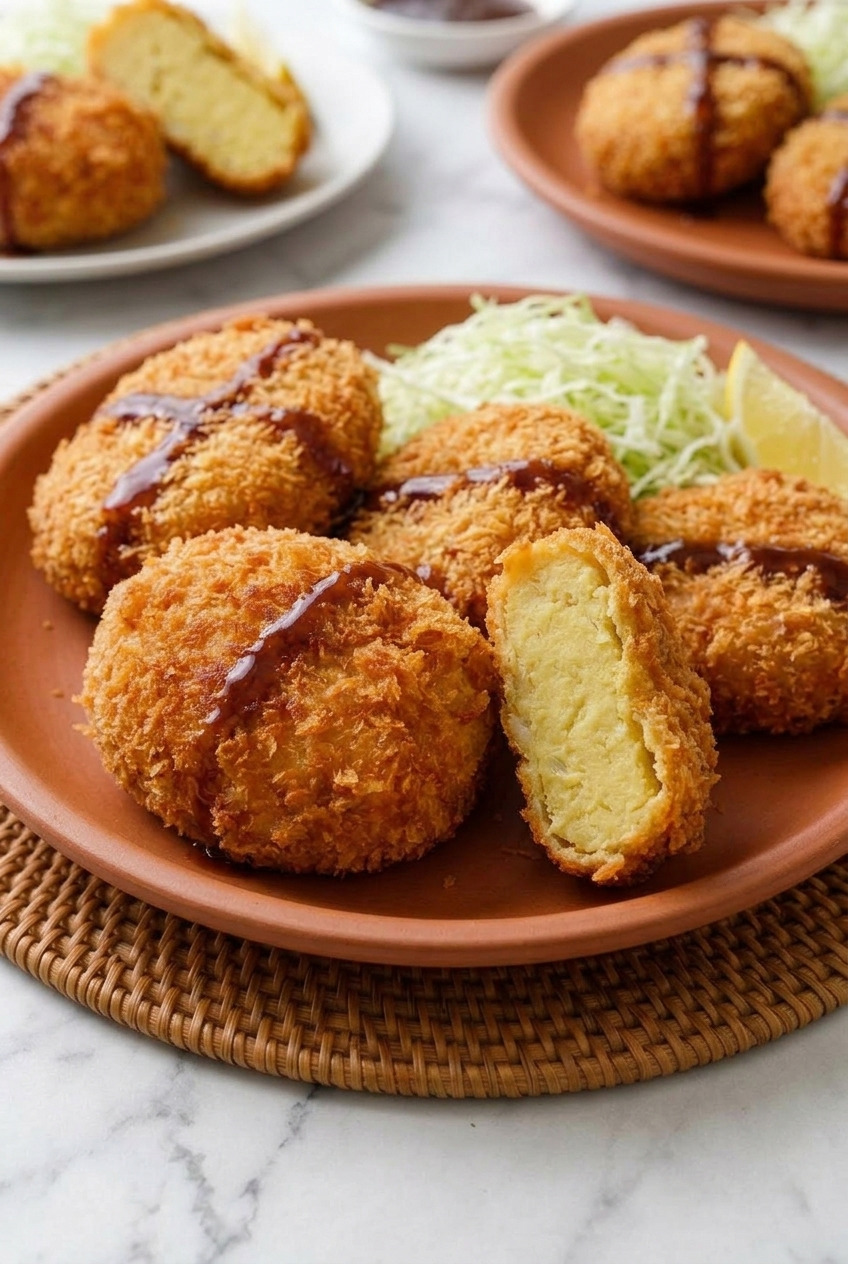
You're looking for a deep even golden, not brown.
Lift onto a wire rack, NEVER paper towels, which trap steam underneath and soften the bottom.
Let the oil come back up to temperature between batches. Yum!
Tips for Korokke That Don't Burst
A burst korokke is the universal home failure and it has exactly four causes. Work through these and it stops happening.
- Dry the mash in the pan. 2 to 3 minutes over medium-low, stirring. This is the biggest single factor, and it's the step almost every recipe leaves out.
- Cool the filling completely. Warm filling generates steam the second it meets the oil. Room temperature at the absolute warmest.
- Chill after shaping, and again after breading. Thirty minutes and fifteen minutes. A cold, firm korokke goes into the oil and sets its shell before the inside expands.
- Press the panko on properly. A loose crumb layer is a leak. Cover every face and every edge and press with real pressure.
- Don't crowd the pot. Two or three at a time. Crowding drops the oil temperature, and cool oil means a longer fry, which means more time for the inside to swell.
- Never poke them. Turn once with tongs or a spider, gently. Every prod is a hole for the filling to escape through.
Ground Pork, and Other Ways to Take It
The filling is a base, not a rule. These are the three variations I actually make.
- Add ground pork. The traditional korokke move. Brown 4 ounces of ground pork with the onion, season it with a splash of soy sauce, and fold it into the mash. It pushes the whole thing savory and makes them substantial enough to be dinner.
- Hide cheese in the middle. A ½ inch cube of low-moisture mozzarella pressed into the center of each oval before you seal it. Sweet, salty, molten. This one disappears fastest at my house.
- Curry seasoned. Stir 1 teaspoon of Japanese curry powder into the mash. It turns the sweetness into something warm and spiced, and it's fantastic with the cabbage.
Serving: Cabbage and Tonkatsu Sauce
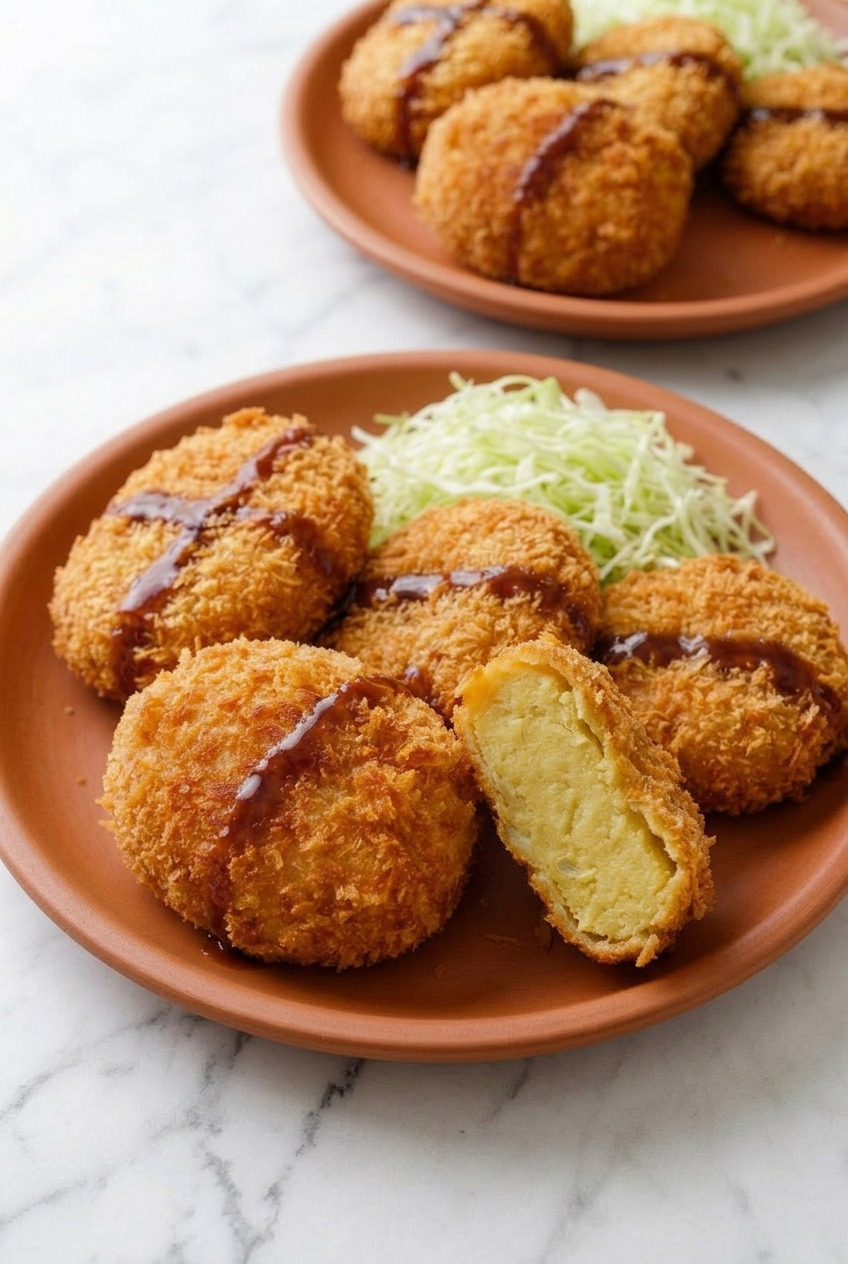
The shredded cabbage is not decoration. Skip it and the plate feels heavy after two bites.
Shred green cabbage as finely as you possibly can, ideally on a mandoline, then soak the shreds in ice water for 10 minutes and spin them dry.
That soak is what makes Japanese restaurant cabbage so crisp and feathery.
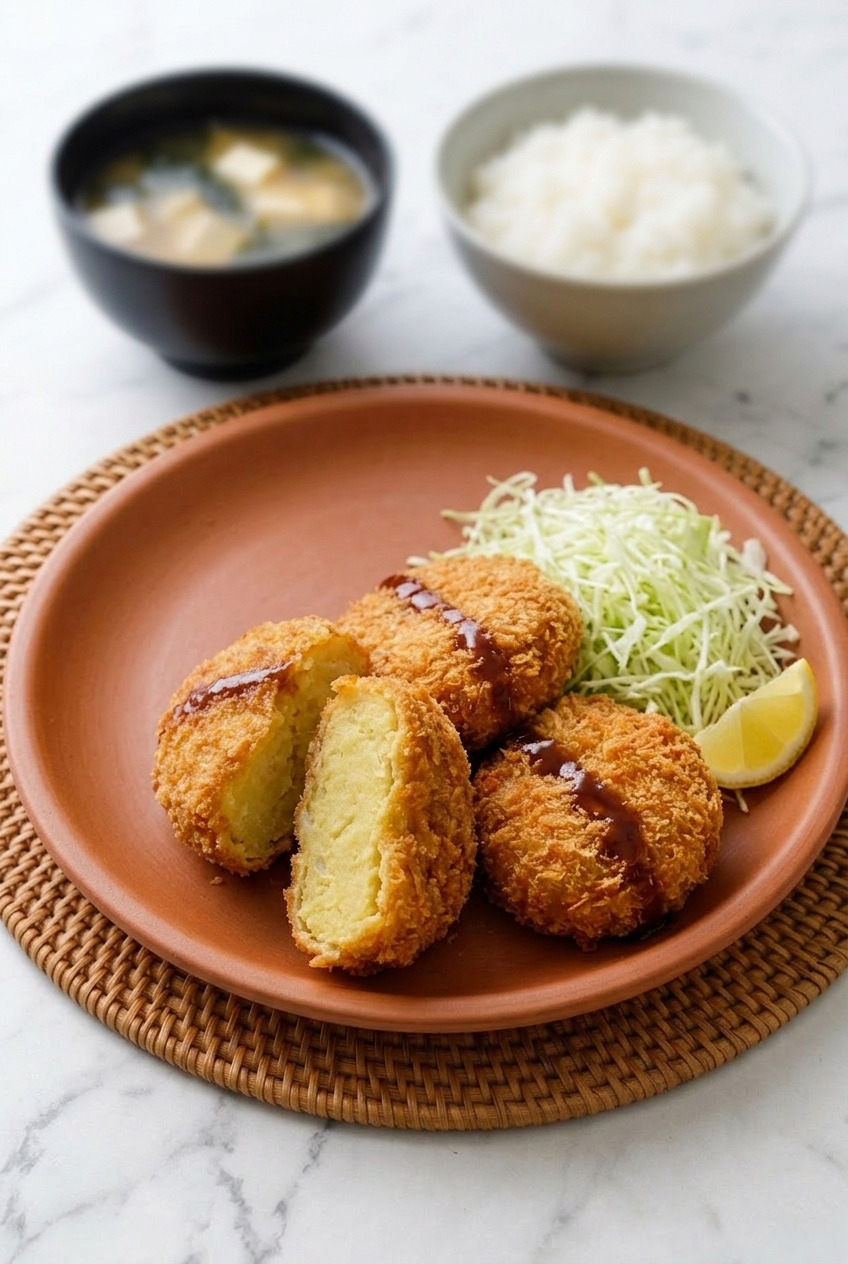
Pile it beside the korokke, pour tonkatsu sauce over the korokke rather than the cabbage, and put a lemon wedge on the plate.
The cabbage is cool, crunchy and slightly sweet, and it cuts the fried richness in exactly the right way.
For a full meal, add a bowl of short grain rice and a bowl of miso soup. That's a teishoku, the standard Japanese set meal, and it's how you'd be served these in a shop.
Make Ahead, Freezing and Reheating
Korokke freeze better than almost anything else I fry. I keep a bag of them ready at all times in the fall.
- Freeze them breaded and UNFRIED. This is the key. Bread them fully, freeze on a tray until solid, then bag them for up to 2 months.
- Fry straight from frozen. Do not thaw. Drop the temperature slightly to 335°F and fry for 4 to 5 minutes. A thawed korokke is a soggy korokke.
- Make ahead in the fridge. Breaded and refrigerated, they hold 24 hours on a tray, uncovered so the coating stays dry.
- Leftover fried korokke. 3 days in the fridge. Reheat in a 375°F oven or air fryer for 8 minutes, never the microwave, which turns the shell to cardboard.
- The filling alone. Keeps 3 days refrigerated before shaping, which makes this a very easy dish to split across two evenings.
Crisp on the outside, sweet and fluffy on the inside, and a bottle of tonkatsu sauce holding it all together. Give them a try!
Recipe Card
Recipe
Satsumaimo Korokke (Japanese Sweet Potato Croquettes)
Ingredients
For the Filling
- 1 ½ lb satsumaimo (Japanese sweet potato) about 2 medium, peeled and cut into 1 inch pieces
- 2 tablespoon unsalted butter
- ½ small yellow onion finely minced
- 1 teaspoon neutral oil for the onion
- 1 large egg yolk
- ¾ teaspoon kosher salt
- ¼ teaspoon black pepper
For the Coating
- ½ cup all-purpose flour
- 1 large egg beaten with 1 tablespoon cold water
- 1 ½ cups panko breadcrumbs Japanese style
- 4 cups neutral oil for frying, canola or rice bran
For Serving
- 2 cups green cabbage very finely shredded
- ¼ cup tonkatsu sauce
- 1 lemon cut into wedges
Instructions
Make the Filling
- Soak the cut sweet potato in lightly salted cold water for 10 minutes to stop it browning and remove surface starch. Drain, then steam over simmering water for 15 to 18 minutes, until a knife slides through easily.
- Tip the cooked pieces into a dry pan over medium-low heat and mash them there, stirring for 2 to 3 minutes until the mash turns from glossy to matte and stiff. This drives off moisture and is what stops the korokke bursting. Beat in the butter while hot.
- Cook the minced onion in the teaspoon of oil over medium heat for 5 minutes until soft with no color, then stir it into the mash with the salt and pepper. Cool to room temperature, then beat in the egg yolk.
Shape and Bread
- Divide the filling into 8 portions and shape each into a flattened oval about 3 inches long and ¾ inch thick, pressing firmly so no air pockets remain. Chill on a tray for at least 30 minutes.
- Set up three shallow dishes with flour, the beaten egg and water, and the panko. Coat each oval in flour and tap off the excess, dip in egg and let it drip, then press firmly into the panko, covering every face and edge. Chill another 15 minutes.
Fry and Serve
- Heat 2 inches of oil in a heavy pot to 340 to 350°F. Do not go hotter, as the sugar in sweet potato scorches the panko before the inside heats through.
- Fry 2 or 3 korokke at a time for 2 ½ to 3 minutes total, turning once, until deep even golden. Lift onto a wire rack, not paper towels. Let the oil return to temperature between batches.
- Soak the shredded cabbage in ice water for 10 minutes and spin dry. Serve the korokke with a pile of cabbage, tonkatsu sauce poured over the korokke, and lemon wedges.
Notes
- Dry the mash: Two to three minutes in a dry pan over medium-low heat. Moisture turns to steam in the fryer and splits the shell.
- Oil temperature: 340 to 350°F, lower than for potato korokke, because sweet potato carries more sugar and scorches.
- Chill twice: Thirty minutes after shaping and fifteen minutes after breading.
- Panko only: Ordinary breadcrumbs give a dense, oily shell instead of a shattering one.
- Freezing: Freeze breaded and unfried for up to 2 months, then fry from frozen at 335°F for 4 to 5 minutes. Never thaw first.